
2003 S10 L33 5.3 Swap
 08-05-2012, 01:19 PM
#1
Launching!
Thread Starter
iTrader: (3)
Join Date: Sep 2011
Posts: 264
Likes: 0
Received 0 Likes
on
0 Posts

Been lurking around here for a while learning & researching my swap so here it is.
2003 S10 ext cab ZQ8 with 4.3 V6 which has been a good truck but poor gas mileage & not as much power as a V8 made it pretty much a no brainer as far as swaps.

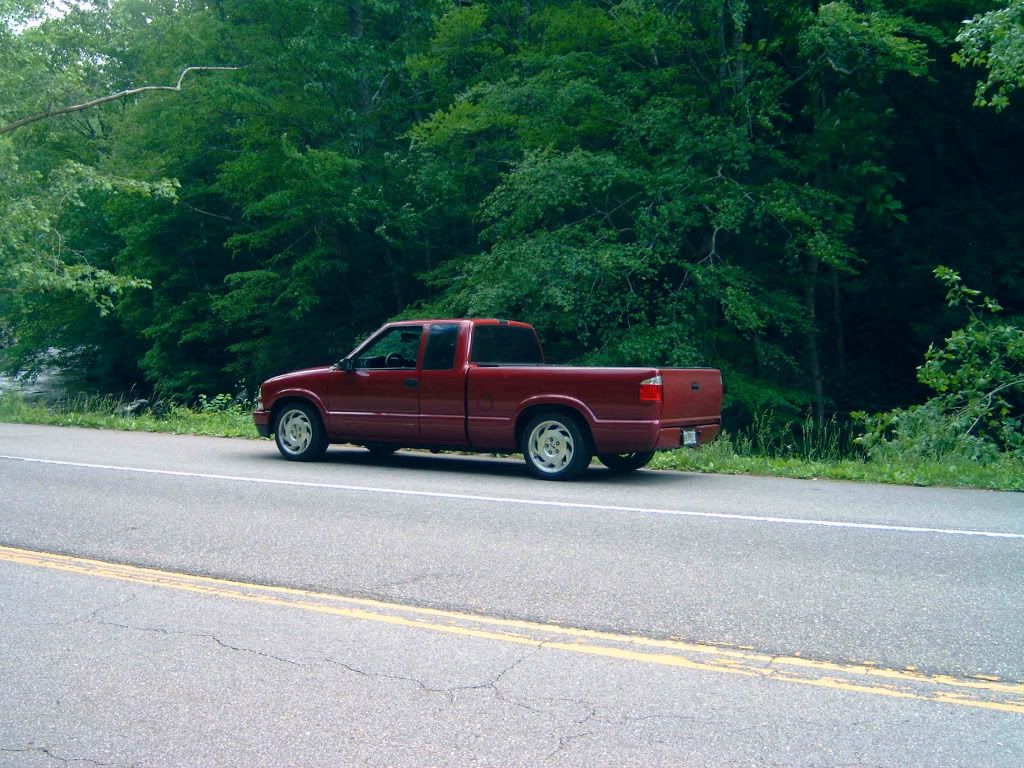
The goal was to keep it a daily driver & to have everything in the truck work just like stock,turn the key & go & have all the daily niceties like cruise control,AC,all stock gauges work,etc.
2003 S10 ext cab ZQ8 with 4.3 V6 which has been a good truck but poor gas mileage & not as much power as a V8 made it pretty much a no brainer as far as swaps.
The goal was to keep it a daily driver & to have everything in the truck work just like stock,turn the key & go & have all the daily niceties like cruise control,AC,all stock gauges work,etc.
 08-05-2012, 01:30 PM
#2
Launching!
Thread Starter
iTrader: (3)
Join Date: Sep 2011
Posts: 264
Likes: 0
Received 0 Likes
on
0 Posts
I had been modifing the truck since I owned it,so it had a lot of stuff already done to it.
It is a 2003 S10 with ZQ8 suspension package which includes lowered front & rear,bigger swaybar in front & swaybar in rear,quick ratio steering box,hop shock,16 inch wheels & this is a LS model so it is loaded inside,power windows,locks,cruise,tilt,gauges,etc.
Tubular upper A arms,tall upper ball joints,drilled & slotted dics brakes,stainless brake lines,Flaming River steering joint are a few mods I have made to the suspension/brakes.


 08-05-2012, 01:58 PM
#5
Launching!
Thread Starter
iTrader: (3)
Join Date: Sep 2011
Posts: 264
Likes: 0
Received 0 Likes
on
0 Posts
Picked up a wiring harness & pcm from a 2002 Silverado

Bought a used L33 aluminum 5.3 bottom end for $500 shipped. Aluminum block,flat top pistons,floating wrist pin rods,HO cam.


I disassembled the motor & found a couple spun rod bearings so I bought a crank that was turned 10-10 had the clys honed,new cam bearings installed by the local machine shop.


Bought a used L33 aluminum 5.3 bottom end for $500 shipped. Aluminum block,flat top pistons,floating wrist pin rods,HO cam.
I disassembled the motor & found a couple spun rod bearings so I bought a crank that was turned 10-10 had the clys honed,new cam bearings installed by the local machine shop.
08-05-2012, 02:05 PM
#6
Launching!
Thread Starter
iTrader: (3)
Join Date: Sep 2011
Posts: 264
Likes: 0
Received 0 Likes
on
0 Posts
Reassembled the motor with new std rings,new Clevite 77 main & rod bearings,Cloyes timing chain,Melling oil pump,ARP rod bolts,New oem main bolts,Comp cams trunnion upgrade.

Used MLS head gaskets with a pair of LS1 heads milled .015 & new oem head bolts.


Used MLS head gaskets with a pair of LS1 heads milled .015 & new oem head bolts.
08-05-2012, 02:11 PM
#7
Launching!
Thread Starter
iTrader: (3)
Join Date: Sep 2011
Posts: 264
Likes: 0
Received 0 Likes
on
0 Posts

I used the truck acc setup so with the Corvette water pump I had to cut the alt bracket & relocate the idler pulley with a Dirty Dingo bracket & also makes room for the LS1 intake/throttle body. And a pic of the POTZ ported throttle body.


Last edited by ZQ8LS1; 08-05-2012 at 02:18 PM.
Trending Topics


 08-05-2012, 02:48 PM
#11
Launching!
Thread Starter
iTrader: (3)
Join Date: Sep 2011
Posts: 264
Likes: 0
Received 0 Likes
on
0 Posts
Setting the 5.3 in for its first test fit.

Pic of header clearance on passenger side. The area of the firewall buy the collector needs some serious massaging with a hammer to gain enough clearance to get your tools into tighten collector bolts. While we are on the topic of collector bolts...do yourself a favor & invest in Stage 8 hardware http://stage8.com/ for your collector & flange bolts as you dont want them coming loose after your build & they will,take my word on that. LOL


I put some heat shield under the ac box where #8 header pipe came real close.
Pic of header clearance on passenger side. The area of the firewall buy the collector needs some serious massaging with a hammer to gain enough clearance to get your tools into tighten collector bolts. While we are on the topic of collector bolts...do yourself a favor & invest in Stage 8 hardware http://stage8.com/ for your collector & flange bolts as you dont want them coming loose after your build & they will,take my word on that. LOL
I put some heat shield under the ac box where #8 header pipe came real close.


 09-18-2012, 10:11 PM
#16
Launching!
Thread Starter
iTrader: (3)
Join Date: Sep 2011
Posts: 264
Likes: 0
Received 0 Likes
on
0 Posts
I was getting ready to build a custom steering shaft & found out if you put a couple washers between the steering box on the front two mounting bolts it kicks the steering shaft out a bit & I gained some much needed clearance on #3 cyl.


