
Full blown custom Trans Am interior project (writeup)
 11-15-2008, 05:06 PM
#1


I came up with the idea for this interior design theme about three years ago, and now the conditions are ripe for me to finally be able to execute it. I have the first round of materials ordered and a few of them came at the end of last week, so I was able to get a start on things last night.
Follow along with me as I document each step of the process. I hope you find it to be educational and maybe a little inspirational.
Interior theme material checklist:
1. "Skintex Snakeskin SF:" black (with additional SEM "Landau Black" application.)
Coverage: door panel surrounds, arm rest half & half (bottom), door speaker pods, dash assembly, gauge cluster surround, A-pillars, B-pillar sail panels, rear (trunk) speaker panels, twin strips in center console lid, front and rear seat inserts.
2. "Novasuede:" black
Coverage: door inserts, arm rest half & half (top), door map pocket panel, cowl top dash panel, headliner, outer seat bolsters, center console base, center console lid (center and sides), sun visors.
3. Alsa Corp. "Soft Feeling Paint:" black
Coverage: center console (top), radio/HVAC surround bezel, inner door handles, door handle bezels, door switch panel bezels, A/C vents, miscellaneous seat assembly plastics.
4. High Density "Landau" Foam
Coverage: dash assembly, door panel inserts.
5. Stockinteriors.com "Ultra-Plush" cut-pile carpet + floor mats: black
6. Arizen Racing seats "ST" with solid headrest.
Finish: Novasuede bolsters + Skintex inserts
7. B&M Hammer Shifter. (Fiberglass molded into center console.)
Let the fun begin.
 11-15-2008, 05:07 PM
#2
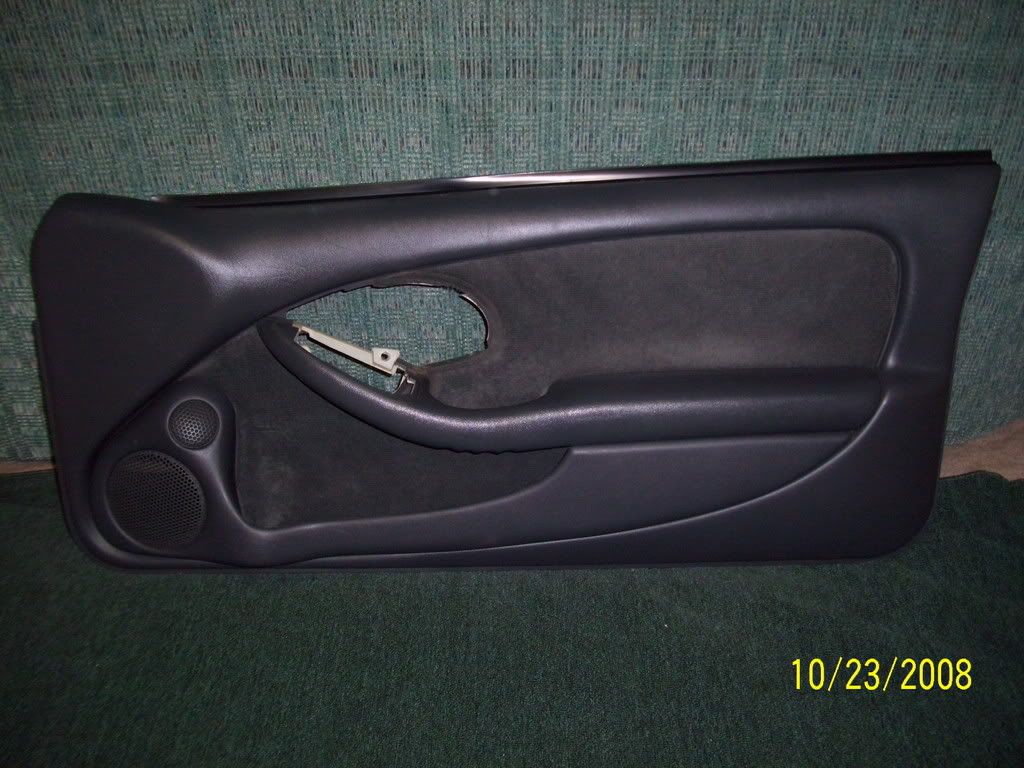
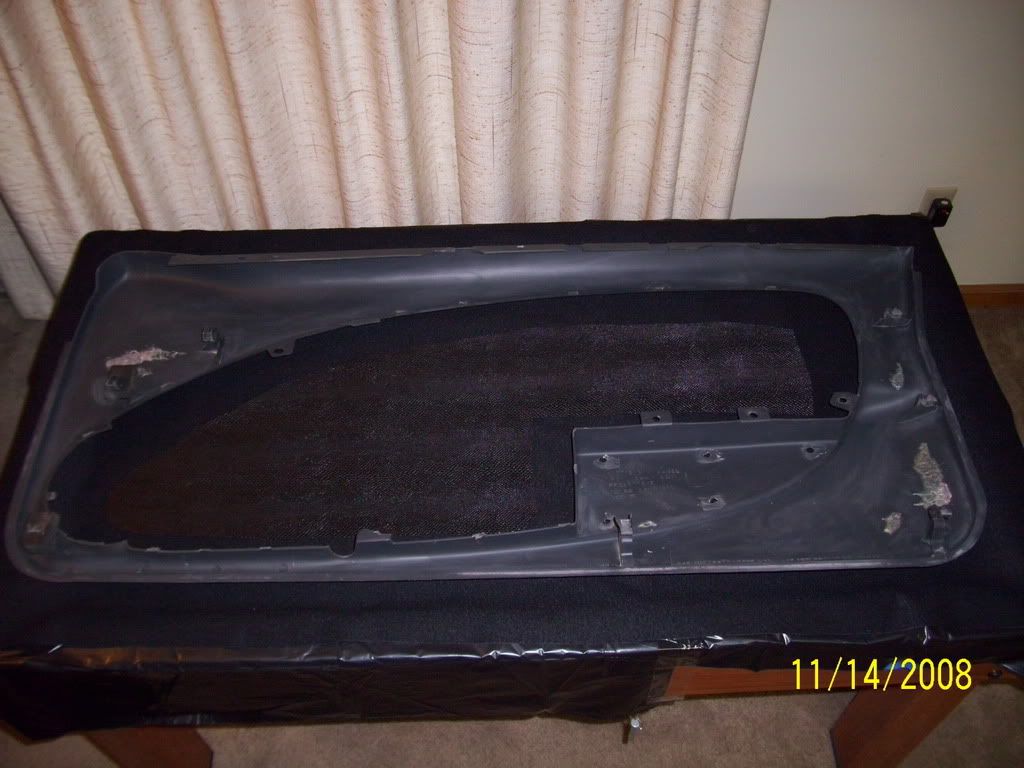
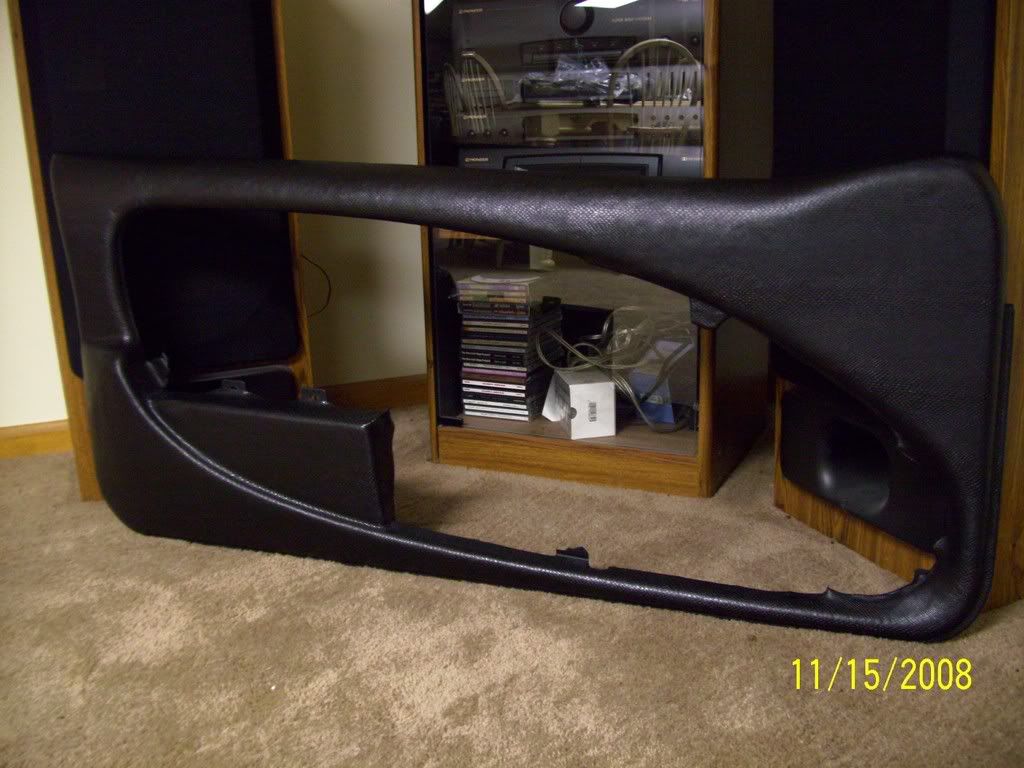
I'm starting things off with the door panels.
Stock charcoal "before:"
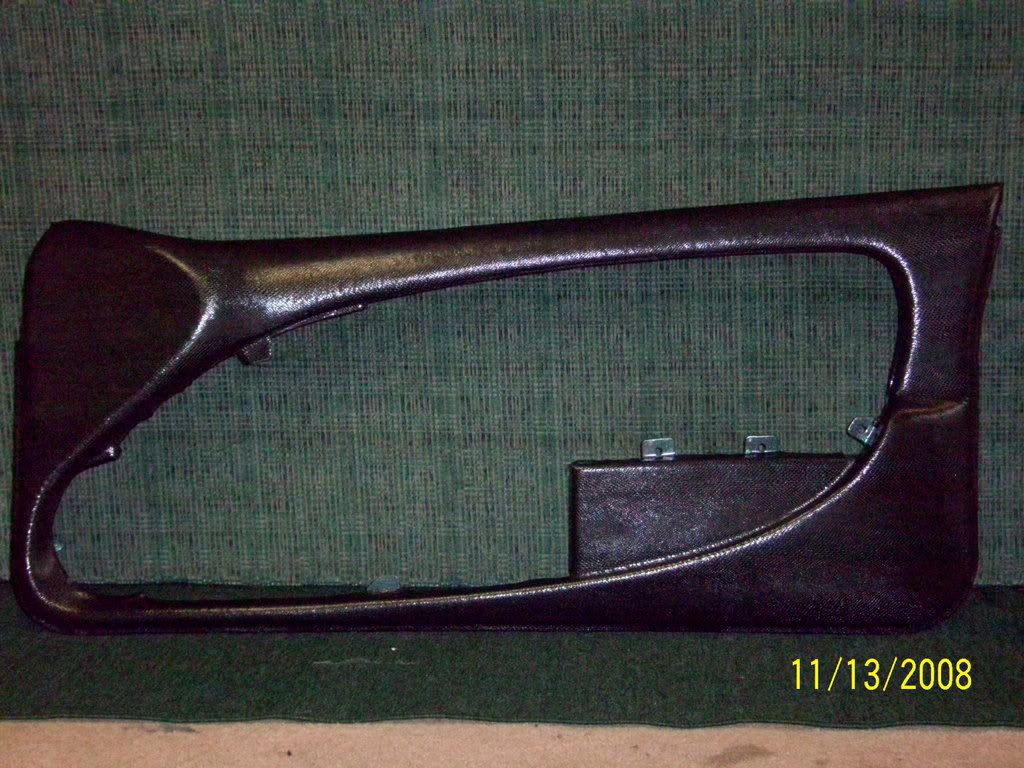
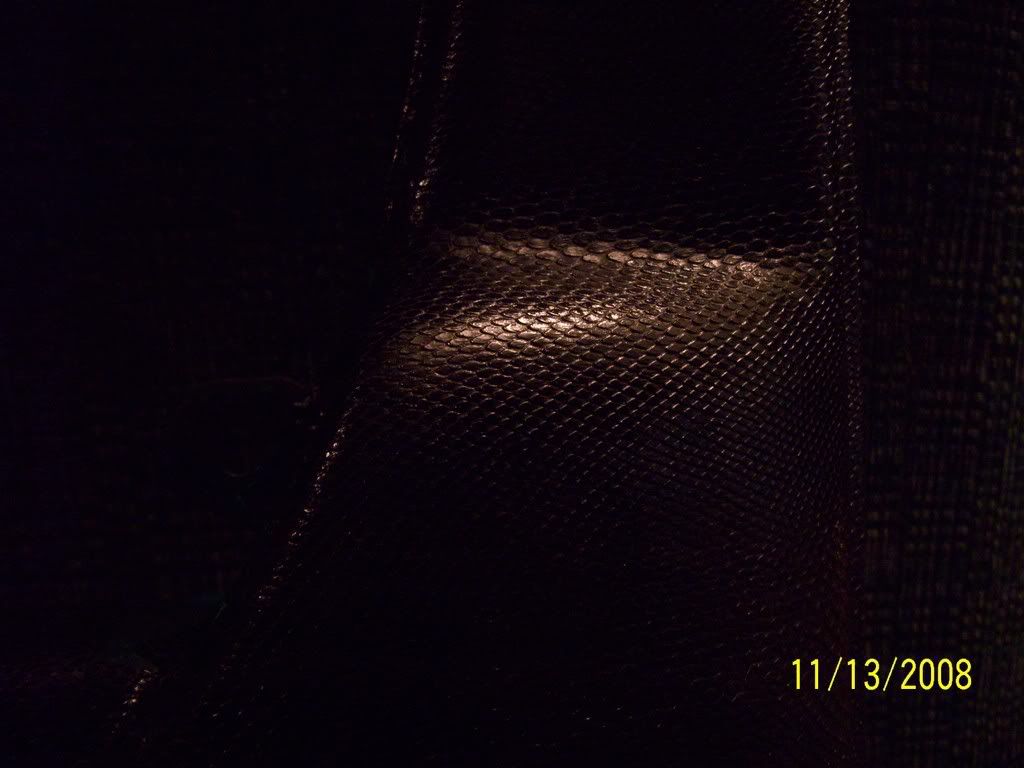
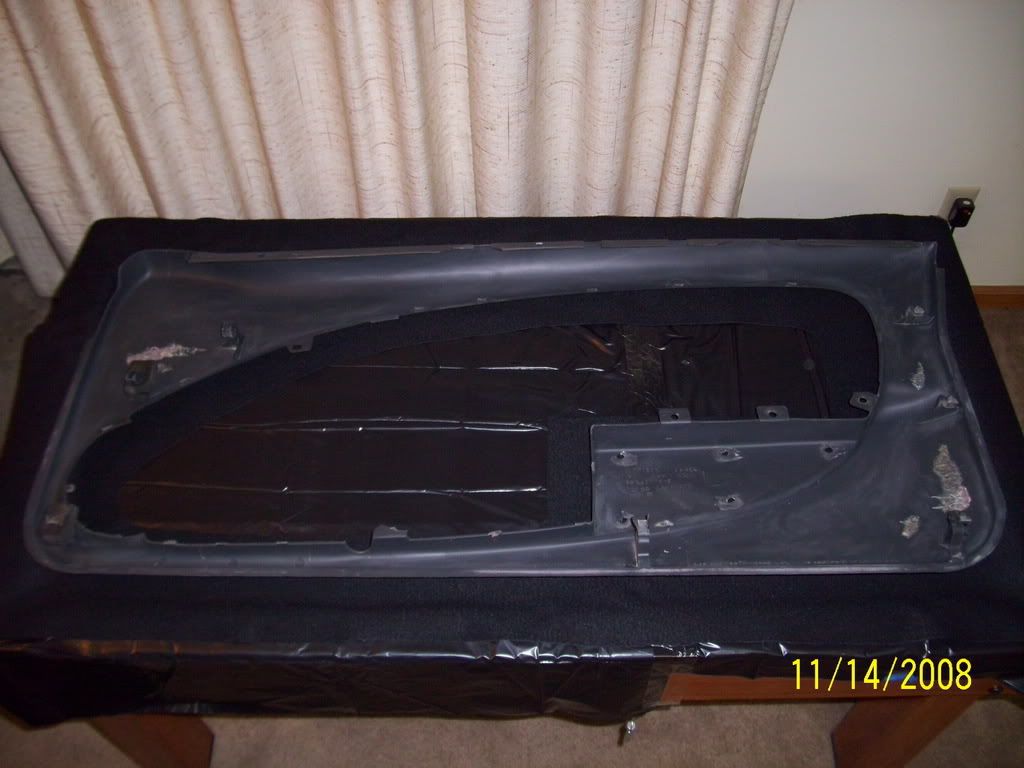
Last night, after deconstructing them both down to the bare surrounds, I was able to apply a layer of "Skintex" to the passenger's side panel:

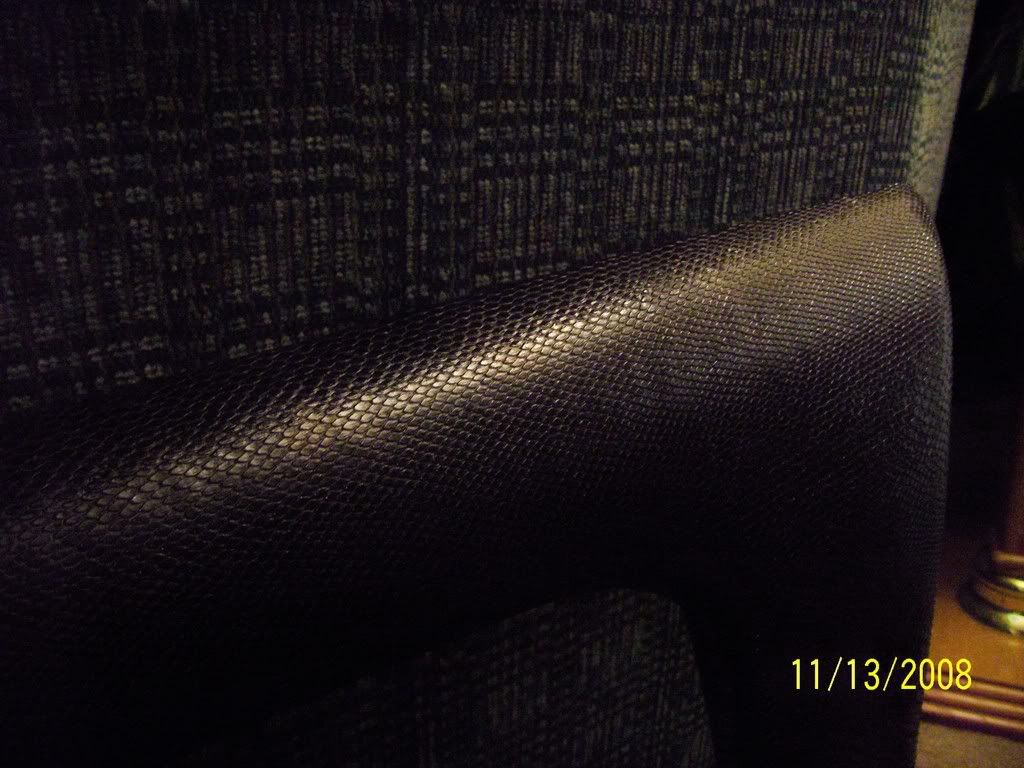
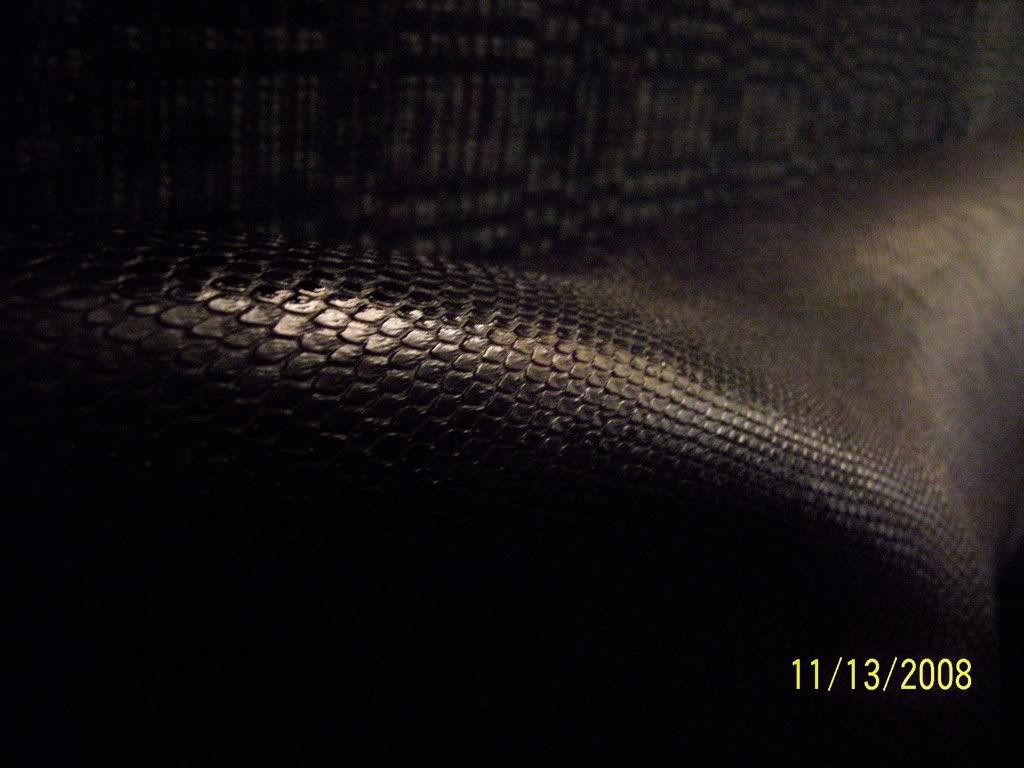
Unfortunately, the Skintex only comes in a glossy finish, so to remedy that I'm going to tame it down a notch by applying a few light coats of SEM "Landau" black vinyl dye.
I'm still awaiting the high density Landau foam and the Alsa Corp. "Soft Feeling" paint to arrive UPS. As soon as I receive them, I will proceed.
Stay tuned.
This really must be seen in person to be fully appreciated:
Stock charcoal "before:"
Last night, after deconstructing them both down to the bare surrounds, I was able to apply a layer of "Skintex" to the passenger's side panel:
Unfortunately, the Skintex only comes in a glossy finish, so to remedy that I'm going to tame it down a notch by applying a few light coats of SEM "Landau" black vinyl dye.
I'm still awaiting the high density Landau foam and the Alsa Corp. "Soft Feeling" paint to arrive UPS. As soon as I receive them, I will proceed.
Stay tuned.
This really must be seen in person to be fully appreciated:
11-15-2008, 05:08 PM
#3
Okay, more progress.
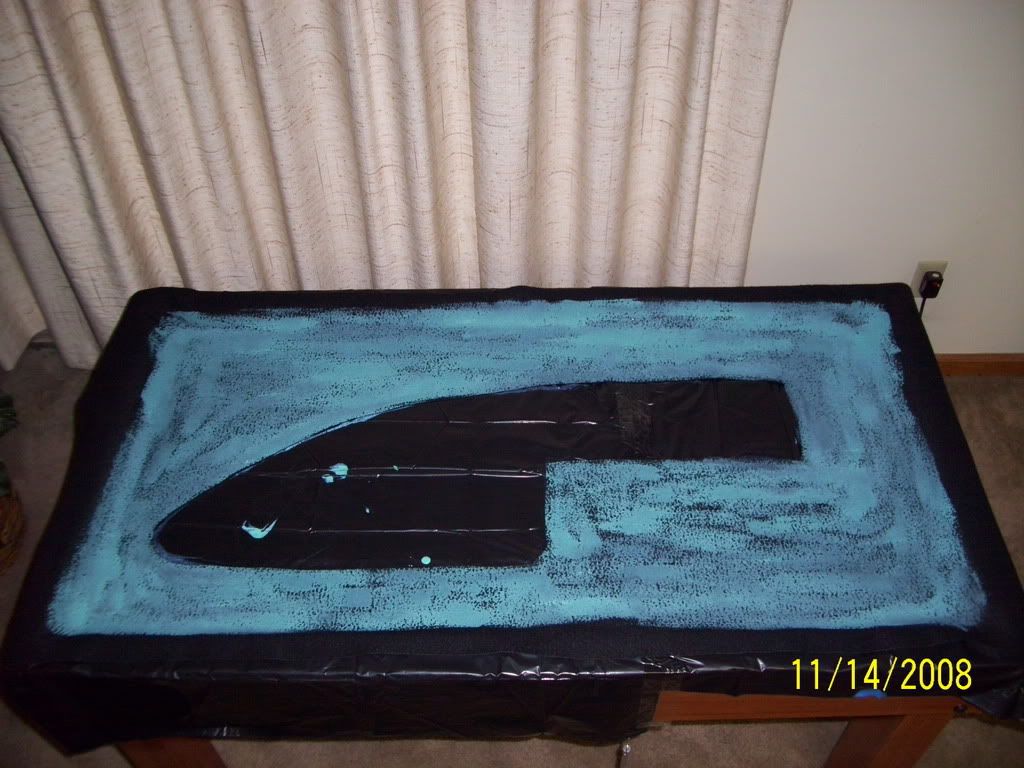
Here's some step-by-step shots showing a little of what's involved in doing the vinyl wrap on the driver's side door panel.
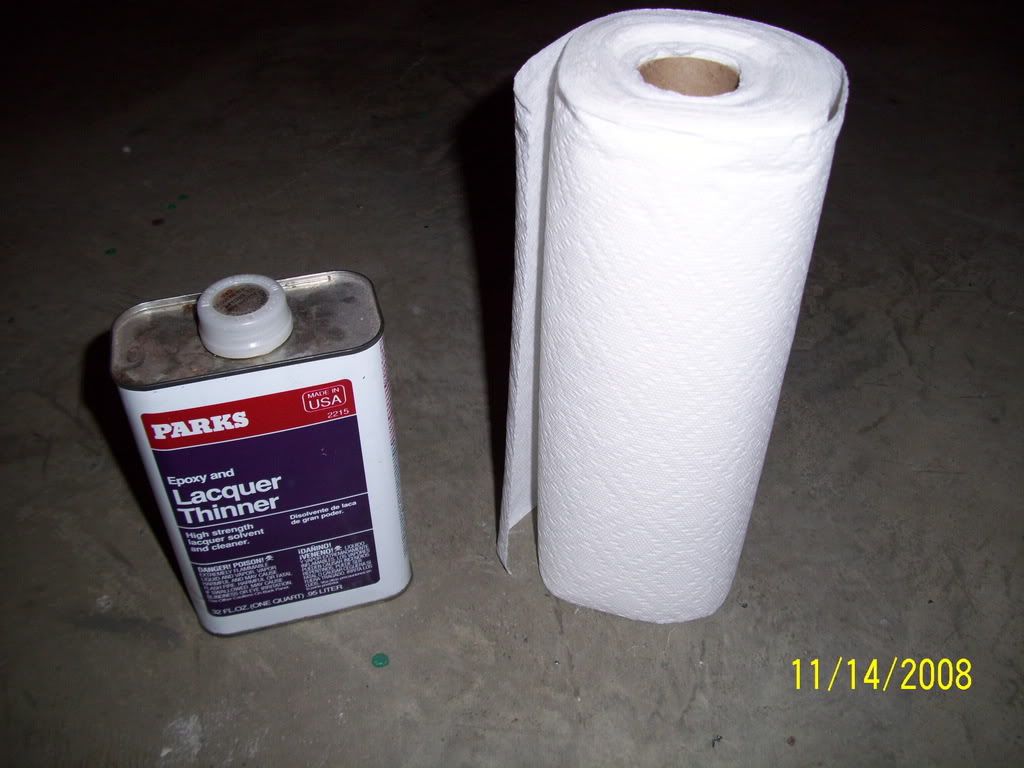
First, I used some lacquer thinner to thoroughly rid the surface of any dirt, grime, grease, etc. so that maximum adhesion could be achieved:
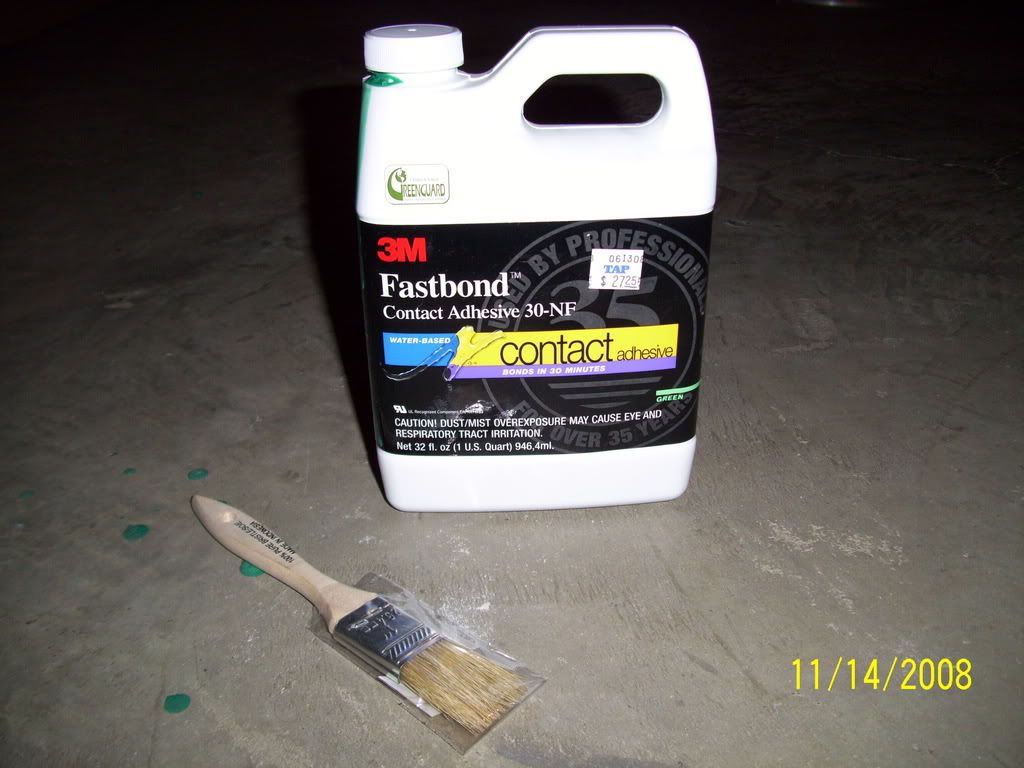
This is some 3M "Fastbond 30-NF Contact Adhesive," which is the bonding agent that I'm using, along with some cheap Sherwin Williams "chip" brushes:
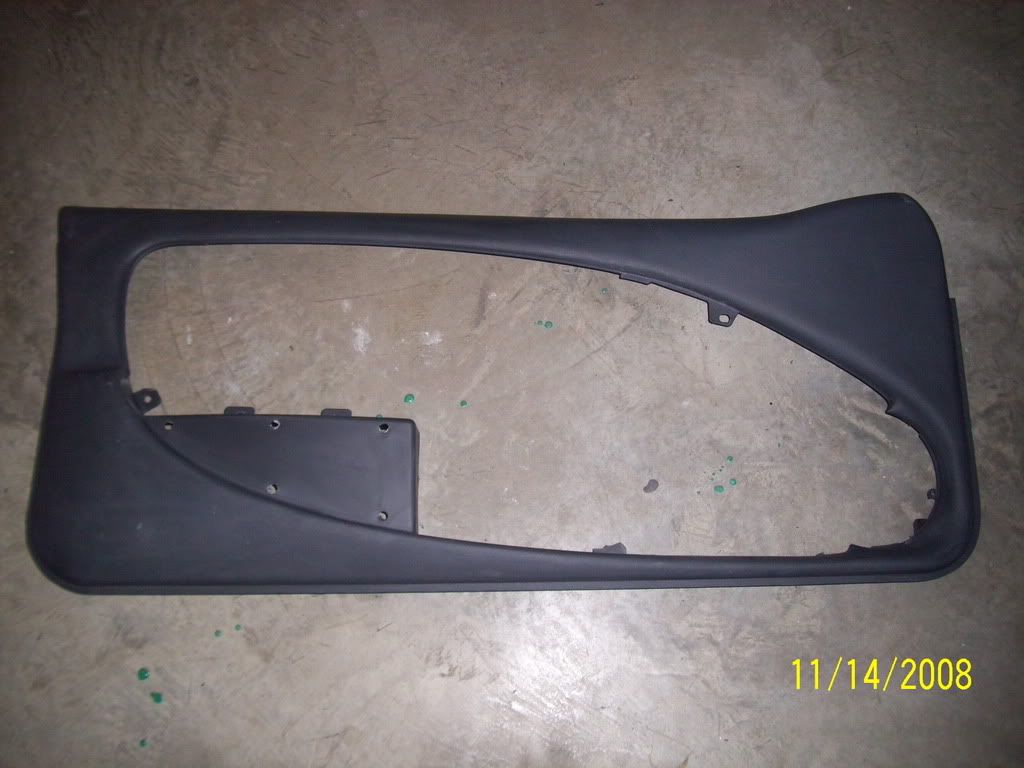
Here's the driver's door panel surround cleaned up and ready for glue:
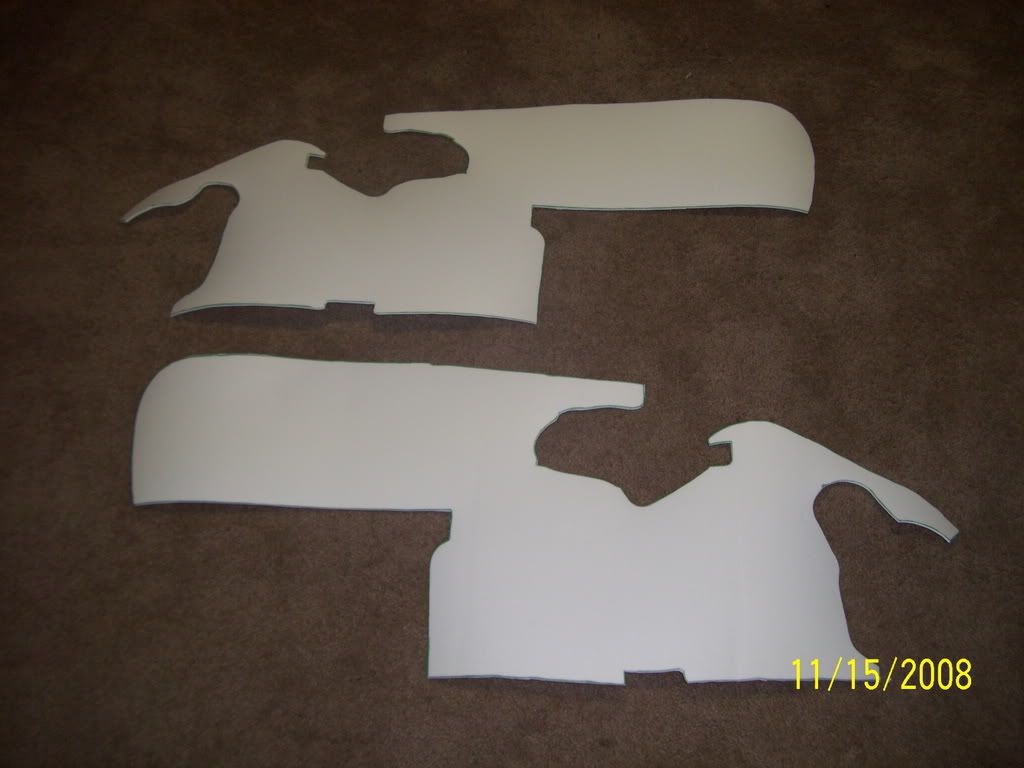
In order to make the driver's side door panel go a little more smoothly than the passenger's, I've laid the panel out over the sheet of Skintex, and mocked up the inner cutout trim piece that was left over from the first panel. After getting the panel situated in a position where there will be adequate overhang on all sides, I then proceeded to use the leftover trim piece from the passenger's panel as a stencil to cut out the center for the driver's side:
And here it is with the center section cut out:
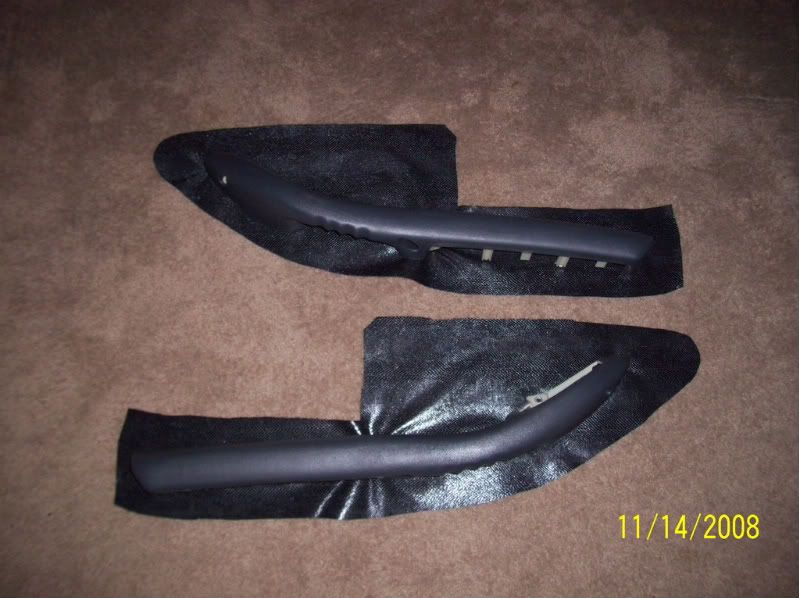
The inner cutout pieces will eventually be used to wrap the arm rests:
Now it's time to lay down a coat of 3M Fastbond on our door panel surround:
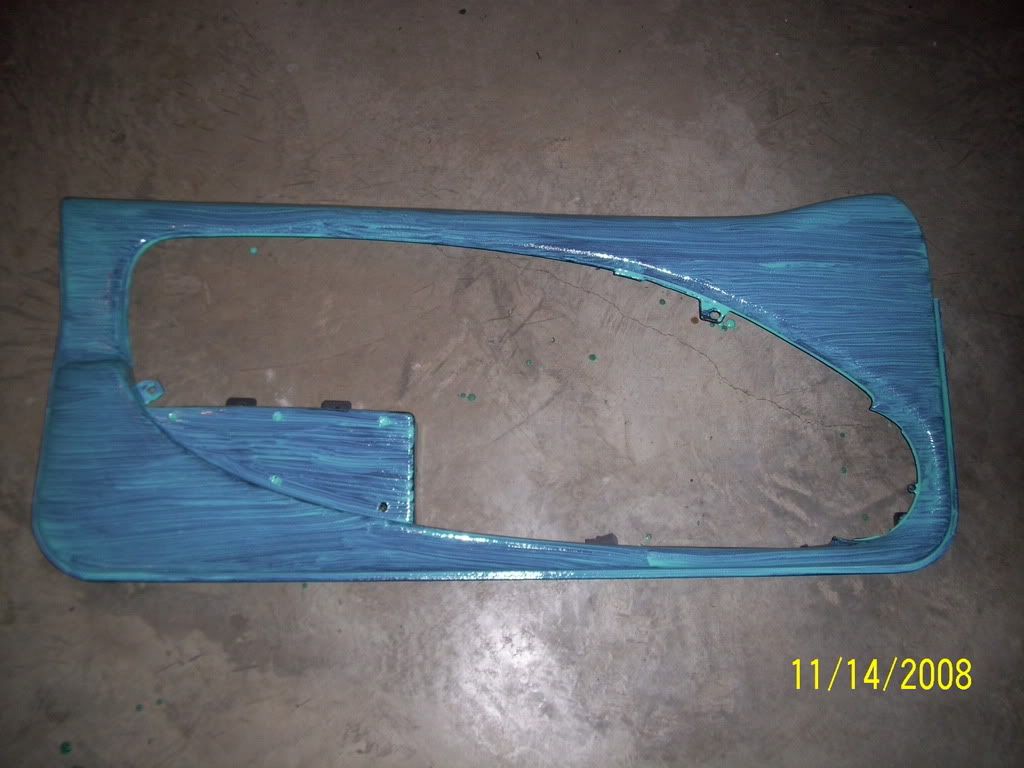
The instructions for 3M Fastbond call for both surfaces that are to be bonded to be coated, so we'll do the same with the back side of the Skintex:
Once a coat of glue is laid down, you have to wait 30 minutes or so for it to cure, and then we'll be ready to wrap this panel.
In the meantime while we wait....
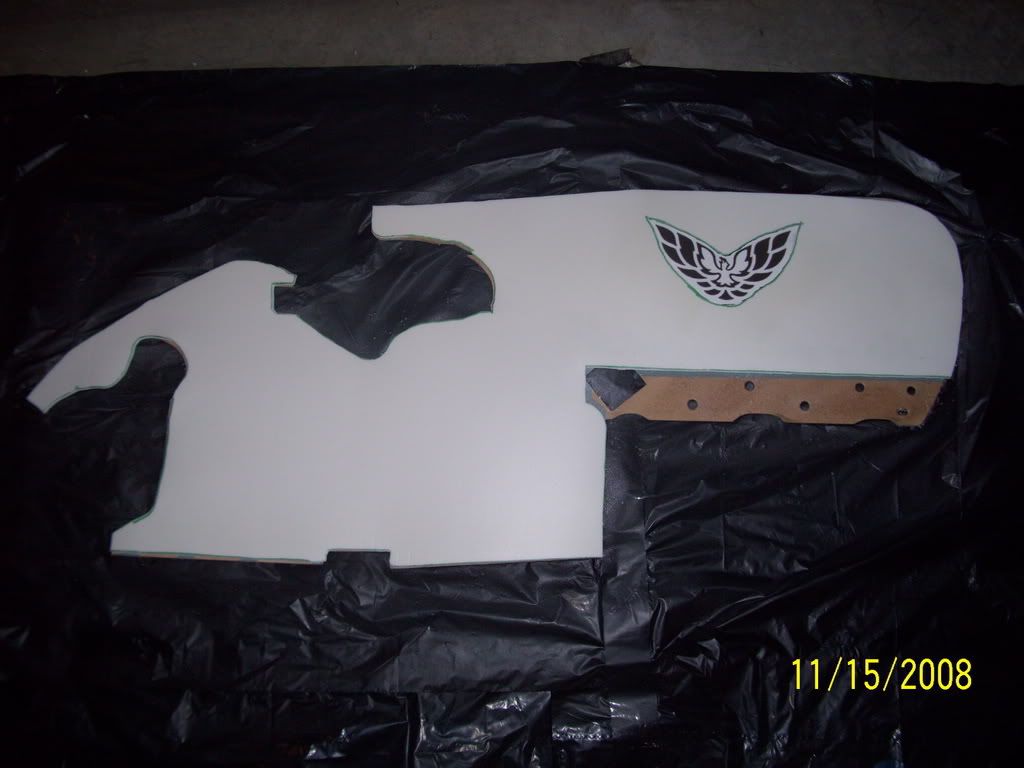
UPS tracking says that the high density "Landau" foam should be arriving tomorrow. So in preparation for that, I've mocked up what the next phase in the operation will be:
Using the above image as a stencil, I'm going to cut the foam to shape, and then arrange each individual pattern piece of the bird over the base layer of foam so that when the Novasuede is wrapped over, the door insert will have the Firebird motif emblazoned into it.
The glue should be cured by now, so it's time to go wrap. More to come...
Here's some step-by-step shots showing a little of what's involved in doing the vinyl wrap on the driver's side door panel.
First, I used some lacquer thinner to thoroughly rid the surface of any dirt, grime, grease, etc. so that maximum adhesion could be achieved:
This is some 3M "Fastbond 30-NF Contact Adhesive," which is the bonding agent that I'm using, along with some cheap Sherwin Williams "chip" brushes:
Here's the driver's door panel surround cleaned up and ready for glue:
In order to make the driver's side door panel go a little more smoothly than the passenger's, I've laid the panel out over the sheet of Skintex, and mocked up the inner cutout trim piece that was left over from the first panel. After getting the panel situated in a position where there will be adequate overhang on all sides, I then proceeded to use the leftover trim piece from the passenger's panel as a stencil to cut out the center for the driver's side:
And here it is with the center section cut out:
The inner cutout pieces will eventually be used to wrap the arm rests:
Now it's time to lay down a coat of 3M Fastbond on our door panel surround:
The instructions for 3M Fastbond call for both surfaces that are to be bonded to be coated, so we'll do the same with the back side of the Skintex:
Once a coat of glue is laid down, you have to wait 30 minutes or so for it to cure, and then we'll be ready to wrap this panel.
In the meantime while we wait....
UPS tracking says that the high density "Landau" foam should be arriving tomorrow. So in preparation for that, I've mocked up what the next phase in the operation will be:
Using the above image as a stencil, I'm going to cut the foam to shape, and then arrange each individual pattern piece of the bird over the base layer of foam so that when the Novasuede is wrapped over, the door insert will have the Firebird motif emblazoned into it.
The glue should be cured by now, so it's time to go wrap. More to come...
11-15-2008, 05:09 PM
#4
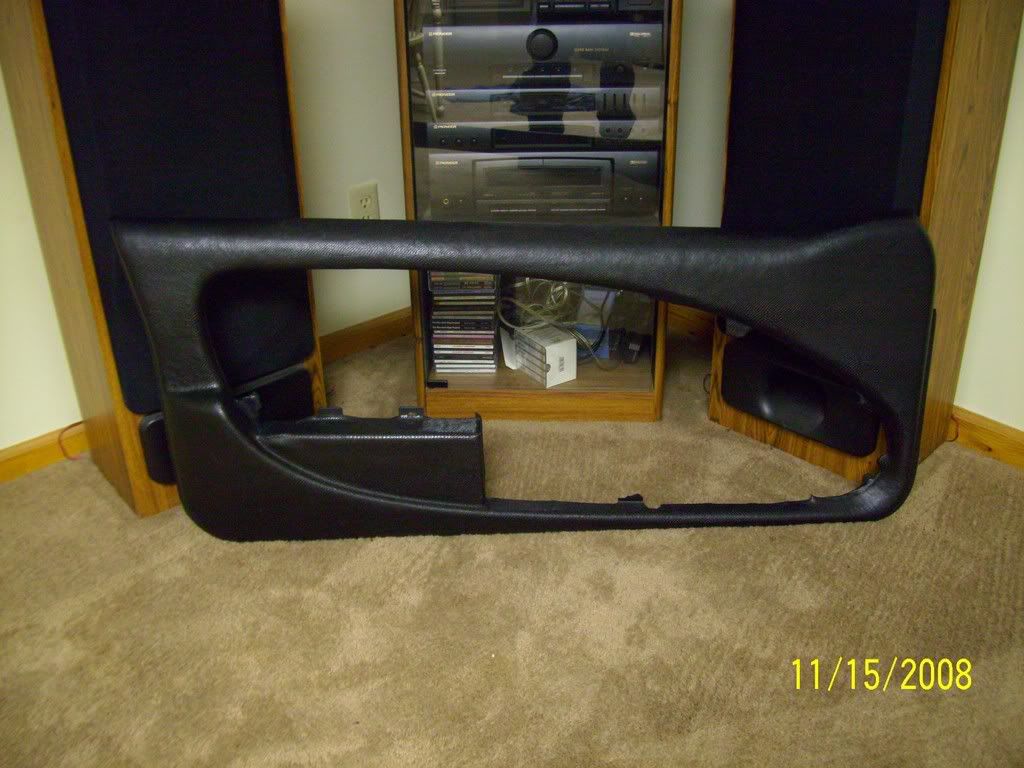
Door panel surrounds complete:

I dusted on two light coats of the SEM Landau Black vinyl dye right after the driver's side panel was complete, which accounts for the more subdued look. The snake scales only jump out at you when you get up on them close. When researching this product, I discovered that Landau Black is an exact color match to GM Ebony Black:
These are the SEM products that I used:
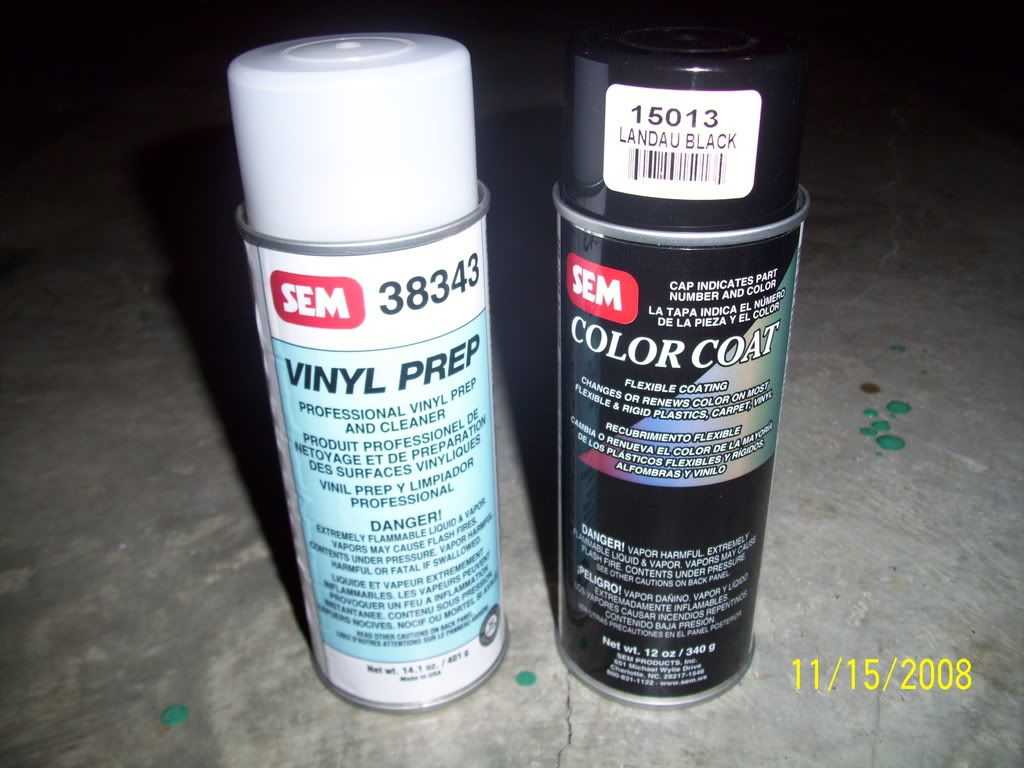
Next up are the door panel inserts. Stay tuned....
I dusted on two light coats of the SEM Landau Black vinyl dye right after the driver's side panel was complete, which accounts for the more subdued look. The snake scales only jump out at you when you get up on them close. When researching this product, I discovered that Landau Black is an exact color match to GM Ebony Black:
These are the SEM products that I used:
Next up are the door panel inserts. Stay tuned....
11-15-2008, 05:11 PM
#5
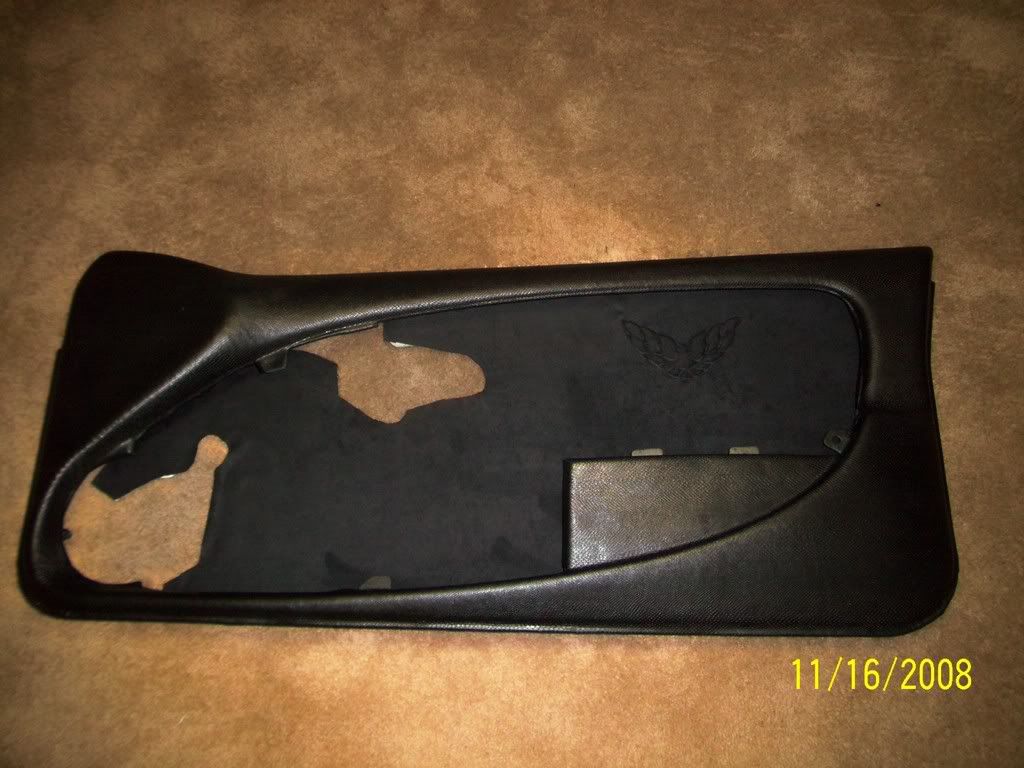
Progress on the door panel inserts...
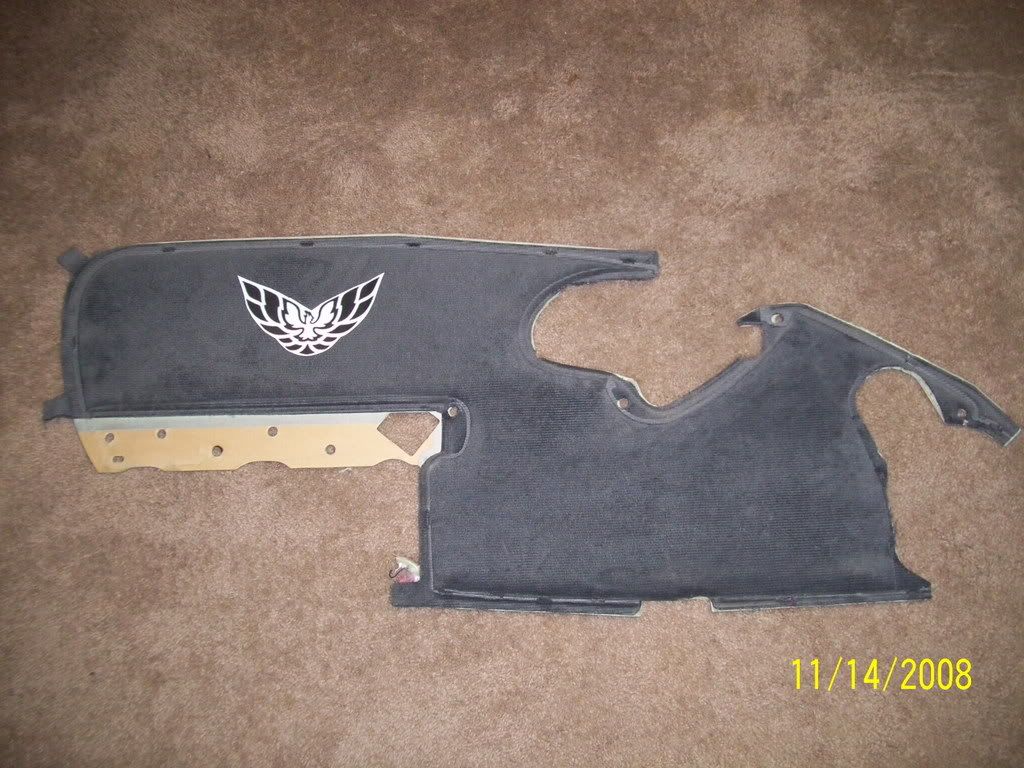
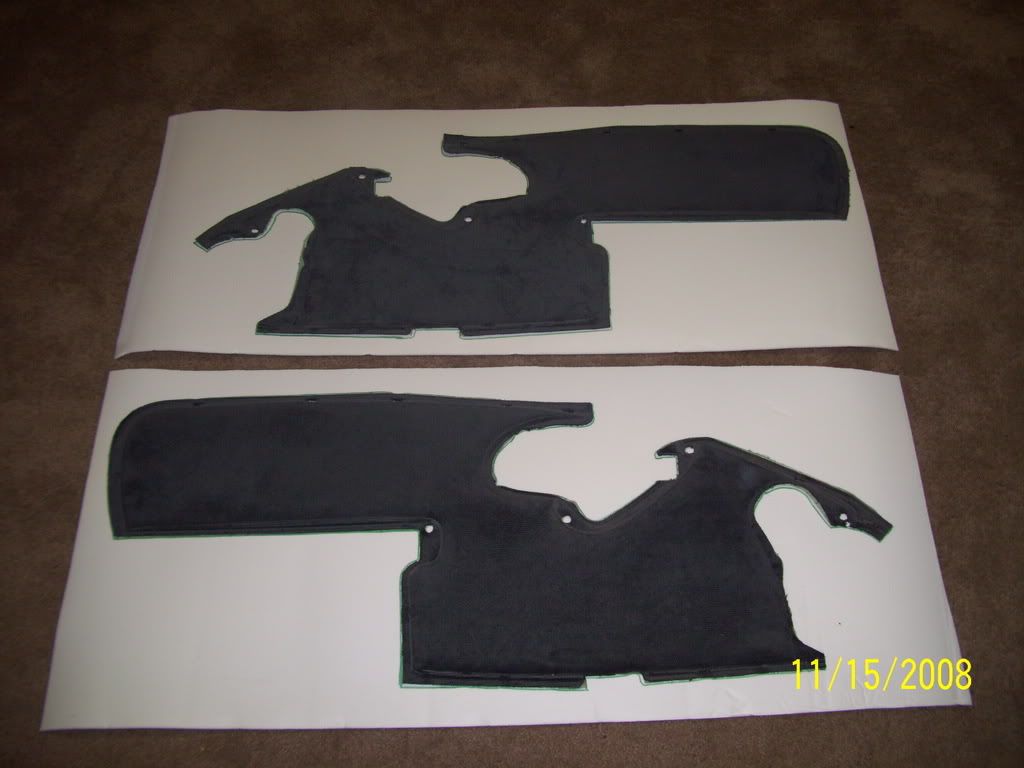
Here's the door insert hardboard stripped down. I was surprised at how easily the velour peeled off of these things:
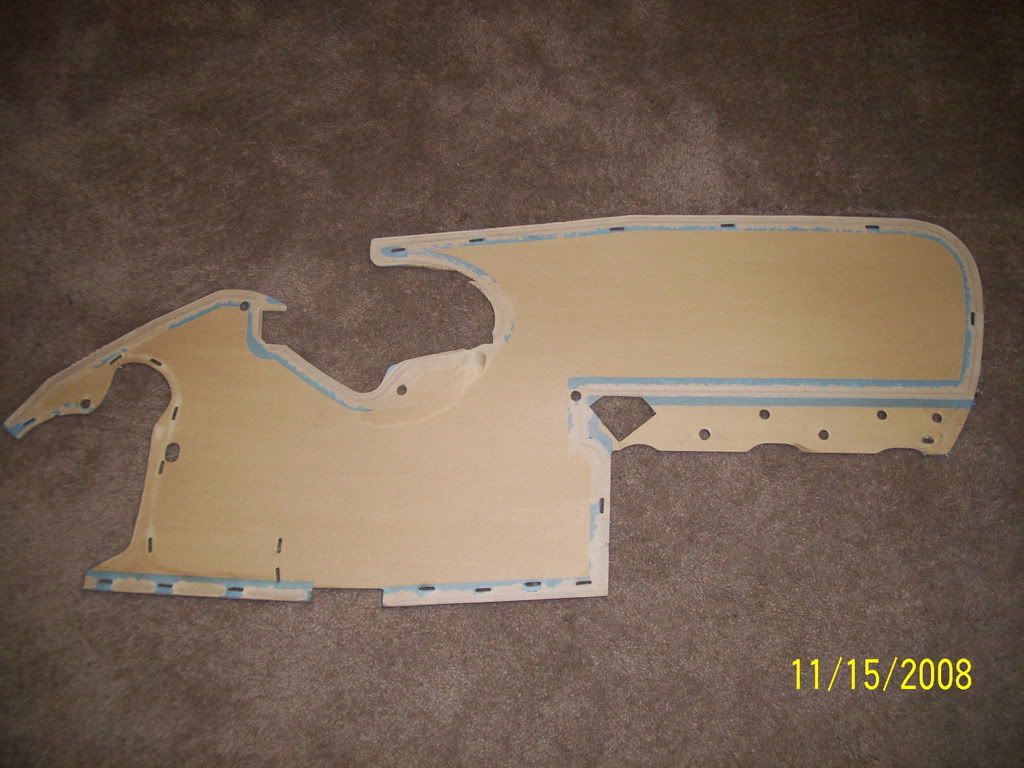
Here are the velour skins mocked up and their outlines being traced on the Landau foam:
Traced:
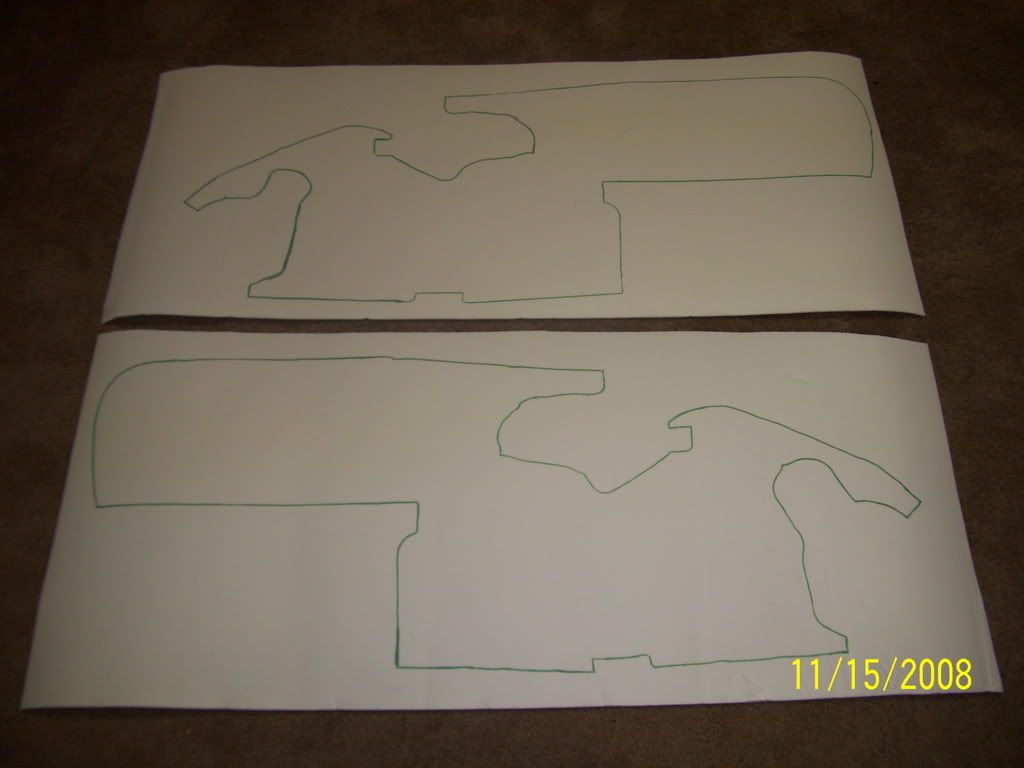
Cut to shape:
And glued onto the base hardboard. I've also mocked up the firebird motif that I'll be using as a template later on:
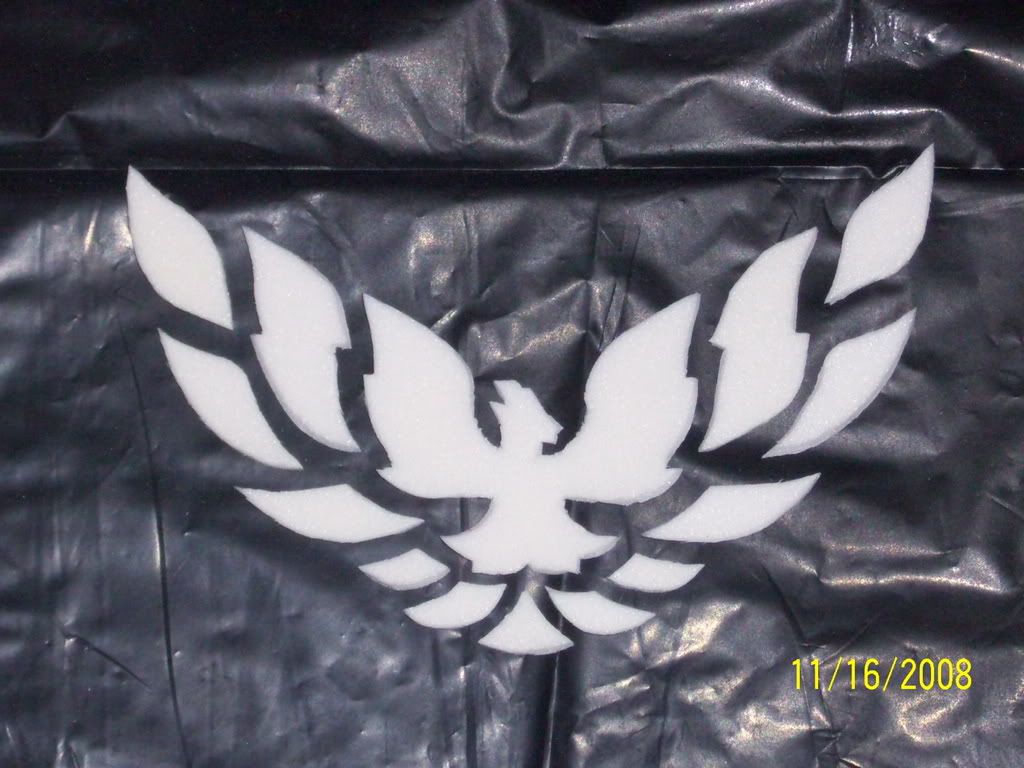
This is the firebird motif that I'm using for the door insert. I got it by Googling "Firebird decal:"

After printing out several copies of the image, I then cut out all of the individual pieces of the bird and then glued them to a piece of Landau foam using some 3M "Super 77" spray glue:
3M "Super 77:"
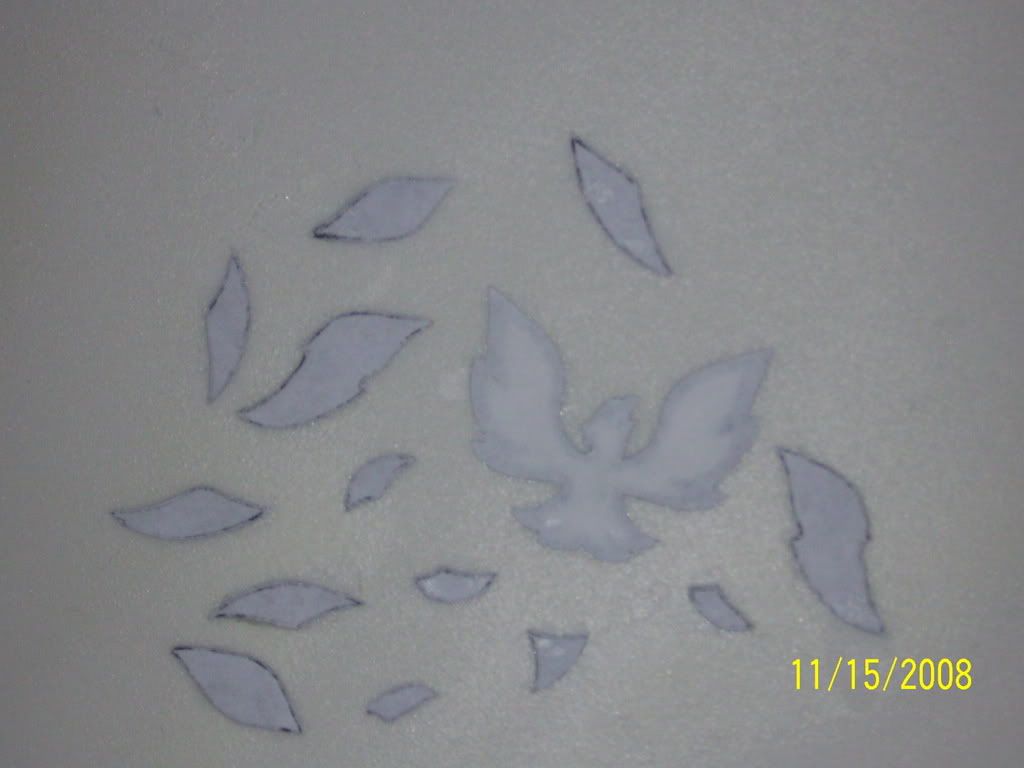
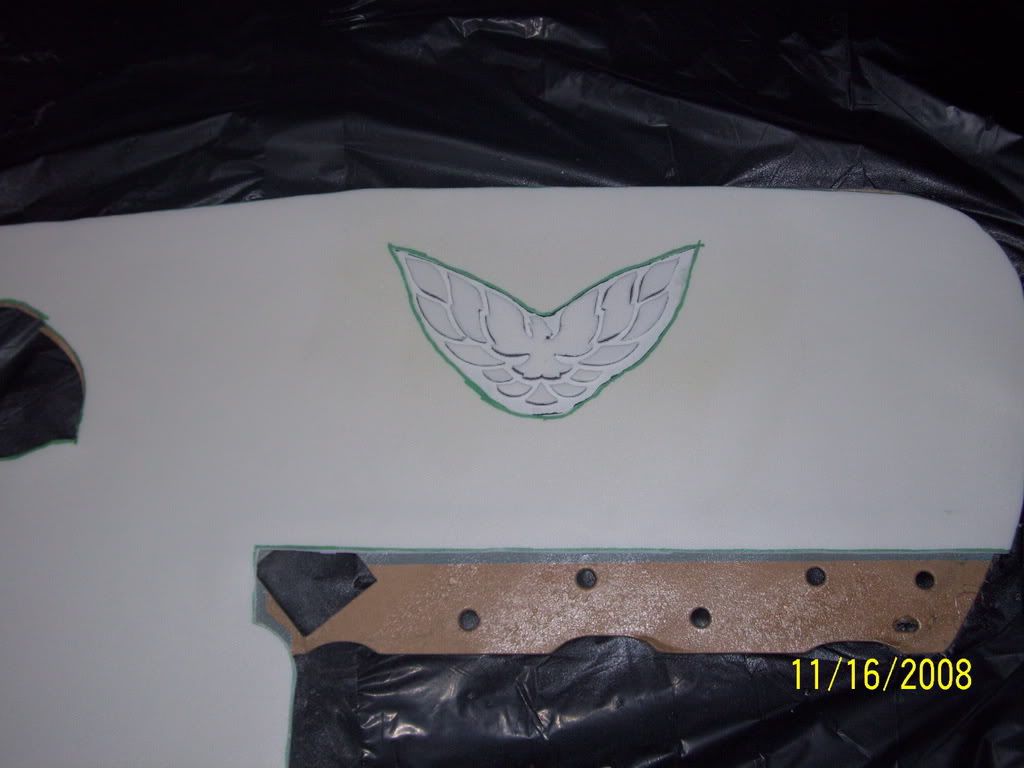
Once the glue had finally cured, I then began cutting each individual piece of the firebird motif out with scissors. Between cutting out the stencils from the paper image, to cutting out the foam pieces, it took about 2.5 hours. Here are all of the foam pieces cut out and arranged:
Using a separate paper firebird motif as a template, I then glued all of the individual foam cutout parts onto the door insert:
Here's the door insert hardboard stripped down. I was surprised at how easily the velour peeled off of these things:
Here are the velour skins mocked up and their outlines being traced on the Landau foam:
Traced:
Cut to shape:
And glued onto the base hardboard. I've also mocked up the firebird motif that I'll be using as a template later on:
This is the firebird motif that I'm using for the door insert. I got it by Googling "Firebird decal:"
After printing out several copies of the image, I then cut out all of the individual pieces of the bird and then glued them to a piece of Landau foam using some 3M "Super 77" spray glue:
3M "Super 77:"
Once the glue had finally cured, I then began cutting each individual piece of the firebird motif out with scissors. Between cutting out the stencils from the paper image, to cutting out the foam pieces, it took about 2.5 hours. Here are all of the foam pieces cut out and arranged:
Using a separate paper firebird motif as a template, I then glued all of the individual foam cutout parts onto the door insert:
11-15-2008, 05:13 PM
#6
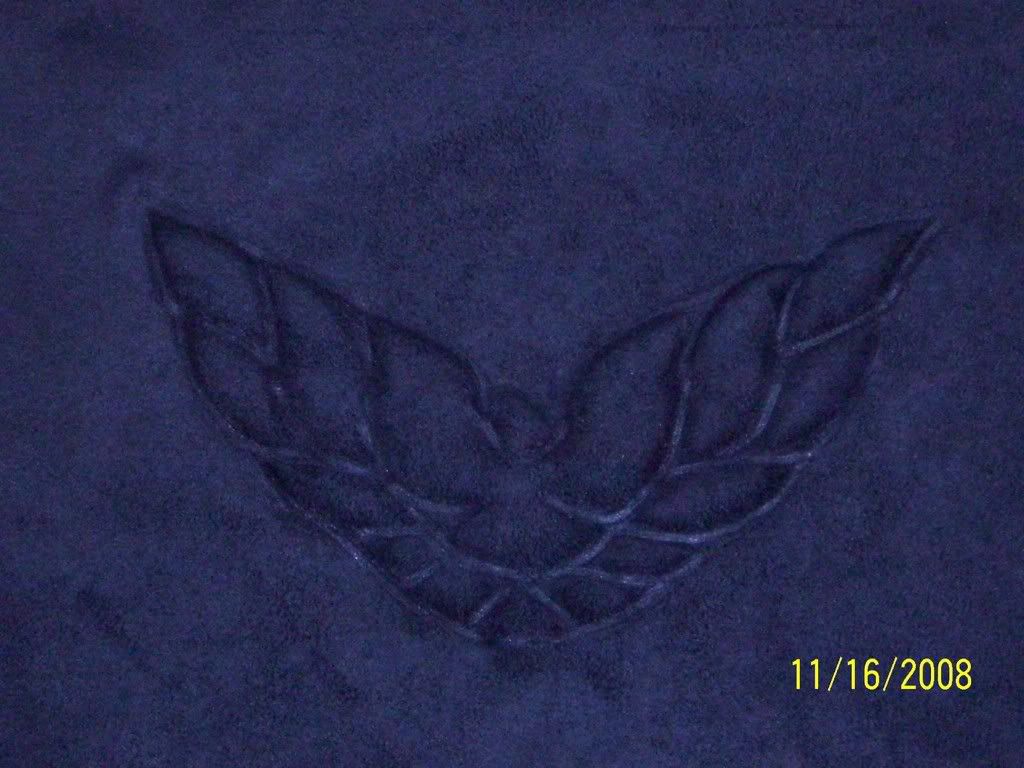
And here's the finished product emblazoned in suede:
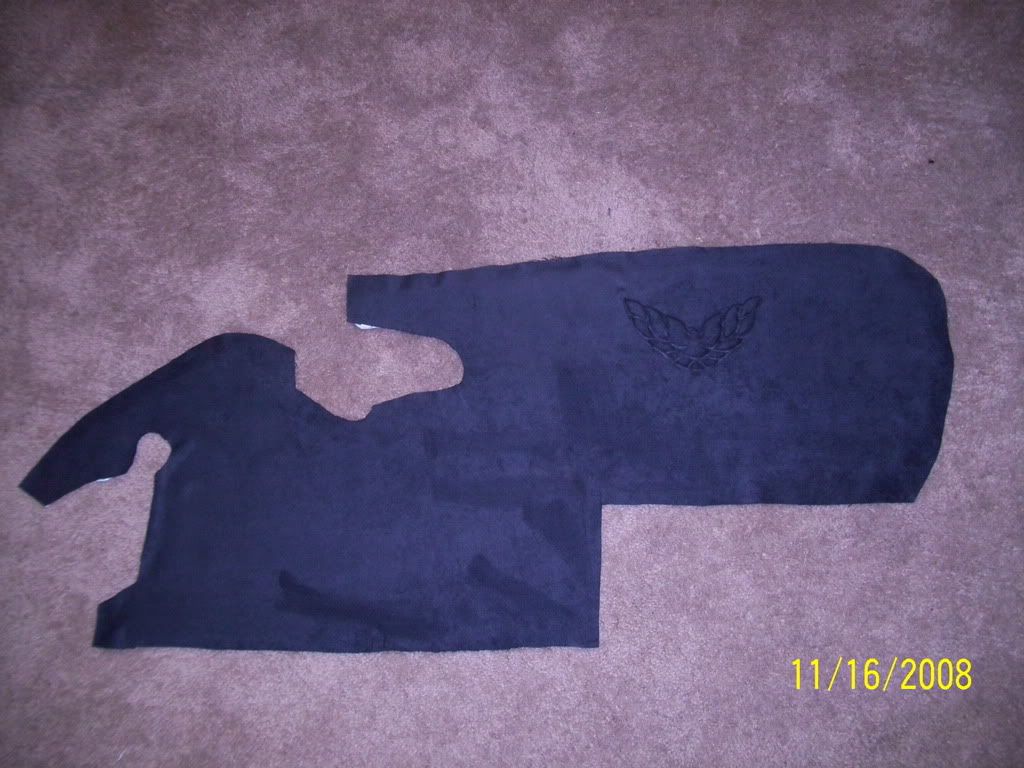
After I got the suede into position, I started off using my fingers to press the fabric down around the outer perimeter of the bird. Once the outer shape had been pressed in, I then used the butt end of a spoon like a pizza cutter and rubbed it firmly in each "crevice" in between each shape in the motif. Took about 30 minutes to get it tucked all nice and clean:
Here's a mockup of the insert and the door panel surround together to get "a look:"
So far so good...
I'll be finishing up the other door insert over the rest of the weekend. Monday, I'm going to take the arm rests to a local trim shop to have them do a half and half wrap of Skintex and Novasuede with a double stitch seam. I'll also begin construction on a set of custom door pods that will house a set of Oz Audio Matrix Elite component speakers.
Stay tuned...

Trending Topics


 11-15-2008, 08:44 PM
#16
TECH Enthusiast
iTrader: (8)
Join Date: Jun 2007
Location: Toms River, NJ
Posts: 585
Likes: 0
Received 0 Likes
on
0 Posts
looks great so far! i was a little skeptical when you said snake skin at first, but it looks good all black. cant wait to see what else you are doing to the interior.

