
 04-29-2016, 05:34 PM
Last edit by: IB Advertising
See related guides and technical advice from our community experts:
- Camaro and Firebird How to Repair Wrap Dash<br>Step by step instructions for do-it-yourself repairs.

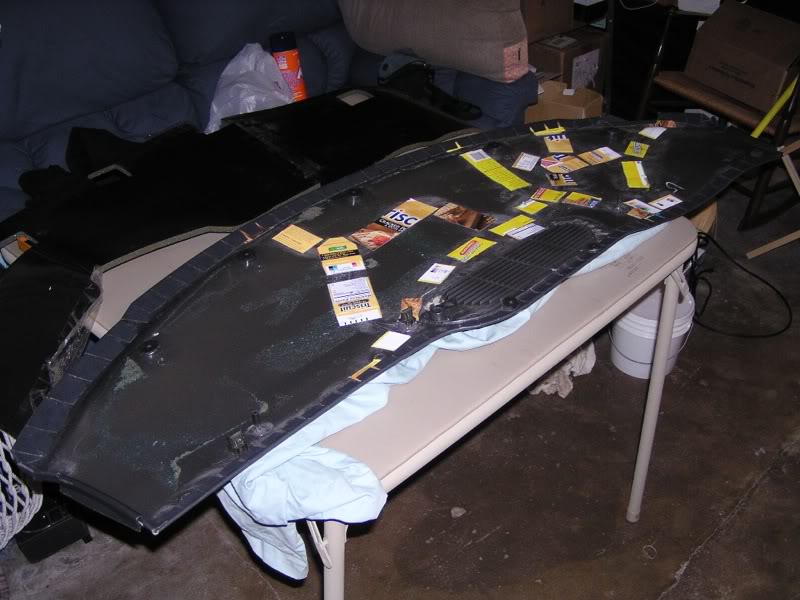
how to fix or wrap your dash pad to look brand new
 03-19-2009, 09:20 AM
#43
TECH Apprentice
iTrader: (15)

Join Date: Apr 2008
Location: College Station / San Marcos
Posts: 306
Likes: 0
Received 0 Likes
on
0 Posts
Very nice work man, I've been wondering if that would work out on my car and it looks like it will. Good write up too, I'm gonna have to try this over the Texas summer.
 03-23-2009, 03:32 PM
#46
TECH Fanatic
iTrader: (7)
Join Date: May 2007
Location: Arab, Al
Posts: 1,735
Likes: 0
Received 0 Likes
on
0 Posts

You've inspired me to wrap my interior haha, I ordered some vinyl on Friday. I'm going to try to cover all my plastic pieces with it. How much of the interior do you think I can get done with 4 yards?
Did you cut around the defroster vent with the vinyl laying on top of the dash or what? I'm wondering how it looks so "exact". I'm worried I'm going to mess up while I'm cutting the vinyl.
Did you cut around the defroster vent with the vinyl laying on top of the dash or what? I'm wondering how it looks so "exact". I'm worried I'm going to mess up while I'm cutting the vinyl.
03-23-2009, 04:12 PM
#47
Must just be the lighting, looks much more natural in person.
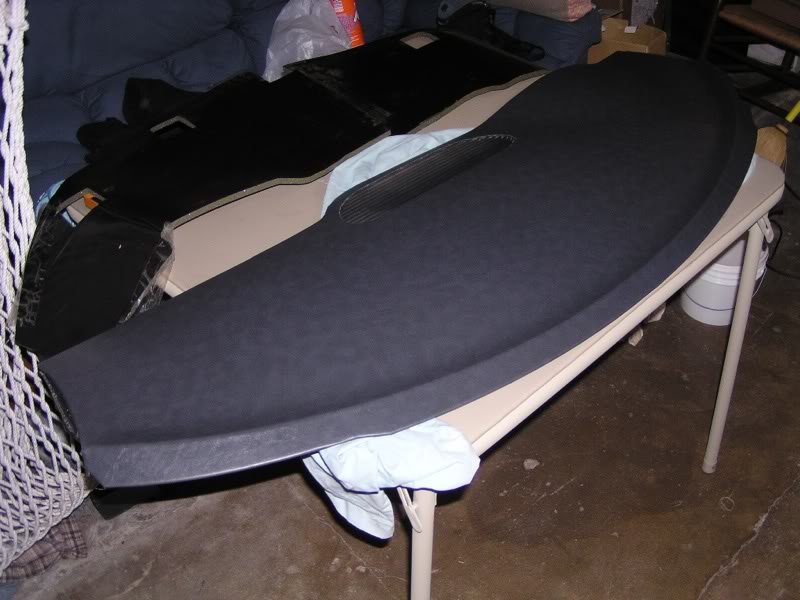
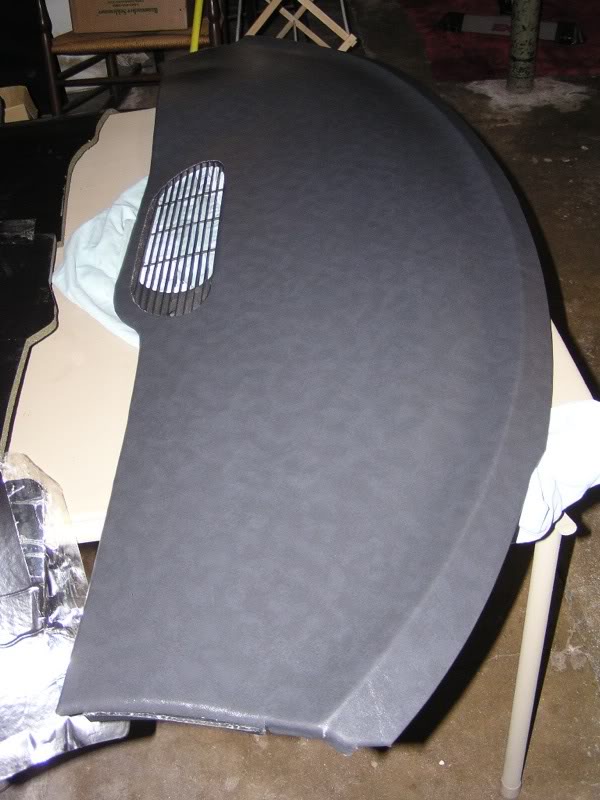
I didn't cut the opening for the vent until after I had already glued the vinyl down. It would be too hard to cut the hole first and then try to line it up when you are actually sticking the vinyl in place. I just very carefully went around the edge with an x-acto knife. Basically I poked the knife through the vinyl and then followed the edge of the vent opening with the knife. You can see a few little nicks in the plastic from the knife if you look closely, but it's barely noticeable. The key is to have a very sharp blade. You will see a little tiny bit of the backing material of the vinyl around the opening, but it really isn't that big a deal. Overall I am psyched at how this turned out, and I have absolutely no skills when it comes to upholstery or anything of the sort, so I was a little nervous going in. I can't say enough what an improvement this is over the stock dash pad.
I didn't cut the opening for the vent until after I had already glued the vinyl down. It would be too hard to cut the hole first and then try to line it up when you are actually sticking the vinyl in place. I just very carefully went around the edge with an x-acto knife. Basically I poked the knife through the vinyl and then followed the edge of the vent opening with the knife. You can see a few little nicks in the plastic from the knife if you look closely, but it's barely noticeable. The key is to have a very sharp blade. You will see a little tiny bit of the backing material of the vinyl around the opening, but it really isn't that big a deal. Overall I am psyched at how this turned out, and I have absolutely no skills when it comes to upholstery or anything of the sort, so I was a little nervous going in. I can't say enough what an improvement this is over the stock dash pad.
The following users liked this post:
Bill Melvin (06-30-2022)
 03-29-2009, 06:38 PM
#50
Just a thought.... Use a dremel to cut the vent holes on the dash. Take some type of chicken wire/mesh and either paint it or leave it unfinished underneath the vent. That would look nice and custom.
I will be doing this wrap soon. Thanks for the write up!
I will be doing this wrap soon. Thanks for the write up!
 05-06-2009, 07:33 PM
#59
