
Finally have my gauges how I want them!
 05-03-2012, 07:34 PM
#1
First I started with changing my odometer color to blue.
See my write up here:https://ls1tech.com/forums/appearanc...l#post15762440
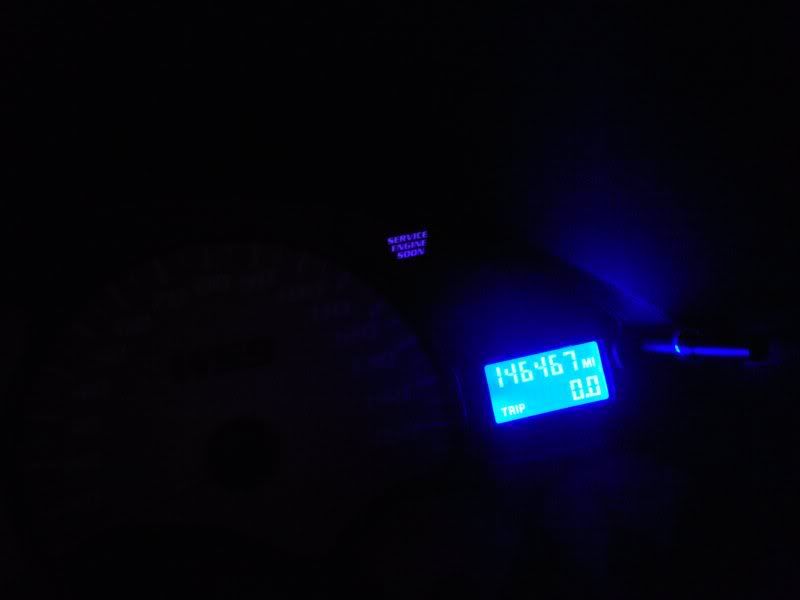
Secondly, I changed all my warning lights to white. Sort of a write up in same link above.
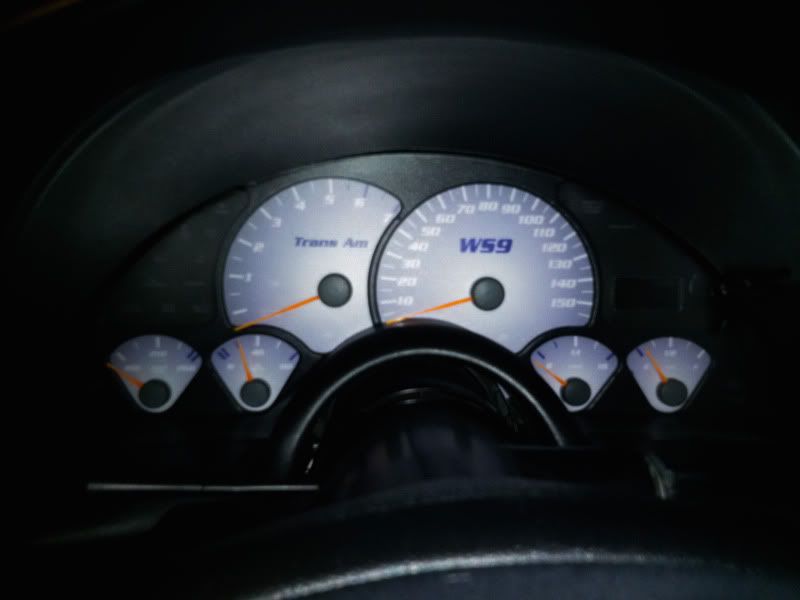
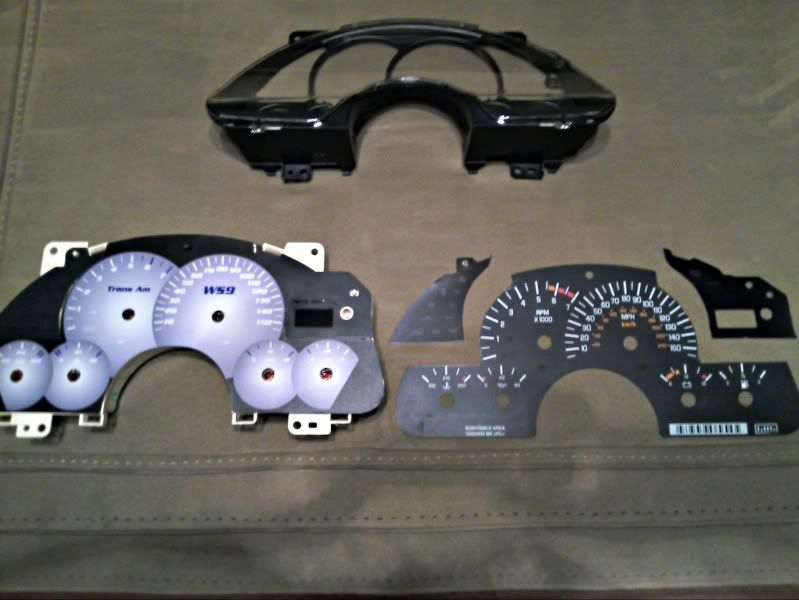
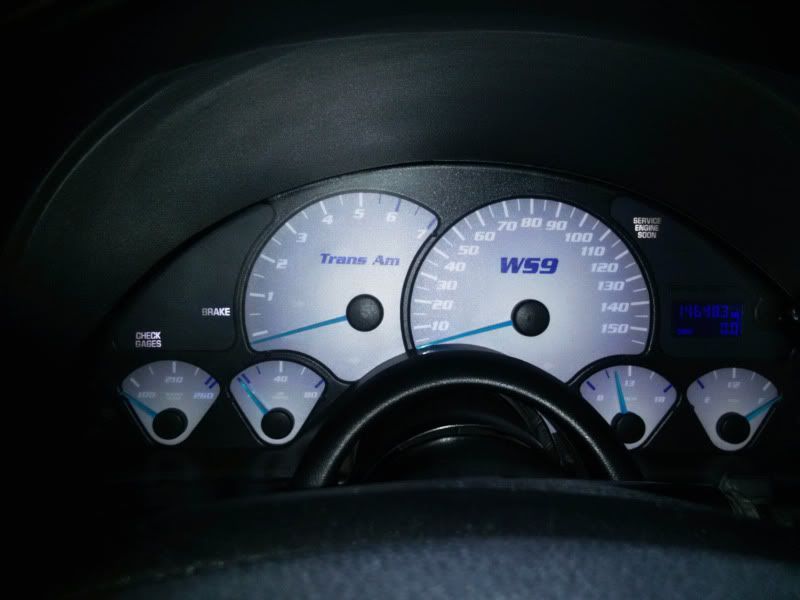
Then I got my custom 6LE gauges...Blue needles on order (Pics below)
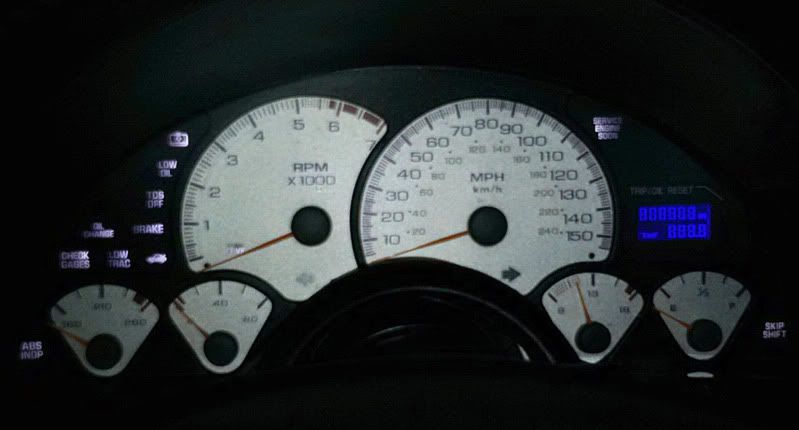
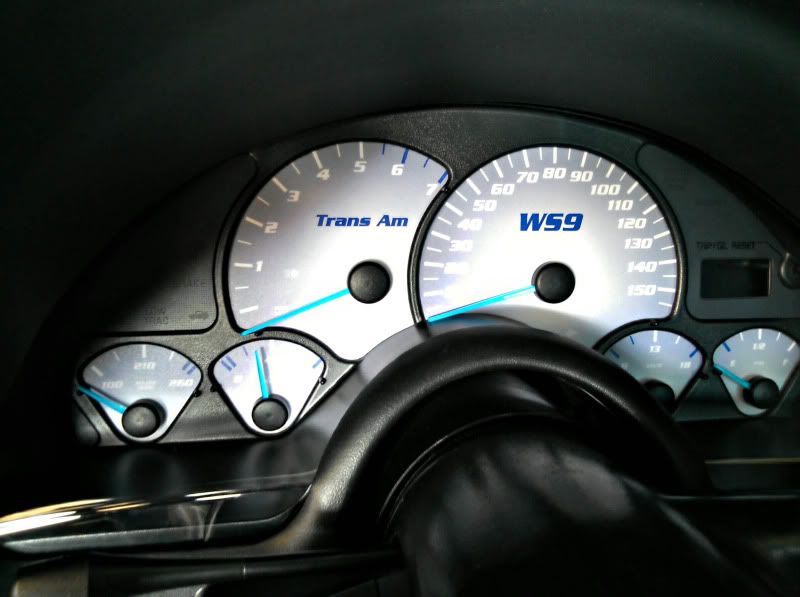
I wasn't happy at all with the warning lights anymore because they were now extremely hard to see in the day time and not much better at night. Not to mention they were purple now. This picture gives the light output way too much credit. They were much worse in person.
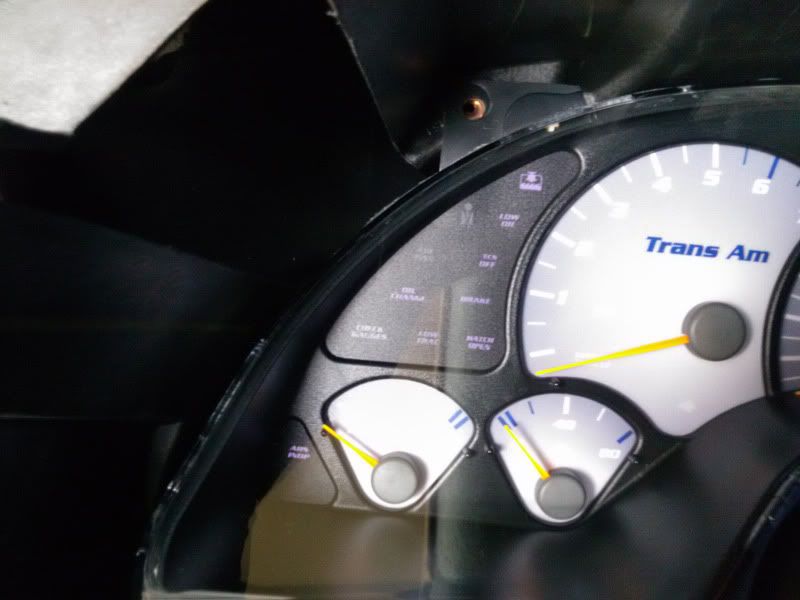
I fixed that **** right up real quick. I pulled out the scissors and went to town. The TA bezel covers up the cuts.
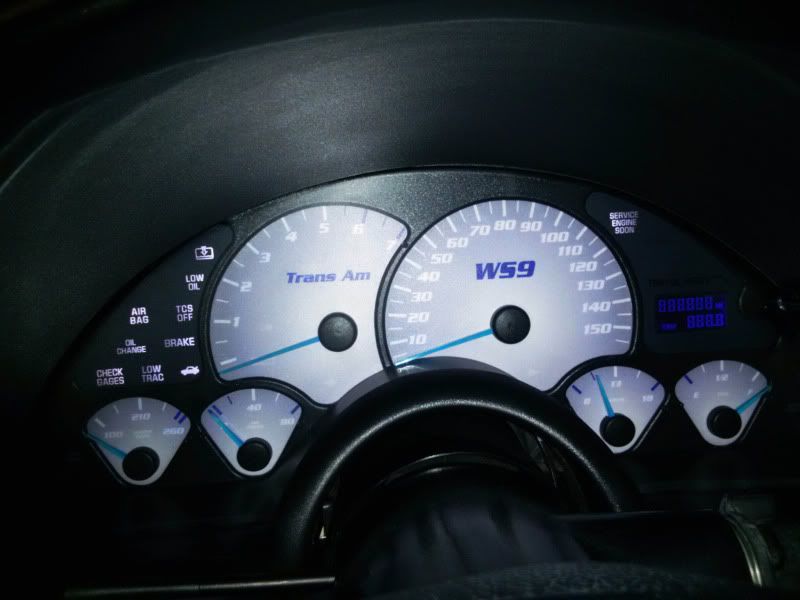
Finished product!
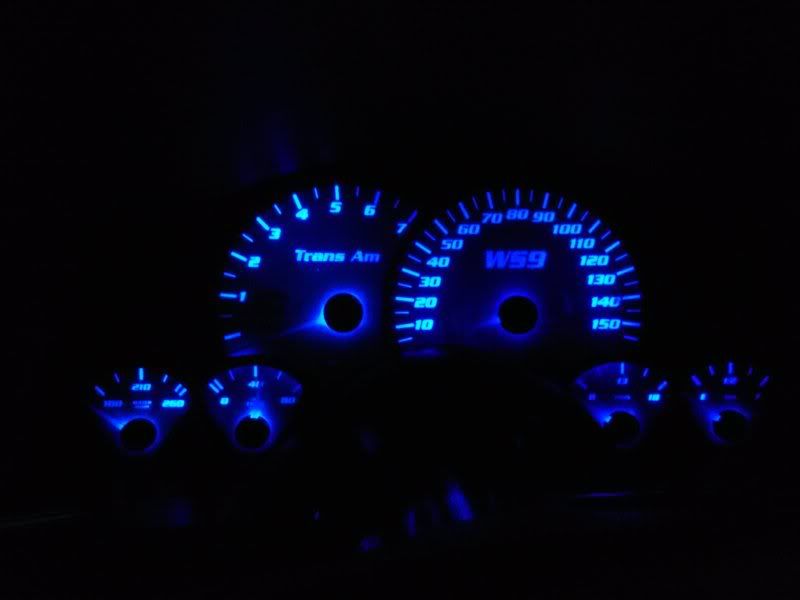
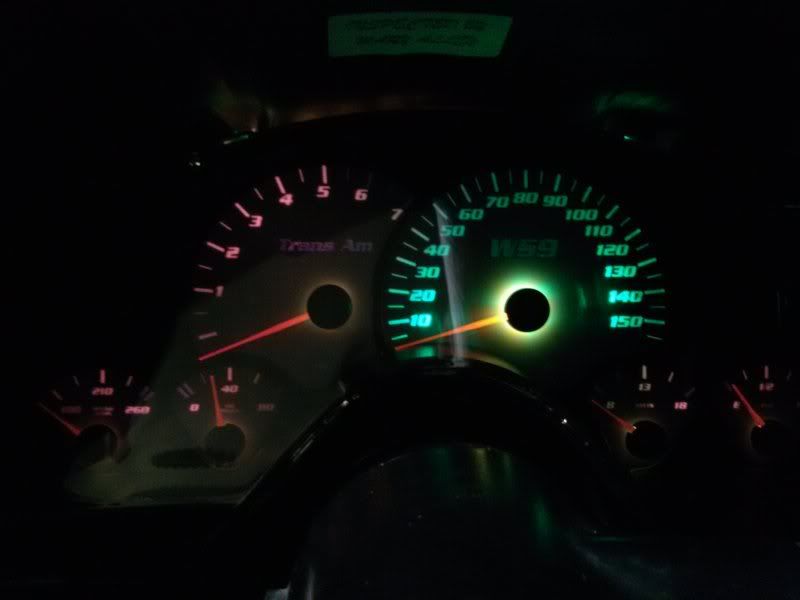
Then after waiting 2 months, I finally got my blue needles. They look great, but function like ****. Since they aren't weighted like the OEM ones, they bounce around like crazy even on slight bumps. Oh and since they aren't made from right plastic, nor have the right cuts for light refraction, they barely light up no matter the LED color.
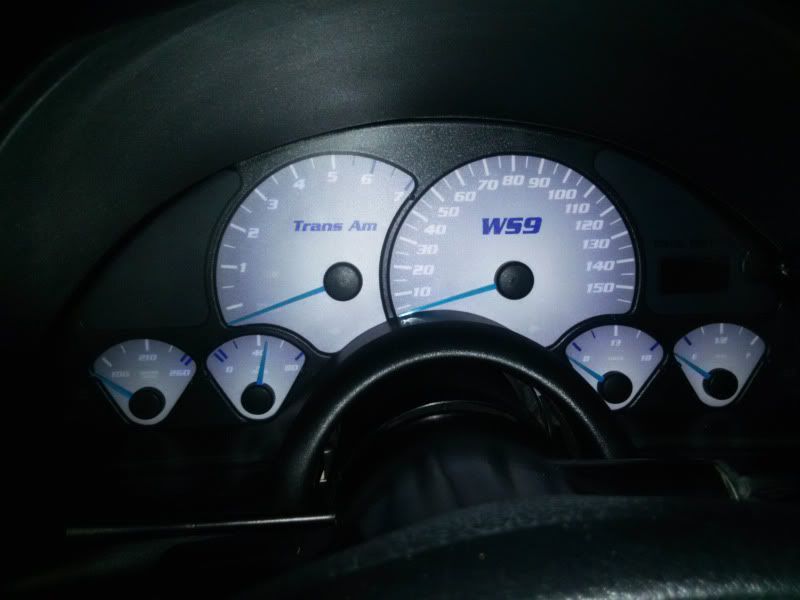
Not impressed with the needles at night. Also, notice the hot spots?
Me goofing around with some different LEDs. Again, see the hot spots...
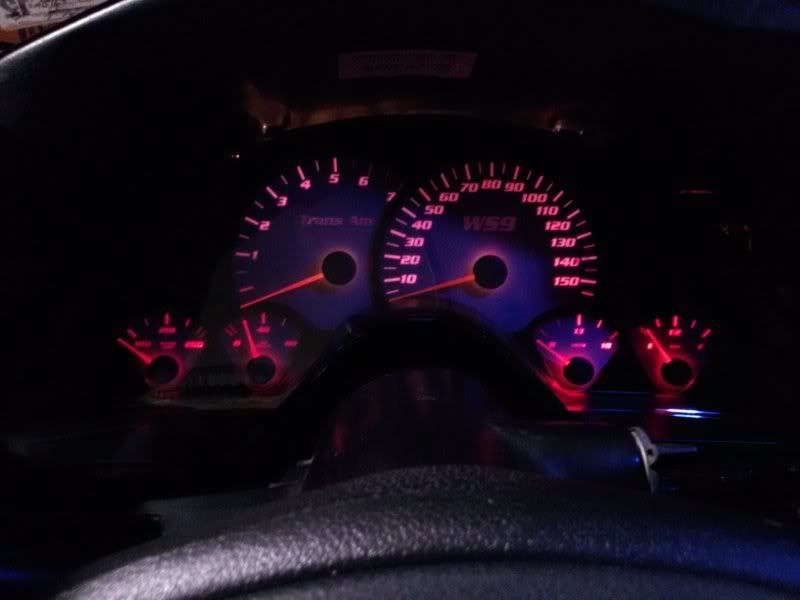
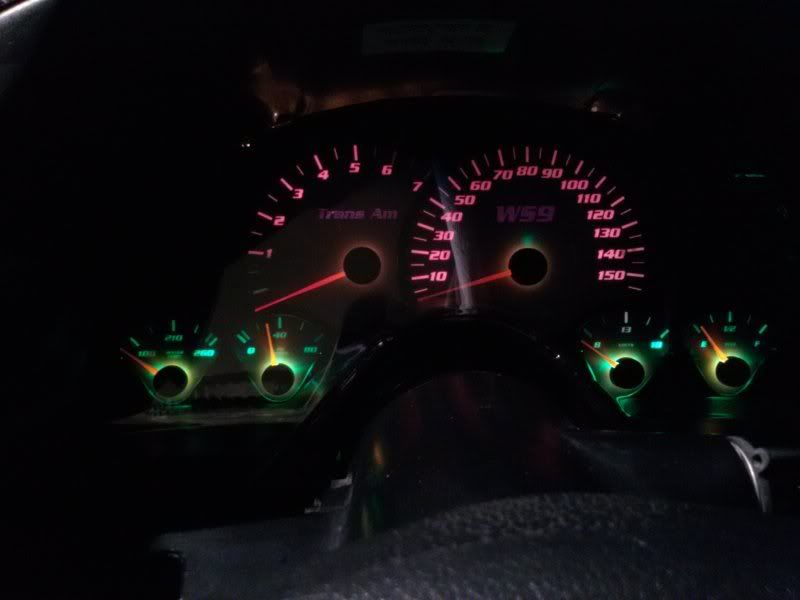
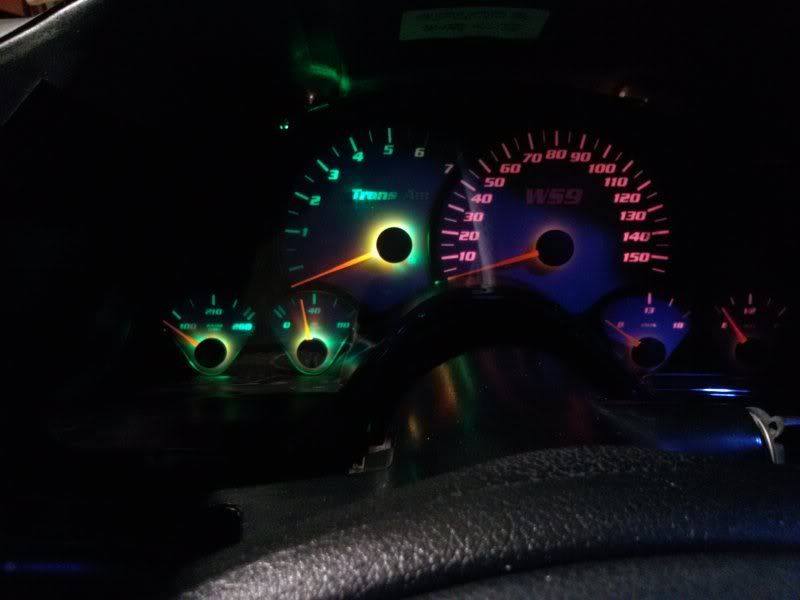
Also, no pictures, but I tried using the white LEDs that were recommended from SuperBrightLED and tried several other styles, yet no matter what I'd have hot spots that bugged the hell out of me. As for white LEDs, they always appeared yellowish even though they were cool white. I'm now thinking that may have to do with the yellowish colored plastic the light is reflecting off of.
See my write up here:https://ls1tech.com/forums/appearanc...l#post15762440
Secondly, I changed all my warning lights to white. Sort of a write up in same link above.
Then I got my custom 6LE gauges...Blue needles on order (Pics below)
I wasn't happy at all with the warning lights anymore because they were now extremely hard to see in the day time and not much better at night. Not to mention they were purple now. This picture gives the light output way too much credit. They were much worse in person.
I fixed that **** right up real quick. I pulled out the scissors and went to town. The TA bezel covers up the cuts.
Finished product!
Then after waiting 2 months, I finally got my blue needles. They look great, but function like ****. Since they aren't weighted like the OEM ones, they bounce around like crazy even on slight bumps. Oh and since they aren't made from right plastic, nor have the right cuts for light refraction, they barely light up no matter the LED color.
Not impressed with the needles at night. Also, notice the hot spots?
Me goofing around with some different LEDs. Again, see the hot spots...
Also, no pictures, but I tried using the white LEDs that were recommended from SuperBrightLED and tried several other styles, yet no matter what I'd have hot spots that bugged the hell out of me. As for white LEDs, they always appeared yellowish even though they were cool white. I'm now thinking that may have to do with the yellowish colored plastic the light is reflecting off of.
Last edited by HotWhipT/A; 03-02-2016 at 10:10 PM.
 05-03-2012, 08:14 PM
#2
That looks cool, but in my opinion, the reason the needles are kind of dull is cuz there is no contrast. It looks sick though with all the blue!!! In that last pic, is the color bleeding out by the needles? Is it suppose to look that way? How difficult was the install? How many led's did you need total? Thanks boss!
05-03-2012, 08:19 PM
#3
TECH Veteran
iTrader: (7)
Join Date: Jun 2006
Location: Bay Area California
Posts: 4,409
Likes: 0
Received 0 Likes
on
0 Posts
Looks good. I don't like how the RPM section doesn't fit flush with the bezel, but other than thqat everything looks nice! LEDs are always fun to goof around with!
05-03-2012, 08:32 PM
#4
TECH Enthusiast
iTrader: (4)
Join Date: Mar 2009
Location: Louisville, KY
Posts: 678
Likes: 0
Received 0 Likes
on
0 Posts

I wasn't happy at all with the warning lights anymore because they were now extremely hard to see in the day time and not much better at night. I fixed that **** right up real quick. I pulled out the scissors and went to town. The TA bezel covers up the cuts.
Not very impressed with the needles, I may need to push the needles on further and I need to see if the LED bulbs they recommend will help out.
Not very impressed with the needles, I may need to push the needles on further and I need to see if the LED bulbs they recommend will help out.
Mine looks simply great during the day, no complaints!!!!
Last edited by DaRReLL; 05-03-2012 at 09:43 PM.
05-03-2012, 10:17 PM
#7
TECH Enthusiast
iTrader: (1)

Join Date: Oct 2005
Location: St. Cloud, MN
Posts: 587
Likes: 0
Received 0 Likes
on
0 Posts
This is interesting. I just spent $250 on these gauges as well and now I may have to hack up my gauges so I can see my dummy lights? Sounds pretty weak if you ask me.
Trending Topics
05-03-2012, 11:30 PM
#9
That looks cool, but in my opinion, the reason the needles are kind of dull is cuz there is no contrast. It looks sick though with all the blue!!! In that last pic, is the color bleeding out by the needles? Is it suppose to look that way? How difficult was the install? How many led's did you need total? Thanks boss!
I agree with you on the dimness of the warning lights. That was a GREAT idea to integrate the old overlay onto the new overlay warning light area. Mine is the same way at night, it looks like spanked monkey ***. I almost need sunglasses to read the gauges. Was you able to push the needles on further? How difficult was the odometer MOD? Was it difficult to do the warning lights, resistor required?
Day time looks Perfect for me! I might change the LEDs to white instead or maybe just the tach and speedo. We'll see. I think it looks light grey with a gradient, but I was aiming for more silver. Apparently that is their silver.
Last edited by HotWhipT/A; 03-02-2016 at 10:01 PM.
05-21-2012, 10:52 PM
#10
Alright so I added a few more pics and I pushed on my needles a little more. They look a little brighter at night. I have to really focus to see my needles though, it's not just a quick glance. Since I didn't have white LED 194 bulbs to try out, I tried the stock incandescent bulb and the needles didn't light up at all so I figure white LEDs wouldn't solve the needle issue either. Blue looks better anyways!
 05-21-2012, 11:31 PM
#12
TECH Fanatic
iTrader: (2)
Join Date: Jan 2008
Location: Bay Area, California
Posts: 1,677
Likes: 0
Received 8 Likes
on
6 Posts
Well yea what you expect with blue LED & blue needles???  lol... Either way looks sick man. Should of gotten white needles. Would look A LOT better! Good idea with the cutting from the oem cluster. I've been wondering if I should just go with the 6LE black bezel that I bought or buy a Trans Am bezel
Oh & what was the LED called for the odometer? Is it the same for the cluster?
Kind of like this lol... Maybe with blue LED for the RPM/Speedometer?
Oh & what was the LED called for the odometer? Is it the same for the cluster?
Kind of like this lol... Maybe with blue LED for the RPM/Speedometer?
05-22-2012, 12:00 AM
#13
You have to take the cluster apart and soldier in the new LEDs for the odometer. Its not easy. I made a write up on here.
05-22-2012, 12:17 AM
#14
TECH Fanatic
iTrader: (2)
Join Date: Jan 2008
Location: Bay Area, California
Posts: 1,677
Likes: 0
Received 8 Likes
on
6 Posts
You would hardly be able to see the needle in the day time. The blue looks way better in the day. That's what really matters. At night it's only me that sees it.
You have to take the cluster apart and soldier in the new LEDs for the odometer. Its not easy. I made a write up on here.
You have to take the cluster apart and soldier in the new LEDs for the odometer. Its not easy. I made a write up on here.
05-22-2012, 06:34 AM
#16
Same setup for me and same dim warning lights even w/leds. So exactly how do you mod them to be brighter? You cut the new face to allow the old face to show thru after stacking both faces together?
EDIT: so on the new aftermarket face you have cut out where the lights go on the left and right sides, only leaving the new faces for the 6 gauges, no warning light areas, then just use the old face on each side in those areas, genius my good man, kudos for thinking outside of the box.
EDIT: so on the new aftermarket face you have cut out where the lights go on the left and right sides, only leaving the new faces for the 6 gauges, no warning light areas, then just use the old face on each side in those areas, genius my good man, kudos for thinking outside of the box.
Last edited by 99'CajunFirehawk157; 05-22-2012 at 06:41 AM.
05-22-2012, 12:56 PM
#19
EDIT: so on the new aftermarket face you have cut out where the lights go on the left and right sides, only leaving the new faces for the 6 gauges, no warning light areas, then just use the old face on each side in those areas, genius my good man, kudos for thinking outside of the box.
Last edited by HotWhipT/A; 04-11-2013 at 01:41 AM.