
Bought a Firebird. Gauge LEDs, shift indicator+shift boot, and Camaro AC knobs
 04-23-2013, 09:08 PM
#1
TECH Veteran
Thread Starter
iTrader: (7)
Join Date: Jun 2006
Location: Bay Area California
Posts: 4,409
Likes: 0
Received 0 Likes
on
0 Posts
I wrecked my Camaro back in November and replaced it with this 2002 NBM Firebird WS6. It had 60,000 miles the day I bought her with a full service done.
So far I have added all the stuff mentioned in the title, strut tower brace, SLP air lid, SLP smooth bellow, painted the brake calipers red, and a Magnaflow muffler was on the car already. My next mods will be some Konis and Strano springs, TT2s, changing the exhaust tips from stock, and tinting the windows.
Sorry for the shitty pics.
The car:

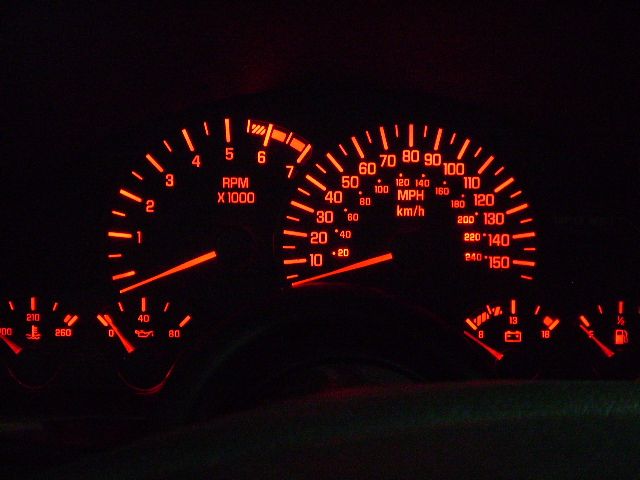
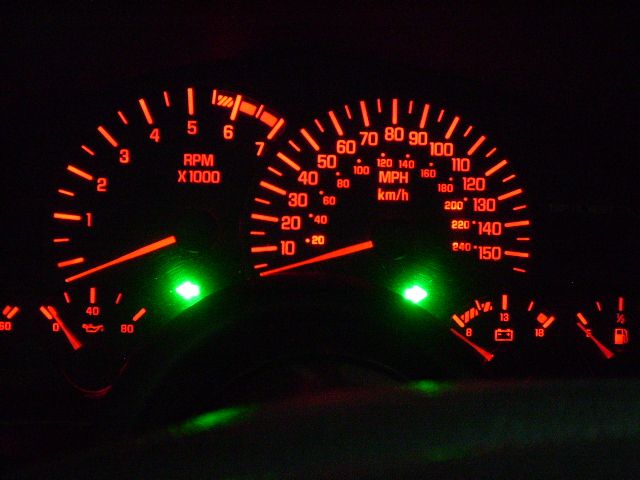
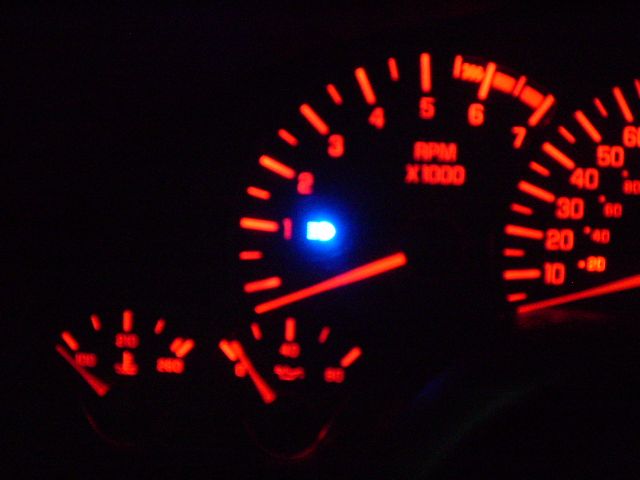
Gauge cluster LEDs (W5W 194 bulbs):
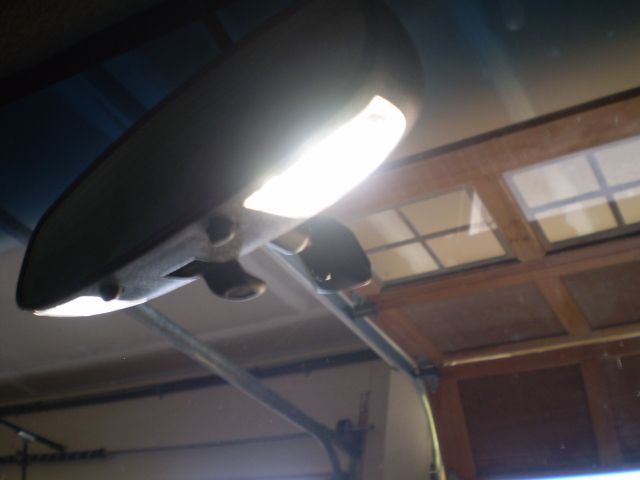
MAP light LEDs (W5W 194 5K white bulbs):
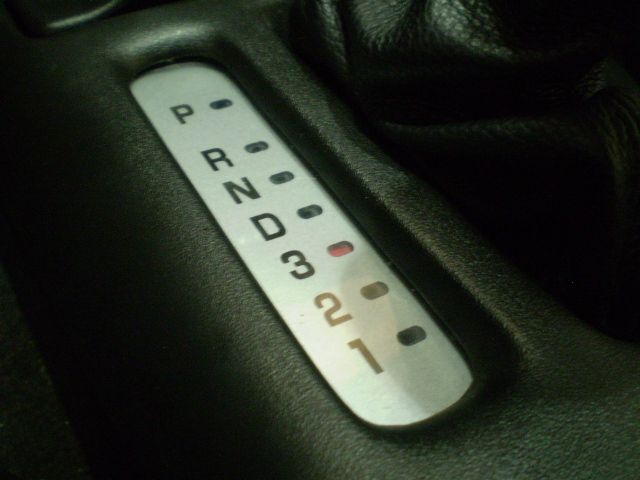
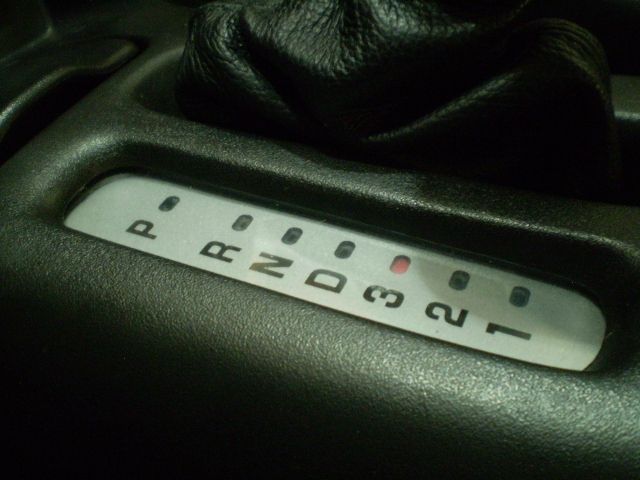
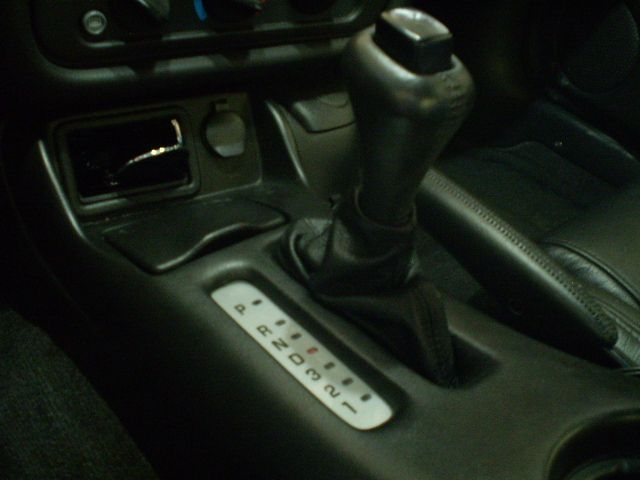
Shift Indicator+Boot(Macewen silver shift overlay, BUT not used as an overlay. I sanded all the factory graphics from the plastic piece and put this under it. If one uses this as an actual overlay as intended it is nearly impossible to see the gear indicator to see what gear the car is in.) (The boot is a redlinegoods auto shift boot):
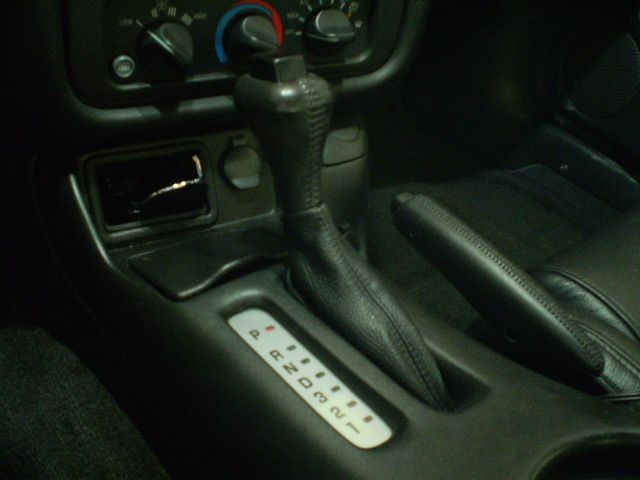
One to shift the boot in gear:
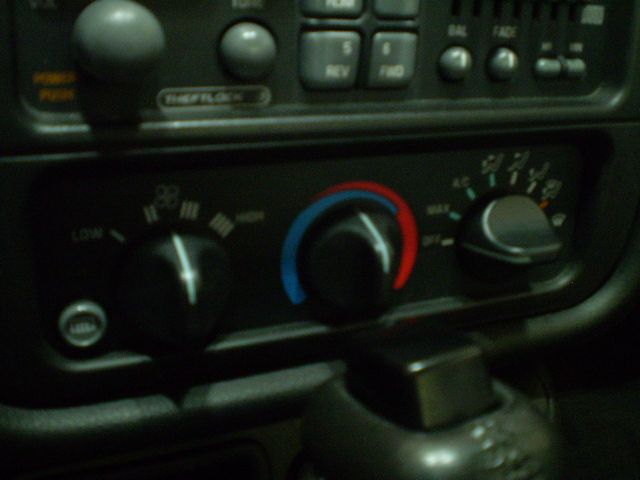
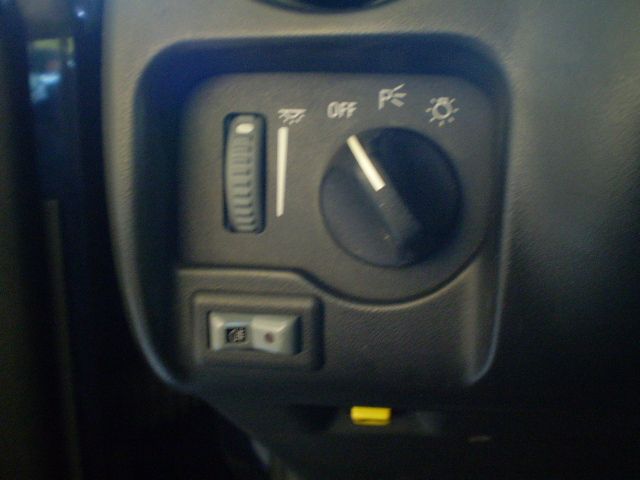
Camaro AC+headlight *****:
I also added a little grommet to the trip reset hole:

So far I have added all the stuff mentioned in the title, strut tower brace, SLP air lid, SLP smooth bellow, painted the brake calipers red, and a Magnaflow muffler was on the car already. My next mods will be some Konis and Strano springs, TT2s, changing the exhaust tips from stock, and tinting the windows.
Sorry for the shitty pics.
The car:
Gauge cluster LEDs (W5W 194 bulbs):
MAP light LEDs (W5W 194 5K white bulbs):
Shift Indicator+Boot(Macewen silver shift overlay, BUT not used as an overlay. I sanded all the factory graphics from the plastic piece and put this under it. If one uses this as an actual overlay as intended it is nearly impossible to see the gear indicator to see what gear the car is in.) (The boot is a redlinegoods auto shift boot):
One to shift the boot in gear:
Camaro AC+headlight *****:
I also added a little grommet to the trip reset hole:
 07-17-2013, 09:03 PM
#7
Teching In

Join Date: Jun 2011
Posts: 3
Likes: 0
Received 0 Likes
on
0 Posts
Hey I bought the same shifter indicator overlay for my Camaro, and experienced the problem you described about using it as an overlay and not seeing the orange indicator. I intend to change mine to your method. With the way you've placed it under the clear plastic with the graphics sanded off, did you use any adhesive on the "face" of the overlay to stick it to the underside of the plastic? Thanks for any help/guidance you may provide.
Trending Topics
 07-18-2013, 02:14 PM
#10
Hey I bought the same shifter indicator overlay for my Camaro, and experienced the problem you described about using it as an overlay and not seeing the orange indicator. I intend to change mine to your method. With the way you've placed it under the clear plastic with the graphics sanded off, did you use any adhesive on the "face" of the overlay to stick it to the underside of the plastic? Thanks for any help/guidance you may provide.
PM for details and pics. Here's a video:
07-19-2013, 03:25 PM
#11
Teching In
Join Date: Jun 2011
Posts: 3
Likes: 0
Received 0 Likes
on
0 Posts
Thanks for the info. That's makes me glad to know that I won't need to find an adhesive that will dry/settle clear between the front of the overlay and the stock plastic piece. Having watched that 6litereater tutorial for their product, he mentions you "can't scratch it off" for the silkscreen. But you mentioned sanding it off and from your pics it looks pretty good/smooth/translucent. What sandpaper grit(s) did you use for sanding the graphics off? Any polishing and/or techniques you'd recommend/used to make it so clear? I've already got the overlay, I just need to copy your process to get rid of that silkscreen graphic. Again, thanks for your time and advice.
07-19-2013, 03:26 PM
#12
Teching In
Join Date: Jun 2011
Posts: 3
Likes: 0
Received 0 Likes
on
0 Posts
Bummer that you wrecked the car, Camaro guy!!.... but incase you or these other guys need it, I sell a kit for installing an after market shifter overlay. VERY simple to install too. It's all laser cut and plug and play.
PM for details and pics. Here's a video:
http://youtu.be/ozSIgFOTIkg
PM for details and pics. Here's a video:
http://youtu.be/ozSIgFOTIkg