When you click on links to various merchants on this site and make a purchase, this can result in this site earning a commission. Affiliate programs and affiliations include, but are not limited to, the eBay Partner Network.
So I pulled the trigger on some depo headlights to compliment the red/black theme going on with my Z28. I was a bit skeptical because I read several had fitment issues. Well I too ended being one of those that had a nice gap between the bumper. I figured I would share what I did to fix it.
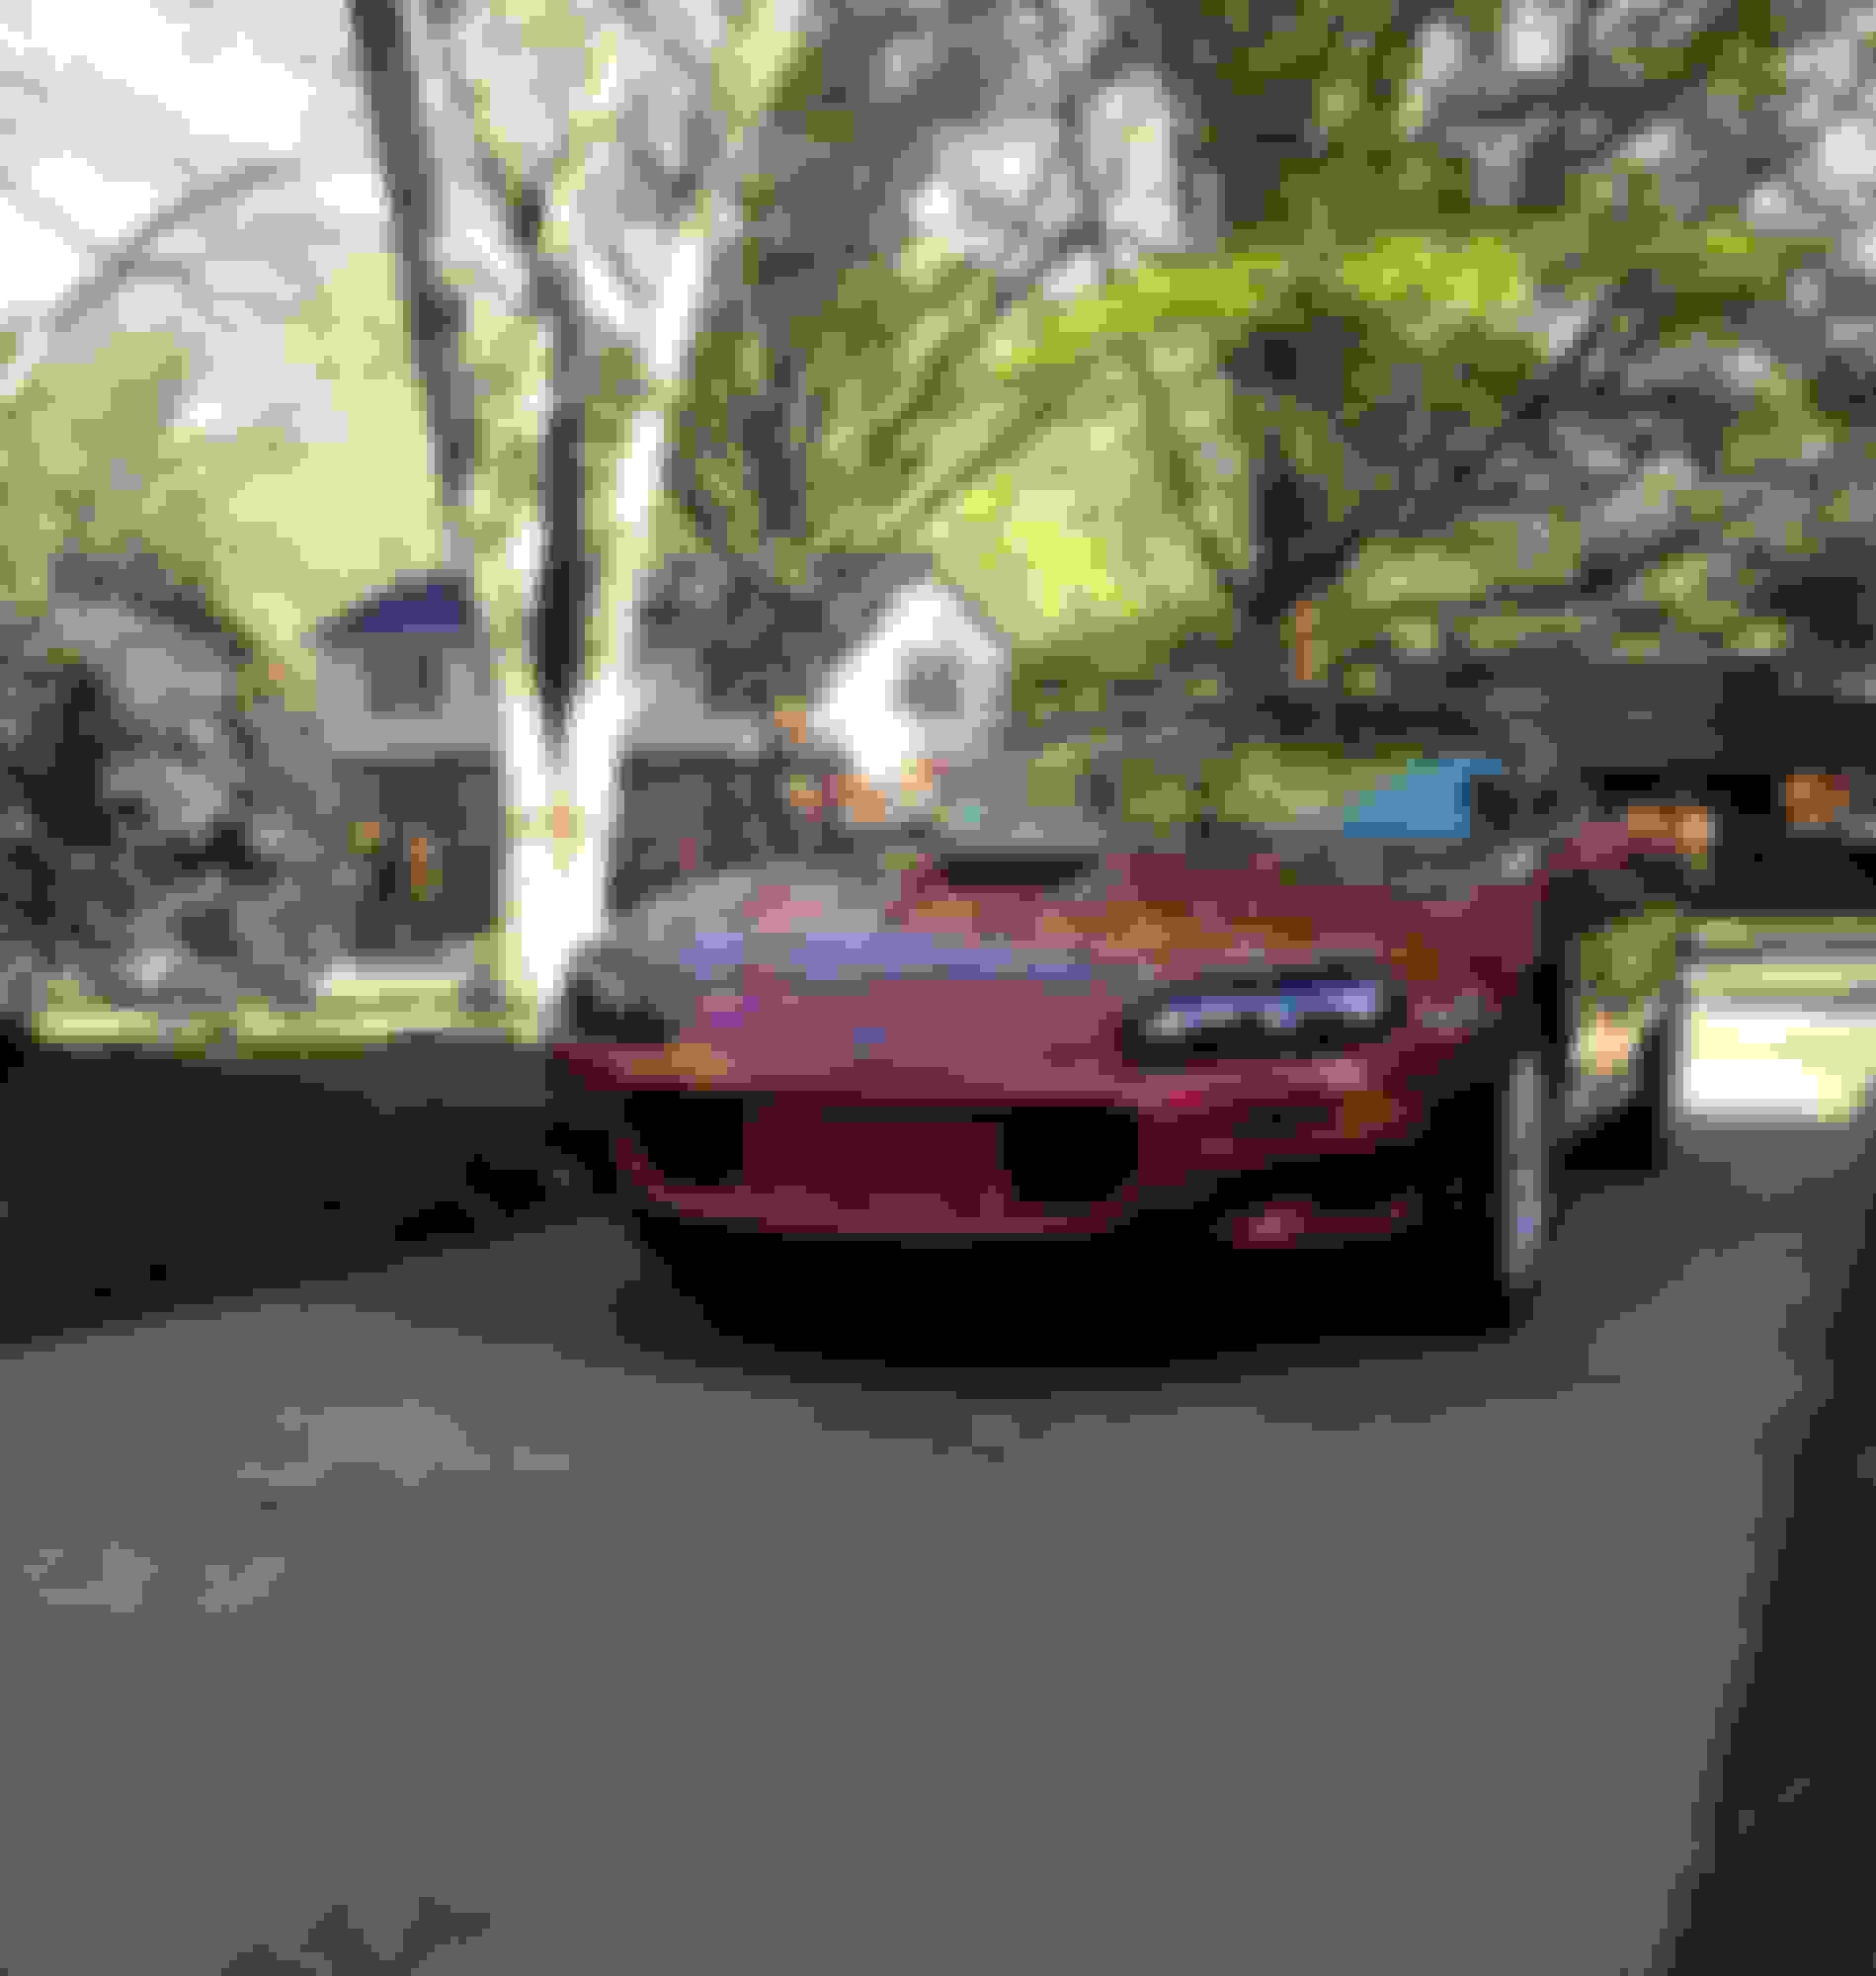
Here is how they looked to start.
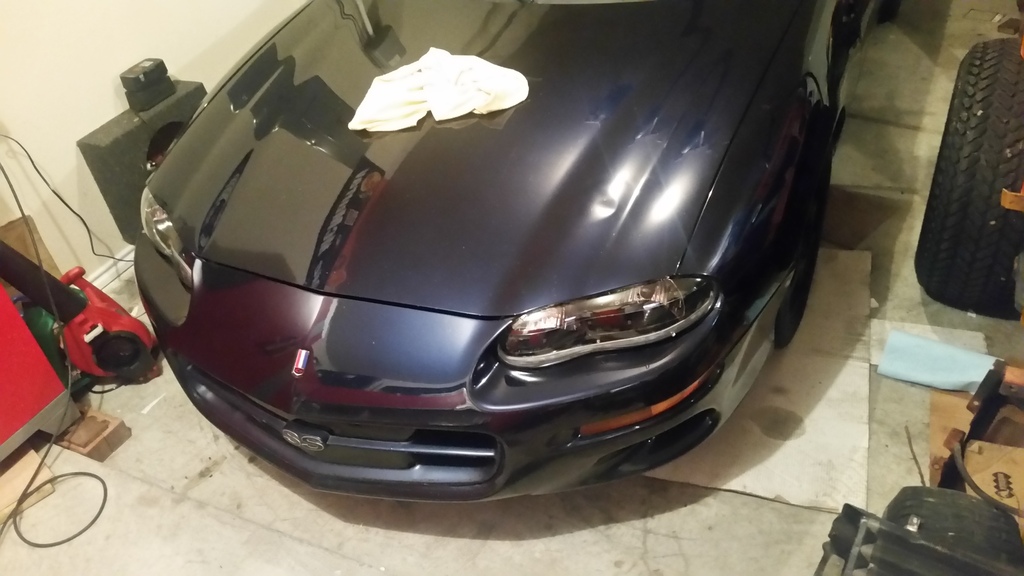
Now in this pic, I loosened the top bracket that attaches to the core support and pulled it forward far as it would go. Next I added 3- 5/16 washers(grade 8 for no rust) in-between that top bracket and headlight bracket where the 10mm bolt fastens the headlight. This was the end result.
Next I went ahead and adjusted the headlights to the desired height, then I took a long Allen wrench with a ball head and used it to get under the headlight and tuck the seal in the chamfered edge of the bumper. This is what I ended up with.
Looks awesome. Ive been meaning to do the same to mine but I keep moving on to other stuff (its been two years at least). Next thing you need to do is get some black paint or plastidip behind the billet grille.
Thanks! Yea I was holding off on that part because I might get a different hood and have the part behind the grill painted gloss black. I know I could fog it in but I am kind of picky.
Oh and changing those side marker lenses is a bitch. I had to cut some of the bumper foam on mine.
Yea I've had 4 pairs of black housing side markers before and when I install them I usually loosen up the bolts on the bumper and fender attachment and it makes it easier. Is this the first time you've had them? All 4 pairs I have bought suffer from burning and melting of the plastic from heat from the bulb. I just wish someone would make a plug n play LED bulb that fits without additional mods. I went back to stock because I can't find a housing that wont melt and/or an LED bulb that will fit without changing to a electronic flasher control. or using resistors.
Yea I've had 4 pairs of black housing side markers before and when I install them I usually loosen up the bolts on the bumper and fender attachment and it makes it easier. Is this the first time you've had them? All 4 pairs I have bought suffer from burning and melting of the plastic from heat from the bulb. I just wish someone would make a plug n play LED bulb that fits without additional mods. I went back to stock because I can't find a housing that wont melt and/or an LED bulb that will fit without changing to a electronic flasher control. or using resistors.
Also get an emblem for that grille.
I switched everything to leds including the interior lights and changed both flashers so the hazards work too. LED flashers work fine and were easy to change, they are silent tho. I do like the emblem!
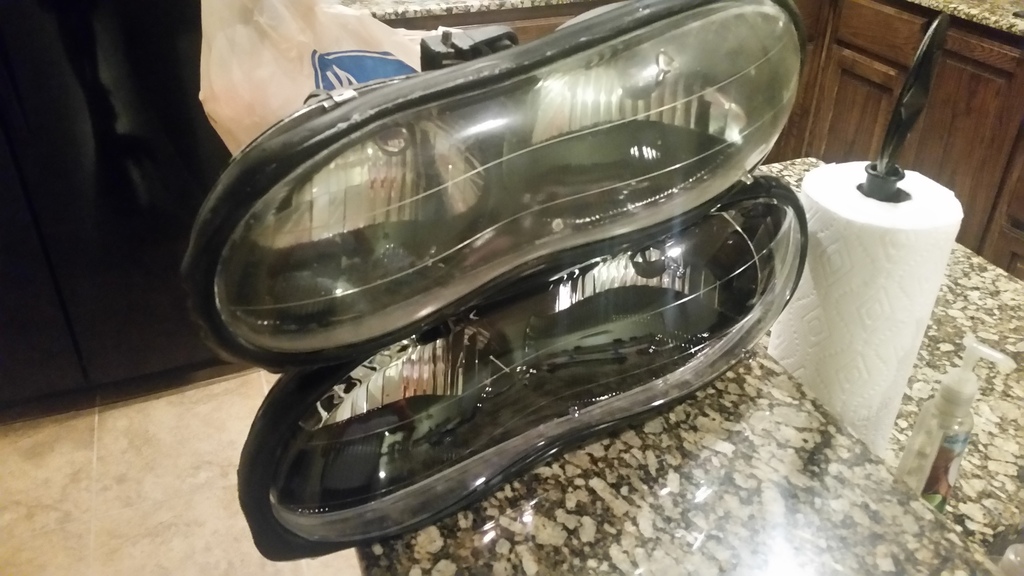
The depos look real good. Much better than a pair of old, worn out stock headlights and it's surprising how much it improves the look. Like night and day... literally because now I can see
The depos look real good. Much better than a pair of old, worn out stock headlights and it's surprising how much it improves the look. Like night and day... literally because now I can see
Thanks and I agree!! Actually my stockers are like show room new. Car only has 18k mi and has never even seen rain but maybe a handful of times. Part of the reason why it took me so long to want to change anything on it...finally got bored I guess.
Thanks and I agree!! Actually my stockers are like show room new. Car only has 18k mi and has never even seen rain but maybe a handful of times. Part of the reason why it took me so long to want to change anything on it...finally got bored I guess.
The hardest part of the install for me was getting them adjusted properly.
Not a bad way to keep the stocks ones in great condition as well. I'd rather have something bad happen to the replaceable depos than a pair of like new factory headlights.
I didn't need to use any spacers, the bottom non adjustable mount is too short on the bottom middle of the headlights. If you take out the two screws that hold the bracket to the bar and flip the little square peg around it gives it enough gap that matches the factory headlights
I wanted to buy a pair of Depo headlights but I just ended up sanding down and polishing the stock housings on my lights. It helped out a lot by taking away that foggy yellow look, but those Depo's are almost like showroom finish.
I wanted to buy a pair of Depo headlights but I just ended up sanding down and polishing the stock housings on my lights. It helped out a lot by taking away that foggy yellow look, but those Depo's are almost like showroom finish.
Yeah I did that to mine too and whistlered them but they didn't seem to last as long as I wanted, especially since my car is In the garage 99% of its life
for the price of depot's, I would not bother restoring the stockers...even at that my stockers are like showroom new so I boxed them up and stored them.

 04-22-2016, 08:58 AM