the engine bay project begins..
 06-06-2006, 03:13 PM
#1
TECH Fanatic
Thread Starter

Join Date: Apr 2005
Location: upstate ny
Posts: 1,338
Likes: 0
Received 0 Likes
on
0 Posts
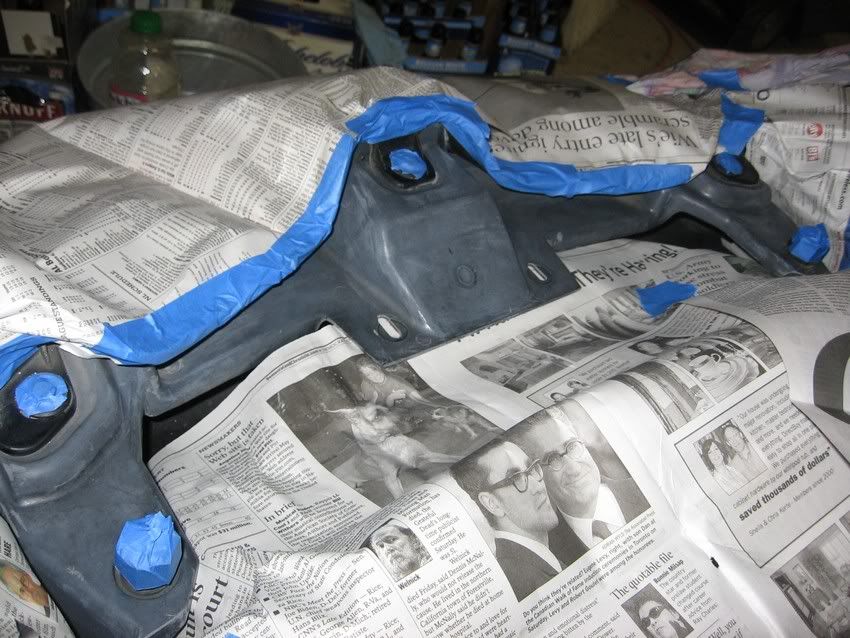
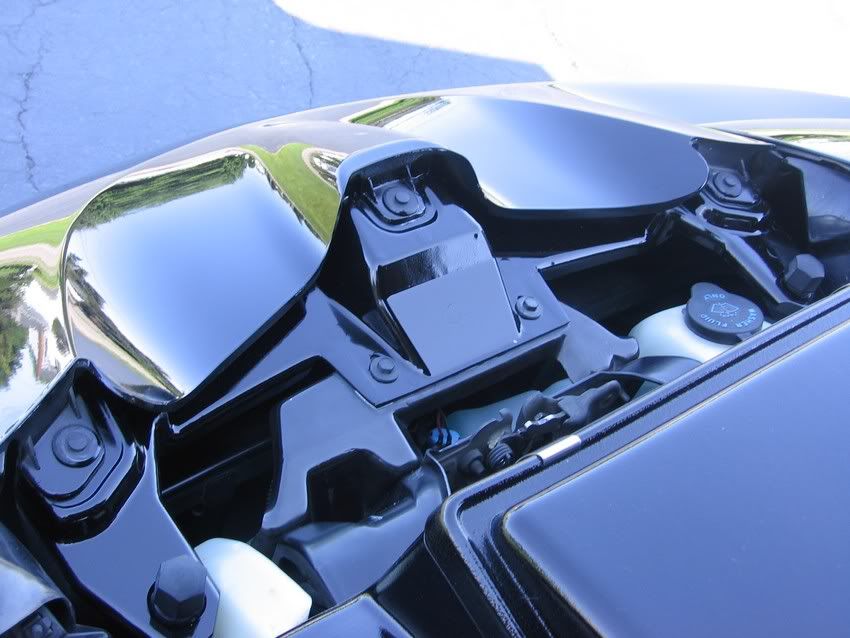
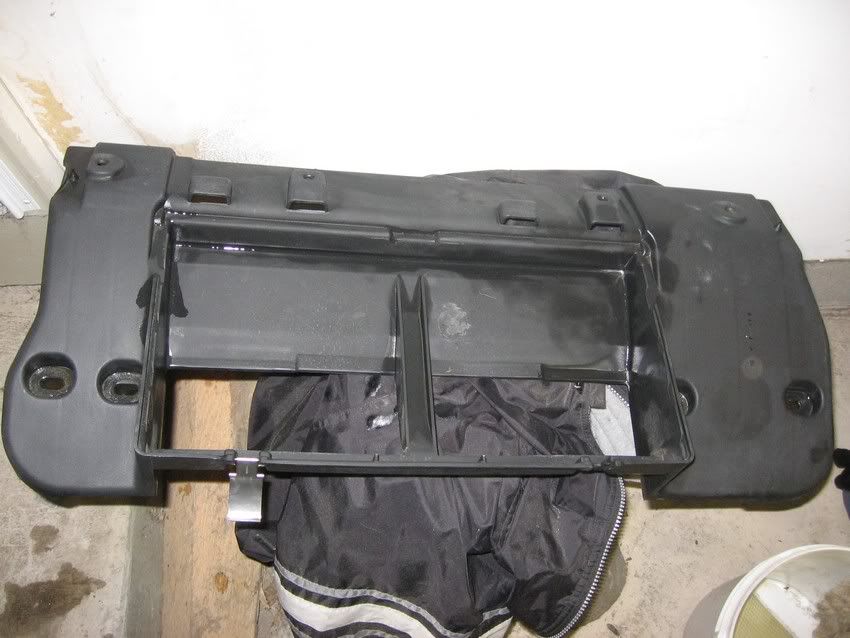
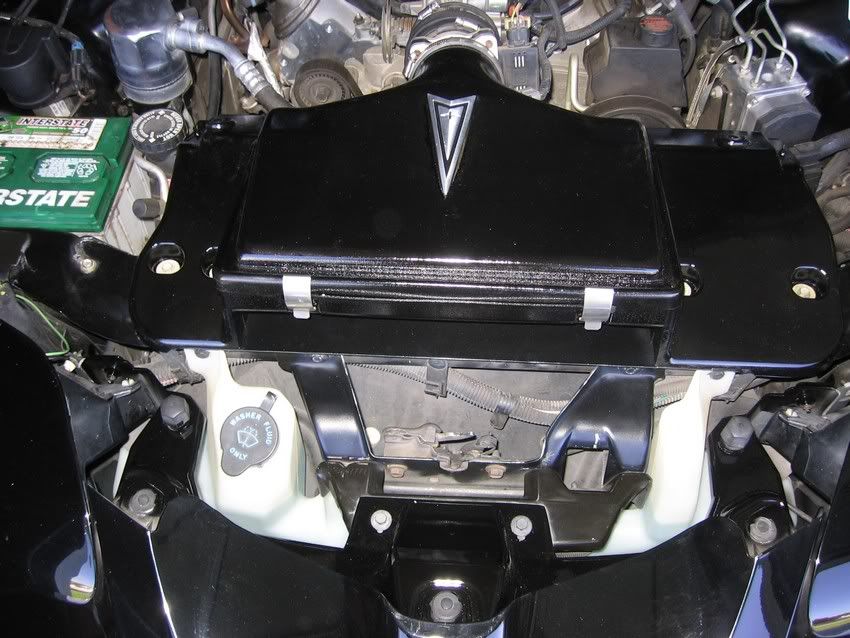
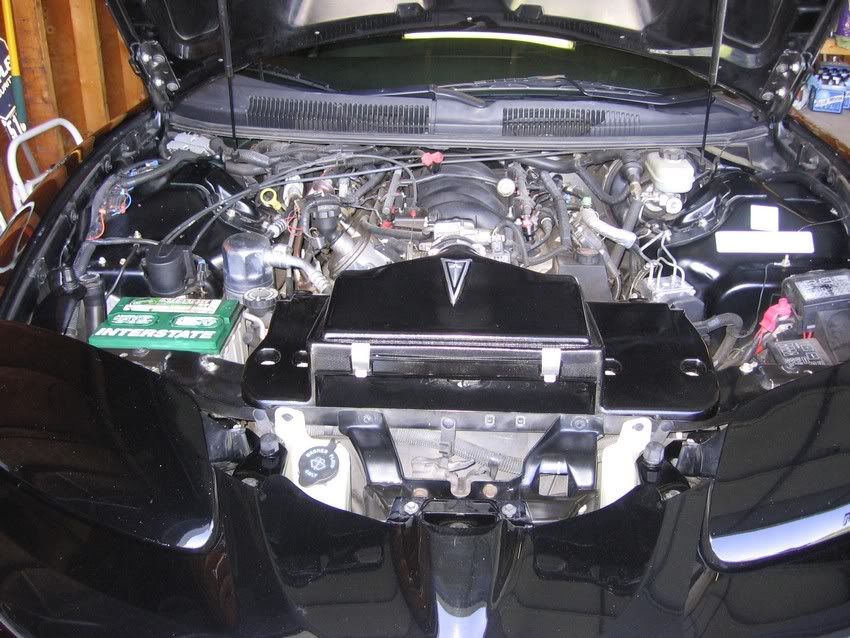
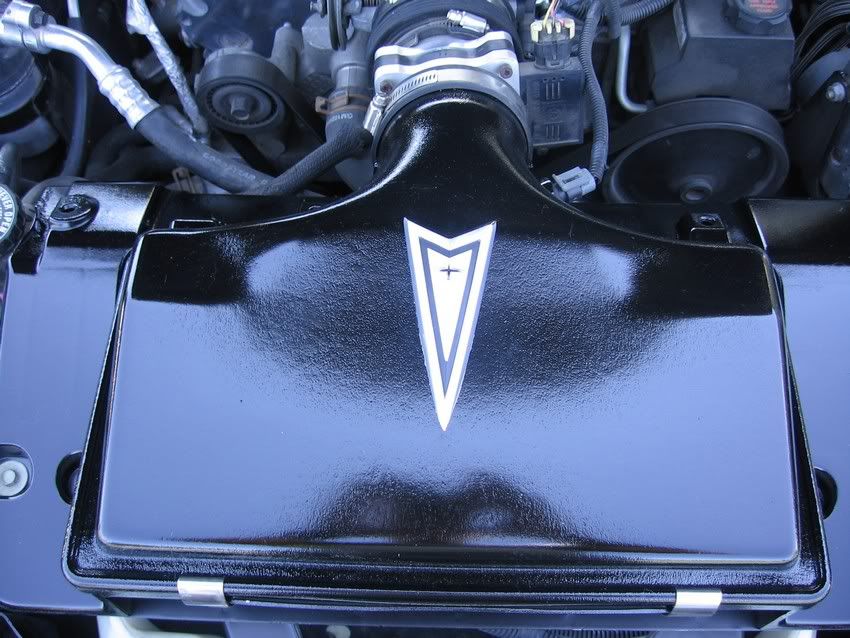
I have noticed lately that I have ignored my engine bay all together. Now, it is always cleanish(dusy sometimes), but seeing everyones awesome engine bays just made me realize that much more how neglected mine has been. I didnt do much yet, its just starting, but what I did do was paint that ugly *** plastic thing in the front, and then the lid and surrounding plastic. I added a phoenix emblem I had laying around that never made it to my exterior, and it looks like it is time to start polishing at least some stuff, and painting others black. So I will be going for a Black and Shiny metal look. what you think of the plan, and the modest start?
before:
after:
before:
after:
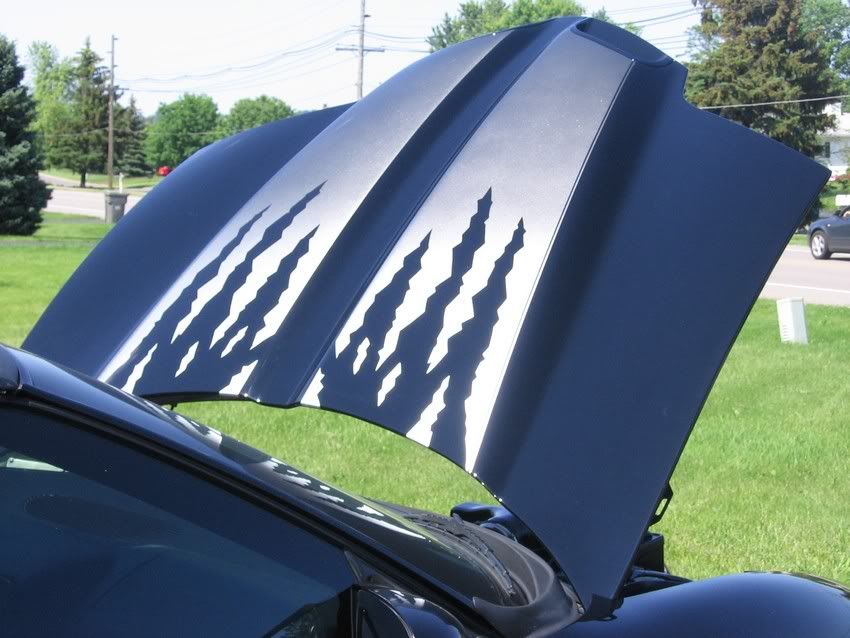
and some random ones...

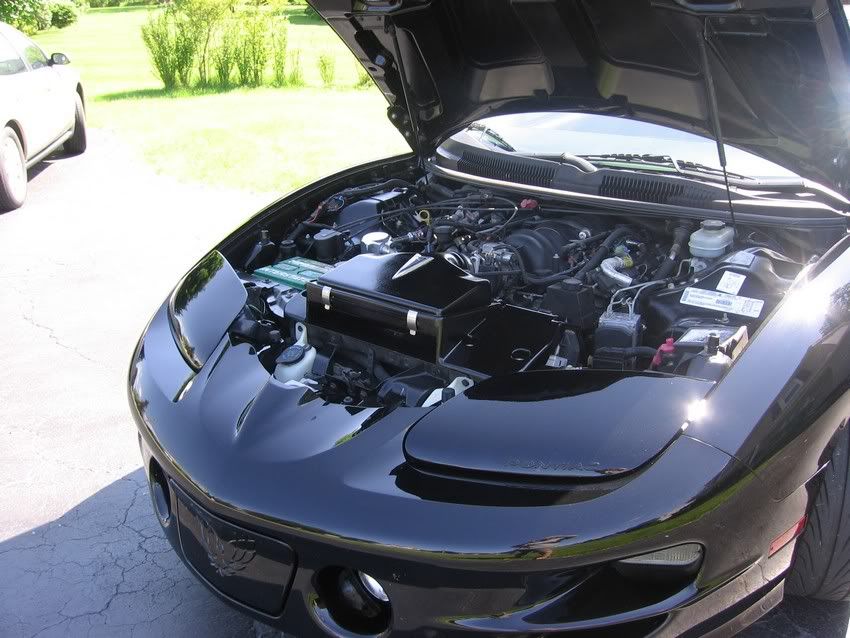
just looked shiny
before:
after:
before:
after:
and some random ones...
just looked shiny


Trending Topics
06-06-2006, 03:47 PM
#8
TECH Fanatic
Thread Starter
Join Date: Apr 2005
Location: upstate ny
Posts: 1,338
Likes: 0
Received 0 Likes
on
0 Posts
Originally Posted by BrianB
How did you get your air box opening so big? That opening is massive. Also what did you use to clean the front plastic piece?
..I painted the front peice, cleaning it is useless..
06-06-2006, 03:58 PM
#9
great start, what are your further plans? I suggest custom FRCs and something special on the intake as well. To help you out, search ebay for ls1 oil cap, and there is a nice billet one for $14. Also parbreak sells some nice fuse box covers and other stuff as well. Need any help, let me know. great job so far!
and something special on the intake as well. To help you out, search ebay for ls1 oil cap, and there is a nice billet one for $14. Also parbreak sells some nice fuse box covers and other stuff as well. Need any help, let me know. great job so far!
__________________

Featuring 6 different turbo kits for your F-body!
Check us out on Facebook at: www.facebook.com/HuronSpeed
Featuring 6 different turbo kits for your F-body!
Check us out on Facebook at: www.facebook.com/HuronSpeed
06-06-2006, 04:18 PM
#10
TECH Addict
iTrader: (17)

Join Date: Dec 2002
Location: Hanover, MD
Posts: 2,190
Likes: 0
Received 0 Likes
on
0 Posts

Off to a good start. I'll help you out with the custom fuel rail covers, give me a PM. Also, think about getting rid of that ugly green Interstate battery and replacing with an Optime Red Top. Kills 2 birds with one stone, better battery and it looks much nicer. Here's an old pic of mine before I relocated my battery.

Bryan
parbreak
Bryan
parbreak
 06-06-2006, 04:37 PM
#12
hey Bryan, do you sell those polished gizmoes you have in the front of the bay there and off to the drivers side in front of the fuse boxes? Or where did you get them from. Thanks, sorry offtopic
__________________
Featuring 6 different turbo kits for your F-body!
Check us out on Facebook at: www.facebook.com/HuronSpeed
Featuring 6 different turbo kits for your F-body!
Check us out on Facebook at: www.facebook.com/HuronSpeed
06-06-2006, 05:05 PM
#13
TECH Addict
iTrader: (17)
Join Date: Dec 2002
Location: Hanover, MD
Posts: 2,190
Likes: 0
Received 0 Likes
on
0 Posts
Originally Posted by Superman09
polished gizmoes.....
Nah, I just sell polished whatchamacallits, whosits and thingamajiggys

If you're talking about the brackets, those are stock brackets that I had chromed.
Bryan
parbreak
06-06-2006, 05:30 PM
#14
TECH Fanatic
Thread Starter
Join Date: Apr 2005
Location: upstate ny
Posts: 1,338
Likes: 0
Received 0 Likes
on
0 Posts
Originally Posted by mcG
what was your process of painting it? did you sand it at all?

 06-07-2006, 05:25 AM
#20
TECH Fanatic
Thread Starter
Join Date: Apr 2005
Location: upstate ny
Posts: 1,338
Likes: 0
Received 0 Likes
on
0 Posts
Originally Posted by Luna
looks good, what is involved with taking that front piece off? Mine looks really faded and nasty like yours did as well.
Also, FWIW I wouldnt put fuel rail covers on it, but that bish does need to be cleaned a bit
Also, FWIW I wouldnt put fuel rail covers on it, but that bish does need to be cleaned a bit