
Side stripes
 12-25-2006, 12:43 AM
#1
TECH Fanatic
Thread Starter
iTrader: (12)

Join Date: Sep 2005
Location: South Burbs of Chicago
Posts: 1,593
Likes: 0
Received 0 Likes
on
0 Posts

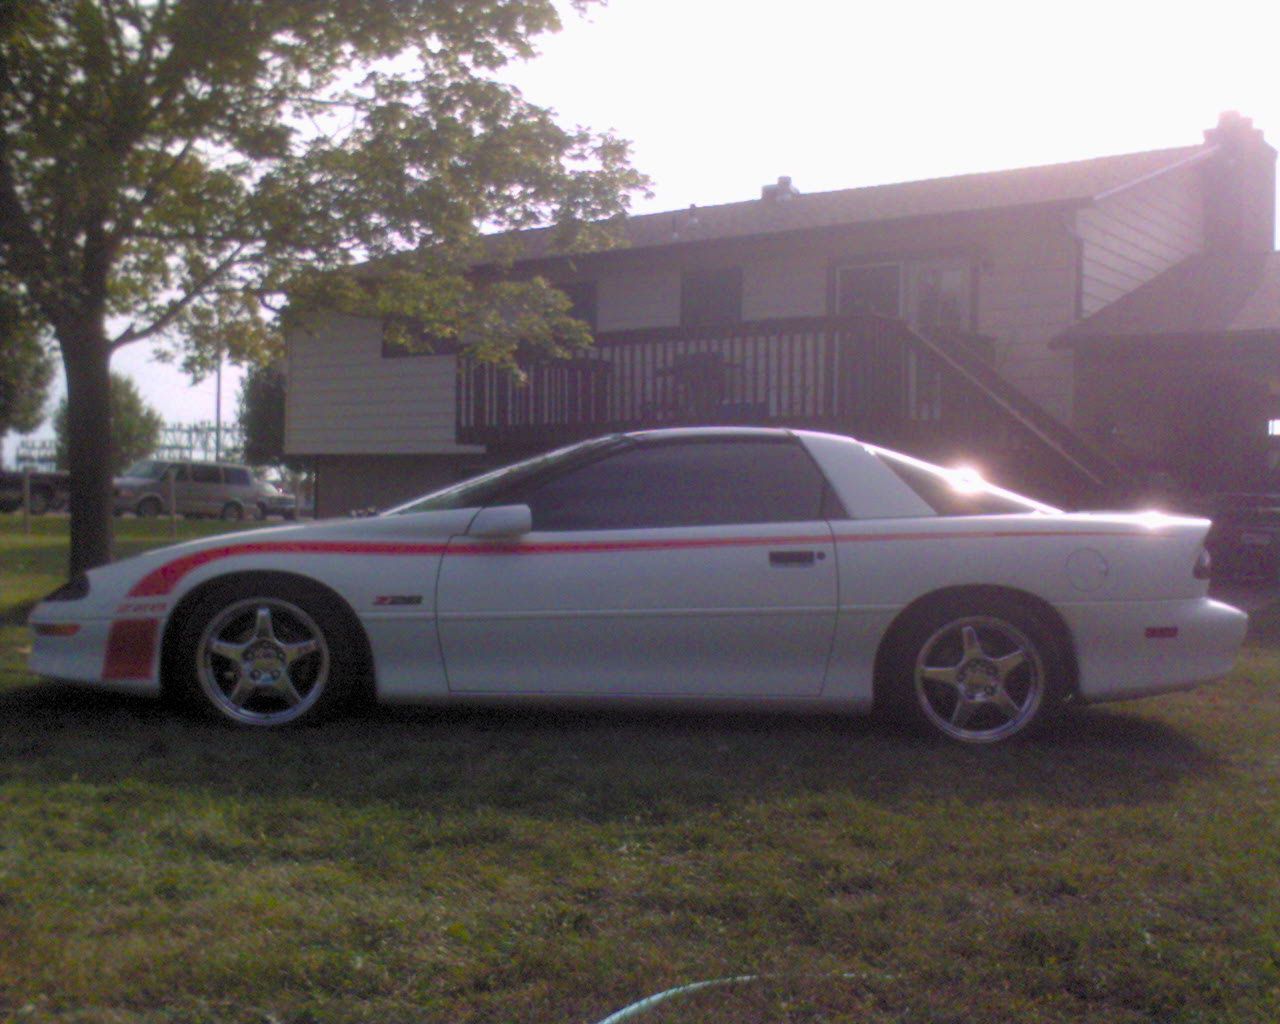
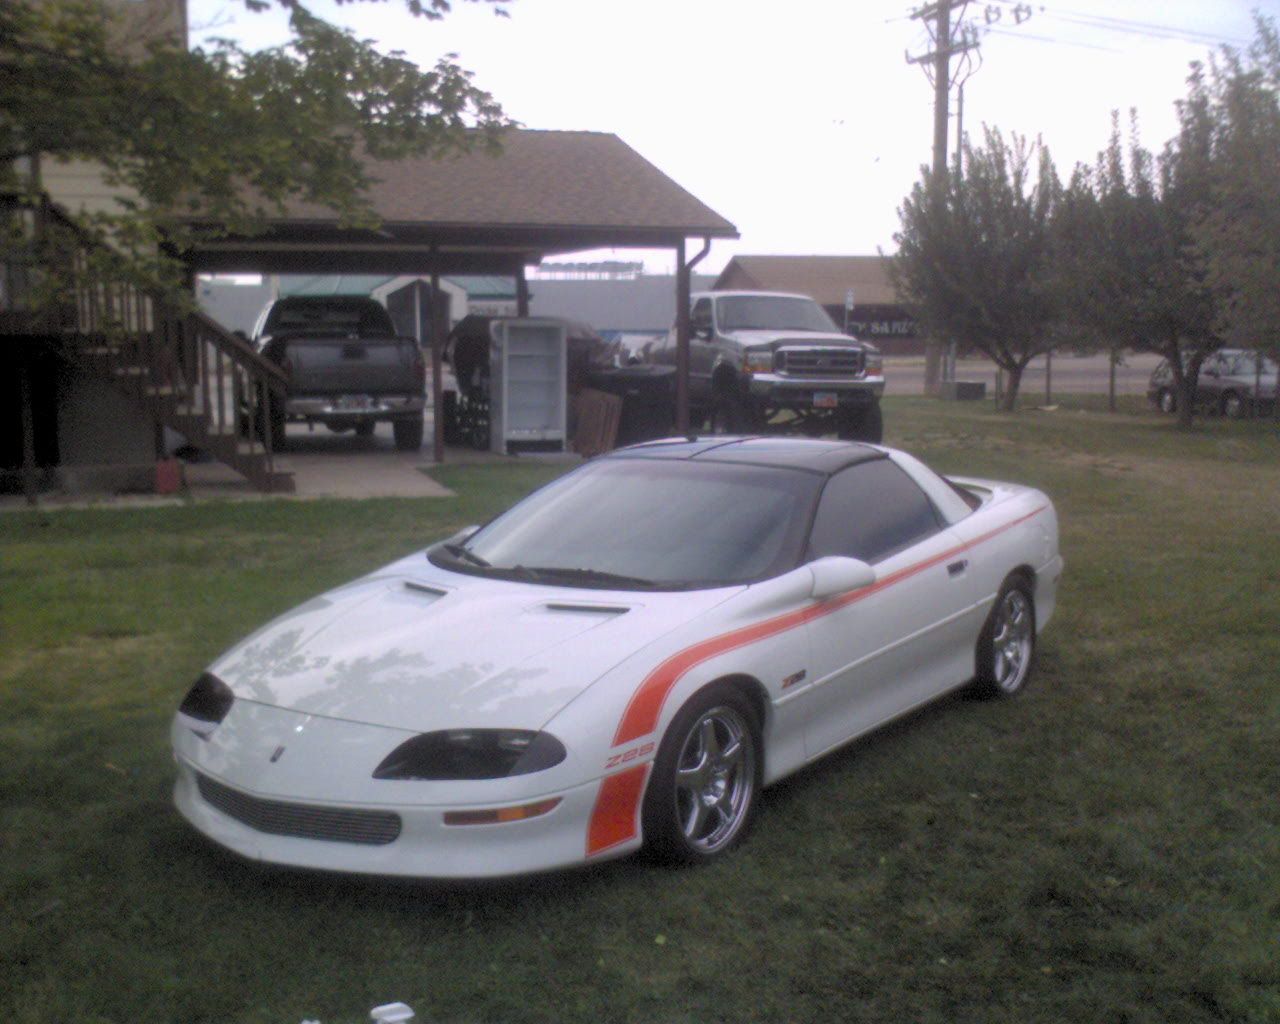
Hey guys, i got the side stripes for christmas from my girlfriend, they are awesome!! they are the ones that go all the way back, not stop at the door handle. But i have 1 problem, what can i do if i lay it down wrong? i have installed alot of decals, but none this big, always winshiled banners and stuff, i always hit it right on the money each time, i never messed up.....but these are huge and i know i am going to run into some problems.......any installation tips? any help would be appreciated.........and to the people who bash side stripes, i dont care about your comments, im simply asking for help installing them. So dont bother to post if u have something negative to say, when they are on, i will put up pictures, and then u can tell me they look like **** all u want, but for now, i just need help.
thanks
Kevin
THEY ARE ON GUYS!!!!!!!!!!!!!!!!!!


thanks
Kevin
THEY ARE ON GUYS!!!!!!!!!!!!!!!!!!
Last edited by Camaro Ryder KV; 12-28-2006 at 02:29 PM.
 12-25-2006, 01:33 AM
#2
TECH Regular
iTrader: (6)
Join Date: May 2005
Location: Utah
Posts: 477
Likes: 0
Received 0 Likes
on
0 Posts
Well, when i did the stripes on my 97, we messed one up. So the guy at 3rdgendecals gave me a new one for half price.
When you go over the breaks for the door, dont cut it before hand. Cutting for those breaks is the last thing that you do; get it all layed/stuck down first.
Lay everything out first. Do one side. Once you've done one side, just get some measurements and copy it to the other side.
It was definately hard. We had to trim some (the gap on mine where the z28 is is wider because we had to trims some out).
If you have any specific questions just ask. Ill try and answer them for ya.
12-25-2006, 02:55 AM
#3
On The Tree

Join Date: Aug 2004
Location: Fort Collins, CO
Posts: 136
Likes: 0
Received 0 Likes
on
0 Posts
Hey, I have those from 3rdgendecals too, I like them a lot!
You can search around here for how to do it, I found a few write ups before I attempted mine. But anyways, here is some quick advice:
Have someone there to help you, you are on a bit of a time line before they dry and you want all the hands you can get.
Make a solution of water and soap, mostly water if i remember right, and put it in a clean spray bottle, as long as you keep everything wet you can move it around until you are satisfied.
Before I put them down for good, I got them where i wanted and taped them to the car. Then I put reference pieces of tap along the car right above and below the strip, so I'd be able to match it up to those spots.
Next, basically spray down the area on one side of the car with the soap/water mix, lay it down, spray over top, and align it how you want, then start removing the air bubbles with the tool provided.
Do one side at a time then measure it to match the 2nd side as close as possible.
I have some pictures of my stripes on my cardomain if you want to see how I lined mine up... I chose to keep the gap on the tire well the same and followed a horizontal line instead of following the car window...
Good luck and be sure to post up after pics!
12-25-2006, 09:32 AM
#4
TECH Enthusiast
Join Date: Feb 2003
Location: Michigan (Holland/Grand Rapids)
Posts: 614
Likes: 0
Received 0 Likes
on
0 Posts
Originally Posted by Hype
Before I put them down for good, I got them where i wanted and taped them to the car. Then I put reference pieces of tap along the car right above and below the strip, so I'd be able to match it up to those spots.
 I do the same except I also use a wide sharpie pen and make a line from the decal directly out to the reference pieces of tape giving you something exact to line up with when installing the wet decal. The sharpie pen just goes across the overlayer of paper and not directly on the decal. Also jay recommends you mix 10% or so of alcohol with your soap and water mixture to help the solution dry faster and provide a good bite between the vinyl and paint.
Good Luck!
12-26-2006, 12:00 AM
#7
10 Second Club
iTrader: (13)
Join Date: Feb 2006
Location: MOREHEAD KY
Posts: 3,297
Likes: 0
Received 0 Likes
on
0 Posts
yes before you do it make sure all the wax is off your car (do this buy washing it with dawn) and make sure it is as clean as you can get it, i clay bared mine first. then just keep it wet. you are going to need more then just you so get some help cany wait to see the pics
Trending Topics
12-28-2006, 01:40 AM
#8
TECH Fanatic
Thread Starter
iTrader: (12)
Join Date: Sep 2005
Location: South Burbs of Chicago
Posts: 1,593
Likes: 0
Received 0 Likes
on
0 Posts
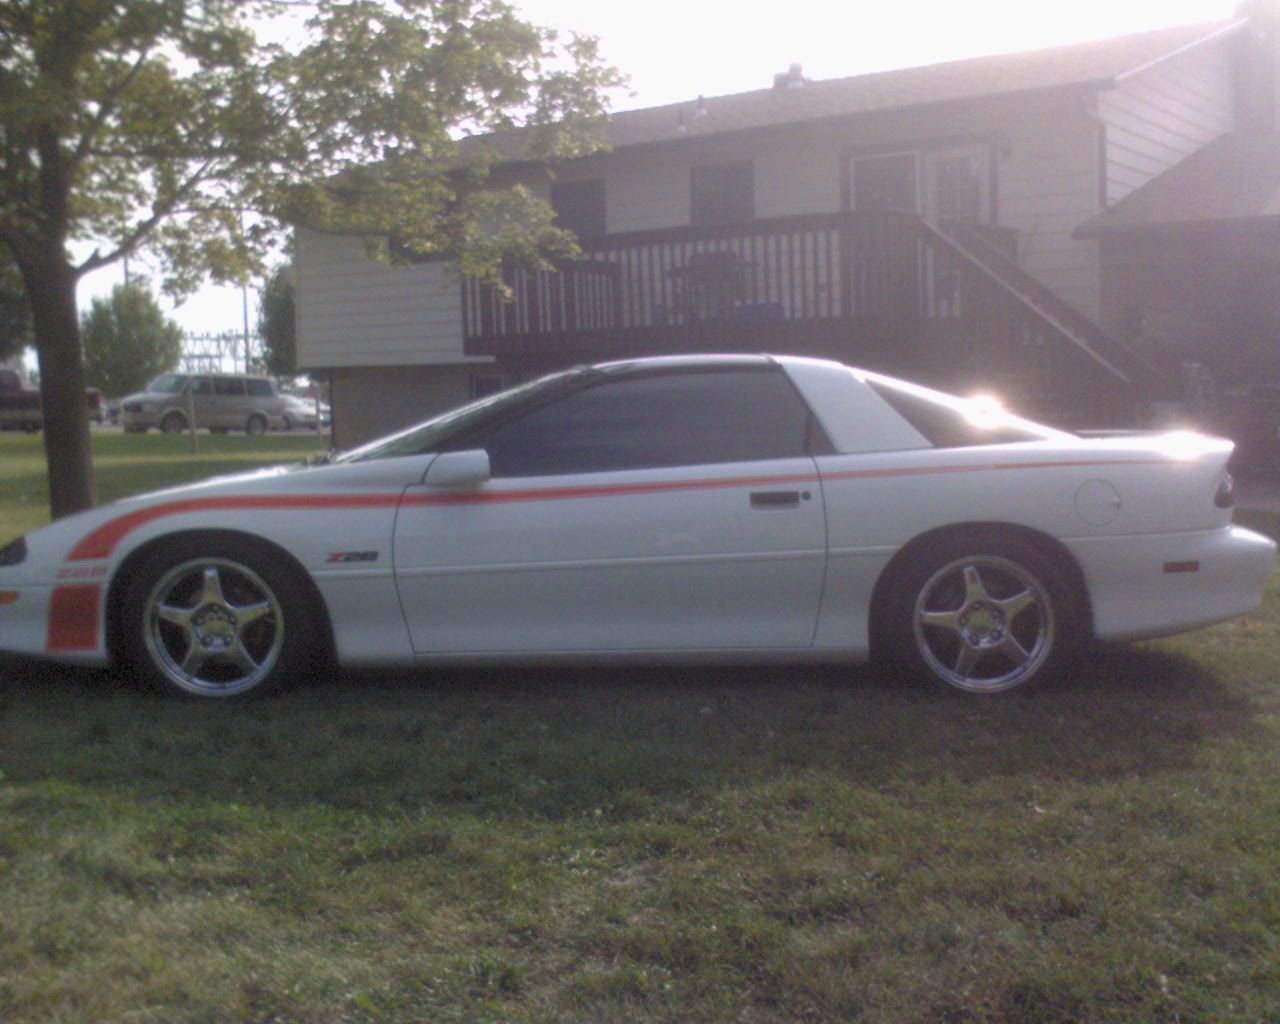
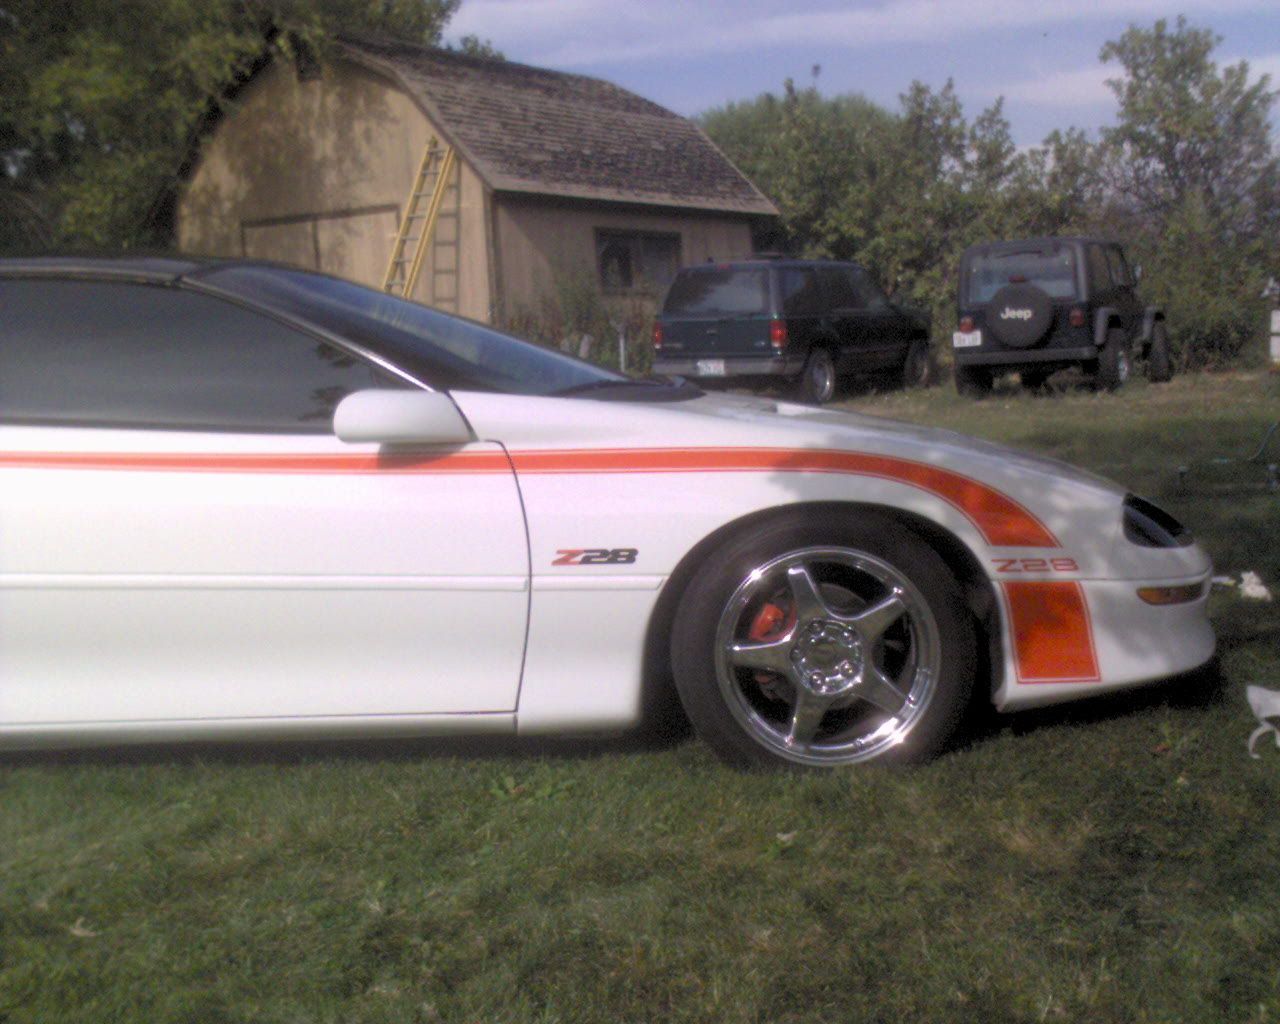
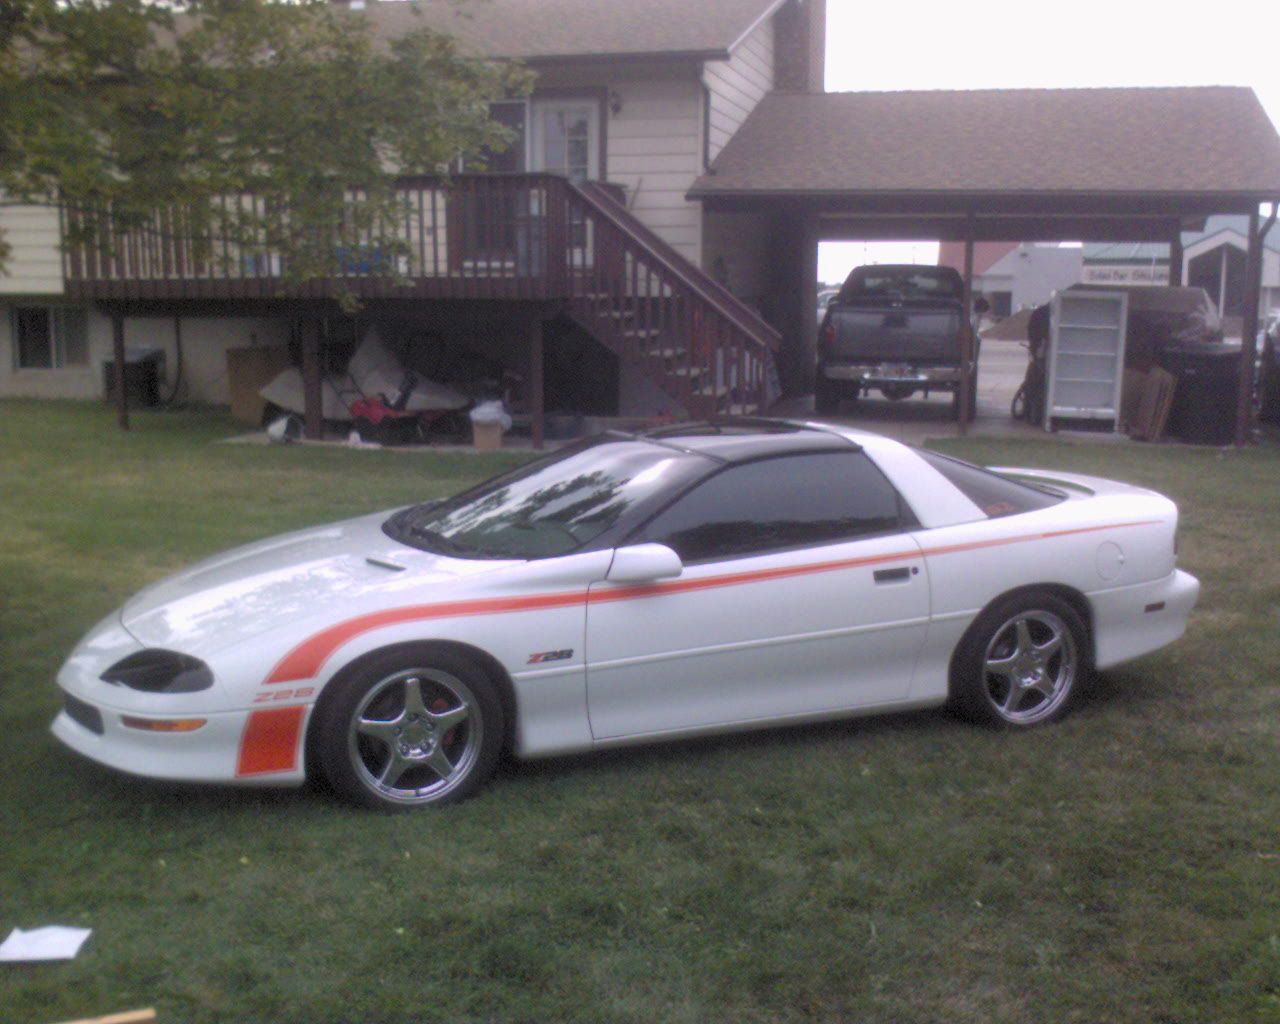
got the stripes on guys, HOLY $hit, 4.5 hours put them on!!!!! pain in the ***, id never do it again....well i guess i would since i know the measurements now,lol but u know what i mean........ill get some pics in a few minutes, its nite time but i think they will look good
12-29-2006, 12:22 AM
#15
On The Tree
Join Date: Aug 2004
Location: Fort Collins, CO
Posts: 136
Likes: 0
Received 0 Likes
on
0 Posts
4.5 hours?? what took you so long
I think it took my friend and I a little over an hour for the first side and a little under for the second.
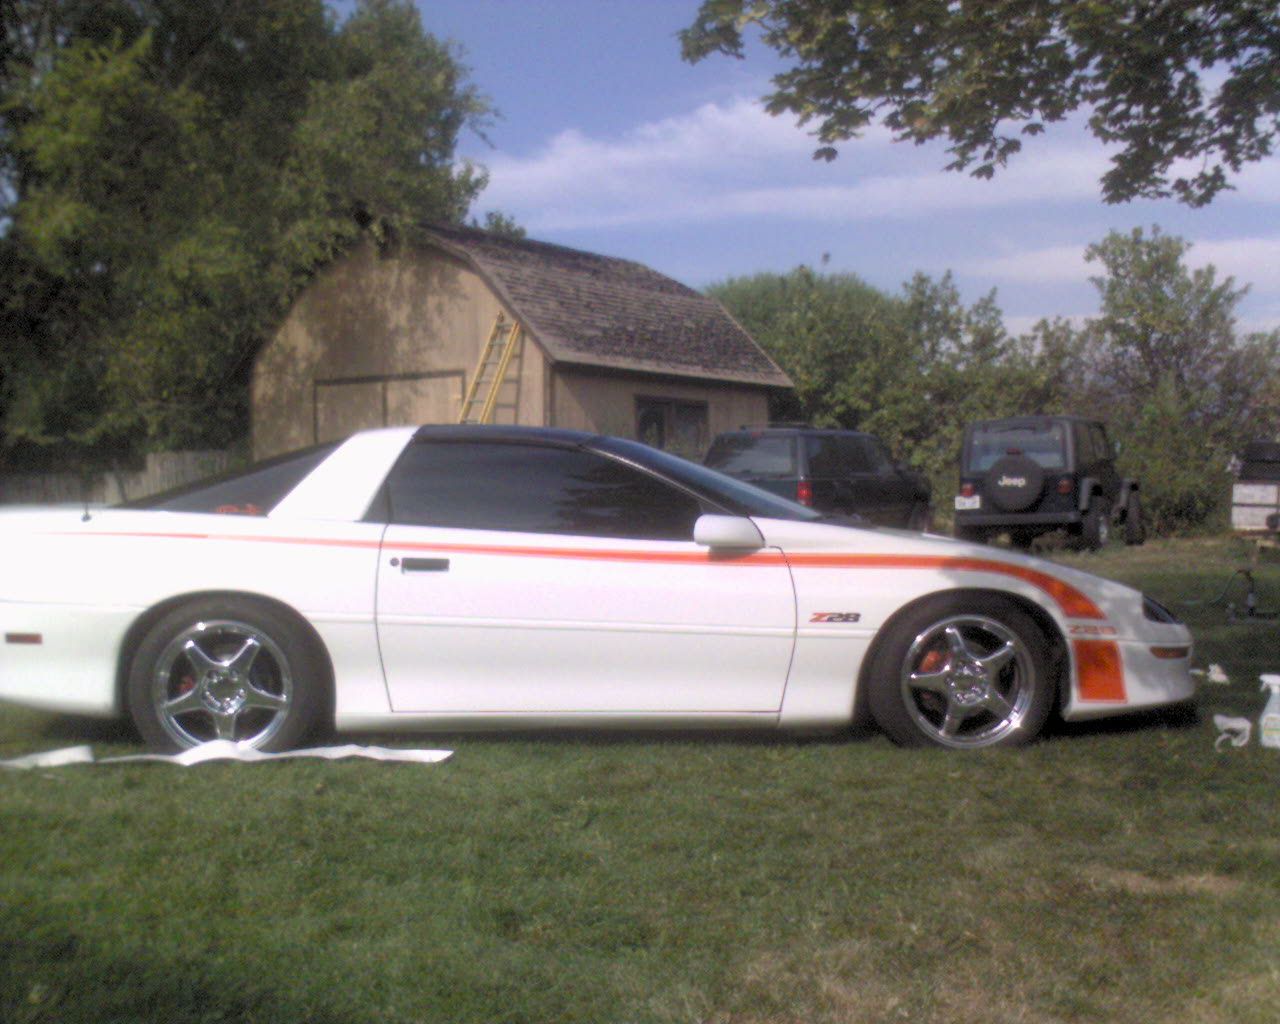
At any rate, it looks good from the pictures... have you put it out in the sun yet? I did for mine and I read you are supposed to to get most the air bubbles out.
ok, back to what I was doing a minute ago
I think it took my friend and I a little over an hour for the first side and a little under for the second.
At any rate, it looks good from the pictures... have you put it out in the sun yet? I did for mine and I read you are supposed to to get most the air bubbles out.
ok, back to what I was doing a minute ago
12-29-2006, 12:26 AM
#16
TECH Fanatic
Thread Starter
iTrader: (12)
Join Date: Sep 2005
Location: South Burbs of Chicago
Posts: 1,593
Likes: 0
Received 0 Likes
on
0 Posts
yes 4.5 hours, we were just having some really bad luck i guess, it was late, but i dunno, just didn't seem to want to cooperate. thanks, it does looks good! keep the comments coming guys, i want to see what u guys think