When you click on links to various merchants on this site and make a purchase, this can result in this site earning a commission. Affiliate programs and affiliations include, but are not limited to, the eBay Partner Network.
If there's any pictures y'all would like to see, just ask and I'll post. The core hasn't been cleaned yet, so all the reassembled parts are still sitting on my cart. The last two things I have left to do on individual parts are reassembling the pump and installing the input drum insides. And install all the valve body stuff, following a reaming tomorrow morning by the local transmission shop. They're reaming the TCC regulator and actuator feed limit bore for $25, after which I'll install the Sonnax parts, in addition to the other valve body parts I've acquired.
I've been using pure ethanol I get from work for cleaning. I found that acetone evaporates too quickly and makes a room very fume-y. Neither one dissolves transmission fluid though. I spray with ethanol, wipe down, repeat until clean, then rinse/spray the crap out of each individual piece to remove any tiny piece of lint that might be sitting on the part. If you notice the parts sitting on the cart, they're pretty spotless.
Using Dr. Tranny assembly lube (the blue one) for lubricating stuff like the pistons and an extra bottle of Mobil 1 synthetic ATF that I had lying around for moving stuff like valve body parts and also for wetting the frictions.
Looking good.
Triple check that you have the forward sprag in correctly as it happily goes in upside down and you then have no forward gears.
The ATSG manual has a diagram but you have to examine it carefully.
Last edited by mrvedit; 10-31-2018 at 05:01 PM.
Reason: Typo - fixed "spring" to "sprag"
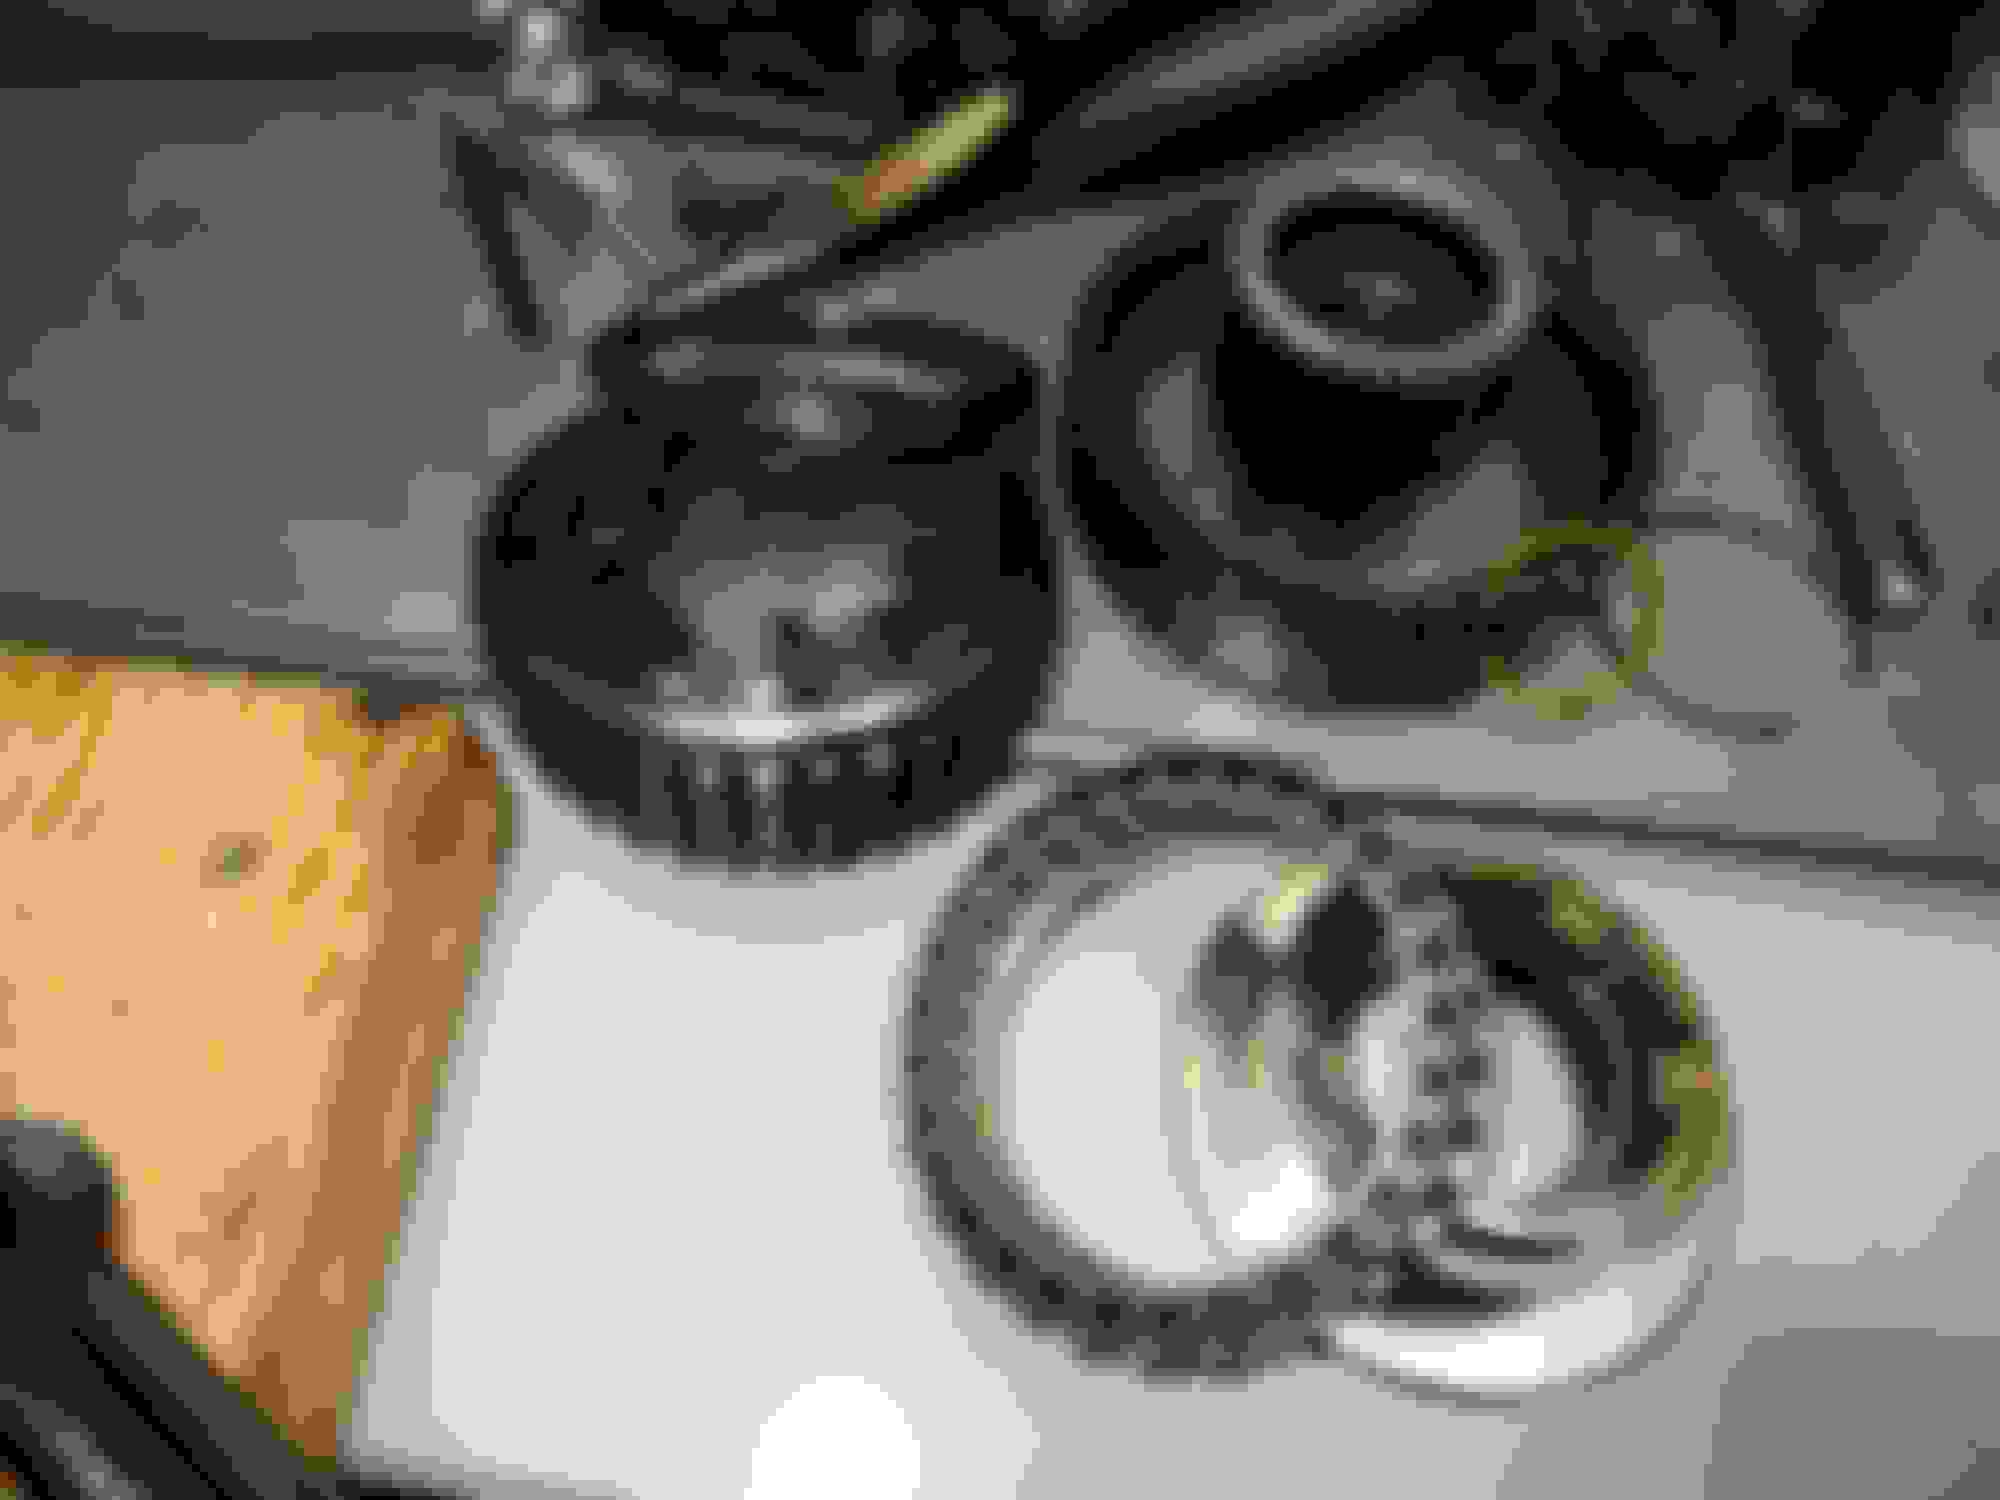
Bushing installed on the vane half of the pump. I can see things potentially going south quickly if you don't use good technique installing the bushings. A shop can install the all the transmission bushings if you feel hesitant and/or you don't want to buy bushing drivers.
Vane completed along with a new Sonnax pump spring. I used a flathead screwdriver that is smooth (no notches on the sides) and slid the new spring in. Use eye protection when removing and installing. This is a tight spring and could certainly put your eye out.
And this fella is finished. I tapped the pieces after putting them together with a block of wood to smoosh down any imperfections on the bushings post-installation. Everything turns very smoothly.
And here's the Sonnax 2nd and 4th servos, ready to stick back in the case for pin measurements. Just need to add the OE spring onto the 2nd servo.
And putting the goodies into the input drum. These lip seals are much easier to do than the one in the reverse input drum.
Last edited by coryforsenate; 03-22-2015 at 01:41 AM.
The case is being cleaned now at the shop. They're also swapping out the bushings in the stator shaft. You really need just the right length, width, height, and head shape screwdriver to get the bigger one out, so I dropped it and the two bushings off at the shop with my case to let them handle it. The valve body is also getting reamed. Supposed to get my stuff back tomorrow from the shop, at which time I will reassemble the valve body and start putting everything in the case. I'll be going back over each piece while installing to ensure no needle bearings, etc are on backwards or something, double checking clearances, etc
Tricky stator bushing. I just let the shop deal with it while they were cleaning my case.
Last edited by coryforsenate; 03-19-2015 at 10:53 PM.
I had to shorten my Sonnax 2nd piston servo pin by quite a bit - about .075. It started so long I couldn't even get the servo cover (part of the Sonnax 4th piston) snap ring in.
I ended up with about .070 end play which is a bit less than the suggested .075.
I had to shorten my Sonnax 2nd piston servo pin by quite a bit - about .075. It started so long I couldn't even get the servo cover (part of the Sonnax 4th piston) snap ring in.
I ended up with about .070 end play which is a bit less than the suggested .075.
If I'm reading the instructions right, you install the entire servo assembly and measure the distance the Sonnax cover moves using a dial indicator? And that distance is supposed to be between 0.075" and 0.125"?
I can really say, that after putting together the Sonnax servo assembly, I do believe Sonnax when they say there is no leaking anywhere. There are 10 different seals vs like 5 on the stock.
If I'm reading the instructions right, you install the entire servo assembly and measure the distance the Sonnax cover moves using a dial indicator? And that distance is supposed to be between 0.075" and 0.125"?
That is correct. I had to bolt some steel brackets to the case to hold my magnetic dial indicator base.
First off, I left my camera at work today so no new pictures until tomorrow.
I received my case, stator half of pump, and valve body back from the shop today.
The case is beautiful. I would not have believed it was my old case.
The valve body was reamed for Sonnax's TCC regulator/isolator and actuator feed limit kits. I believe they put it in their parts washer also, because it was noticeably shinier than when I left the valve body with them.
Took care of my stator shaft bushings. Looks great. The smaller of the two bushings was an updated one that is taller and is supposed to stabilize the shaft better. I think there's only two bushings left and they're the two on the front sun gear.
While at the shop I picked up the largest size backing plate for the reverse input drum. My clearance was at 0.075 and while that's technically in spec, it's right at the border. Figured while I was there I'd grab one. My clearance in now about 0.050, almost in the middle of the recommended 0.040-0.075.
The shop also threw in a new pump vane guide that I requested. It was like $1. The old one looked fine but seemed a little brittle (20yrs old).
I put together the valve body, solenoids, and the pinless forward accumulator. Pretty neat idea on dealing with the resulting hole from not getting past the pin. I used the old pin and a hammer to gently tap them into the hole. Double seals on the accumulator, they certainly form a tight seal. No fluid getting past there. New 3-2 control spring, new reverse and forward abuse valves. New accumulator valve; I chose the pink spring out of the three options per the Sonnax tech's recommendation for me driving a heavier (relative to a car) truck at almost 6,000 pounds. Careful reinstalling the A and B solenoids. The little clamps click twice before they're fully seated. If you only do the first click (it looks okay), the clamp will fly away when you bump the valve body.
Tomorrow I'll start putting stuff back into the case. I have to wait until Monday to receive a spring cage for the overrun clutch in the input drum. The new steel piston from my kit that sits underneath the overrun spring cage isn't compatible with the old spring cage. My old aluminum piston has little rods sticking up from the piston that lock into the old style spring cage that doesn't have a bottom ring. The new steel piston requires the new style spring cage that has a ring on the top and bottom. I spoke with mrvedit about this and that was when he told me about the differences.
Circle D torque converter is supposed to be ready Tuesday. Looking forward to seeing it. They're sending me a free t-shirt, which is awesome. I'll be rocking it at work next week.
Last edited by coryforsenate; 03-21-2015 at 11:44 PM.
Here's that new style steel piston I was talking about. Note the old style spring cage doesn't have a ring around the bottom. The spring bottoms are exposed. The updated overrun spring cage AC Delco part number is 24206085. The second pic is of the old style piston with the old style spring cage. You can see the little rods/bumps coming up out of the old style piston that index with the bottoms of the old style spring.
Cleaning the valves one by one in alcohol. Here's the 3-2 downshift valve, not to be confused with the 3-2 control valve which is in the adjacent bore and known for the spring breaking. Although mine was not broken, the spring for the 3-2 control valve was replaced with a new one.
Last edited by coryforsenate; 03-21-2015 at 11:48 PM.
Here's the reassembled pump assembly, torqued to about 220 in/lb, and fitting it on the shaft to ensure the new bushings are good to go. The pump upgrades include a 0.490" boost valve with o-ring, elevated pressure regulator spring, and a Sonnax TCC apply valve with a teflon ring.
Installed new bushings on the front sun gear. They test good on spinning on the shaft. I believe these two guys were the last bushings left to replace. Use a 3/4" socket with both of these.
Look how clean that 20yo case is! And the shop installed the bushing while they were at it.
And finally, the 3-4 clutch pack. Fried to a crisp. The friction in my hand had the friction material rubbed down to the metal and was warped all wavy. New 3-4 apply and backing plate, along with a a 7-piece set of frictions/steels from Raybestos replacing these.
And now the bummer news. While installing the 3rd accumulator check valve, it got bent around the top while driving it in. I read you can use a 1/4" socket for that, but I guess my socket has slightly wider dimensions because it got cockeyed from the side of the case and bent the top of the check valve over. So now I get to remove the new one and buy another new one. I think I'm just going to let the shop do it. I don't feel like potentially messing up another check valve and having to wait on another one to arrive.
Looking good; too bad about the check ball cartridge.
You might want to put a "resizer" on the stator shaft teflon rings. Just cut up a 2Liter Coke bottle and put 1-1/2 turns of plastic around the rings. Then use two hose clamps, one centered over each ring. Only tighten the clamps modestly, certainly not as tight as on a hose. I recall one member here overtightened them and it took a day or two before he had reverse working.
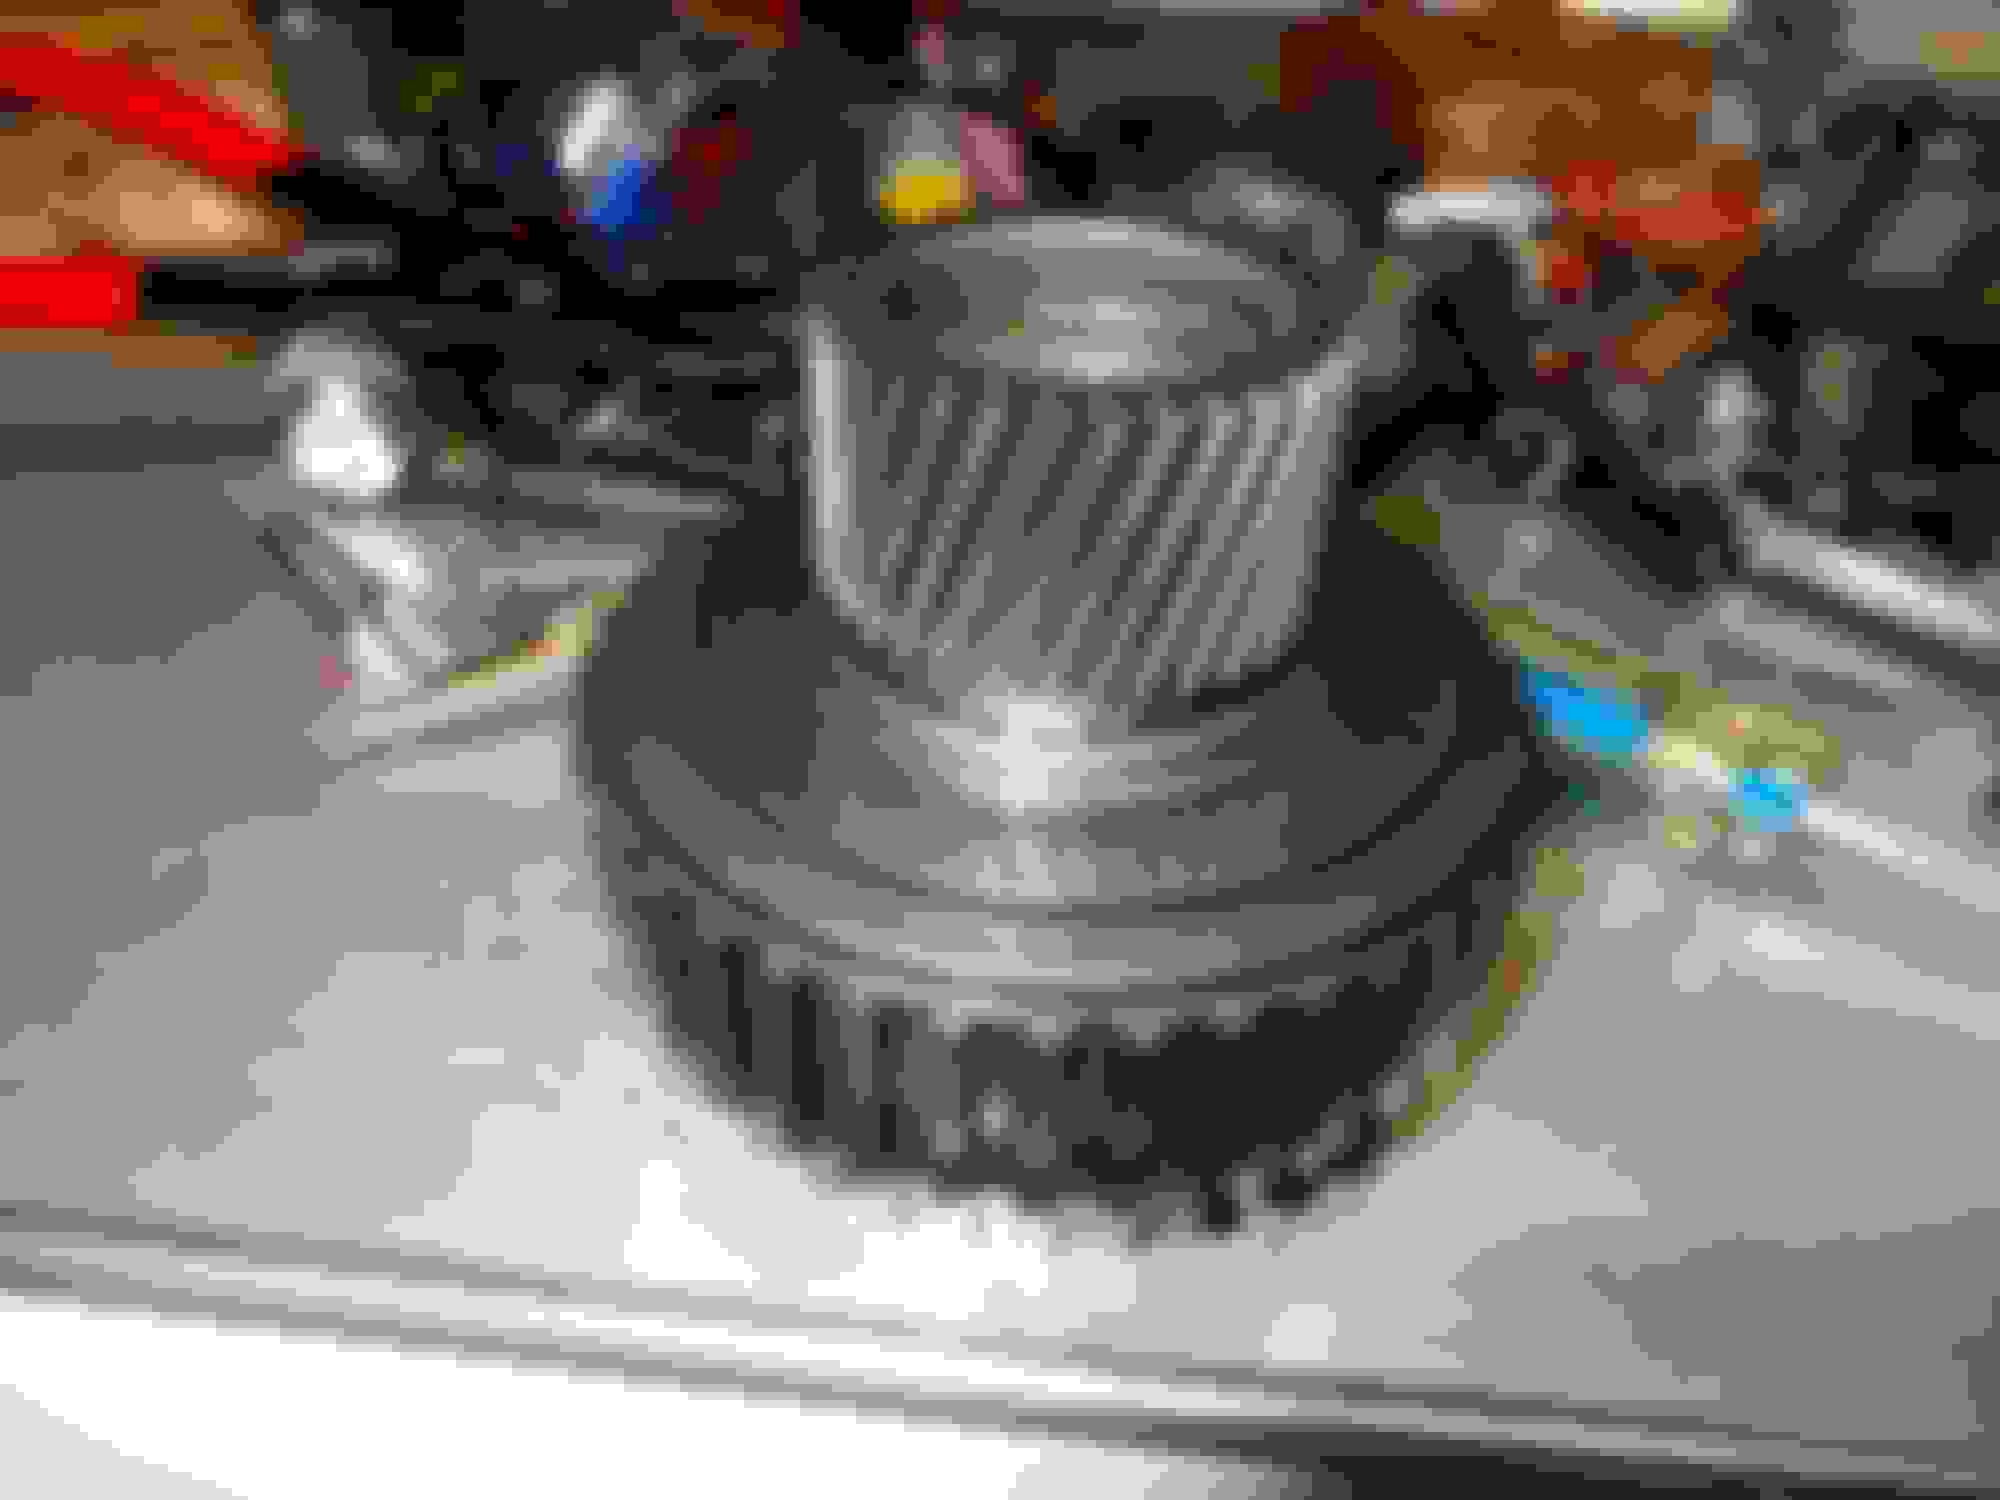
Forward sprag assembly with new Borg Warner sprag, new forward clutches/steels, and new bushings on the sun gear, disassembled, reassembled, and installed in the input drum pics. The sun gear will be put into the planetary gears in the case and then the input drum put over it. I put the sun gear in the input drum so you can see where it will index

 03-19-2015, 12:37 AM