When you click on links to various merchants on this site and make a purchase, this can result in this site earning a commission. Affiliate programs and affiliations include, but are not limited to, the eBay Partner Network.
New forward clutches/steels. Recommended clearance is 0.030-0.065, I got 0.045-0.050.
Don't forget to air check thoroughly to make sure your seals are good. There's 3 or 4 spots to air check on the input drum. Check with 35-40psi.
Edit by mrvedit: Don't air test the 3/4 clutch until the clutch is installed! Otherwise the piston might overextend and blow the seal out.
New 3-4 clutches/steels with new apply and backing plates. The recommended clearance is 0.060-0.085, I got 0.065-0.070. I've seen a lot of variation in what people want for this clutch pack, with some wanting as low as 0.015. I don't know if the load release springs affect those decisions, but I left mine in per my rebuild instructions and the Sonnax performance pack instructions. Some leave them out.
EDIT: I've been recommended that when using the 7 pack of frictions/steels over the stock 6 pack that the clearance should be more like 0.040-0.050. I picked up a couple thicker steels from a local shop and will be replacing two middle steels with the thicker ones.
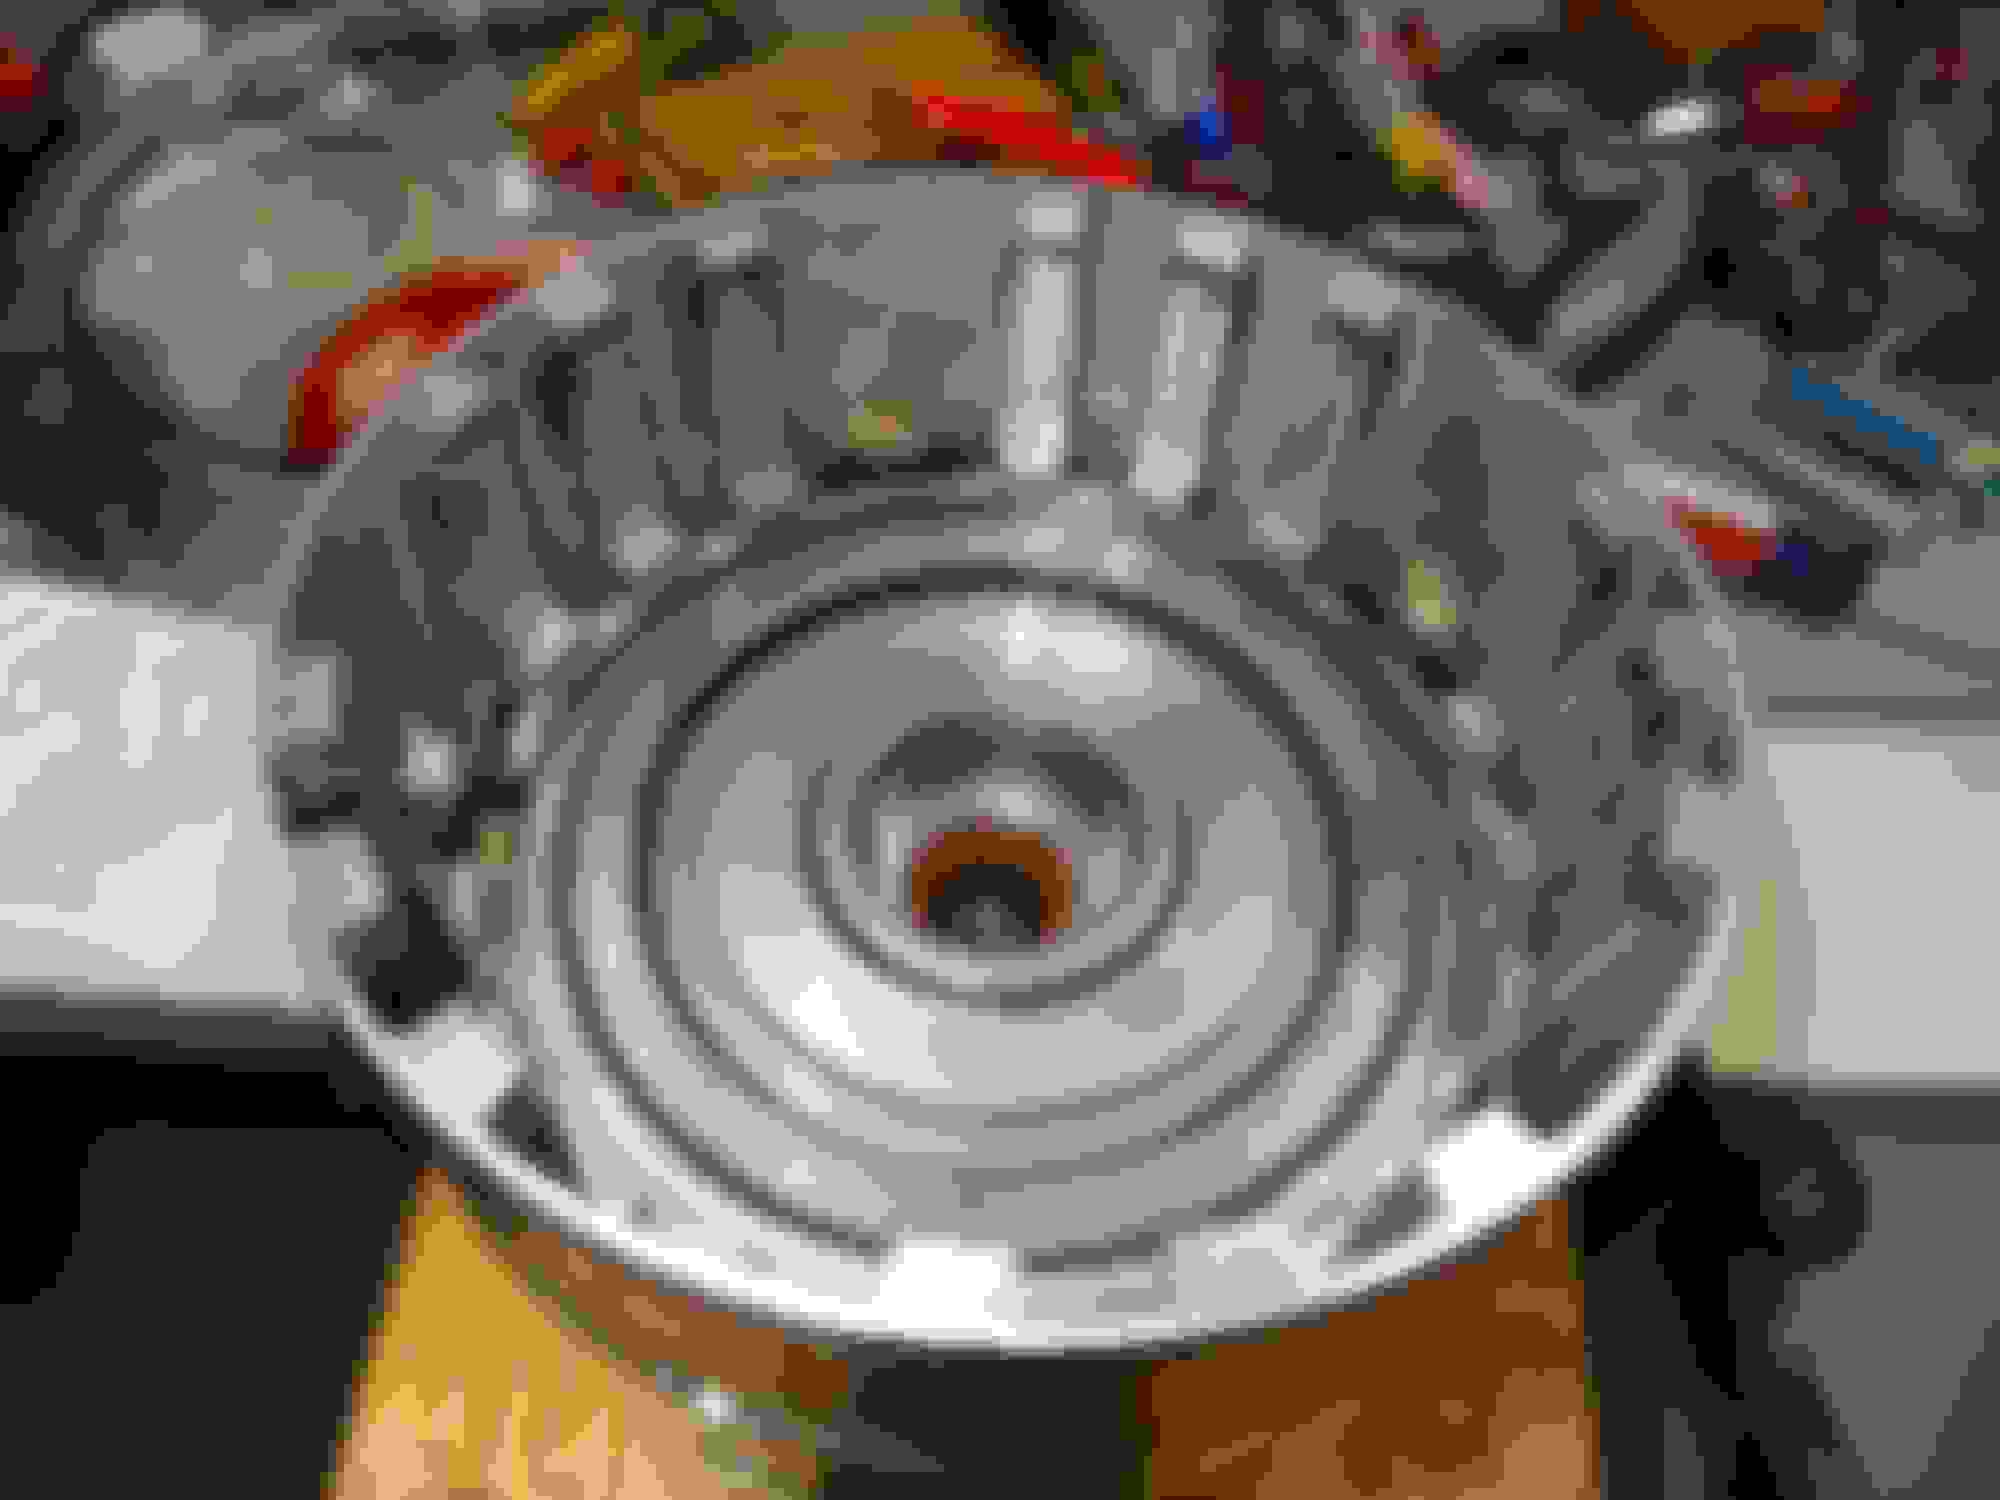
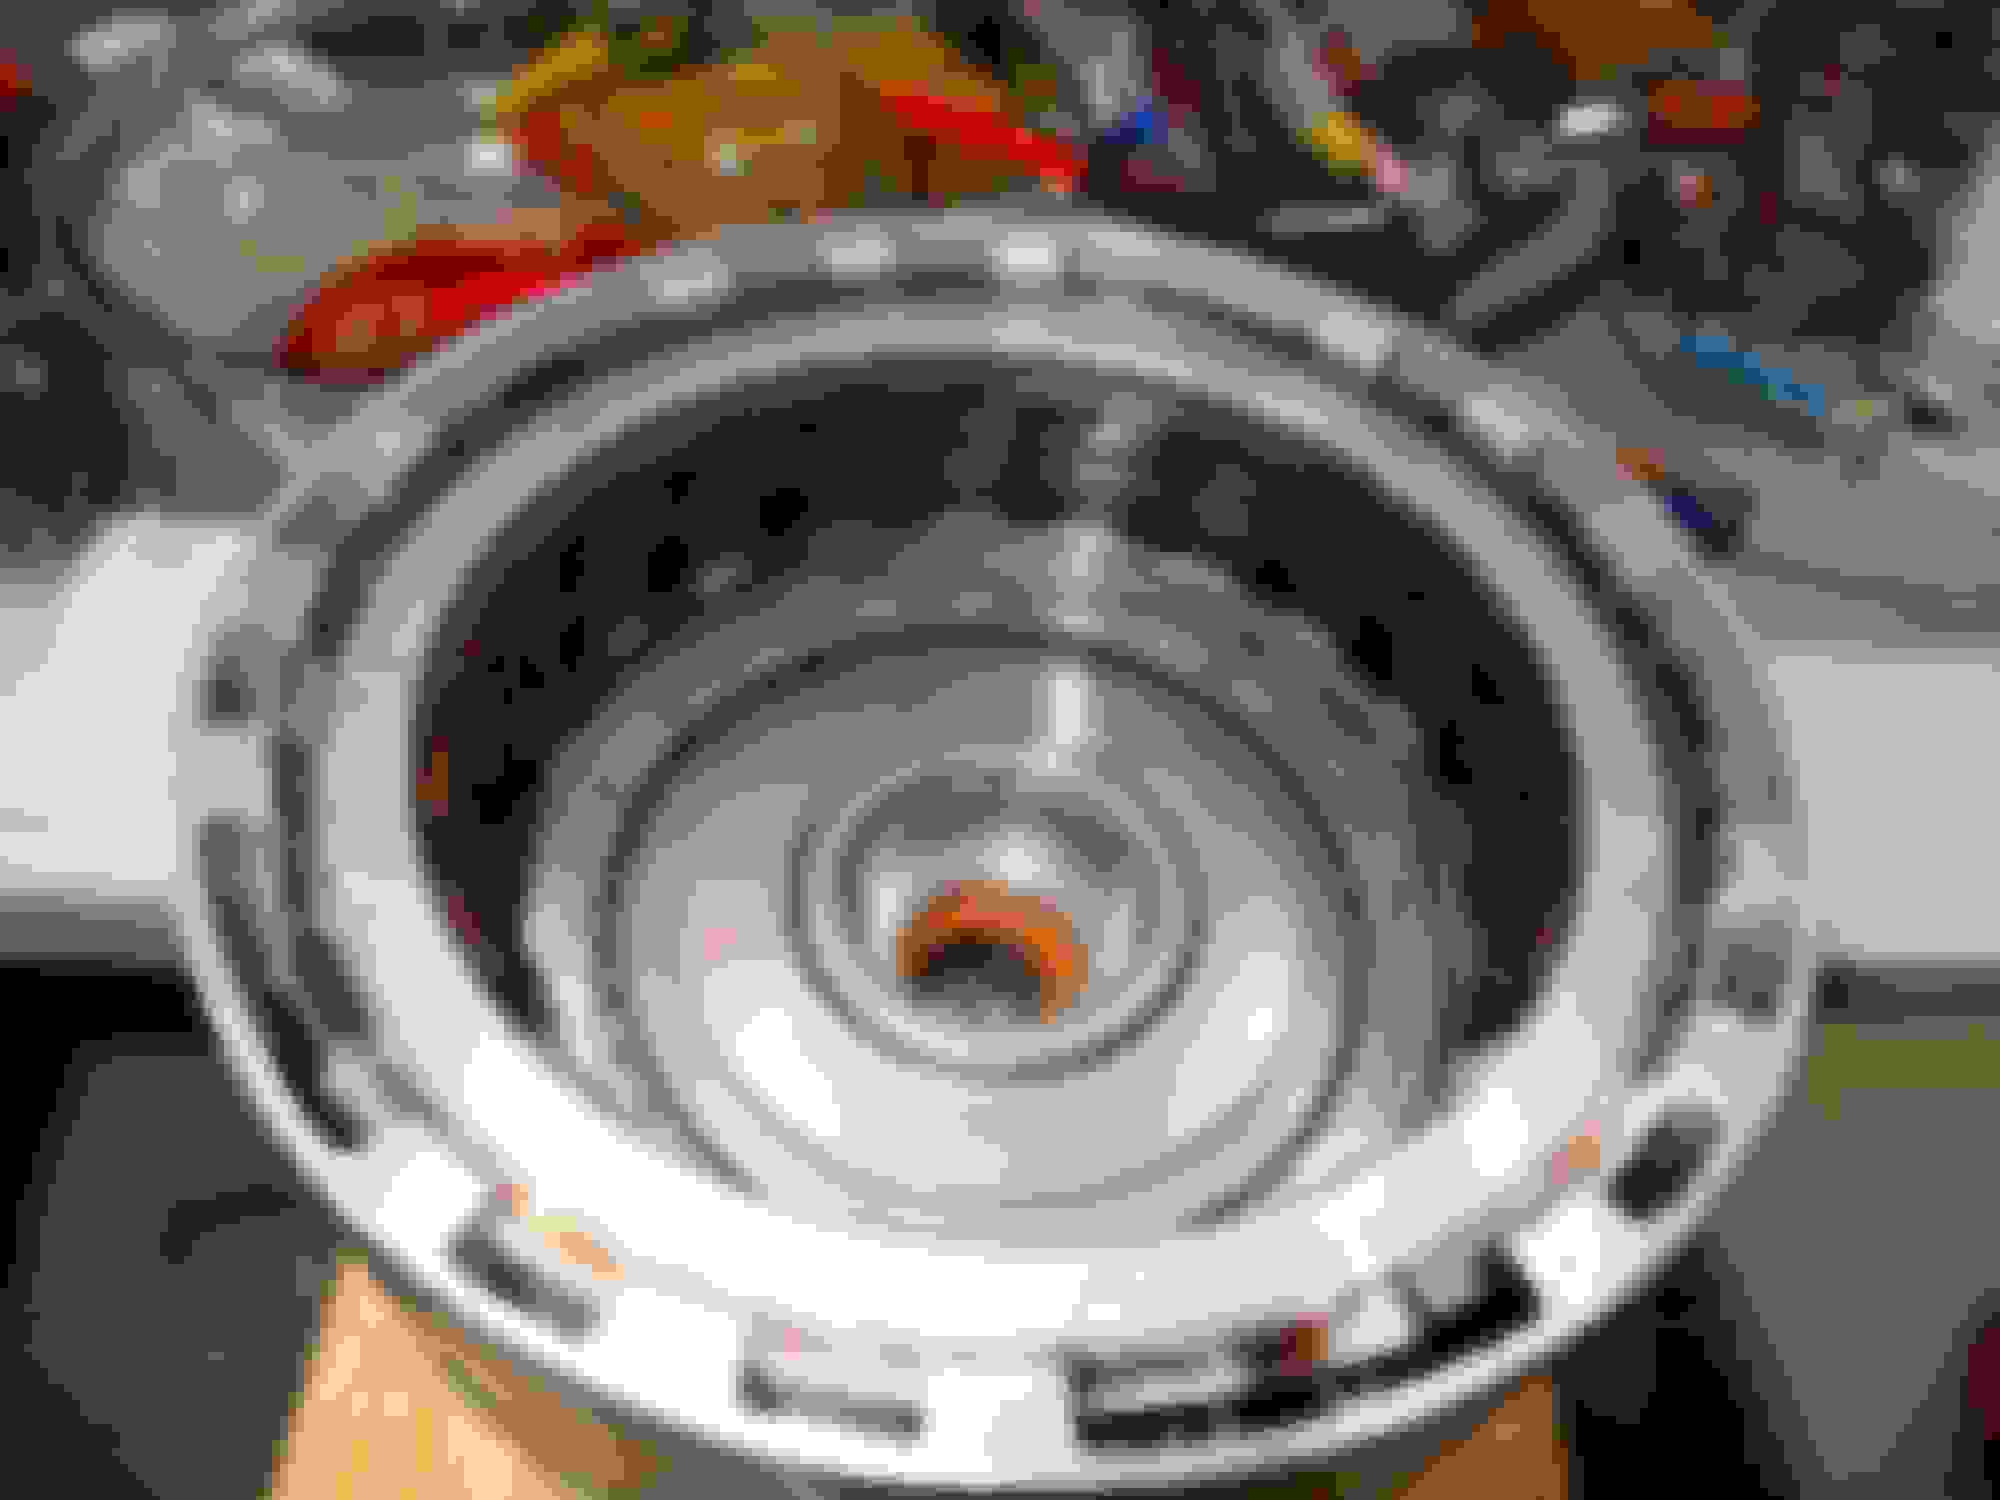
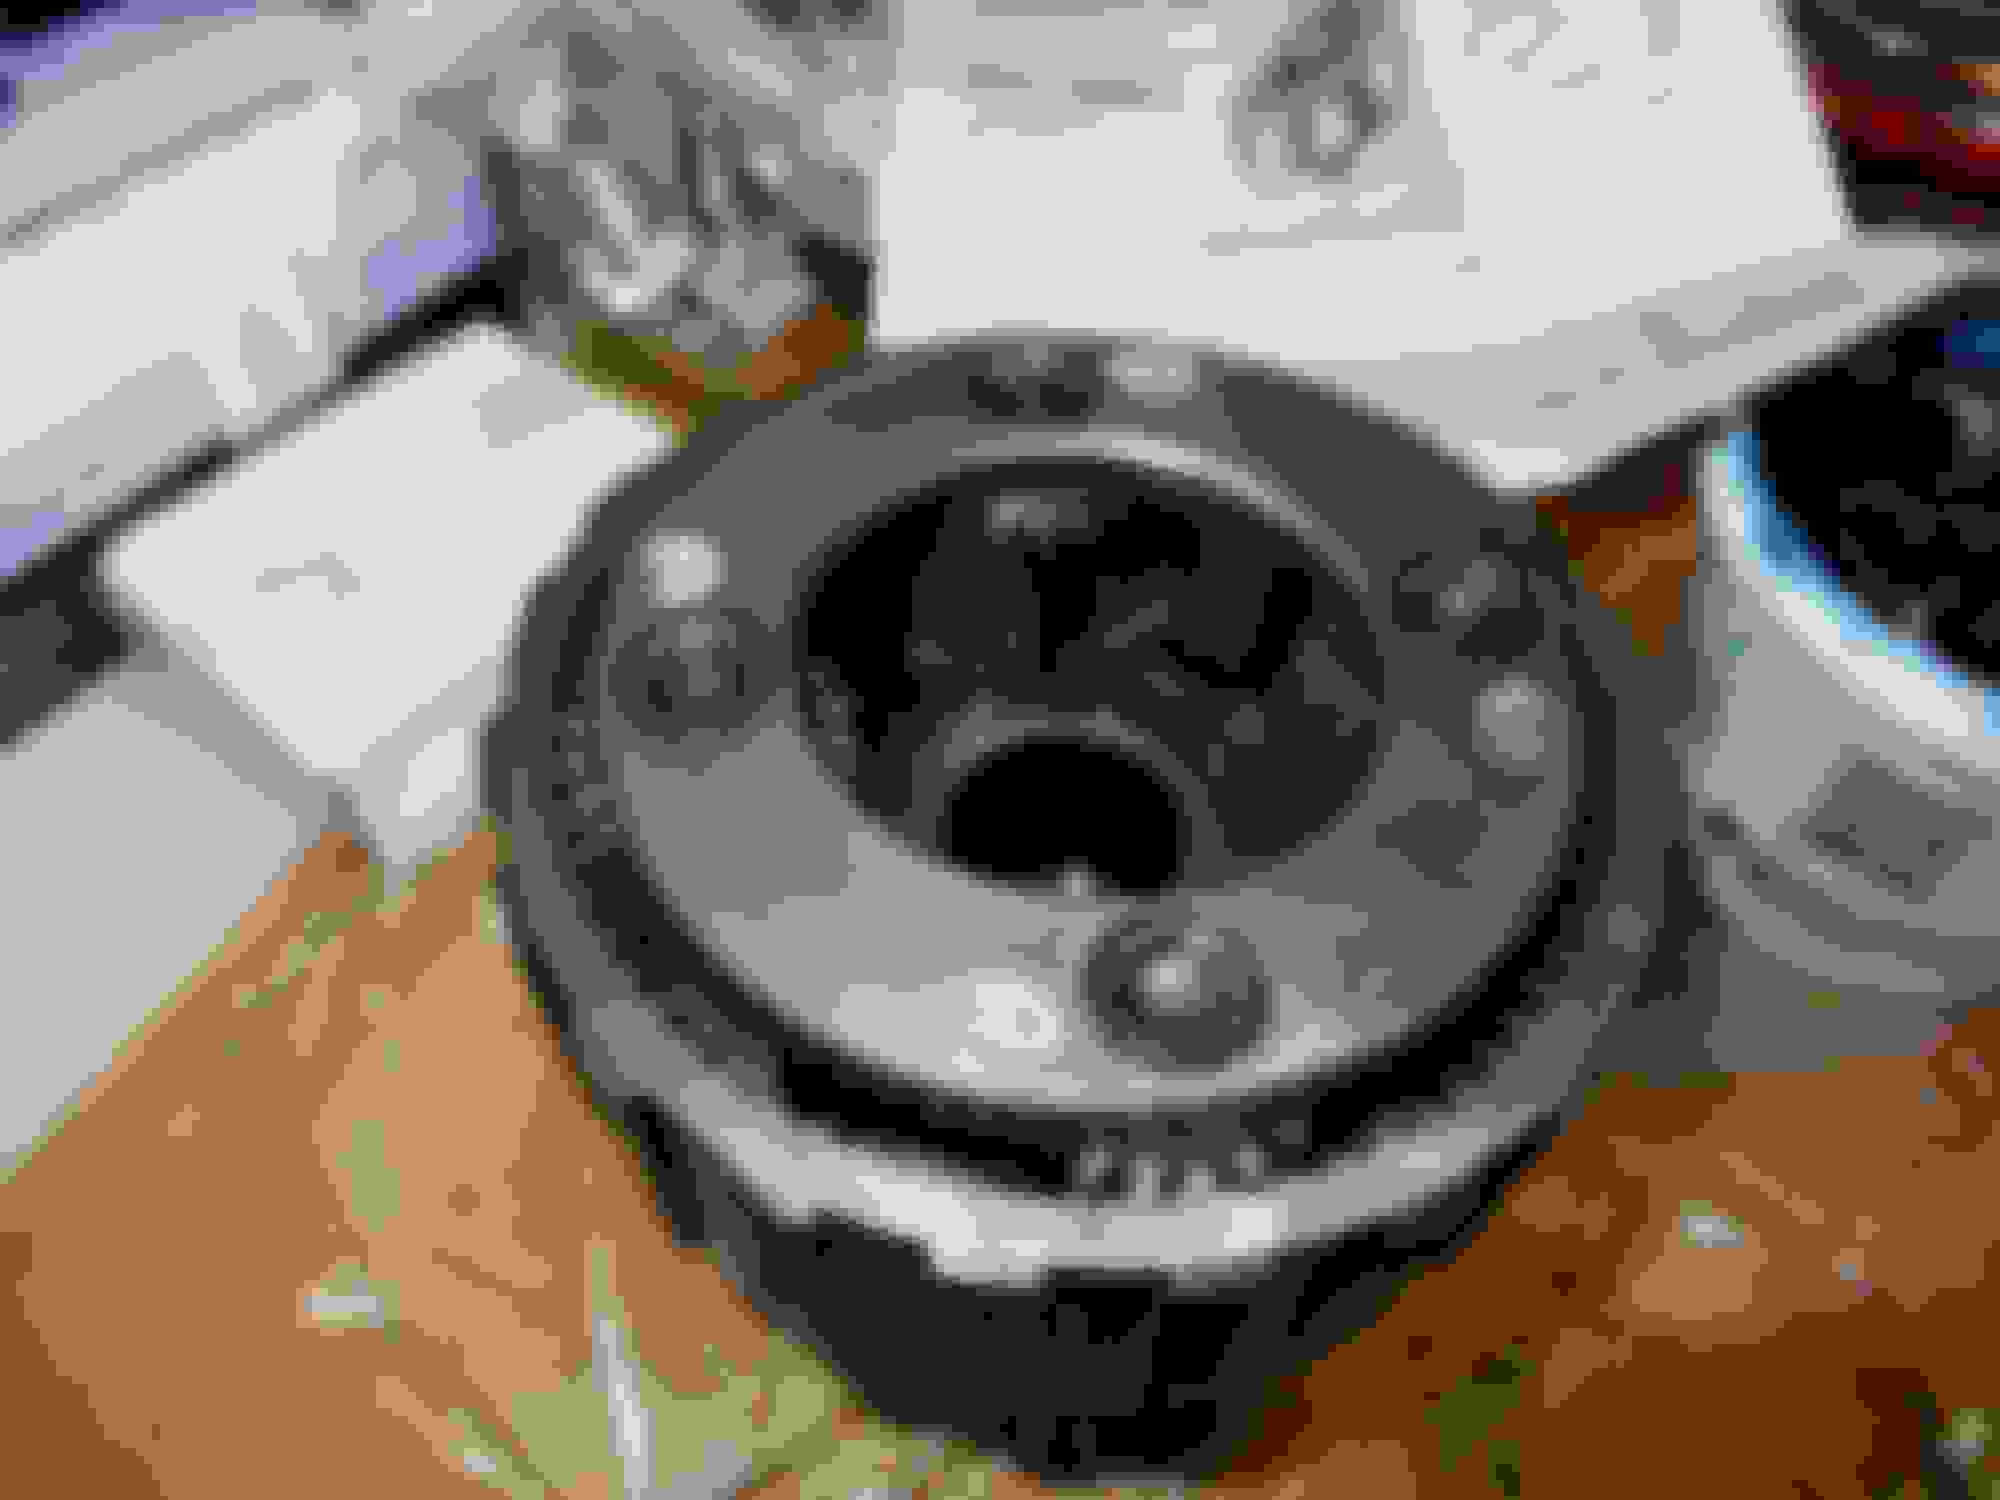
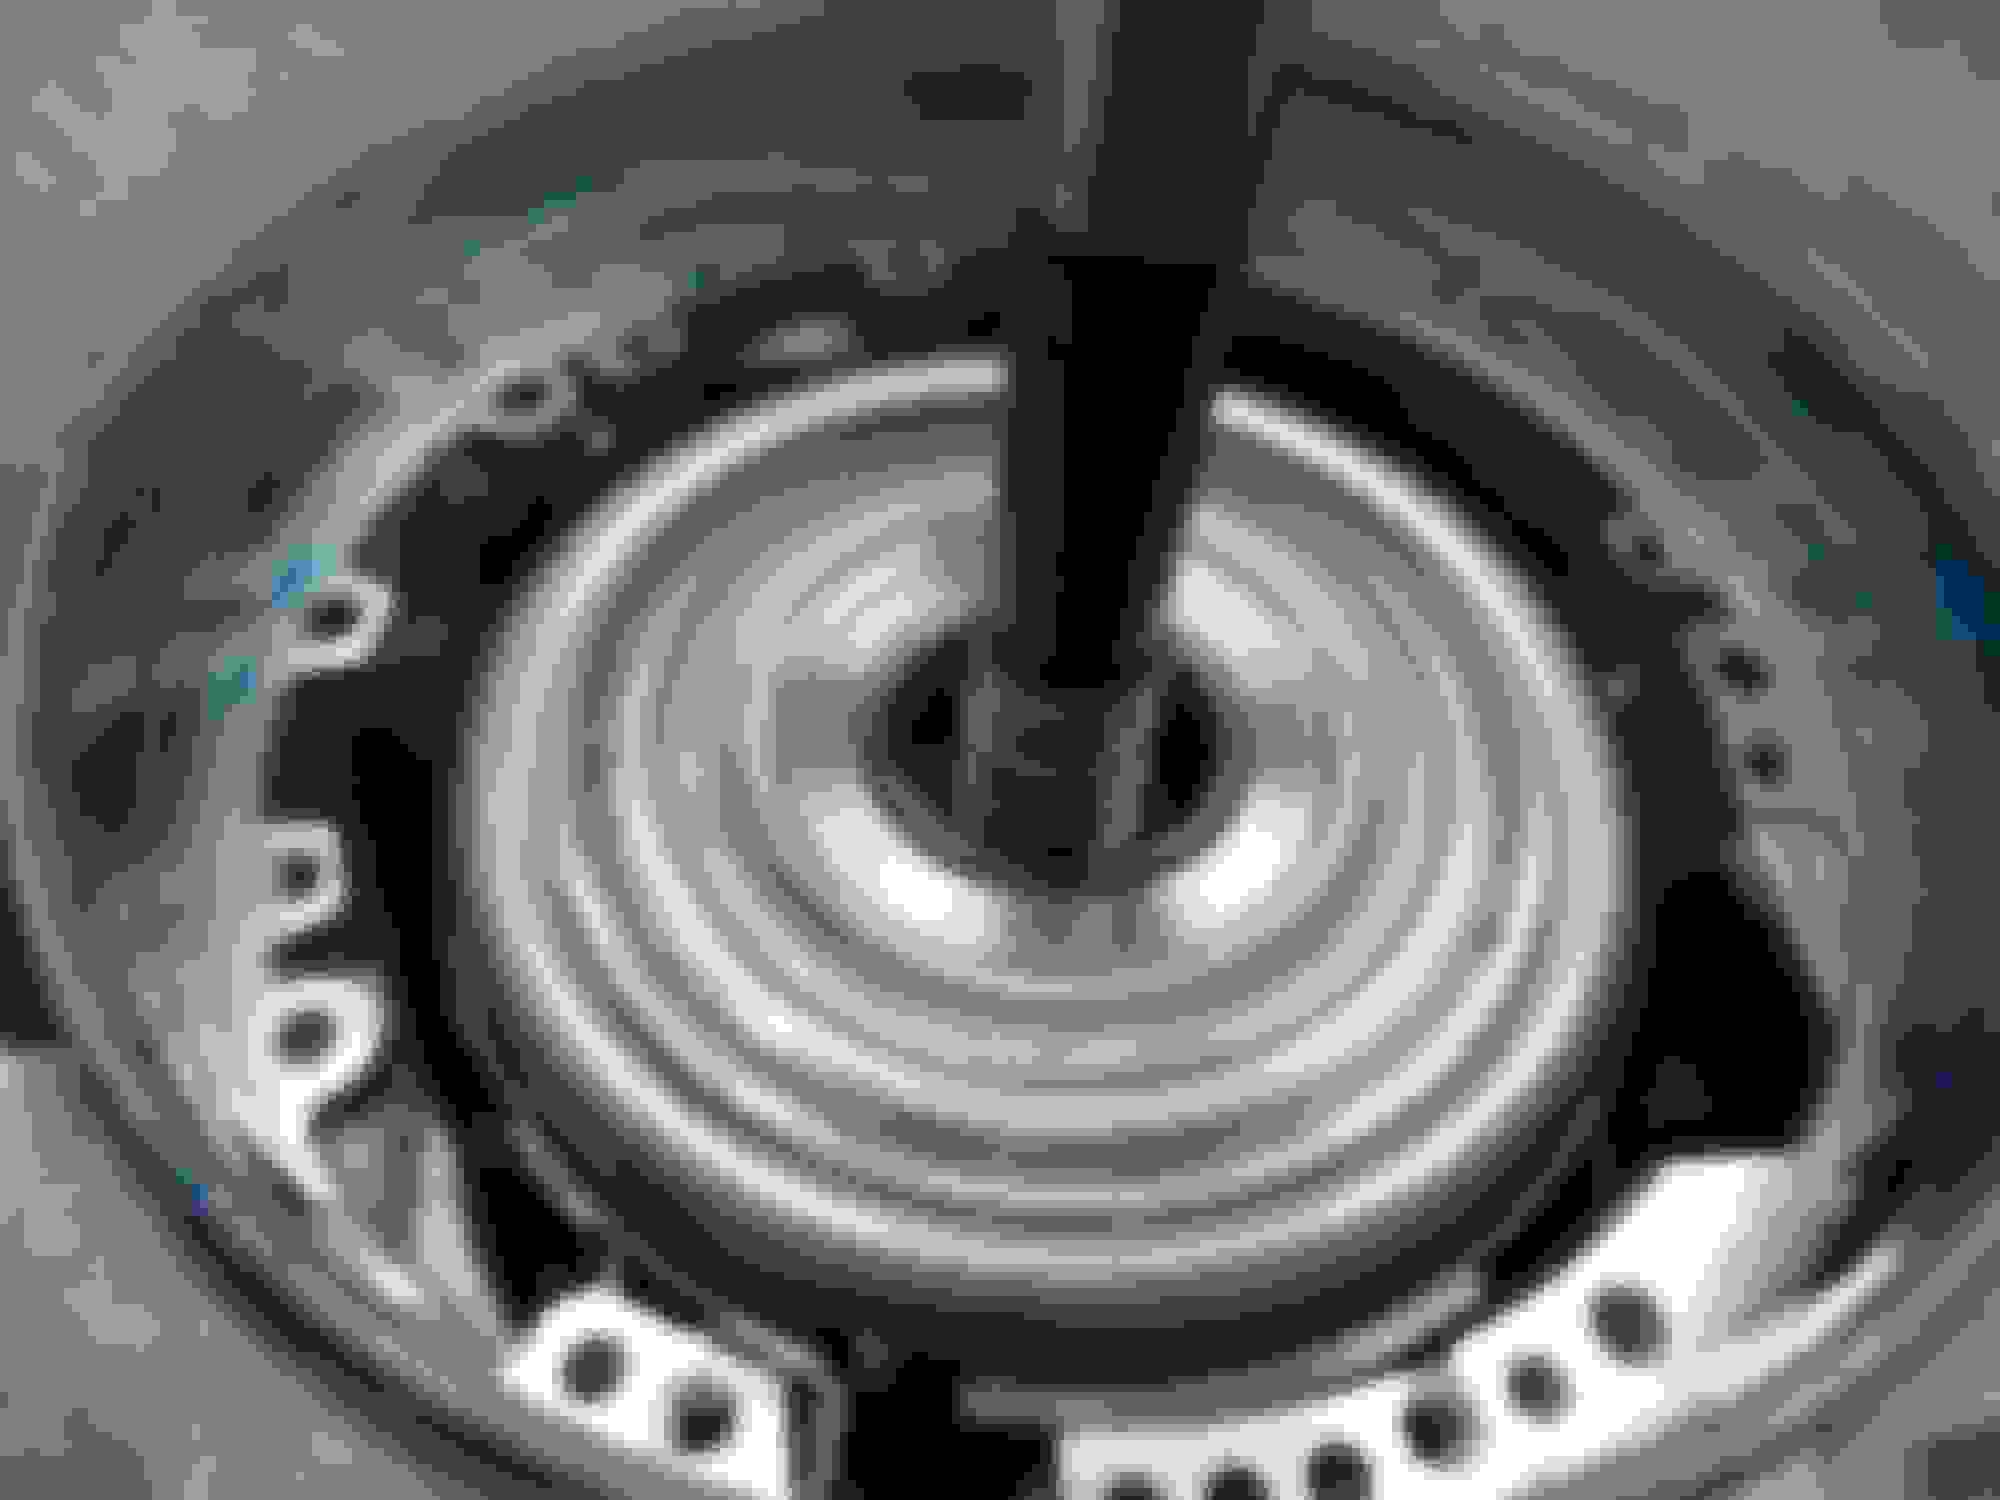
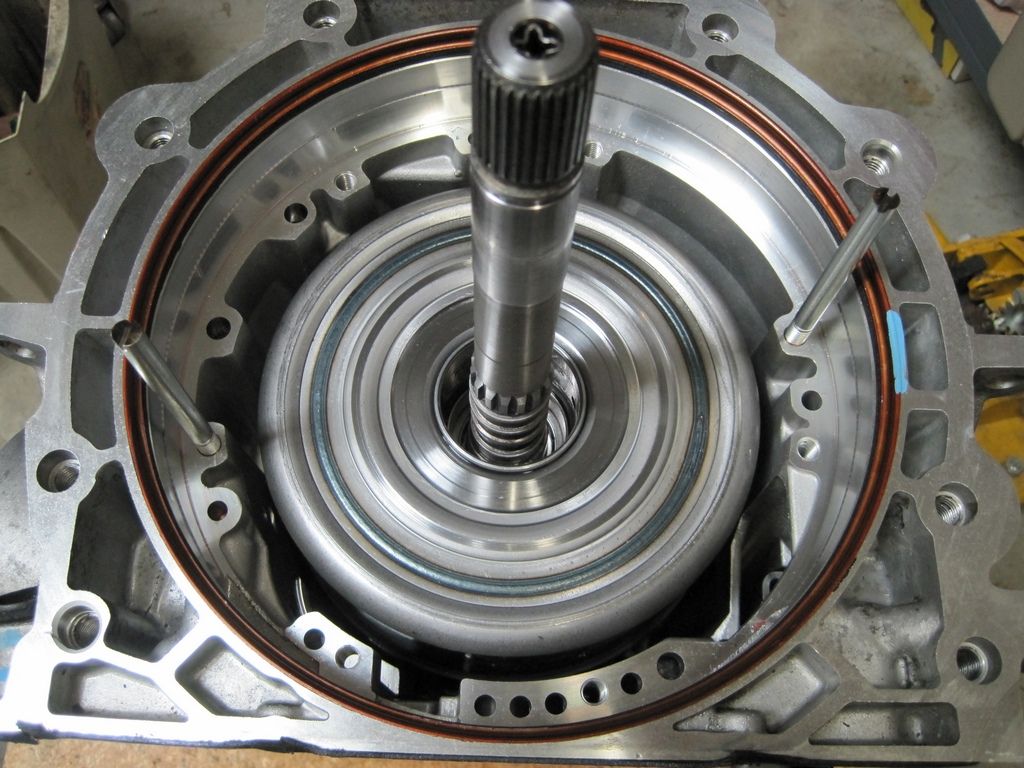
And here's the completed input drum. Don't forget the selective washer and thrust bearing. The number on the selective washer indicates a range of thicknesses, such as 69 indicating 0.087-0.091. The washer goes number side against the input drum.
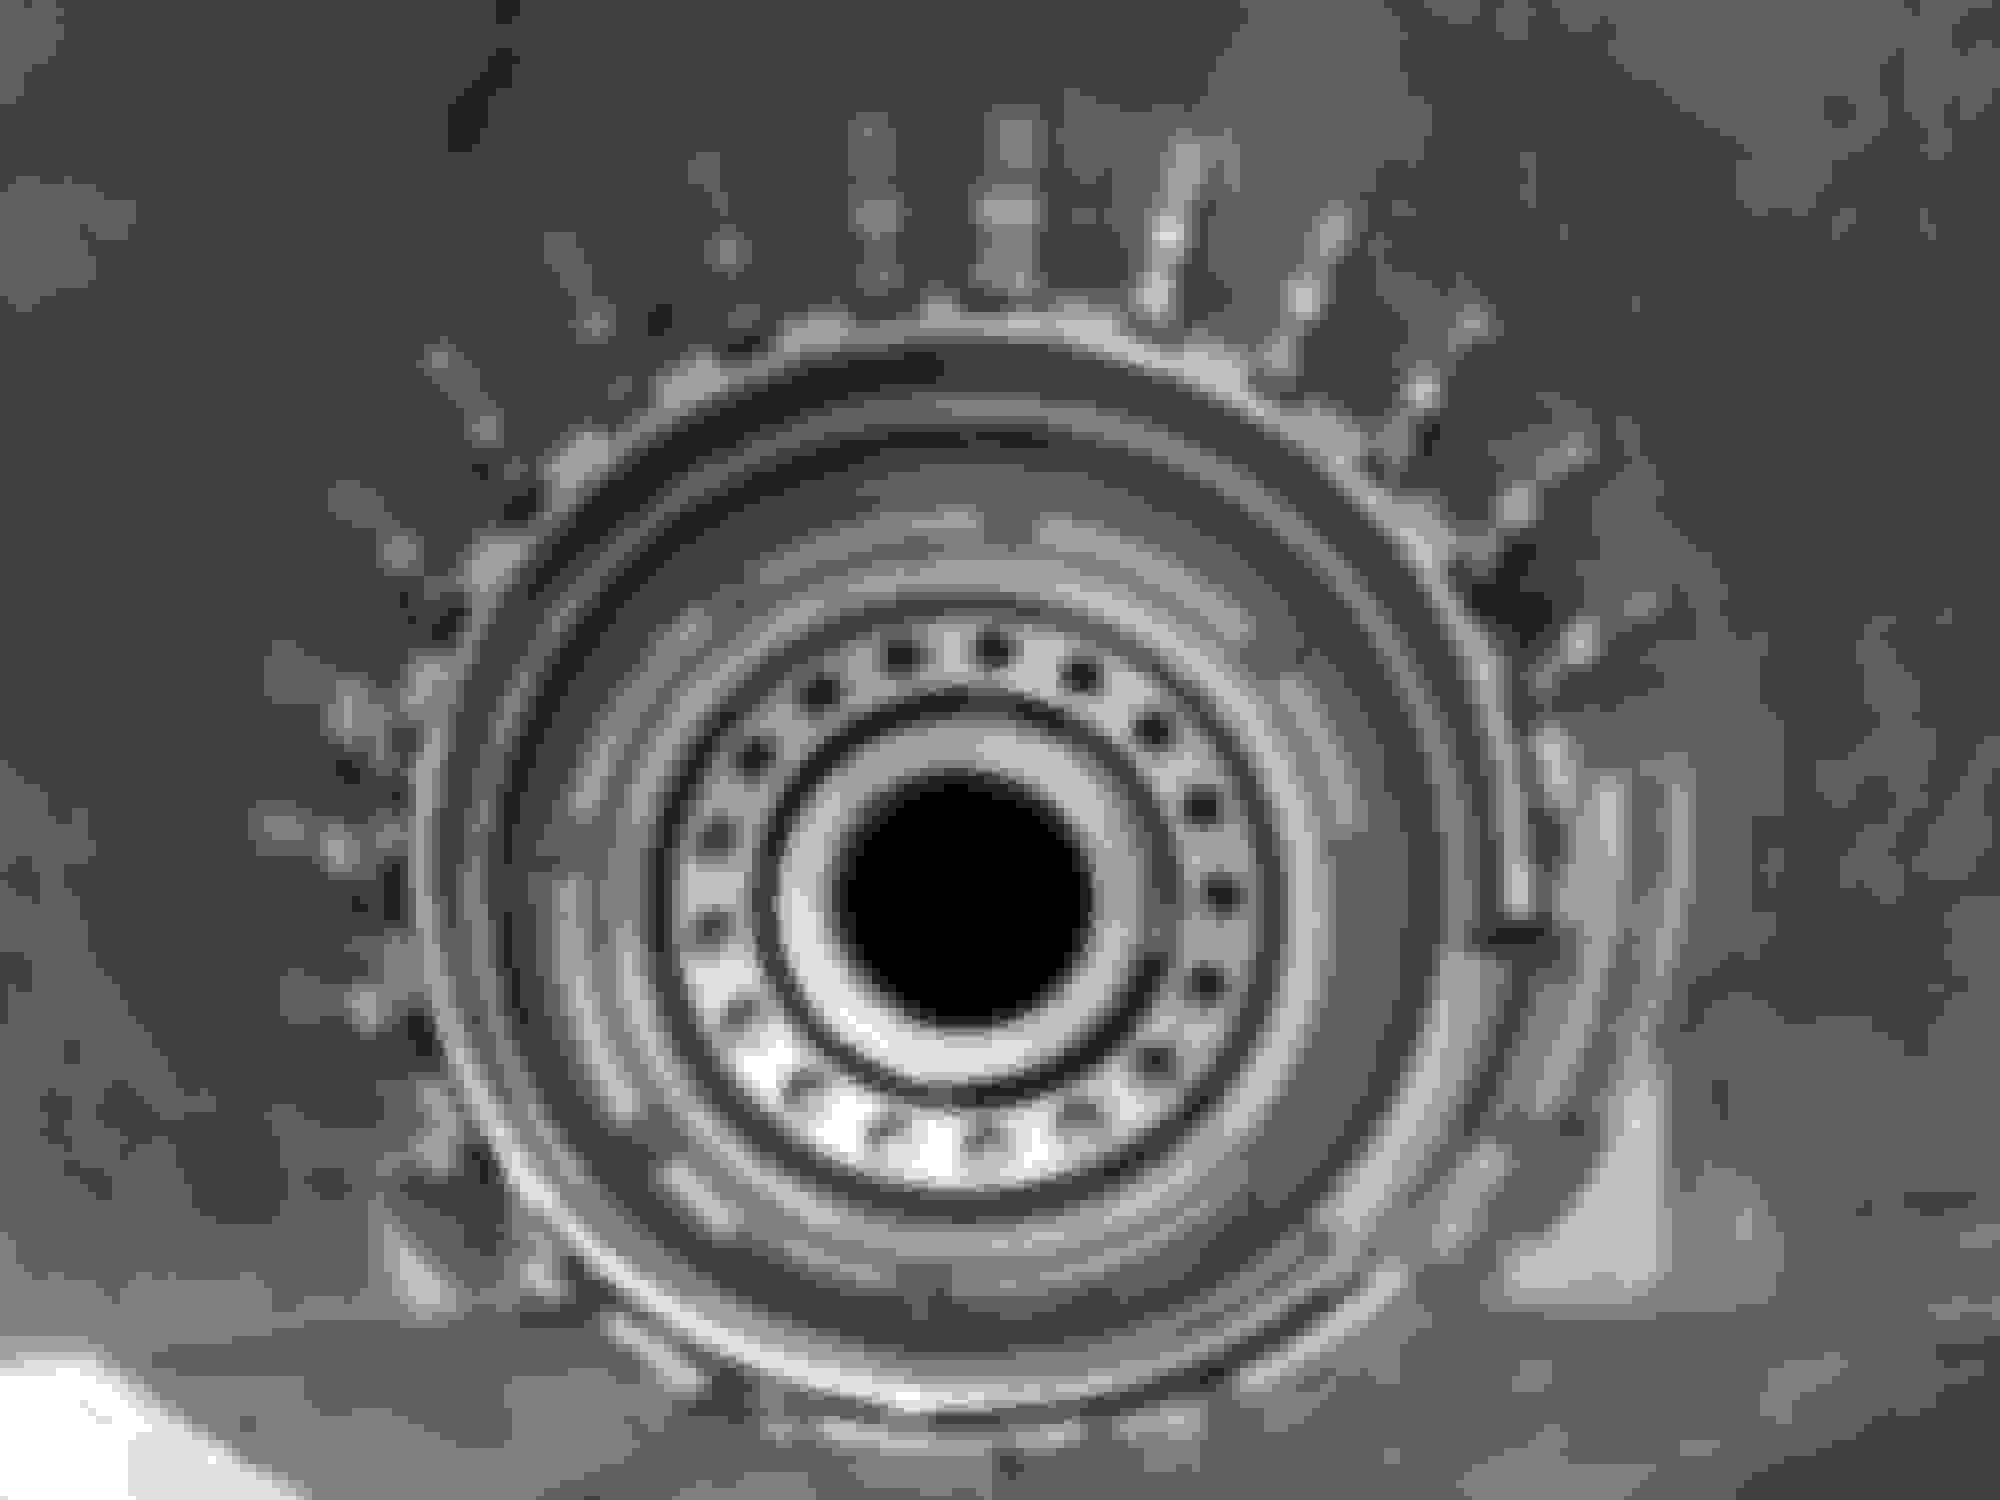
Rear ring gear, left, and reverse sprag assembly with new Borg Warner sprag. New thrust bearing on the ring gear. The race pictured is the stock one, which will be replaced with a special one that comes with the Sonnax Smart Shell. Don't forget to lube your sprag with ATF.
Putting the piston at the bottom of the case. The thrust bearing that the ring gear rides on is placed in the picture as it will ride when the ring gear is installed. Use your spring compressor to put the snap ring on the spring case.
I would go tighter on the 3/4 clutch and get it down below .050. Use one thicker friction or thicker steel to get it there. I think some builders go crazy tight but I'm sure every performance builder would suggest no more than .045 or so.
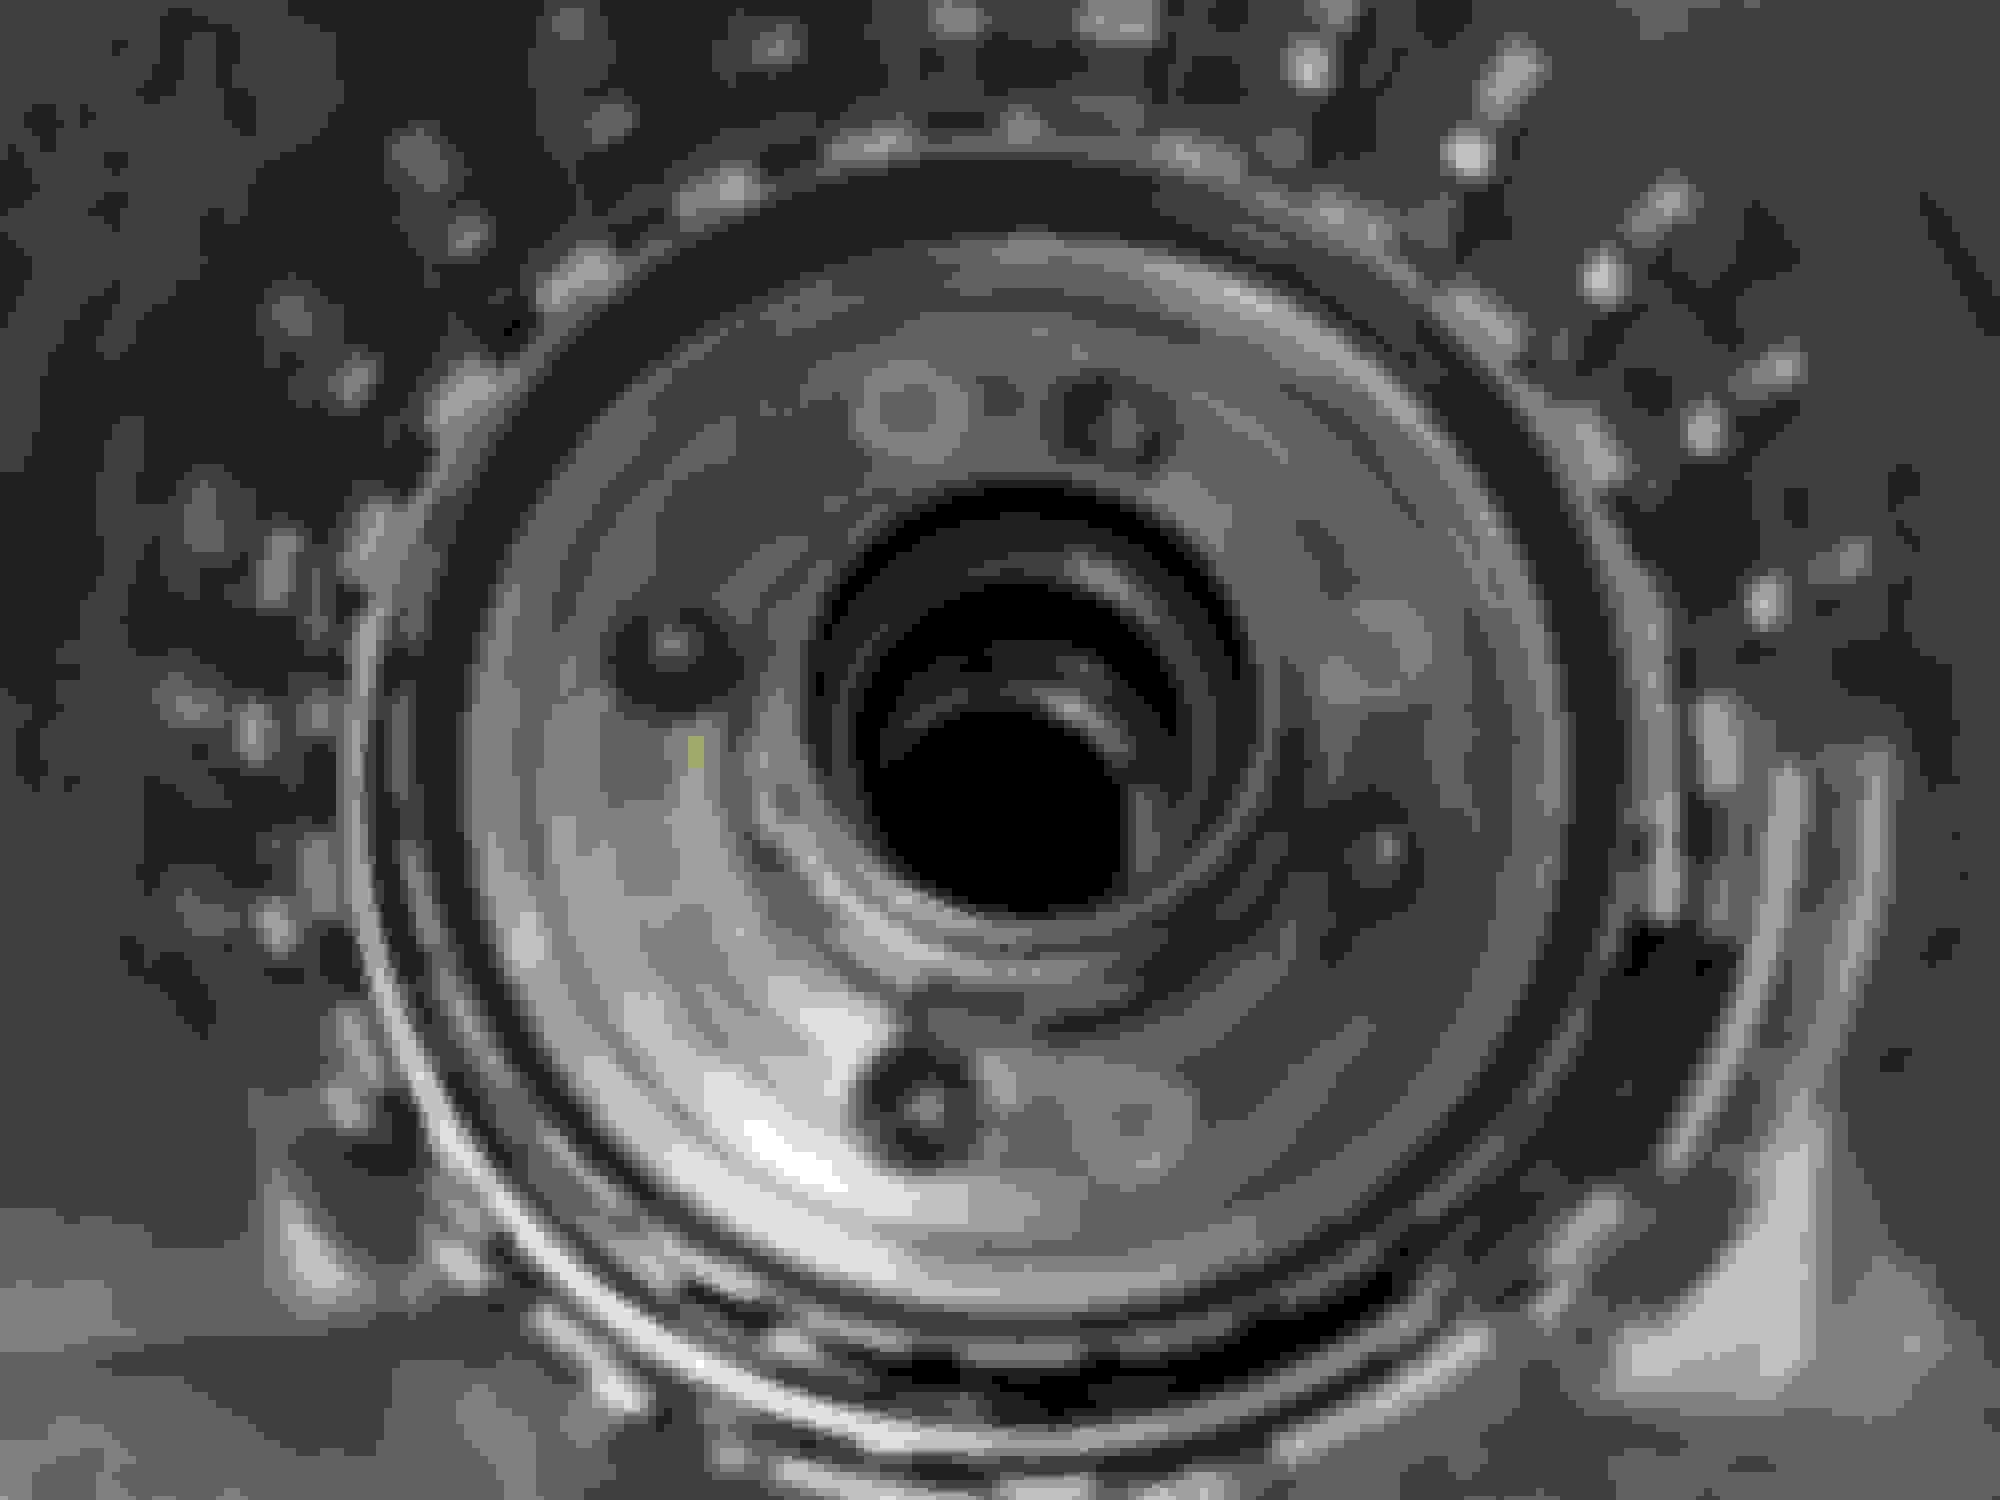
Rear planetary gear installed. My stock one was fine. Lube the pinions with ATF.
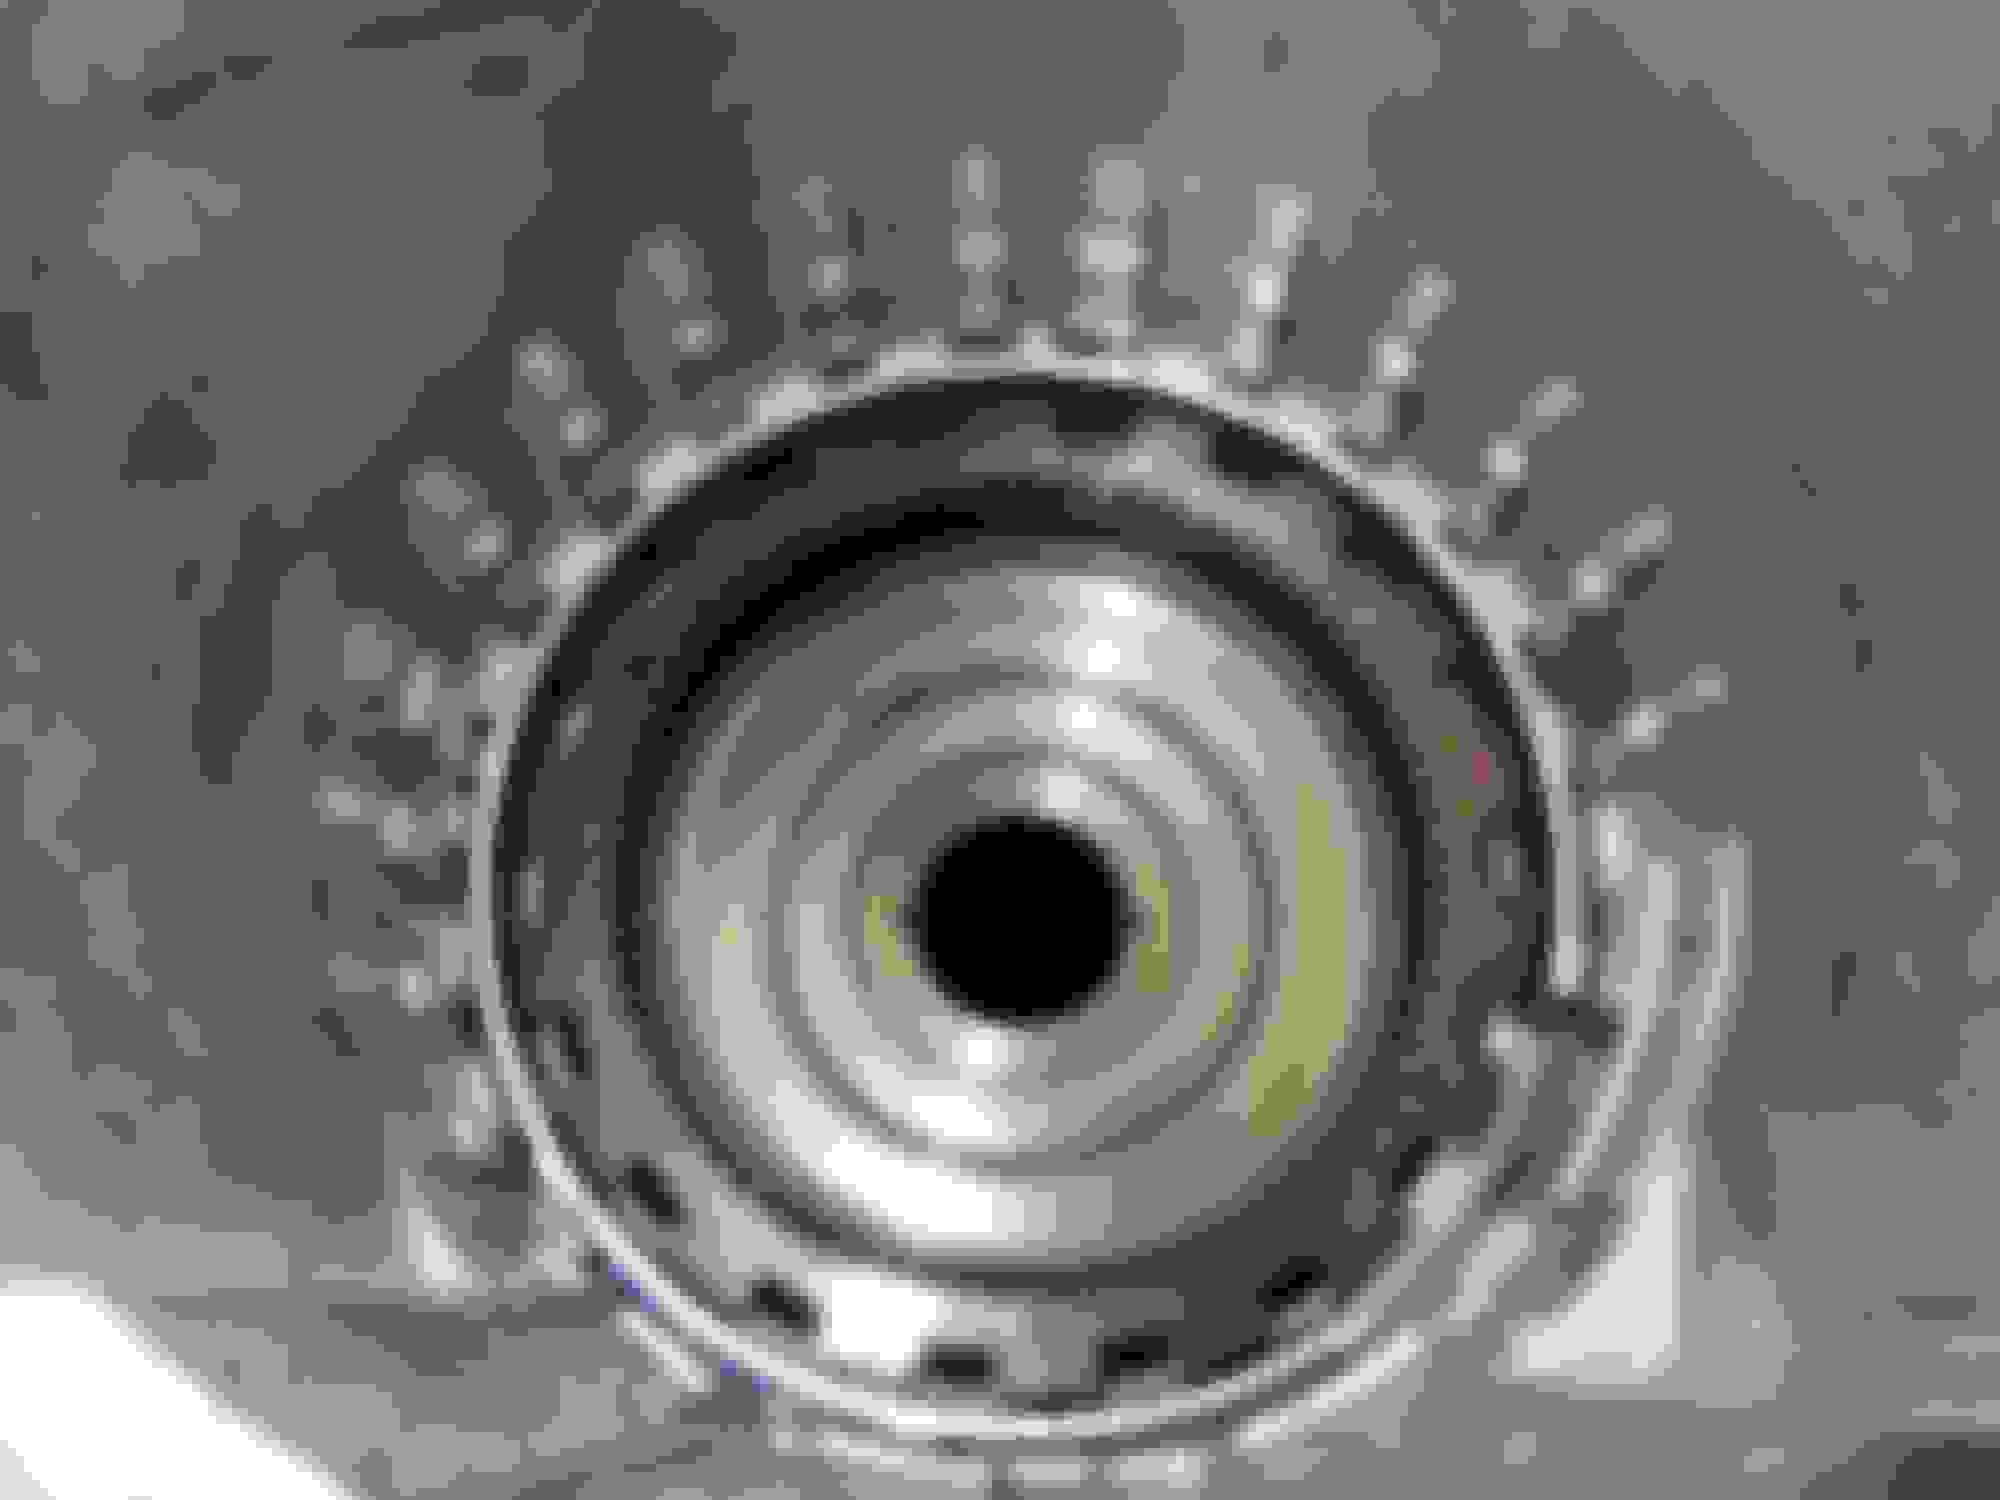
Reverse sprag assembly installed with Smart Shell special inner race.
Sonnax Smart Shell installed. This should turn very easily. Depending on your year, you may have had a thrust washer or a thrust bearing. When using the Smart Shell you will use the Sonnax thrust bearing in place of whatever was there previously.
Here's the front planetary gearset inside the reaction carrier. Lube the pinions and the secret, non-removable thrust washer in the center with ATF.
I would go tighter on the 3/4 clutch and get it down below .050. Use one thicker friction or thicker steel to get it there. I think some builders go crazy tight but I'm sure every performance builder would suggest no more than .045 or so.
Using the next size thicker plate would put me at about 0.030-0.035 clearance (plates increase in increments of about 0.035), which I think in your post is saying a bit too tight. So that would leave me replacing a couple steels with slightly thicker ones?
EDIT: I picked up a couple of the thicker steels from a local shop. I'll be replacing two in the middle of my clutch pack with the thicker steels.
Last edited by coryforsenate; 03-25-2015 at 03:44 PM.
I edited your post #41 to add:
Don't air test the 3/4 clutch until the clutch is installed! Otherwise the 3/4 piston might overextend and blow its seal out.
Okey dokey, so I had a problem with the output shaft not going far enough past the front planetary gears to install the snap ring. Reassembled everything multiple times to no avail. Very frustrating since everything appeared to be seated fine.
Turns out the bigger of the two bushings in the reaction shaft wasn't driven in far enough. That's my fault, since I installed it. However, it turned out to be fortuitous because the bushing had a fair sized horizontal scratch that I could easily catch with my fingernail. Maybe the scratch happened while I was jiggling the output shaft, I'm not sure. Anyways, it needs to be replaced and I don't have an extra bushing so I'm going to drop it off at the shop and buy a new bushing and have them install it. I need to finish the assembly by tomorrow night so I can install the transmission Saturday, so sometimes paying a good shop $20 for a bushing plus two minute job is worth not having to deal with it.
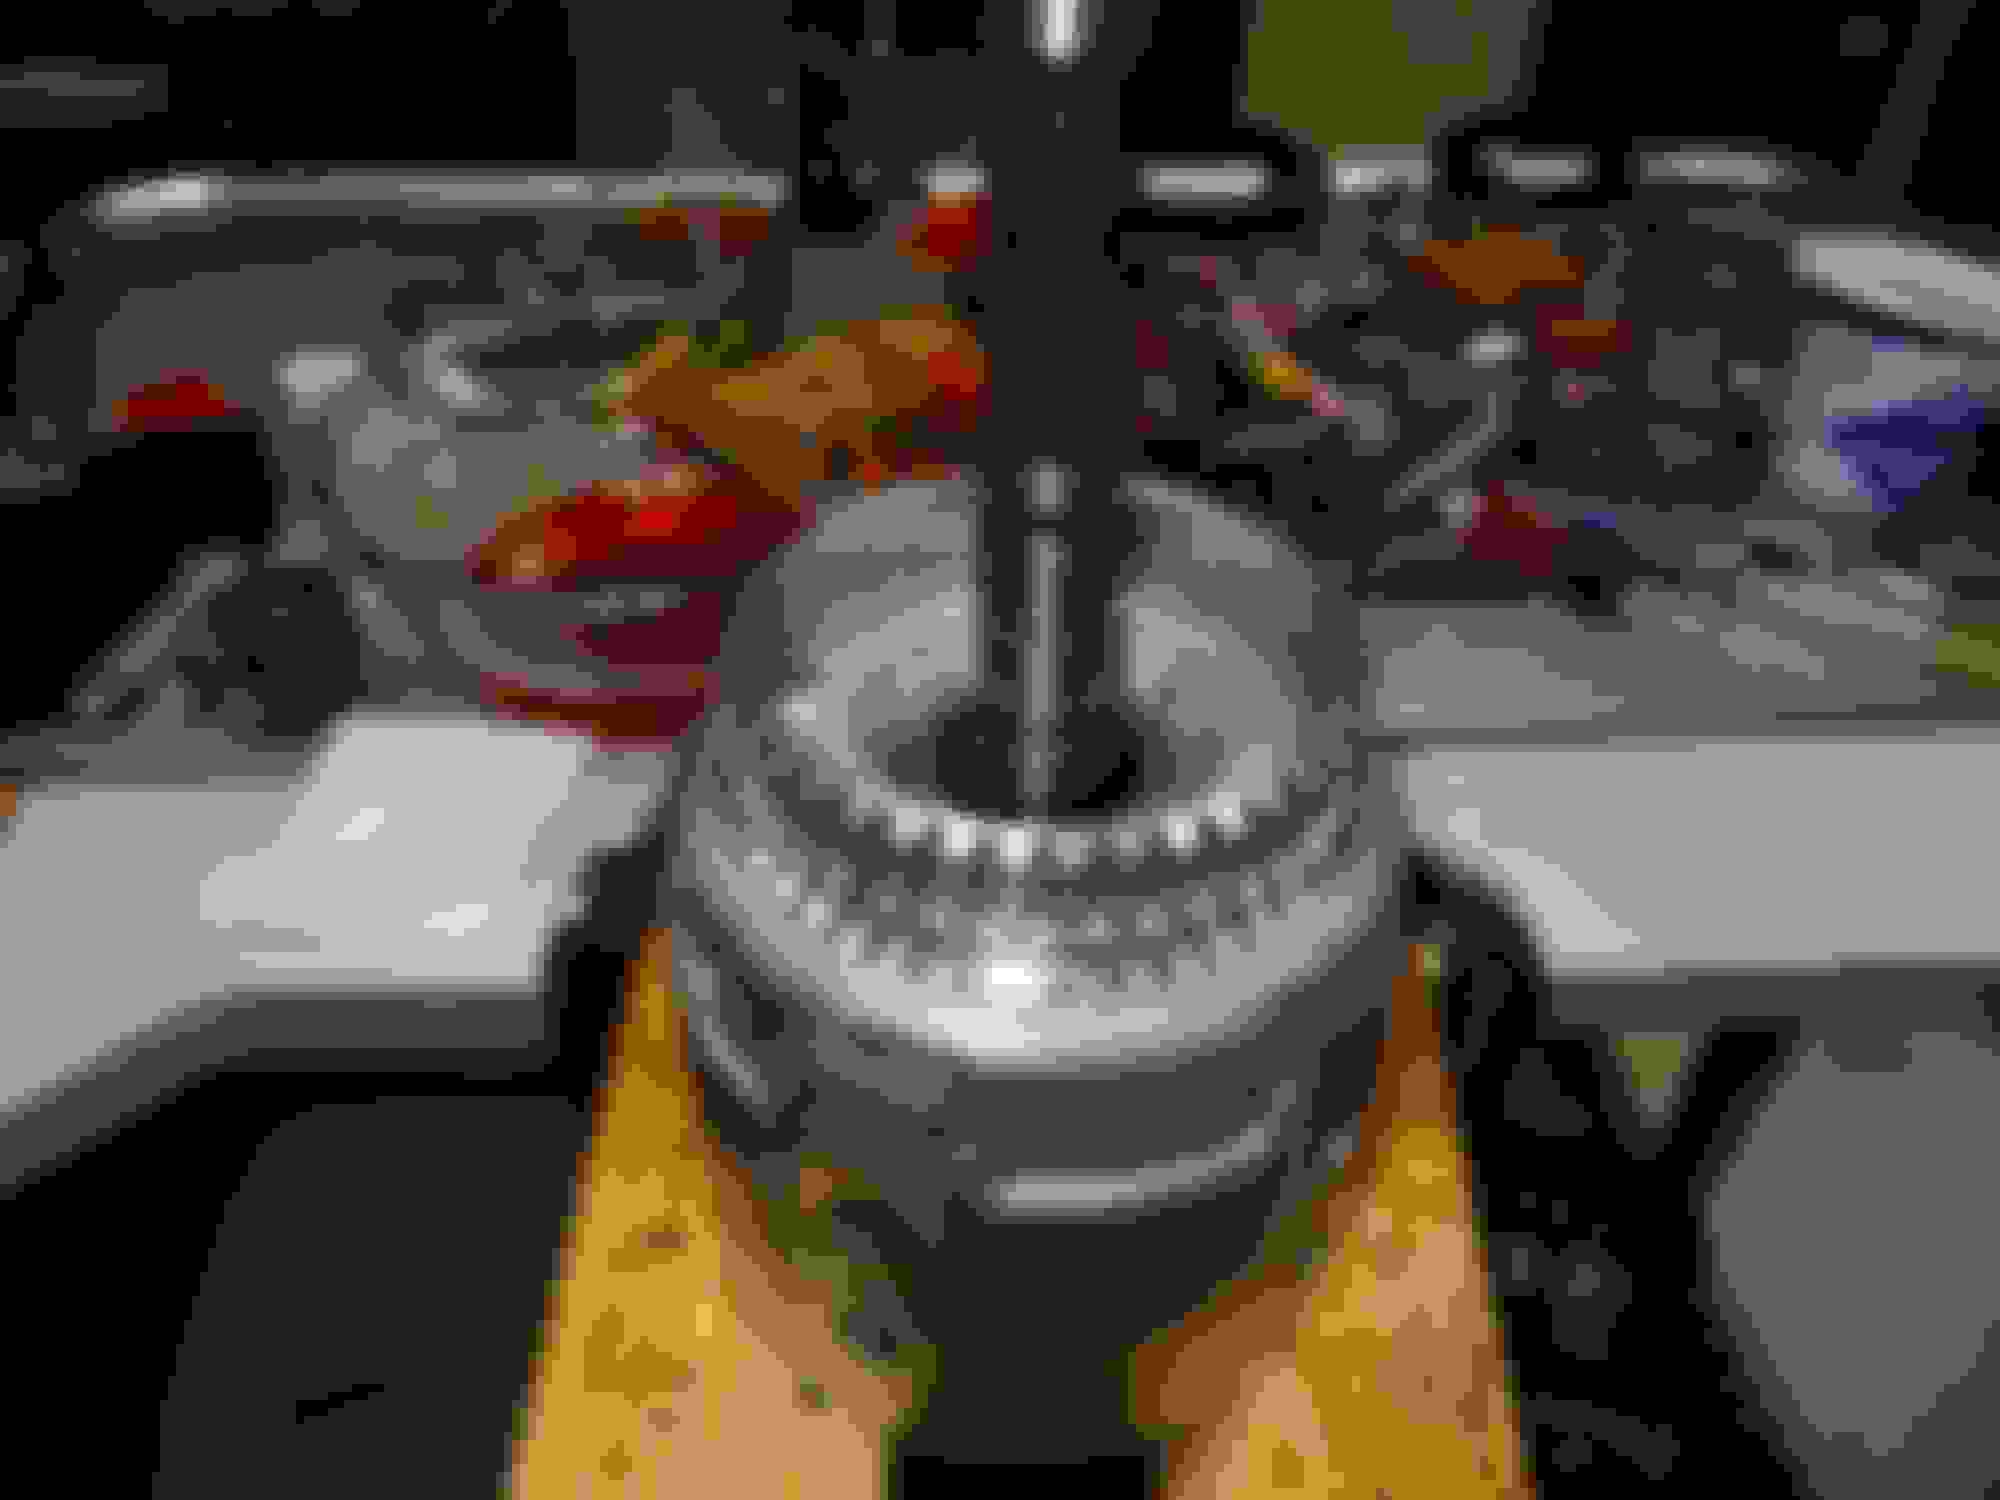
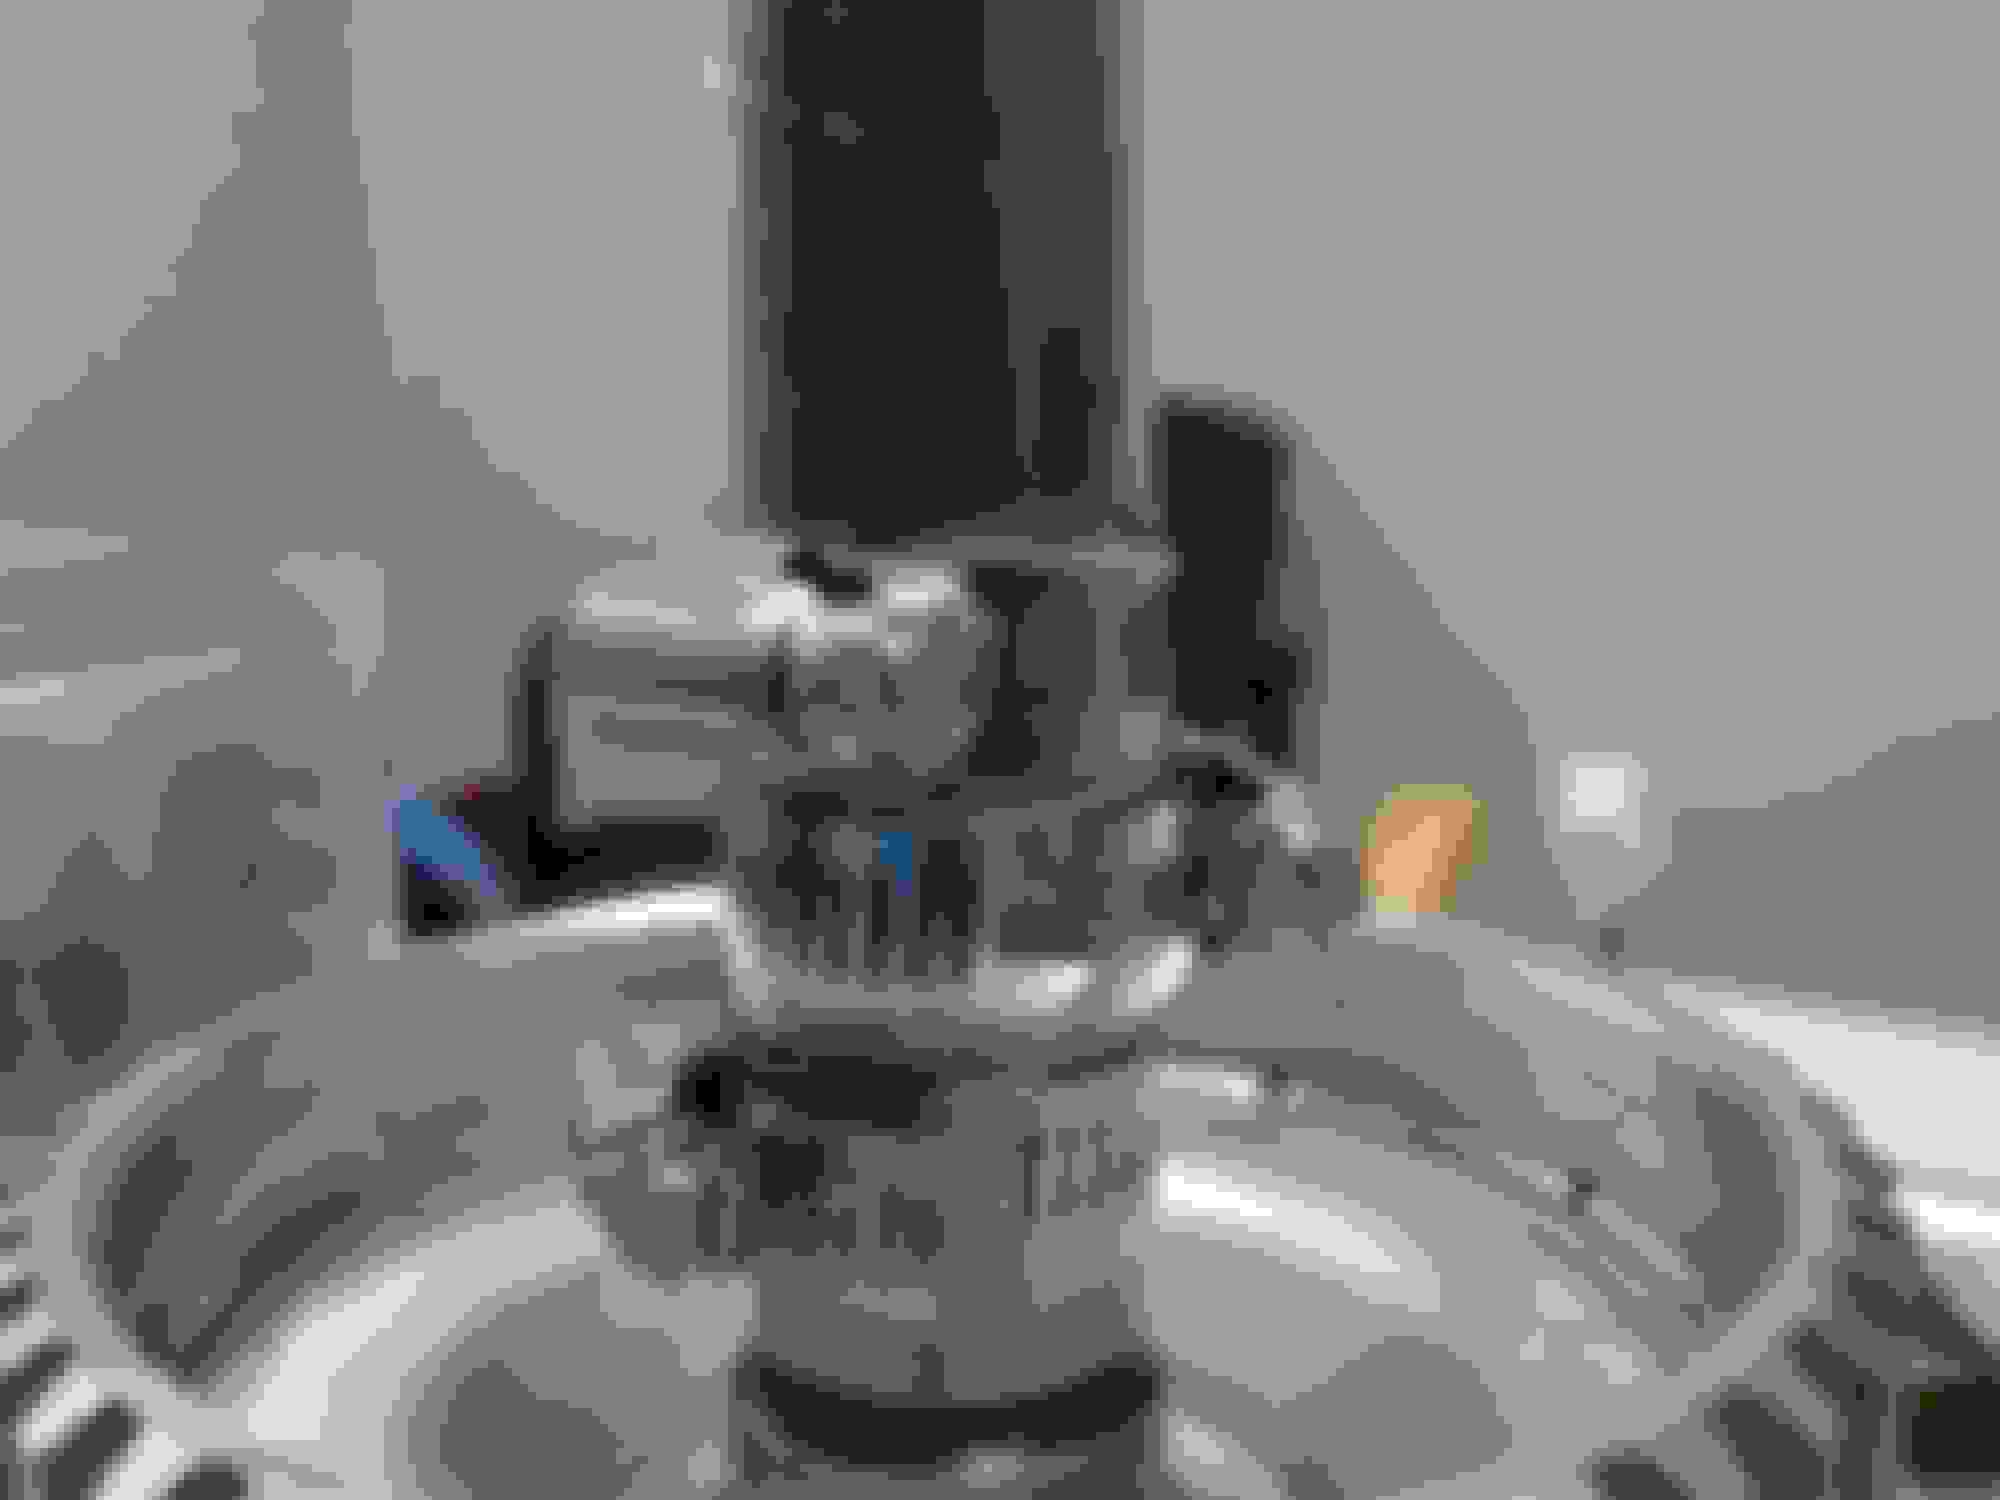
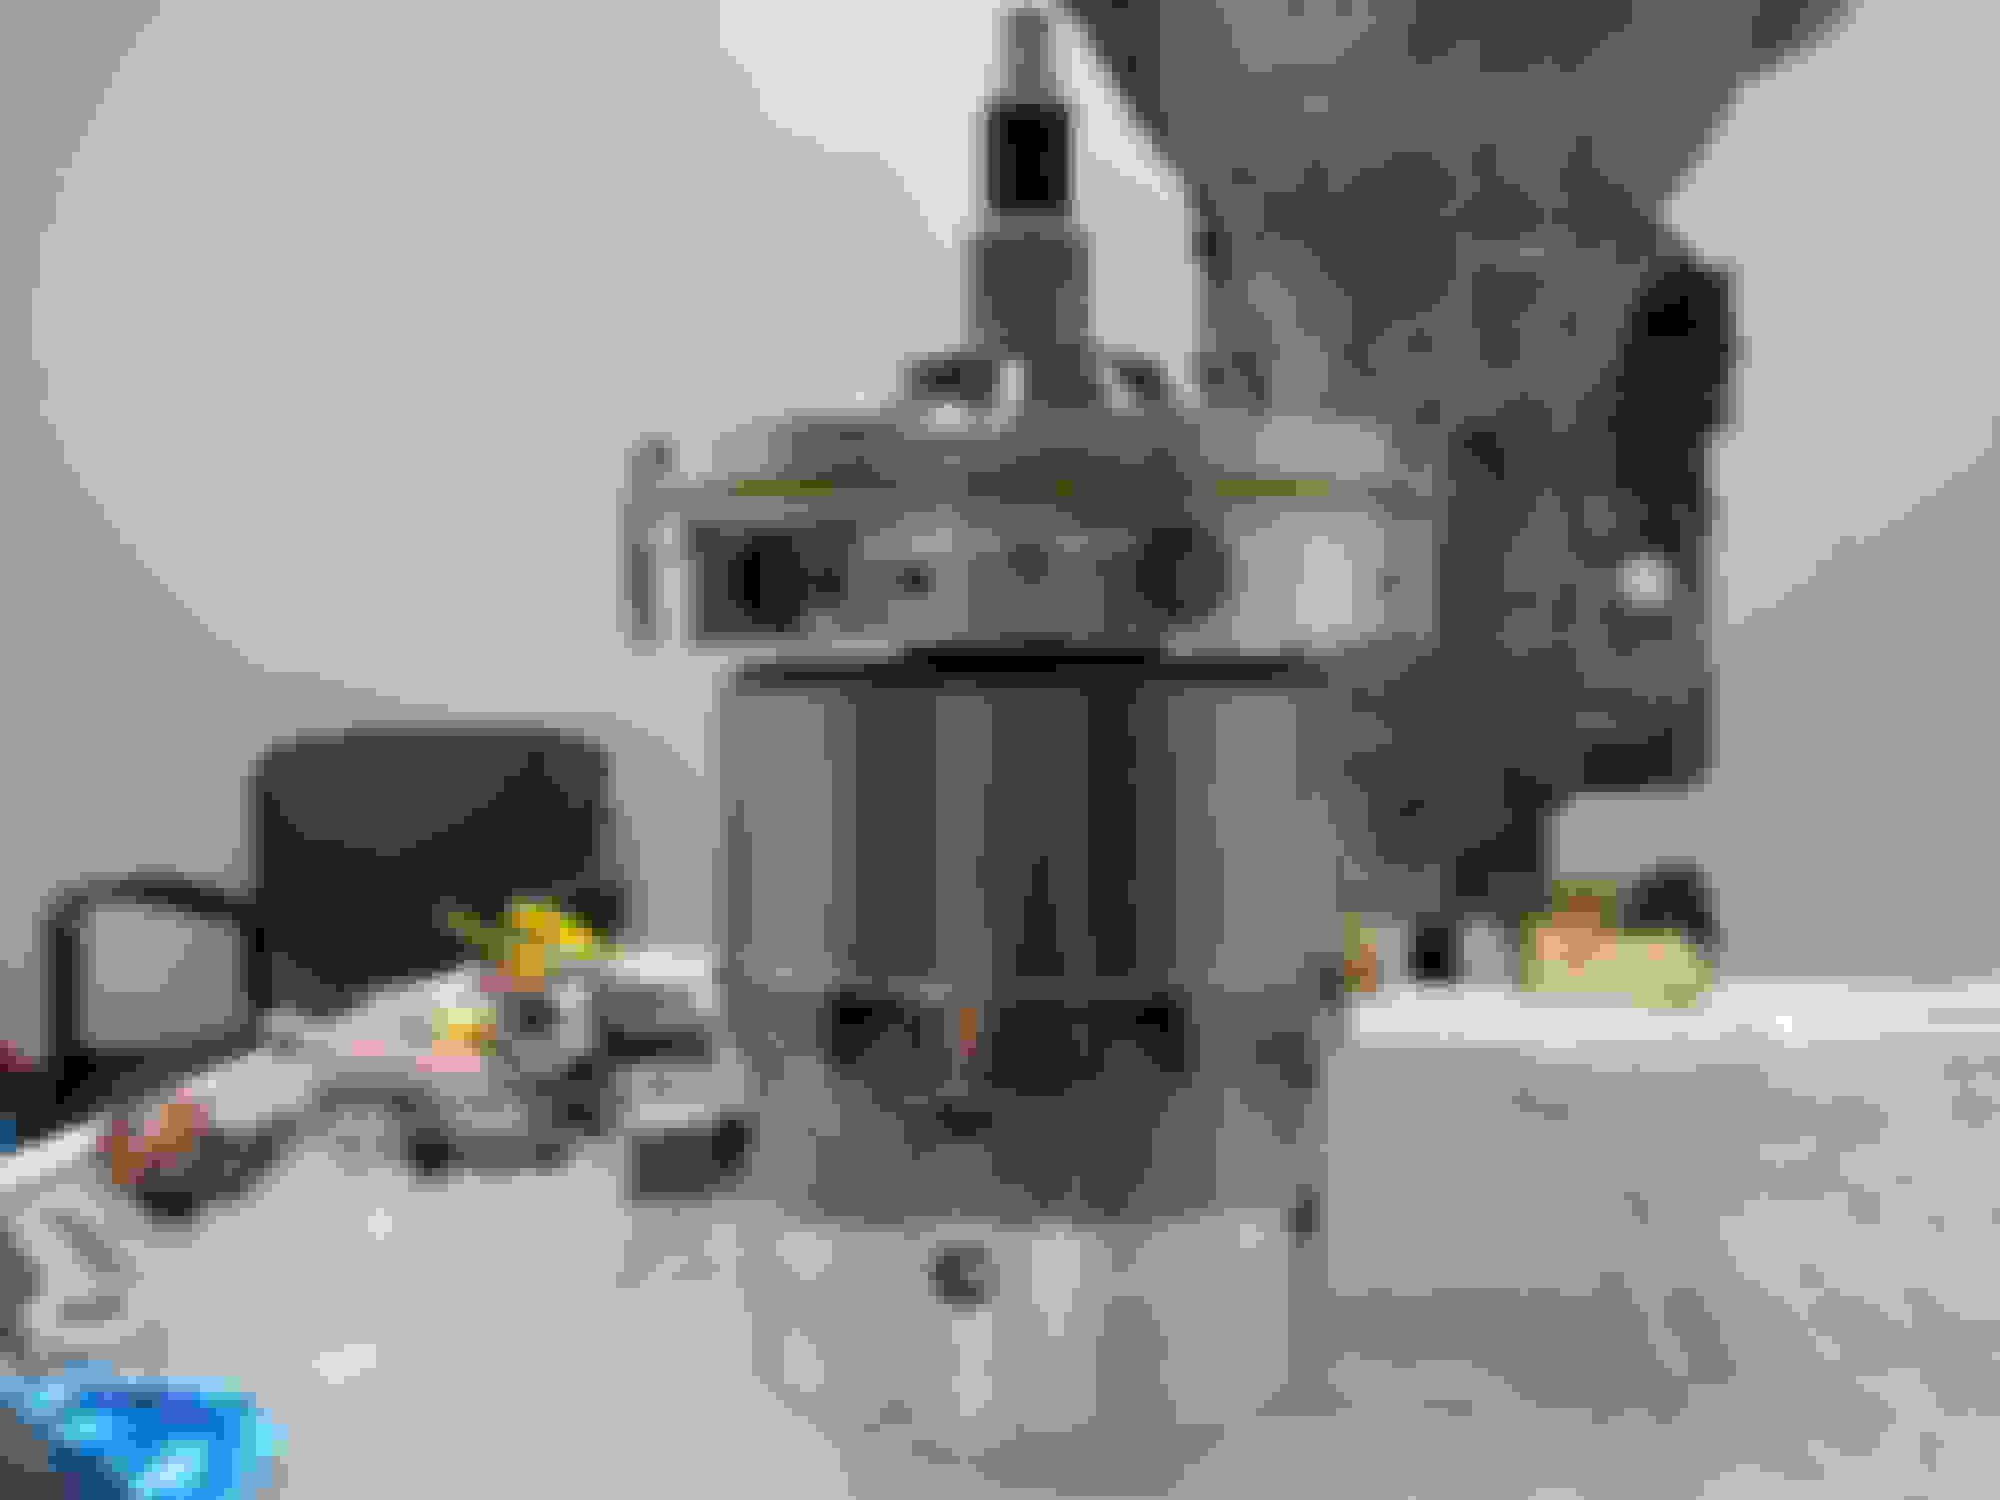
Shout out to mrvedit for talking me through things and helping me figure out the problem. He had a really smart suggestion to make troubleshooting easier. You can install all the parts that sit on the shaft without being inside the case. It's kind of neat to see everything from a side view (see below). Everything up to the front planetary is installed on the output shaft.
So the shop installed a new bushing on my reaction shaft for free, which was awesome. I did bring them my old parts and maybe they can reuse the ones that are still okay. The reverse drum still looked okay and there were two new steels from my kit that I swapped with some thicker ones, among other various pieces here and there.
My new clearance on the 3-4 clutch patch is right about 0.050-0.052, after having swapped out two of the steels with the next size thicker.
Today I'll finish up the transmission rebuild and post the pictures. All that's left is to put the drums inside the case, install the pump, and bolt the valve body on. I picked up some new exhaust bolts and also got some pairs of bolts/nuts/lockwashers to replace a couple bolts that broke and need to be drilled out. New bell housing bolts also. Trying to make the reinstall easier than the uninstall with new, non-rusty bolts.
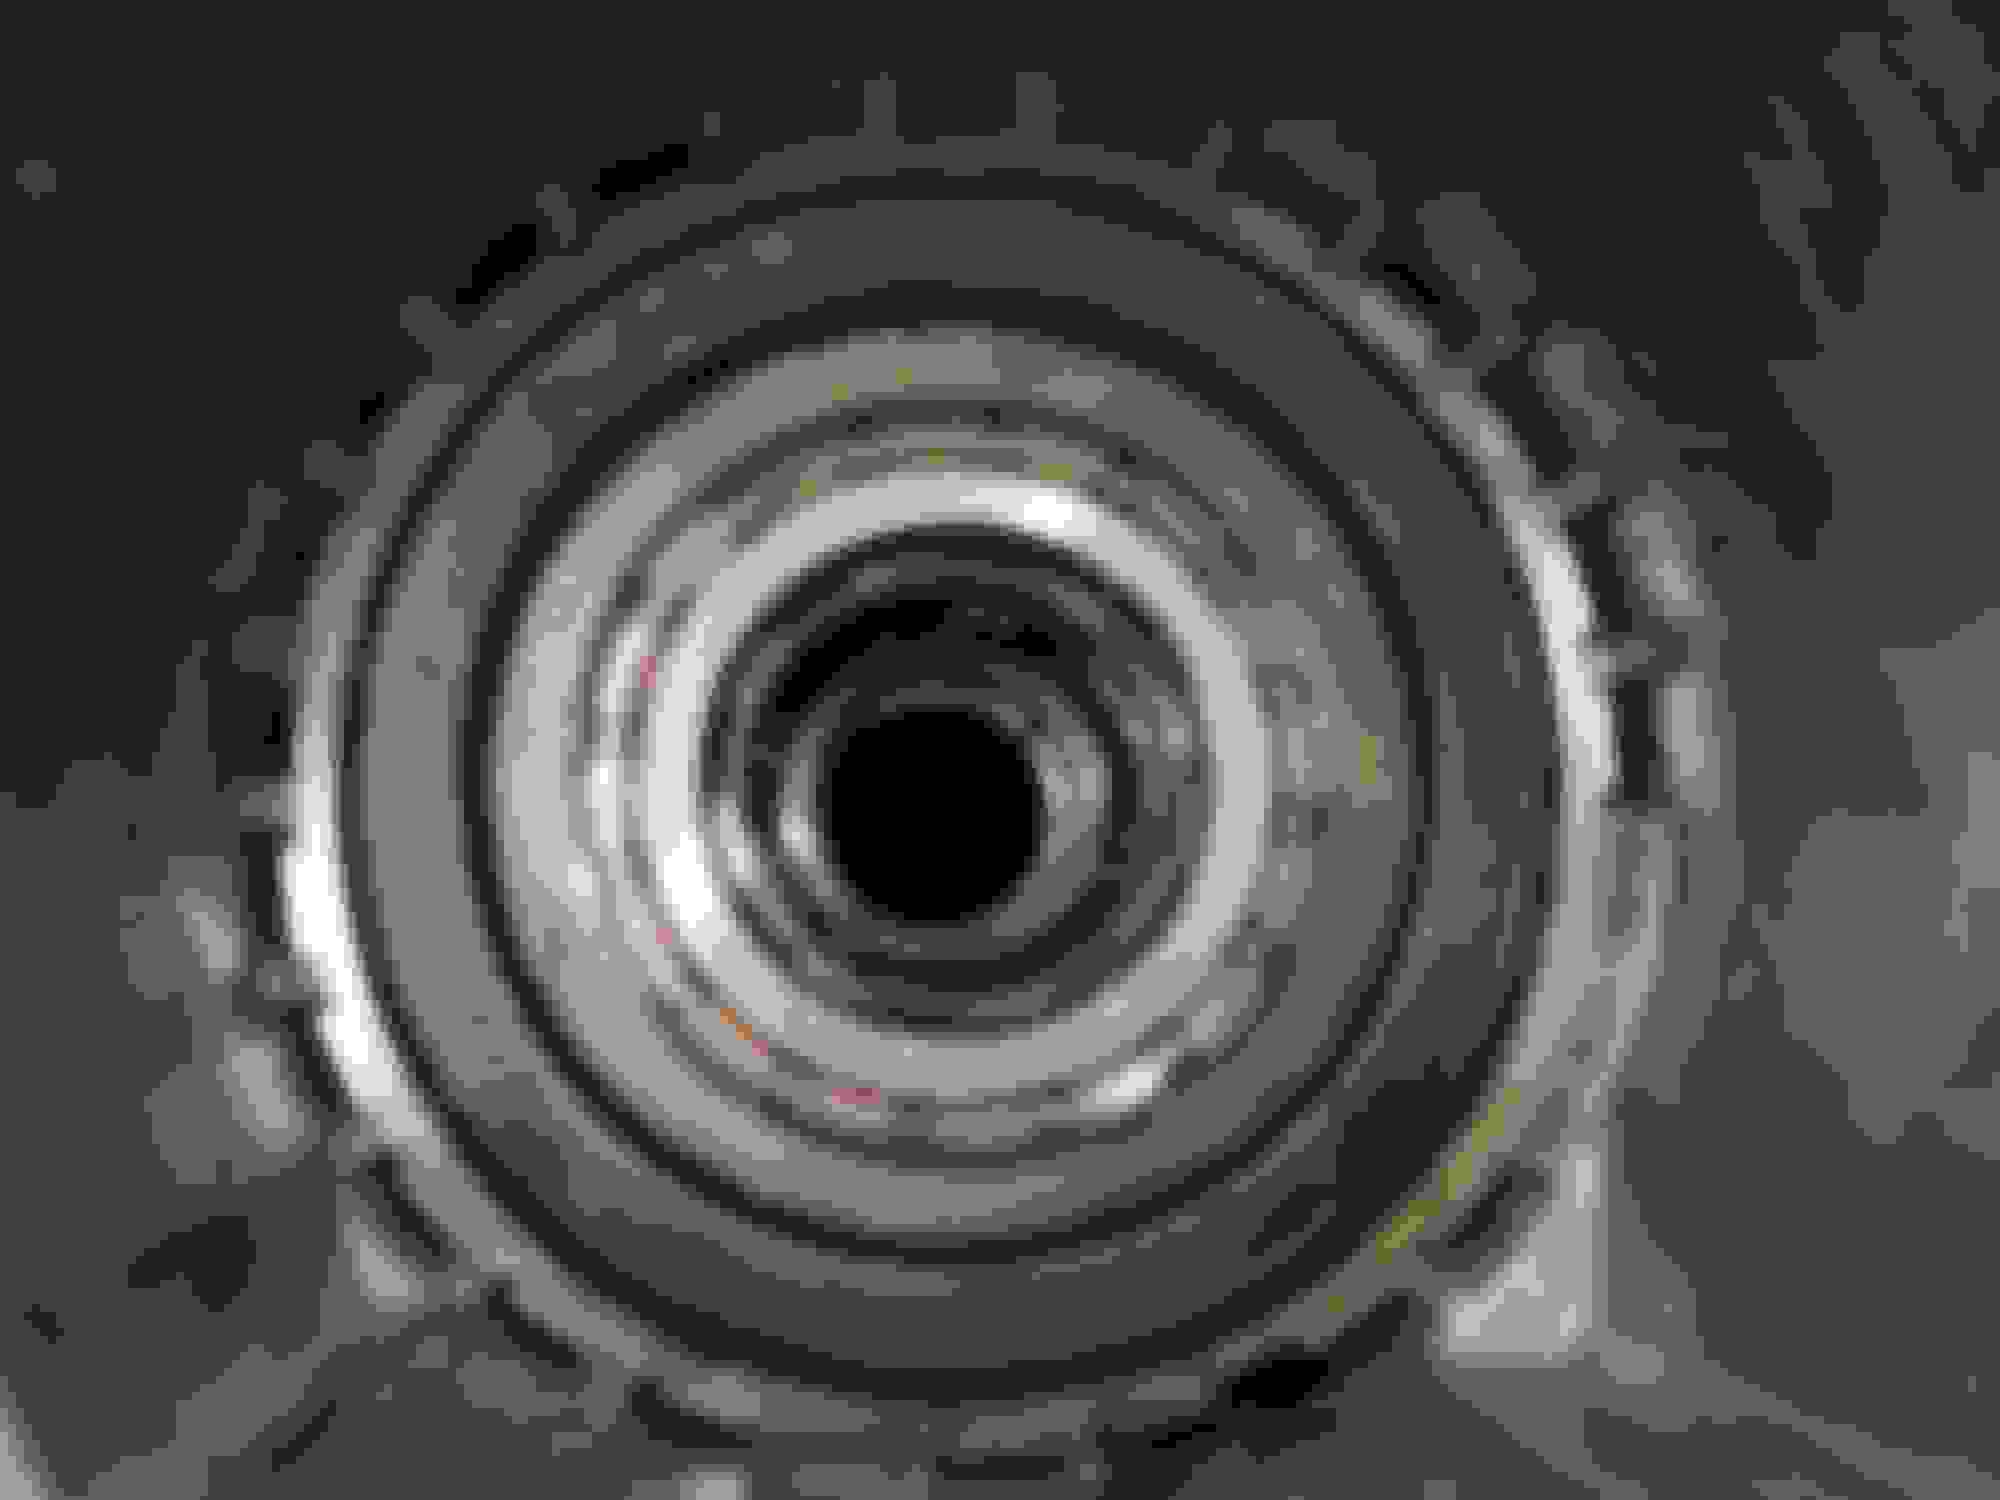
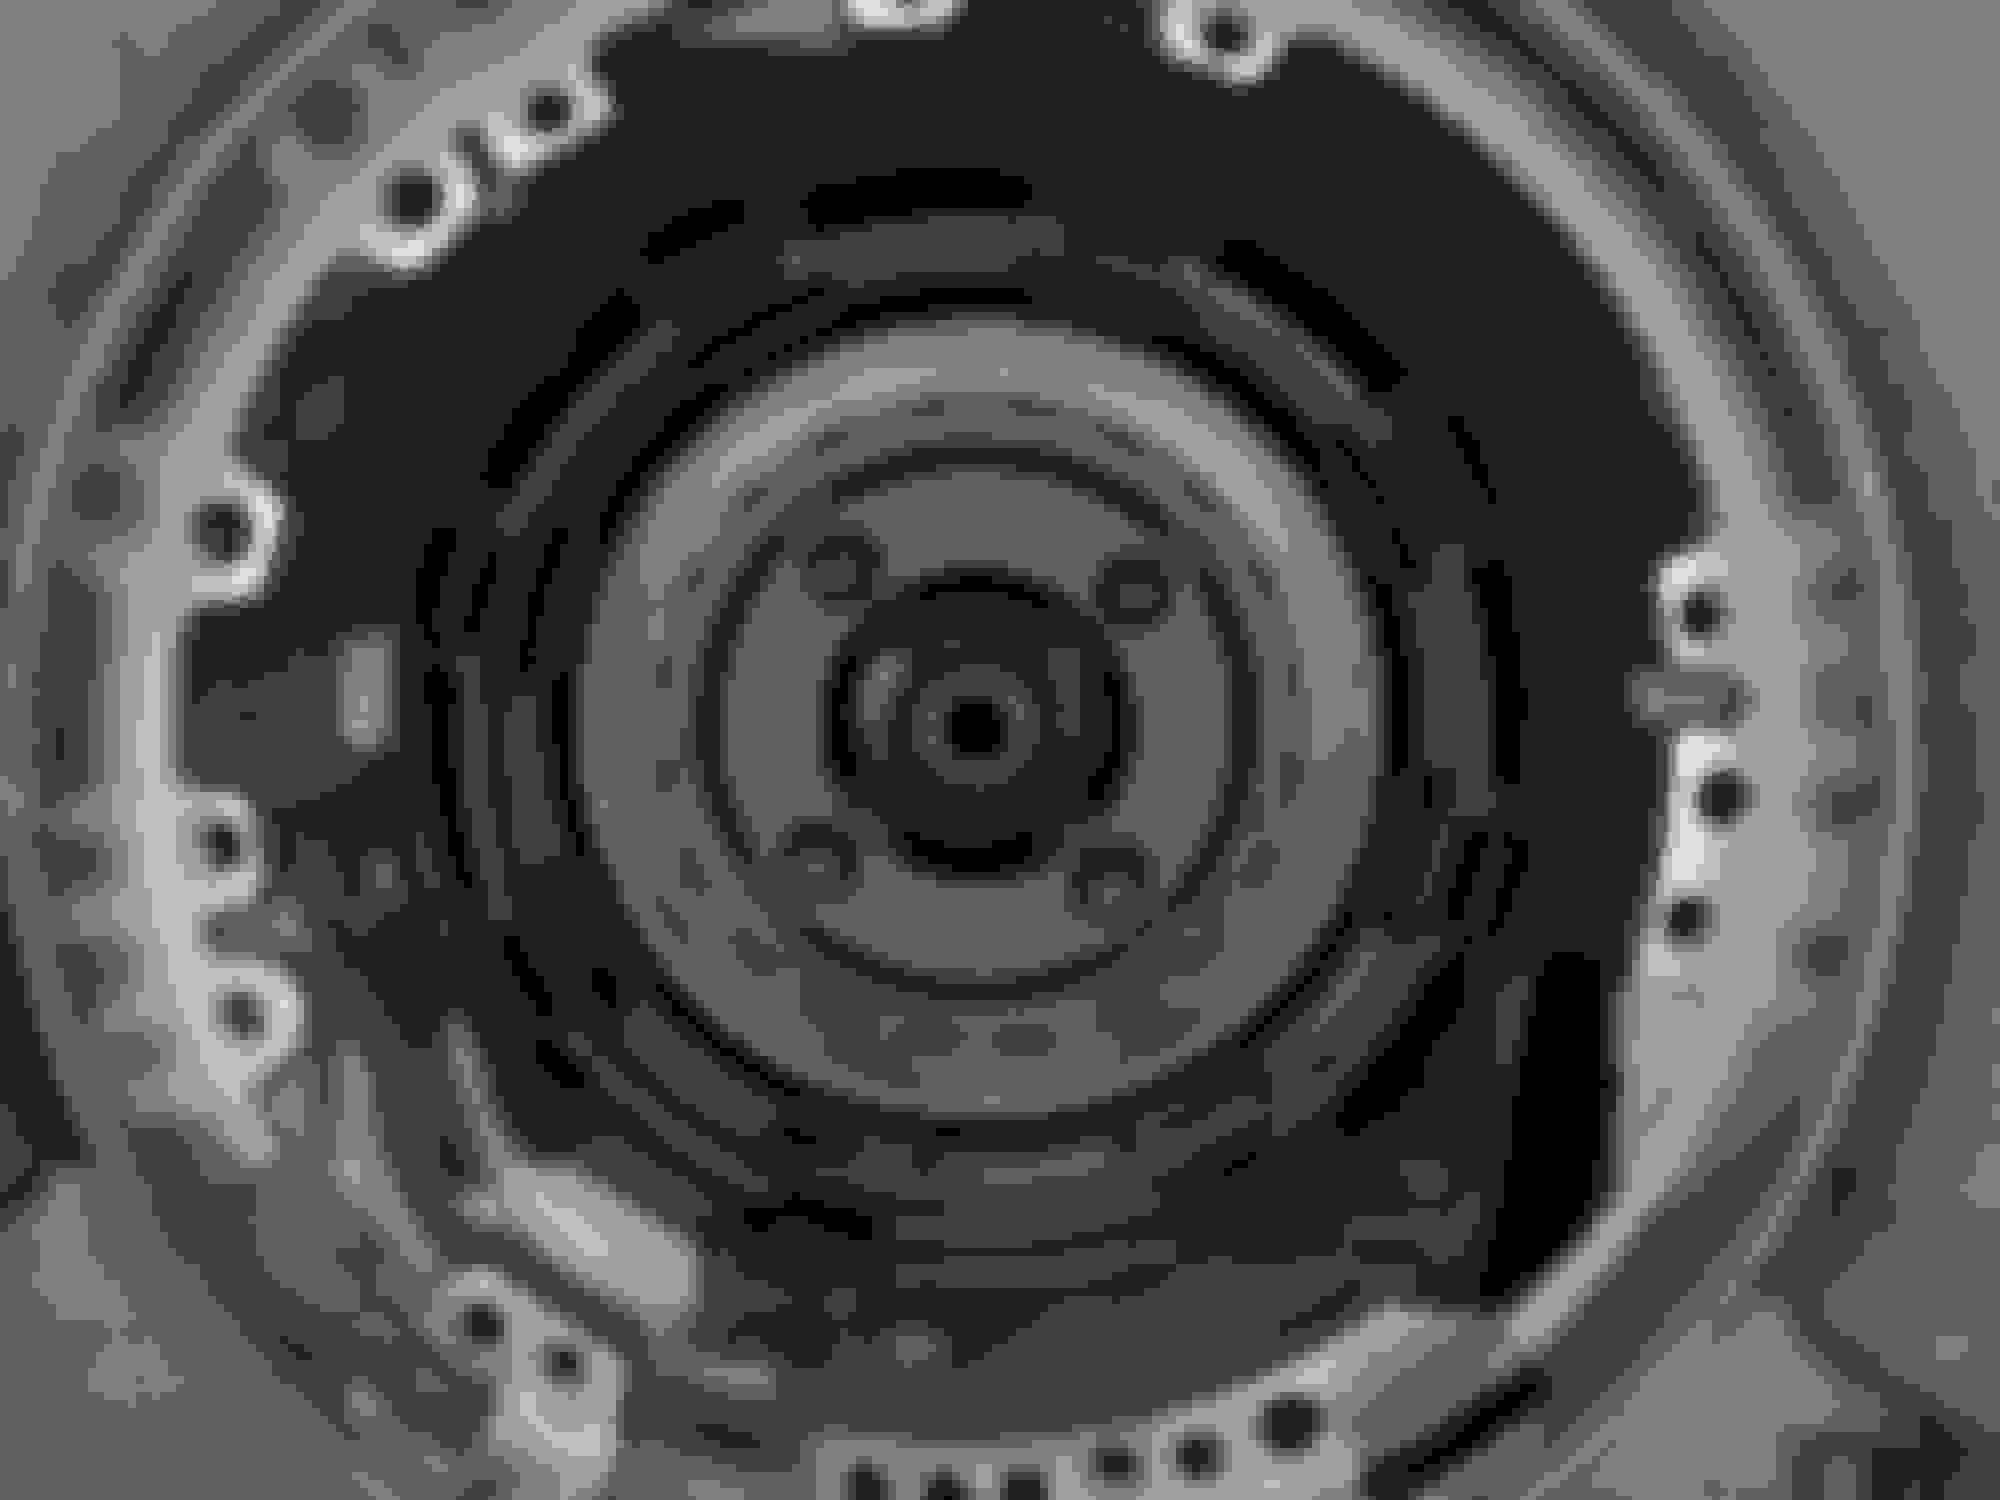
Here's the completed back of the case up to the front sun gear. FYI, the case silencer can go in fine two ways but only one of them will allow the sprag assembly to fit properly.
Resizing the teflon sealing rings. I used a long, thin funnel to slowly enlarge them just enough to slide down to their slots, wrapped them in acetate paper (similar to plastic), and compressed them GENTLY with hose clamps. You'll know they've completed resizing when their mating parts (like the teflons on the stator meshing with the reverse input drum) slide over them with only slight jiggling. Be super careful not to nick them, which could result in a leak.
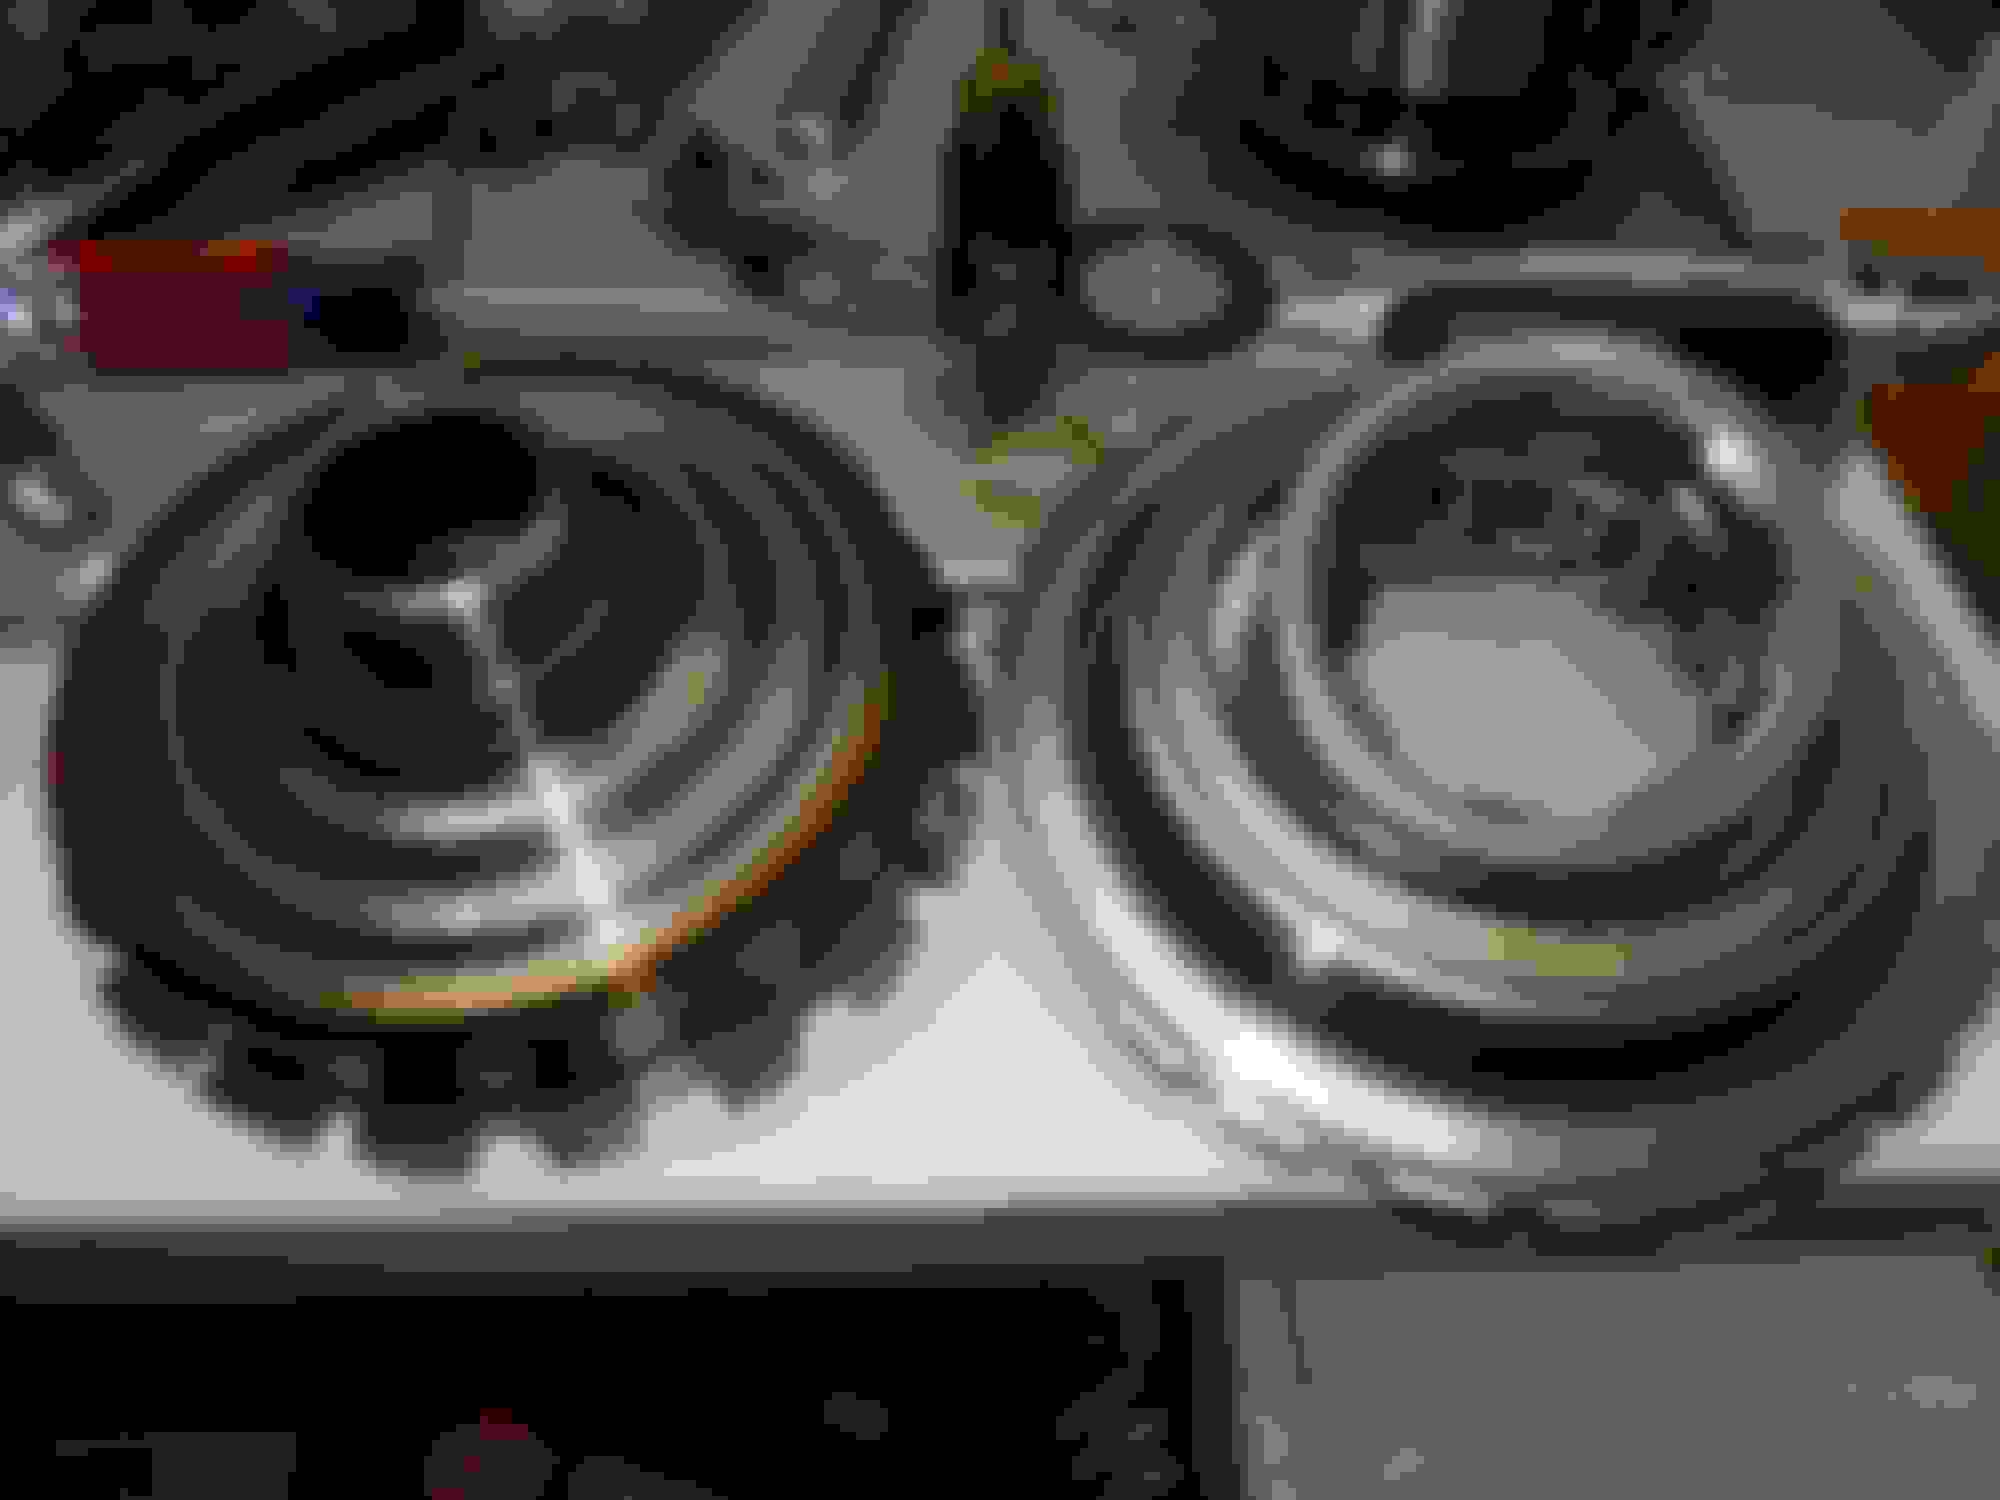
And here's the completed drums and pump after the teflon seals have been resized. The frictions in the reverse input drum index with the back of the input drum. Jiggle and turn the reverse input drum back and forth until it indexes all of the frictions. The pump will be able to spin when placed on the reverse input drum. Don't forget to install the o-ring at the end of the input shaft.
Last edited by coryforsenate; 05-05-2015 at 09:58 PM.
Here's the drums and the band installed. I must be lucky because I only had to jiggle the drums for a few seconds to get it to bottom out. Rapid series of clicks and then it stopped. The top of the reverse input drum will be below the case when you're fully in. Also note the blue assembly lube around the pump seating area to prepare for pump installation.
Pump is installed. This is a slow process and requires you you do half turns across the bolts after you've finger tightened. Go slowly, you don't want to **** the pump or strip out the aluminum case. If your pump halves were aligned properly it should go in without a problem. Don't forget to replace the o-rings on the pump bolts. After the bolts are all the way in, torque to 220 in/lb. I don't have the $100 pump alignment tool, so I used the belt off my pants to align the halves and then measured around the circumference to verify perfect alignment to ensure that my crazy plan actually worked. There's a makeshift tool you can make out of a 5 gallon bucket also, which was the plan if my belt didn't work.
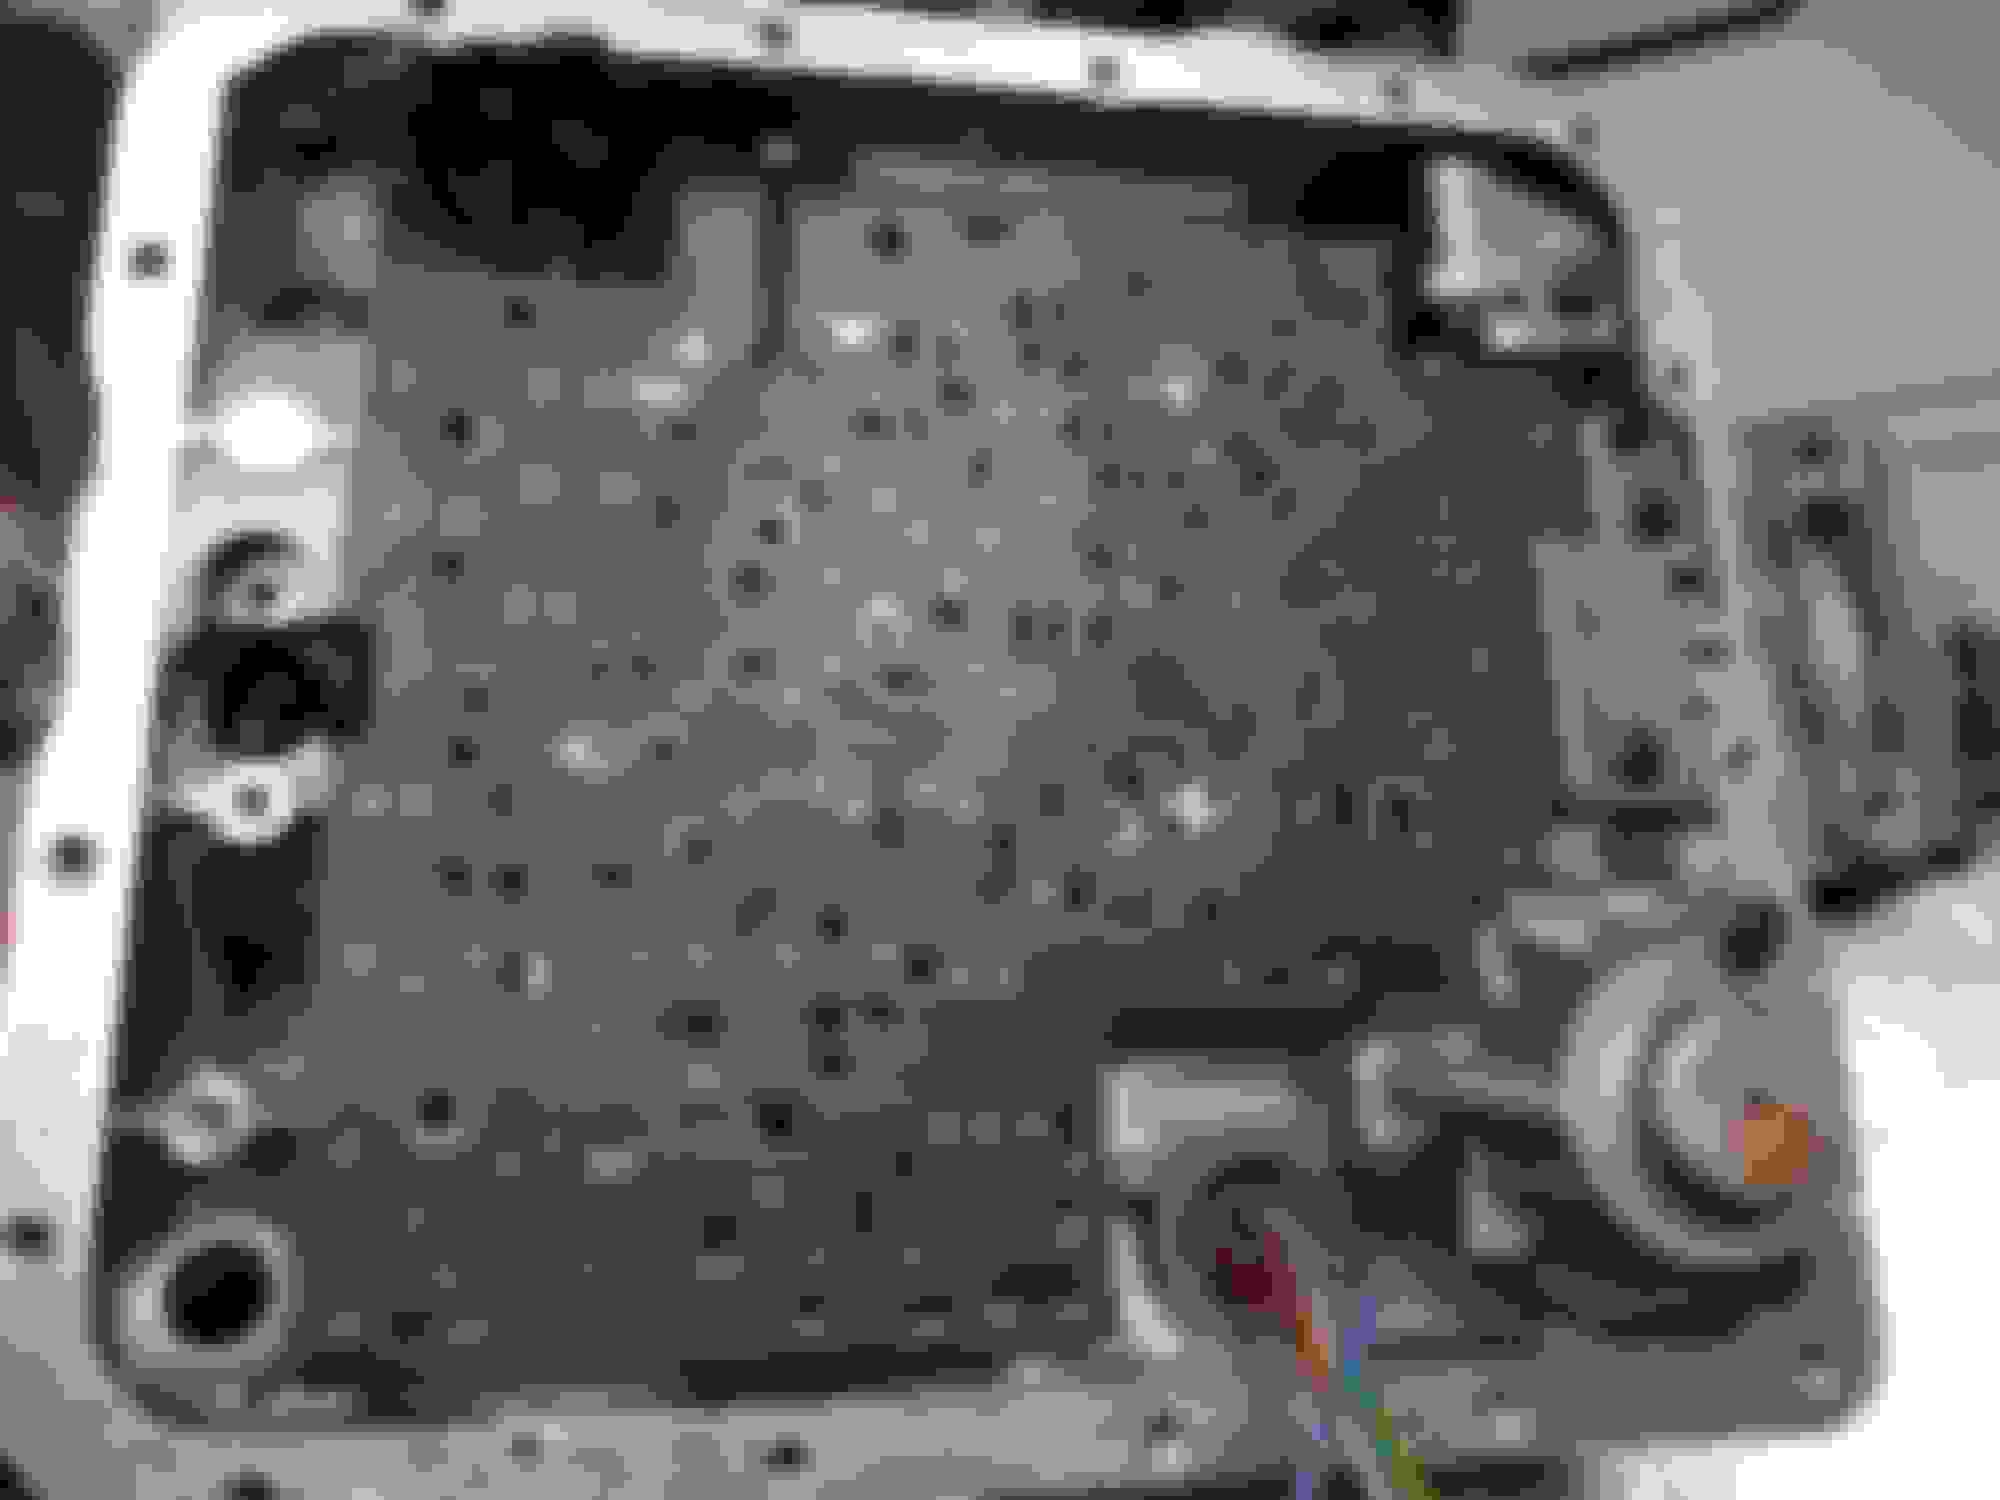
And now to the valve body. If you've been reading this thread, you know I've already completed the valve body, so it's just install the accumulators, TCC solenoid, and a few other things. Getting a couple bolts the same size and threads as the valve body bolts, cutting of the heads, and grinding to a smooth point makes for wonderful alignment bolts and will make putting the gaskets, separator plate, and valve body much easier.
I suggest installing the valve body before the pump.
This lets you see the band as the servo is installed and ensure that both ends of the band are properly engaged. Seeing the band also helps with checking/setting the servo end play.
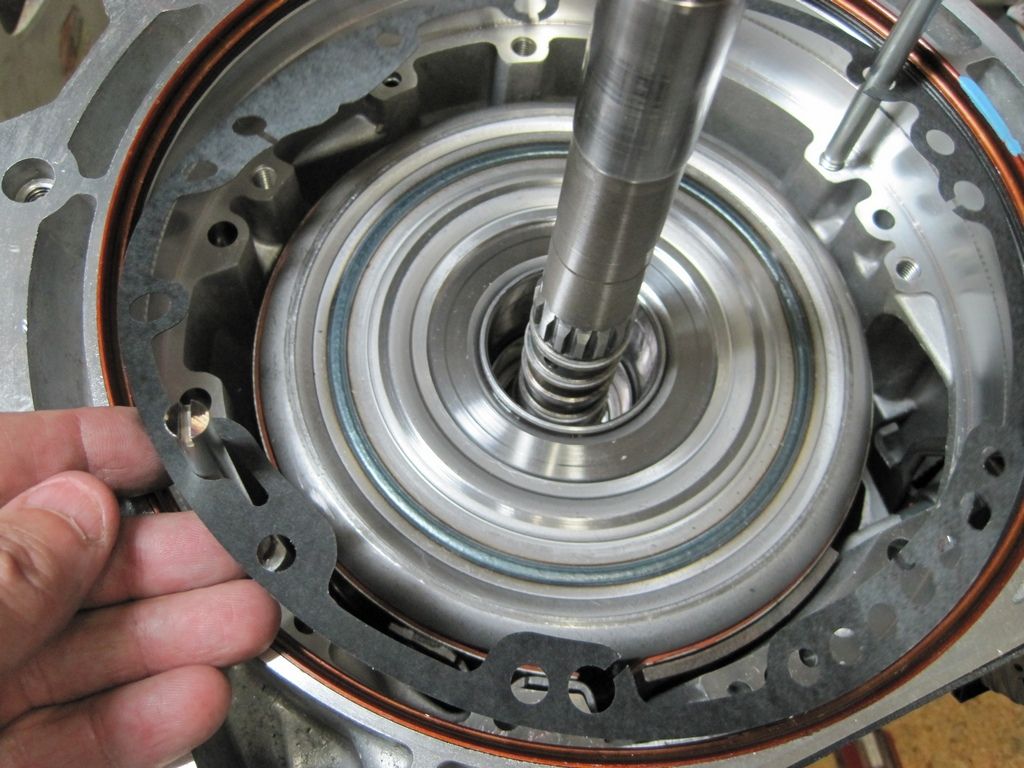
Remember to install a new gasket under the pump:
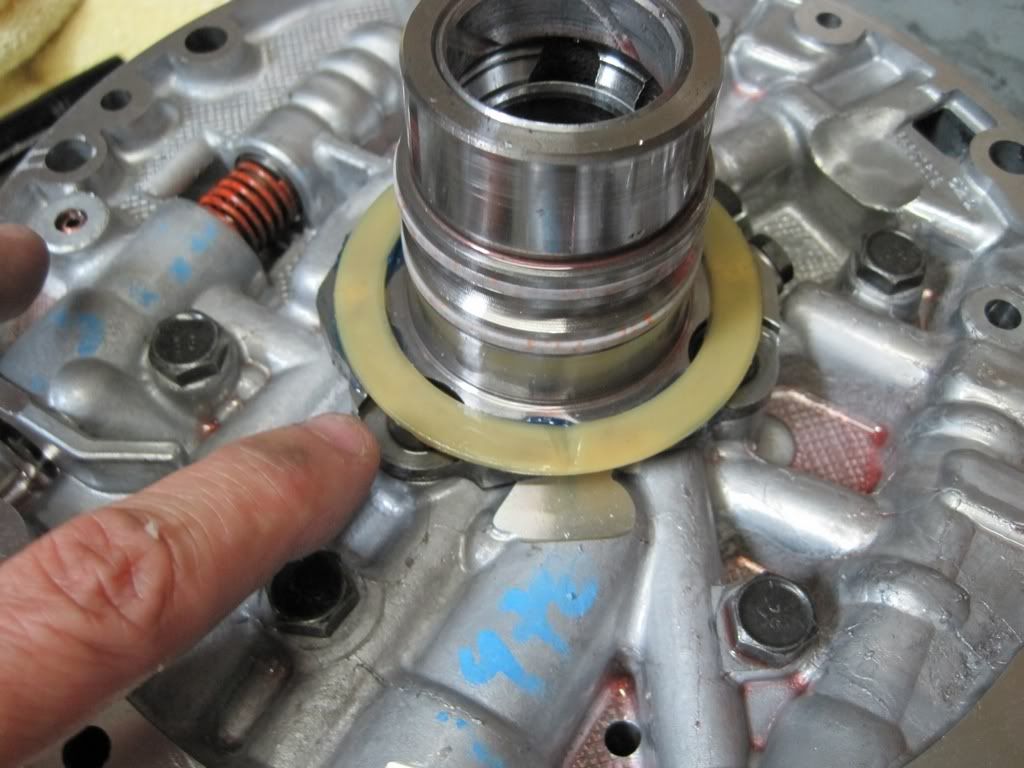
Remember the plastic washer with the two tabs between the pump and reverse drum. (Use Transgel or Vaseline to stick it to the pump.)
A couple of cut-off long metric bolts make it easy to install the pump:
Here's the Sonnax imidized plastic checkballs in their respective locations, held in place with tranny lube. On the valve body, it's pretty obvious where they go. It's a little circular hole. There's also an 8th checkball that goes in the case.
Everything sans filter all nice and pretty. I have a shallow pan, so everything has to be perfectly positioned to get the pan to seat properly.
And here's the completed transmission. Note the little brass fitting in the pressure checking hole. I went ahead and put it on beforehand so I could test the pressures after the transmission was filled completely and warmed to operating temperatures. Not necessary though. Remember, if you installed something like a boost valve then your pressures will be slightly higher than stock.
And look at that lovely torque converter from Circle D. True to their word, the TC was made to fit perfectly and required no shims. I measured exactly 1/8 using feeler gauges between the TC and flexplate before pulling the TC against the flexplate.
So this was something that confused me a bit and I never really found an explanation that made sense to me until I did some messages with Brian from Circle D to clarify things about the spacing and all. Here's an explanation I made that makes sense to me.
When the bellhousing is fully bolted on, there should be 1/8" between the torque converter and the flexplate. If there is 1/8", then you need only slide the torque converter up to the flexplate and bolt on (using proper bolting technique, finger tight first, etc). If there is more than 1/8", then you need spacers. If there is less than 1/8", is your torque converter fully seated in the transmission?
Last edited by coryforsenate; 03-29-2015 at 02:45 AM.
The transmission worked. I drove home. Reverse, park, etc worked. Nice, crisp shifts. I did leave the 1-2 accumulator valve shim from the Sonnax Performance Pack out, as my understanding is it firms up shifts even more and this is a daily driver, not a race car. The other things I installed firm up shifts enough for me. Separator plate holes were drilled on the lower end of Sonnax's recommendations. I wound up just leaving the stock servo assembly but with an upgrade to a corvette servo in, as the Sonnax 2nd and 4th confused me a bit and it was after midnight last night when I started to put the servos back in. It'll be a thing for another day.
My only problem was that I had the shifting thing that attaches to the neutral safety switch in the wrong position when I attached it to the arm, so while I can select park, reverse, neutral, and overdrive fine, the shifter arm at the steering wheel won't slide to manual 1st, 2nd, and 3rd. No problem, just a minor tweak to fix. The tranmission shop I've been using has been really good to me, so I'm going to take it to them to handle. I'm transmissioned out for a little while. I gained a lot of respect for shops than do transmission work. This is a crazy amount of work, especially for somebody who's never done any transmission work before.
I have to give a big shout out to:
mrvedit, for numerous messages and several phone calls, he was always willing to offer advice and he's a really awesome guy.
Jeff at trutechtrans.com, for talking to me on the phone with recommendations about doing to rebuild and how. I used his rebuild kit.
Jimmy at transmissionbench.com. He's the guy who made highly detailed videos (free on his website) of every single step of a dis- and reassembly of a 4l60e transmission. Something like 7 hours of video total, all in HD. There do not exist better instructions, video or written, anywhere. I looked. He also sells transmission stuff.
Brian from Circle D, for working with me on a custom torque converter and explaining the torque converter to flexplate install.
The guys at Sonnax, for explaining their products and helping me decide which valve body upgrades to do for what I want to get out of my transmission.
And of course, my friend Andy for letting me do the rebuild on his property, and my friends Ron, Austin, and Merrick for helping with the uninstall and reinstall of the transmission. This is not a one person job unless you're just an extreme badass with superpowers.
Last edited by coryforsenate; 03-29-2015 at 12:03 AM.
Things I would do differently next time and helpful advice
Bring your bushings from the rebuild kit to a shop you trust. A shop will knock this out in no time for not much money and you'll be thankful. A couple of these bushings are a huge pain in the *** and a shop will have a special bushing installer set that costs several hundred dollars to do the job perfectly. I did some of my bushings, but next time I would just let a shop do all of them.
Let a shop clean your case. They'll do a better job than you will and you won't be scrubbing it or pressure washing or whatever. I took my case to a shop and it was money well spent.
The teflon seals are doable yourself with a little ingenuity and makeshift tools, but they do have to be installed properly or your transmission will fail. If you have any hesitation, let a shop do it with their special $200 teflon seal installer doohickey.
Make sure your servo assembly snap ring is fully seated. This is super important because it can look installed but actually won't be fully seated. The servo cover can partially come out, which will affect band apply very negatively, or can just fall out, in which case your transmission will experience rapid fluid loss.
I would have completely removed the exhaust before uninstalling the transmission. On my particular truck, you cannot remove the transmission without at least partially removing the exhaust. We tried, and the drive shaft simply can't move over enough to disengage the transmission because of the muffler and gas tank on each side. It would've been easier if I had fully removed it rather than partially when I took the transmission out. It was taken out completely before I installed the transmission and life was much easier.
And lastly, be aware of what you're getting yourself into. There's a reason transmission shops charge so much. It's an enormous amount of work. For real, it's insane how many hours it took me even with all the reading beforehand, videos, etc. There's many parts that will fit fine backwards and forwards, but only one proper way or your transmission won't work (valve body valves come to mind, and also certain thrust bearings). There are many little parts that are easy to forget, like the 8th checkball that goes on the case side of the separator plate. There are literally hundreds of pieces and thousands of steps to complete a rebuild. From what mrvedit has said, only around half of people successfully complete a rebuild without having to drop the transmission again. And there's also a variety of tools you need that you probably don't have unless you're a regular handy man, so you'll need to buy them.
Do a rebuild because you want an exciting, and sometimes frustrating, challenge and want to learn how your transmission works. I enjoyed myself, but there were times when I had to stop, go have a beer, and get back to the rebuild the next day. I would do it again without hesitation, and feel I could do it much faster next time. I also learned a lot about how exactly this mysterious little cornucopia-shaped fellow works.
I hope my rebuild thread helps out someone else. I took HD photos and tried to include solid explanations to accompany them. Good luck and if you have any questions, I'll try to answer them but keep in mind I've only rebuilt one transmission so I may redirect you to someone more experienced.
Last edited by coryforsenate; 03-29-2015 at 02:52 AM.
I just buttoned up my first rebuild today,and your summation could not be more accurate.Hopefully this thing works,and as you say-these things are a ton of work,lots of opportunity for catastrophic failure for one simple part omitted or installed backwards,and not inexpensive as well.Thanks for posting your build,as well to mrvedit,Jimmy at transmissionbench.com,and all the others for sharing their expertise and advice.
Great job in both the rebuild and logging your progress for all to see. I rebuilt my 2002 yukon tranny a couple years back, with help from this website (especially mrvedit), so I like seeing guys dive in on projects like this. As a side note, I kept my 3-4 clutches tight, at .022, mrvedit thought that may be too tight for a DD, but so far I still have great 3-4 shifts and tranny overall feels like when I rebuilt it and its got almost 30k miles on it.
Congratulations on getting it right the first time - good job! I know a guy who has a tranny shop, and your thread inspired to go spend my day off on Friday with him as he walked me through reassembly of a 4l60e. Thanks to you, Ted (mrvedit) and him, I've learned a lot about the dynamics of these units, how they go together and what pieces do what.
My friend made it look easy, but it's not. As tfi said, "these things are a ton of work, lots of opportunity for catastrophic failure for one simple part omitted or installed backwards."
Yes, BIG congratulations on succeeding with your first transmission rebuild. I know how proud and excited you are. (He called me and talked at a much higher pitch than normal.)
And glad I was able to help out a bit.
Also, excellent pictures, I will definitely be linking to this thread in the future.
So, I figured out the shift cable problem without taking it to the shop. Turns out the little metal arm that attaches to the neutral safety switch and the shift cable is directional. The nub the shift cable attaches to has to face the transmission. I just turned it around and shifting from park to manual 1st works fine now.
My leaky exhaust from not being able to fully suck up the exhaust pipes because the exhaust manifold bolts being too rusted, threads striped, or flat out broken off, I've decided that instead of paying a shop $100 to drill out all nine bolts and put in new bolts, I'll spend that $100 for a new set of exhaust manifolds and replace them myself. Bad bolt problem solved and I'll have shiny new exhaust manifolds..

 03-25-2015, 11:54 AM