When you click on links to various merchants on this site and make a purchase, this can result in this site earning a commission. Affiliate programs and affiliations include, but are not limited to, the eBay Partner Network.
So I've ordered my rebuild kit and need to figure out what tools are "must have" and where to obtain them. The Kent-Moore stuff is ridiculously overpriced (especially for one time use) so I am looking at options. Has anyone rented these tools or built your own. I have no problem building fixtures as I did with my trans repair mount:
Raw, unfinished.
Painted and in use.
Any tips for tooling, fixtures and seal install / resizing procedures would be appreciated!
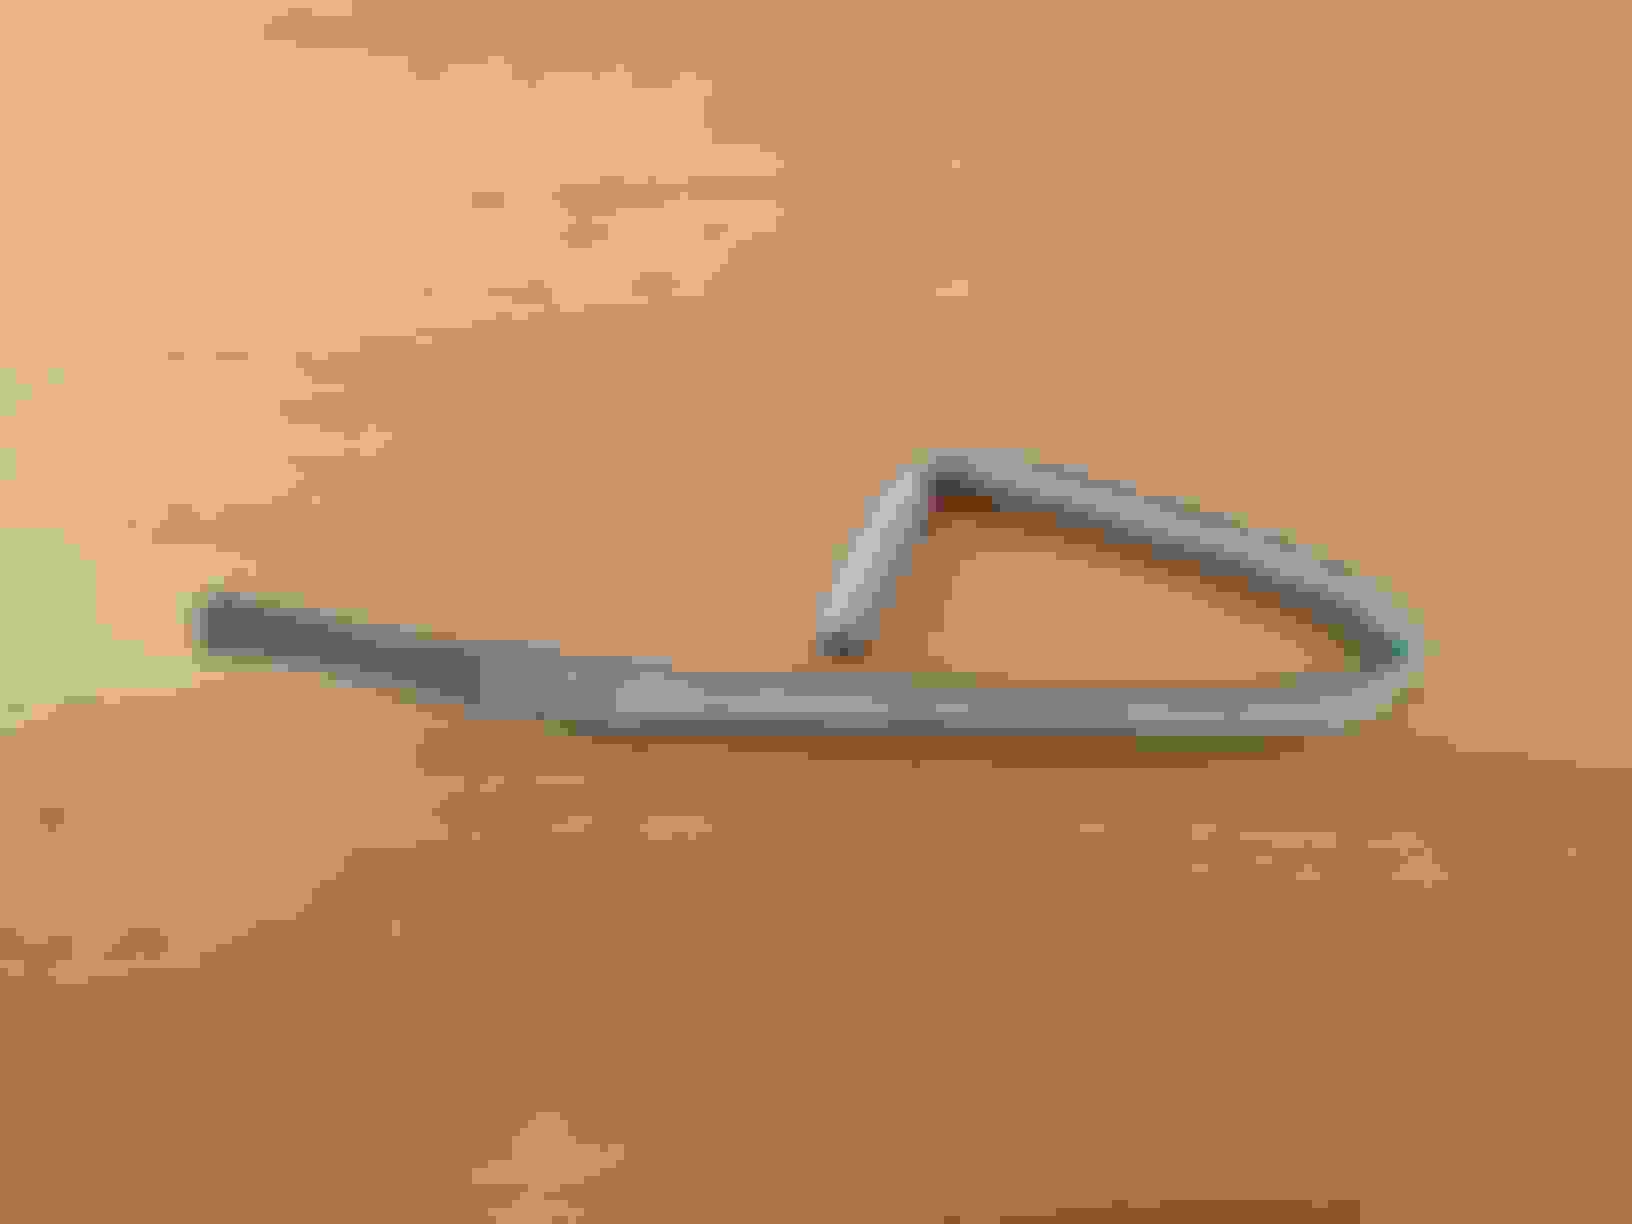
I've used this tool for lip seals, even 4th gear with some patience and effort.
direct and forward spring compressor
nice to have but not a requirement.
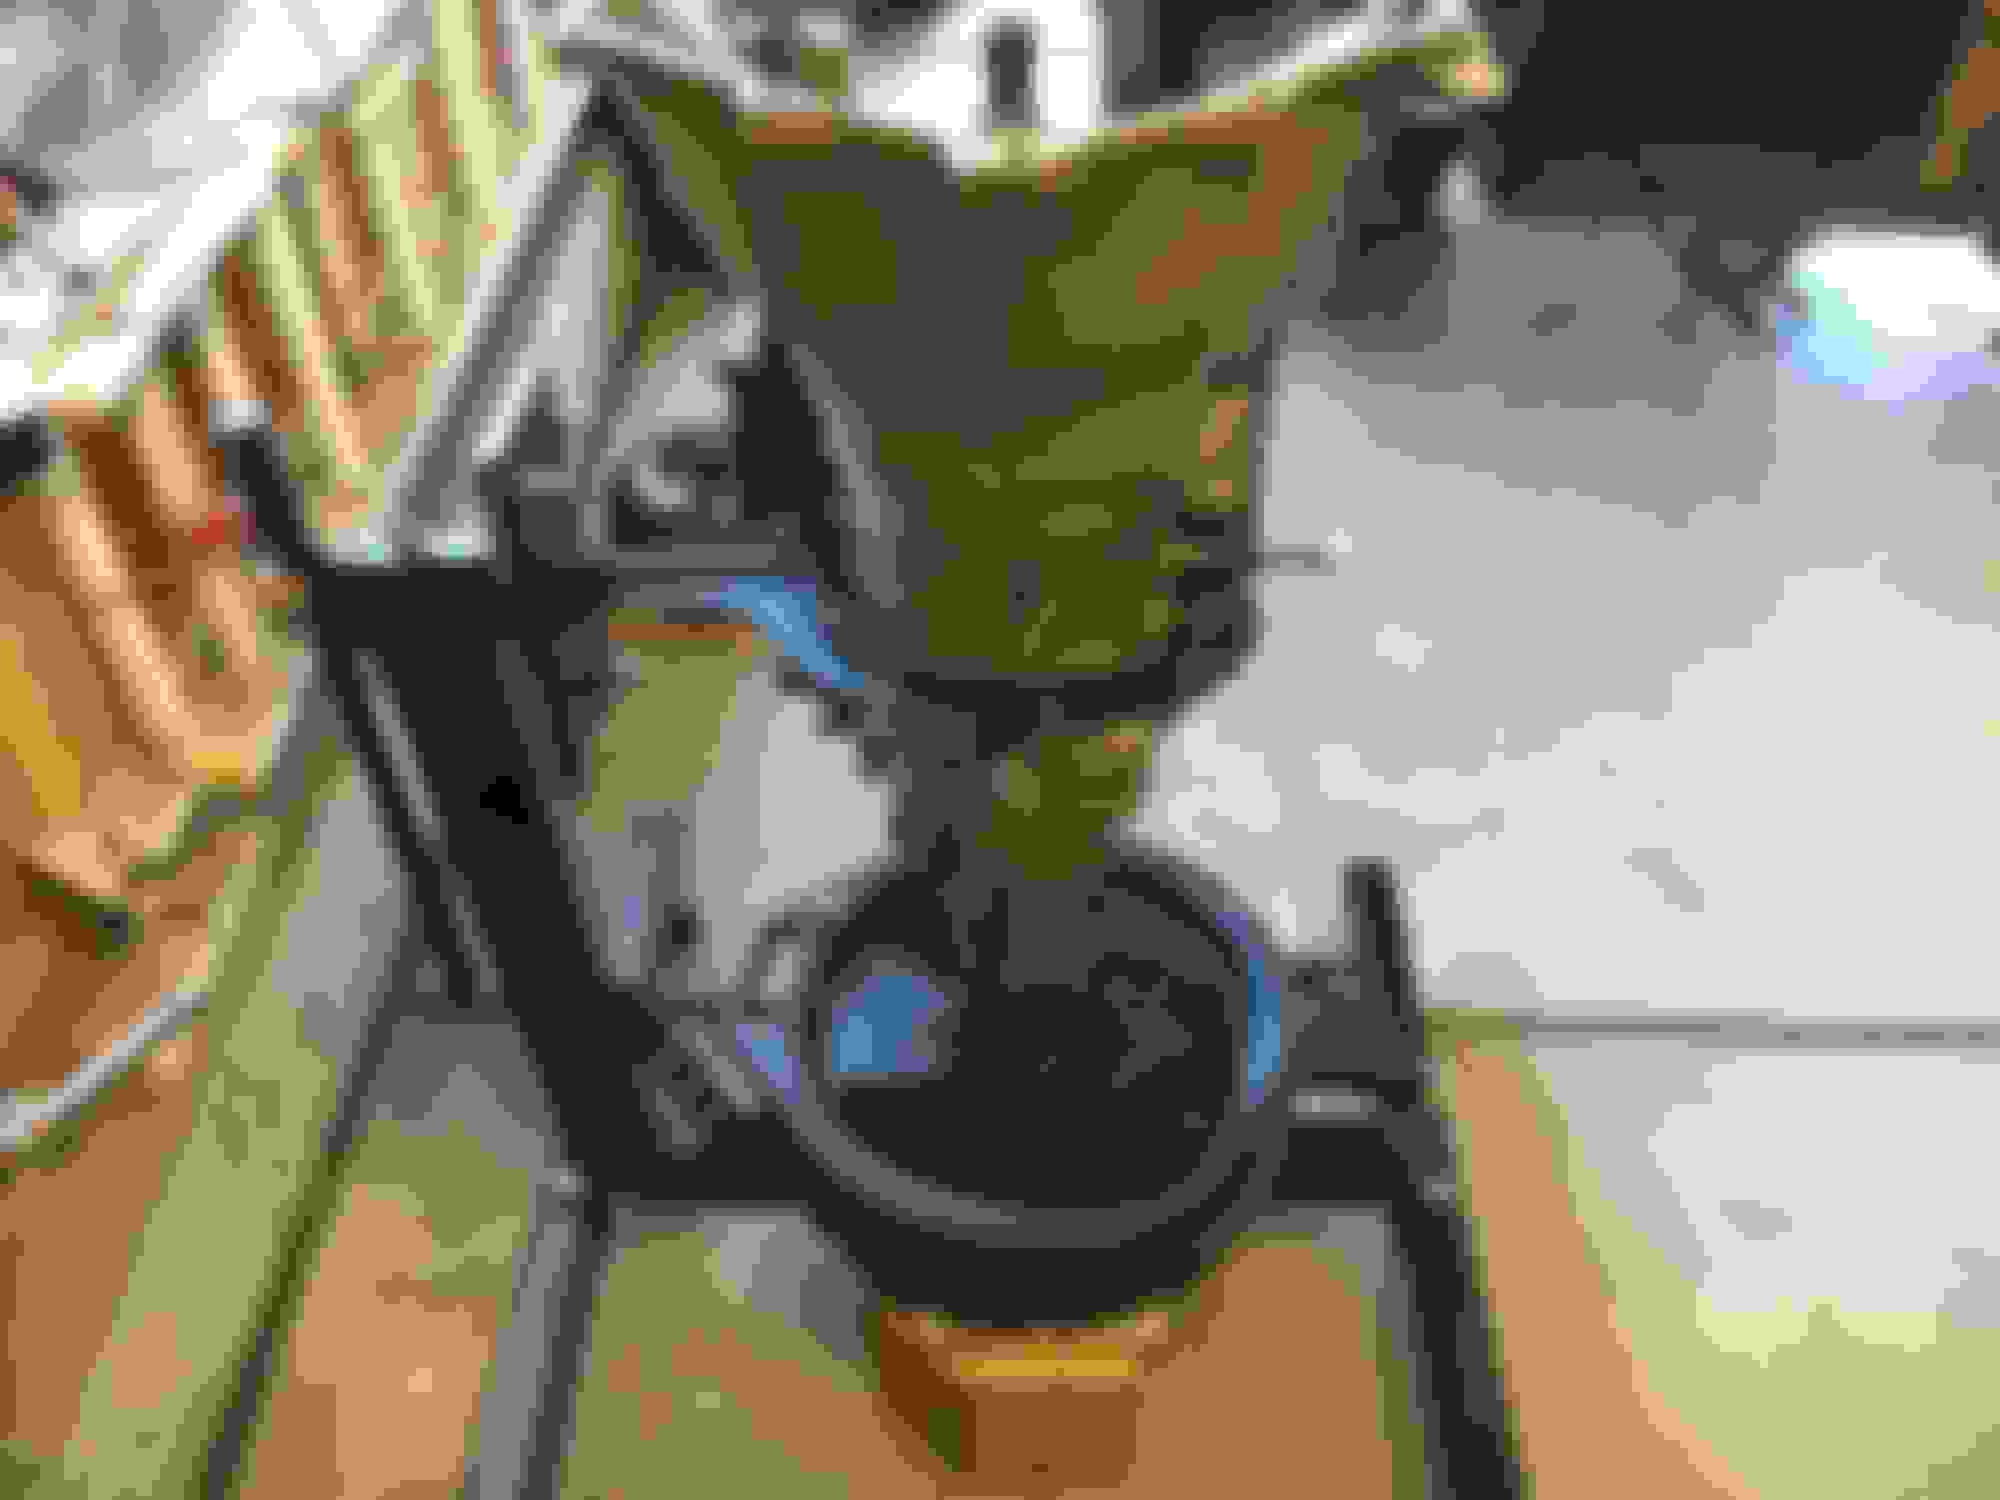
I use an old rolling computer cabinet as a multipurpose workbench and transmission disassembly bench.
It has a hole punched in the center, at the lowest point, for transmission fluid to fall through.
Under the hole is a bucket to collect the old fluid.
I can't imagine the mess taking apart a transmission over a catch pan.
Nice mount. My buddy that builds transmissions for a living uses a bucket and a flexplate lol.
Hey, "whatever works" right? Thanks for the kind word regarding my work.
Originally Posted by Ratdaddy60
I would take the 4TH clutch housing assembly to a local transmission shop and have them to assemble that part.
Strongly considering doing just that. Might be the safest route....
Originally Posted by LSswap
Must have:
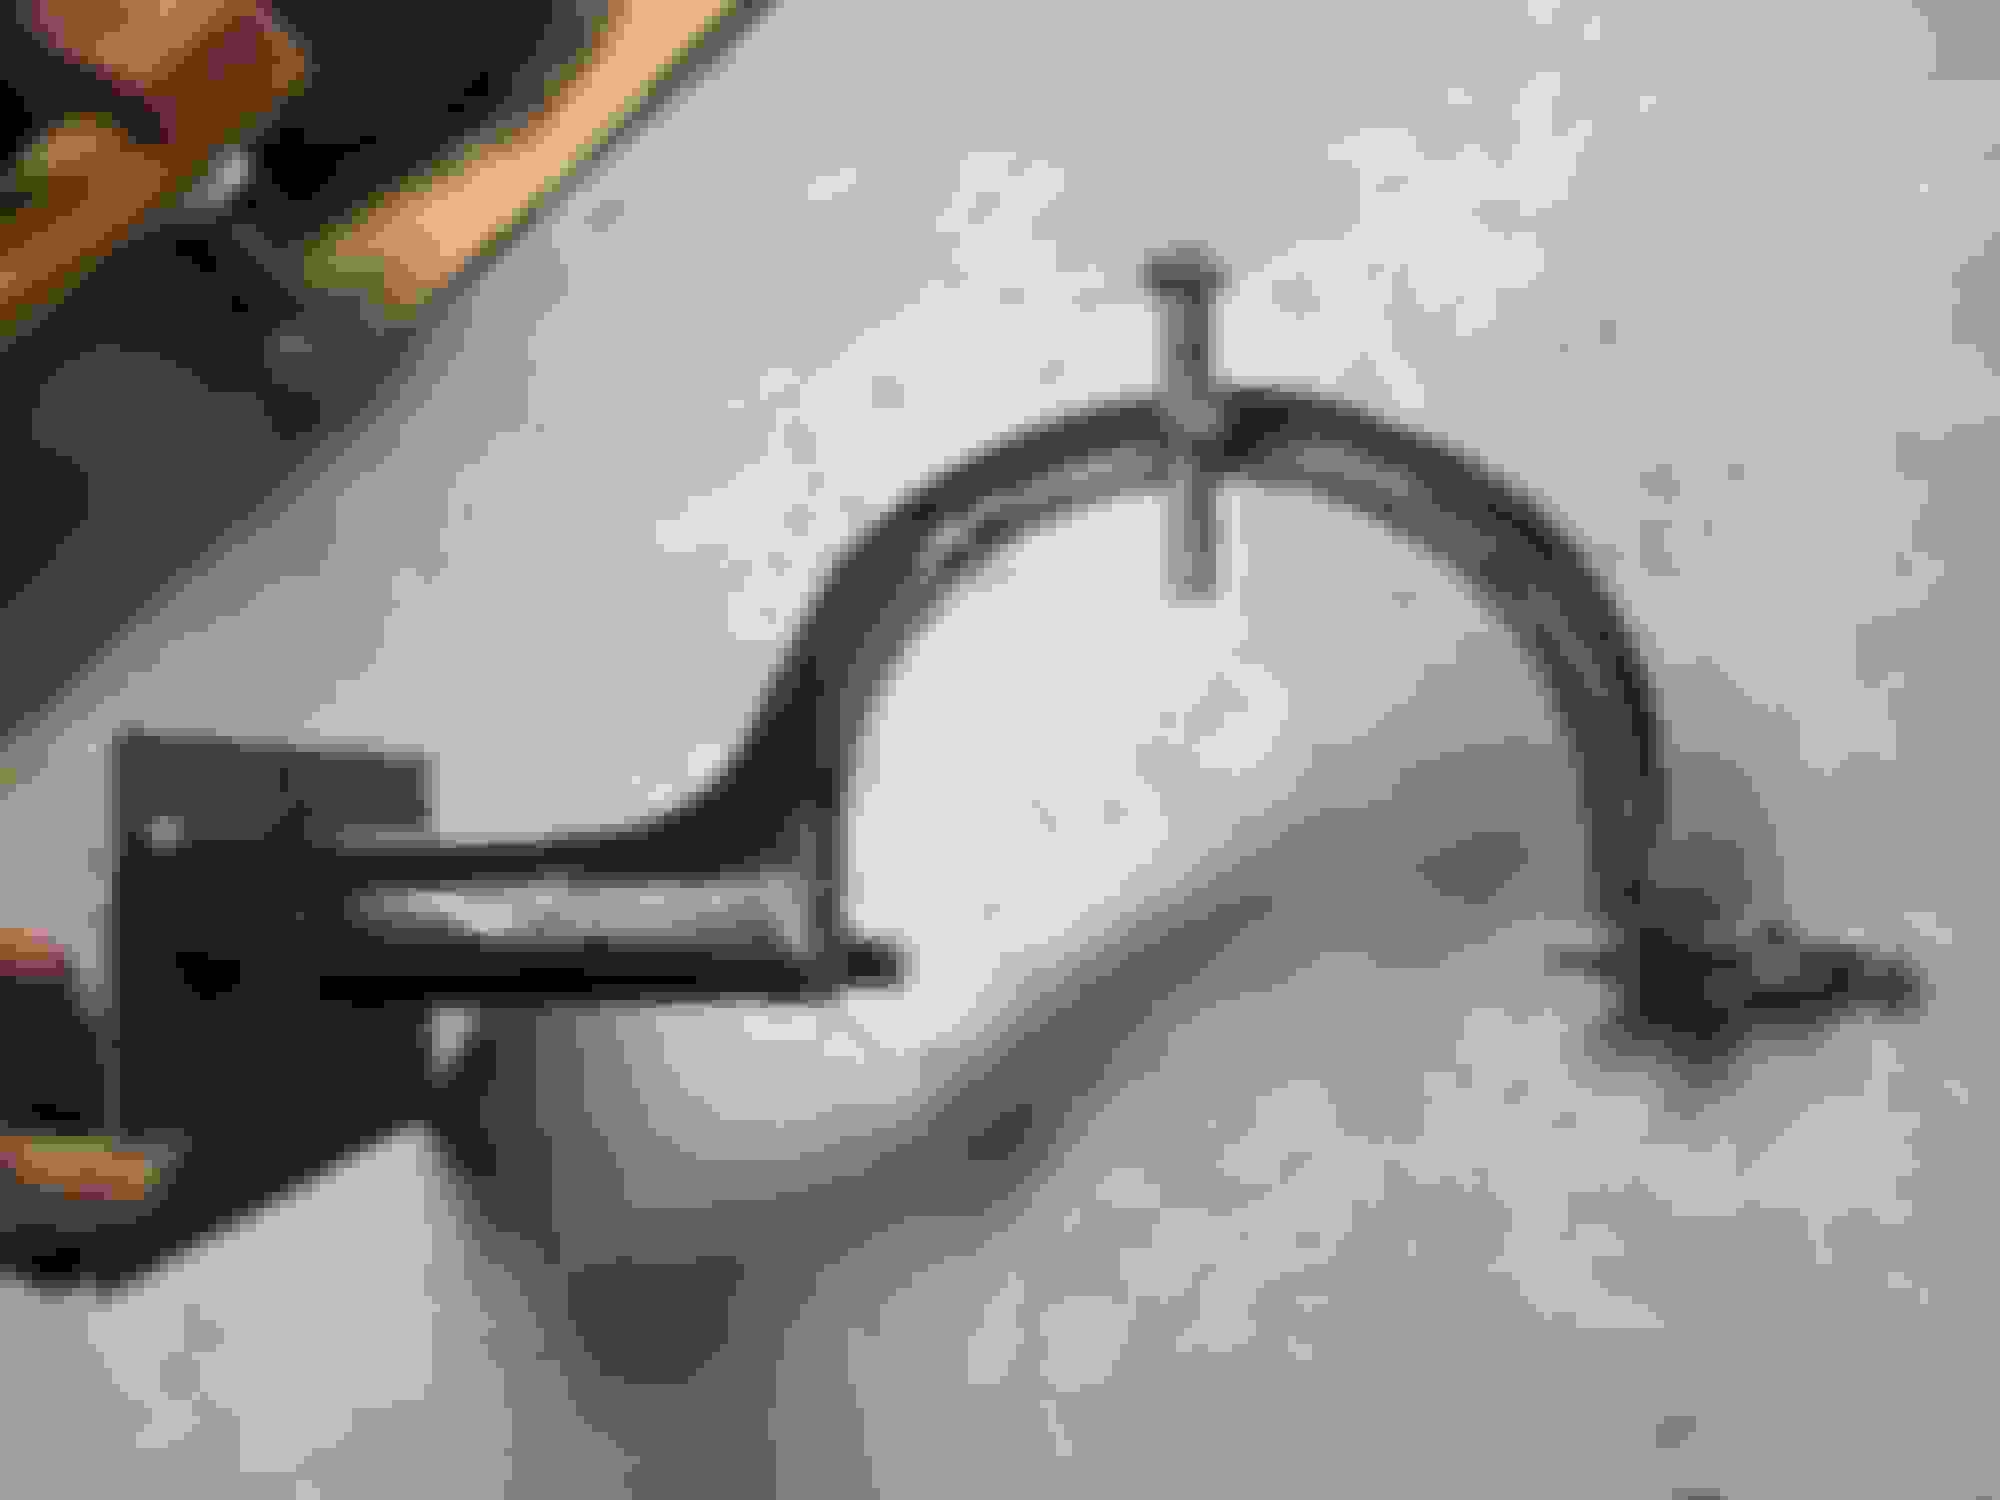
Convert welding clamp to:
I have one of those, hopefully not too big. How wide are the jaws when closed?
Originally Posted by LSswap
Lip seal tool from feeler guage and brake line
I've used this tool for lip seals, even 4th gear with some patience and effort.
What thickness feeler gauge?
Originally Posted by LSswap
direct and forward spring compressor
Could I persuade you to send me some dimensions? Specifically the circumference of the "circle" that the hex bolt fingers make?
Originally Posted by LSswap
nice to have but not a requirement.
I use an old rolling computer cabinet as a multipurpose workbench and transmission disassembly bench.
It has a hole punched in the center, at the lowest point, for transmission fluid to fall through.
Under the hole is a bucket to collect the old fluid.
I can't imagine the mess taking apart a transmission over a catch pan.
Funny thing is, I have a table made specifically for disassembly of automotive components at work. I'd love to use it but I'm out of room in the garage and it's pretty big. I'll probably get creative with some poly sheeting to direct the fluid down into the catch pan.
I've had great luck with the mylar circles for installing seals. Aren't you guys worried about tearing them with a metal seal tool?
Home Depot had these big Rubermaid containers with a yellow top that has a deep tray built in. Worked great for keeping parts in order and fluid in place.
I used Irwin clamps and sockets to compress the pistons.
I wish I used a clamp to raise and lower assemblies, my fingers were hurting for days after reassembly.
Google transtec lip wizard. It wont go to a tranny **** site, I promise. Its the green plastic circle that comes with rebuild kits. They work great.
Just bought one off eBay for $5 shipped. Thanks for the tip! What is everyone using to resize the o-rings? I've seen where Jake's mentions using electrical tape but I can't find a pics or explanation of the process.
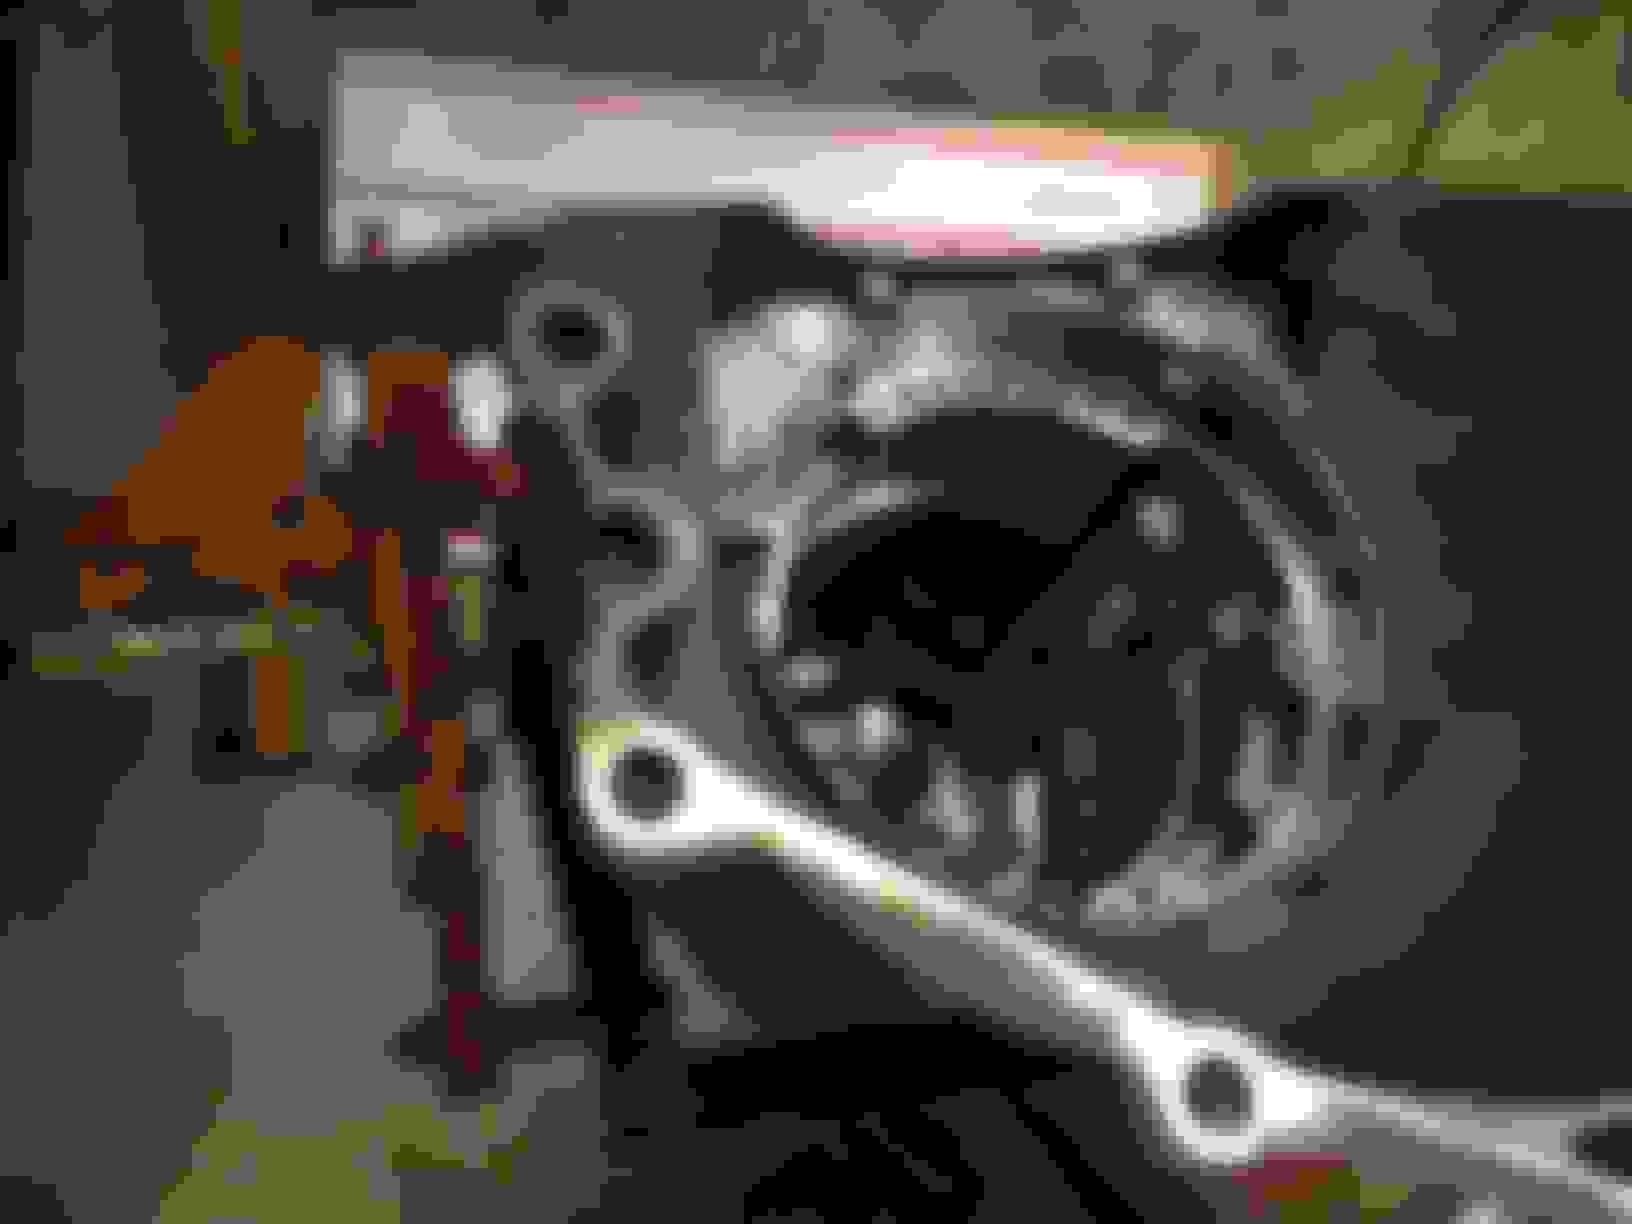
Here is a random picture but this is what I did also with my 4l60e. Just wrap the Teflon seal tight with electrical tape and leave it until install. I wrapped my seals lightly with electrical tape to prevent damage then snugged hose clamps on them like the picture.
Here is a random picture but this is what I did also with my 4l60e. Just wrap the Teflon seal tight with electrical tape and leave it until install. I wrapped my seals lightly with electrical tape to prevent damage then snugged hose clamps on them like the picture.
Did you lube the seal prior to the Teflon or put the tape on backwards so it doesn't stick to the seal?
I installed the seals with petrolatum and used a cut spray paint can cap and a hose clamp. The key is to not tighten is all the way at first. 2-3 steps of tightening gets it good, just make sure they are in the grove.
I got a killer deal on Ebay for the KM tools, makes it easy, esp for the 4th clutch
I have a small heavy duty stool, I bored a hole in it, pulled the tail shaft off and stood it up to rem the guts
Pulling the pump was the hardest, I screwed a couble, 3/8 I think, into the bolt holes with a chain, even it comes out
I know we all have different ways of doing things, But.....You don't have to drop the Center Support & Sun Gear Shaft in with the Output & Reaction Carriers, Output, & Main Shaft.
Just drop the Carriers in by grasping the Main Shaft with the Torrington on top of the Sungear (Like shown)
Install the Fretting Ring, Drop in the Center Support with the Thrust Washer stuck in it's groove with Transjel, Turn the OutPut Shaft & the Center Support will engage the Lo Roller Clutch & drop down into place, Then you can drop in the Sun Gear Shaft, Never had an issue with the Torrington on top of Sun Gear not centering itself on the Center Support or any other issues doing this way.
How many times have you guys tore down a 4L80E and found hardened 4th clutch piston seals? I see more torn lip seals from not having the lip seal tool.
If you do not have the tool, Just drain the fluid out of the bleed orifice.
How many times have you guys tore down a 4L80E and found hardened 4th clutch piston seals? I see more torn lip seals from not having the lip seal tool.
If you do not have the tool, Just drain the fluid out of the bleed orifice.
Yep, mine was a low mile unit so I left them alone. I actually talked to my trans guy and he doen't mess with them either but has never seen them fail. It's a little hacky but that tool is just way too expensive.
Heres a tool I would like to add to the list. I gound down a round punch at an angle. Helps get out bushings no problem. The sun gear shaft and output shaft bushings were hard to remove with regular punches and chisles. Especially the output shaft as its in a blind hole. This worked great in a matter of seconds. I read that "cape" chisles work great too, could not find those locally. You want to collapse the bushing in itself and then pull it out with pliers or a seal puller.

 06-21-2016, 07:37 AM