
High Performance 4L60E Build Thread


 10-08-2016, 07:20 PM
#22

If you're handy enough to take on rebuilding a transmission, you can make your own spring compressor pretty easily. As for the teflon resizer/compressor, I used a funnel to resize and thin acrylic plastic (Hobby Lobby or Walmart) and hose clamps to compress them. I don't want to derail Texas Patriot's thread with pictures and stuff, but you can look at the "Another 4l60e rebuilding thread" in the stickies to see how I did it.
10-26-2016, 05:58 PM
#24
Teching In
Thread Starter
http://www.ebay.com/itm/GM-Rear-Clut...-/190665693215
11-01-2016, 10:37 PM
#25
Teching In
Thread Starter
Its about time I finished part two of this thread. Just an update for everyone, This transmission has been in the vehicle for about a month now with plenty of hard driving and abuse. I have to say the Smart-Tech Input Drum is absolutely awesome. The 2-3 shift is now just as crisp and quick as the 1-2.
Lets get on with part two, there aren't quite as many pictures as part 1 but there are some useful tips in here.
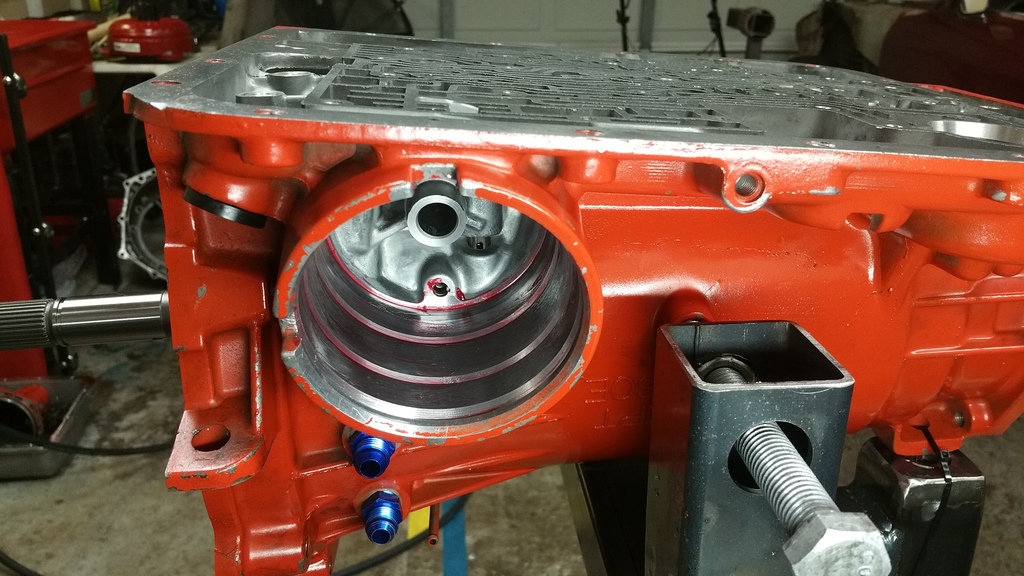
Since the Smart-Tech Drum comes with a better rear stator support bushing we need to remove the old one. I have read quite a few times on here about people struggling to remove this bushing. What I am showing here is my method, it works well for me.
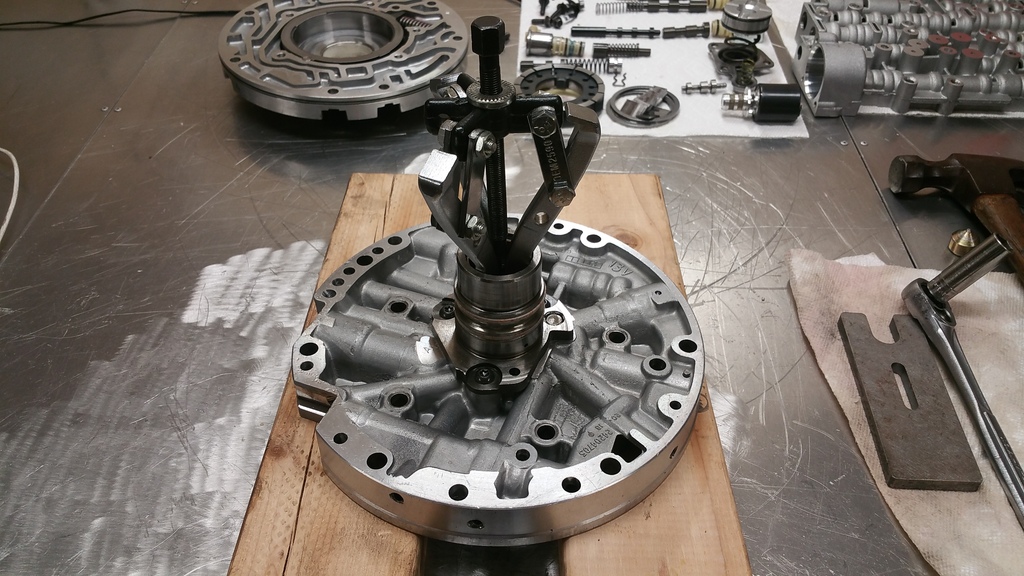
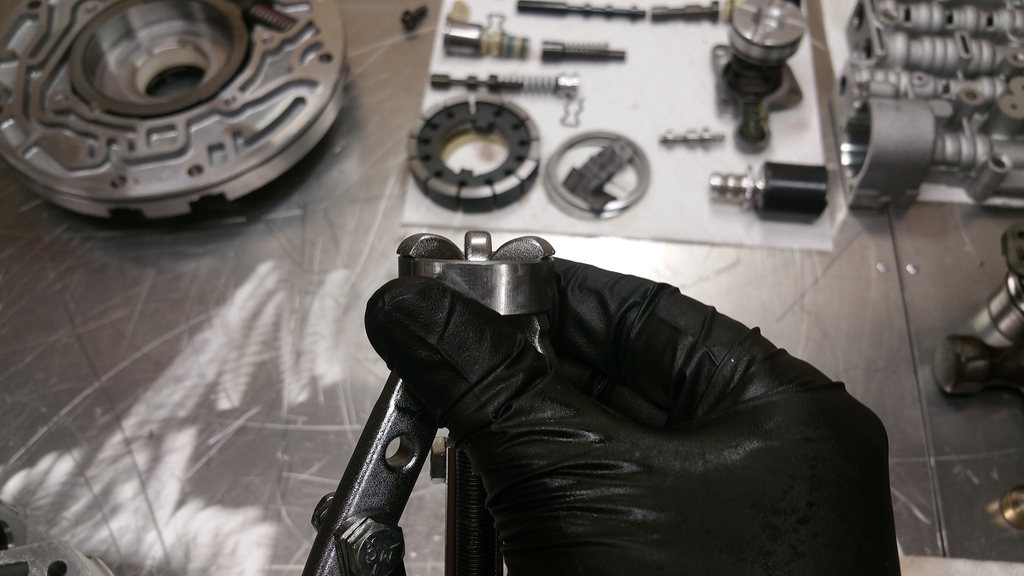
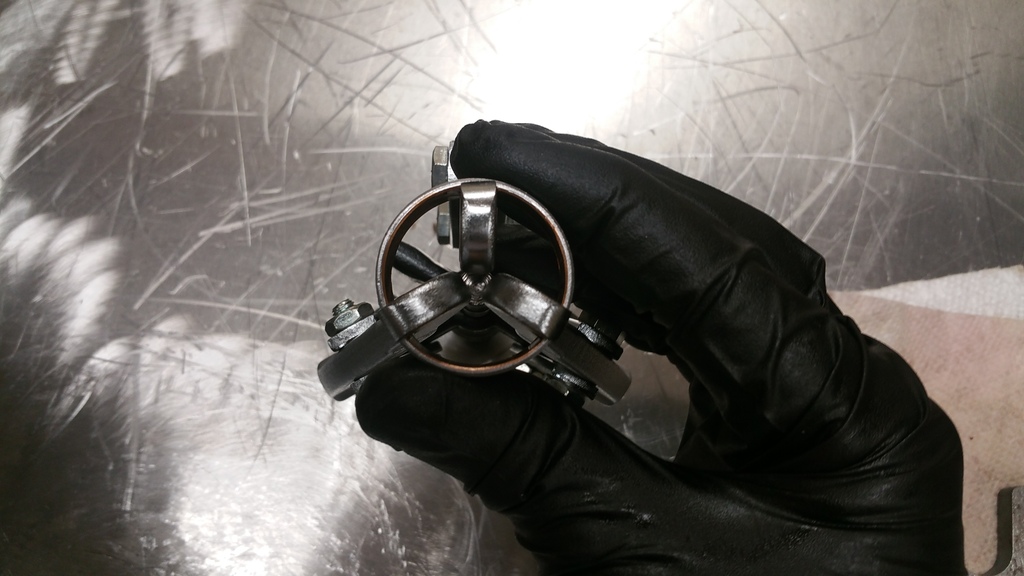
If you have a small 3 jaw gear puller, you can reverse the jaws so they can grab the lip of the bushing from the inside.
When you place the puller in the stator tube, use the threaded center pin on the gear puller to spread the jaws and engage the teeth on the edge of the bushing. DO NOT OVER TIGHTEN HERE, too much pressure could damage the bushing bore as the bushing comes out.
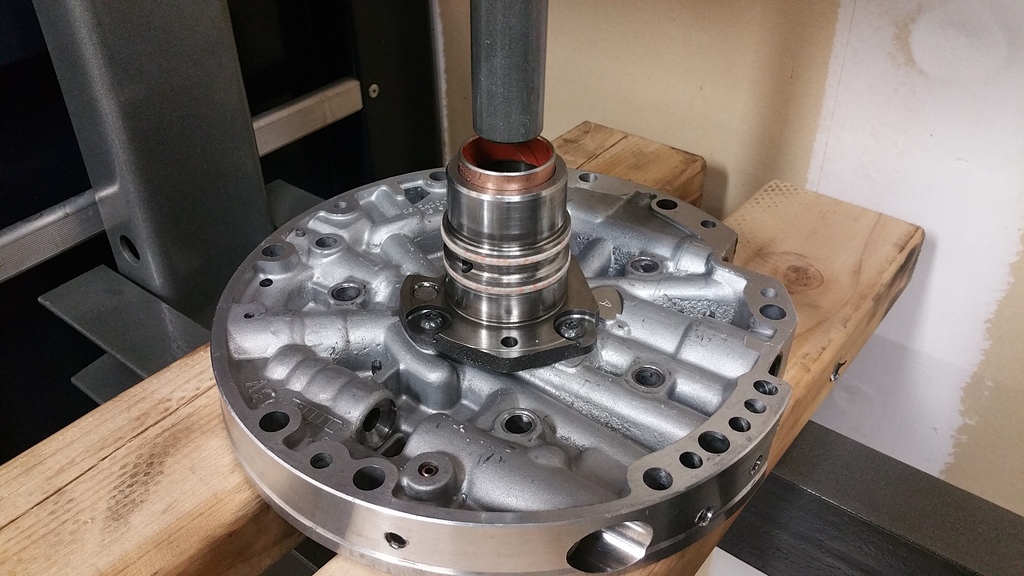
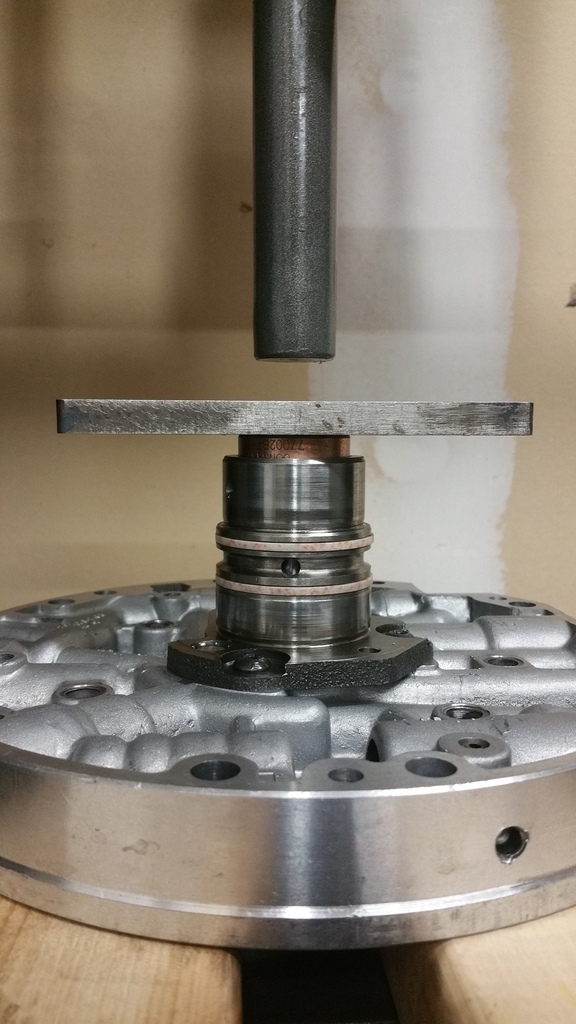
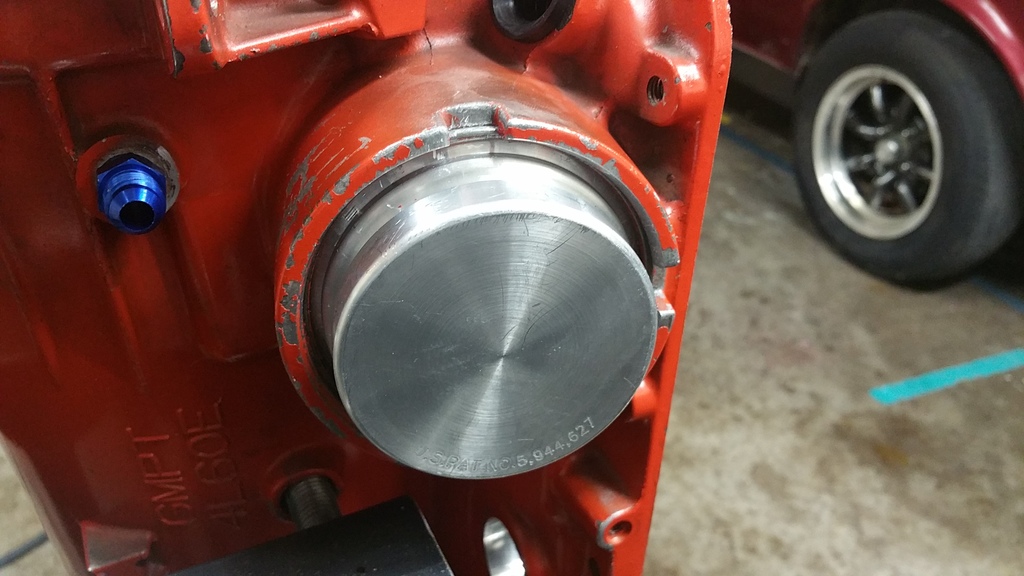
Then I place the pump into the press and drop a deep wall socket inside the stator tube which fits closely to the I.D. of the stator tube.
Then just press the bushing out with the press. It come out very easily.

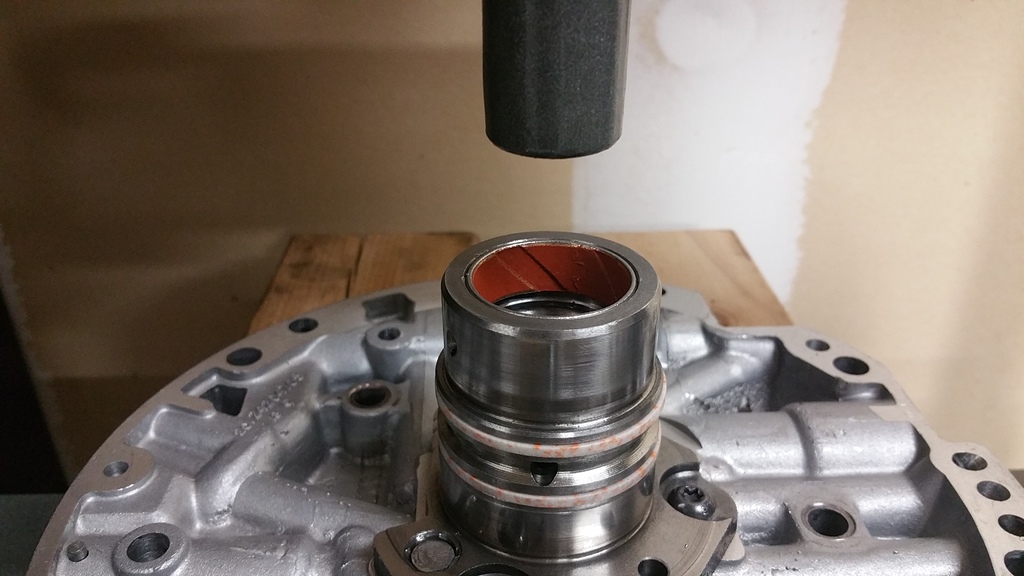
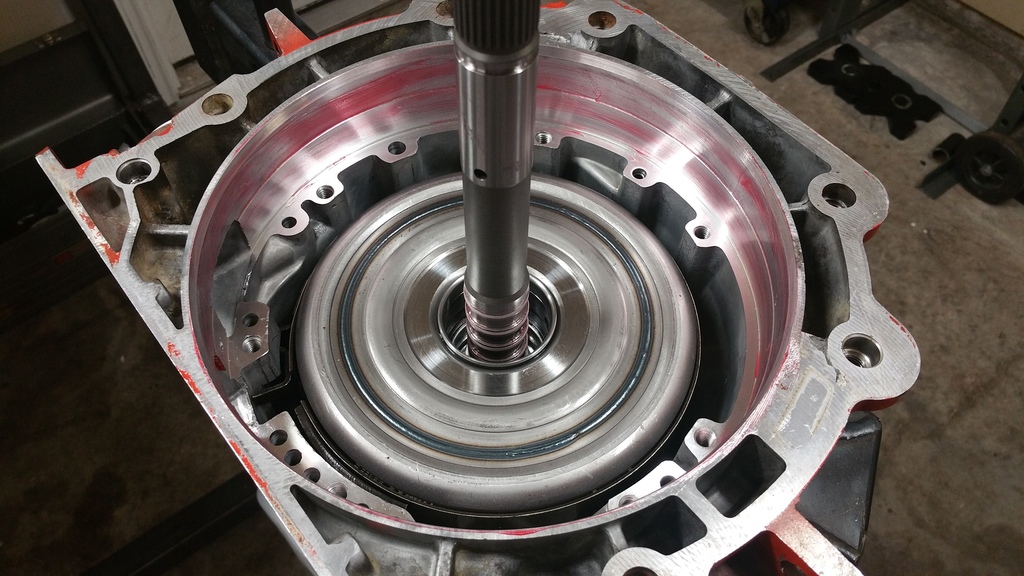
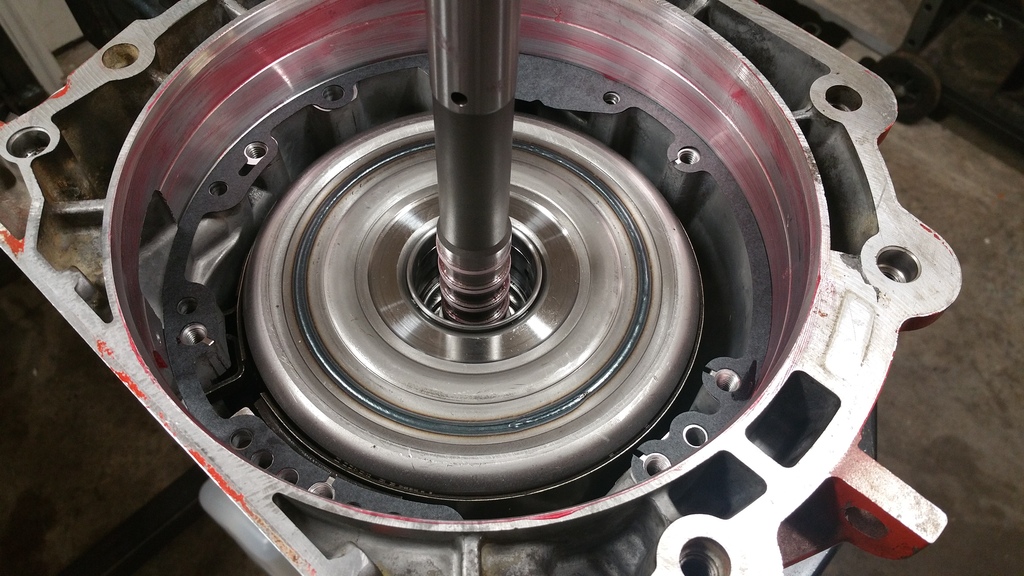
Next I start the new bushing from Sonnax in its bore. Place the pump back in the press to finish driving it in.
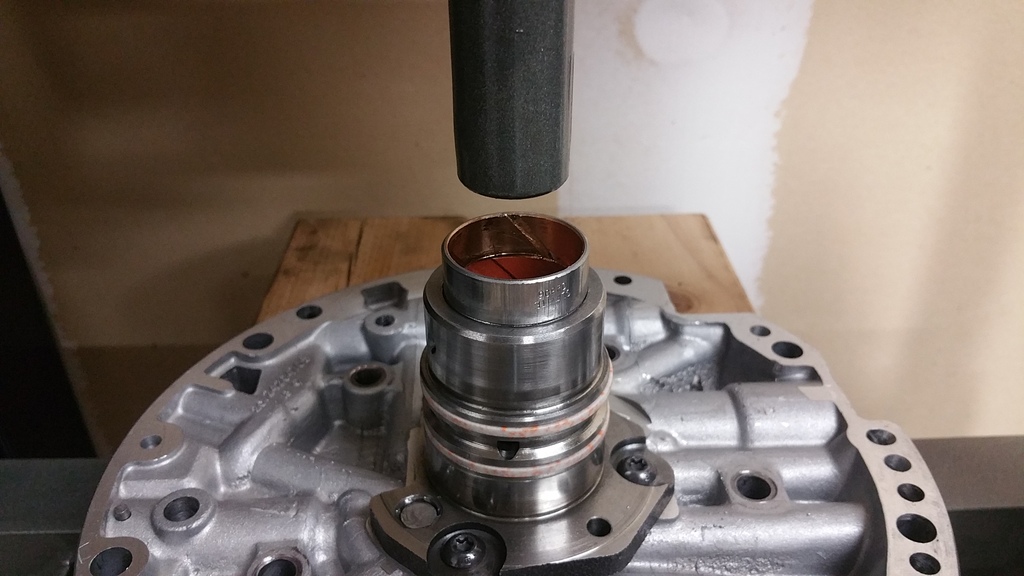
Once the bushing is flush with the back of the stator tube, I use the old bushing to barley set the new bushing below flush.
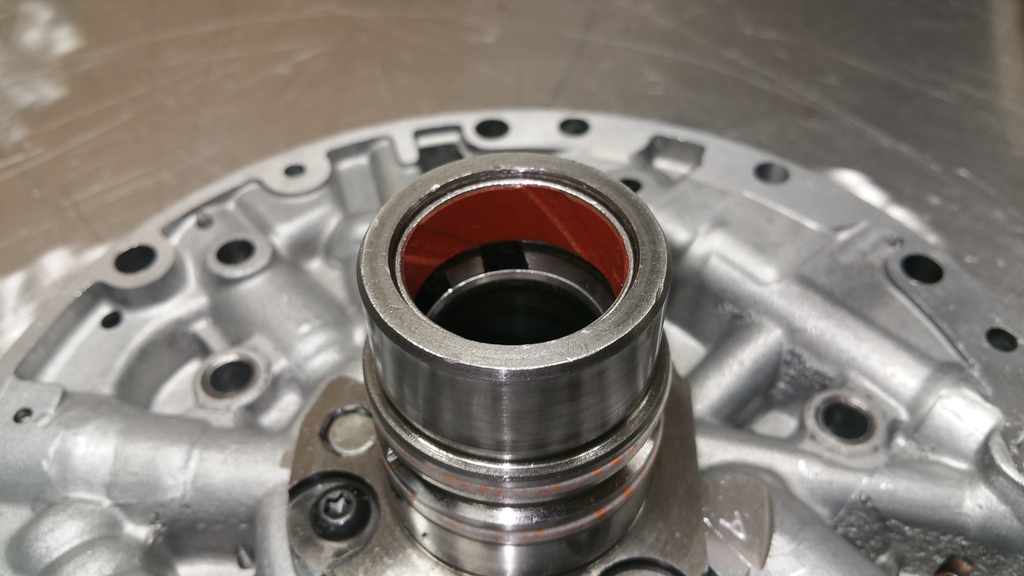
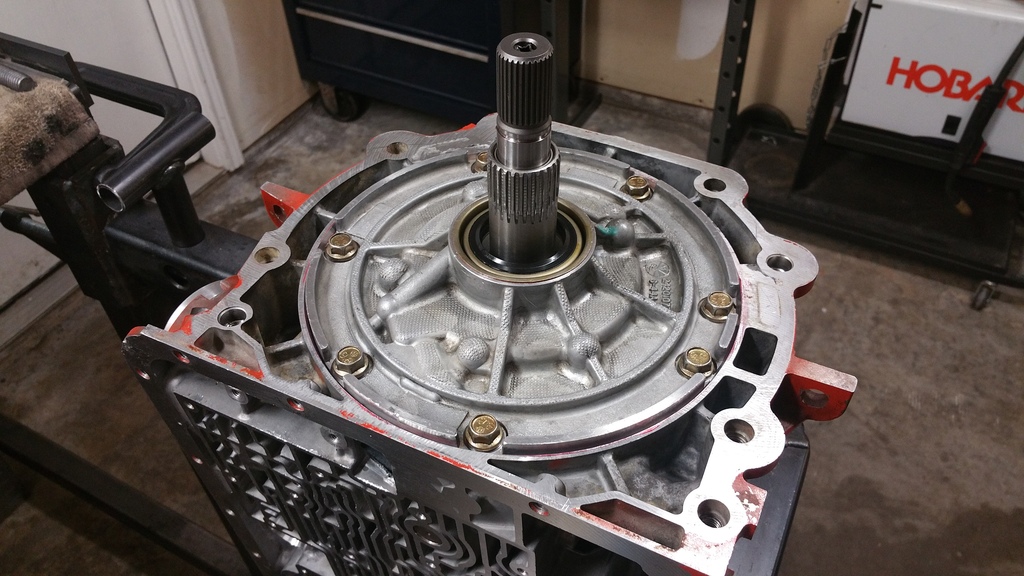
Here is the bushing fully installed.
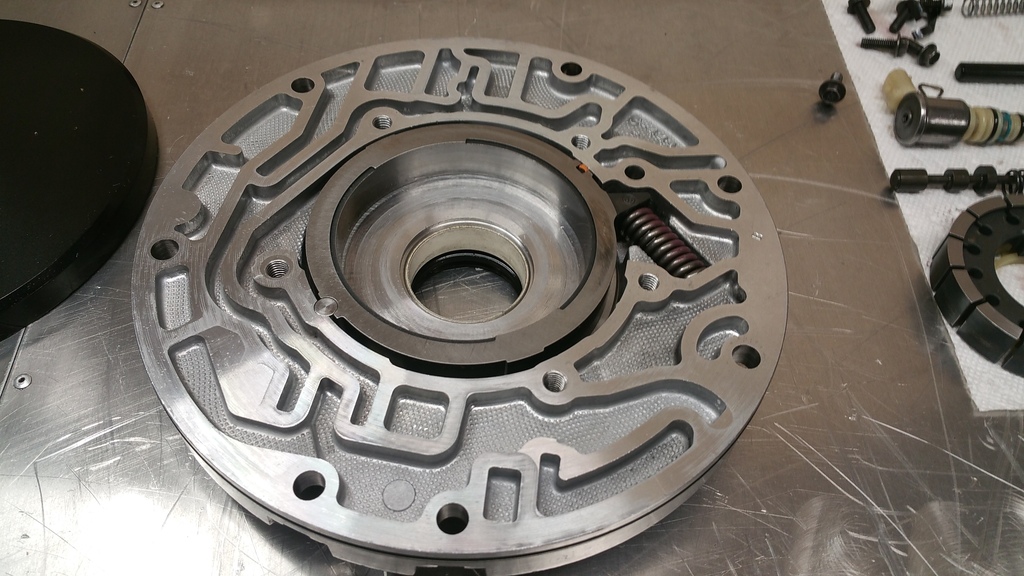
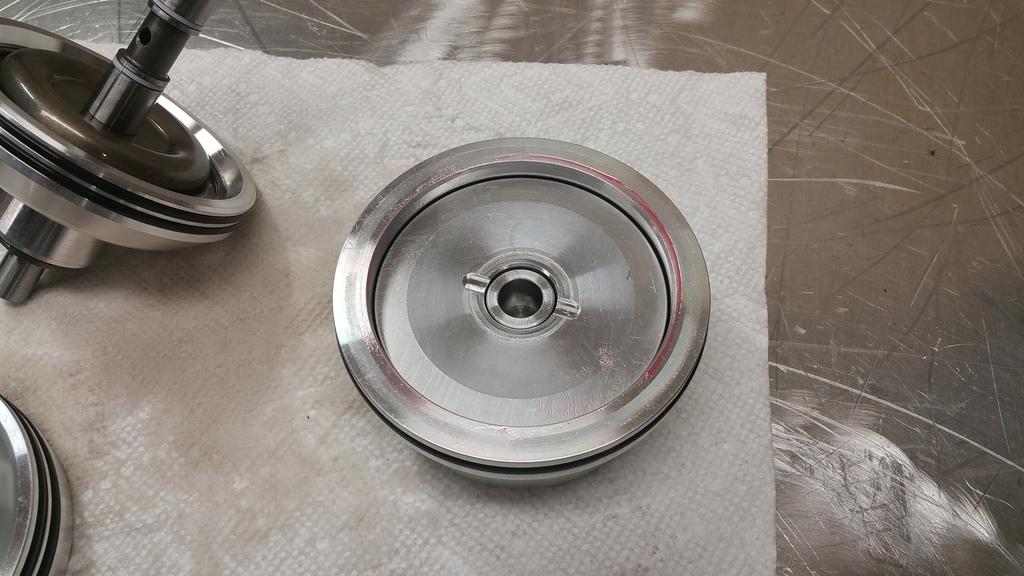
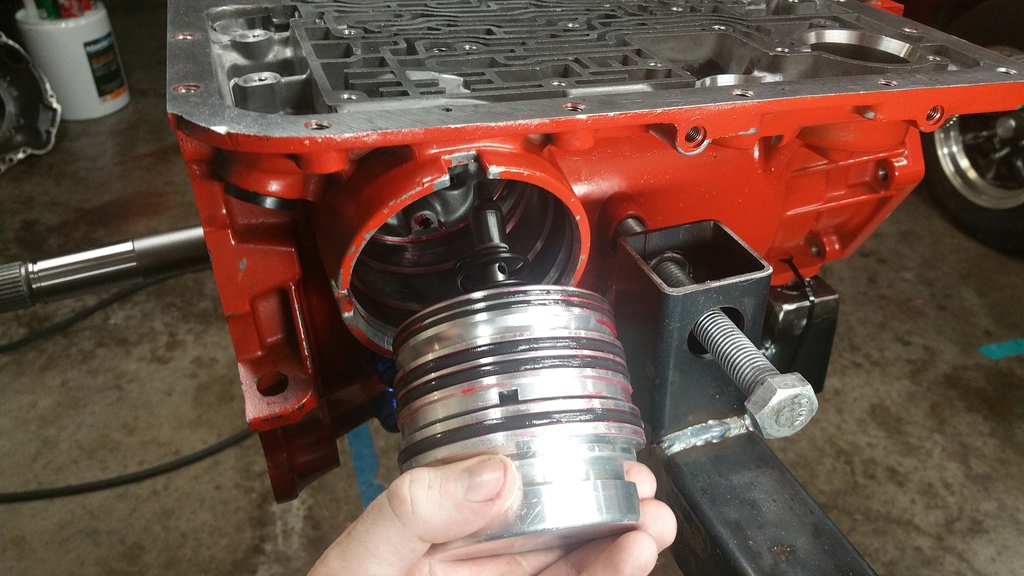
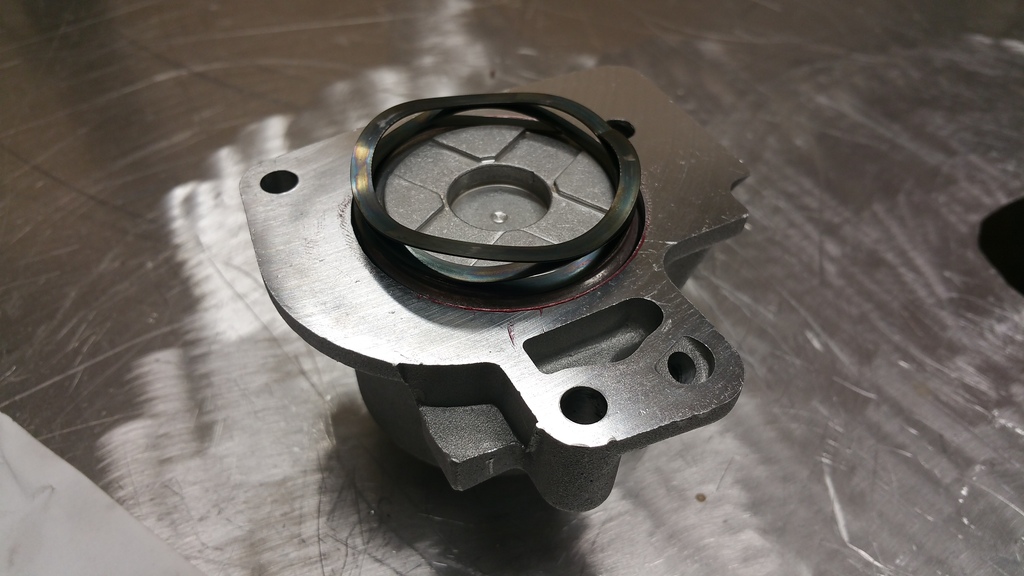
Pump body with new slide spring installed, ready for rotor an vanes.

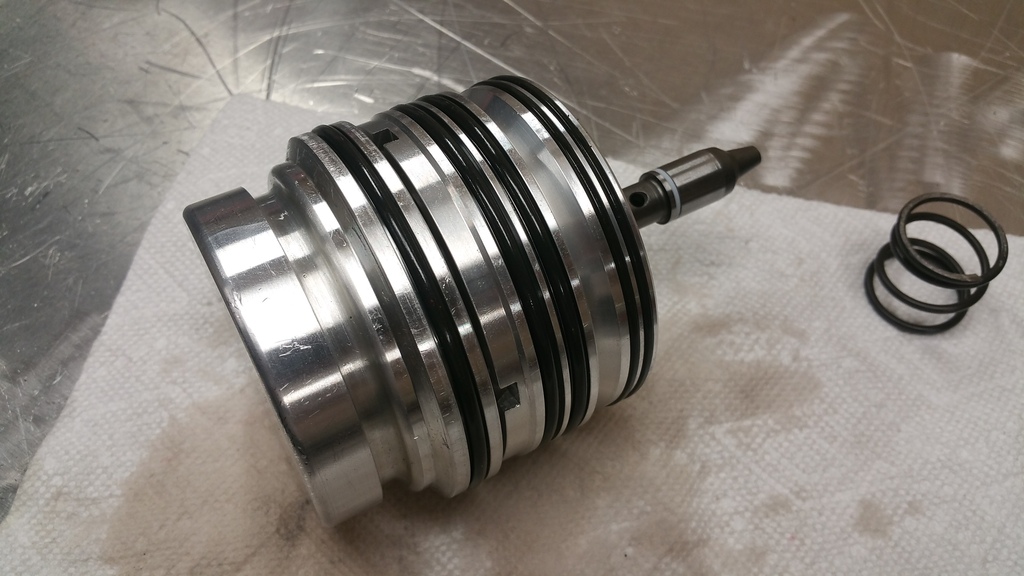
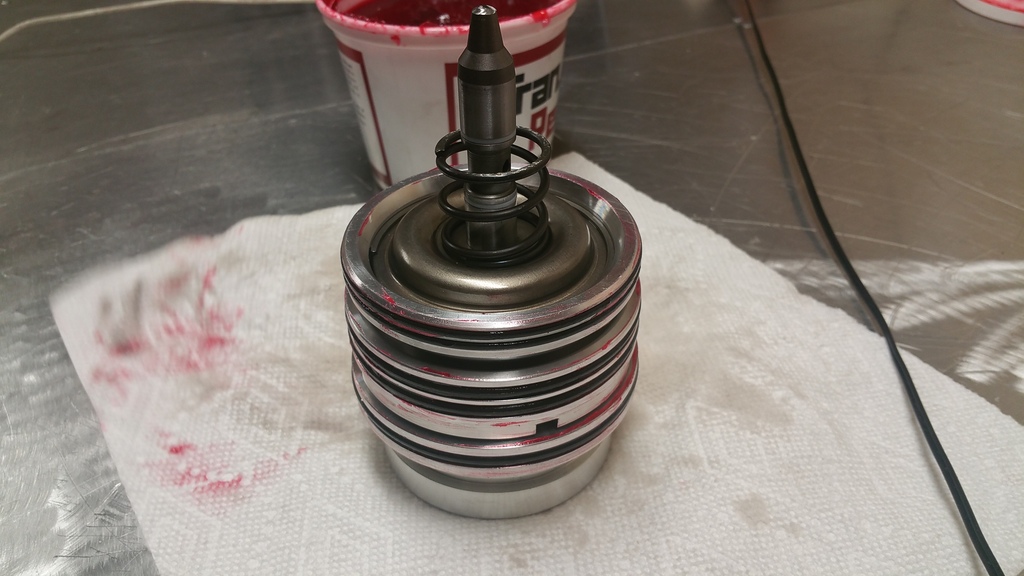
Boost valve and pressure regulator assembly with updated spring.
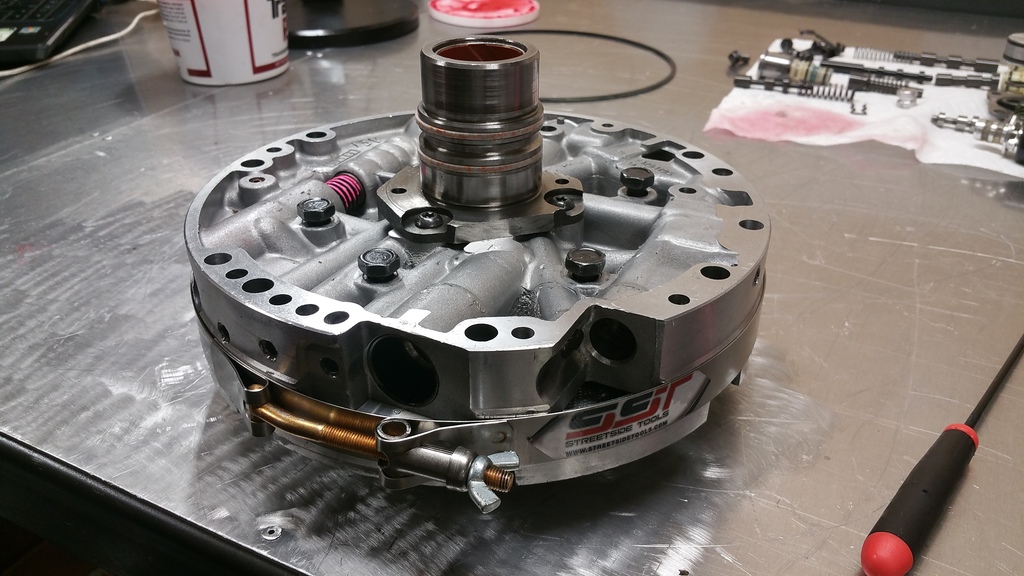
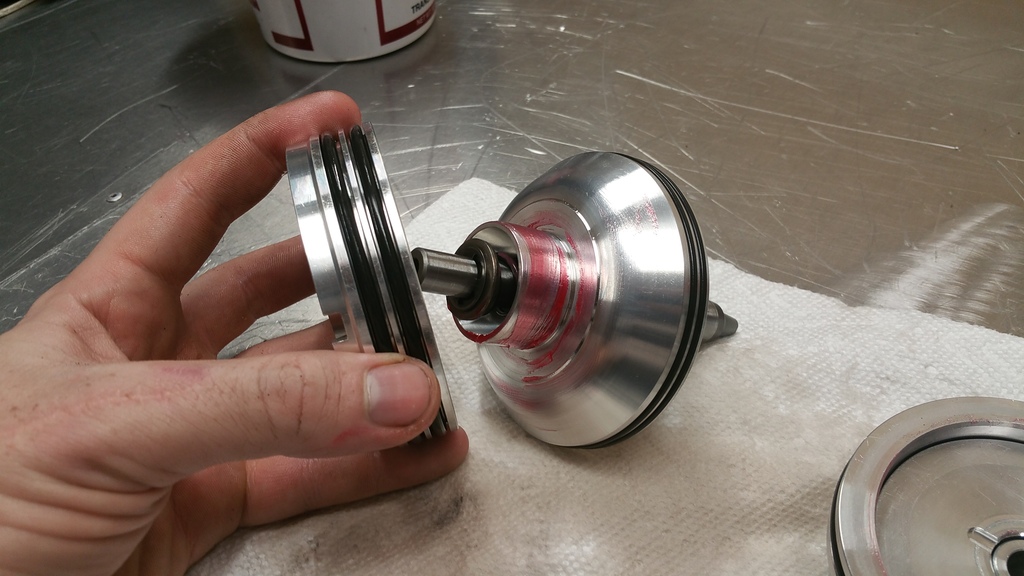
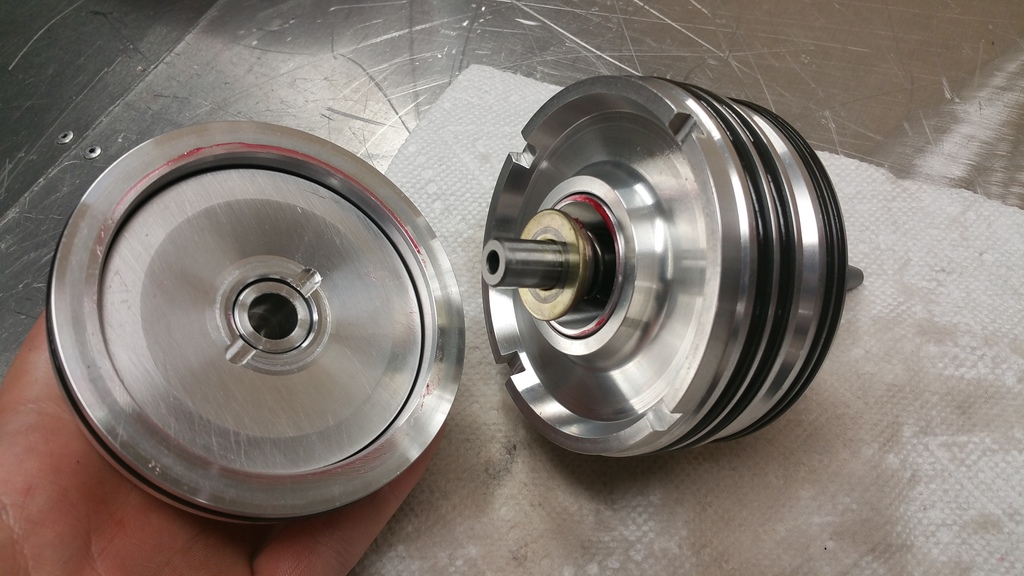
Pump halves together loosely with pump alignment tool.
Sonnax Billet Servos
Servo Bore
This servo pin has already been shortened and servo travel adjusted. READ YOUR SONNAX INSTRUCTIONS
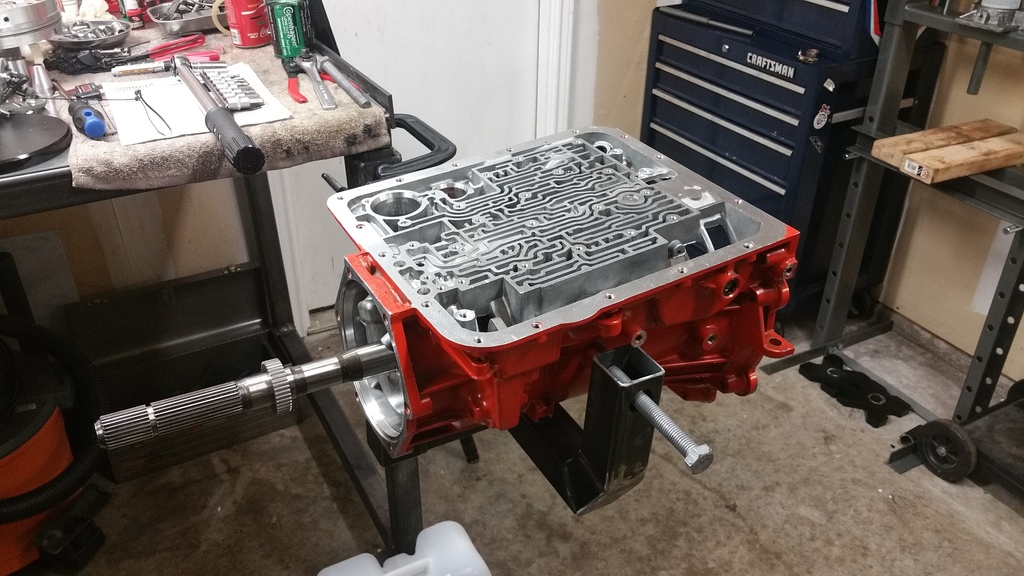
Case lubricated and ready for pump install.
Don't forget the pump to case gasket.
Pump installed
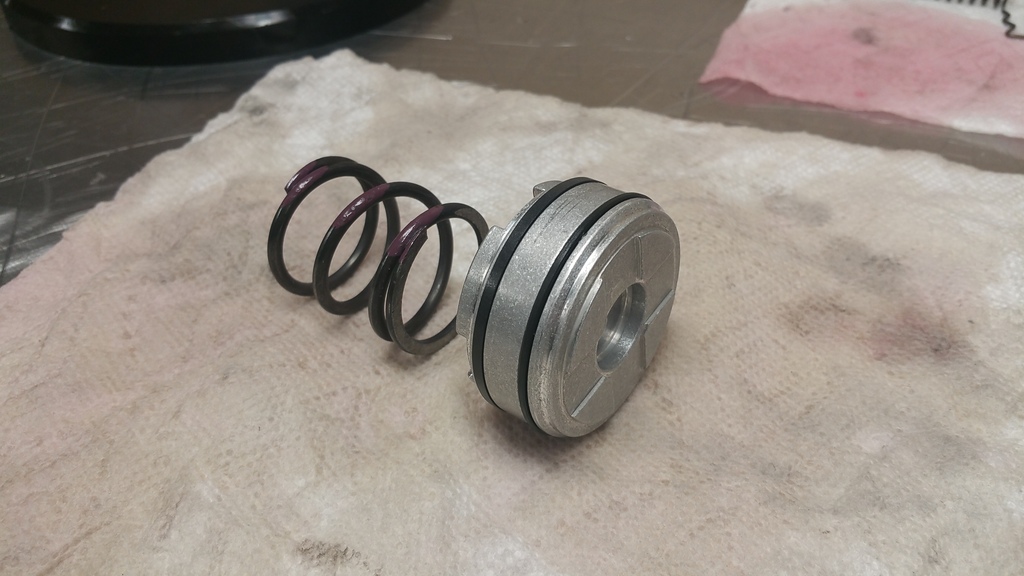
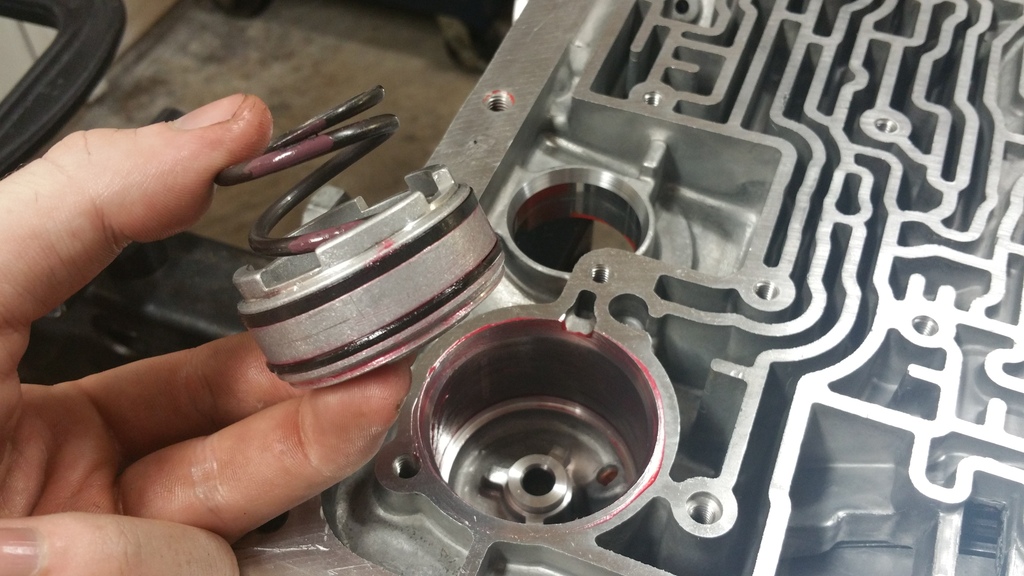
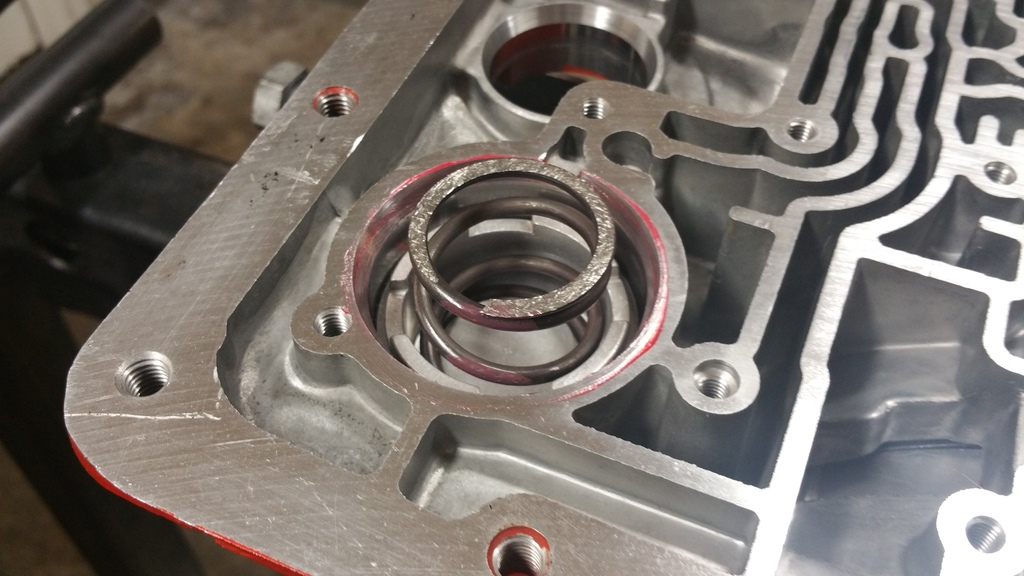
Pinless accumulator
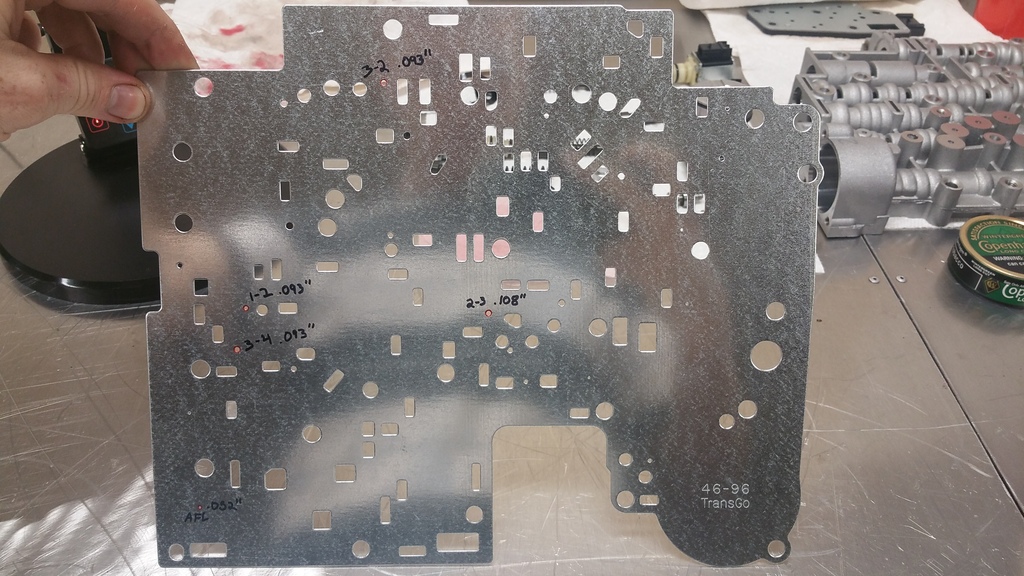
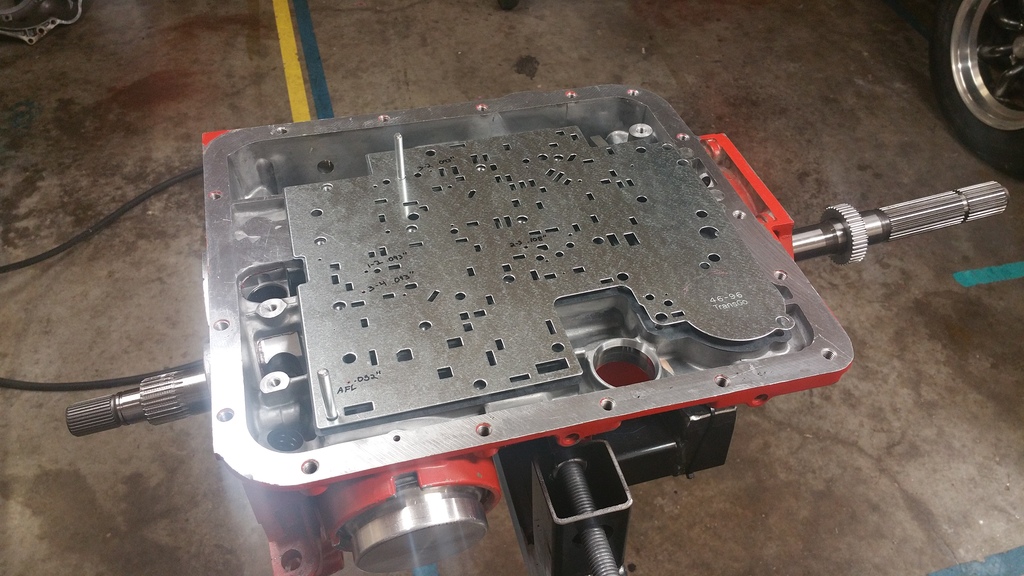
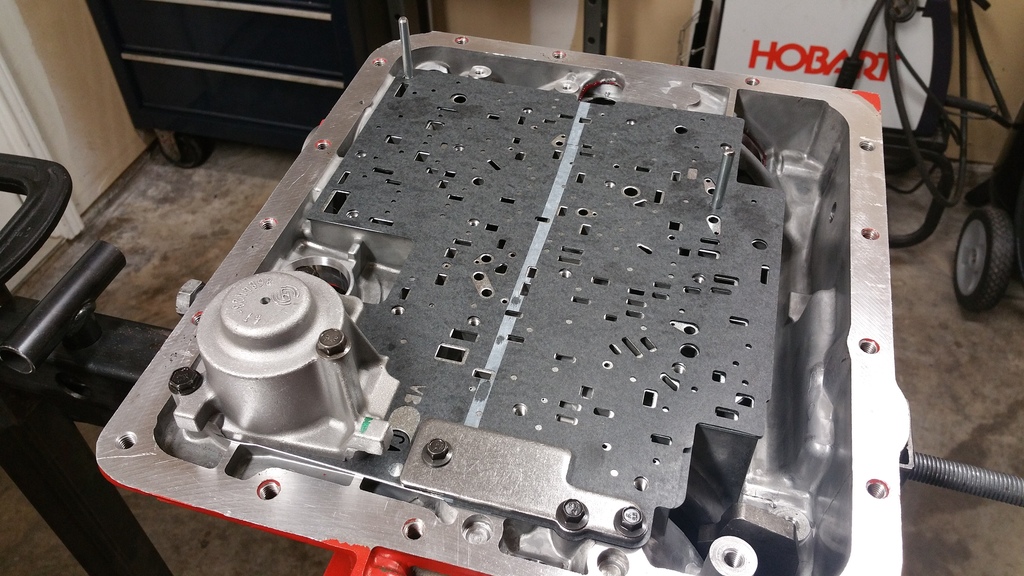
Separator Plate
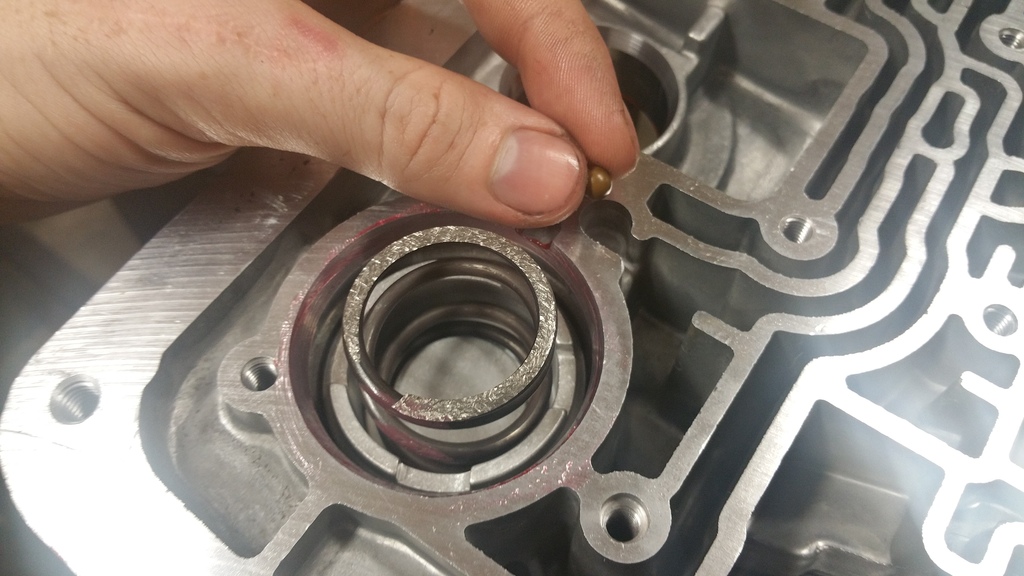
Don't forget this check ball in the case!
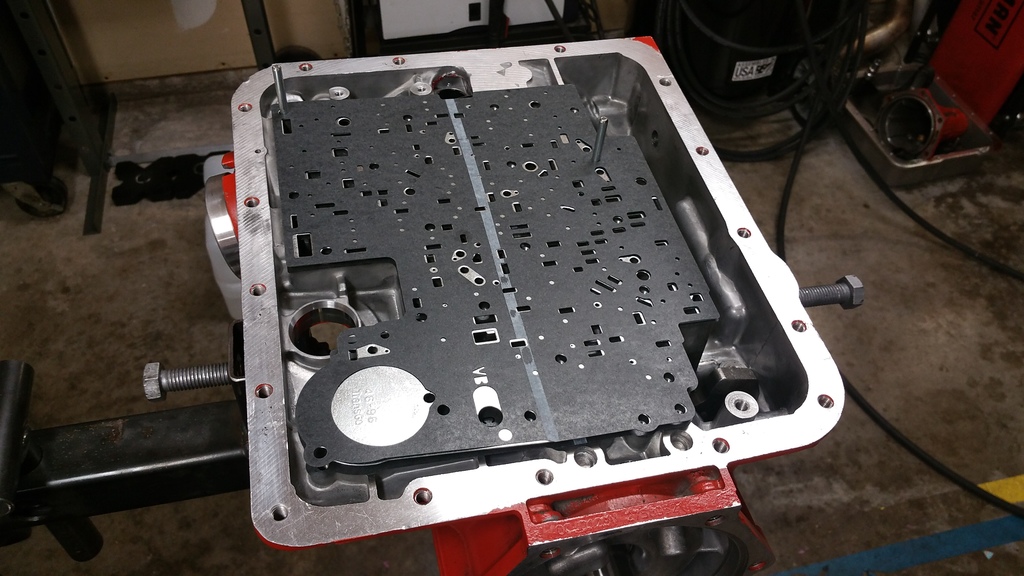
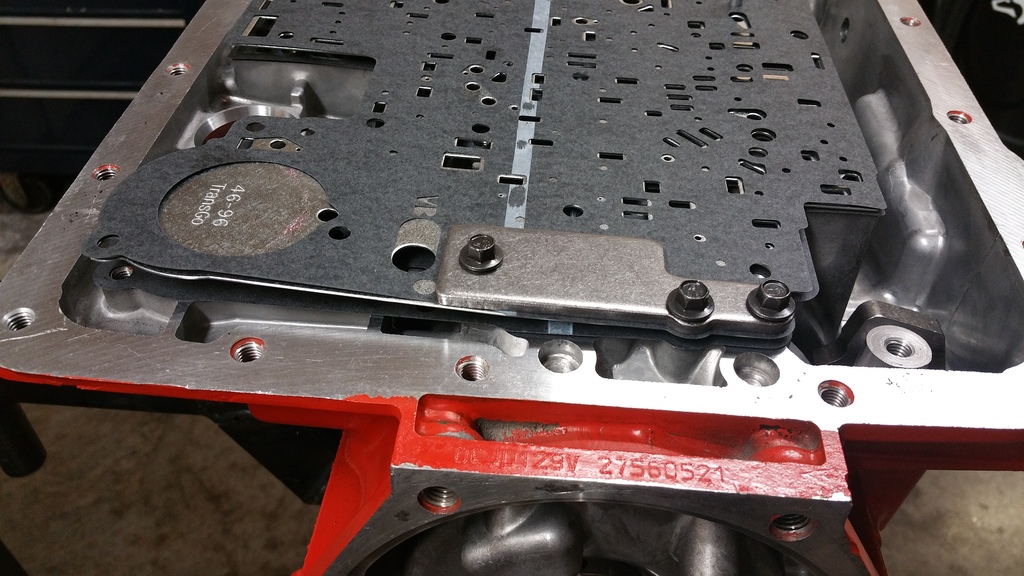
Stiffener Plate loosely installed

1-2 Accumulator housing with pinless piston.


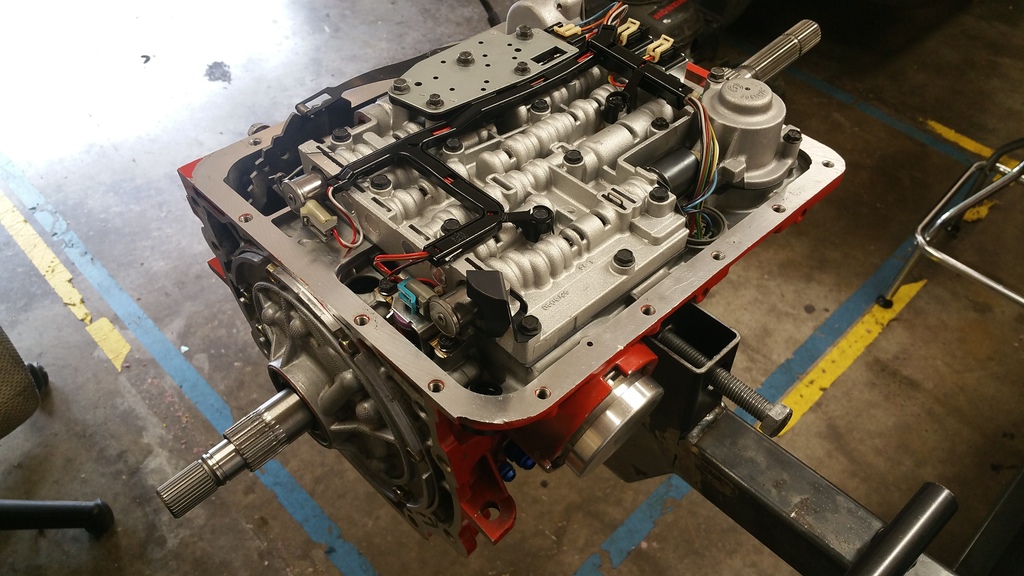
Valve body installed and solenoids.
Lets get on with part two, there aren't quite as many pictures as part 1 but there are some useful tips in here.
Since the Smart-Tech Drum comes with a better rear stator support bushing we need to remove the old one. I have read quite a few times on here about people struggling to remove this bushing. What I am showing here is my method, it works well for me.
If you have a small 3 jaw gear puller, you can reverse the jaws so they can grab the lip of the bushing from the inside.
When you place the puller in the stator tube, use the threaded center pin on the gear puller to spread the jaws and engage the teeth on the edge of the bushing. DO NOT OVER TIGHTEN HERE, too much pressure could damage the bushing bore as the bushing comes out.
Then I place the pump into the press and drop a deep wall socket inside the stator tube which fits closely to the I.D. of the stator tube.
Then just press the bushing out with the press. It come out very easily.
Next I start the new bushing from Sonnax in its bore. Place the pump back in the press to finish driving it in.
Once the bushing is flush with the back of the stator tube, I use the old bushing to barley set the new bushing below flush.
Here is the bushing fully installed.
Pump body with new slide spring installed, ready for rotor an vanes.
Boost valve and pressure regulator assembly with updated spring.
Pump halves together loosely with pump alignment tool.
Sonnax Billet Servos
Servo Bore
This servo pin has already been shortened and servo travel adjusted. READ YOUR SONNAX INSTRUCTIONS
Case lubricated and ready for pump install.
Don't forget the pump to case gasket.
Pump installed
Pinless accumulator
Separator Plate
Don't forget this check ball in the case!
Stiffener Plate loosely installed
1-2 Accumulator housing with pinless piston.
Valve body installed and solenoids.
Last edited by Texas Patriot; 11-01-2016 at 11:02 PM.


 08-24-2017, 05:46 PM
#34
Moderator
Yes, the pinless accumulator kit comes with two steel ***** which must be pushed into the hole where the pin was; else there will be a significant leak. Just a tiny detail for which there is no picture.

