200mph ls7 cts
 01-25-2016, 05:28 PM
#41
Teching In
Thread Starter

Join Date: Jan 2016
Posts: 31
Likes: 0
Received 0 Likes
on
0 Posts
That's one way to put it. The other way would be shivering on the floor changing axles in my WRX Saturday, then shivering on Sunday working on the Caddy. I ran out of propane in my house Friday night and had to pull my garage heater inside. You can imagine the temps in Michigan right now.
 01-31-2016, 04:07 PM
#42
Teching In
Thread Starter
Join Date: Jan 2016
Posts: 31
Likes: 0
Received 0 Likes
on
0 Posts
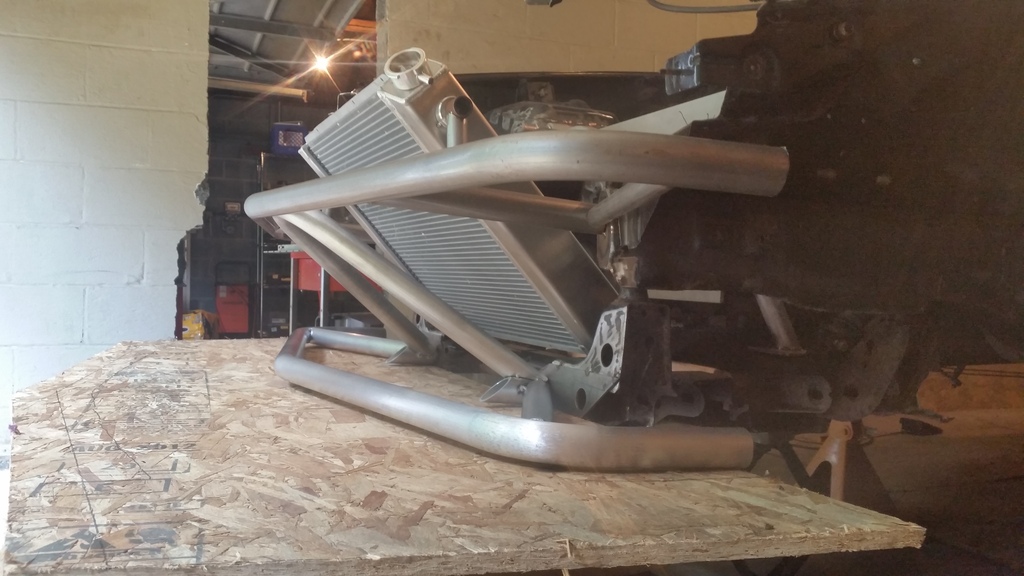
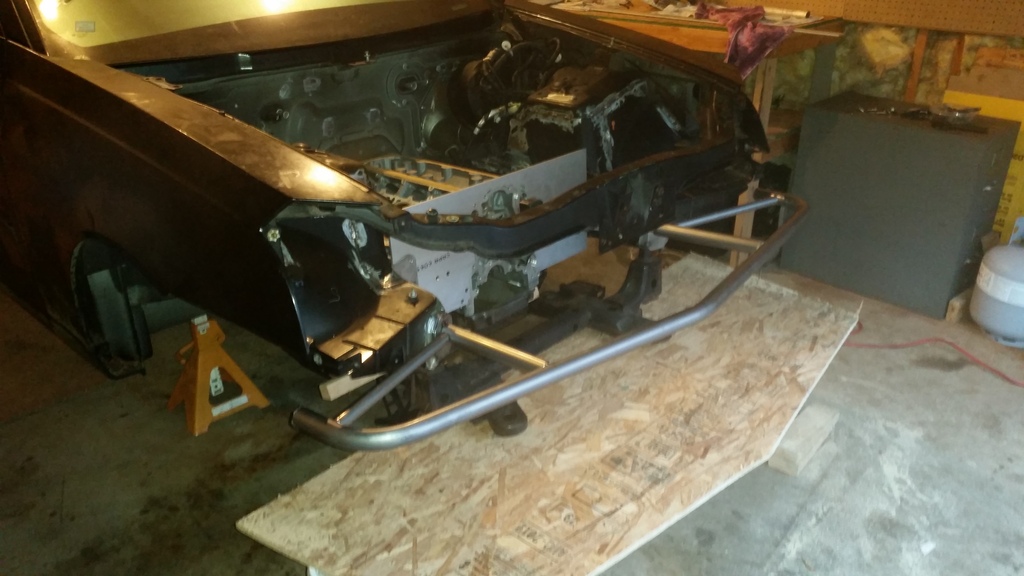
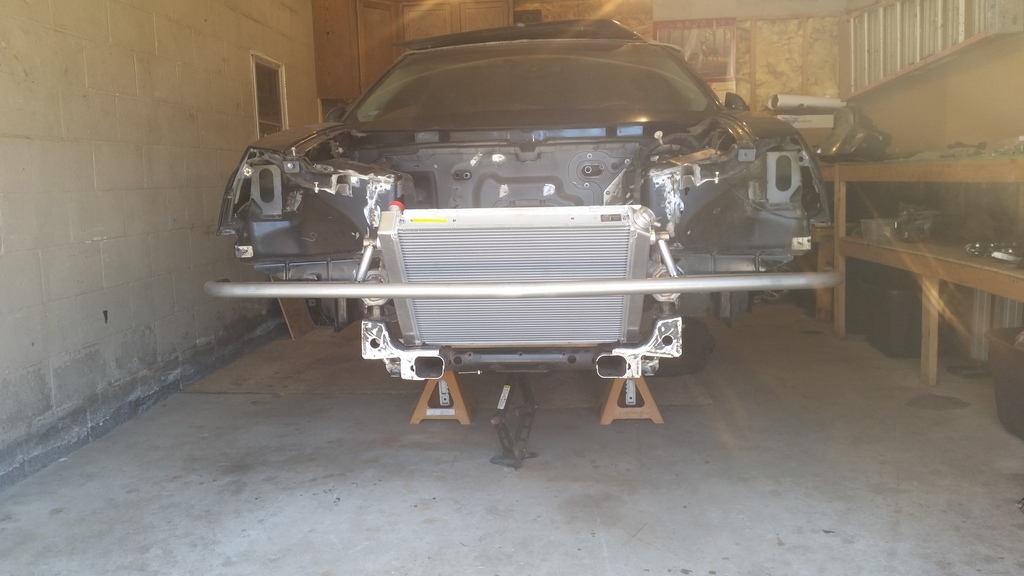
Front crash structure done, front splitter cut to size to seal bottom of nose. Fog lights don't clear tube bumper so they are trashed. I guess some sort of ducting would work well in openings.
 [/URL]
 [/URL]


 04-18-2016, 11:21 AM
#44
Teching In
Thread Starter
Join Date: Jan 2016
Posts: 31
Likes: 0
Received 0 Likes
on
0 Posts
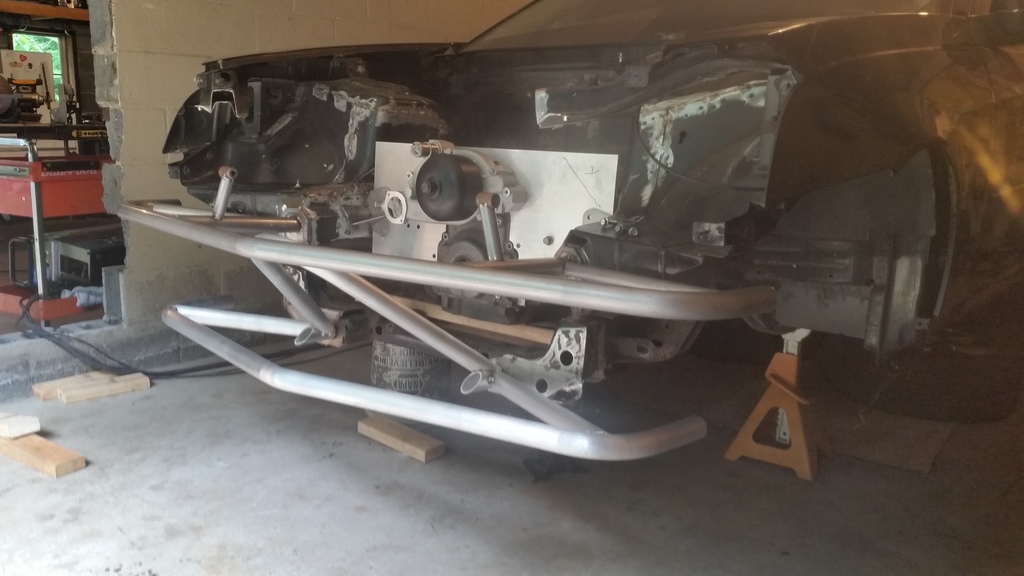
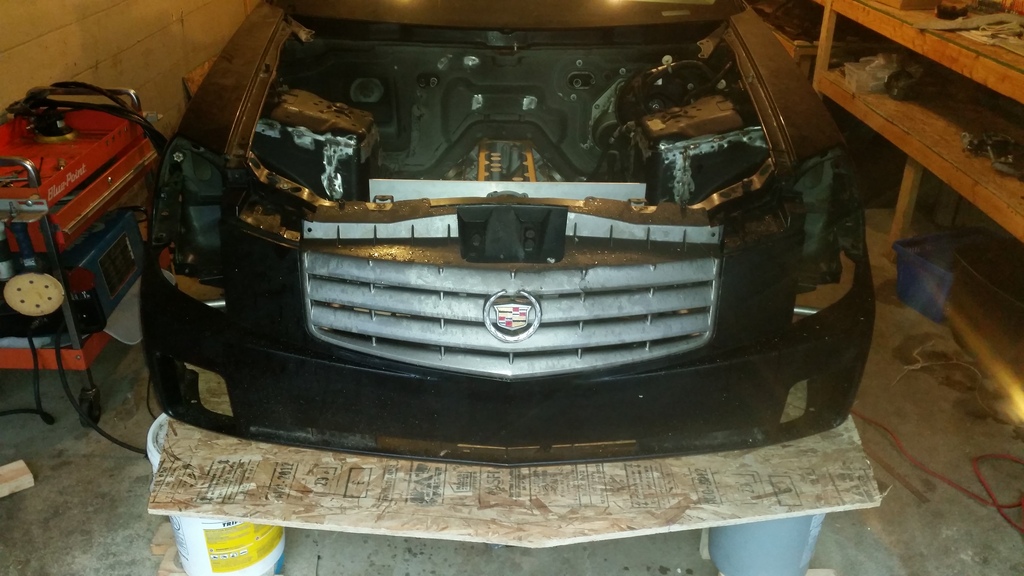
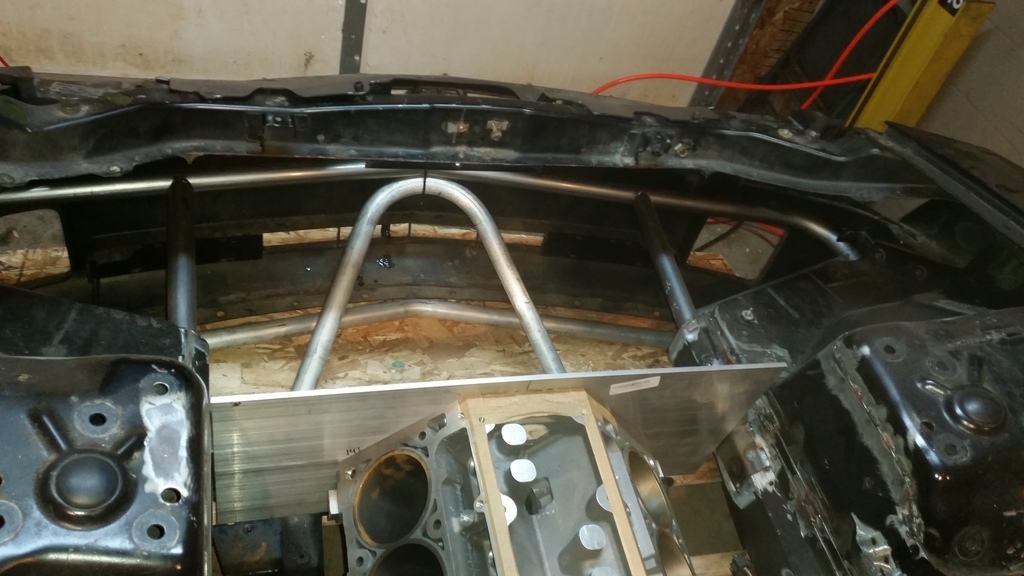
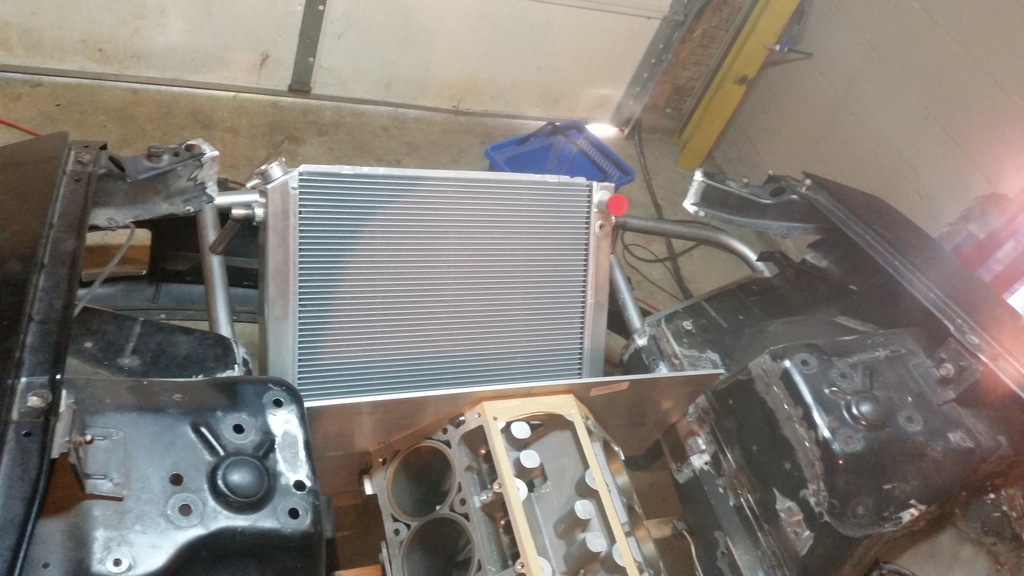
Finally got a bit of time to work on this project again. Radiator is mounted, bumper cover is gutted and aluminum plates have been added that tie it to the fenders. Hopefully will be adding dzus tabs so the whole cover comes right off with a few turns. Core support is gone and will be a bolt in structure bracing new core support to bumper, to chassis... undecided on material. Lower splitter mount is almost done out of 1.5" 6061 that will bolt from chassis to front bumper, to splitter. It's starting to look like a contender now.


 04-19-2016, 11:42 AM
#50
Teching In
Thread Starter
Join Date: Jan 2016
Posts: 31
Likes: 0
Received 0 Likes
on
0 Posts
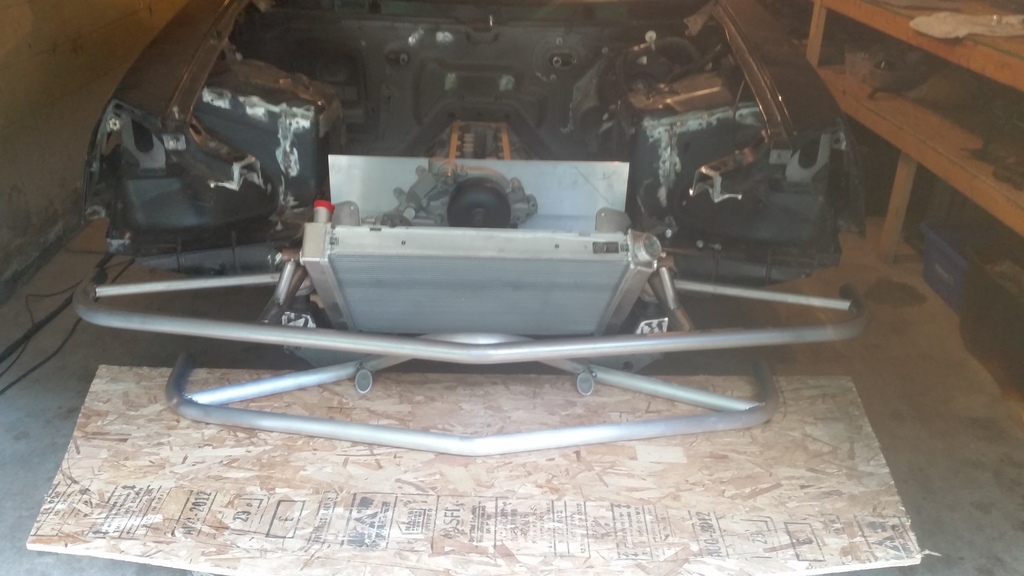
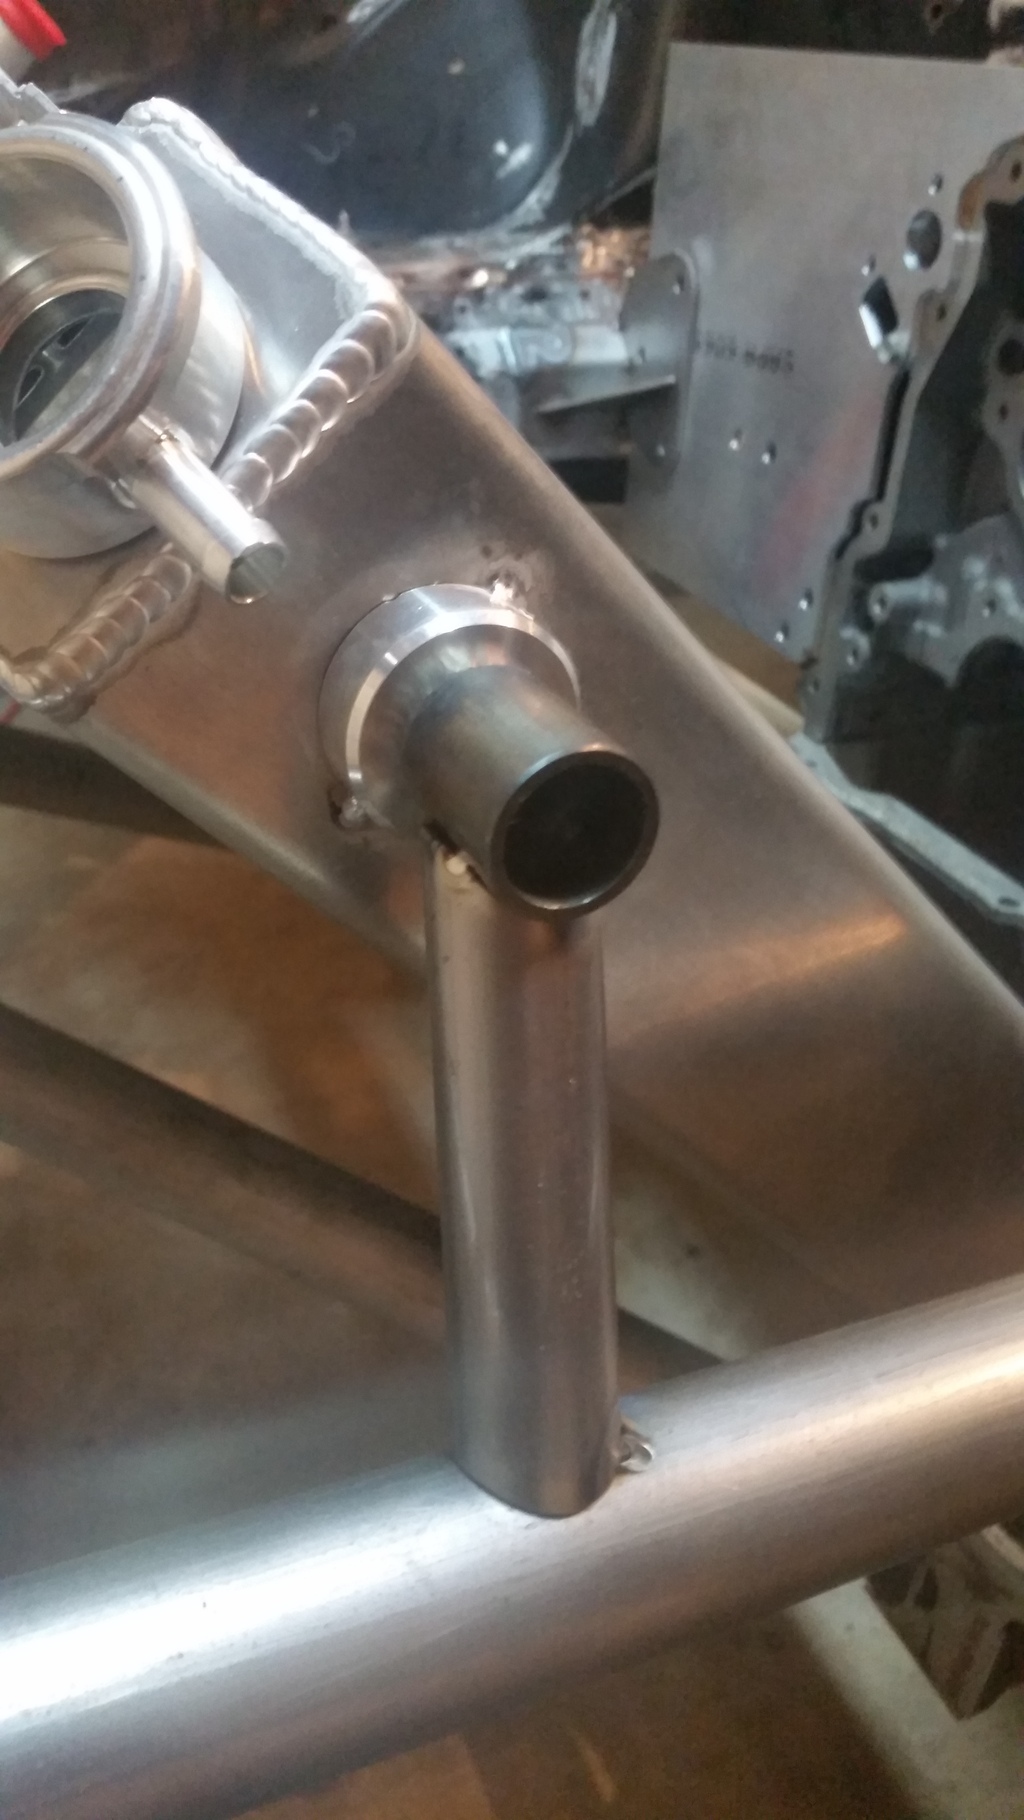
Yes it's ziptied, the other end is just slid in the end of the factory rails to hold ithe on place. That piece and the splitter mount are aluminum so the junction where that zip tie is will need to bolt or spline together. I've got a few ideas for sleeving those two and upper core support tube together at that junction. I'm really trying to use as much aluminum as I safely.
 04-21-2016, 09:12 AM
#54
Teching In
Thread Starter
Join Date: Jan 2016
Posts: 31
Likes: 0
Received 0 Likes
on
0 Posts
Thanks for the compliment, but Ivery got an unfair advantage. I've worked for several race teams including Rhys Millen Racing in Huntington Beach California. I've also got a full machine shop at work. .. wait till I bust out the laser ether cnc machine.


 04-22-2016, 09:39 AM
#58
Very nice start  . You are doing what I had initially though of doing with a z06 t56 until i opted to do a tr6060
  . The C6z T56 is the strongest version (aside from the SSR with a 32 spline shaft). Just for giggles, could you take a measurement of the shaft length from the mating surface of the main housing? I was pretty sure that a vette style mainshaft was used in the magnum XL but no one will confirm it for me lol. I will be getting a magnum XL style 9130 mainshaft and housing from RSG.
Can't wait to see your progress!
. You are doing what I had initially though of doing with a z06 t56 until i opted to do a tr6060 . The C6z T56 is the strongest version (aside from the SSR with a 32 spline shaft). Just for giggles, could you take a measurement of the shaft length from the mating surface of the main housing? I was pretty sure that a vette style mainshaft was used in the magnum XL but no one will confirm it for me lol. I will be getting a magnum XL style 9130 mainshaft and housing from RSG.Can't wait to see your progress!
04-22-2016, 12:24 PM
#59
Teching In
Thread Starter
Join Date: Jan 2016
Posts: 31
Likes: 0
Received 0 Likes
on
0 Posts
That's pretty much what i found as well on information. Triple syncros and one piece idler. I belive there is more then one ratio ZO6 box but i'm not 100% on that. It has taller gears then most T-56's which will help a ton on traction in this thing. I'm hoping my soon to be 12:1, 7 liter LS will be making more then enough torque to need any help it can get. I will take a measurement on the output shaft when i get home.
06-30-2016, 04:22 PM
#60
Teching In
Thread Starter
Join Date: Jan 2016
Posts: 31
Likes: 0
Received 0 Likes
on
0 Posts
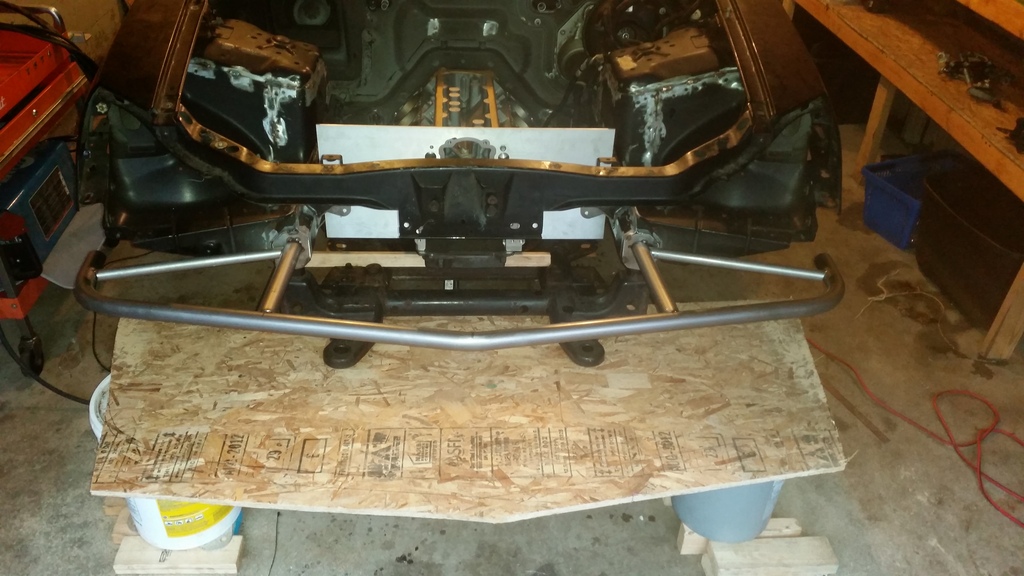
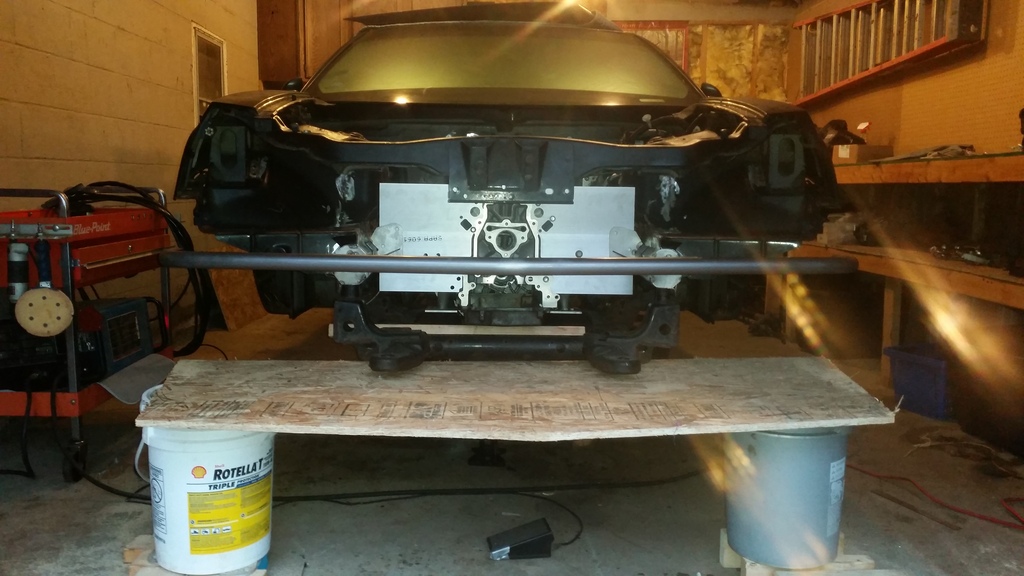
After a bit of delay some progress has been made. The lower aluminum structure is just about done. It's 1.5" 6061 tubing that bolts onto the chassis at three mounts at the moment. One in the center supports the steel pushbar from folding up or down, two lower mounting points where it bolts to the front of the subframe that is shortened about 4 inches then capped with .100" steel plate with threaded bushings welded to the backside. This mounts the front splitter directly to the chassis, the bottom half of front bumper cover, and will also mount the oil cooler once i pick the size i need. Hoping to get that whole piece anodized to contrast the black paint underhood. I picked up a new C6 water pump, timing cover, and a H3 oilpan. The pan doesn't fit that well... so if anyone has a used F-body pan i will trade for a new H3 pan if anyone is interested. Will update again soon when i get the -24 and -20 AN bungs welded to waterpump and radiator. Looking for a pair of 1 7/8" long tube headers. I plan on having to modify so anything from Camaro, GTO, etc., would be good if it's a good deal and still in decent shape.