Tick Performance C6 Master in a CTS-V
 01-04-2014, 09:34 PM
#1
I’ve been having troubles with my clutch disengaging. It’s the same ole pedal on the floor and grinding gears. I’ve gone through two twin disc clutches, lots of shims, master and slave cylinders. All have been failed attempts. I decided that in order to fix it properly I needed a solution to replace the clutch master cylinder with a unit that provides more hydraulic pressure to properly disengage the clutch.
Tick Performance has had a lot of success with this issue on other GM cars. I looked closely at the pictures of their C6 kit and determined that the twist lock assembly on the C6 looks a lot like the twist lock on our master cylinder.
I decided to order their C6 kit to see what if anything I could do to make it fit my car. The good news was that upon delivery I determined that the twist lock on the adapter was identical to the one on our cars. The bad news was that the adapter had a lot of excess metal that would have to be removed in order for it to fit.
I had to cut a larger hole in my firewall
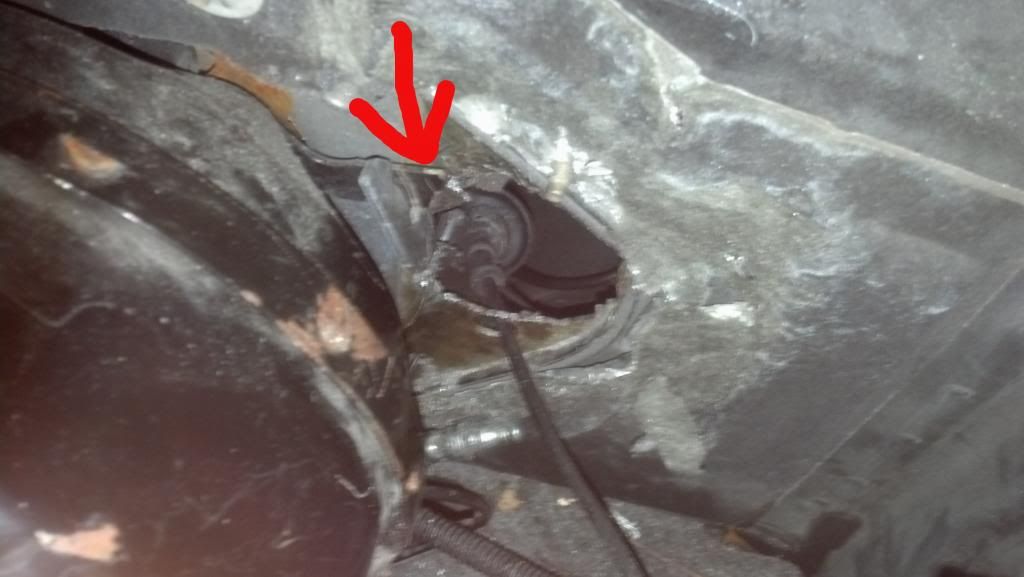
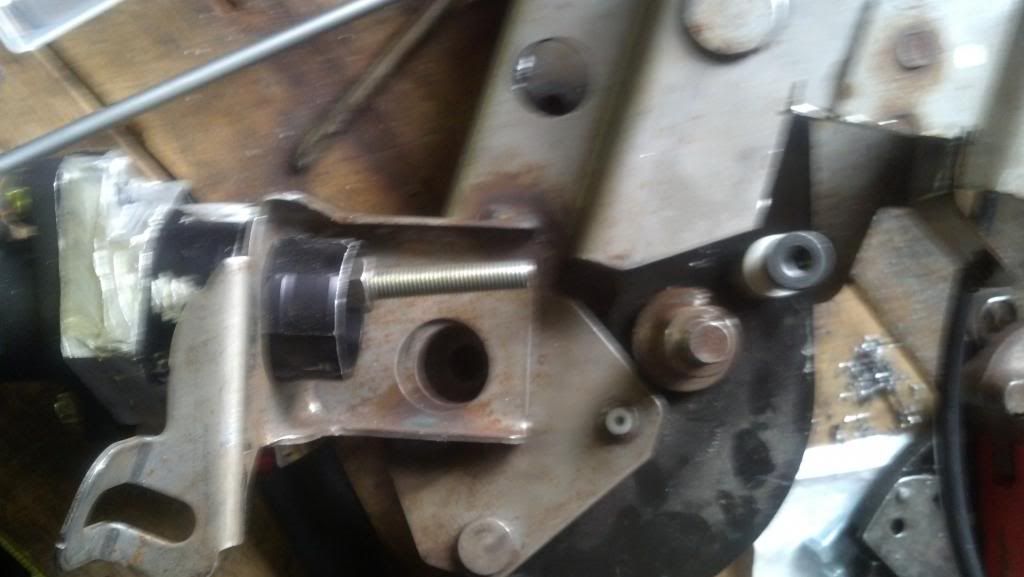
The red arrows show where special attention has to be placed into grinding the adapter as it hits the Brake booster locking mechanism upon insertion.
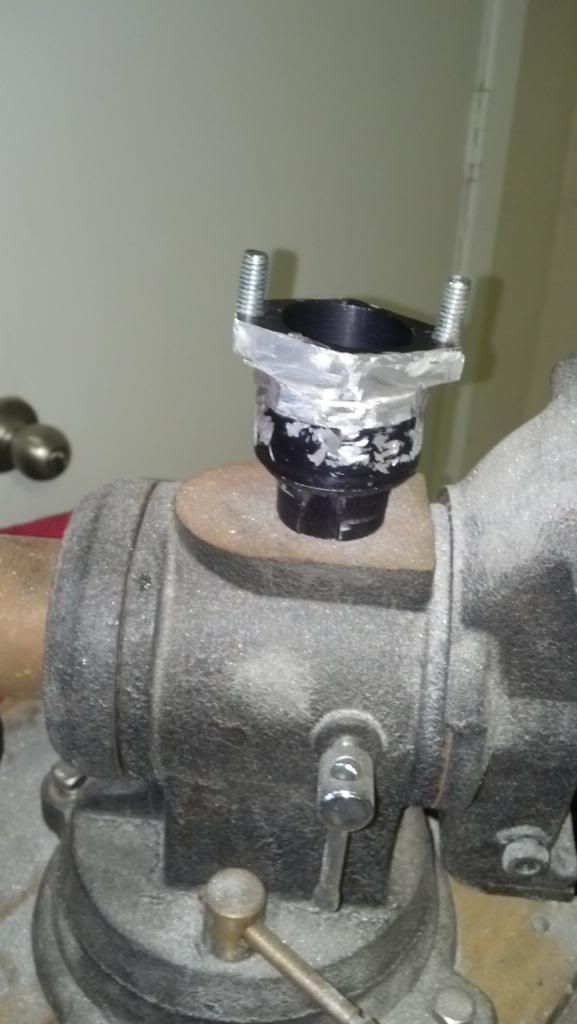
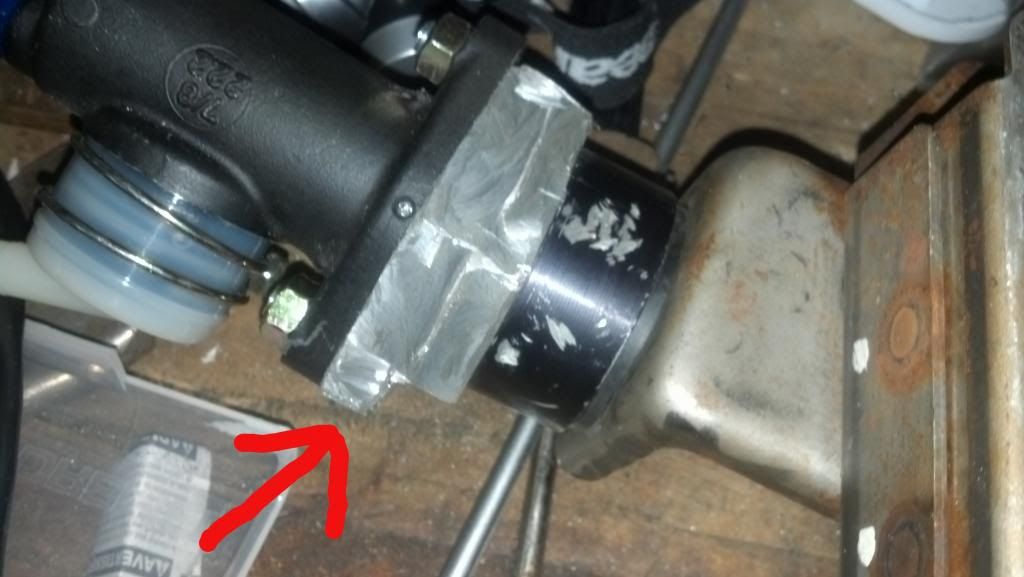 This is what the adapter looked like just before I installed it.
Before installation of the adapter you have to remove the pedal assembly to install the new location for the pin that the master attaches too. Remove the drivers seat first so you can lay on your back while doing this. Next remove the parking brake assembly.
The parking brake assembly has two nuts that are deep inside where the arrows are pointing.
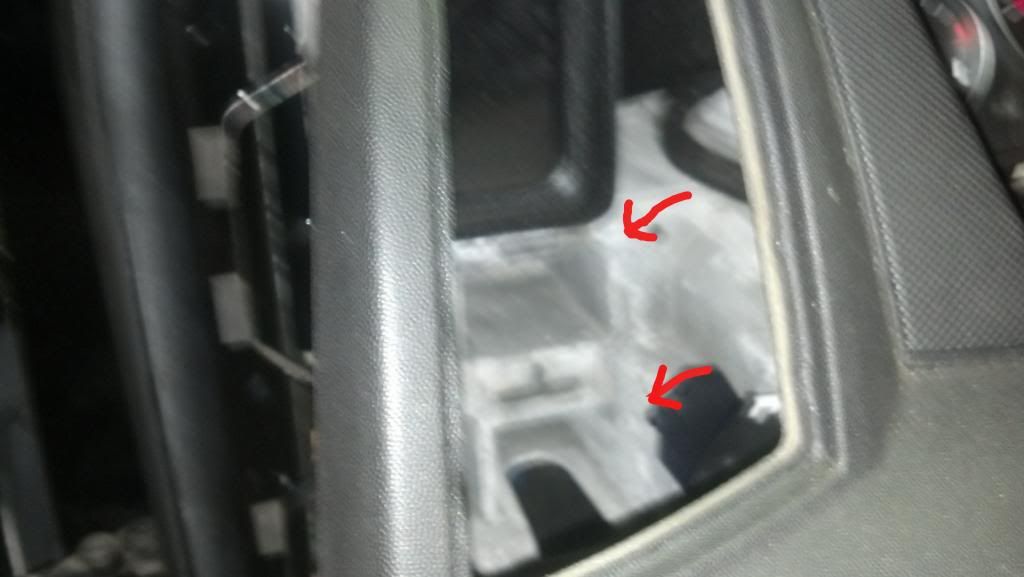
You have to remove the side panel of the dash by the door and the AC vent to get to them.
There is also a bolt under the steering wheel that the picture didn’t come out on because of the darkness. Its not hard to figure out though.
After removing the clutch pedal assembly just let it hang by the cable. You then remove the clutch pedal assembly. It has three nuts and two bolts holding it on. Two of the nuts are up under the pedal facing the brake pedal side. One of them is on the firewall. The bolts are up top in the dashboard. You should be able to see them after you remove the parking brake.
After pulling the clutch pedal assembly out you need to install the new master and make sure when the pedal is depressed the new location for the pin is dead center.
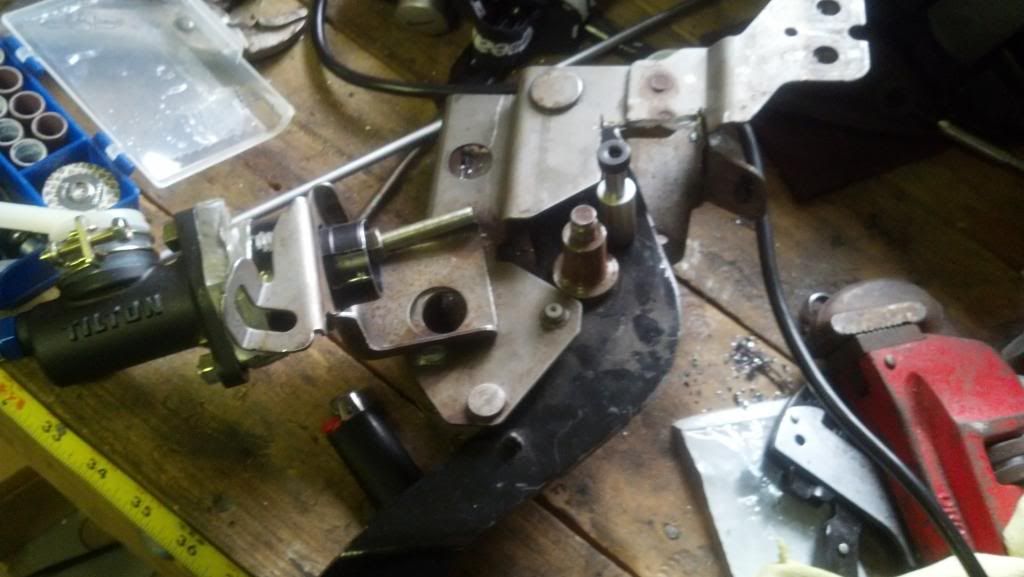
The new mount location is the one with the allen head bolt.
Now you reinstall the pedal assembly. Before you put the adapter on you need to put the rubber washer from the stock master cylinder on the adapter so it will be tight. I had to attach the adapter without the new master on it and then attach the master to the adapter because of the brake booster.
The next step is to attach the pedal assembly to the master and adjust it per the instructions.
Then crawl under the car and attach the slave to the master.
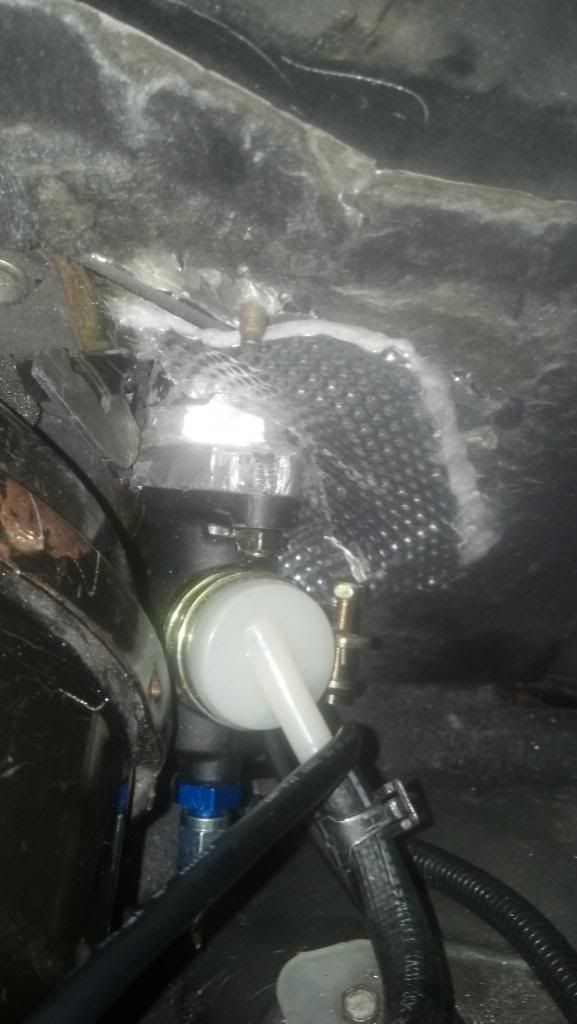
I patched up the hole with some insulation
I still have top wire up some toggle switches to the clutch switch and bleed the system to see if it works. I will work on this tomorrow.
Tick Performance has had a lot of success with this issue on other GM cars. I looked closely at the pictures of their C6 kit and determined that the twist lock assembly on the C6 looks a lot like the twist lock on our master cylinder.
I decided to order their C6 kit to see what if anything I could do to make it fit my car. The good news was that upon delivery I determined that the twist lock on the adapter was identical to the one on our cars. The bad news was that the adapter had a lot of excess metal that would have to be removed in order for it to fit.
I had to cut a larger hole in my firewall

The red arrows show where special attention has to be placed into grinding the adapter as it hits the Brake booster locking mechanism upon insertion.
 This is what the adapter looked like just before I installed it.
Before installation of the adapter you have to remove the pedal assembly to install the new location for the pin that the master attaches too. Remove the drivers seat first so you can lay on your back while doing this. Next remove the parking brake assembly.
The parking brake assembly has two nuts that are deep inside where the arrows are pointing.

You have to remove the side panel of the dash by the door and the AC vent to get to them.
There is also a bolt under the steering wheel that the picture didn’t come out on because of the darkness. Its not hard to figure out though.
After removing the clutch pedal assembly just let it hang by the cable. You then remove the clutch pedal assembly. It has three nuts and two bolts holding it on. Two of the nuts are up under the pedal facing the brake pedal side. One of them is on the firewall. The bolts are up top in the dashboard. You should be able to see them after you remove the parking brake.
After pulling the clutch pedal assembly out you need to install the new master and make sure when the pedal is depressed the new location for the pin is dead center.


The new mount location is the one with the allen head bolt.
Now you reinstall the pedal assembly. Before you put the adapter on you need to put the rubber washer from the stock master cylinder on the adapter so it will be tight. I had to attach the adapter without the new master on it and then attach the master to the adapter because of the brake booster.
The next step is to attach the pedal assembly to the master and adjust it per the instructions.
Then crawl under the car and attach the slave to the master.
I patched up the hole with some insulation

I still have top wire up some toggle switches to the clutch switch and bleed the system to see if it works. I will work on this tomorrow.
 01-04-2014, 09:38 PM
#2
Almost forgot. You need to let them know your doing this in a CTS-V so they can send you a 2.5 inch pedal assembly adjust instead of the C6 one which is 4 inches. You will also need a longer line to the slave unless you have a ls7 or zr1 slave which have the longer slave lines.


Trending Topics
01-05-2014, 02:18 PM
#8
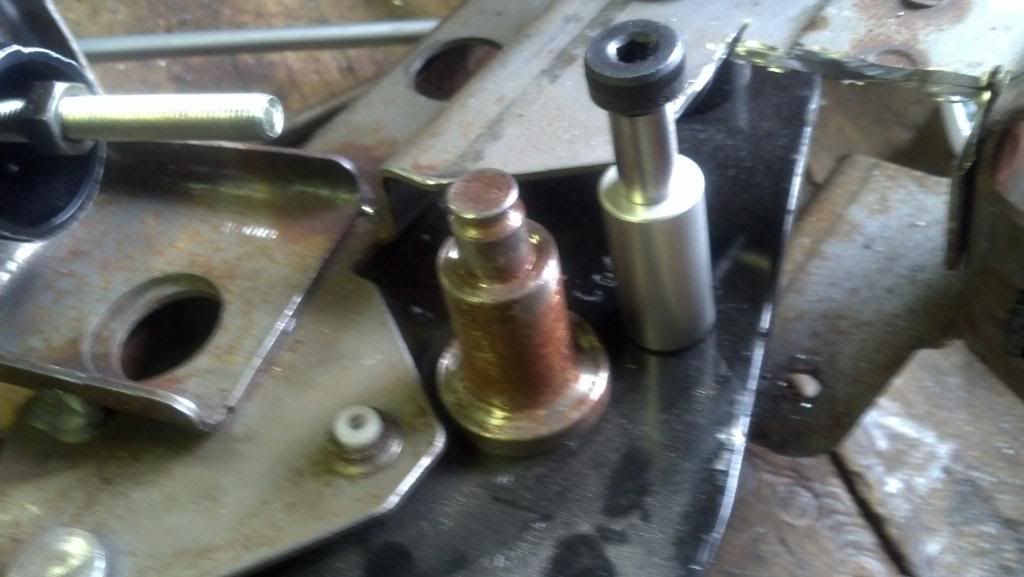
A standoff http://www.zorotools.com/g/Standoff%...teel/00094049/
and a stud http://www.summitracing.com/parts/rnb-675-095/overview/
The stud was too long so I had to trim it down about a half inch.
The only thing that would be needed to make it more plug and play would be the trimming of the adapter from Tick. You would still have to cut a hole in the firewall though because the center portion of the adapter cannot be made smaller as the tilton is inside of it.
Last edited by psychobillycaddy; 02-21-2014 at 09:53 AM.
01-05-2014, 05:55 PM
#15
Success!!! I had to turn the reservoir towards the firewall so the fluid would feed into it. As pictured it is pointing down which caused an air pocket.
The clutch engages about .5 inch off the floor now. No grinding going into first or reverse. I could adjust it to engage higher but Im happy with it where it is.
The clutch engages about .5 inch off the floor now. No grinding going into first or reverse. I could adjust it to engage higher but Im happy with it where it is.
01-05-2014, 06:52 PM
#16
I want a new MC so bad, lol, just don't want to cut up a good car to get it.
I applaud your vision and skill to tackle this.
Keep rocking brother, you may lay the groundwork for the rest of us.


