When you click on links to various merchants on this site and make a purchase, this can result in this site earning a commission. Affiliate programs and affiliations include, but are not limited to, the eBay Partner Network.
Well I'm back for round two of my Camaro endeavours!
I picked up a mint, and I mean mint texas roller from a guy locally. This thing is clean! God damn I'm happy.
Anyways this will be a long haul project but it's gonna be worth it.
Plans include
Wolfe Racecraft Thru Floor Subframe Connectors
Wolfe Racecraft Mini Tubs
Wolfe Racecraft 6 point roll cage
LQ4 Twin Turbo Build backed by a T56 and a Moser Engineering 9 inch if I can get my hands on one!
Lot more plans for it but I'm sure pictures will speak louder than words.
I purchased an SS hood and wing to go on this bad boy and I am looking forward to this build because I really miss my first Camaro... like A LOT!
I'll be doing a full tear down of everything and basically be turning this thing into a street/strip monster.
STAY TUNED PEOPLE
Picked up this beauty and loaded her on the trailer, man this thing is so CLEAN.
Off to the car wash!
As clean as she'll be for a while!
I'll keep posting, I am currently in school so I will only be able to work on it on Fridays but I will make sure I keep you guys as updated as possible!
Last edited by 97camaroguy; 02-09-2015 at 09:57 AM.
Ok so update time for you all. I got the car over to where I'll be working on it and just got it set up on the hoist. Man this thing was truly a texas car. Being from Canada you rarely get a car with zero rust. You will be able to tell by the floor pans the shape this car is in. As for the past two weeks I sourced an SS hood, SS wing and SS badges from a buddy parting his out. I ripped out the ugly old tan interior and prepping it all for the Wolfe Subframe Connectors and Mini Tubs I will be welding in, in the next little while. Can't forget about the roll cage! I will continue to fill you guys in with more updates and pictures as I acquire them.
Thanks for looking! Here you go!
Last time this car will have a tan interior.
loonies and quarters everywhere! I made 15 dollars in all under the carpet haha.
So clean, and I'm so happy.
Goodbye...
Door panels removed and interior almost fully gutted.
Not even a fuel pump door mod. Thank God!
Where the twins will sit one day!
Out with the old!
In with the new!
Hood installed and lined up! Paint matches up surprisingly well!
Badges put on (That was tedious)
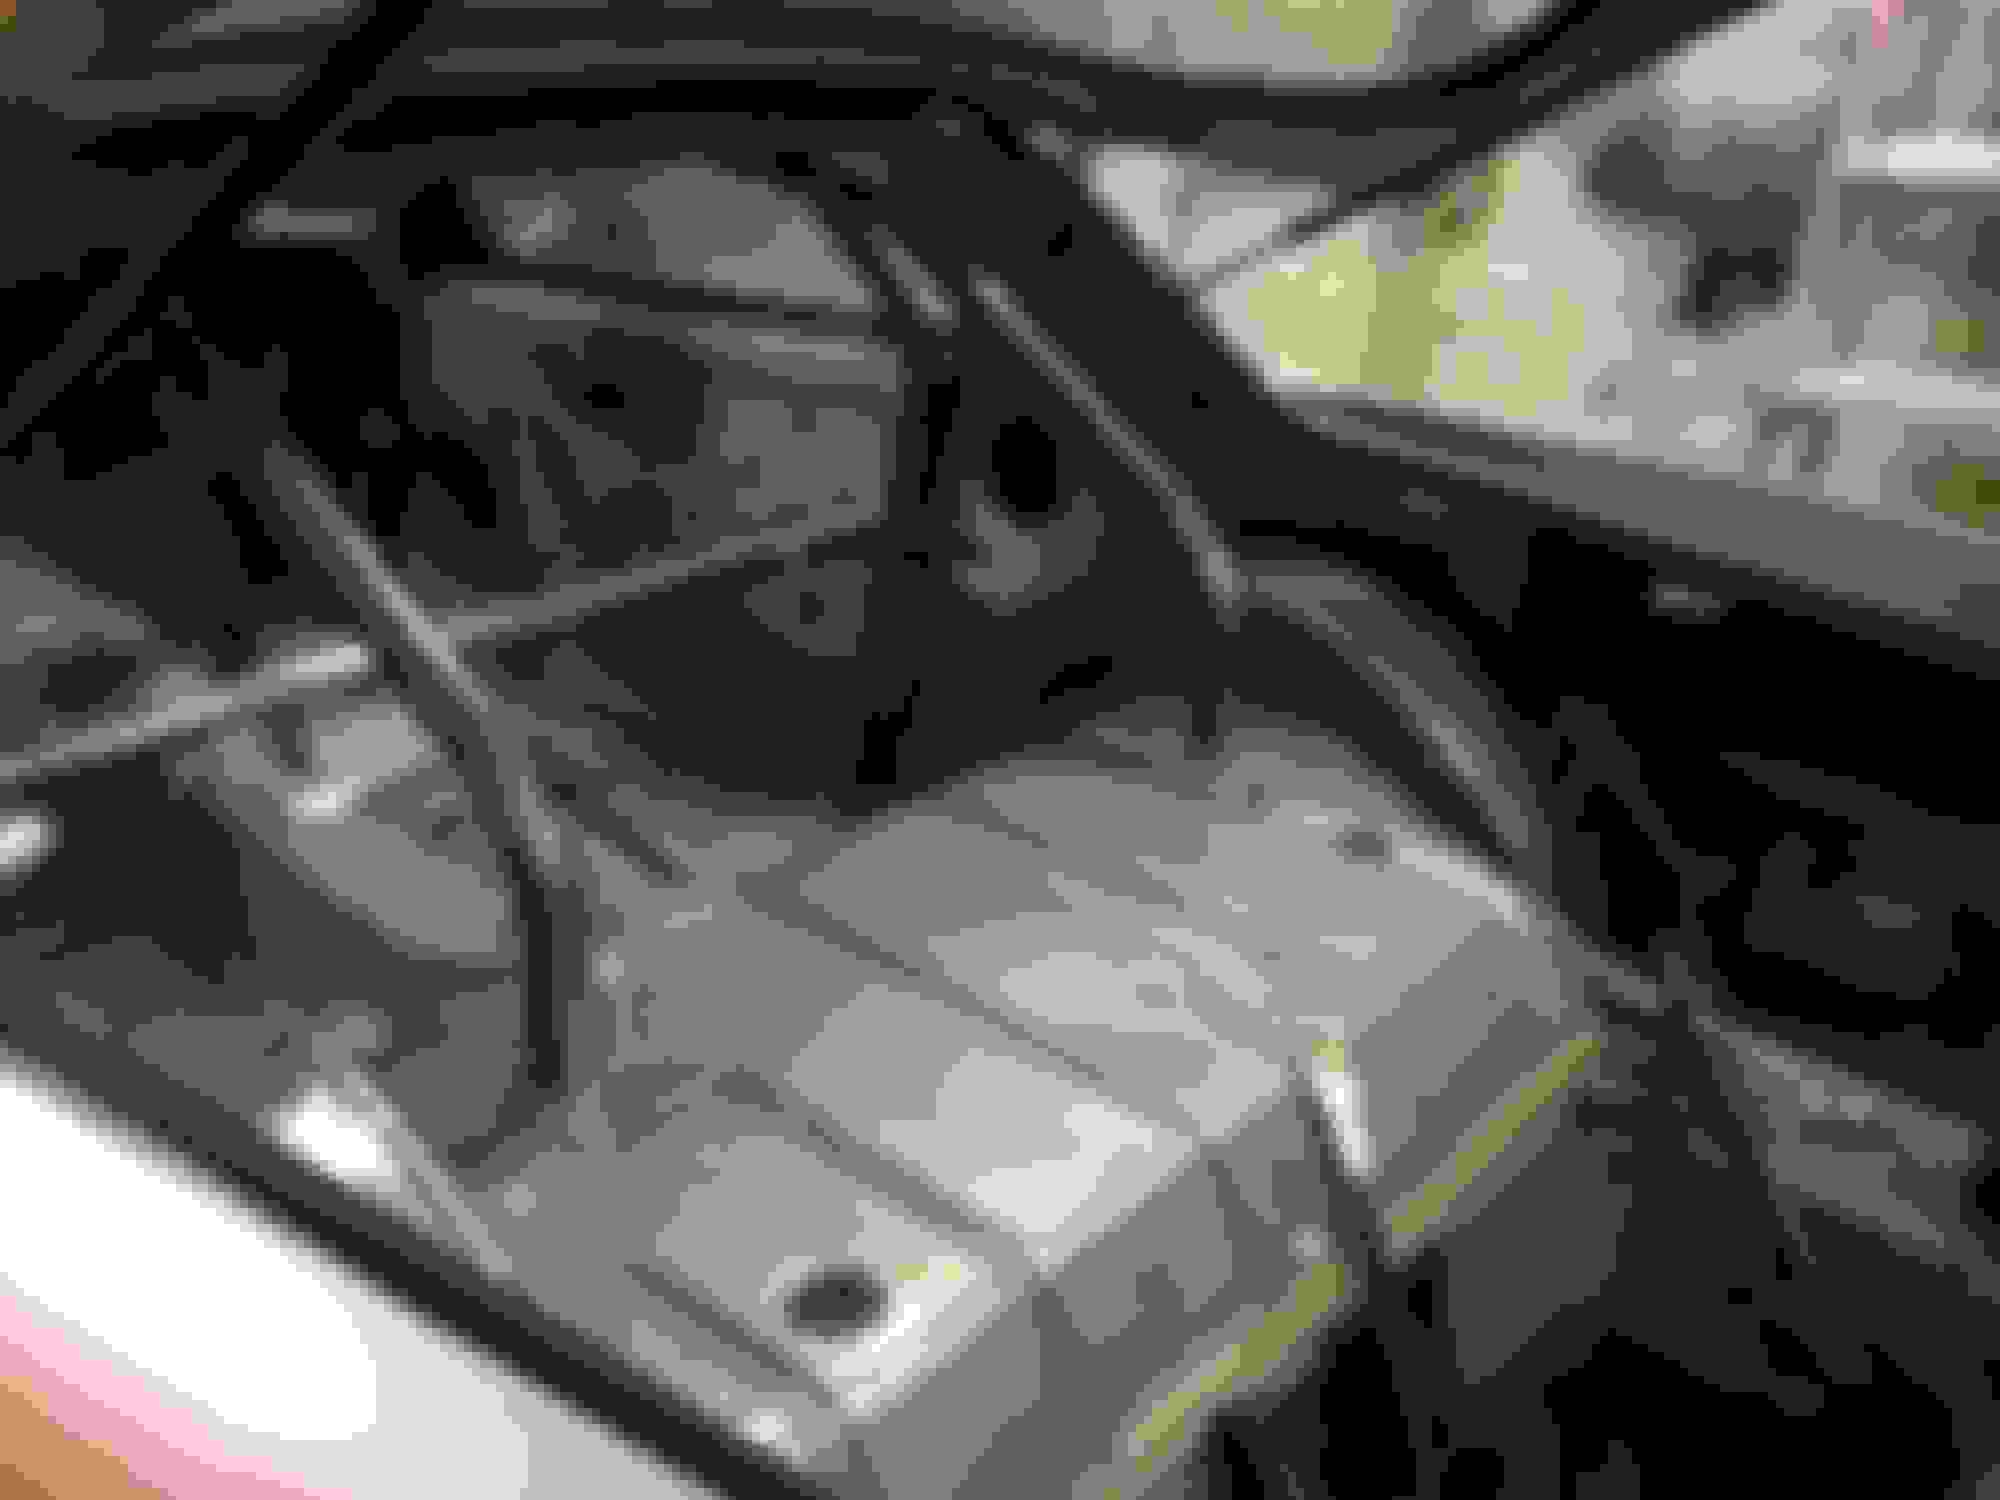
I love me some clean floor pans. Great candidate for welding all my go fast goodies!
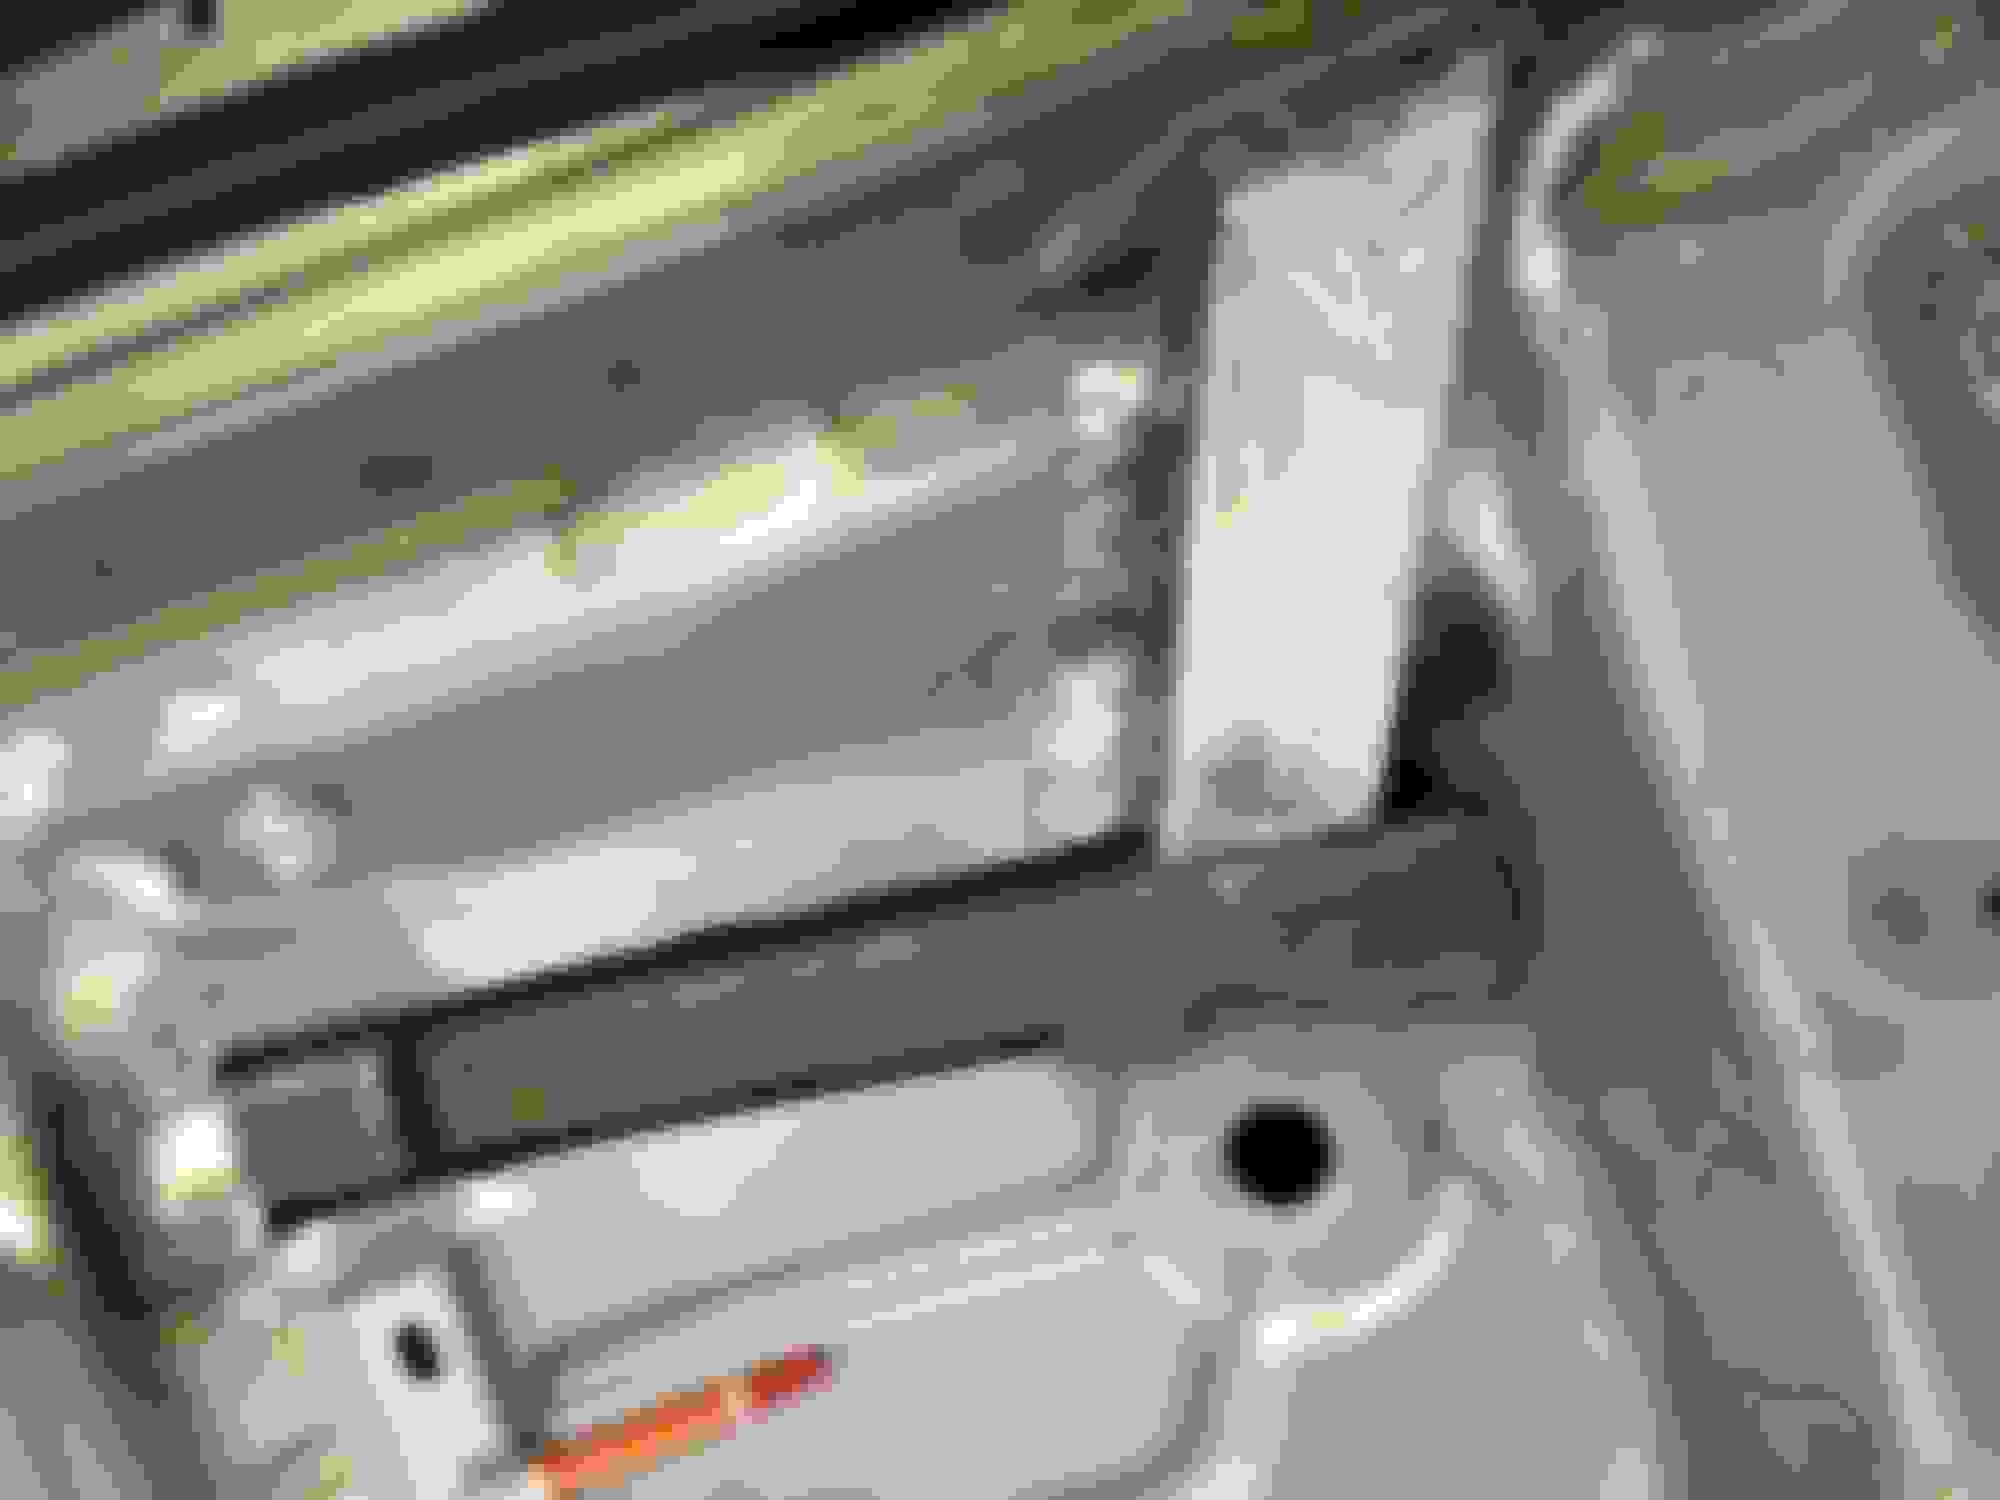
In the process of mocking up my through floor subframe connectors and roll cage just this last week. Did all the painstaking cuts for the subframe connectors and it looks good but can't wait to put the finishing touches on it to make it look great again!
Enjoy the pics
Bought some Wolfe Through Floor Subframe Connectors
Bought the Wolfe Racing 4 point roll cage
Pulling wiring out to take dash out.
Gutted
Dash out
Here we go !!!
The cut, this killed me haha.
Lining up, took a little while to get it perfect.
Tight fit with the roll cage mocked up.
Test fitting the cage with the one side done.
Driver's side's turn.
Snugs in there pretty damn well!
That's all I have for you guys this week!
Stay tuned
Thought I would share my new plate Really happy this was still available. 1BADSS was taken already But hey after all these cars are Chevy Camaro Z28 SS on the ownership
Ok just got home from the shop so it's update time for you all! Just spent the last day undoing all the spot welds for the supports which brace the original tubs of the car to the rest of the car so they can be reused later down the way when the mini tubs are fully installed. Also in the process of cutting an mocking up where my wolfe mini tubs are going to lay. Man these things require a lot of fabrication and I am actually really disappointed. Unfortunately we are only limited to what is available so I was forced to deal with it but I can just say first hand that Wolfe definitely built these things with cosmetics far out of their minds. I'll make it work it will just take some time, but time I have
Anyways enough words here are some pics to hold you all over
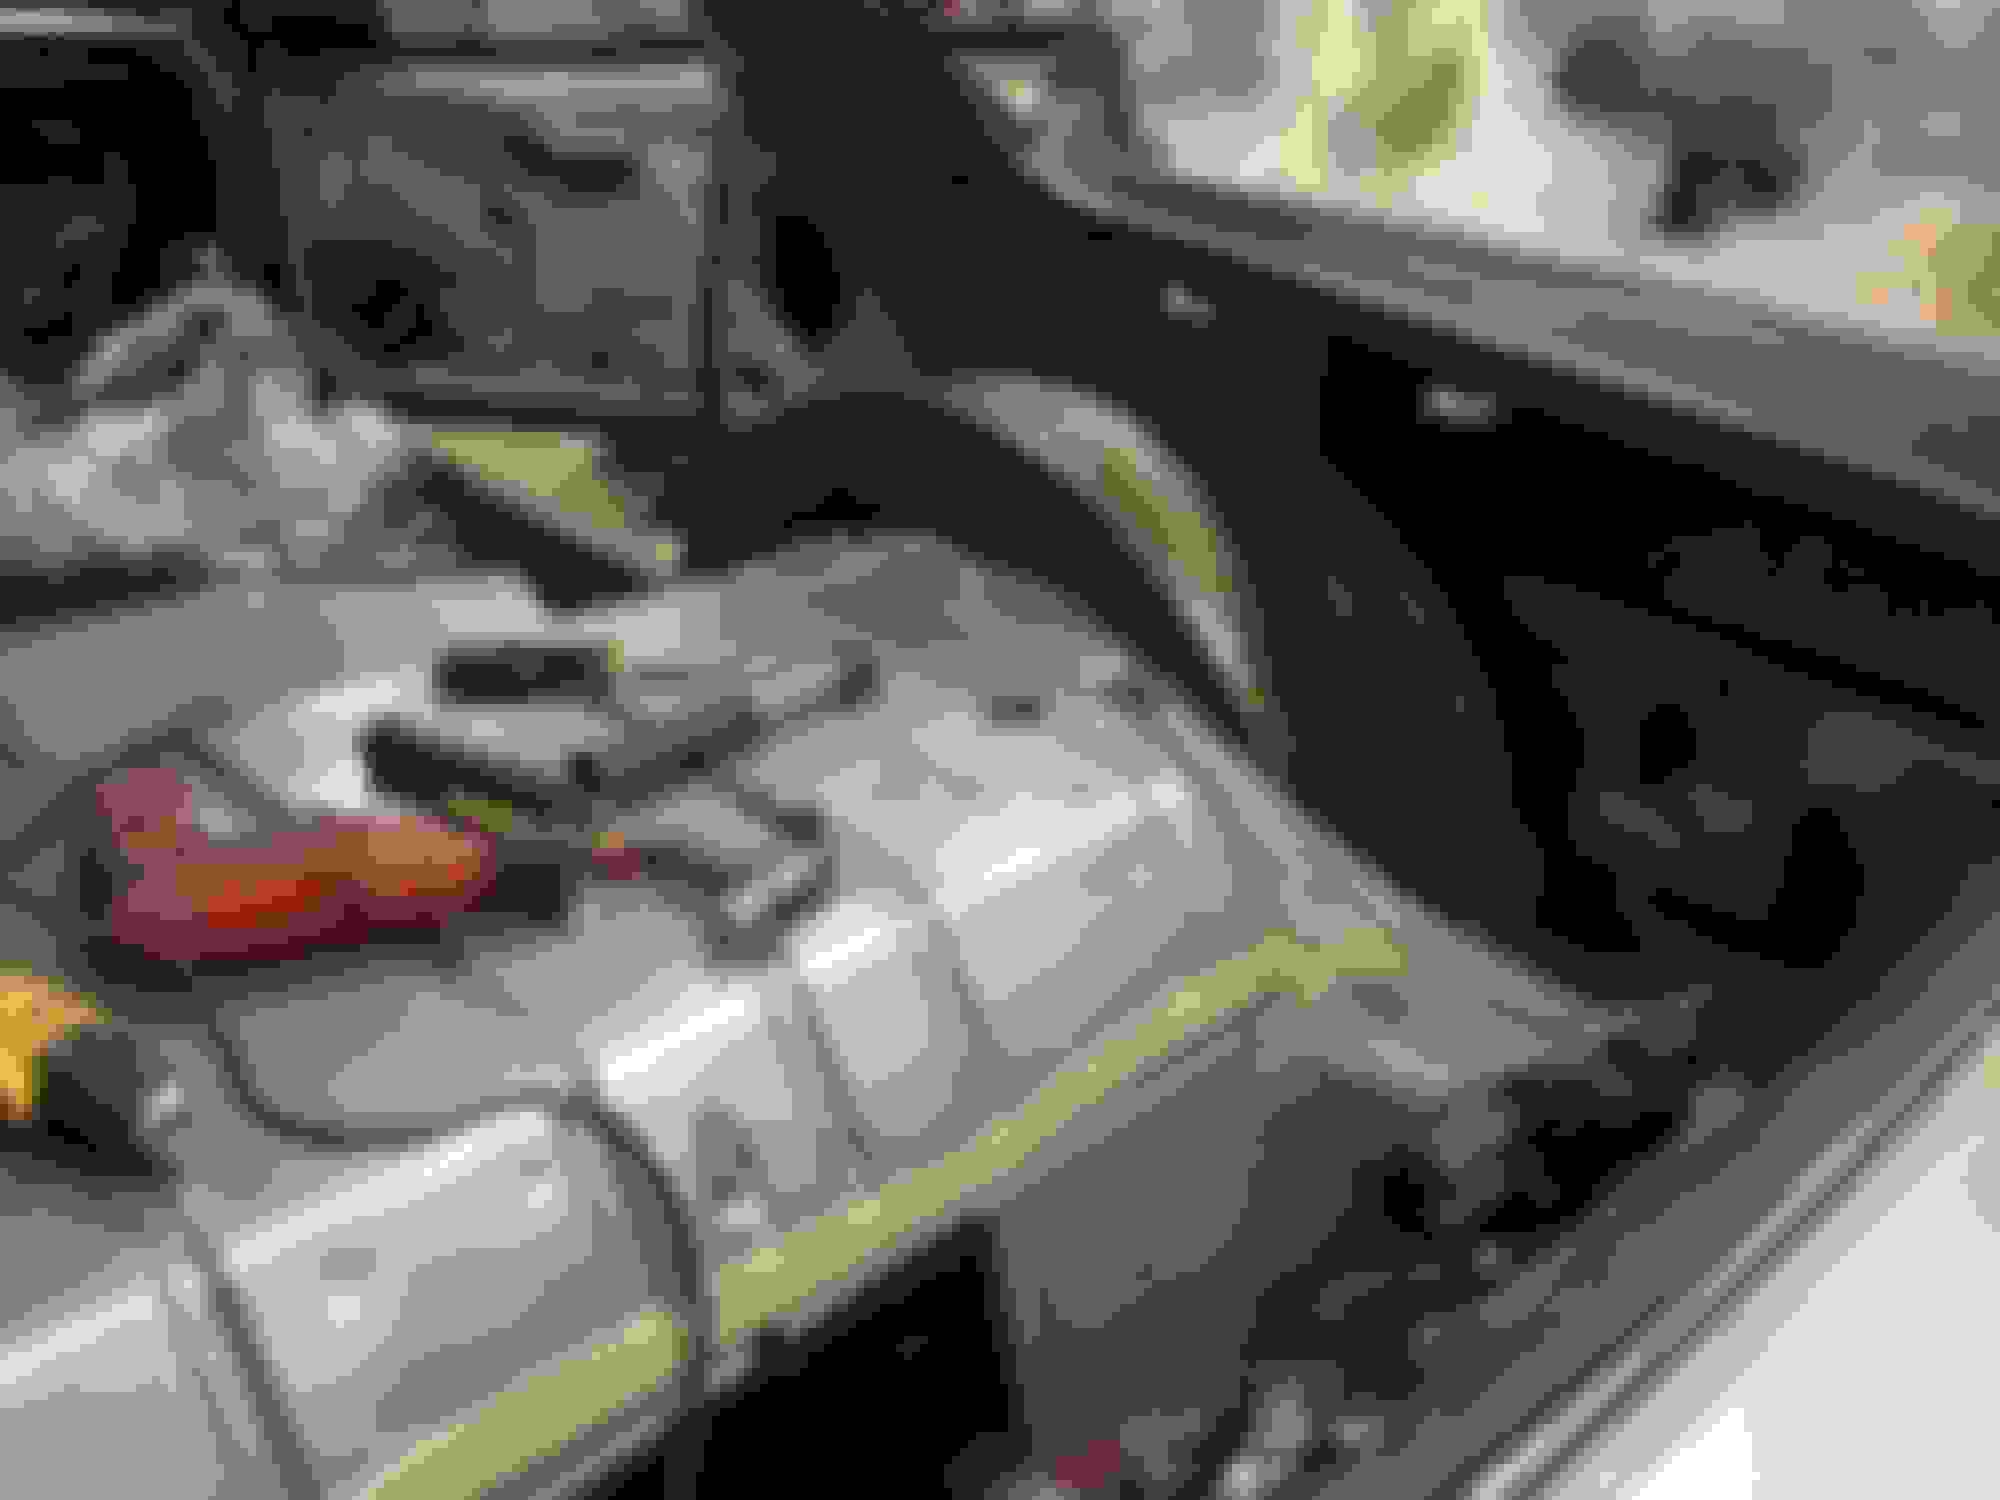
Cage/ Subframe Connector brace welded in place.
Other side far shot before connector placement
Undoing the support brace which will be welded back on to the mini tubs when I have them fully installed and fitted.
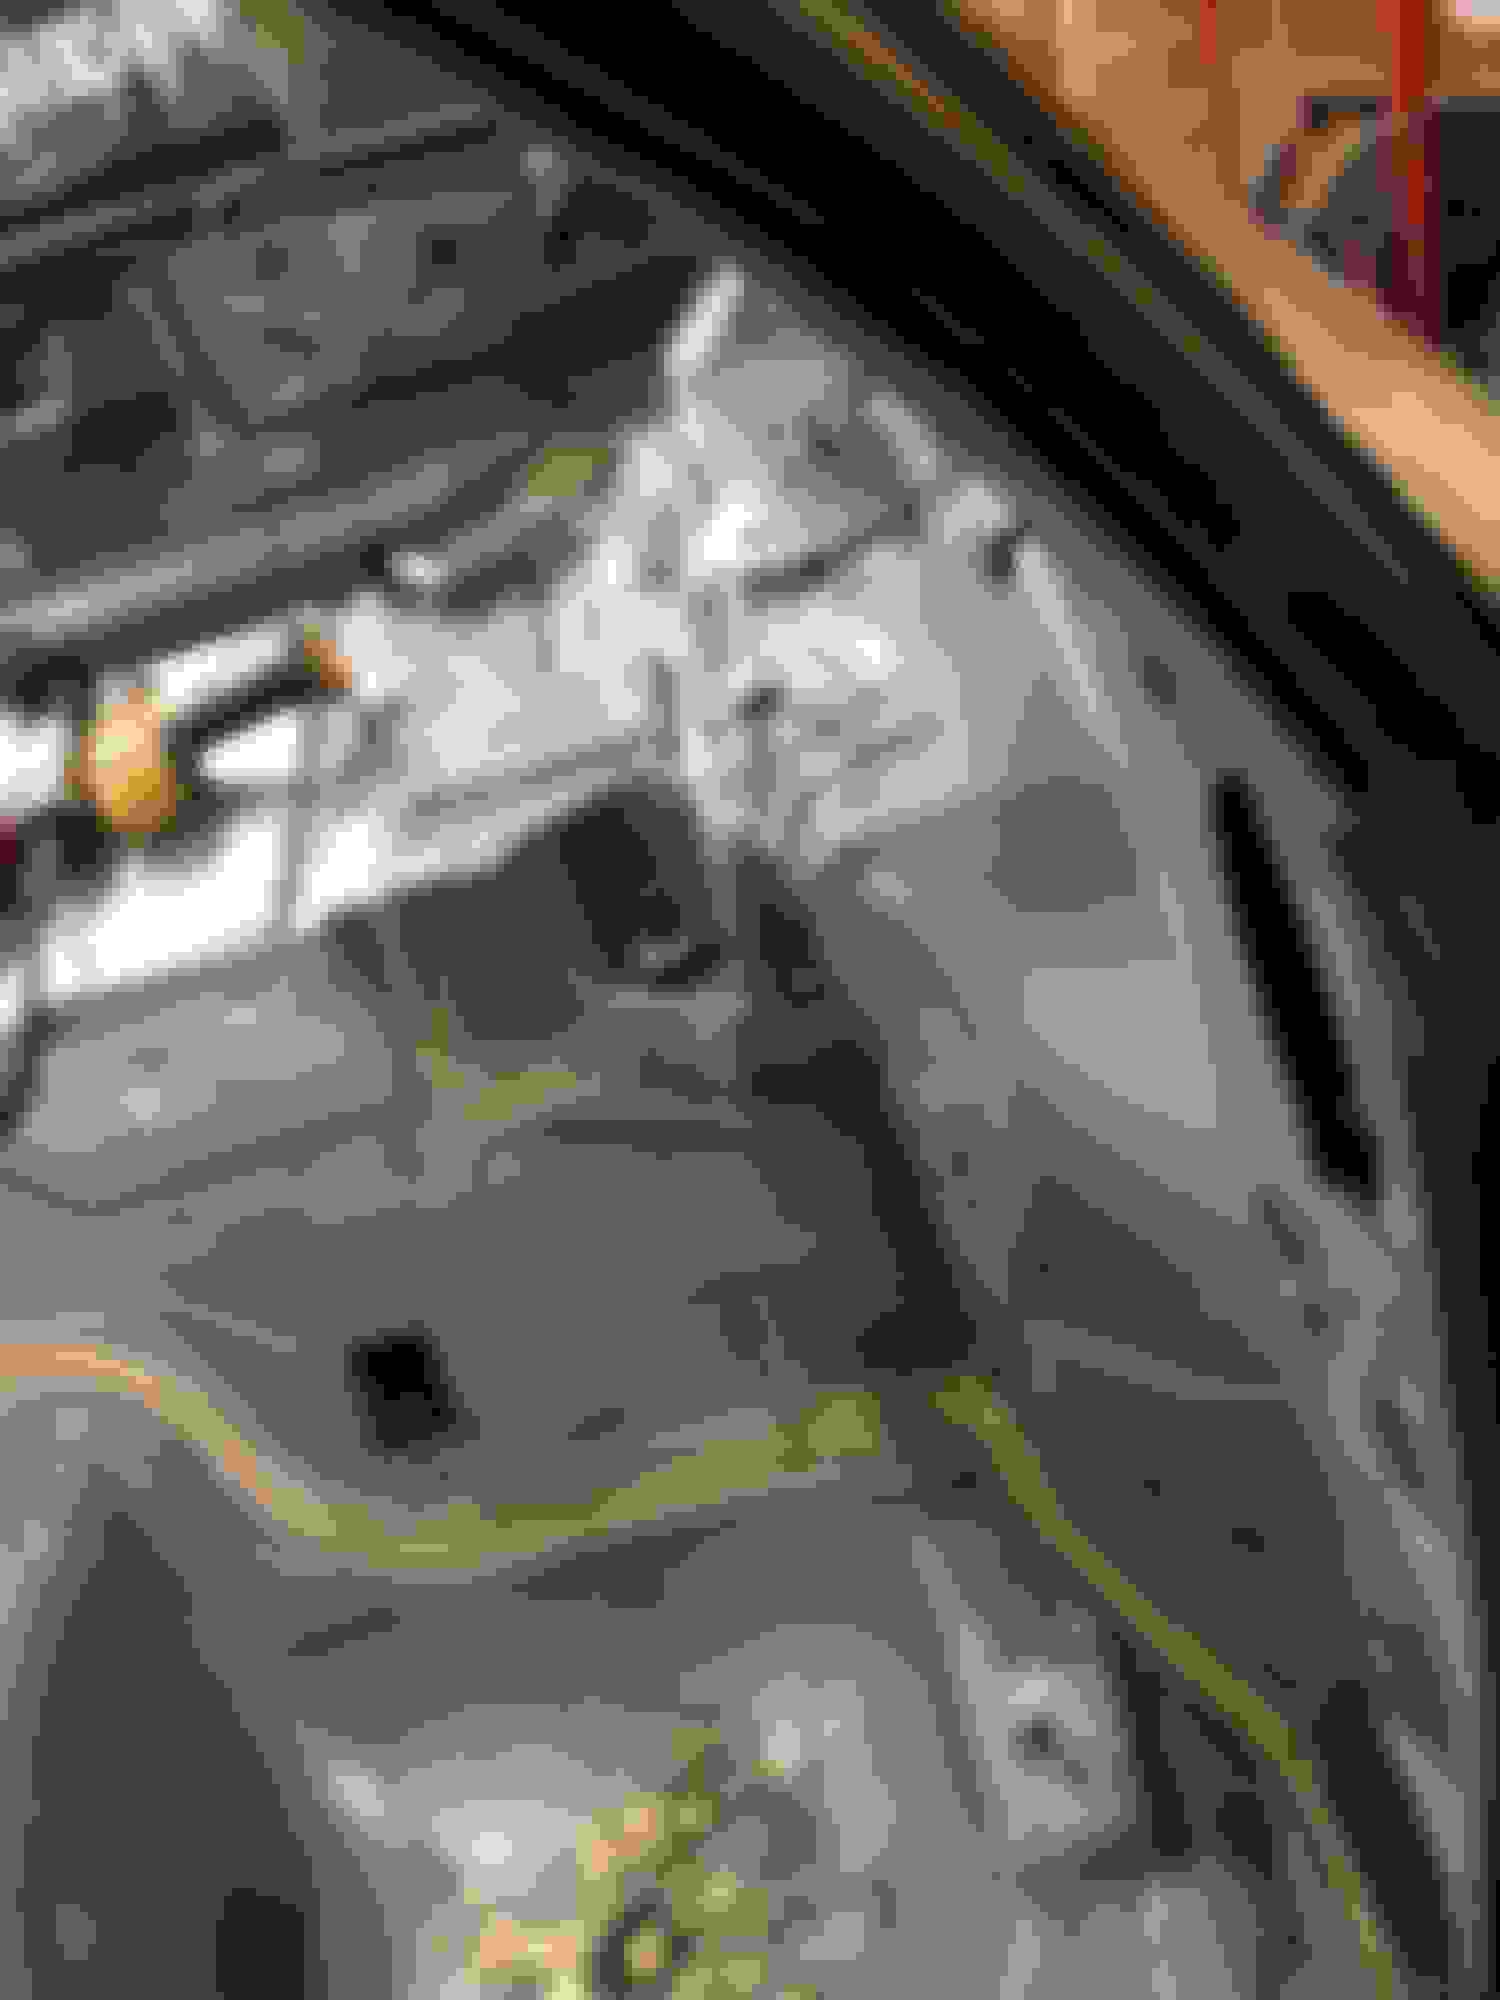
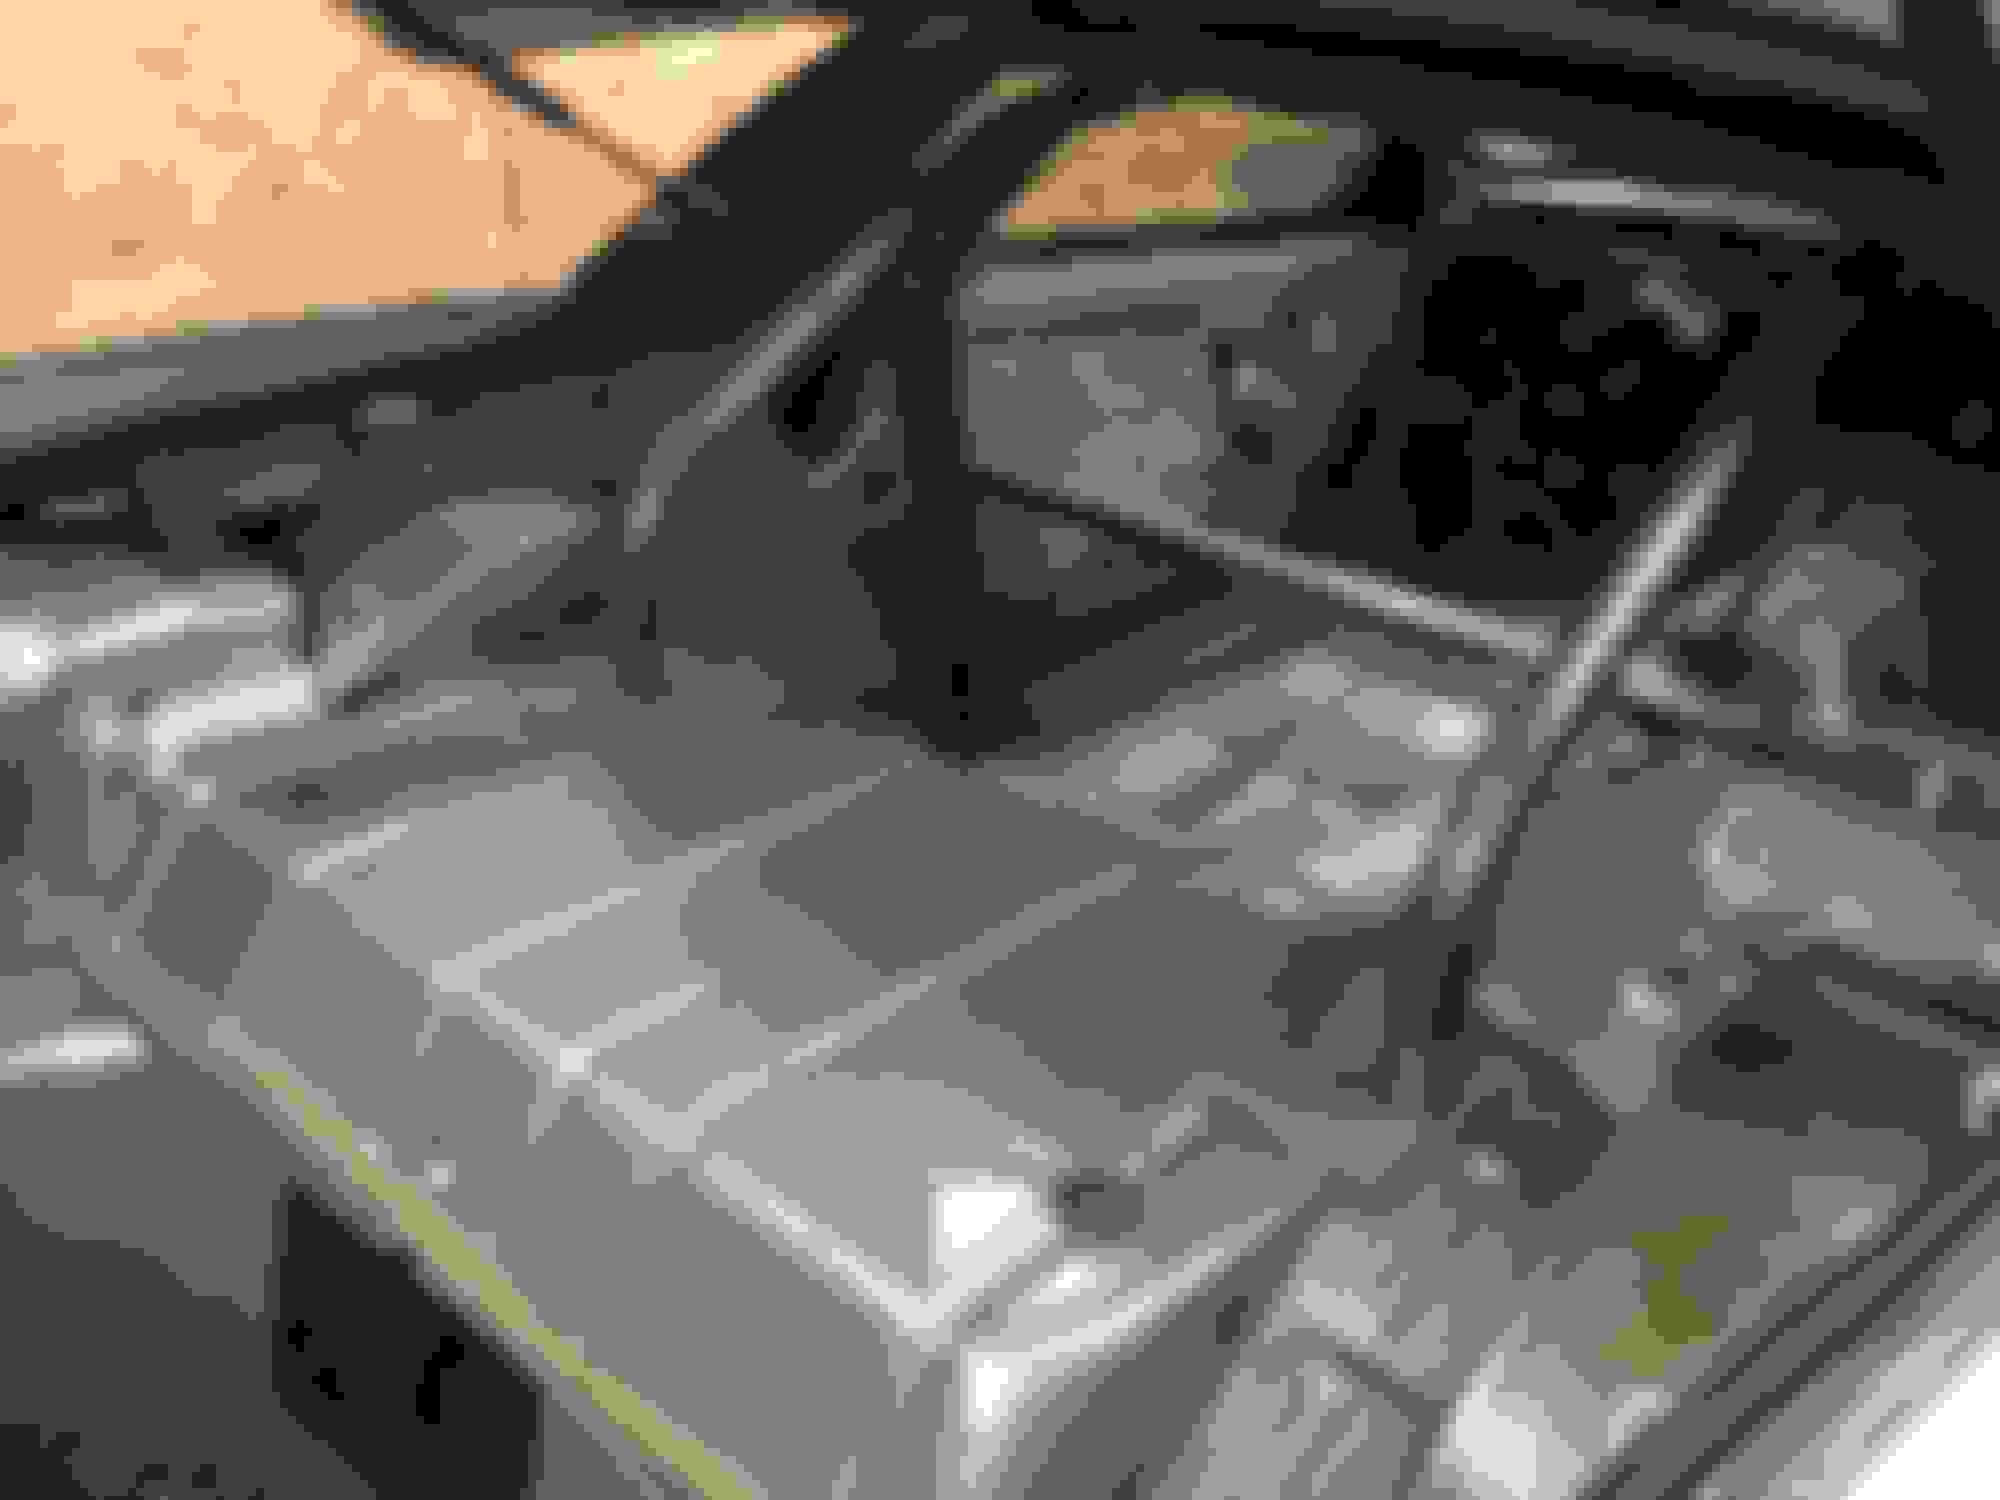
Setting up the frame connectors for welding.
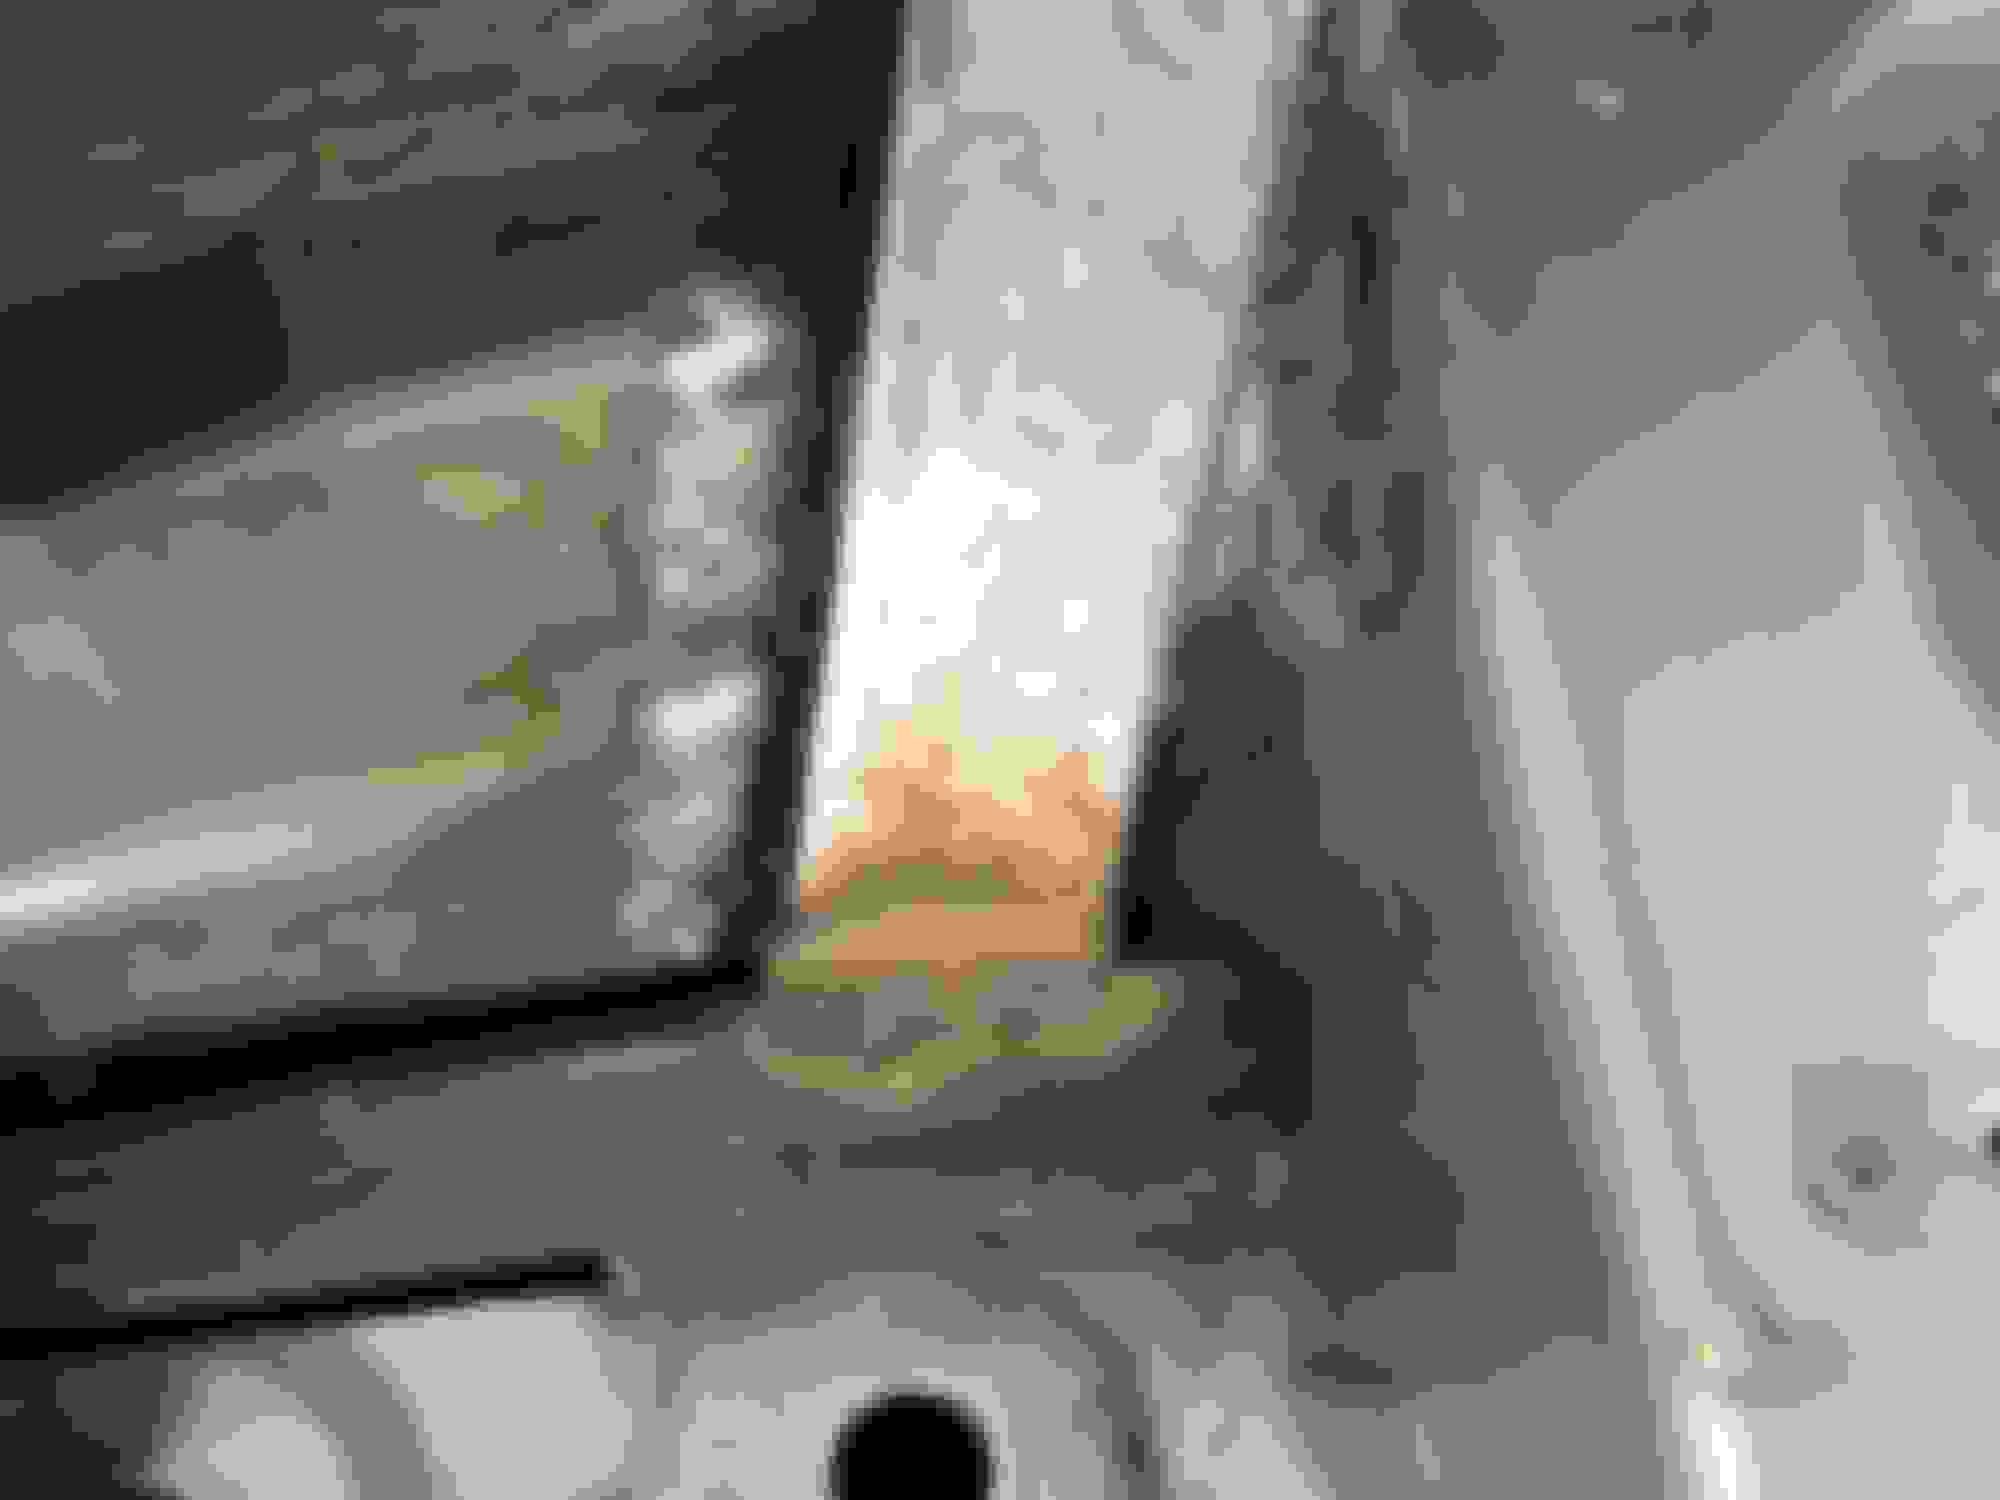
Laying on a super strong bead, not pretty but it will be after
Ground it down to give it that finished look. I'll be painting it all and this part will stick through the carpet so I want it to look as nice as possible. It is structurally sound no worries there.
Mocking up the other side and tacking in place
Shot of me welding, Looks like I'm opening a gateway to heaven with all that brightness. Lets hope there are Camaros in Heaven!!
Supports all removed and drilled out to reuse.
First cut into the old tubs.
Parting the seas, Moses style.
Out with the old!
Let's just leave it like this ok?... no.
Mocking up for fitment before cutting out the rest. Doesn't look like much fab is needed but minor cuts and bending to fit is definitely crucial and necessary.
peek a boo!
Hiya!
Test fit take 69.
Almost all cut out now!
How I left her off for the night. Little more to do on this side before it fits perfectly. Then on to welding and the other side next week!
I hope you guys are enjoying my postings! Have a great week everyone and I will update every Saturday morning!
Hello all, it's Saturday and you know what that means!
Another episode of Let's Build a Badass Camaro!
Hope you all enjoy the pics, worked hard yesterday on it.
Passenger side tub is where it has to be now
Welding in place and fabbed up the factory tub support to fit in with the new wolfe stuff.
Shot of the seam welded, still have to clean up the surface rust on the tub and lay down some seam sealer! I'm going for a factory look after all is said and done.
Good penetration and frame all boxed in and ready for those 355's!
Time for the Driver's side!
Rough cut to get started.
Man, I really wish Wolfe would give even a measly template... tsk tsk.
Cutting through outer frame wall and bump stop mount.
Extracted!
Getting there slowly...
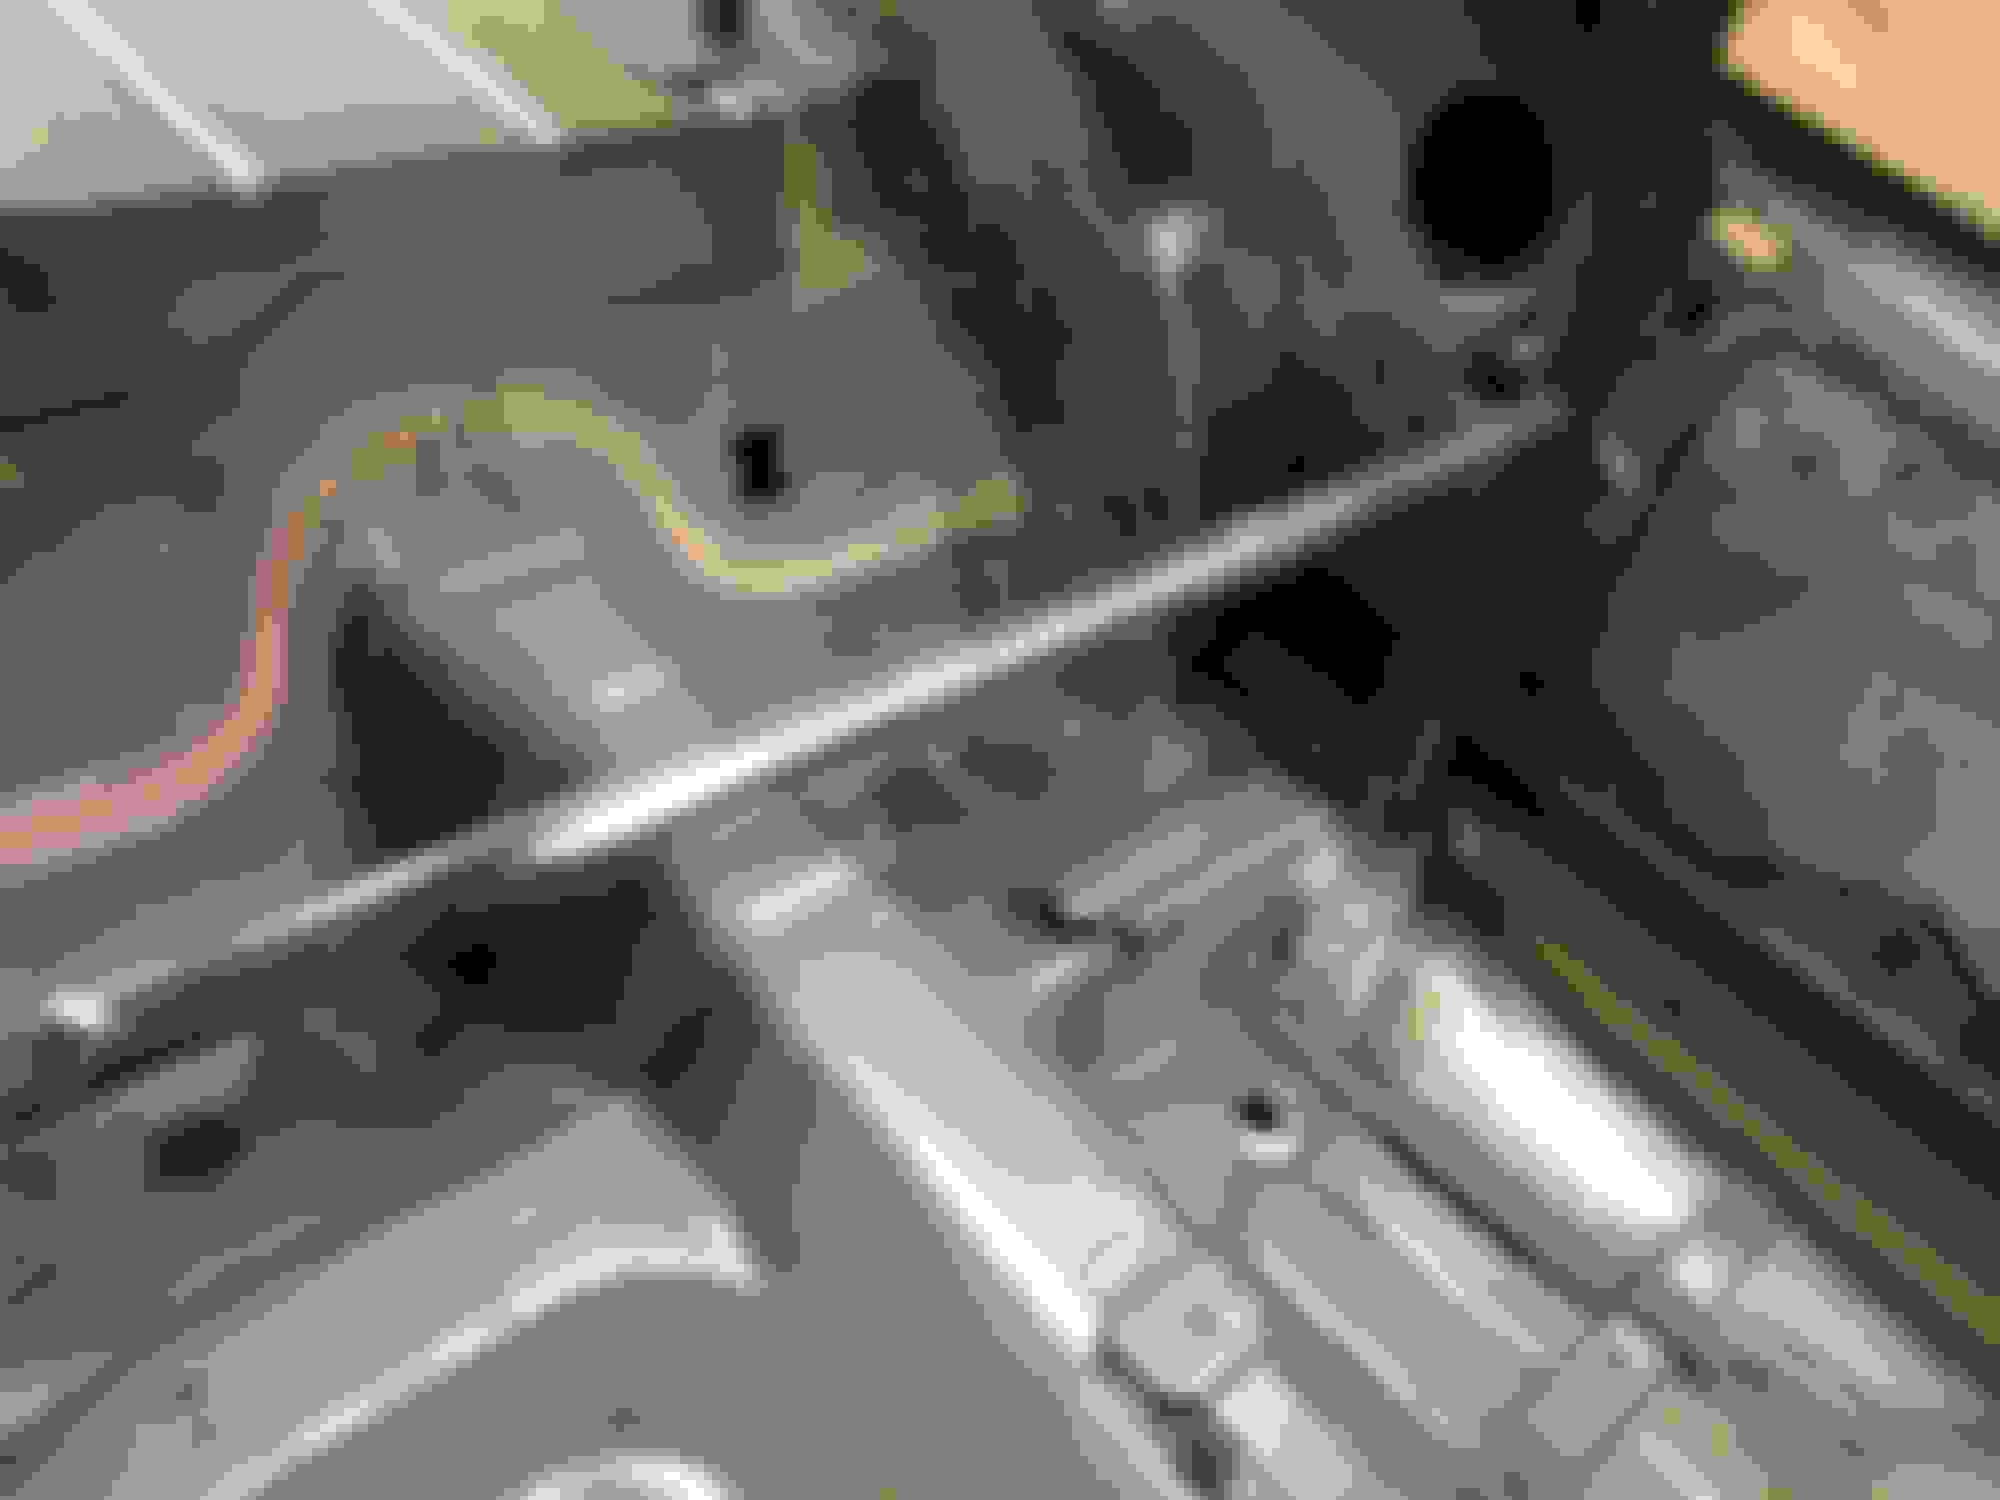
Boxed the frame back in and weld thru primer-ed the inside so I don't need to worry myself about any rust later on!
Mocking up and tacking in place. Needed a little more adjustment after this pic was taken.
Exactly where it needs to be.
Ran out of time for the evening so I will have to get it all finished next weekend but it is coming along quite nicely.<br/>
Tubs are equidistant from the inside of the quarter outwards and everything is square and true. Lots of tweaking, fitting and fabrication but overall worth it. Would I do it again? Short answer, No.
Test fitting the cage for the hell of it!
Starting to look badass
So eager to get this all in there permanently!
Love this shot.
Obligatory selfie, she's getting dusty, but I still love her.<br/><br/>Shoutout to my best friend Dave who is here with me every step of the way. We build this **** together and you can see how passionate we are about these cars! <br/><br/>
Subbed as well. Great to see you guys aren't wasting anytime on this project. Guys like you make me want to keep my Camaro and not buy a C6 Z. Keep up the great work.
Subbed as well. Great to see you guys aren't wasting anytime on this project. Guys like you make me want to keep my Camaro and not buy a C6 Z. Keep up the great work.
Thanks a lot man! Keep checking in and send me a link of your Camaro if you have one!
Weekly update for you all. Just got back from the shop and it was crazy cold today as the shops heat pretty much screwed off on us.
Managed to get some more welding done on the tubs. As you guys may have seen from last weeks pictures there was an apparent gaping hole that the wolfe tubs leave you with after they were fit that had to be addressed. Here's some pictures of how we tackled the challenge to make the tubs look as if they came like that from factory. Doing this piece by piece but moving along quite nicely.
Enjoy the pics fellas
The gaping hole, courtesy of wolfe racecraft. I'm beginning to think they accidentally sent me mustang mini tubs lol...
Let's fix that
First patch
Tacking in place
Second patch
Welding her up
Welded
Cleaned up and ready for seam sealer
See you guys next week
Be sure to comment and subscribe!
Last edited by 97camaroguy; 02-21-2015 at 12:22 AM.
 01-12-2015, 05:38 PM