When you click on links to various merchants on this site and make a purchase, this can result in this site earning a commission. Affiliate programs and affiliations include, but are not limited to, the eBay Partner Network.
Yeah, I figured it would be tight back there. I have a bunch of GoPro's I don't nothing with anymore, so I think I'll try and use them to learn now or once I can.
Talked to them and they are making smaller ones for people later, but I'm not ready to wait. I had them send me a new of the normal one, so i can keep the vent hole as small as I possible.
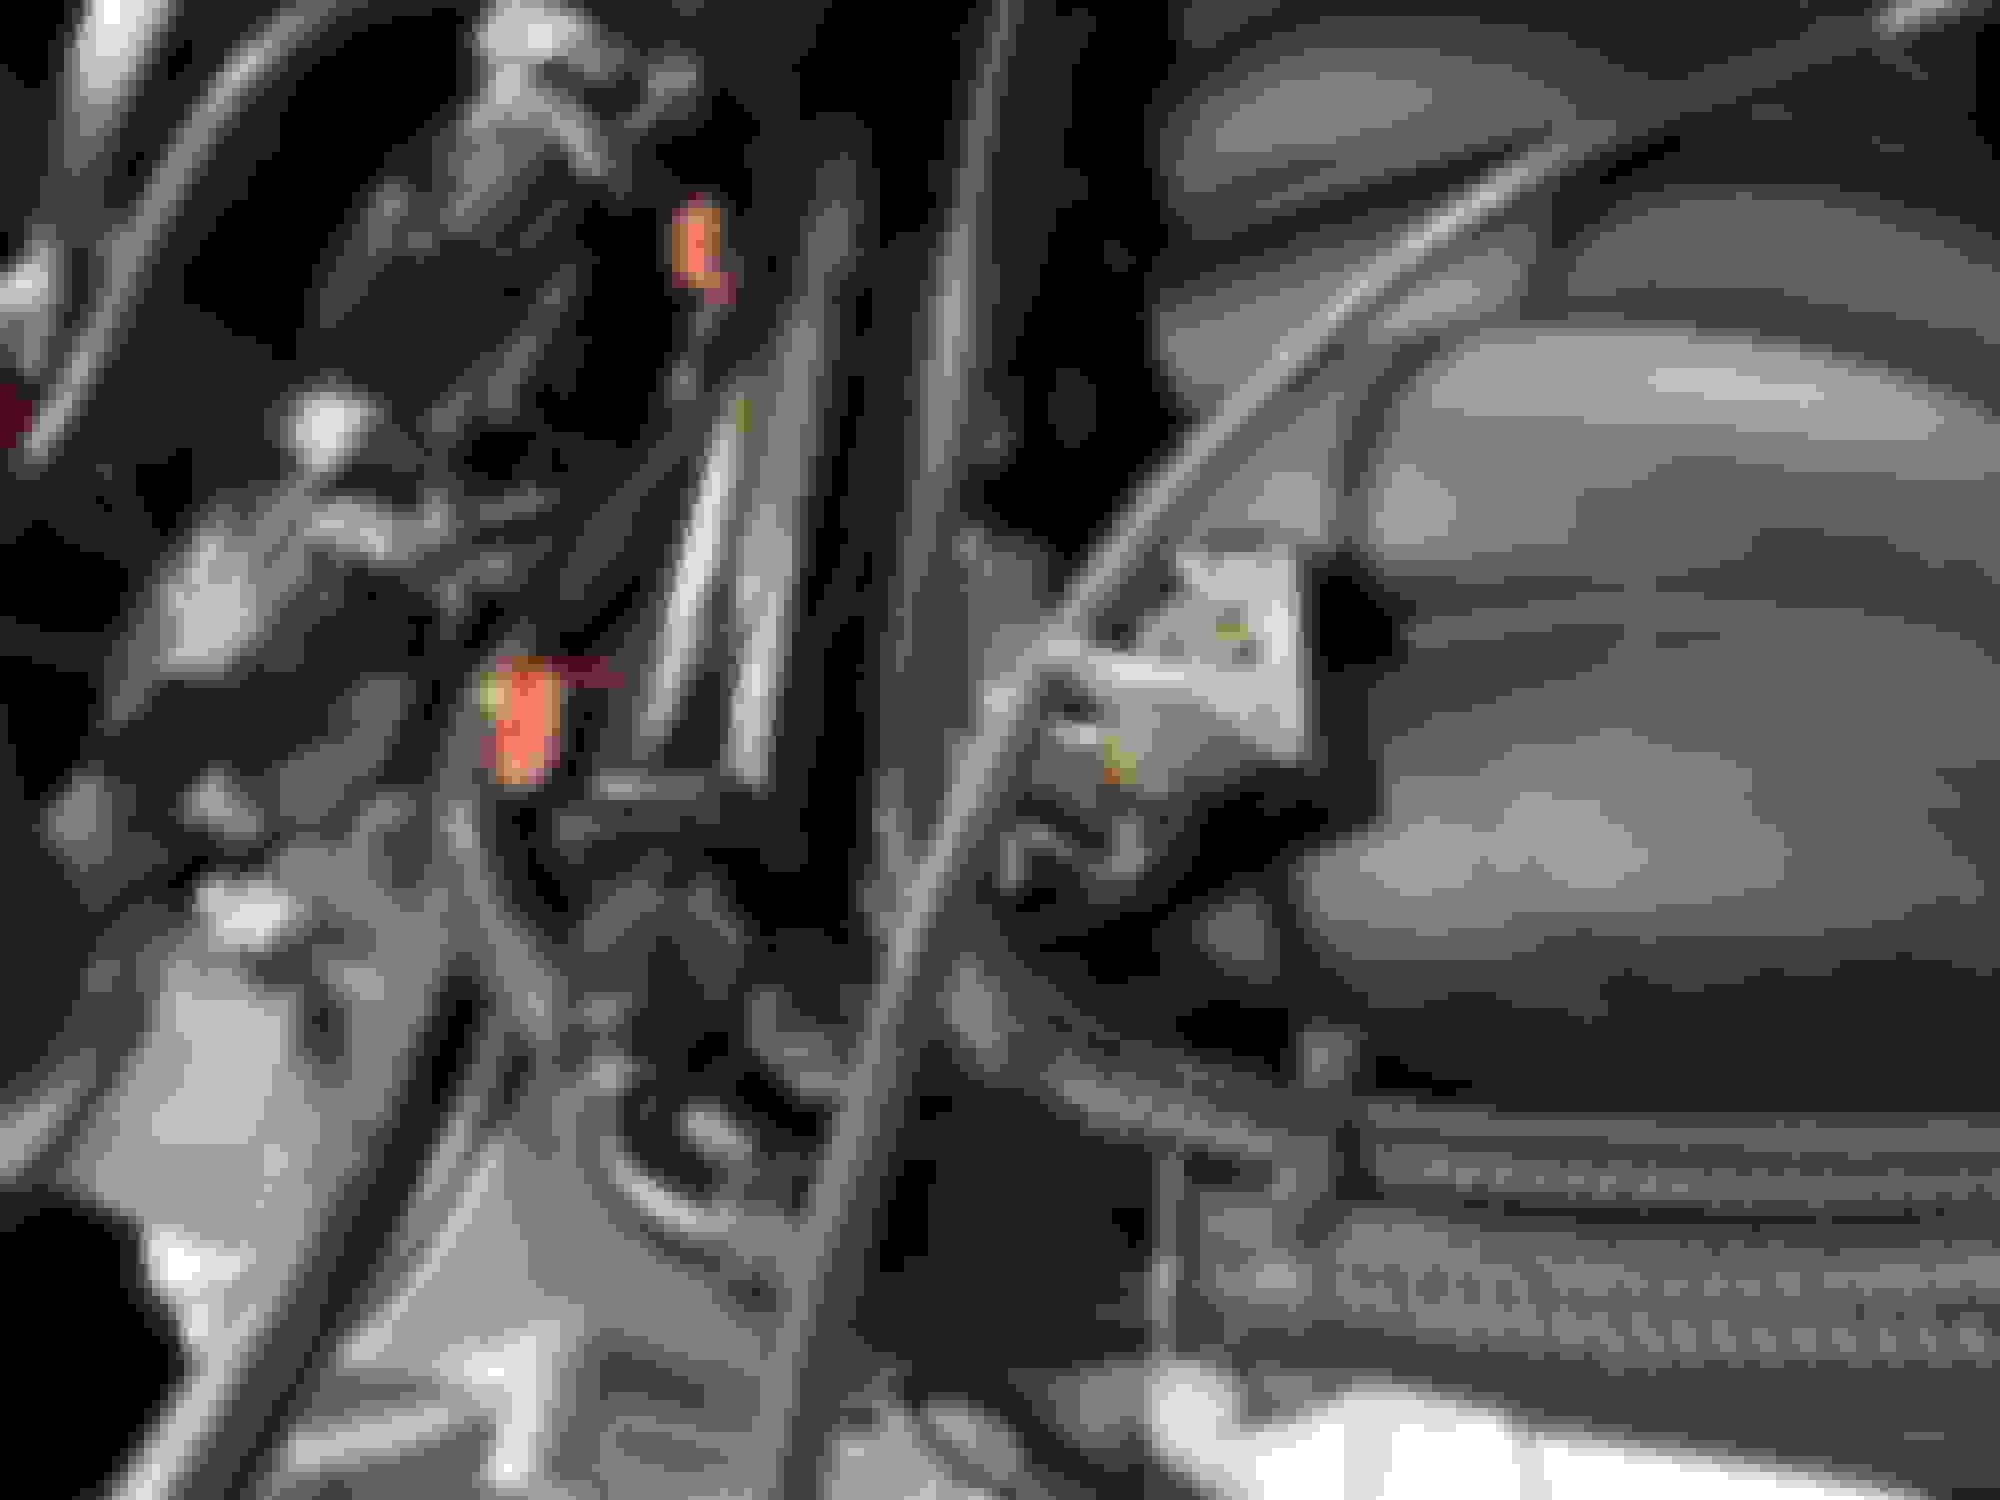
Strano front sway bar finally came off of the intergalactic back order list and shipped on this week. Showed up today and I got started on installing it. One end link bolt's threads got messed up, so I have to grab one, but also the end angle is odd. Not sure why, but I know the factory bars bars worked well with the UMI boxed lowers. Has anyone else the upper end link be off this much? I have to push it pretty hard to get it close and will have a tough time getting it to where it will bolt in finally.
Finally got the bolt needed for the front sway bar and left the bushings loose to get them to reach. I'm not sure about the load on the bushings though with this heavy angle. I'll make another judgement when I see it at ride height later.
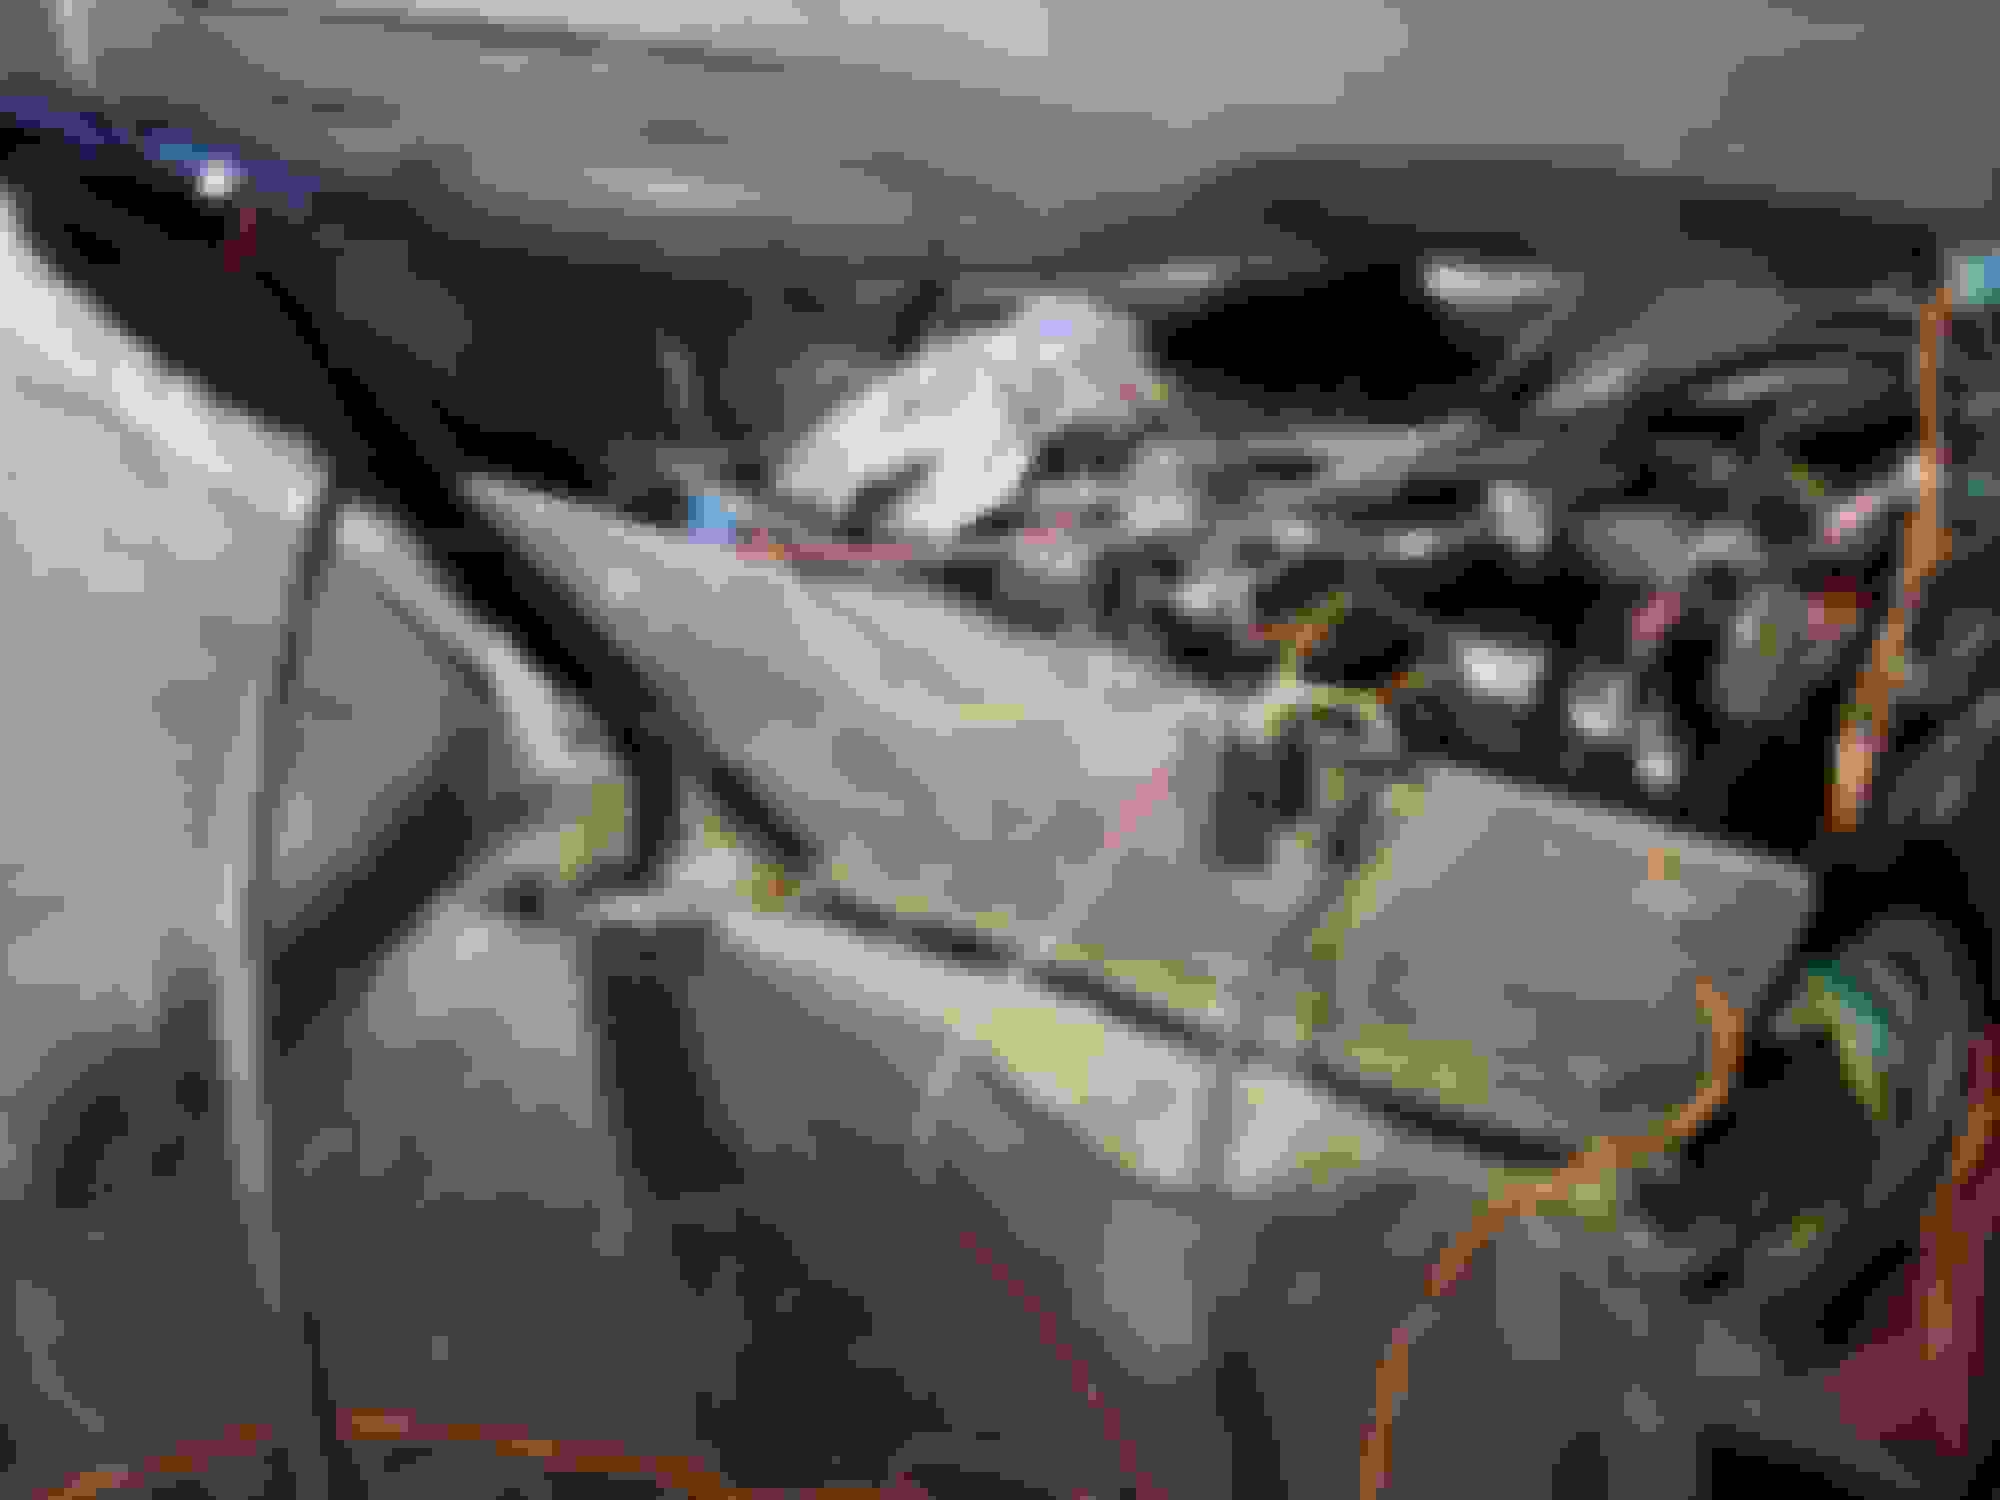
Also, got my U bolts, spacers, and watts link clamps back from getting coated, so I got those all mounted up. Again, I'm not sure where to set things until at ride height and I'm not 100% my spacers are right. It looked like it would probably work and I had the aluminum laying here already.
I'd love to just pickup up a drive on rack, but I have to do a lot of work to swap the layout of my garage first and I don't have the funds for that or the 2 post lift I want right now. So, I started building some wood stools for the wheels tonight. The goal is the have this car as a running project this year. The cops will have to deal with the open headers for a while. I'll carry the accident report and tell them why it's so loud for a while.
Got it aligned and it drives great now, but as I was leaving the tech came up to me and handed me the cradle adjustment plates. Guess I got everything close except the passenger side caster and he changed the plate to fix it. I would think it would be best to have everything as equal as possible and I probably have one roto joint threaded out more or less. I guess I can probably make the changes at home with some careful measurements. Unless the cradle needs to be shifted over is why it was off.
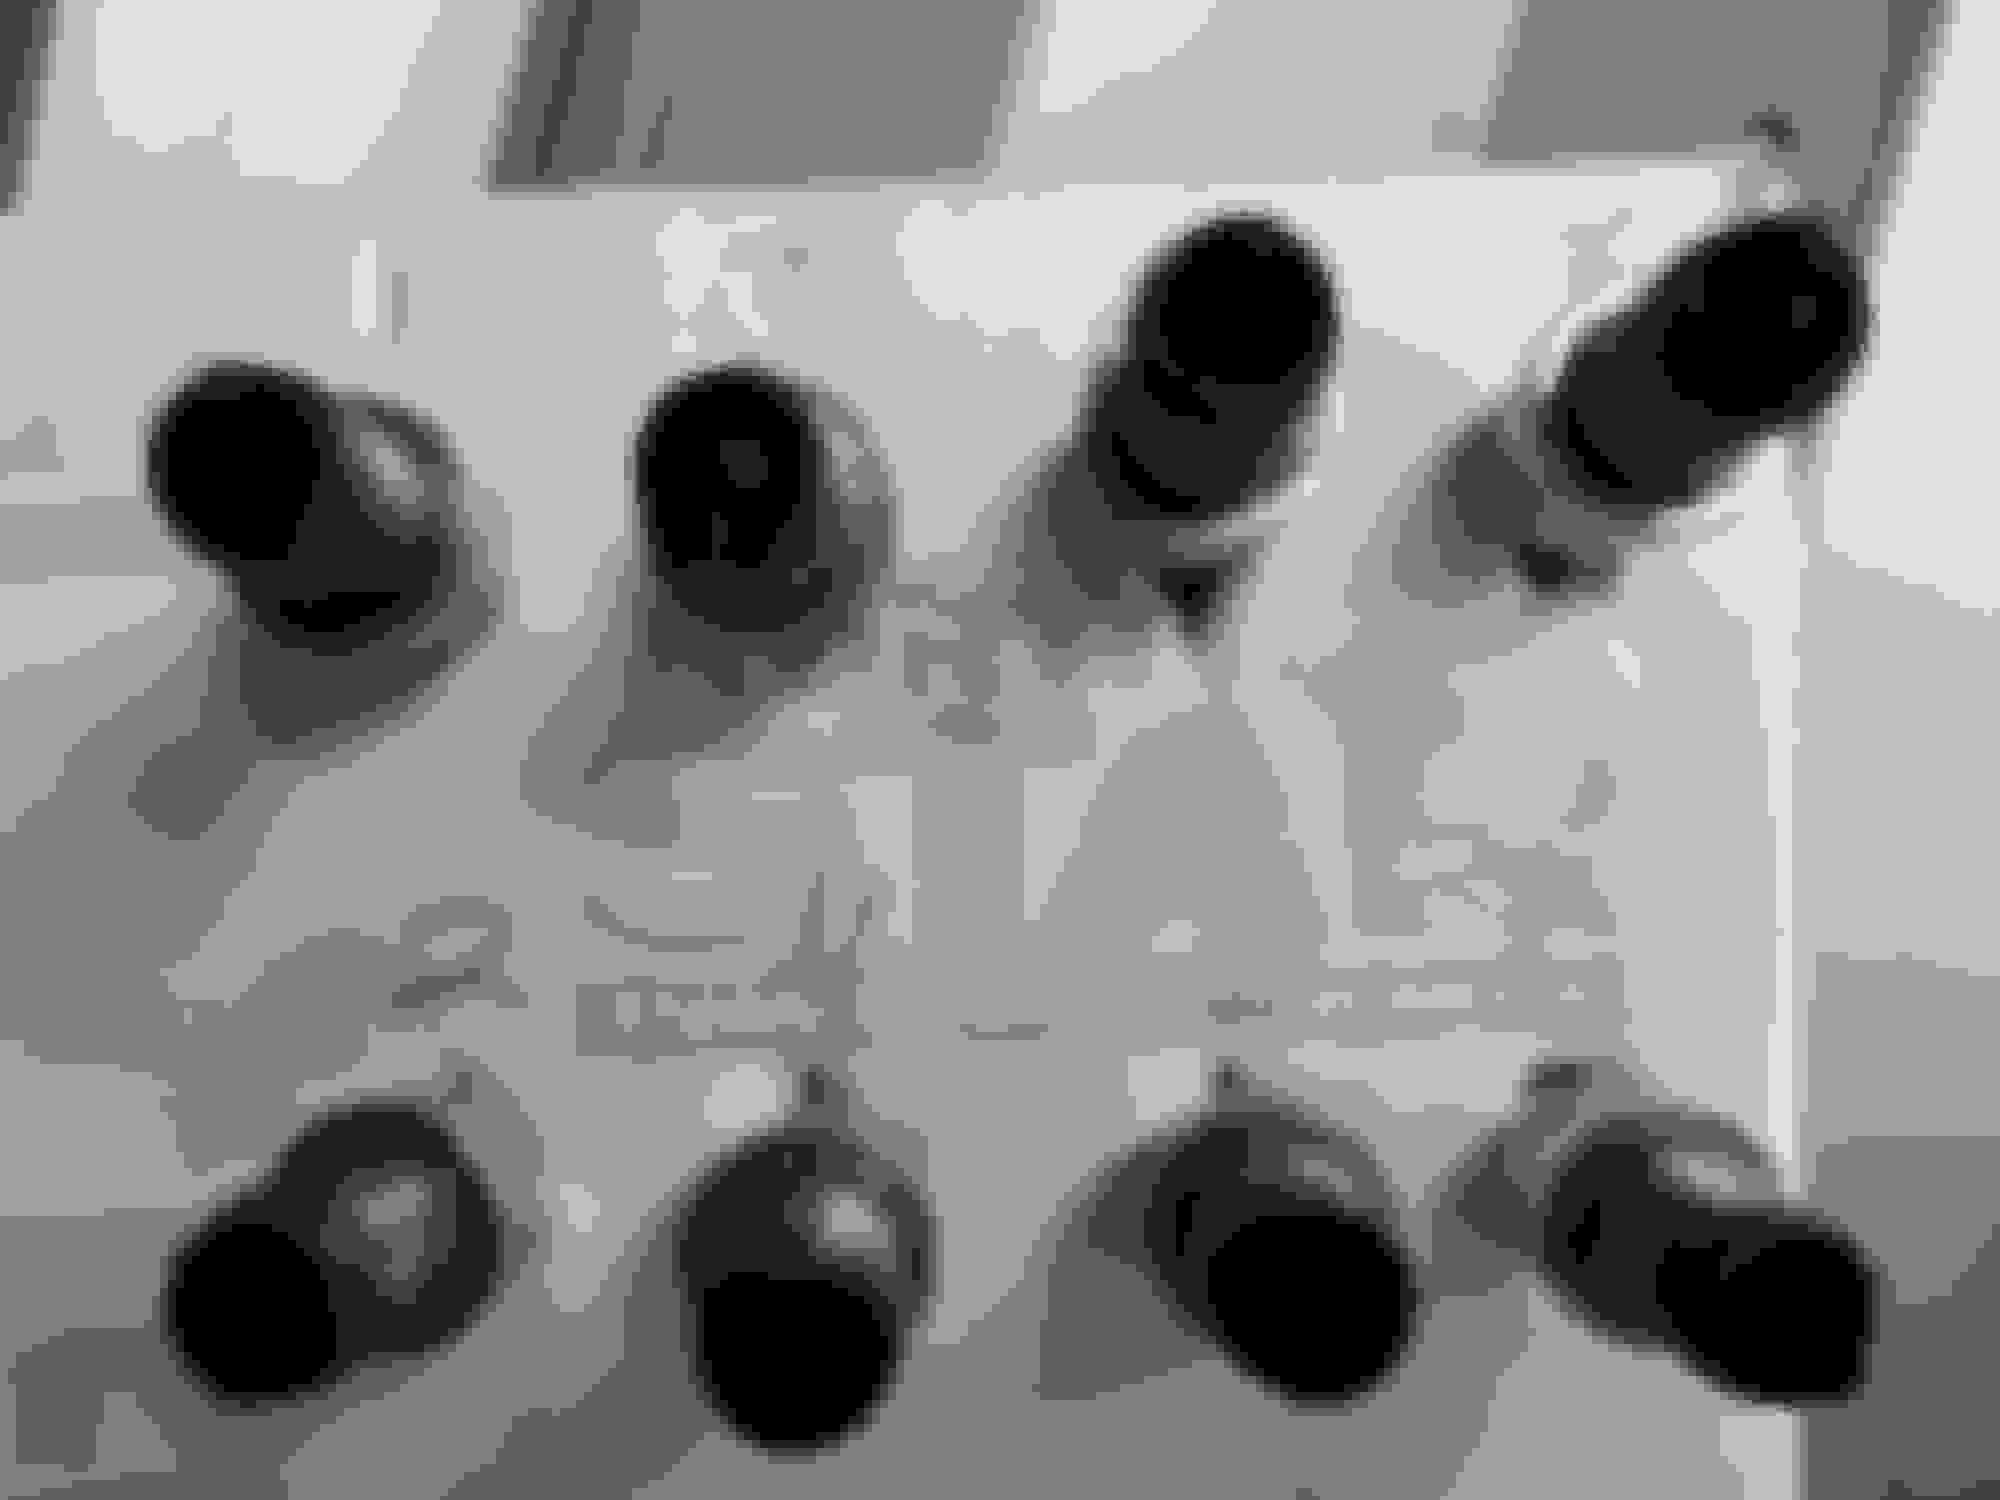
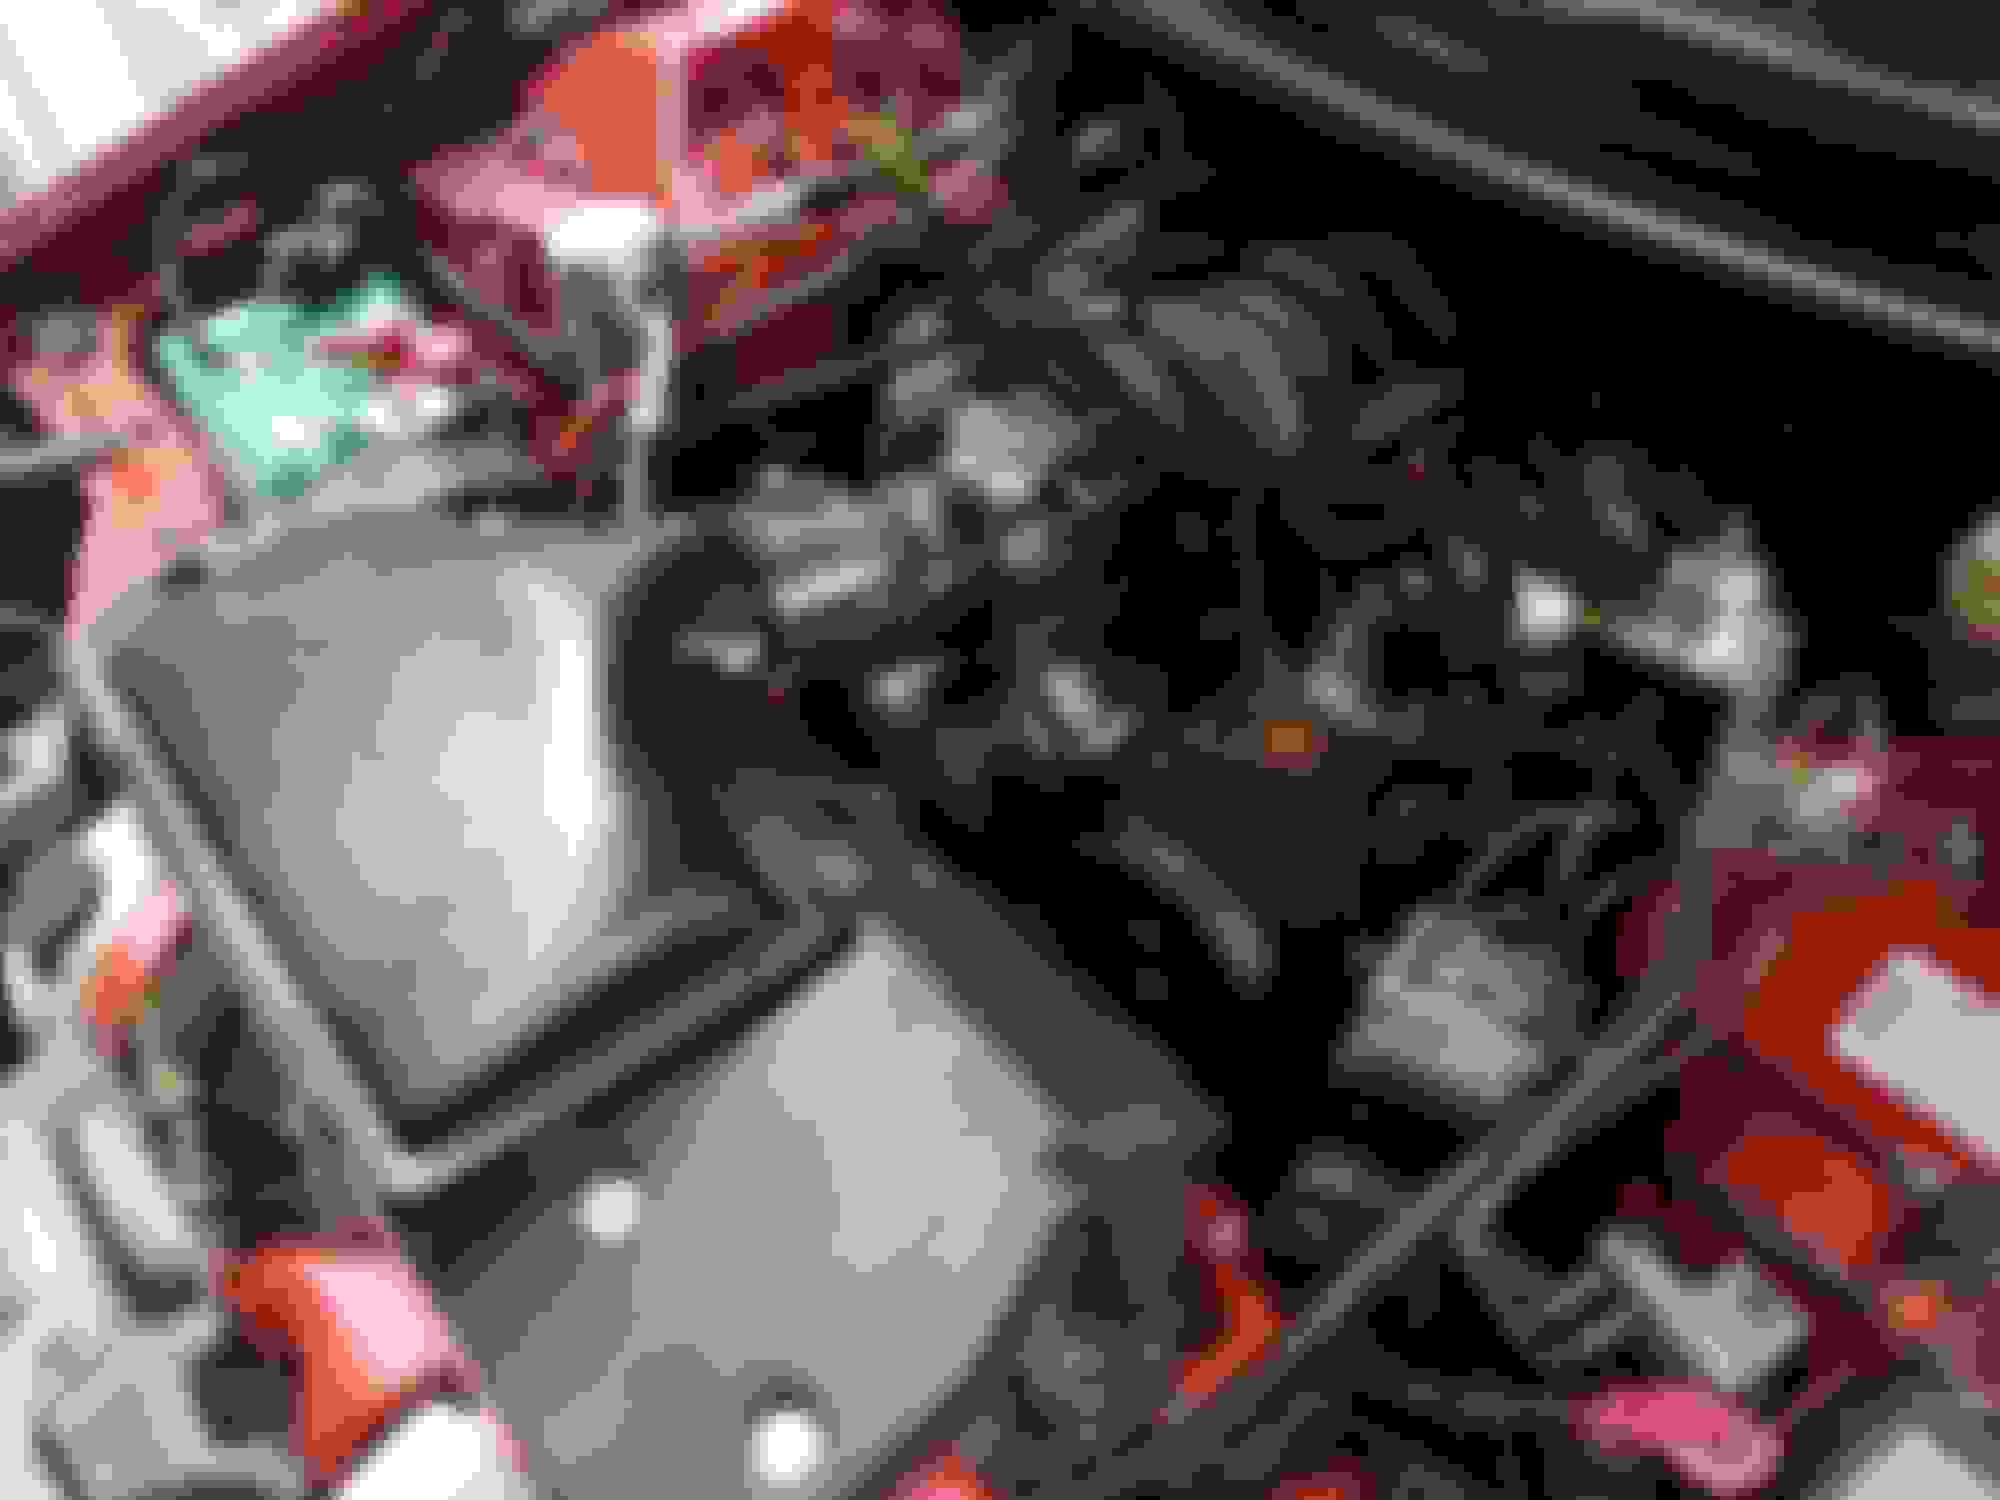
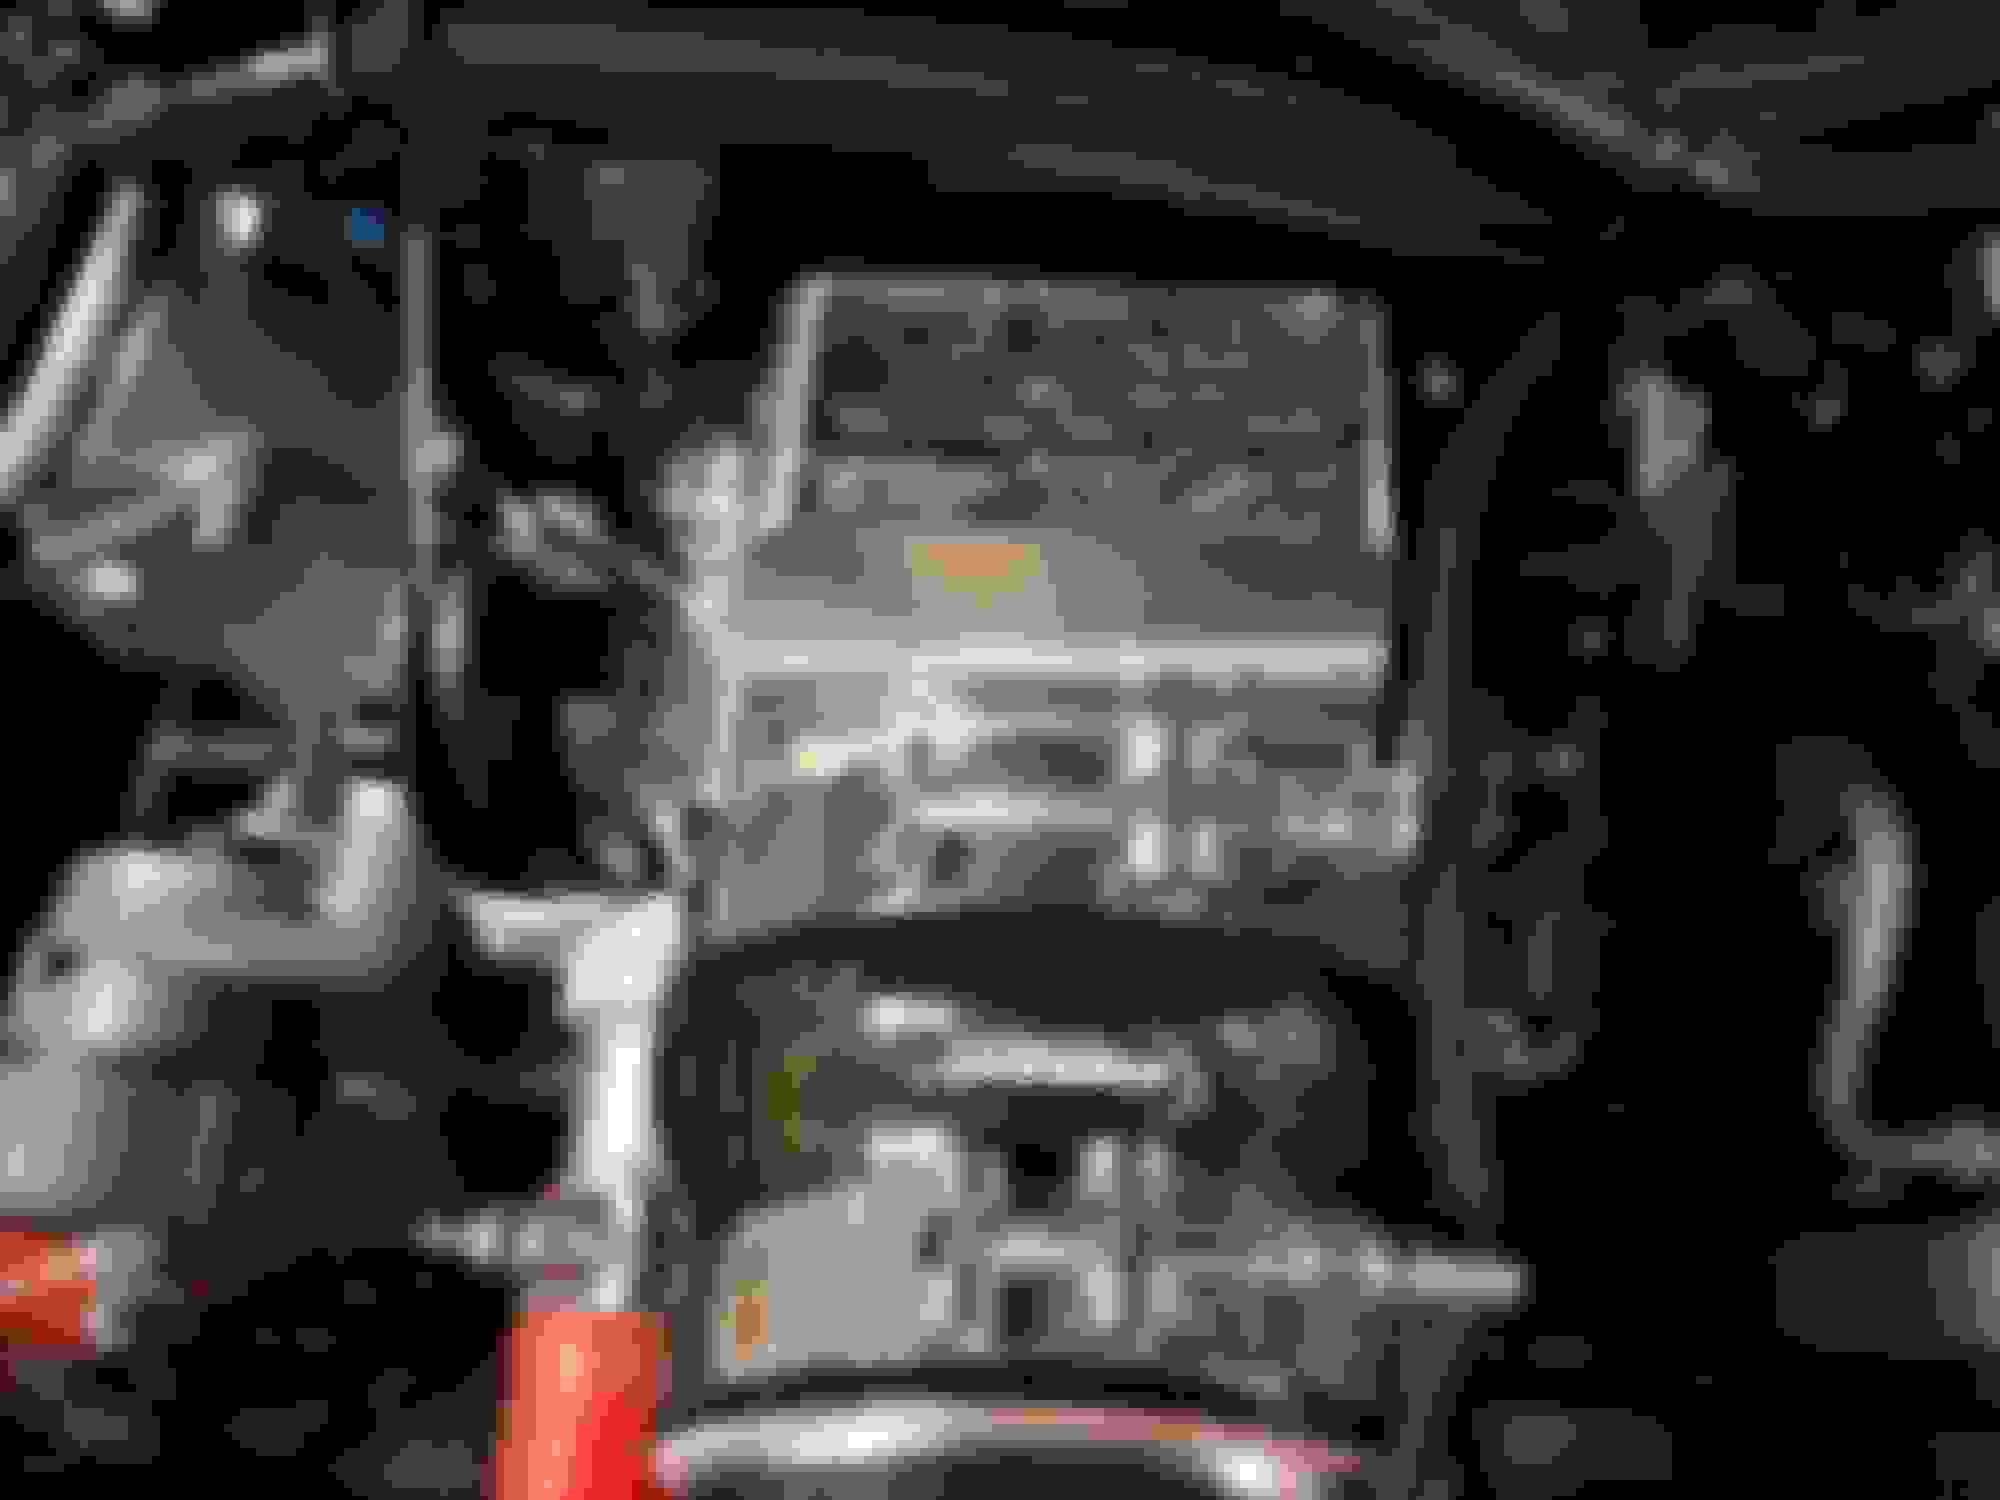
Tried to tune out a drivability issue with a couple short trips a day down my road (didn't want to **** everyone completely off in case I couldn't get away), but it wasn't making since. All of the sudden it started popping out of the exhaust just before my U turn. Almost died on me the whole time and had to get up to speed and coast while tapping gas to keep it alive. Freaking out that somehow it burned a valve doing nothing and got pretty worried. Calmed down and thought about it and next plan was new spark plugs. Next day I swapped my plugs out these nasty plug and all popping gone.
Something is obviously wrong when the O2 sensors say all is good and the plugs look like this with maybe 100 miles on them.
Checked the header bolts and found only one really loose and a couple that moved a bit easier, so I increased the torque of them all a bit. Yesterday, I borrowed a friends smoke leak finder to see what my issue was. Turns out the long side I switched to think was the best option had two leaks. A pin hole in the weld holding the V-band to my header and both sides need a gasket on the O2 bung plugs in the collectors I put to seal up the Hooker headers . I never even thought about the plugs needing a seal. Usually only use them when removing the O2 sensors, but why even put a bung in the collector of a car header that will have more pipe on it 99.8% of the time. It's best to have the sensors at least 8" passed the collectors so you are reading the whole bank and not just two primaries on that side.
Today I tested both of my O2 sensors on a new motor after I got it tuned with a new out of the box sensor. I'll have to hit my buddies shop to weld the pin whole later, but the rest is good to go. Plus, I'm pretty sure it will run right after these are fixed.
Next, i guess I need to call BMR and see where the parts they said they would send me for free to get the Watts link corrected since the guy who sold it screwed me up with the old kit when the new kit was already on the web site. Not shocked as he was telling me it was his last month there. He took me on a tour of the place and everyone else had a shocked look seeing me in those areas. Guess, he hooked me up on the tour part then. LOL
SNAFU
Should there be an S on the end for, "Situation Normal All F*#!ed Up, Still?"
Good news, BMR shipped the watts link parts so hopefully that will be handled finally. After that it will be going for body repairs on the bottom of the car as soon as he has an opening.
Bad news, got to drive it a little more before the Holley EFI killed the second DBW throttle body in it's 12.75 hours of run time. Adjusted the clutch and went to check it out. Fired up with my foot no where near the pedal and it instantly went nuts (6th time in total) putting my cold start motor at high rpm almost instantly. Keyed off as quick as I could and knew it was dead with TPS error and no longer hitting when cranked. Luckily it only cost more money to get a cable door to replace all this more expensive stuff I didn't really get to use.
BMR came through with the newer parts to help resolve my issues and didn't charge me for them either, so thanks guys. Came in a couple days ago and I'll try and install them this weekend if I can get my truck ready for next weeks trip first.
Last Tuesday I was trying to adjust the clutch when the Holley DBW destroyed another throttle body so the car wouldn't run. Now I'm on a cable setup and I might even adjust the clutch tomorrow. Next step is to send the ECU, GM pedal, DBW harness, and two GM throttle bodies to Holley and see why I couldn't get 13 hours out of both. Hope they get it back quick so I can drop the car off to repair the floor in a couple week. It is the last step before I can get exhaust again. Then I can get back to breaking things in and tuning the motor again.
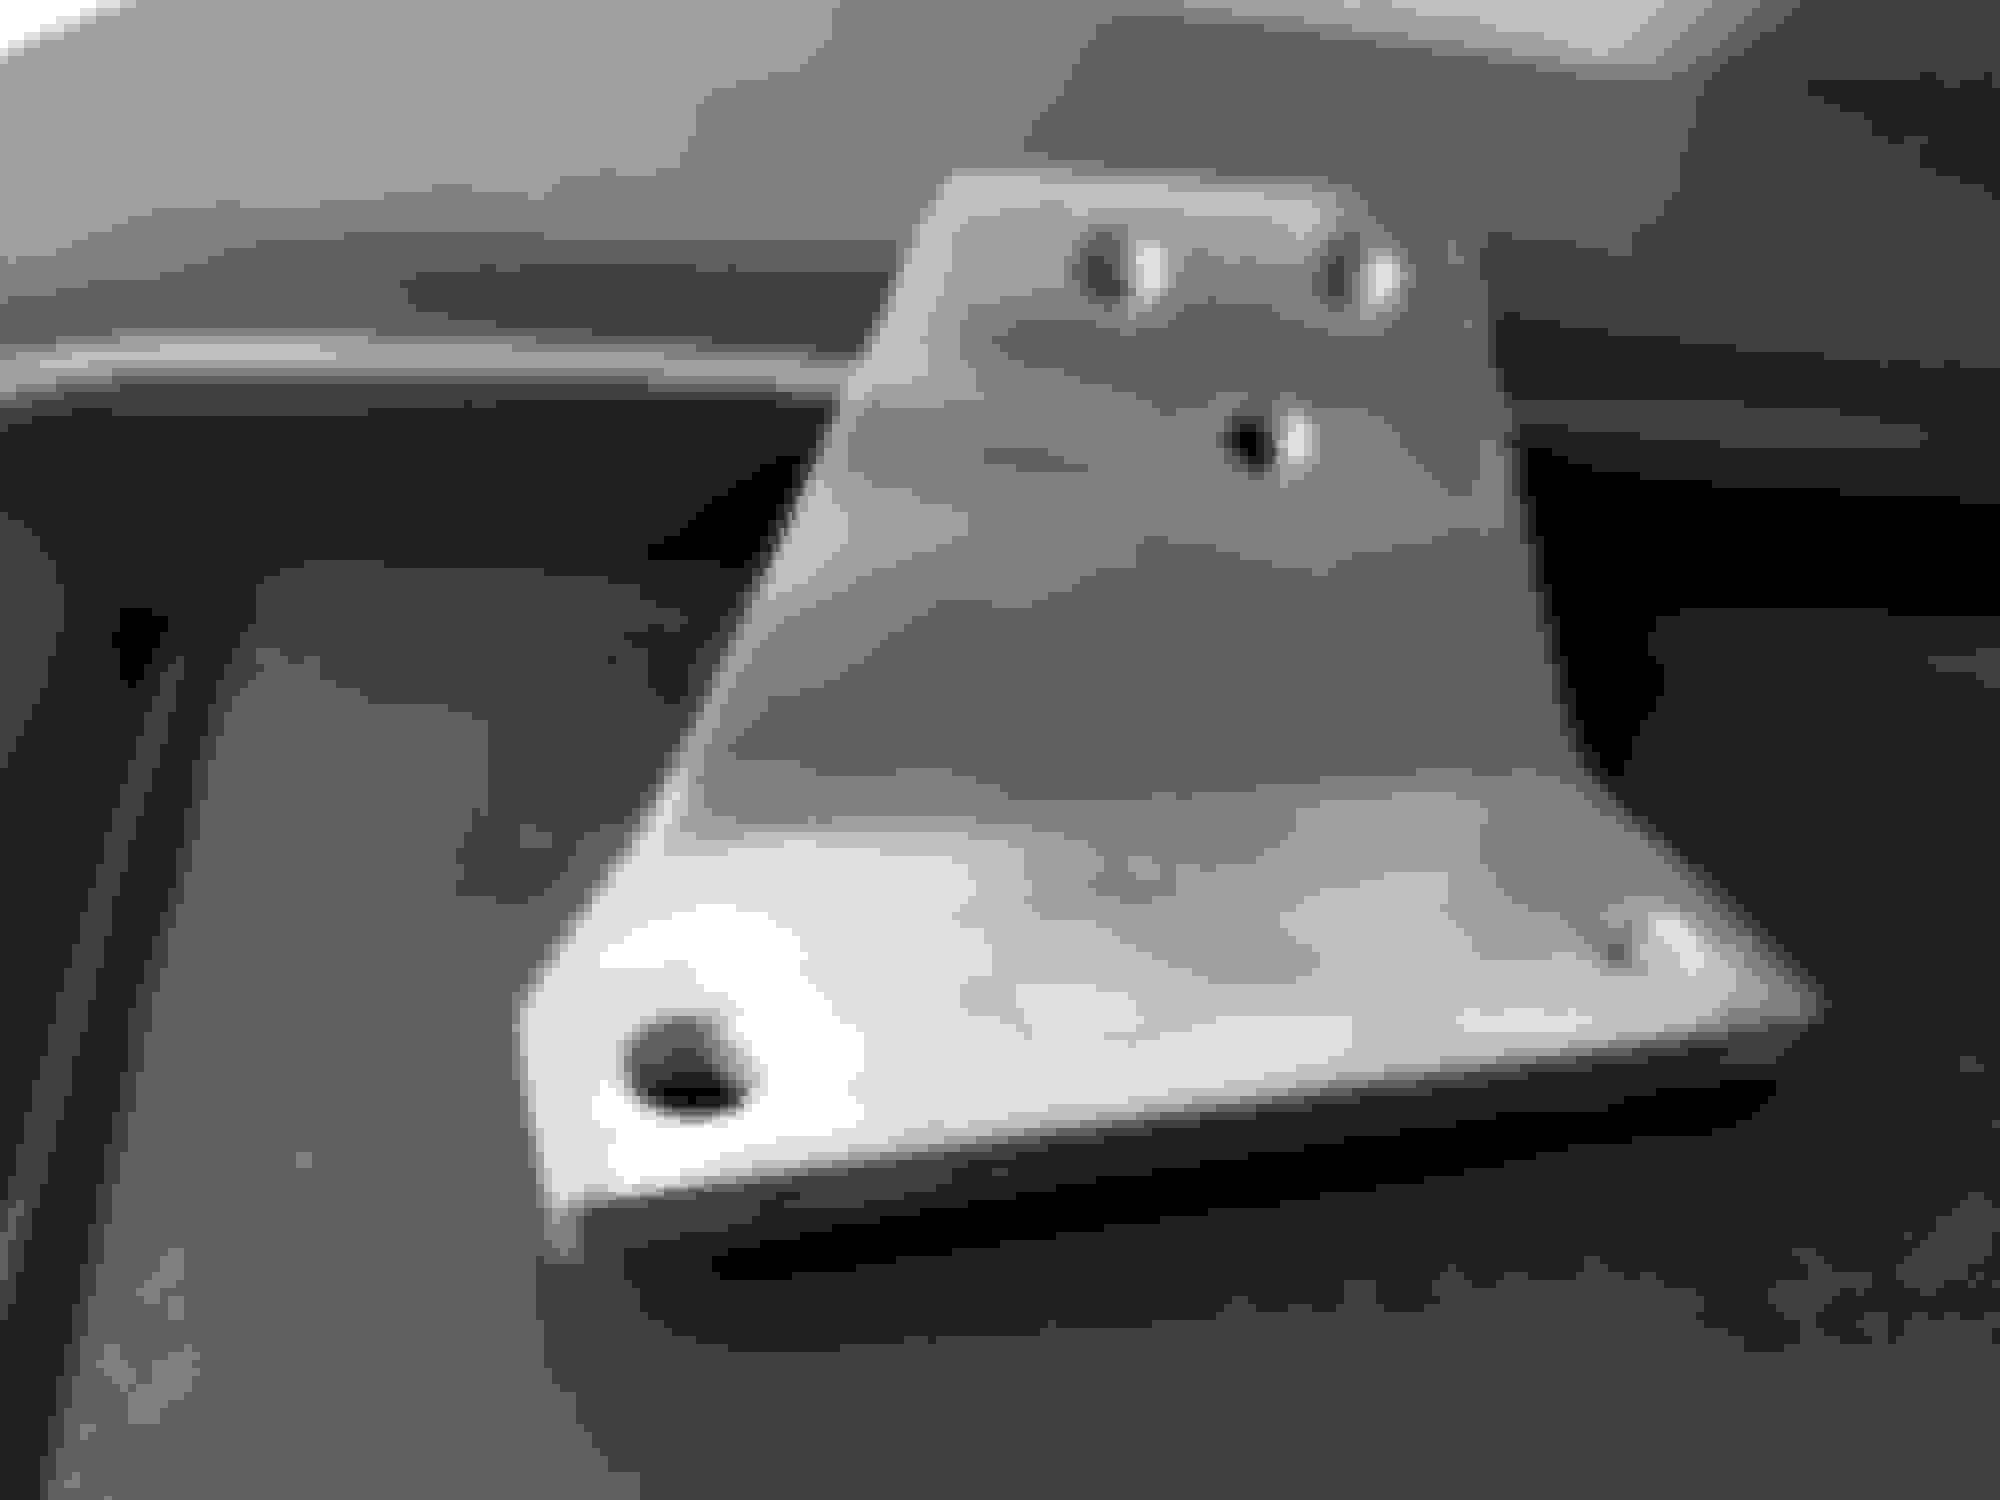
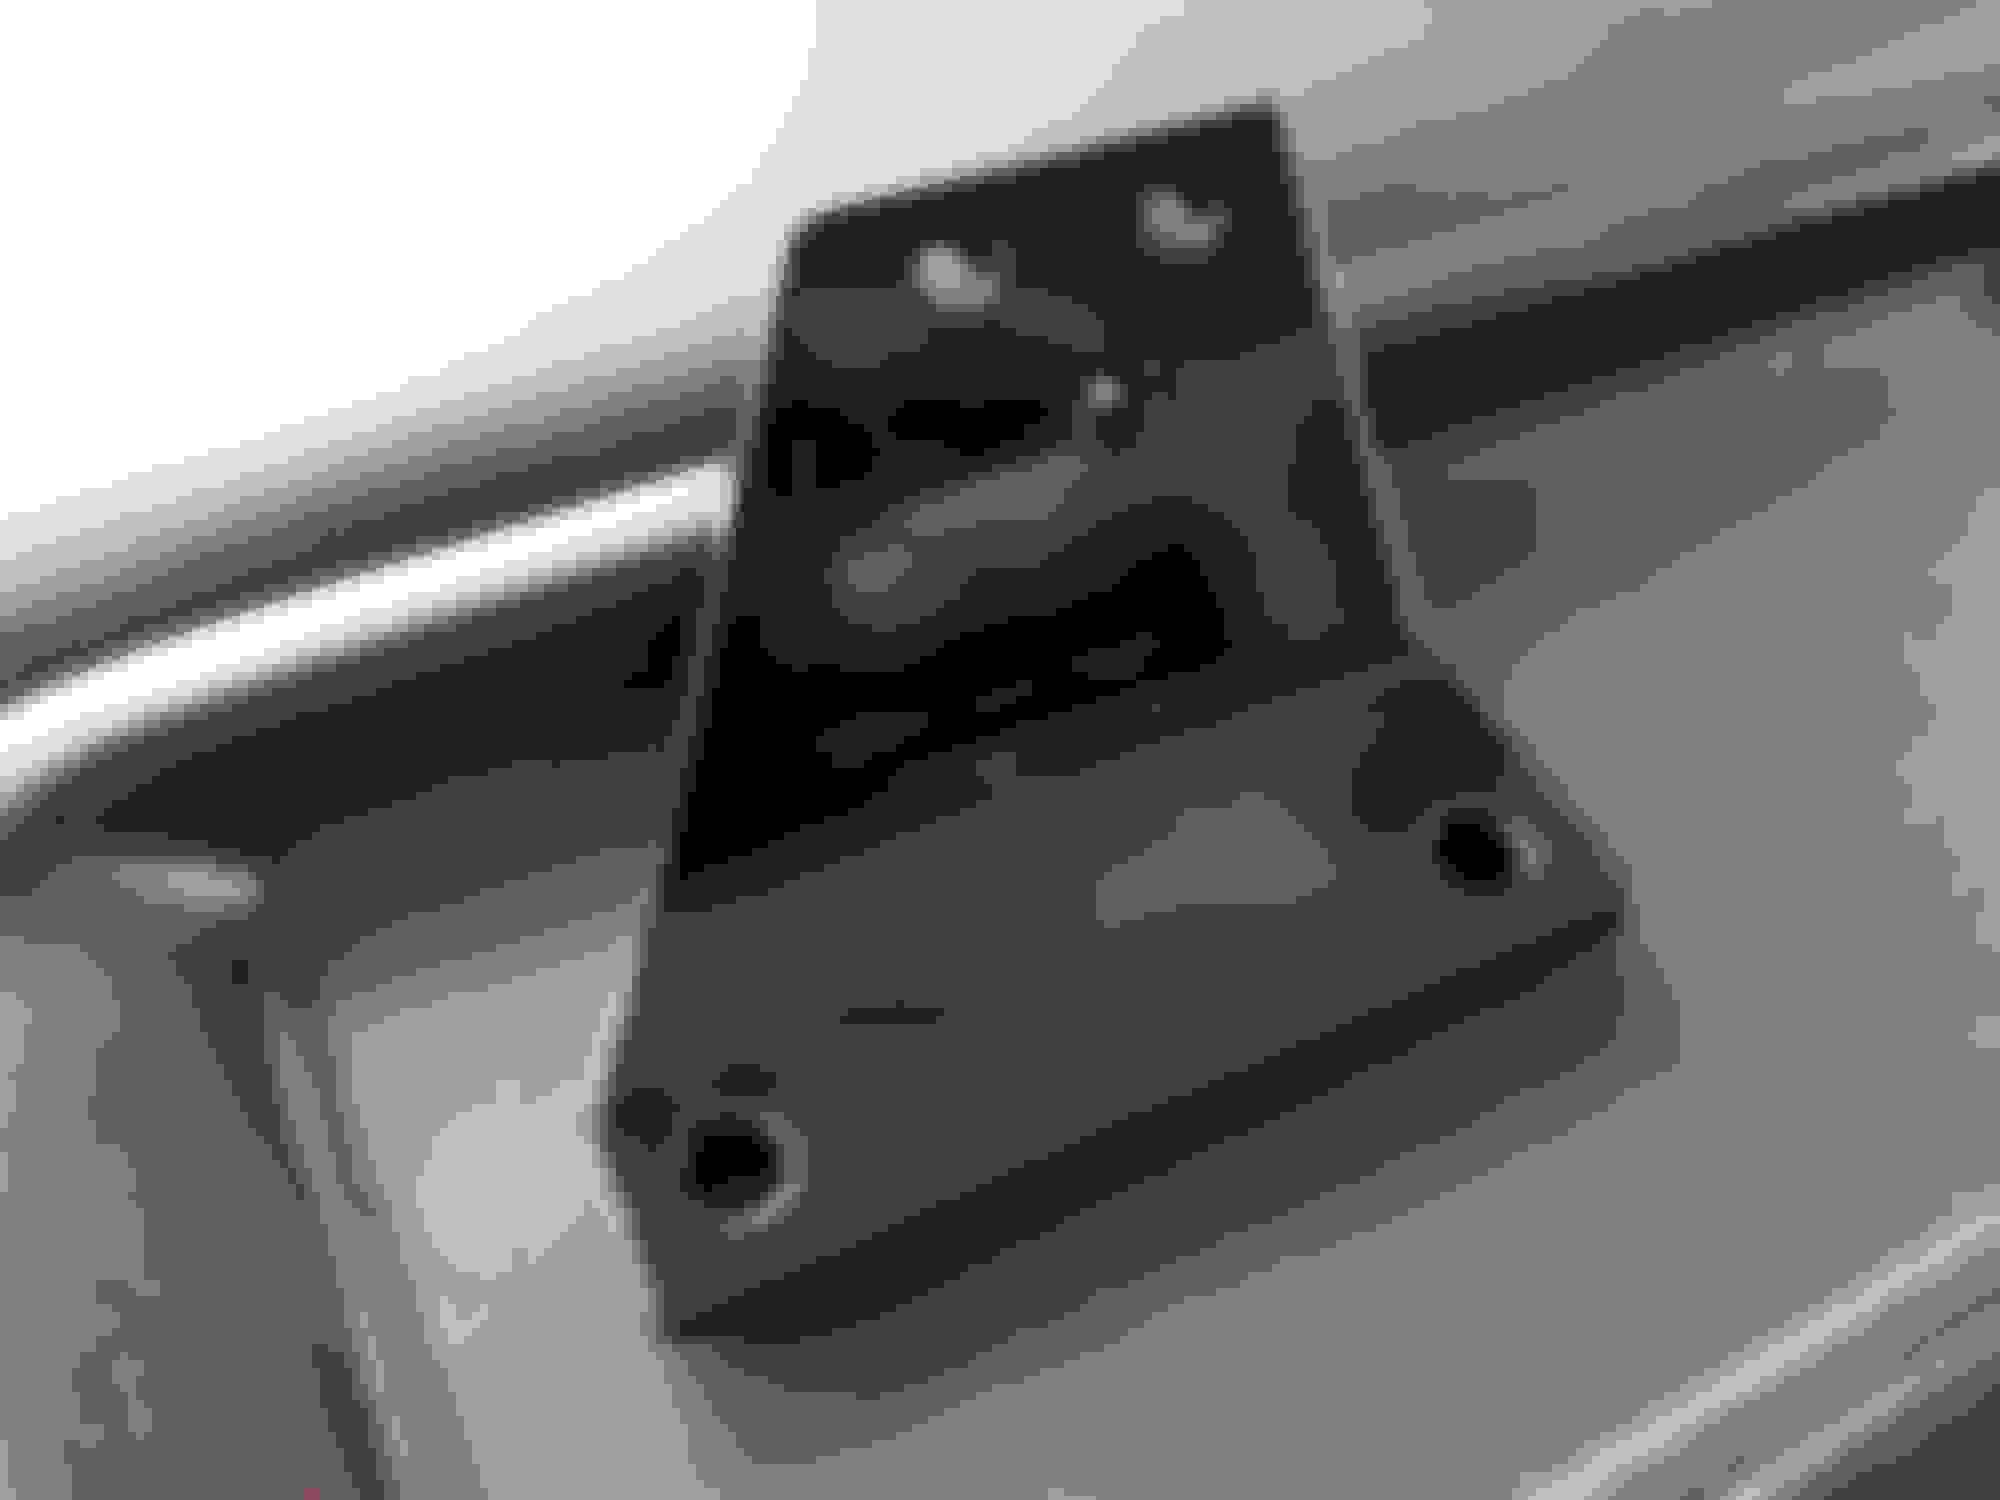
Made a bracket for the throttle cable on my LS3.
Powder coated black even though not much will be seen.
Stock cable from pedal to be cut
Lucky that I had only added 3 wires to the DBW plug and we had an empty one of them at the shop already.
Complete one week after I tired to adjust the clutch and couldn't finish because the Holley killed a second LS3 throttle body.
I had a hard time picking between this and the Holley 95mm, but this one use the better IAC and has the stiffer spring on the hard idle screw.
Holley still looking at my stuff and trying to figure it out. Helped with all the info I could remember. They sent me a new Dominator, so I was able to get the car running Tuesday and it runs the best it has yet. Mapped the A/C high pressure on Thursday, so I can use the air conditioning without worry now. Drove to it to work Friday and got some time trying to tune in the idle today between rain. I'm wiring up a switch to control the logs tonight and will finish tuning the idle tomorrow. Also, might try and install my ATI balancer if I think I can get it done as it goes to the fab shop to fix the floor finally on Monday.
Also, trying to figure out why I have no cabin lights. I don't know if the rear dome light ever worked, but it doesn't now. The bulb was good and both wires have 9.6 volts. What normally turns this on anyways? The map lights in the rear view did work before and don't now. I looked at all the fuses, but don't know what else is part of that system of hand.
So, the schematic looked like the BCM wasn't pulling the ground for the dome/map lights. As I probed with my Power Probe to check things before putting ground the one to see if they all came on, it started working. It seams that the 561 fixture sucks at best.
What is the best option to swap out this light fixture. If I just get an LED 561 I still have the terrible connection and it would only aim backwards. Maybe I can find a larger board of lights and just hard wire it in.
The front 212-2 map lights may work with a simple cheap LED swap bulb as long as find one that isn't to wide for the slot. I'll have to do a search and see what others have done, but these lights must be replaced.
I spent the rest of the day tuning the idle. Got it all good at 900, but turn on the AC and couldn't keep it running on short blips. You know when your creeping around with only the clutch and let out a bit to much and have to tap the gas to keep running, well then it would die or surge and die. Finally had to raise the idle to 1050 to get it to also work with the AC.
I'm not at all happy with this and will have to create an IAC hold advance with an advanced table later. Silly to me the AC Kick only bumps it on initial start. If you need the bump you need it to catch on the return to idle. I also don't understand why their AC Shutdown doesn't internally turn off the AC Control (also not programmed inside the system) and eliminate the need for a relay to be wired into so this can disable it.
* Where did you obtain the heim endlinks?
* Does Harbortown have a mandrel pipe bender?
* Where did you obtain the heat shielding for the fuel tank & manifold?
* You installed the pan baffle but not the crank scraper? Did they not have a compatible scraper?
* UMI RR KMember - what do you mean that it doesn't have any alignment pins? Does that make it difficult to install or difficult to align, or both? Given your unfortunate accident with exhaust, you're not concerned about losing the skid plate feature of the OE K-member?
* How much of a nightmare is the alignment with the adjustable lower arms compared to stock? Did they charge you more for labor?
The end links came with the lower control arms from UMI.
No it was made from purchased 90 and 45 degree mandrel bends that he worked to make the system.
The heat shield I don't remember exactly, my friend owns Cyberauto.com and had a bunch of shield material in stock.
The scrapper is a lot of money for very little power, but great if you are looking for that last bit of power. There is also the trouble of trying to make sure of the fit upside down while in the car if they do make one to fit my parts. The baffles make sure the motor will have oil and lives.
The loop was about the lowest part and it being in the center of the car is the closest part over a crest. The bell housing is lower than the pan anyways. Now that I have new suspension and raised the car I'm much less worried about this stuff anyways.
I'm pretty OCD, but sadly, not enough. The one thing I didn't do was double check the threads and that was the only part beside the toe they had to adjust. The guy used the plate and didn't fix the initial cause, so I'll be fixing that later to get everything as equal as possible. I have to wait now as I just dropped the car off to get the floor fixed today. I hope it won't take long, but nothing has gone as fast as I'd hoped yet so I expect this to be more of the same.
I forgot about the K member. The alignment dowels were removed to make it easier to install (that is what they told me). I used a dial indicator to center it in the frame rails and later checked square using two front and rear points. I guess I got lucky really, because mine was withing a 1/16" of an inch corner to corner.
Last edited by Crf450r420; 08-30-2017 at 04:24 PM.
Not much to say on this right now, other than I wish there was more to say. Floor is fixed and driveshaft loop is back on it. Finally got the rest of the newer Watts link from BMR, so hope that will soon be done for good.
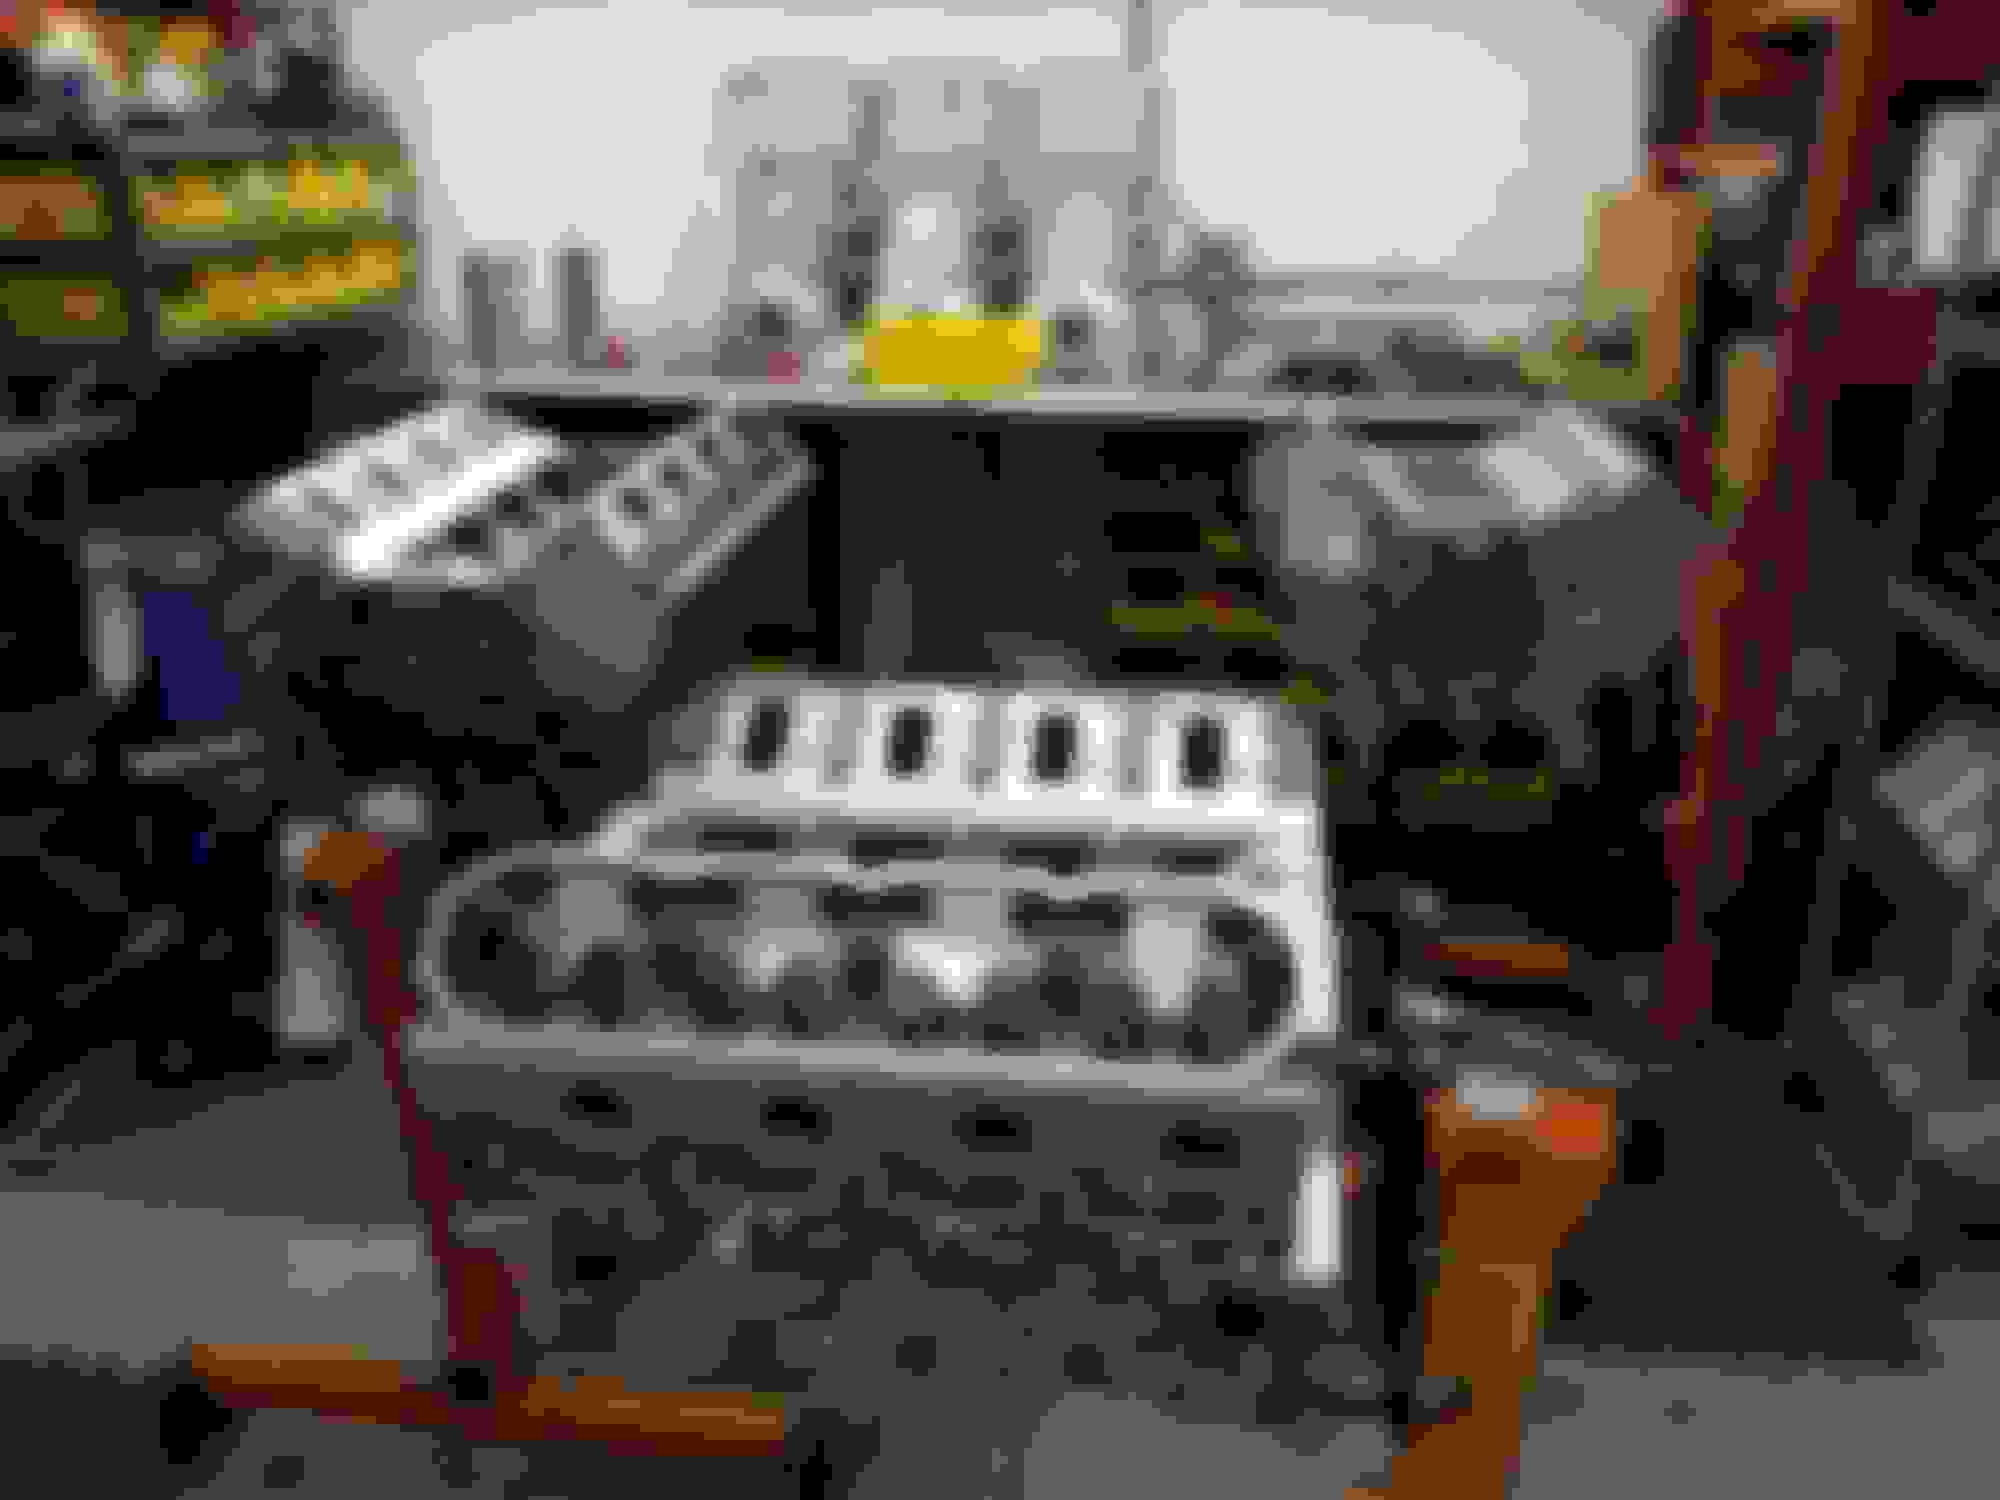
Yeah, other than the huge price of the ARP kit or sourcing extra M8 studs to make a standard kit work and of course it takes about 3 times as long to install the heads. Sure would be nice if the would cut another .020 or .030" clearance in the block so it would be easier to get the wrench on the inside nuts. I'd also love to watch someone who doesn't know better try and take one of these heads off.
Dyno for the car, no since I'm still trying to get the clutch and stuff broke in. After that I plan to install the accelerator to see how close I can tune it without a dyno. Then I'll take it to the dyno to see how I did and what it makes.
The RHS motors I hope to dyno one of them, but it's not my call since I don't have to pay for it. :-)
Last edited by Crf450r420; 10-22-2017 at 07:24 PM.
New BMR watts link was going on, but they sent wrong parts so hoping the right ones show up today. I ordered heim joints to reduce the size of the Strano rear end links. They can hit the valve on the bottom when the suspension unloads. Guess I'll get to drive it again next week, still with exhaust dumped at the rear of the transmission.
Picked the car up today so it's like I own a Camaro again. Gas was reading low enough I was worried about making it home. I still need to double check that calibration which means I have to carry some spare fuel and run it empty.
I'm going to visit a few local car shows, car gatherings, and friends while I drive it around to finish break in on the clutch. If I get pulled over I'll hand them the police report. Shocked every time I drive passed a cop and they don't come talk to me about the noise. Turned in front of one on the way home tonight.
I got heim joints to replace the Strano rear sway bar end links, which will be the next parts to go on it. I also need to order so speakers for the sail panels so I can get the interior put back into it. I'm guessing even an okay deck will leave me needing at least a small amp to push all 6 speakers well, right? That will probably come later, depending on how long the I have to wait for exhaust.
Also, Holley has released aluminum 2 and 3 core radiators and the best part is the prices. If I find stock isn't enough next summer or this one springs a leak then the 3 core will be my replacement.
Hmmm the Holley radiator would have come in handy when I did mine for that price. I went with a smaller/thicker Griffin and custom made fan shroud/mounting method.
All said and done I spent the cost of the Holley lol.
 03-27-2017, 09:59 AM