
1956 Belair 4 door build.
 02-16-2009, 11:29 AM
#1
TECH Enthusiast
Thread Starter
iTrader: (4)
Join Date: Dec 2005
Location: Nashville, TN
Posts: 612
Likes: 0
Received 0 Likes
on
0 Posts

Figured you guys would like to see what we have been up to, my buddies (tim99ws6) father has tasked us with building the drivetrain on his 56 belair. we will be using a 2002 LS1 out of an SS and the 4l60 that went along with it. BRP hotrods has supplied the conversion kit, and we will be running either Baer or Willwood brakes. There is ALOT more details but we will cover those as we go along.
The goal for this car was to make it as reliable as a new vette, get great gas milage, be able to take it on a 1000 mile road trip with AC or to the local cruisin with the grand kids. Tims father already has a Chevelle and a Mach1 and both have WAY to much money in to be put on DD duty. So keeping this one functional and durable is priority. Now just because he wants durable and reliable doesnt mean we are leaving it stock It will be getting a baby cam and some 1-3/4 long tubes
Heres some progress pics, Its basicly the time table of the last 4 months.


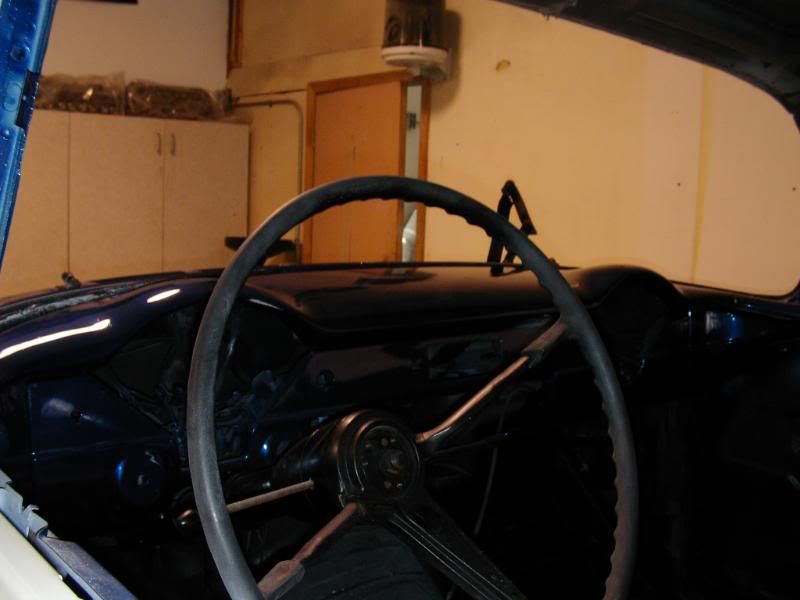
A local guy who knows Tri fives is taking point on getting the body and interior back together after it comes back from the paint shop. heres some pics from the tear down. durring this process it really started to become evident that this was an excelent find. the floor and trunk pans were in amazing shape, the front driver and pass we replaced but other than that the interior is all original. on the Exterior there was one small place on the trunk and bumper area that needed to be cut out and some filling on the driver side door post.


The goal for this car was to make it as reliable as a new vette, get great gas milage, be able to take it on a 1000 mile road trip with AC or to the local cruisin with the grand kids. Tims father already has a Chevelle and a Mach1 and both have WAY to much money in to be put on DD duty. So keeping this one functional and durable is priority. Now just because he wants durable and reliable doesnt mean we are leaving it stock
It will be getting a baby cam and some 1-3/4 long tubes Heres some progress pics, Its basicly the time table of the last 4 months.
A local guy who knows Tri fives is taking point on getting the body and interior back together after it comes back from the paint shop. heres some pics from the tear down. durring this process it really started to become evident that this was an excelent find. the floor and trunk pans were in amazing shape, the front driver and pass we replaced but other than that the interior is all original. on the Exterior there was one small place on the trunk and bumper area that needed to be cut out and some filling on the driver side door post.
Last edited by Tricked-Out-Toy; 02-16-2009 at 11:49 AM.
 02-16-2009, 11:29 AM
#2
TECH Enthusiast
Thread Starter
iTrader: (4)
Join Date: Dec 2005
Location: Nashville, TN
Posts: 612
Likes: 0
Received 0 Likes
on
0 Posts
After the tear down, everythign went to the blaster for a good stripping and primer/sealer. I really found it hard to believe that there wasnt a single ounce of body filler anywere!!! All the panels were straight as an arrow! here she is stripped and sealed.


After only about two weeks at the body shop they had all the small rough areas fixed and blocked the whole car! They said they couldnt believe how clean and straight the car was. here she is finishing up the prep work.


After only about two weeks at the body shop they had all the small rough areas fixed and blocked the whole car! They said they couldnt believe how clean and straight the car was. here she is finishing up the prep work.
02-16-2009, 11:29 AM
#3
TECH Enthusiast
Thread Starter
iTrader: (4)
Join Date: Dec 2005
Location: Nashville, TN
Posts: 612
Likes: 0
Received 0 Likes
on
0 Posts
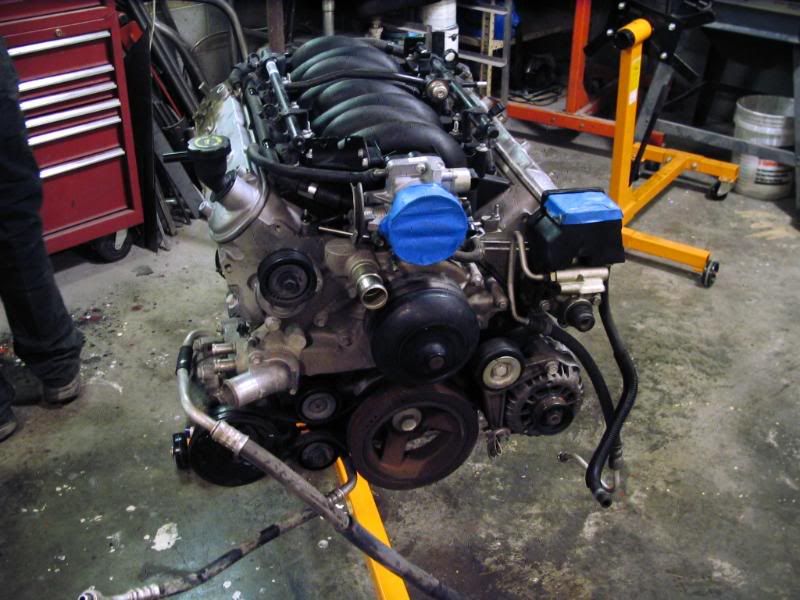
Here some pics of the LS1/4L60 we picked up and are starting the tear down to get things powder coated. The setup has 60K miles on it and is amazingly clean. It was weird working on something that was this close to factory, all our race/street cars have been apart so many times seeing this thing with all the little secure connectors and tinware that had never been apart was exciting!


02-16-2009, 11:30 AM
#4
TECH Enthusiast
Thread Starter
iTrader: (4)
Join Date: Dec 2005
Location: Nashville, TN
Posts: 612
Likes: 0
Received 0 Likes
on
0 Posts
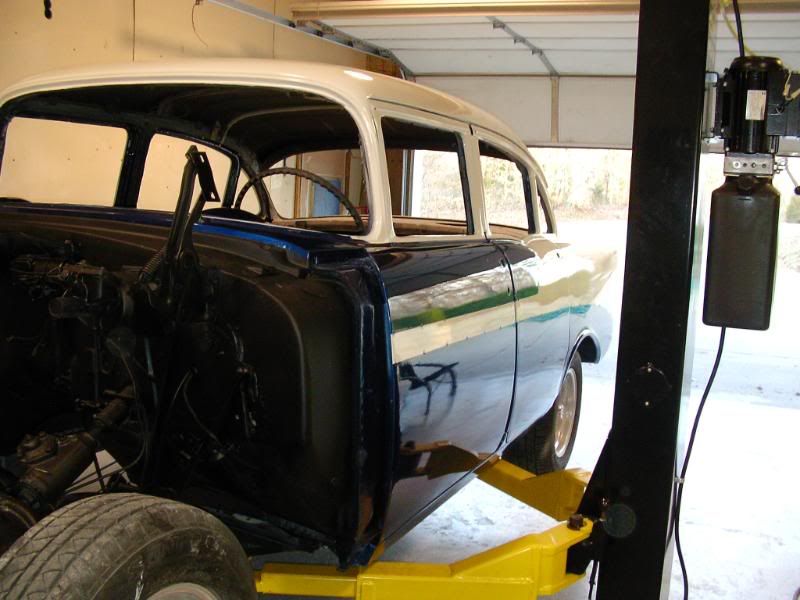
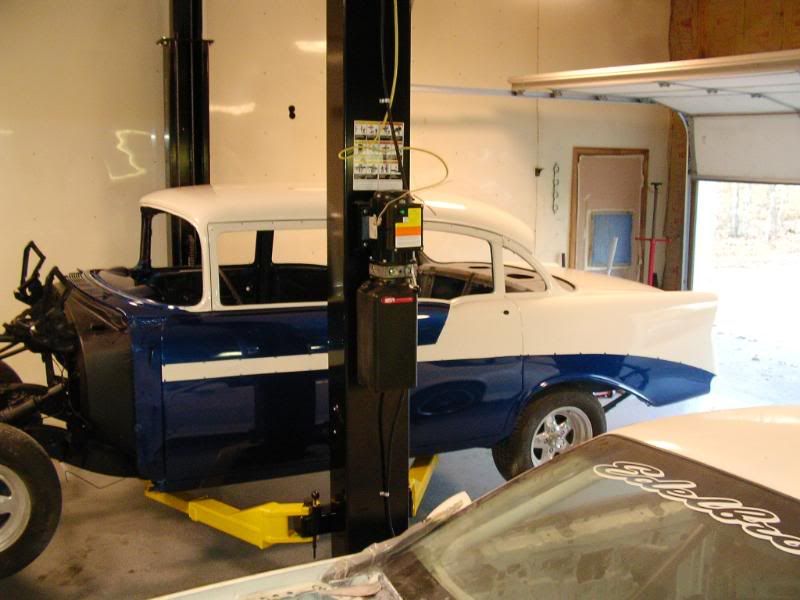
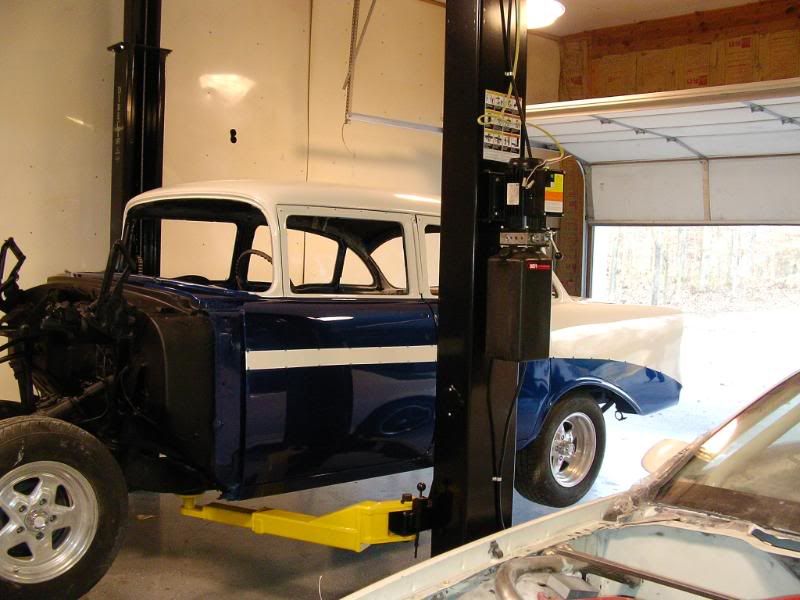
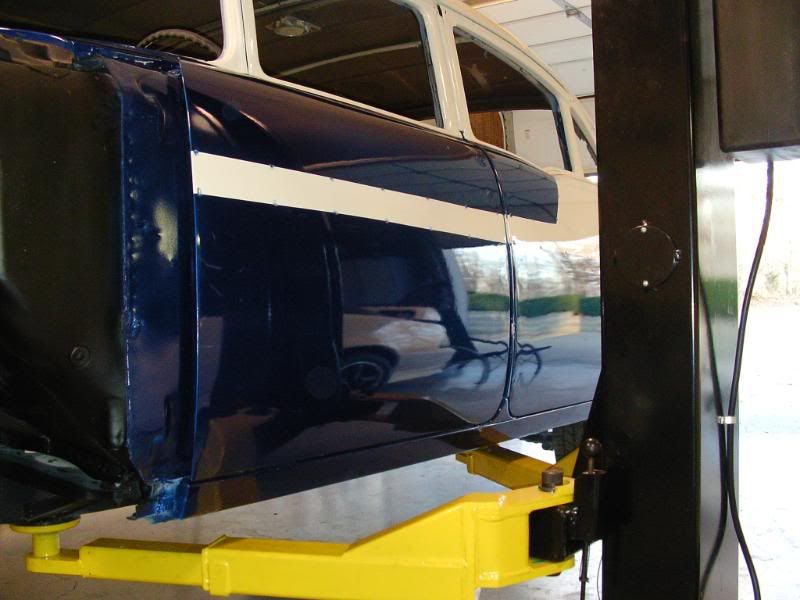
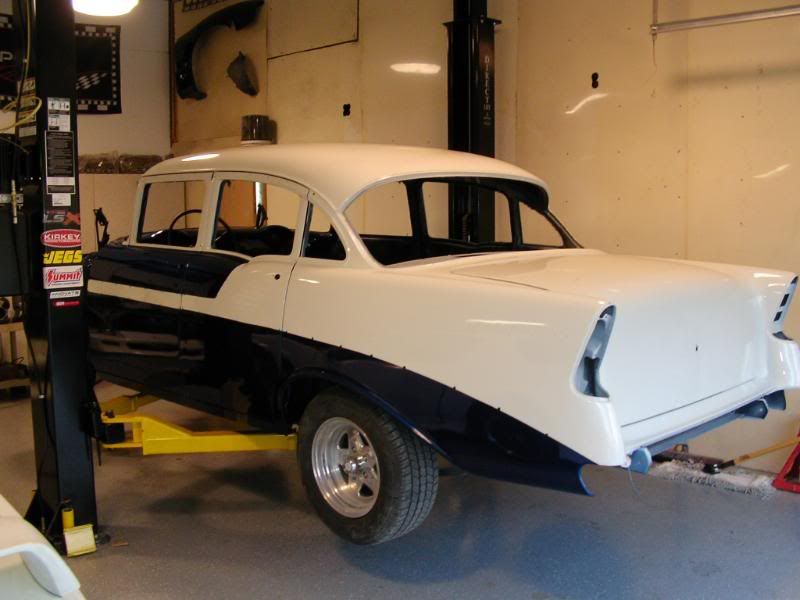
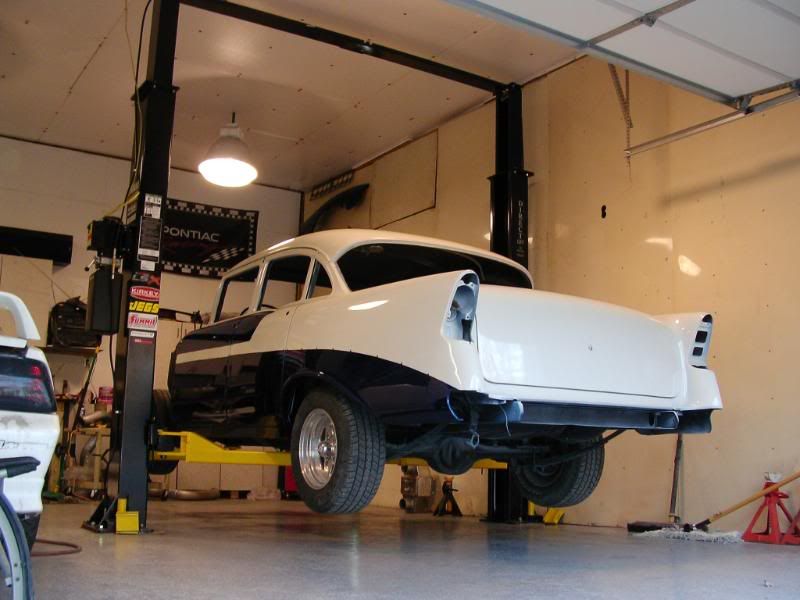
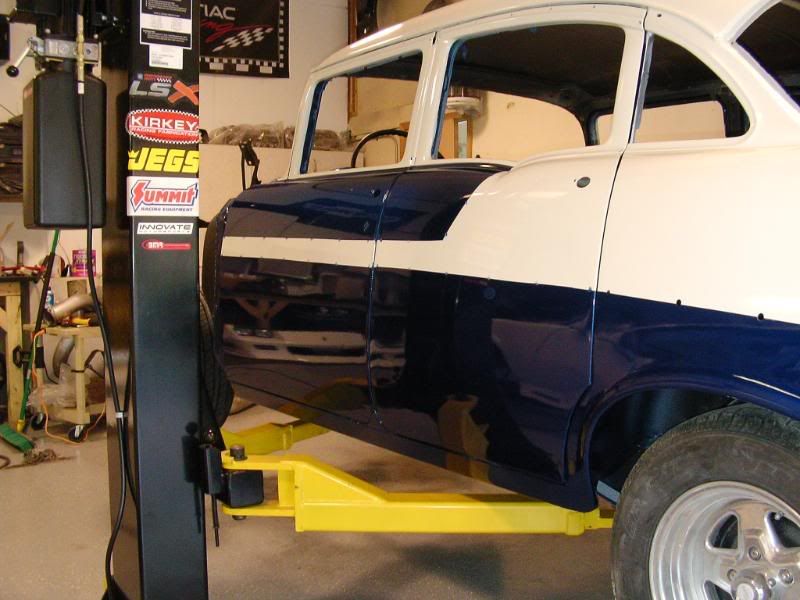
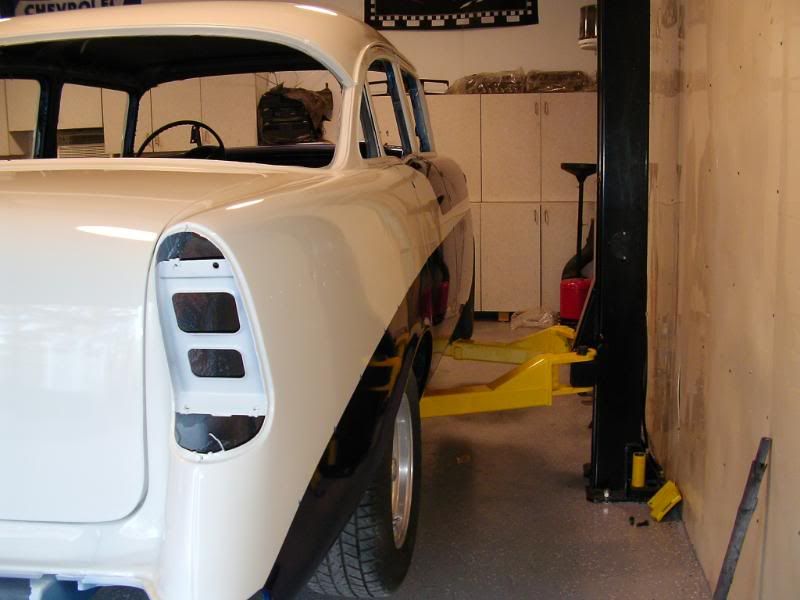
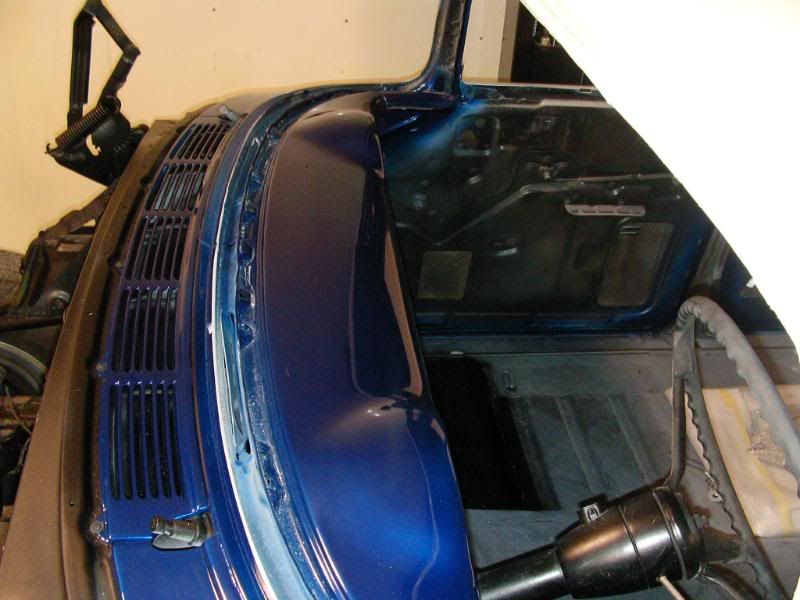
Here it is back from paint!! The Electron blue and the Ivory look AMAZING, there still needs some paint clean up/buffing/wetsanding but that will happen here while we are doing the driveline. These picture don't do the colors justice, outside in the sun the blue pops and the ivory is the perfect balance of white but not white. The white is deceiving by itself until you put something white up against it and then it becomes very clear its ivory. Overall its a pretty **** good job, I couldn't do it for the price. unassembled pics are going to have you hold you guys over

02-16-2009, 11:31 AM
#5
TECH Enthusiast
Thread Starter
iTrader: (4)
Join Date: Dec 2005
Location: Nashville, TN
Posts: 612
Likes: 0
Received 0 Likes
on
0 Posts
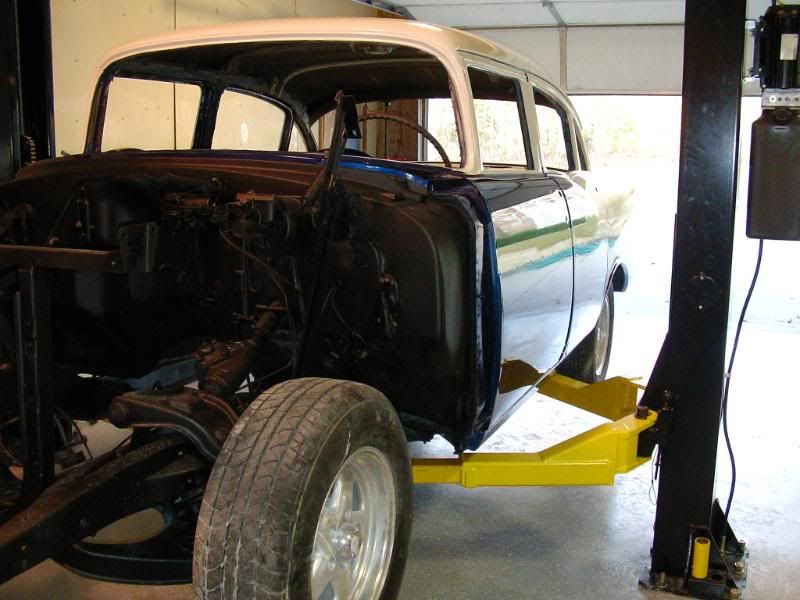
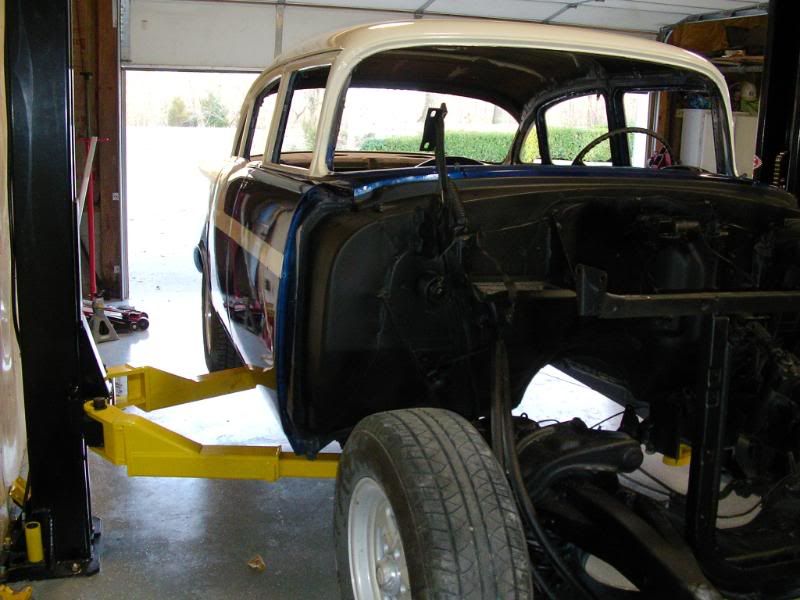
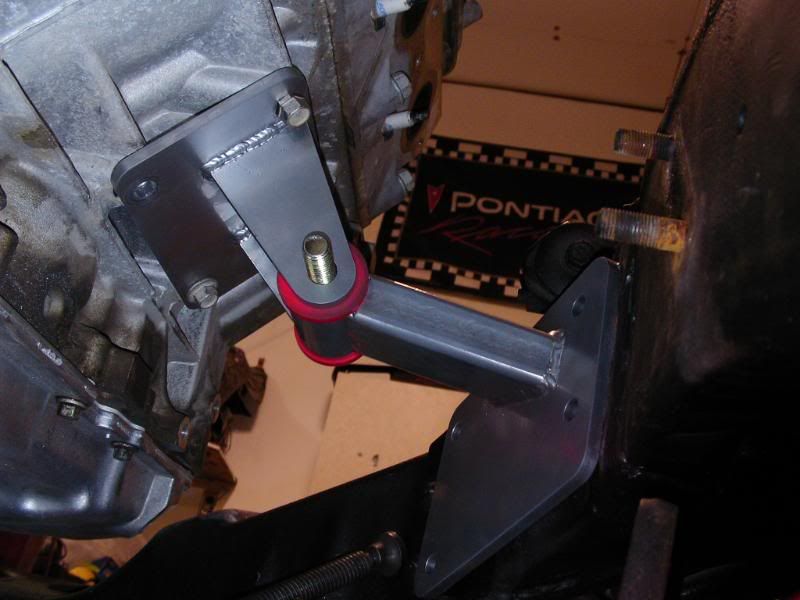
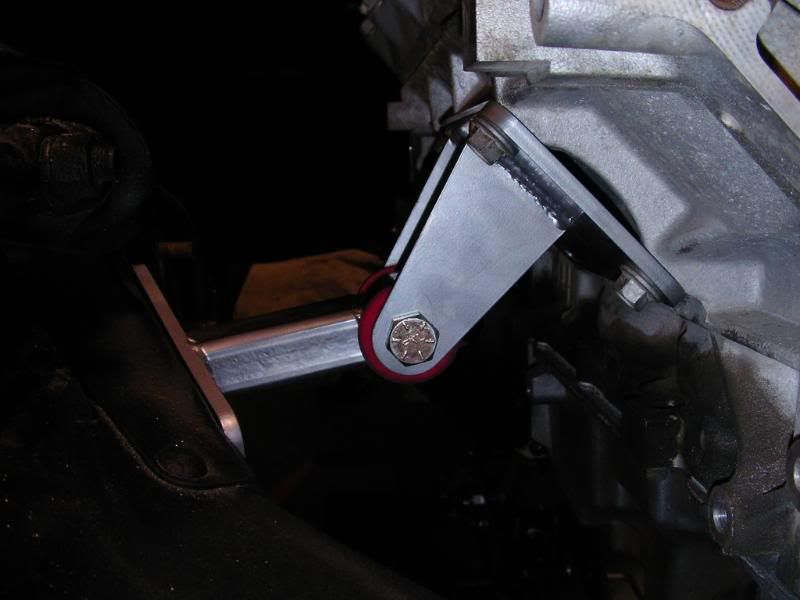
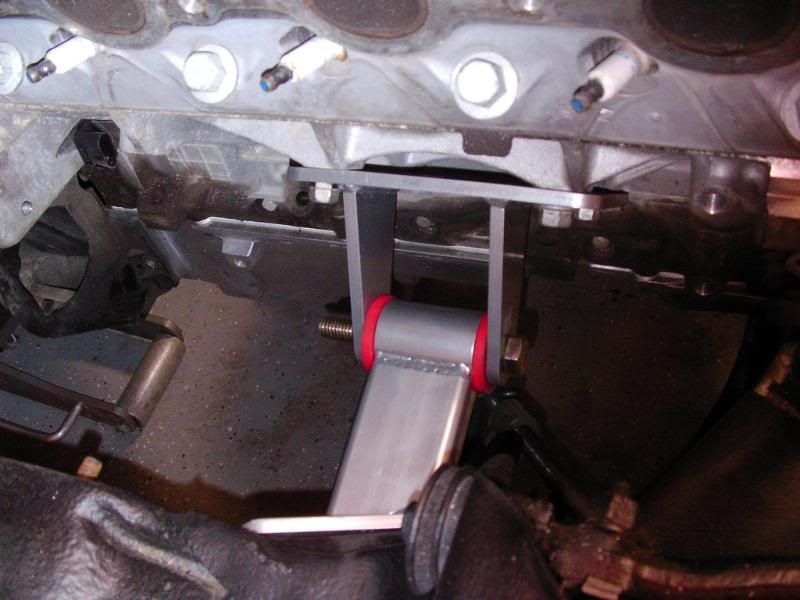
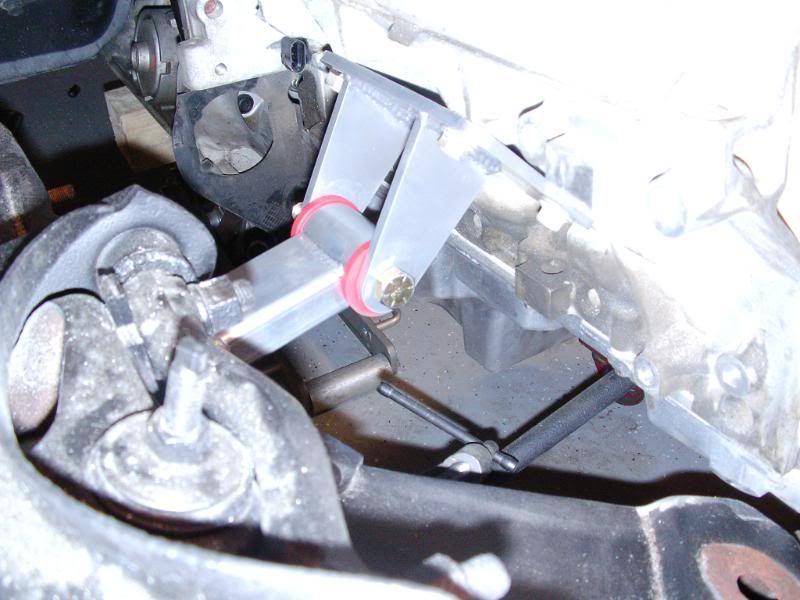
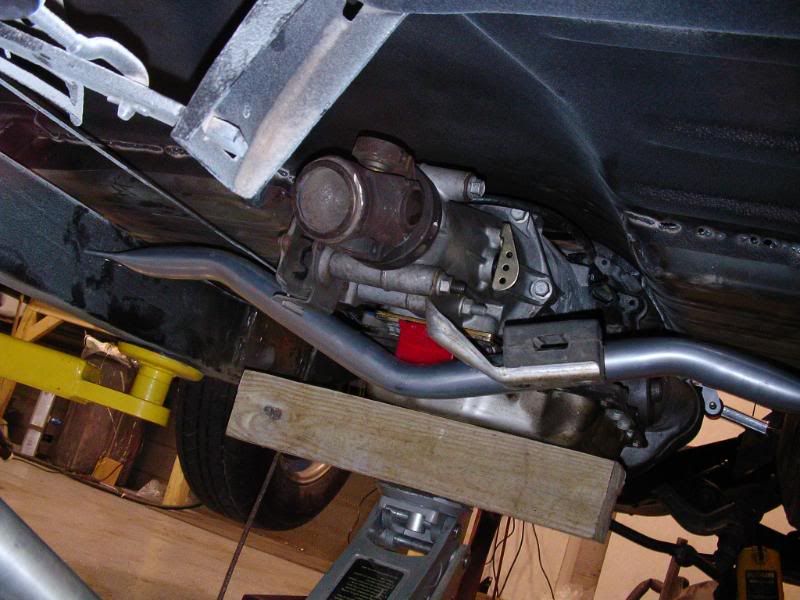
And this pretty much gets you up to were we are today. Yesterday we spent some time mocking up the Engine and ran into a couple issues the First one being that we had to flip the BRP mount that attaches to the motor upside down in order to even come close to attaching to the frame. Im still not sure if this is right or wrong, ive got to contact them tomorrow and figure that out. heres the pics of the way we have them now.
PASS SIDE
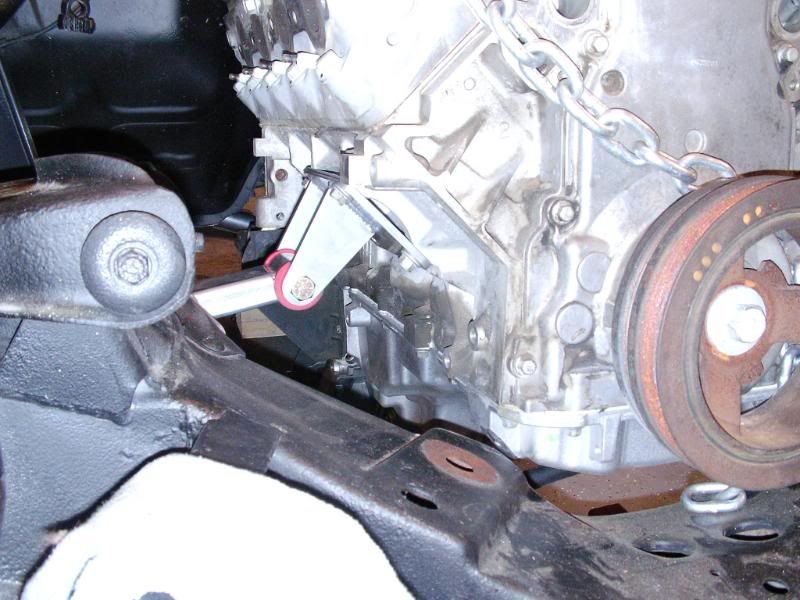
DRIVER SIDE
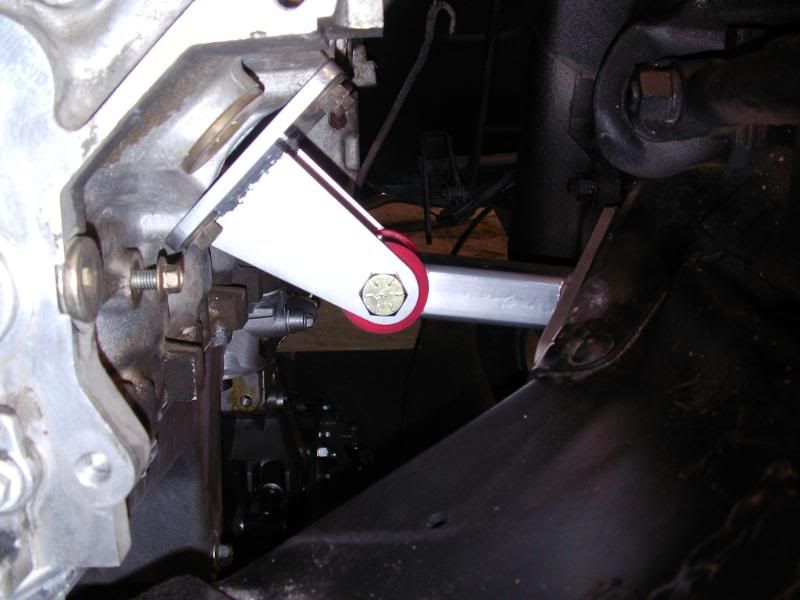
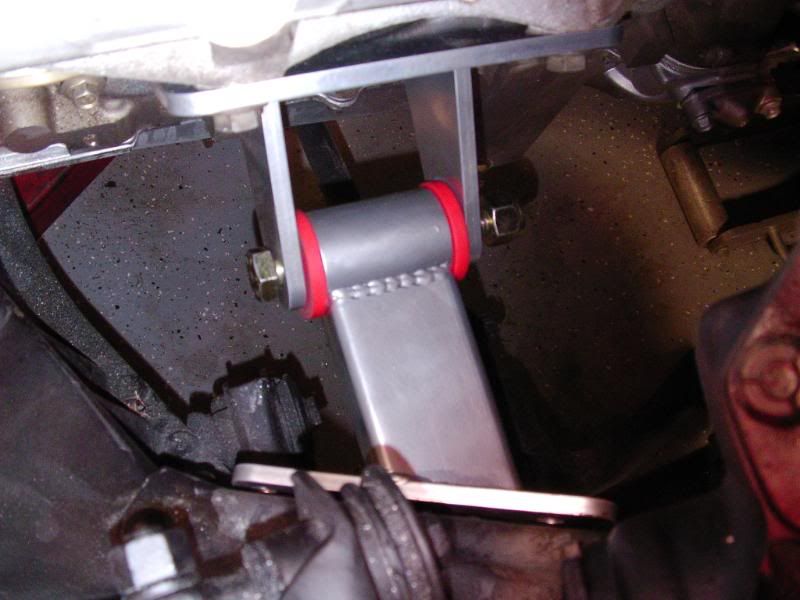
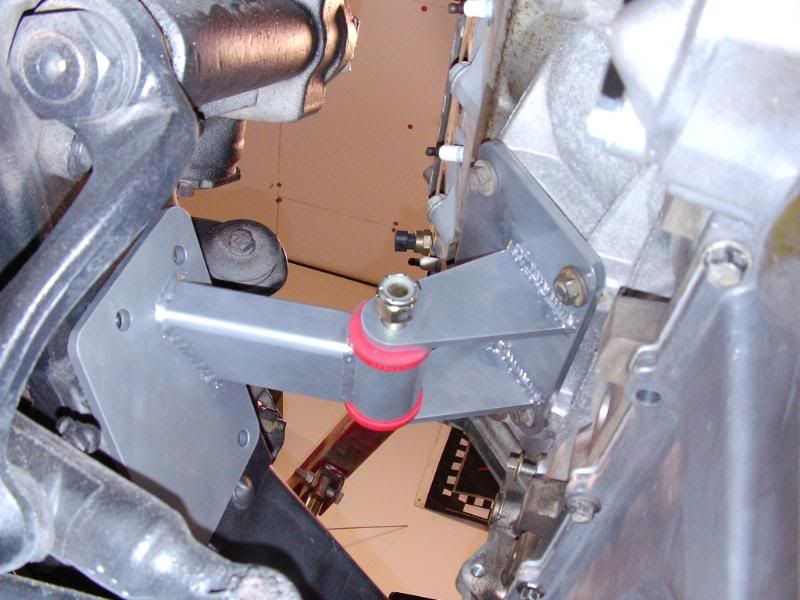
TRANNY
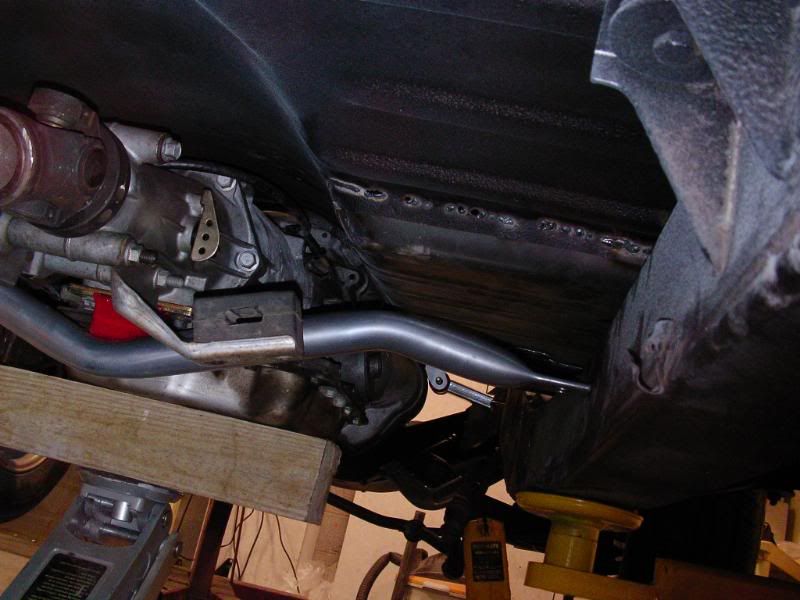
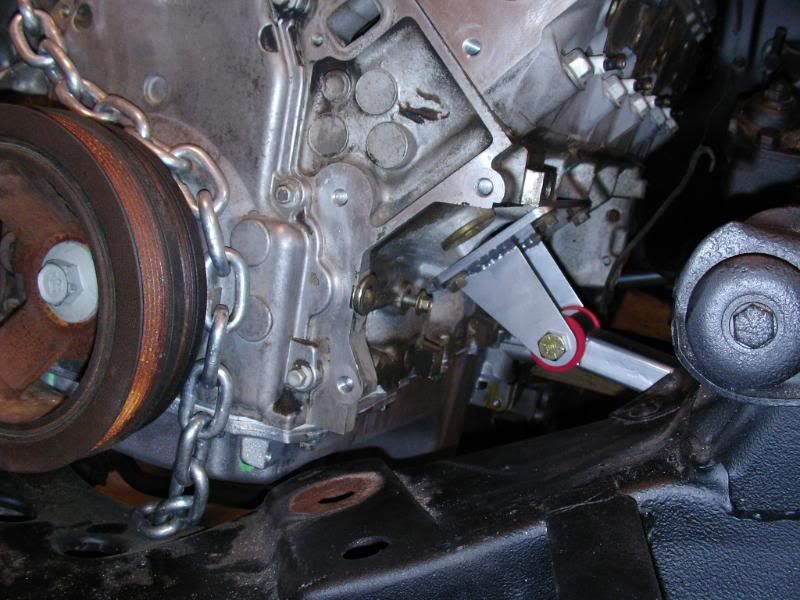
ANGLE/FRONT CLEARANCE/LEVEL
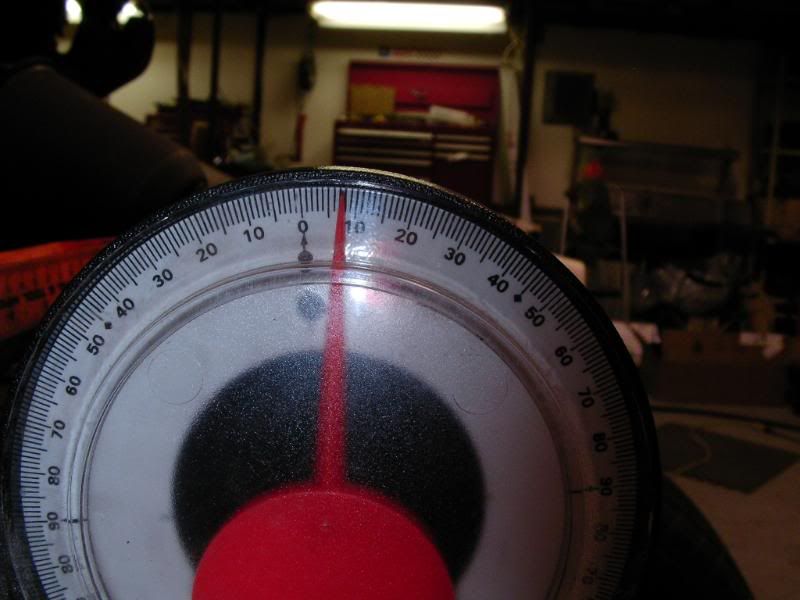
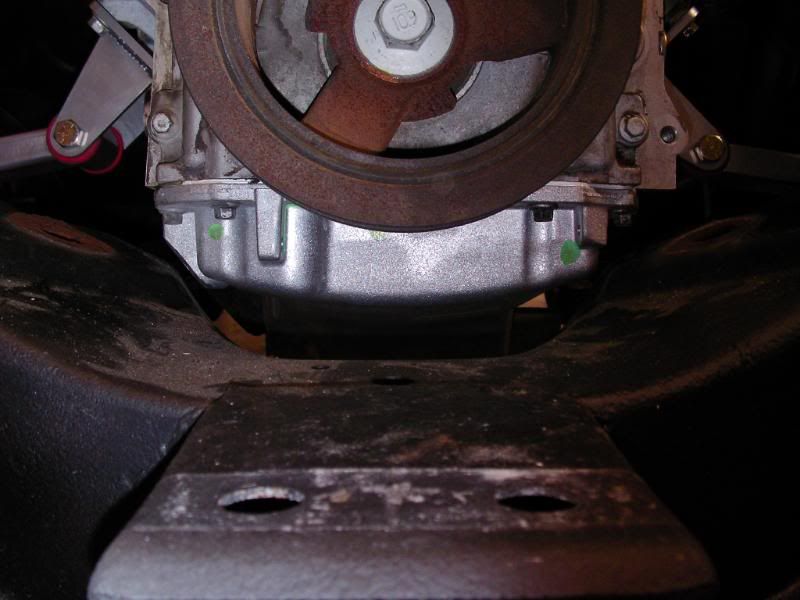
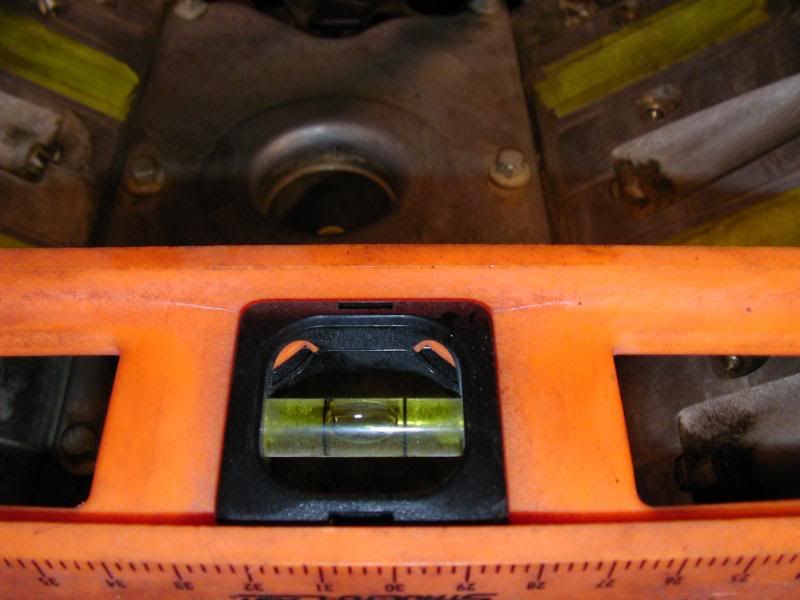
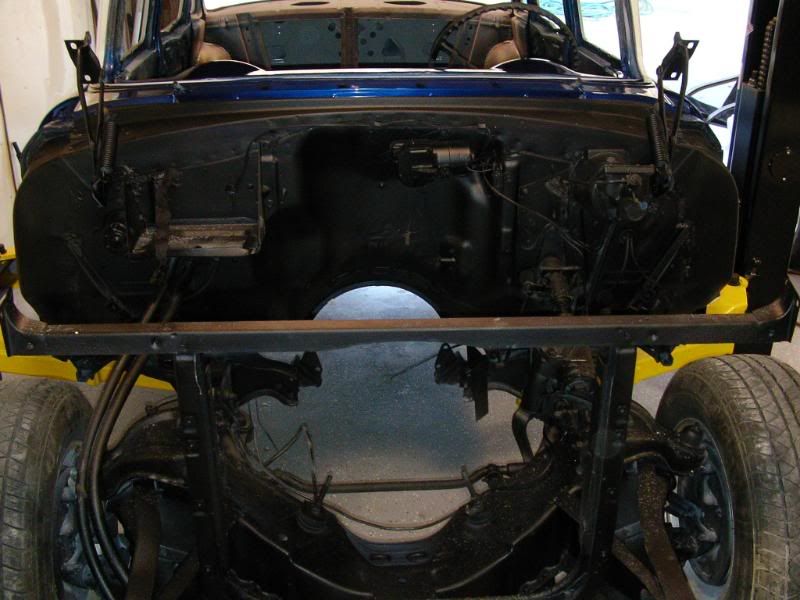
Basicly we need to figure out how to get back down to 4 degrees, stay off the the frame with the oil pan and get the motor mount holes drilled and weld nuts installed....
PASS SIDE
DRIVER SIDE
TRANNY
ANGLE/FRONT CLEARANCE/LEVEL
Basicly we need to figure out how to get back down to 4 degrees, stay off the the frame with the oil pan and get the motor mount holes drilled and weld nuts installed....
Trending Topics
02-17-2009, 12:15 AM
#9
For Headers,we bought the cusomt headers from BRP. The same company that sells the motor mount kit. Just wanted to be sure everything would work well together. Need to decide on a power rack setup. I hear Flaming river is the way to go?
02-17-2009, 10:25 AM
#10
12 Second Club
iTrader: (4)

Join Date: Oct 2005
Location: chicago
Posts: 83
Likes: 0
Received 0 Likes
on
0 Posts
Is the oil pan OK on how low it is ? I just bought a 56 210 sports coupe and a 99 ls1 with a t56. I havent started my swap , so i will be watching and learning from yours. Good luck on the swap.
02-17-2009, 10:28 AM
#11
TECH Enthusiast
Thread Starter
iTrader: (4)
Join Date: Dec 2005
Location: Nashville, TN
Posts: 612
Likes: 0
Received 0 Likes
on
0 Posts
ya the only thing that MIGHT be a little lower is the extruded part where the drain plug goes. other than that its really no lower than the frame. Plus you get to keep the steering in the stock location if you chose. It really is the best option for clearance.
EDIT: You will have to cut off a little tab on the front pass side of the pan, it takes a minute to do and doesnt affect the pan at all.
EDIT: You will have to cut off a little tab on the front pass side of the pan, it takes a minute to do and doesnt affect the pan at all.
02-17-2009, 12:58 PM
#12
FormerVendor
iTrader: (3)

Join Date: Jan 2003
Location: Cumming, GA
Posts: 240
Likes: 0
Received 0 Likes
on
0 Posts


Here are some clearance shots with the kit in our 57 with the LT hedders being mocked up with the 2in primaries. The drivers side is still under construction.
Also check out
www.RetroLSX.com It�s a new forum dedicated to LSX conversions only.
Thanks Shawn


