
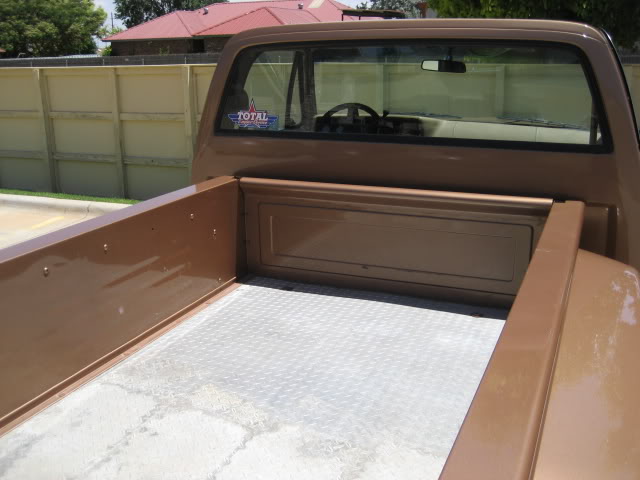
79 C10 5.3/TH400/12Bolt Completed Pictures
 06-13-2010, 03:13 PM
#1
Launching!
Thread Starter
iTrader: (17)
Join Date: Feb 2006
Location: Somewhere, TX
Posts: 245
Likes: 0
Received 0 Likes
on
0 Posts
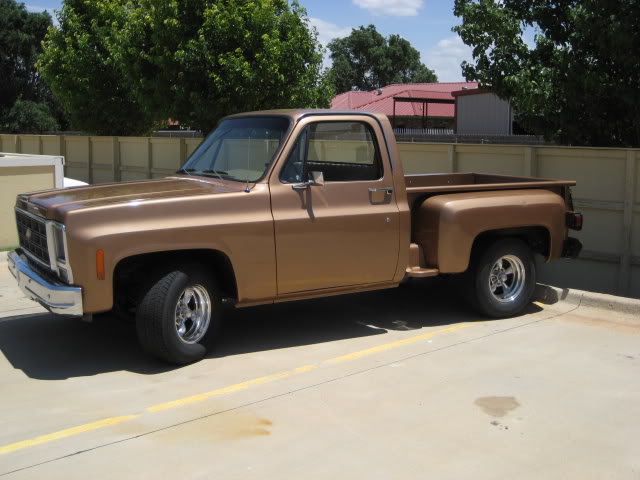
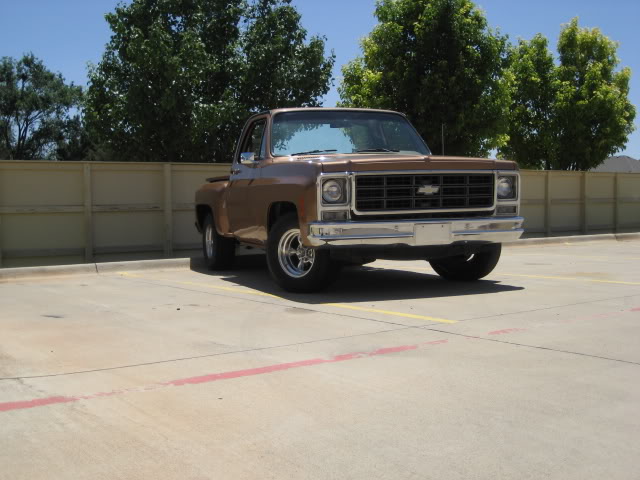
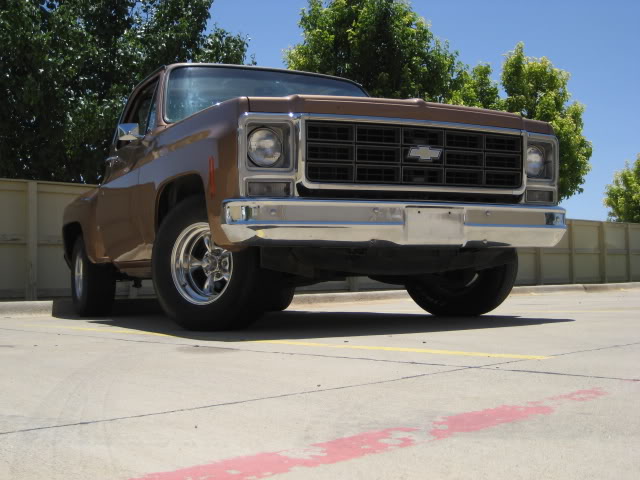
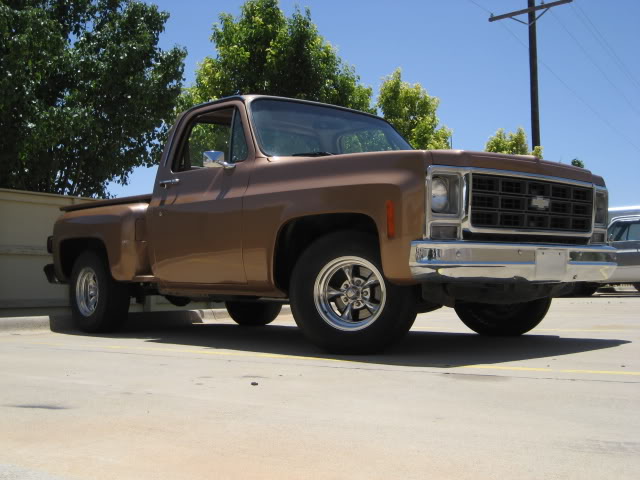
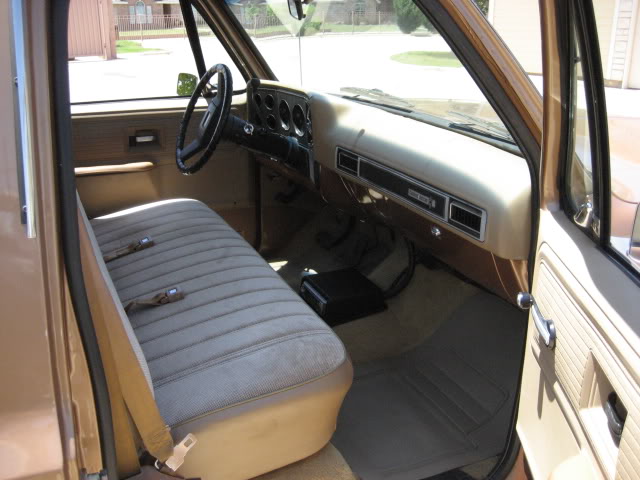
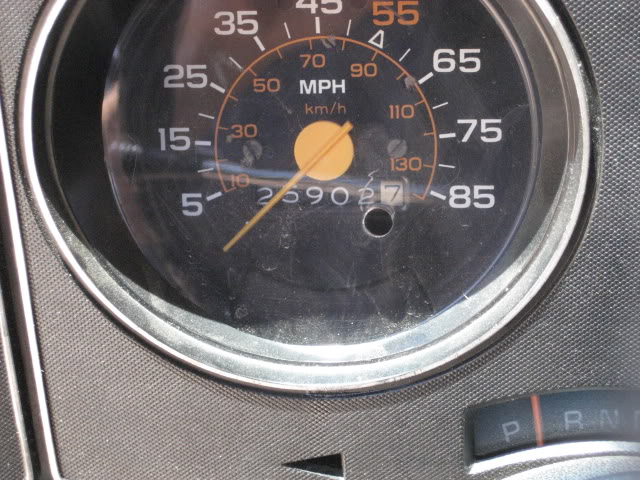
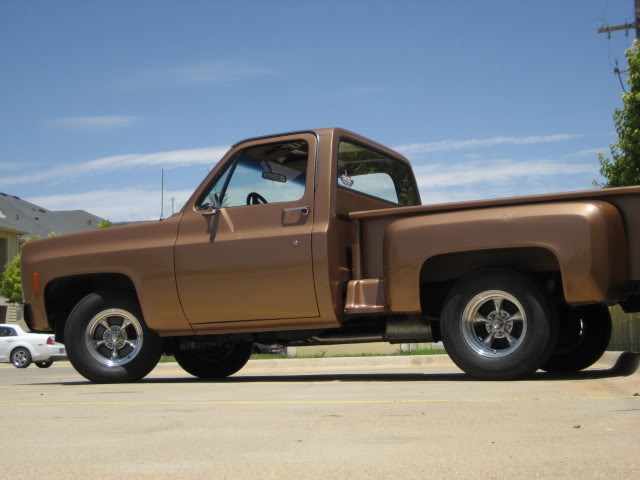
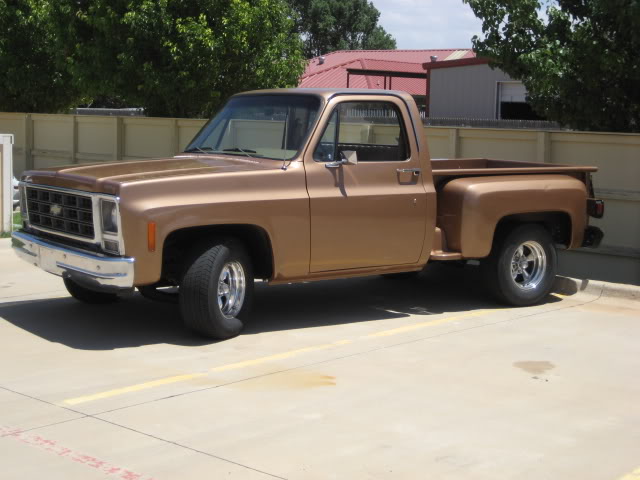
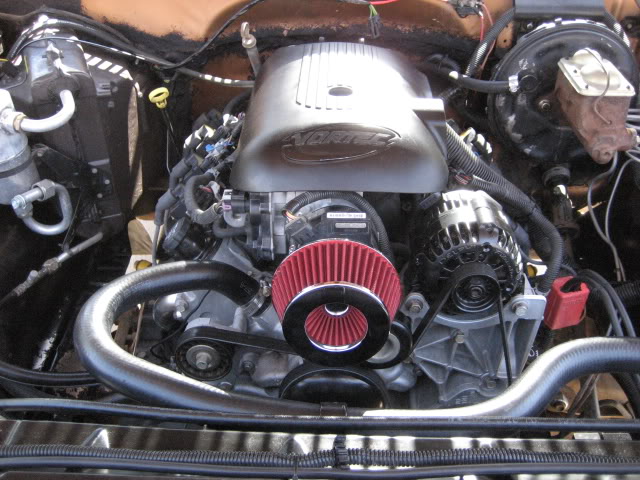
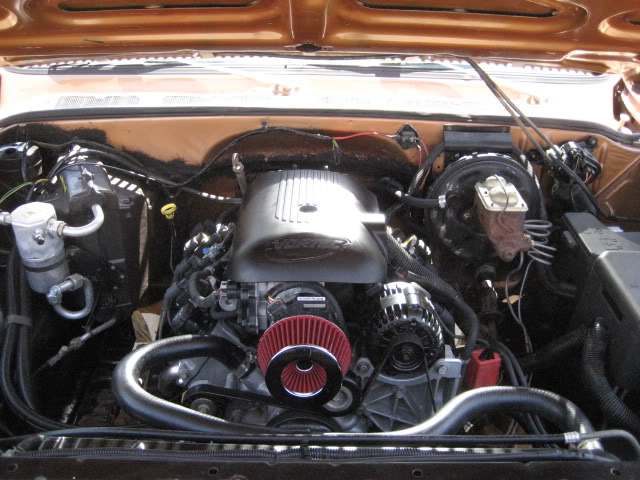
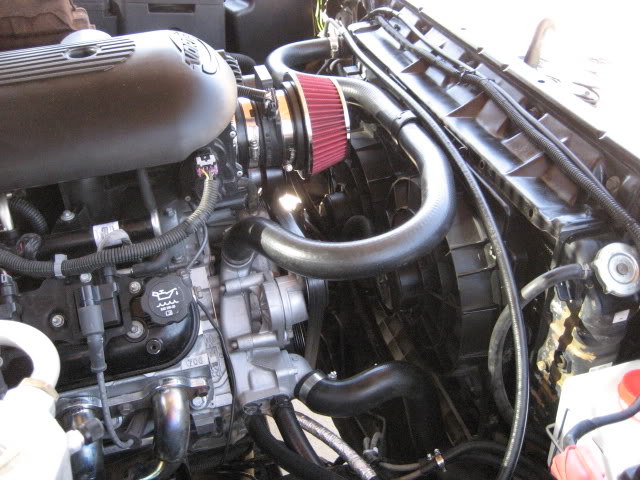
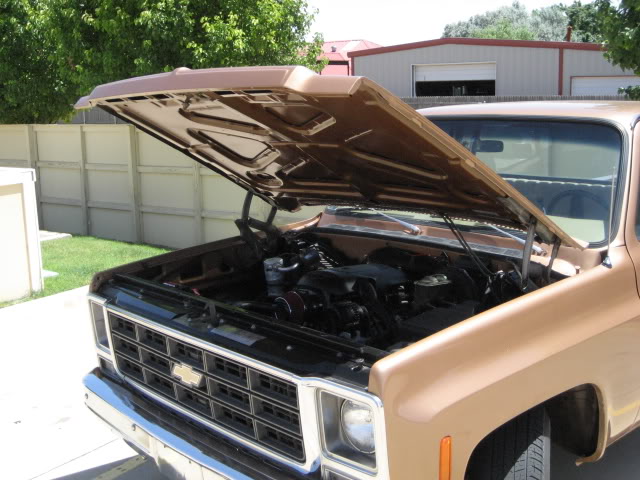
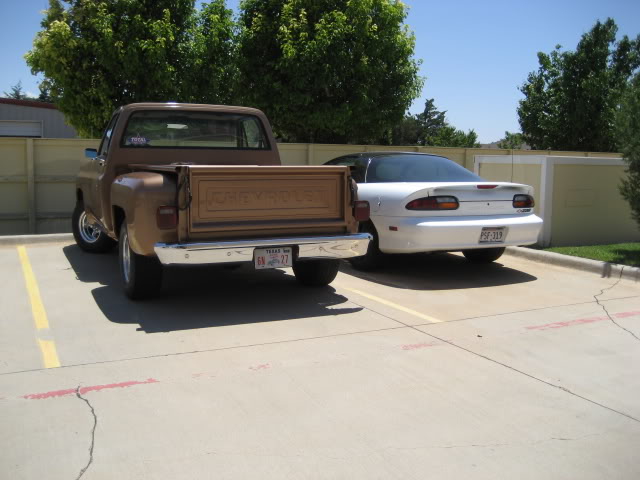
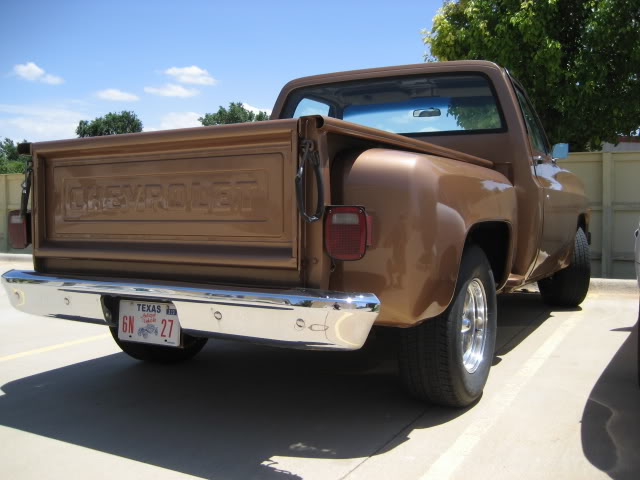
This truck used to belong to my great uncle, passed then to my granddad, now passed to me... Its a 1979 and had 25000 original miles on the inline 250before the swap. I have now swapped in a 5.3, along with a harness and computer from a 2004. The truck came factory with a TH400 and 12bolt rear, which I have decided to keep in the truck. I was so excited to do the swap, I didnt take pitcutes of the build (upset with myself) but I have completed pictures for everyone who is interested! Thanks to ls1tech, performance trucks, and a few other sites, I was able to complete this swap in about two and a half weeks at a very slow pace!
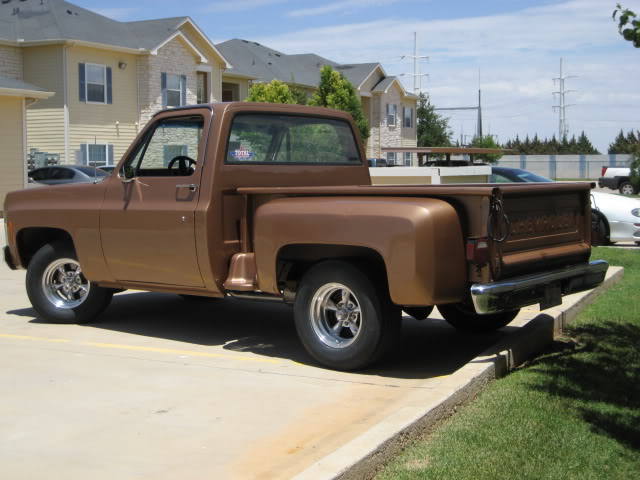
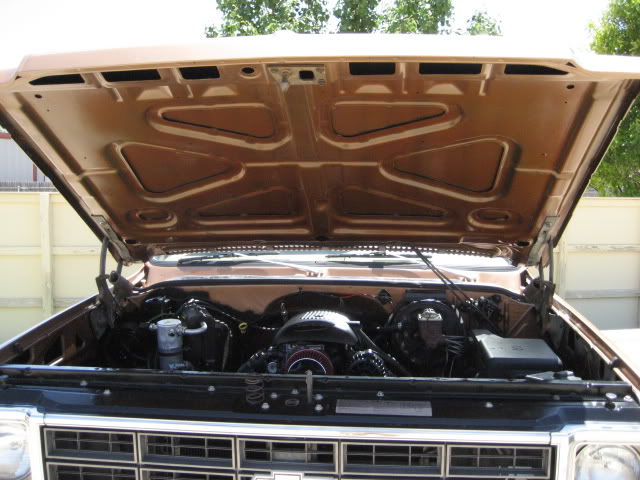
I still have a little clean up and detailing to do, and also finish the a/c system, but for now the hard part is complete!
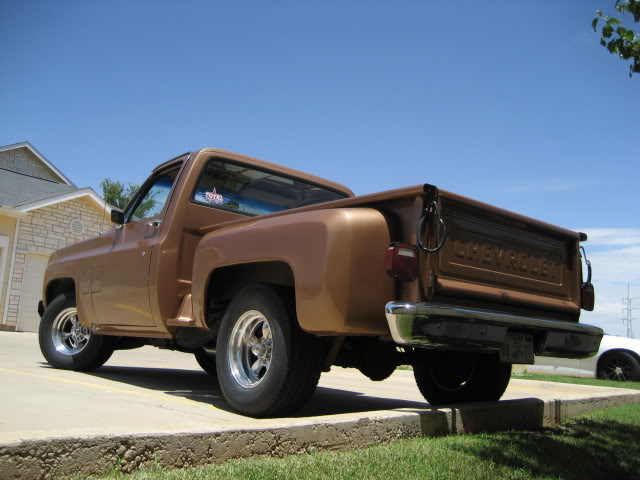
Anyway, please enjoy!
Also, for other swappers, if you have any questions or want pictures of the way i setup my fuel system, wiring, etc, please feel free to ask!


I still have a little clean up and detailing to do, and also finish the a/c system, but for now the hard part is complete!
Anyway, please enjoy!
Also, for other swappers, if you have any questions or want pictures of the way i setup my fuel system, wiring, etc, please feel free to ask!
Last edited by wzup1000; 06-13-2010 at 04:14 PM.


 06-13-2010, 04:09 PM
#4
Launching!
Thread Starter
iTrader: (17)
Join Date: Feb 2006
Location: Somewhere, TX
Posts: 245
Likes: 0
Received 0 Likes
on
0 Posts
Thanks!
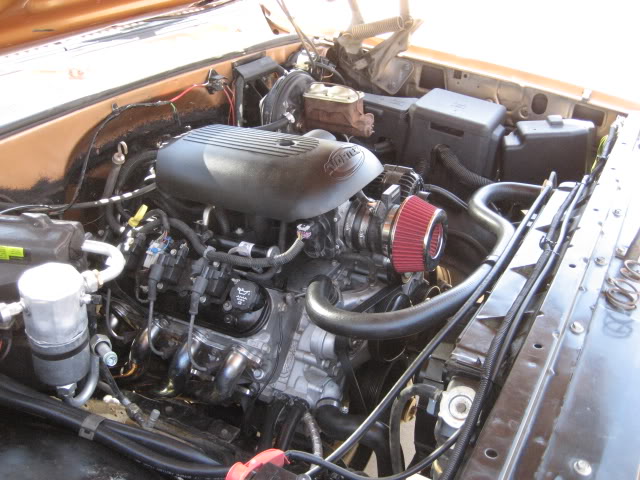
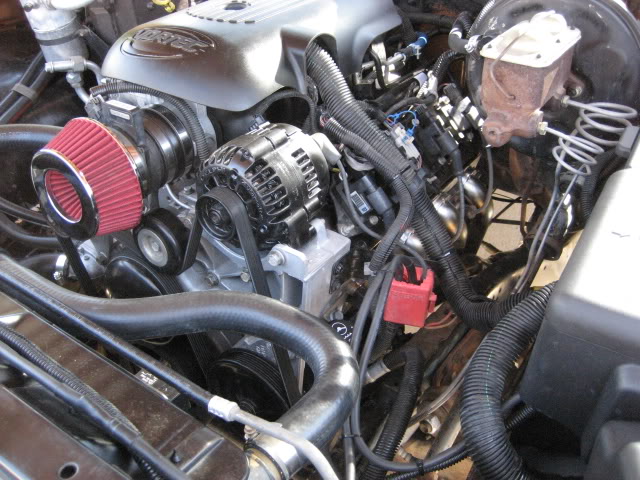
As far as the wiring, I used a factory truck harness and computer, really easy hookup. It took maybe a few hours to get the harness in and wired up to the starter, power, ignition, and fuel pump. basically I was pretty scared too, but I thought if I jump in it ill force myself to get it done. Turns out easier that I thought.
As far as the wiring, I used a factory truck harness and computer, really easy hookup. It took maybe a few hours to get the harness in and wired up to the starter, power, ignition, and fuel pump. basically I was pretty scared too, but I thought if I jump in it ill force myself to get it done. Turns out easier that I thought.

Trending Topics
06-13-2010, 08:49 PM
#8
wzup1000 i like the swap. i like the way u used the factory harness. simple but effective. since my swap, i learned so much that i could do another swap in my sleep. you may want fresh air for your engine. ur current set up may loose hp/torque with hot air. here is an idea. spectre tubing from napa. these pics r old before shor'dee went to the paint shop. like i said before nice job. i am certainly impressed.
06-13-2010, 09:41 PM
#9
Launching!
Thread Starter
iTrader: (17)
Join Date: Feb 2006
Location: Somewhere, TX
Posts: 245
Likes: 0
Received 0 Likes
on
0 Posts
wzup1000 i like the swap. i like the way u used the factory harness. simple but effective. since my swap, i learned so much that i could do another swap in my sleep. you may want fresh air for your engine. ur current set up may loose hp/torque with hot air. here is an idea. spectre tubing from napa. these pics r old before shor'dee went to the paint shop. like i said before nice job. i am certainly impressed.
But I do like your a/c setup dec010974, im just gonna try and use factory style parts. to keep cost down a little.. I have also been trying to decide what to do about the iat temps as they get up to 130+ degress on extremely hot days, so thanks for the idea on how to solve that issue, yours looks damn good!
 06-14-2010, 04:56 PM
#14
Launching!
Thread Starter
iTrader: (17)
Join Date: Feb 2006
Location: Somewhere, TX
Posts: 245
Likes: 0
Received 0 Likes
on
0 Posts
I used motor mount adapters from SDPC ($65), they are nice billet pieces, you get to reuse your saddles and motormounts...(i used new mounts tho, $15 for both brand new)
 06-14-2010, 09:17 PM
#17

wzup1000 nice truck.
Do you have the number for those adapters. I'm doing the swap in a 66 chevy C10, I bought the adapters from Trans Dapt Performance Products through SummitRacing, I was trying to install them today and the holes on the adapter plate do not line up with the block, I was able to line up three holes but the fourth one is off. Did you had any issues with your adapters
Thanks
06-15-2010, 07:33 AM
#18
Launching!
Thread Starter
iTrader: (17)
Join Date: Feb 2006
Location: Somewhere, TX
Posts: 245
Likes: 0
Received 0 Likes
on
0 Posts
800-456-0211 ext 358 He is an awsome guy and can give you alot of info as he has completed a swap of his own...
wzup1000 nice truck.
Do you have the number for those adapters. I'm doing the swap in a 66 chevy C10, I bought the adapters from Trans Dapt Performance Products through SummitRacing, I was trying to install them today and the holes on the adapter plate do not line up with the block, I was able to line up three holes but the fourth one is off. Did you had any issues with your adapters
Do you have the number for those adapters. I'm doing the swap in a 66 chevy C10, I bought the adapters from Trans Dapt Performance Products through SummitRacing, I was trying to install them today and the holes on the adapter plate do not line up with the block, I was able to line up three holes but the fourth one is off. Did you had any issues with your adapters
06-15-2010, 07:44 AM
#19
Launching!
Thread Starter
iTrader: (17)
Join Date: Feb 2006
Location: Somewhere, TX
Posts: 245
Likes: 0
Received 0 Likes
on
0 Posts
Also, I wanted to add a tip for those using the motor mount adapters, I found it alot easier to notch/ elongate the bolt holes inwards about 1/2" - 3/4" on the saddles for the for ease of installation...This did become a small problem on my install because I was able to get one side to line up, yet the other side was about an inch or more away from the hole on the motor mount. Please excuse my description, as it probably isnt really clear, but I will make up for it with pictures by this afternoon.
