
2010 LS3 and TR6060 in a 68 Camaro
 08-30-2012, 01:41 PM
#61
Staging Lane
Thread Starter

Join Date: Aug 2011
Posts: 57
Likes: 0
Received 0 Likes
on
0 Posts
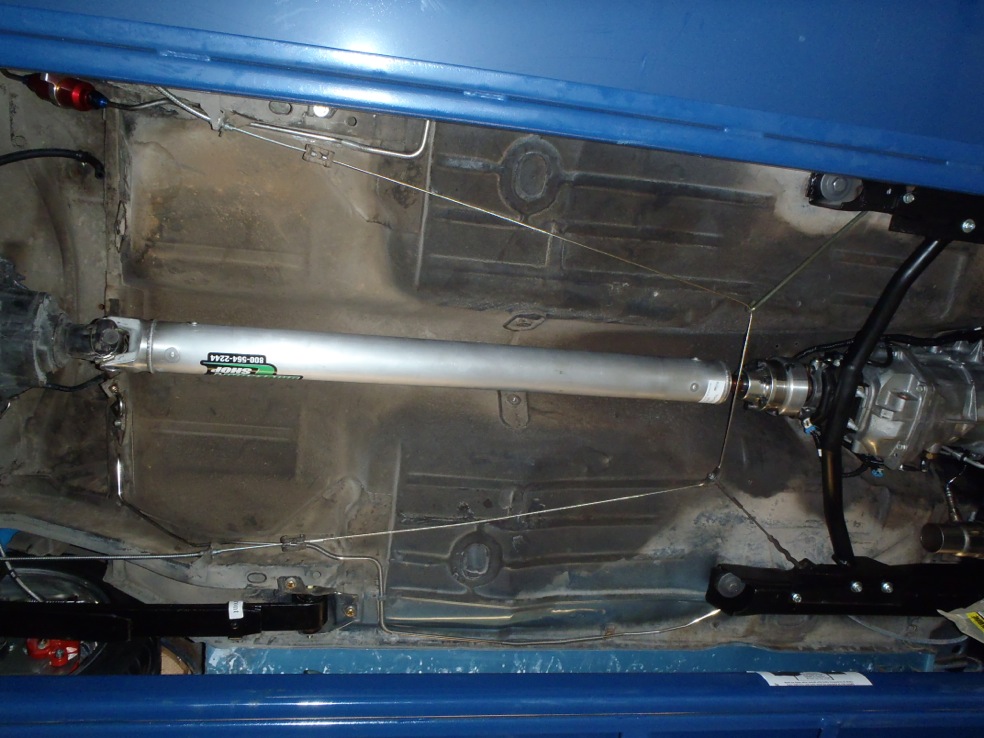
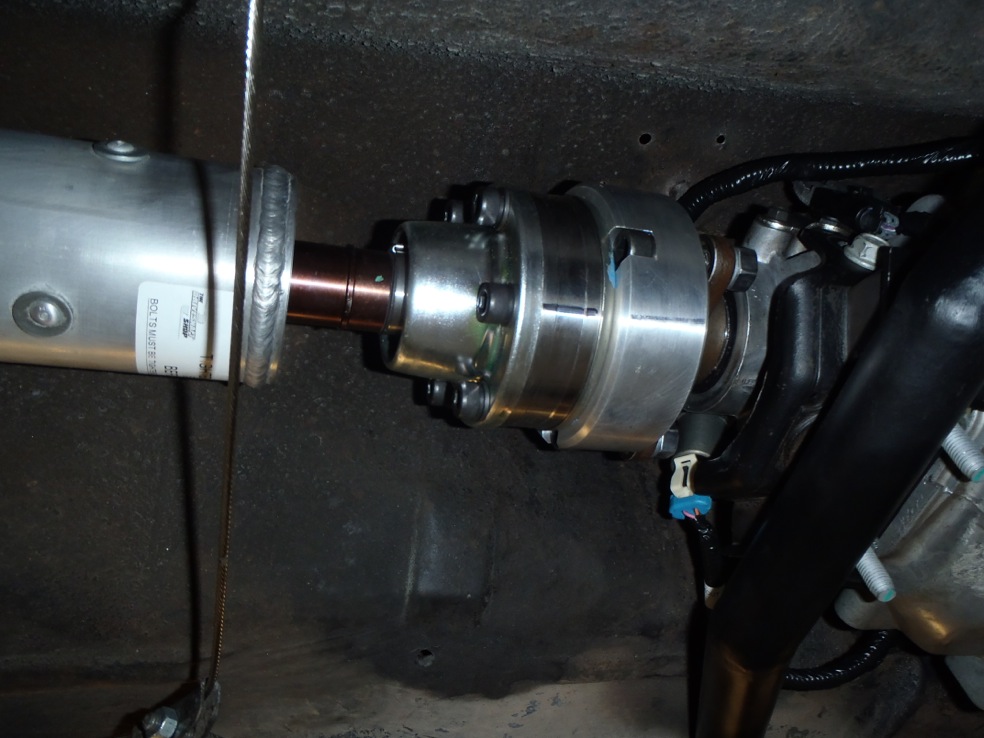
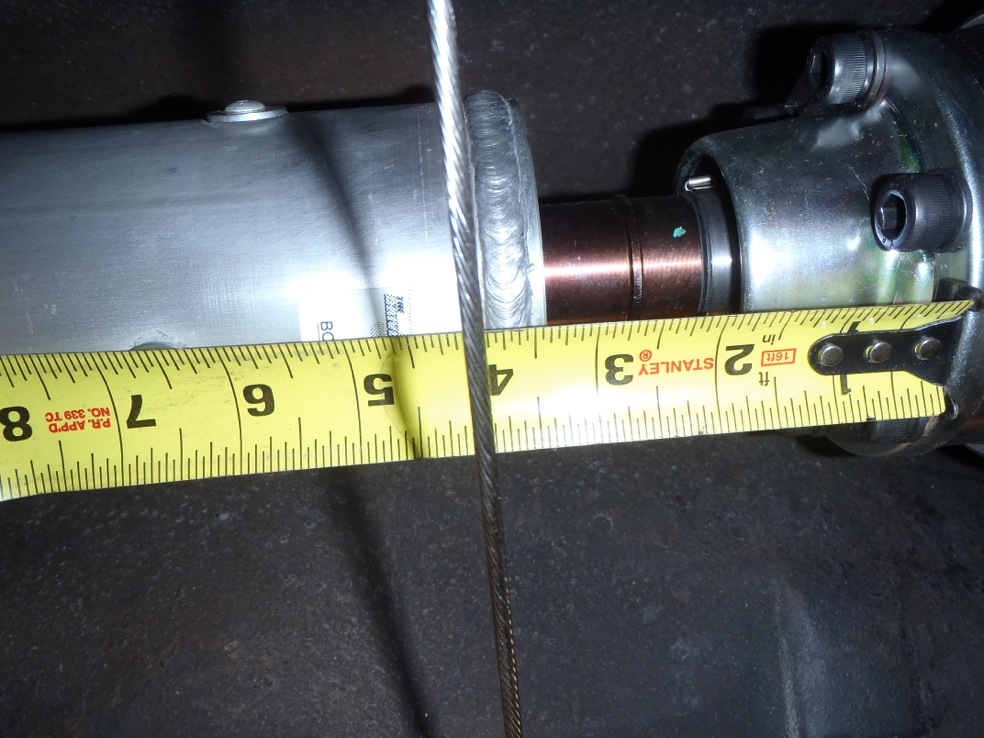
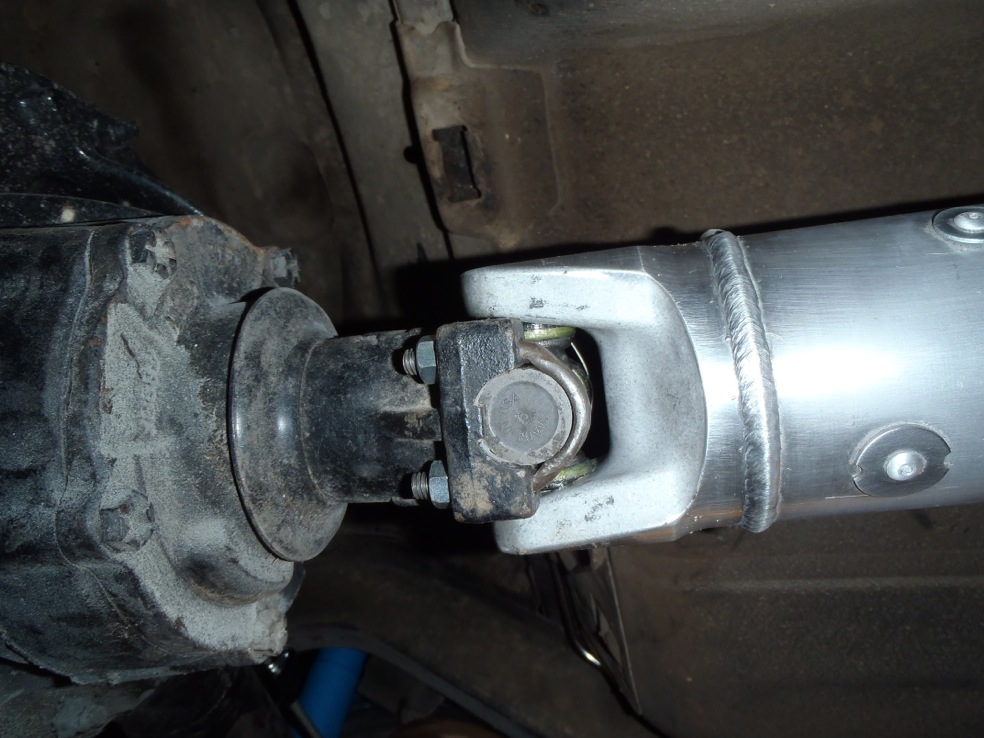
The driveshaft showed up last week. Even though I'm not with the car right now, my dad went ahead and put it on for me to make sure it's right. I wanted to make sure it fits so I'm not twiddling my thumbs the next time I'm out there waiting for a driveshaft.
It fits perfectly and is a pretty sweet unit from what he said and the pictures he took.
It fits perfectly and is a pretty sweet unit from what he said and the pictures he took.
 12-02-2012, 09:32 AM
#62
Staging Lane

Join Date: Mar 2011
Location: allen, tx
Posts: 76
Likes: 0
Received 0 Likes
on
0 Posts
12-02-2012, 09:52 AM
#63
Staging Lane
Thread Starter
Join Date: Aug 2011
Posts: 57
Likes: 0
Received 0 Likes
on
0 Posts

 02-25-2013, 11:27 AM
#68
On The Tree
iTrader: (1)

Join Date: Jan 2008
Location: Jennings LA
Posts: 135
Likes: 0
Received 0 Likes
on
0 Posts
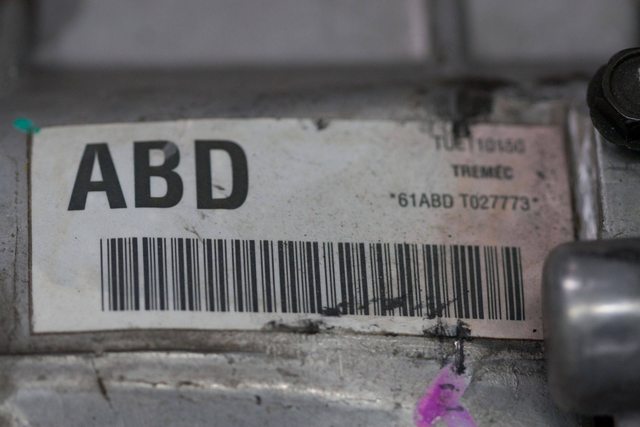
nice looking project, I am doing one similar in a 68 except with 2013 ZL1 motor, I need to modify my trans from CTSV, is there ayway you coud get me the tag number on your transmission? thanks
 02-25-2013, 07:07 PM
#70
On The Tree
iTrader: (1)
Join Date: Jan 2008
Location: Jennings LA
Posts: 135
Likes: 0
Received 0 Likes
on
0 Posts
yes I believe that is it, you are a life saver. the dealer can not find the part I need to modify the CTSV trans. the part I need is the piece under the remote shifter
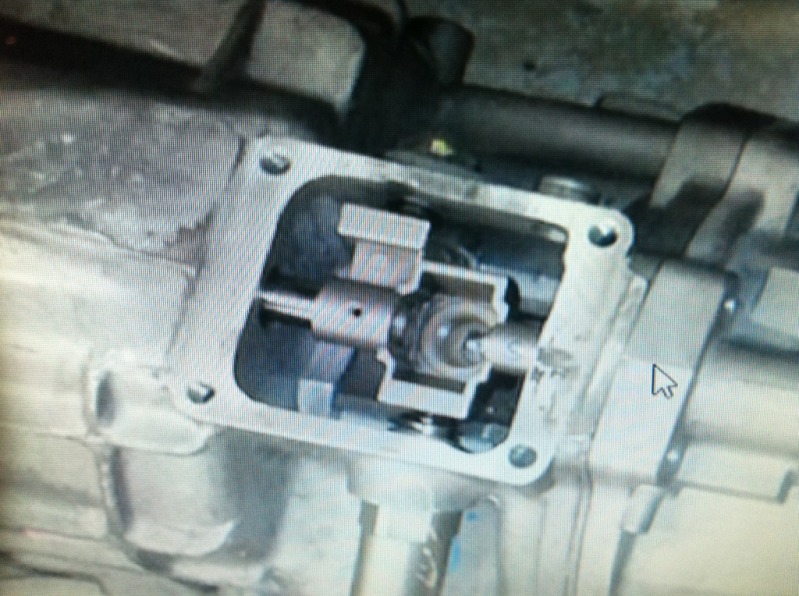
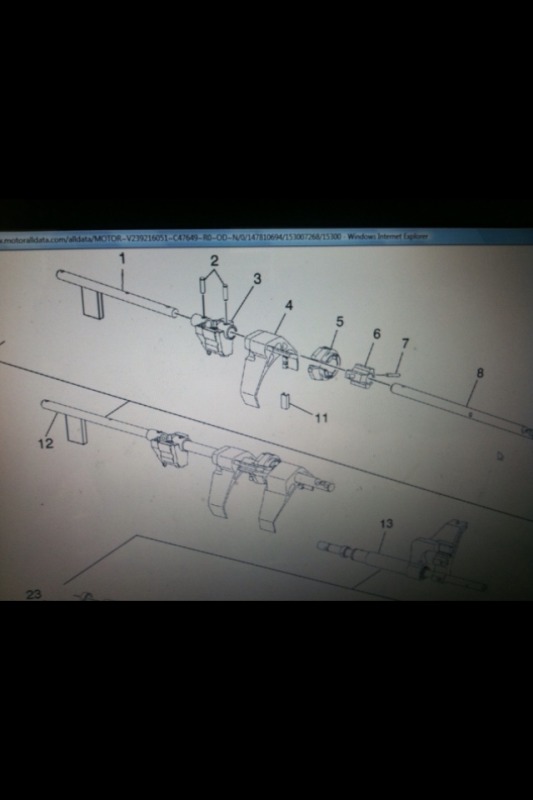
number 3 in my all data parts explosion of the 2010 Camaro trans, (the part does not show up on the chevy parts screen for some reason.
they said maybe they could find it with a transmission tag number, I called mecleod racing and ordered the same shifter you have. the supercharged LS2 from the CTSV/ ZL1 is a 8 bolt crankshaft with a factory dual clutch setup but the shifter is way to far back.
hopefully with the Camaro shift rails and parts I can convert it.
thanks again.
03-07-2013, 11:53 AM
#71
Thanks for the info on the core shifters. I wasn't sure if there was going to be a way to put my T56 shifter in the right place on my 68. Core has parts that might do the trick.
04-15-2013, 11:36 PM
#72
Teching In

Join Date: Apr 2013
Location: Carlsbad, CA
Posts: 47
Likes: 0
Received 0 Likes
on
0 Posts
Great build!!!
I too have a '68 Camaro and just bought a salvaged LS3 and TR6060. I'd love to know where you bought the ac compressor and alternator brackets?
Did you mount the motor 1" forward of the stock SBC? Its hard to tell from the pictures, does that create a problem for the shifter location?
Thanks and keep posting,
Paul
07-03-2013, 02:07 AM
#73
Staging Lane
Thread Starter
Join Date: Aug 2011
Posts: 57
Likes: 0
Received 0 Likes
on
0 Posts
Great build!!!
I too have a '68 Camaro and just bought a salvaged LS3 and TR6060. I'd love to know where you bought the ac compressor and alternator brackets?
Did you mount the motor 1" forward of the stock SBC? Its hard to tell from the pictures, does that create a problem for the shifter location?
Thanks and keep posting,
Paul
I too have a '68 Camaro and just bought a salvaged LS3 and TR6060. I'd love to know where you bought the ac compressor and alternator brackets?
Did you mount the motor 1" forward of the stock SBC? Its hard to tell from the pictures, does that create a problem for the shifter location?
Thanks and keep posting,
Paul
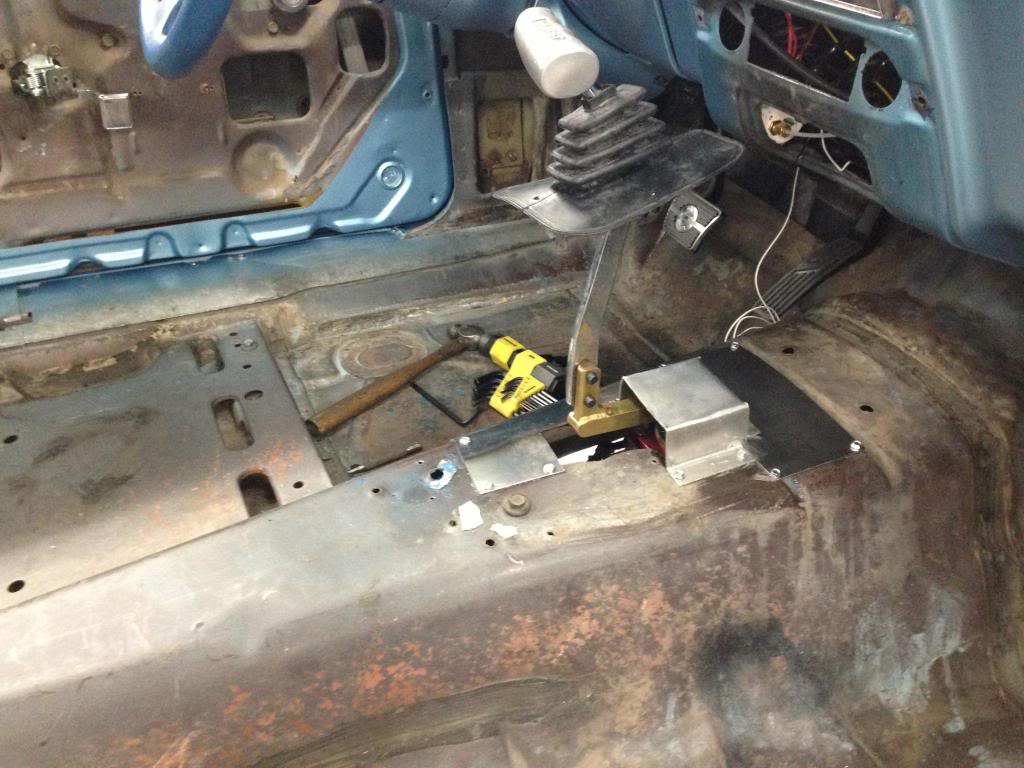
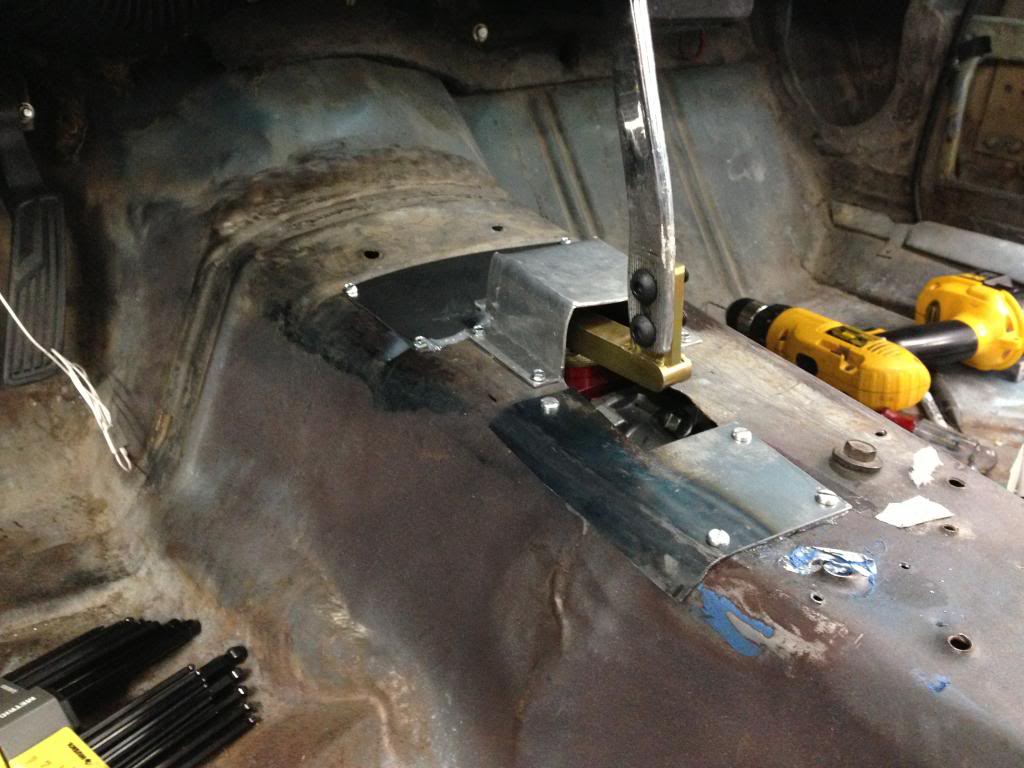
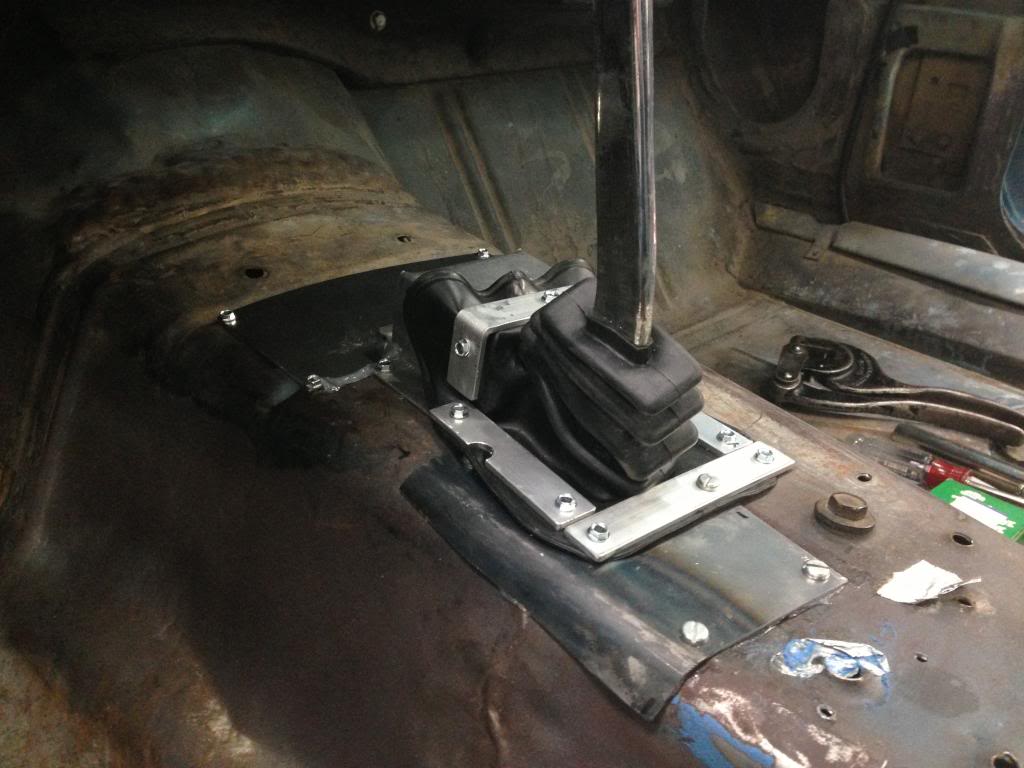
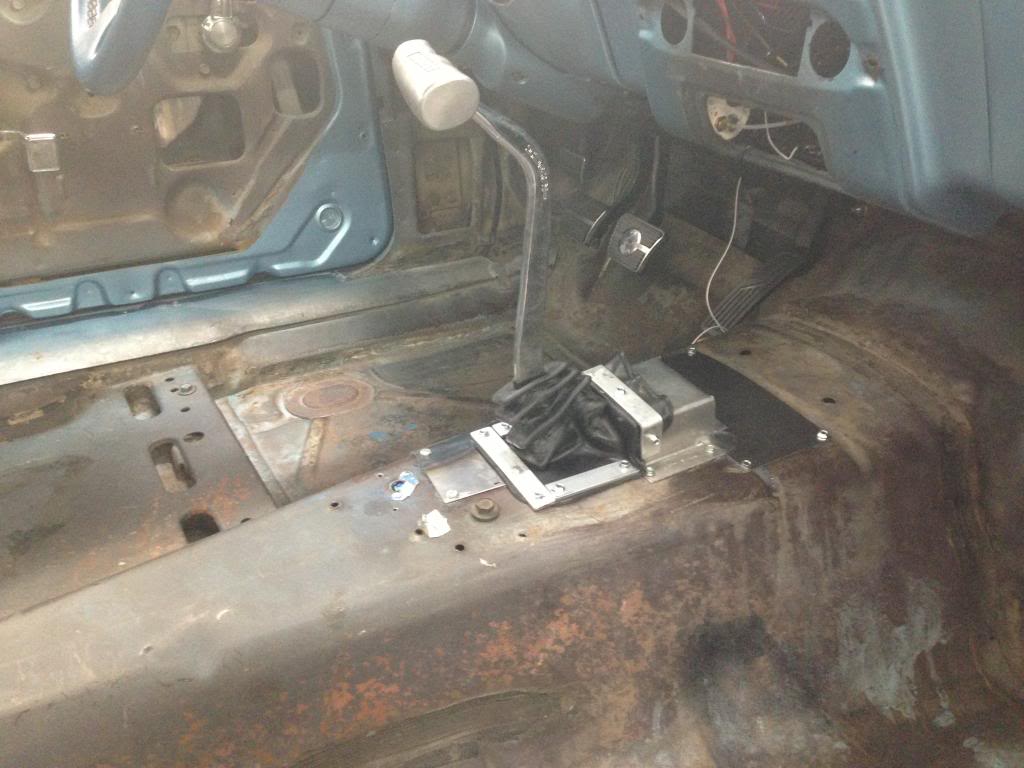
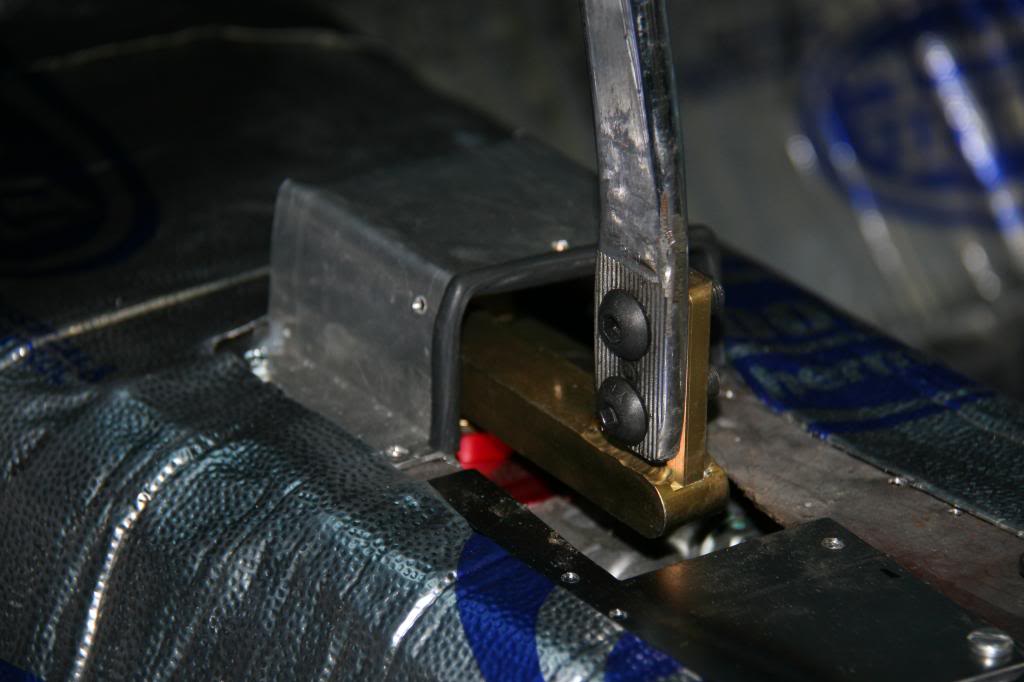
The AC compressor is a regular Sanden 508 that I picked up at a local A/C shop. The bracket for the compressor is a kwik bracket. The rest of the brackets are standard 99-05(?) LS1 brackets. Had to switch to an LS1 water pump to do that. The shifter location was custom fit via a custom arm configuration after I had mounted the engine (see previous posts). The engine mounts are the S&P mounts with 307 chevy motor mounts (72 Nova IIRC). I tried urethane motor mounts with no luck. If I were to do this over again I would probably seek a better solution for motor mounts.
I would get the engine and trans installed and mounted, then figure out the shifter location based on that. Temporarily install the console (if using one) and figure out exactly where the shift lever needs to mount. My shifter is in the exact original location and throws in the center console perfectly with no adjustments needed for console placement.
Last edited by m0ondoggy; 07-03-2013 at 02:16 AM.
 07-03-2013, 09:15 AM
#75
Teching In
Join Date: Apr 2013
Location: Carlsbad, CA
Posts: 47
Likes: 0
Received 0 Likes
on
0 Posts
rsglaab - Are you planning on using the stock shifter? I have one and am going to fit the LS3/TR6060 this weekend. I'm hoping the stock shifter winds up in a good shifter location but won't really know until I get it installed.
07-03-2013, 09:28 AM
#76
Teching In
Join Date: Apr 2013
Location: Carlsbad, CA
Posts: 47
Likes: 0
Received 0 Likes
on
0 Posts
Sorry for the late reply, I never got a notification of this post.
The AC compressor is a regular Sanden 508 that I picked up at a local A/C shop. The bracket for the compressor is a kwik bracket. The rest of the brackets are standard 99-05(?) LS1 brackets. Had to switch to an LS1 water pump to do that. The shifter location was custom fit via a custom arm configuration after I had mounted the engine (see previous posts). The engine mounts are the S&P mounts with 307 chevy motor mounts (72 Nova IIRC). I tried urethane motor mounts with no luck. If I were to do this over again I would probably seek a better solution for motor mounts.
I would get the engine and trans installed and mounted, then figure out the shifter location based on that. Temporarily install the console (if using one) and figure out exactly where the shift lever needs to mount. My shifter is in the exact original location and throws in the center console perfectly with no adjustments needed for console placement.
07-03-2013, 09:34 AM
#77
Staging Lane
Thread Starter
Join Date: Aug 2011
Posts: 57
Likes: 0
Received 0 Likes
on
0 Posts
 . The C5 corvette bracketry setup isn't terribly expensive. Rather than piece it all together I found a guy on ebay selling a complete C5 bracket setup with new parts.
07-03-2013, 03:12 PM
. The C5 corvette bracketry setup isn't terribly expensive. Rather than piece it all together I found a guy on ebay selling a complete C5 bracket setup with new parts.
07-03-2013, 03:12 PM
#79
Staging Lane
Thread Starter
Join Date: Aug 2011
Posts: 57
Likes: 0
Received 0 Likes
on
0 Posts
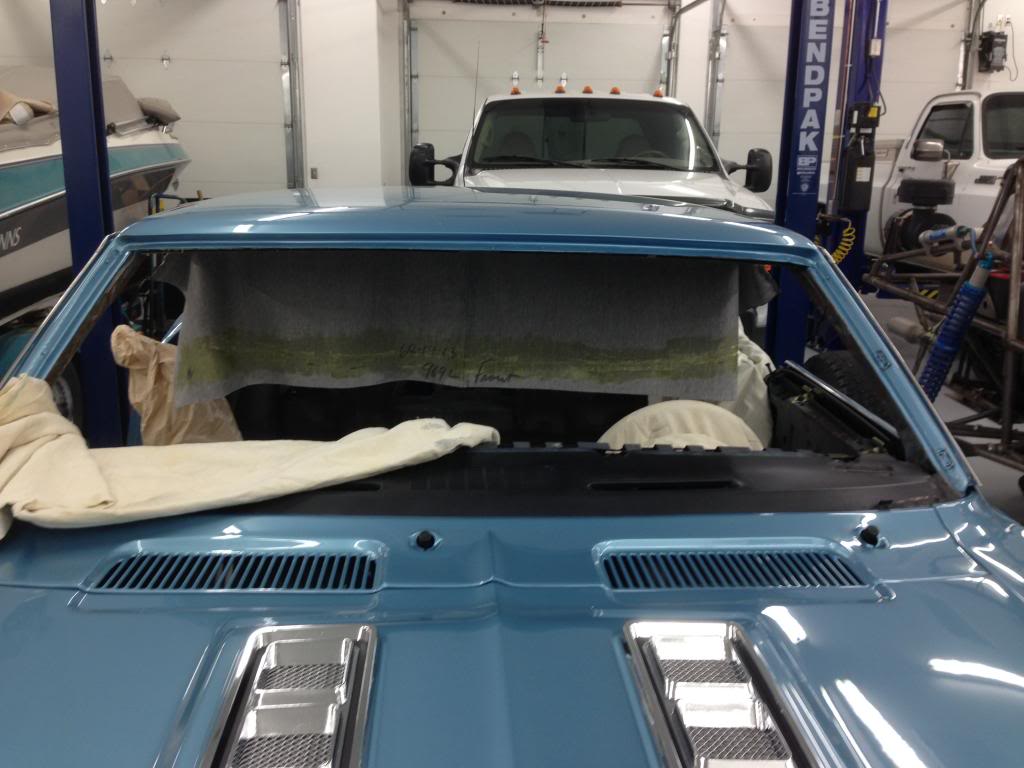
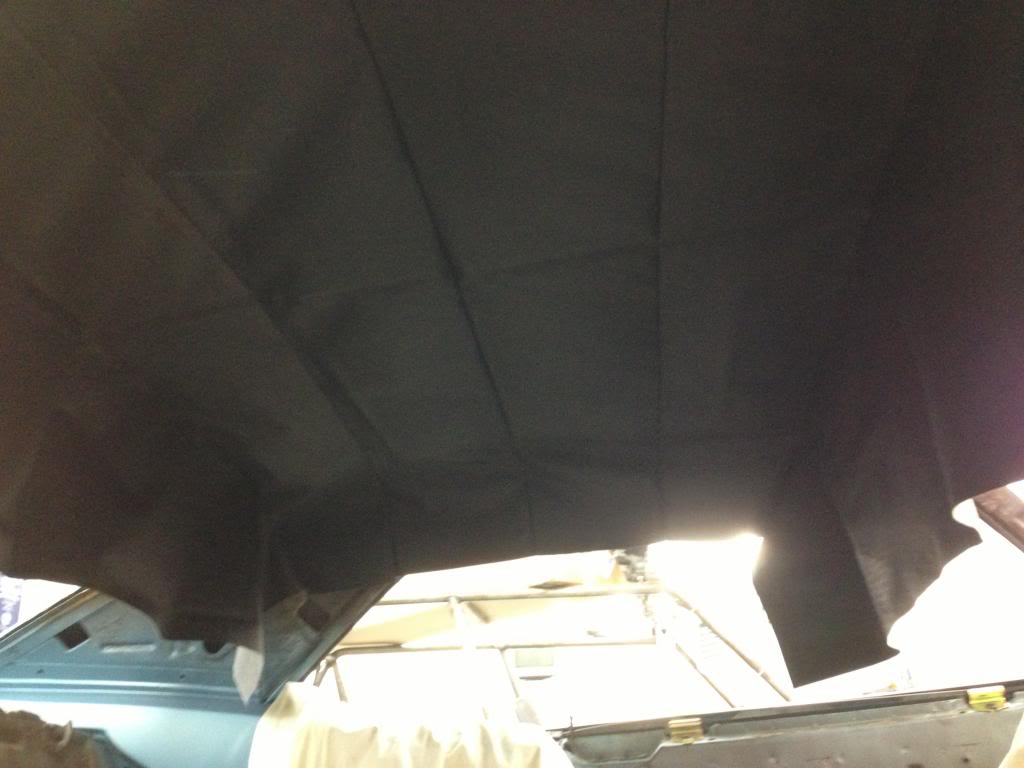
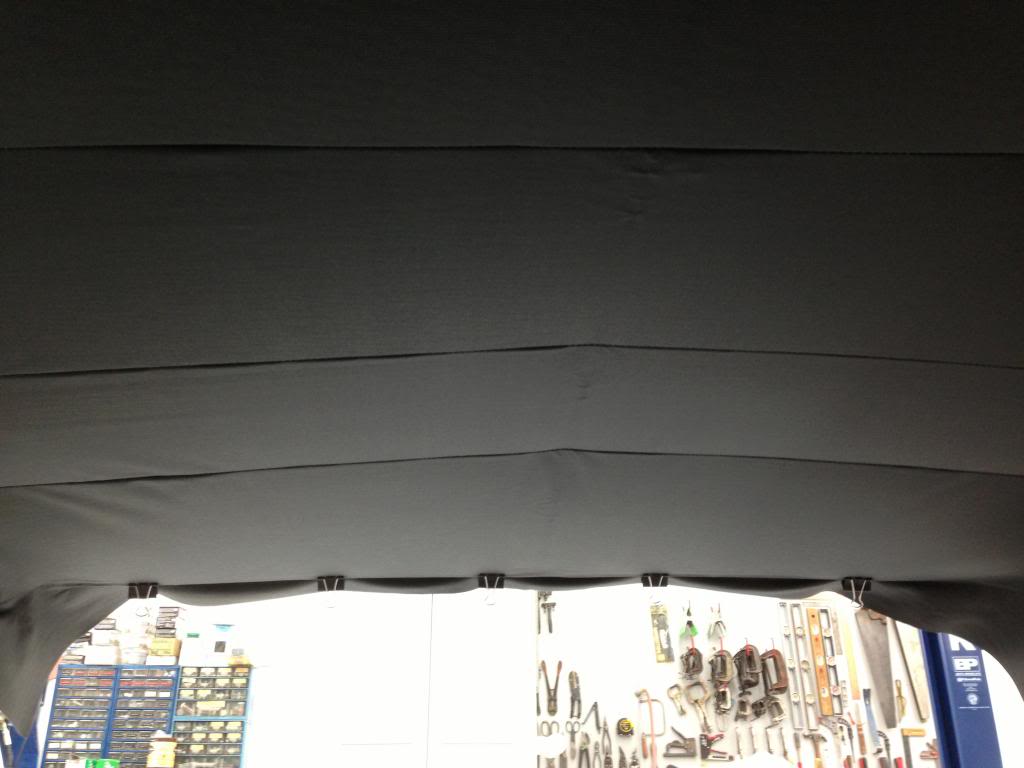
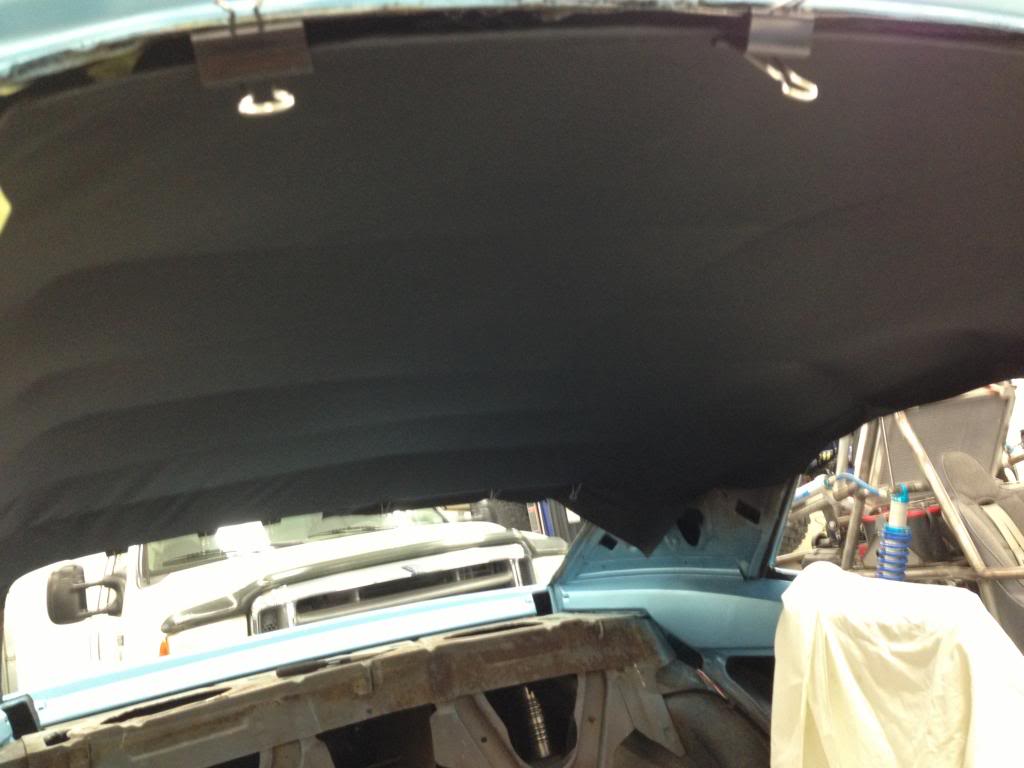
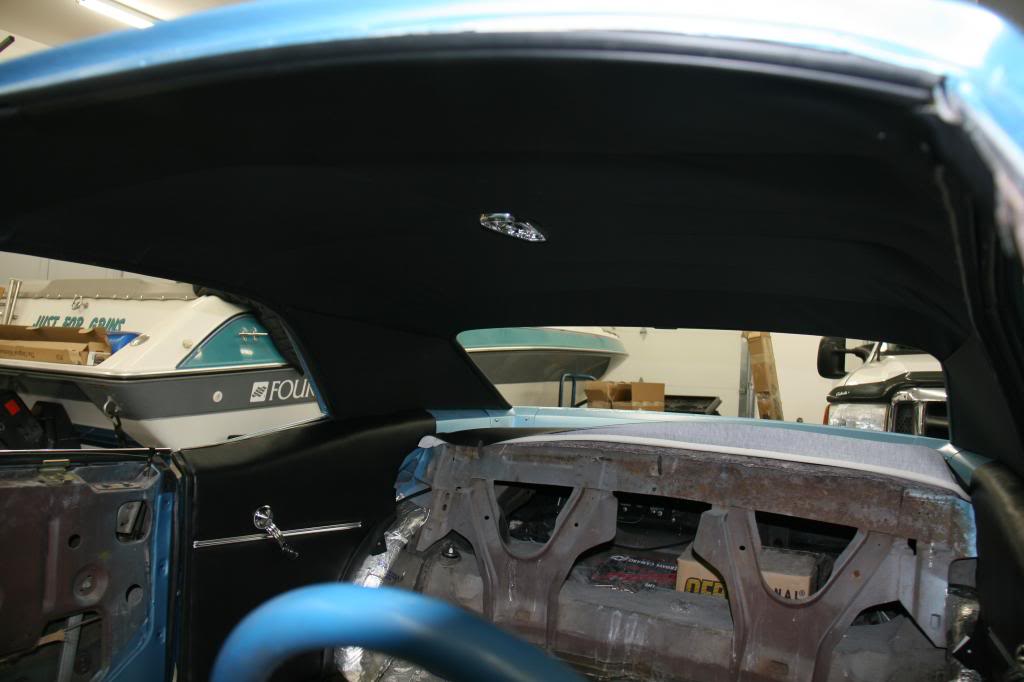
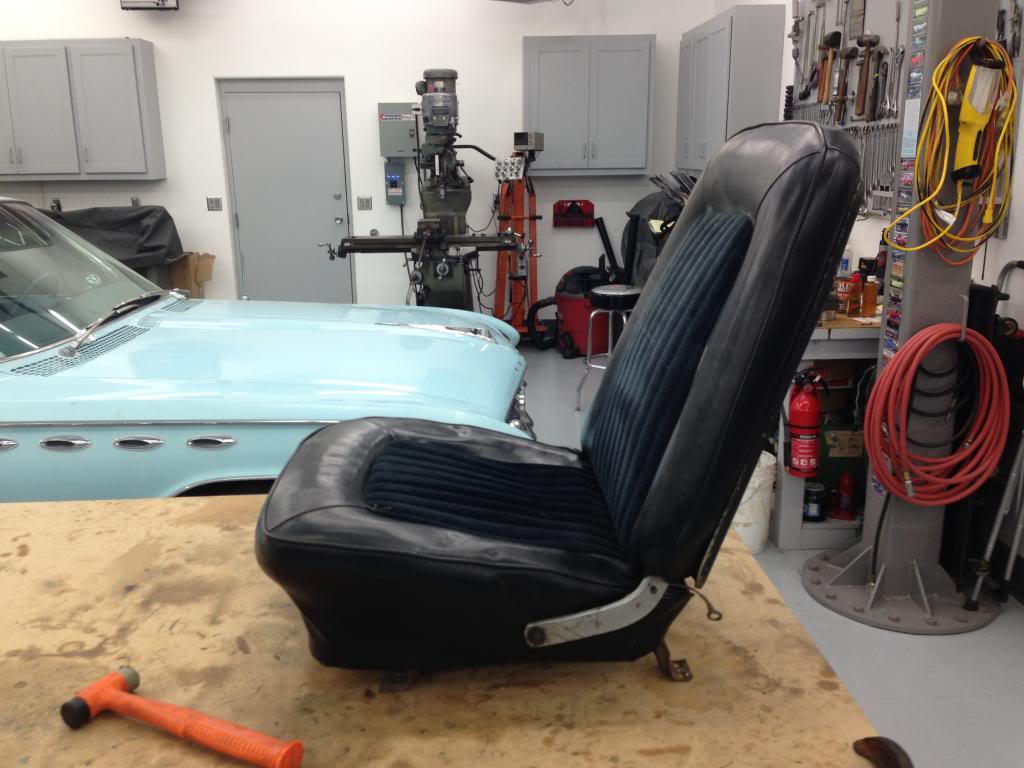
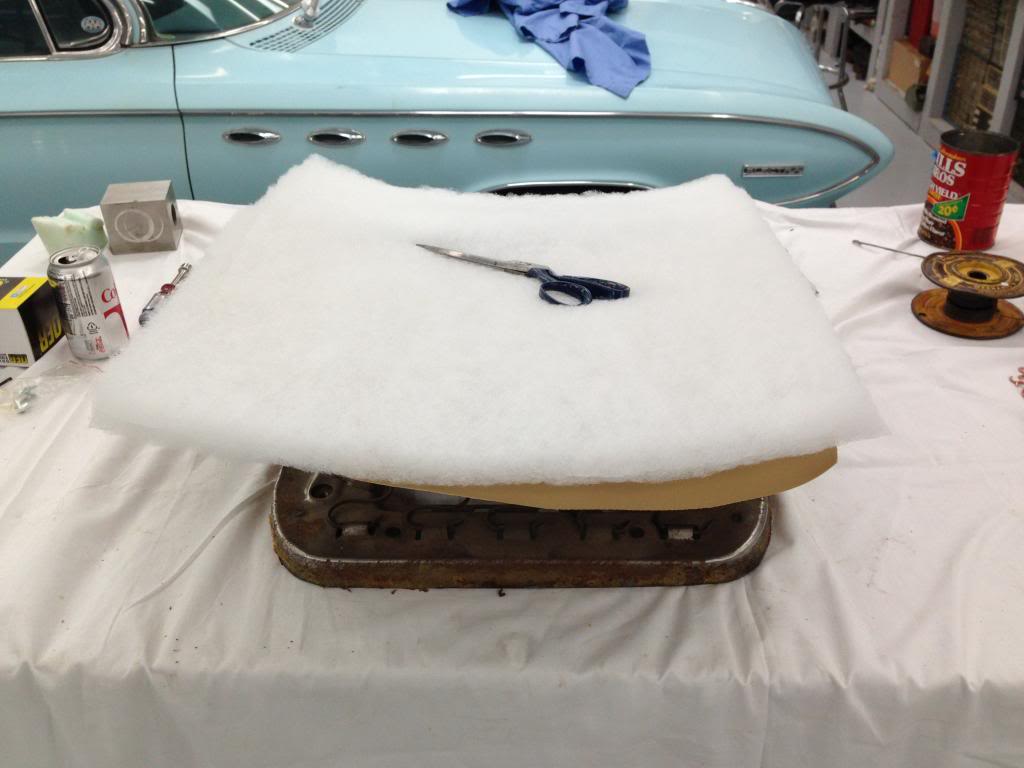
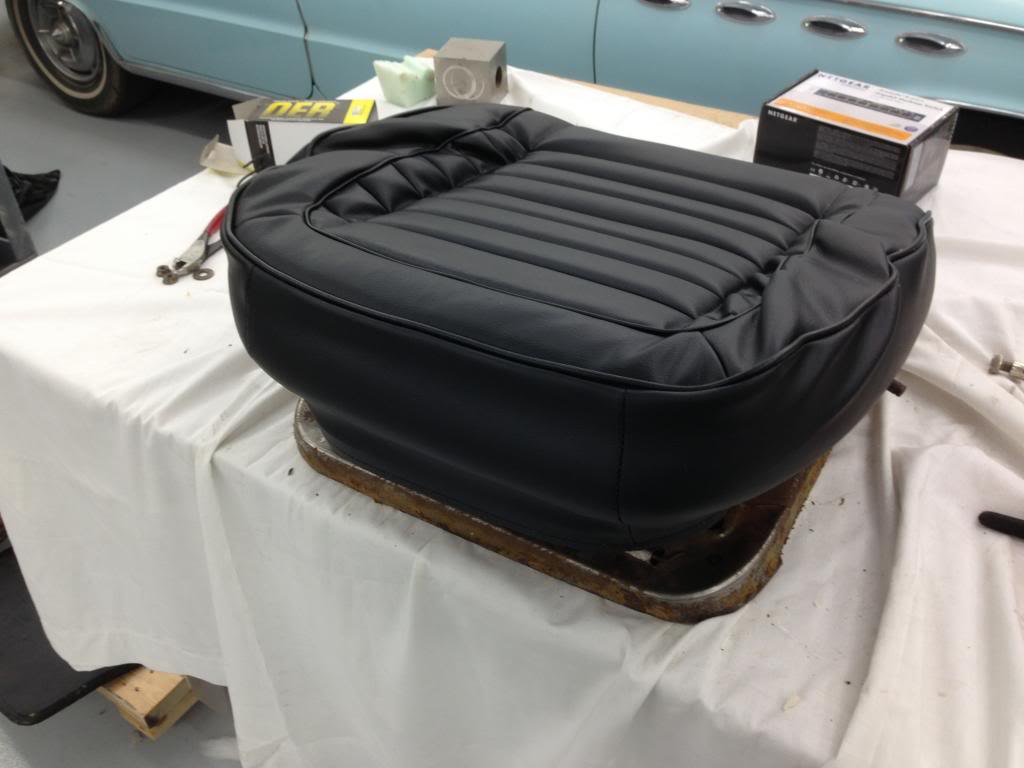
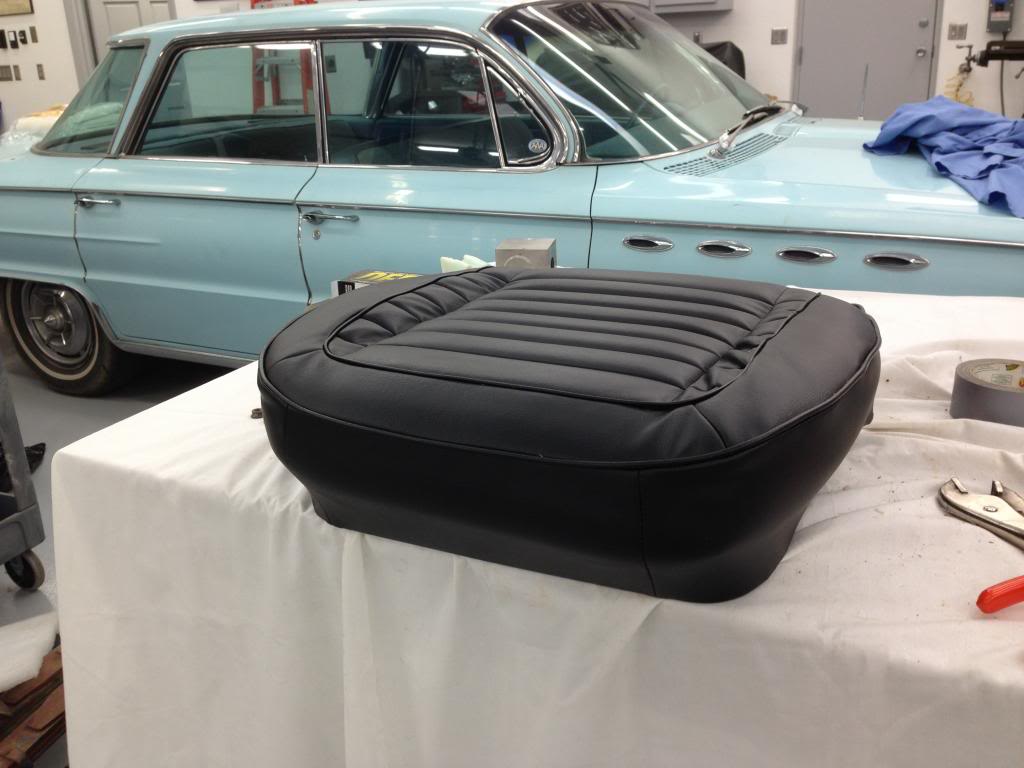
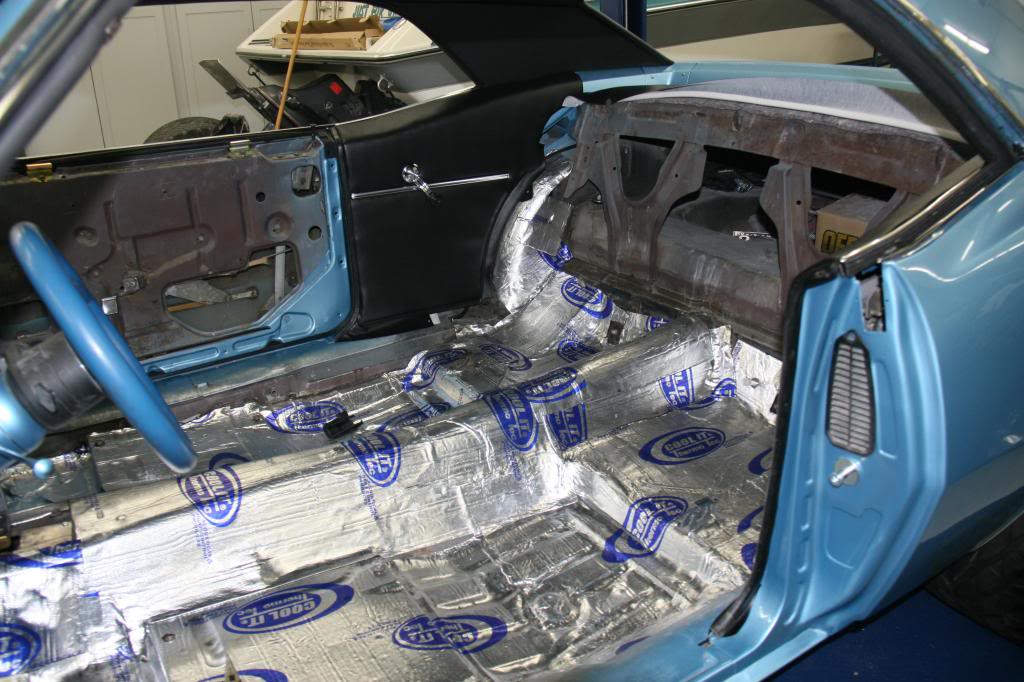
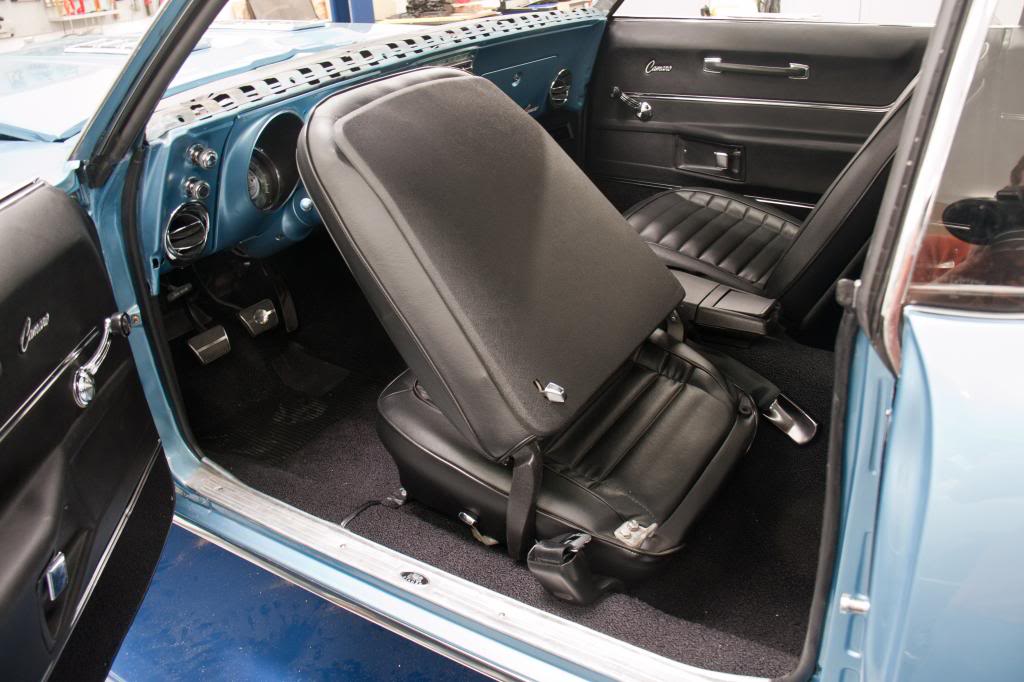
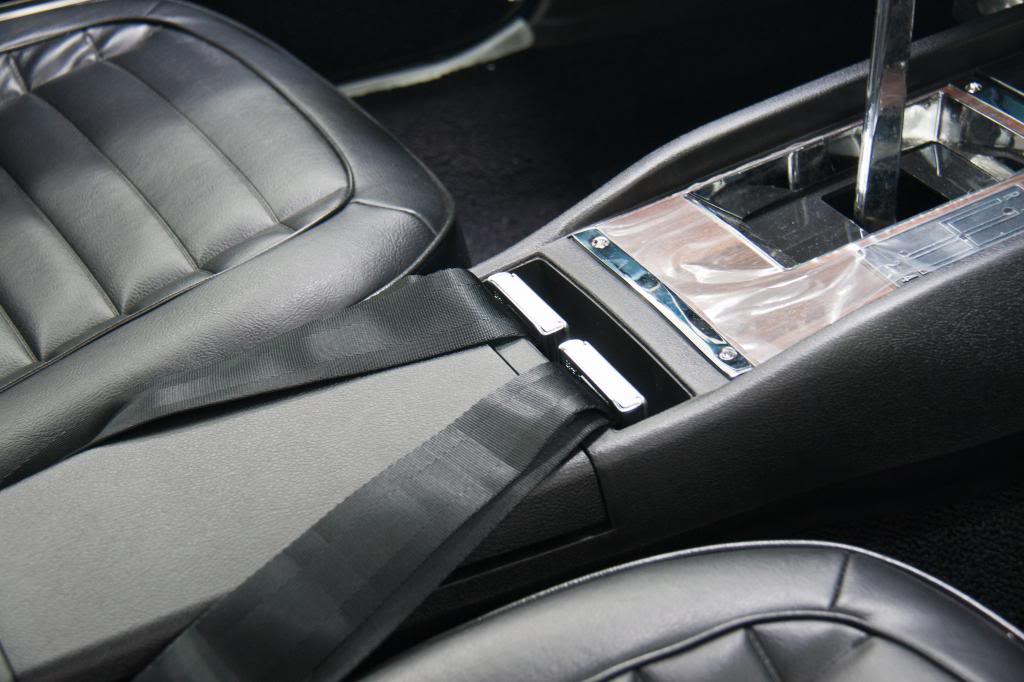
So, while this isn't LS related, I might as well post pics of the interior work I've been doing.
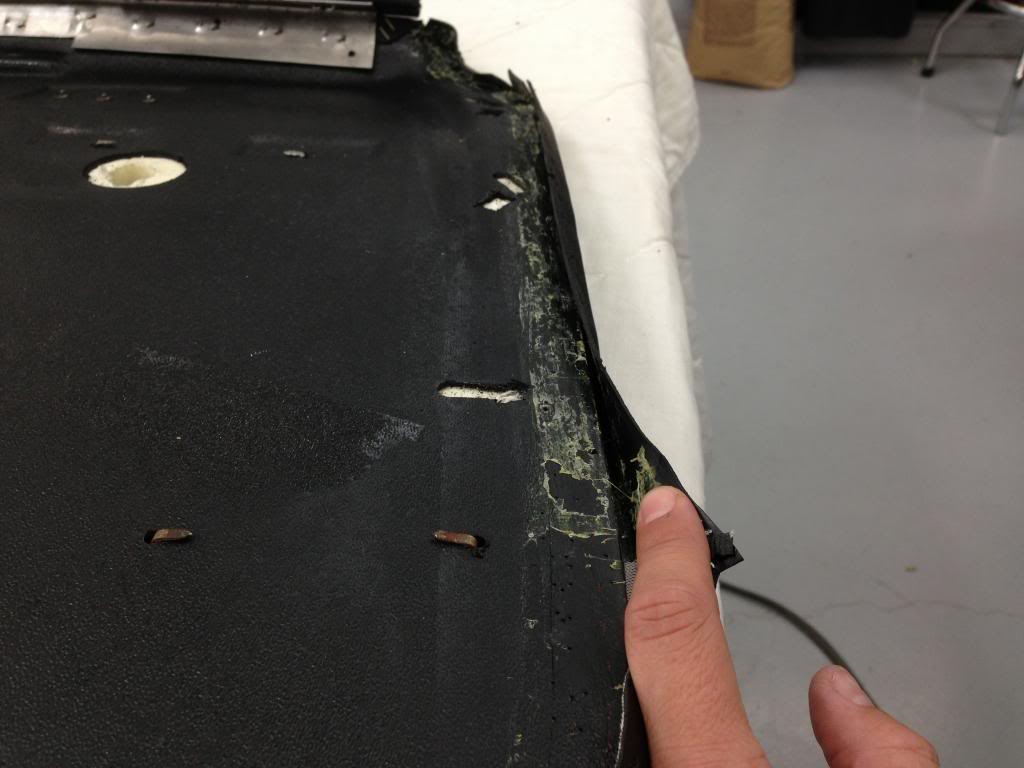
Headliner:
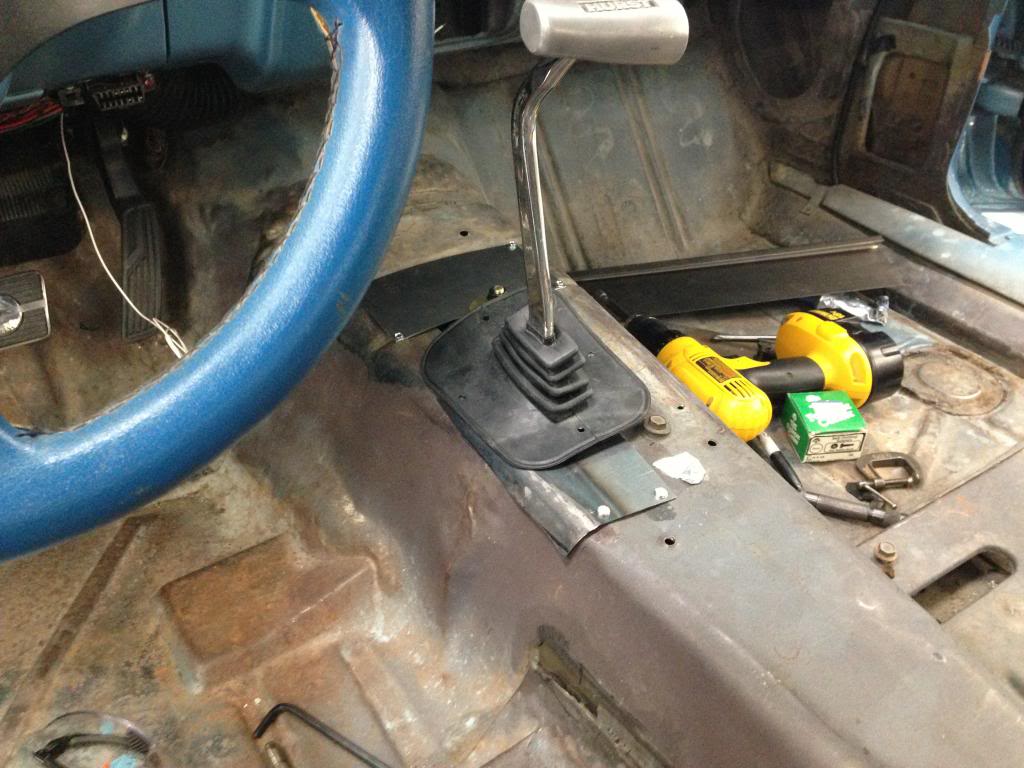
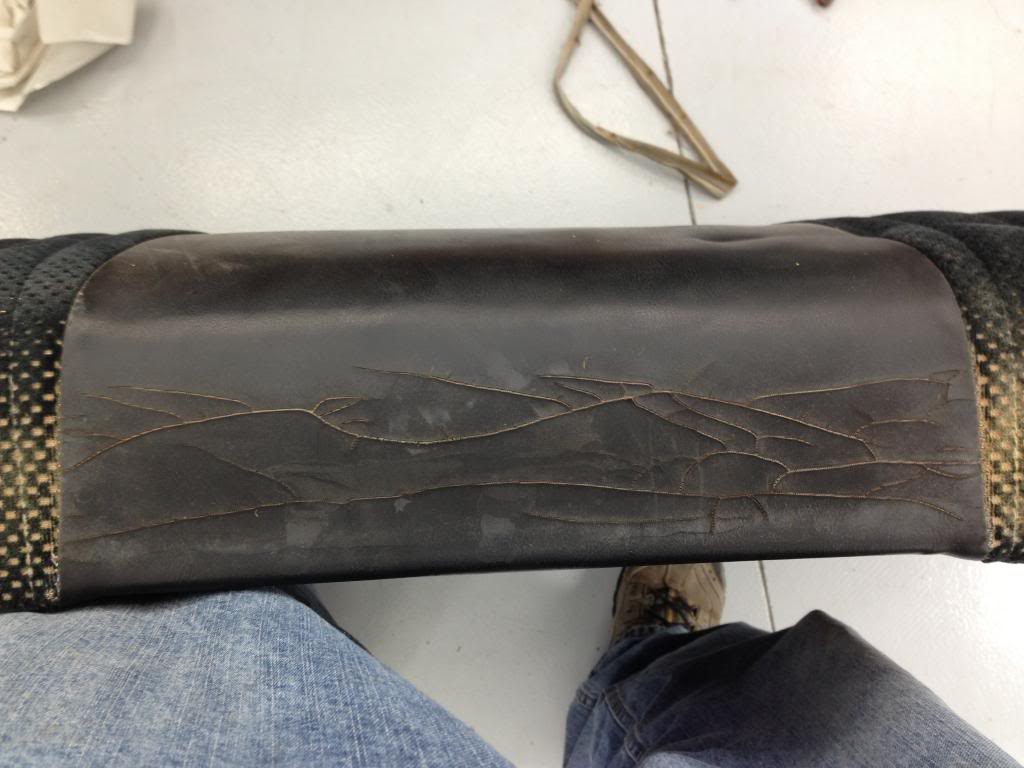
Shifter Boot. It's not pretty, but it's under the console and will keep the dirt out.
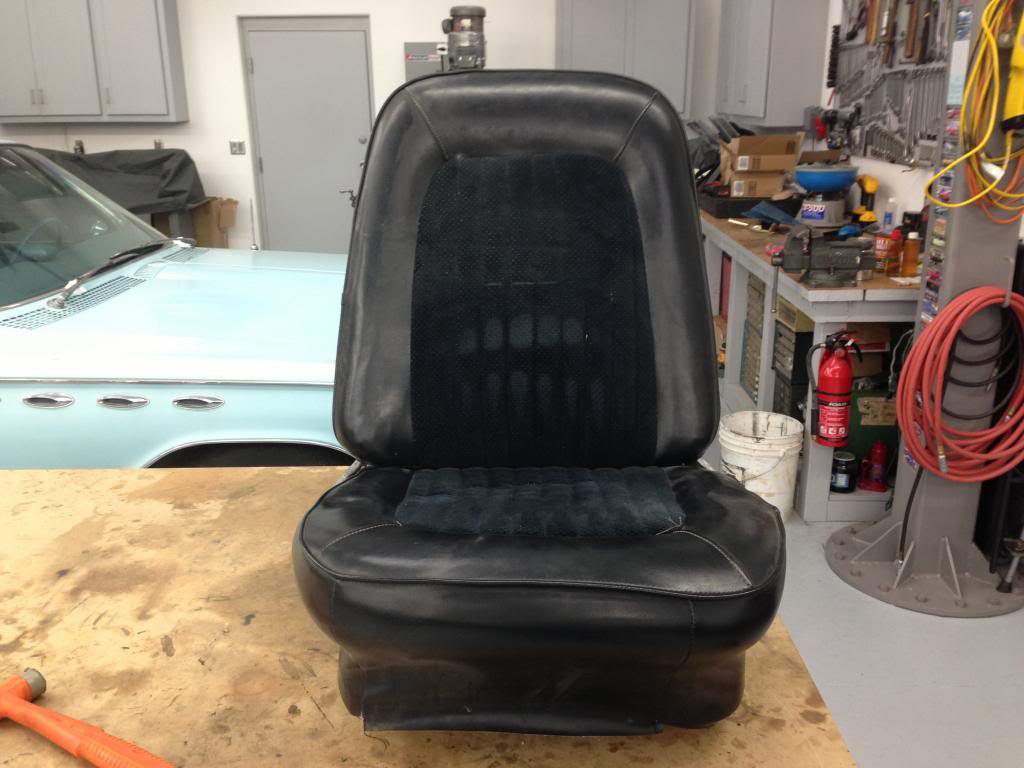
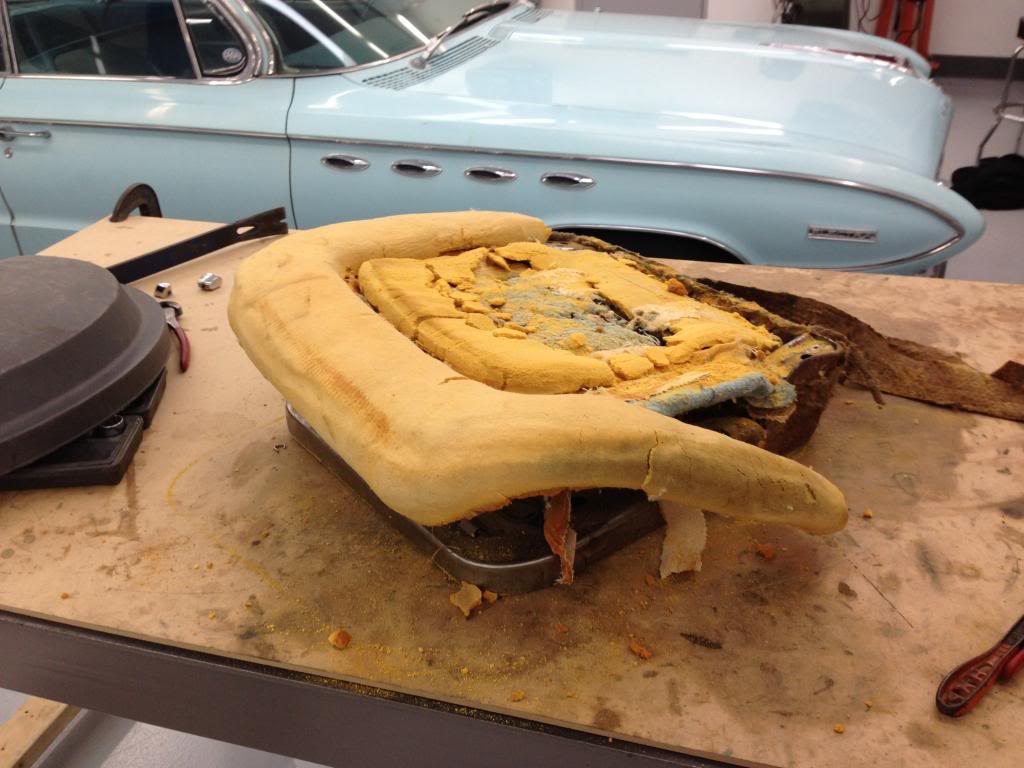
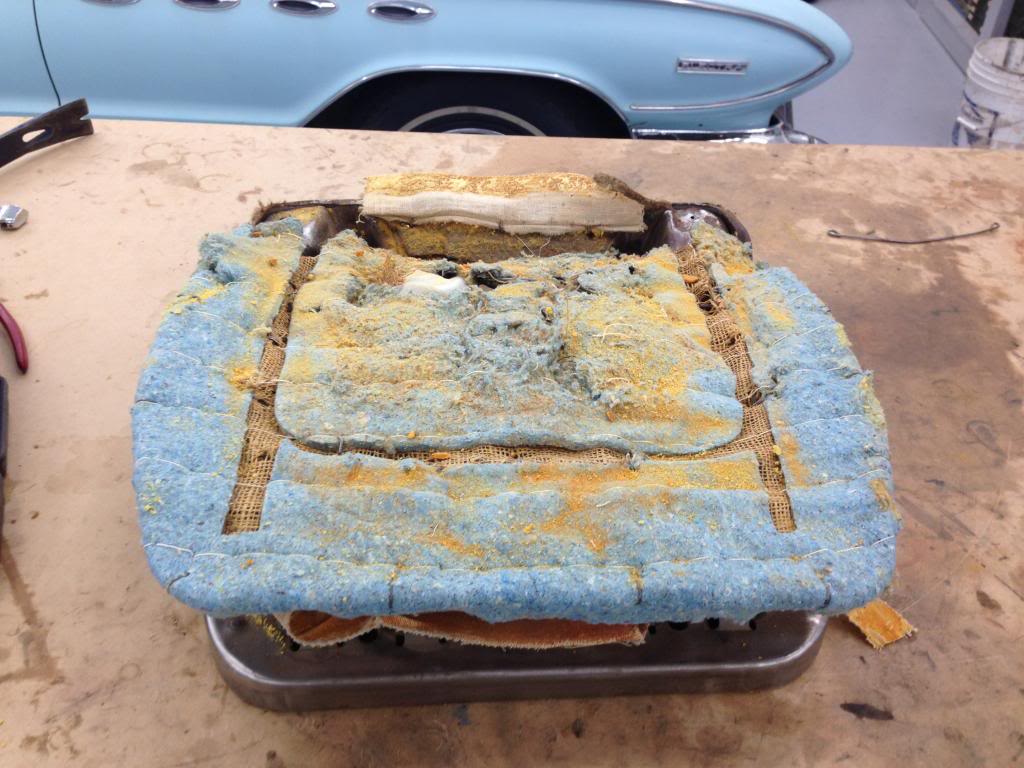
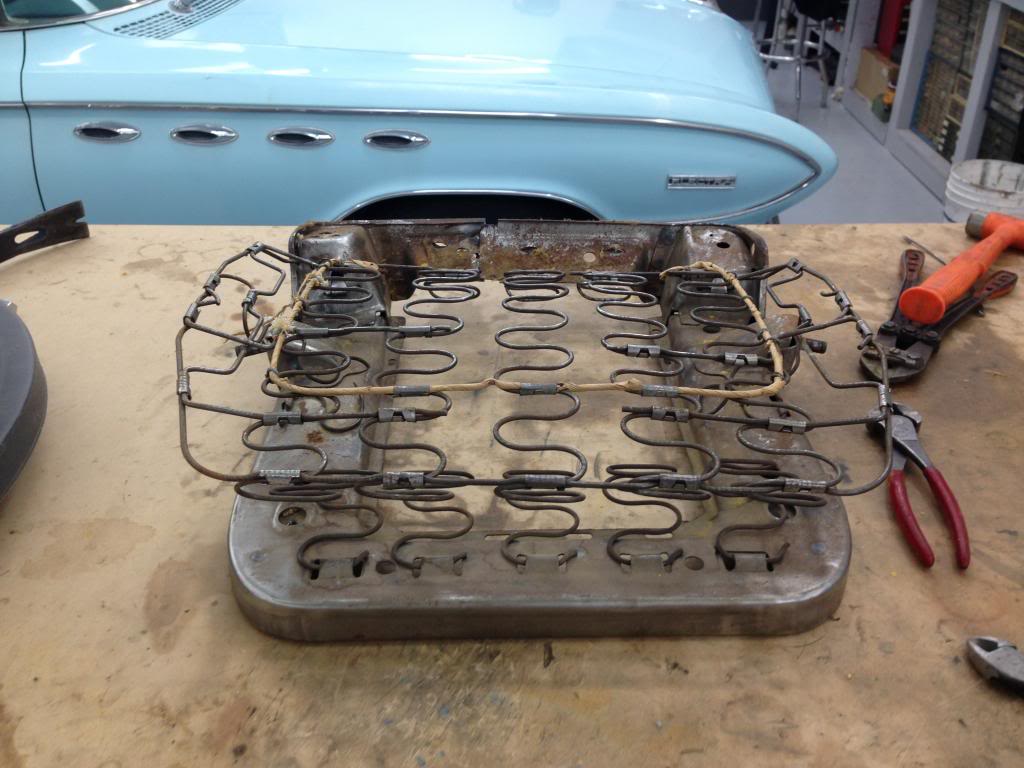
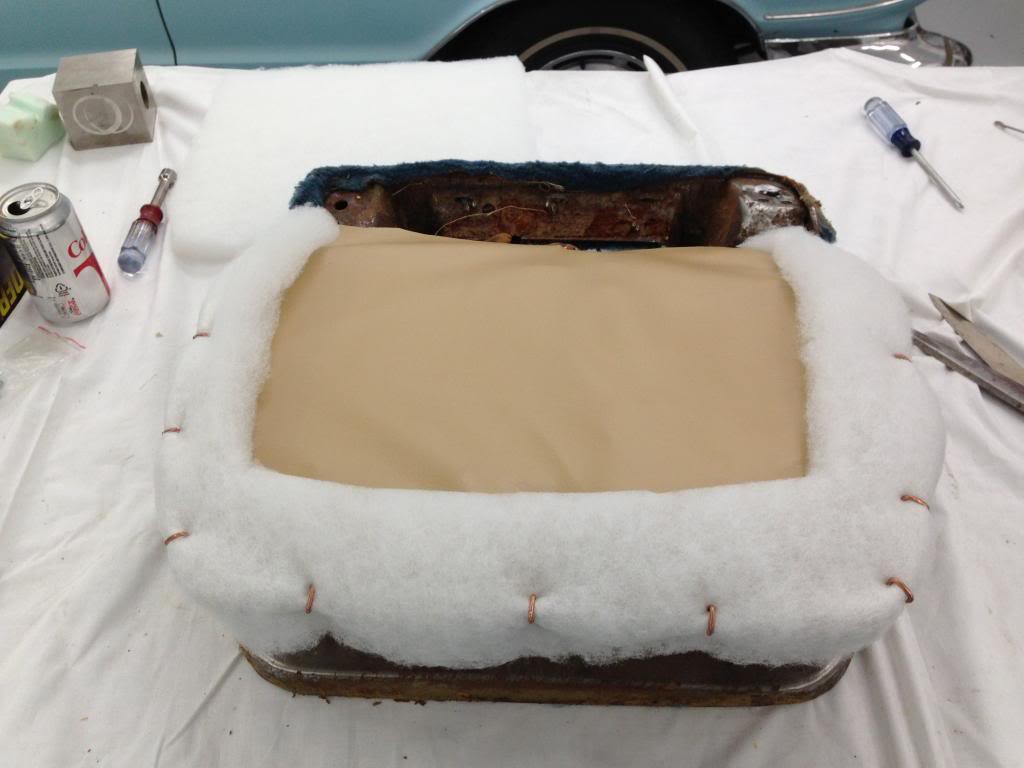
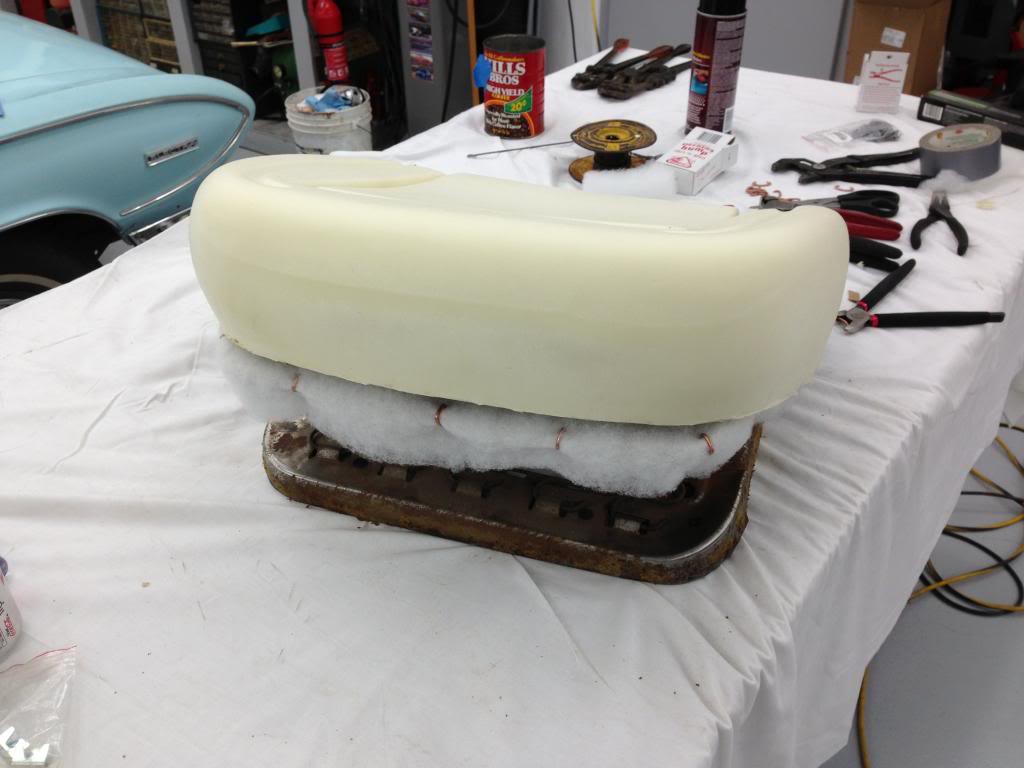
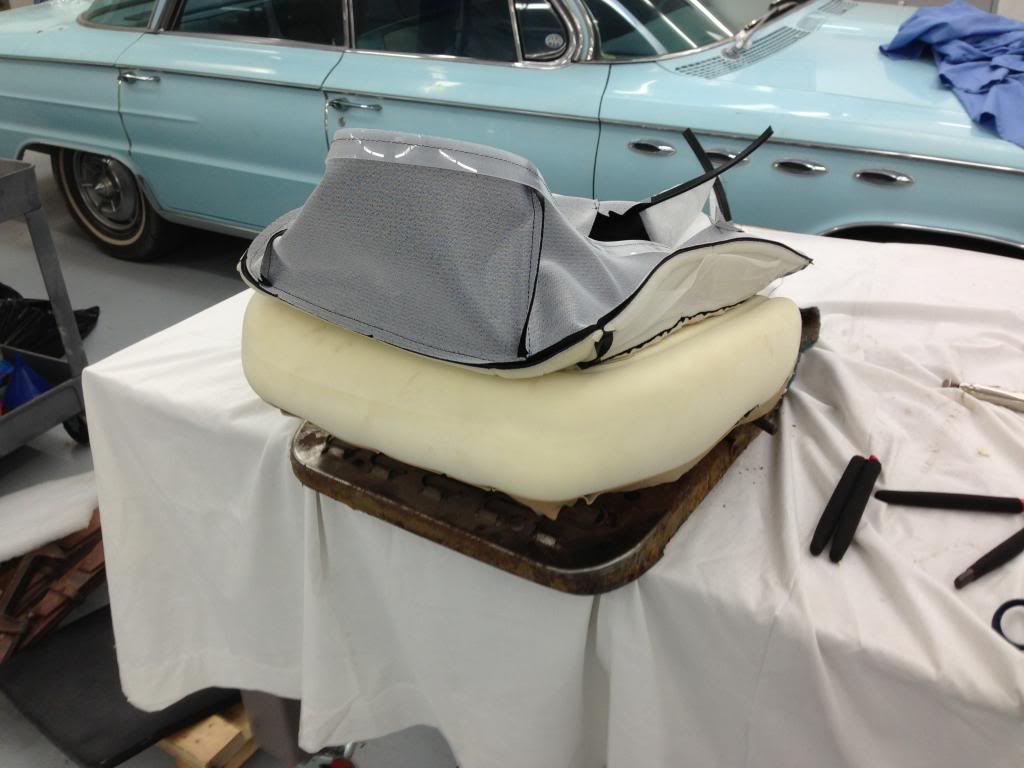
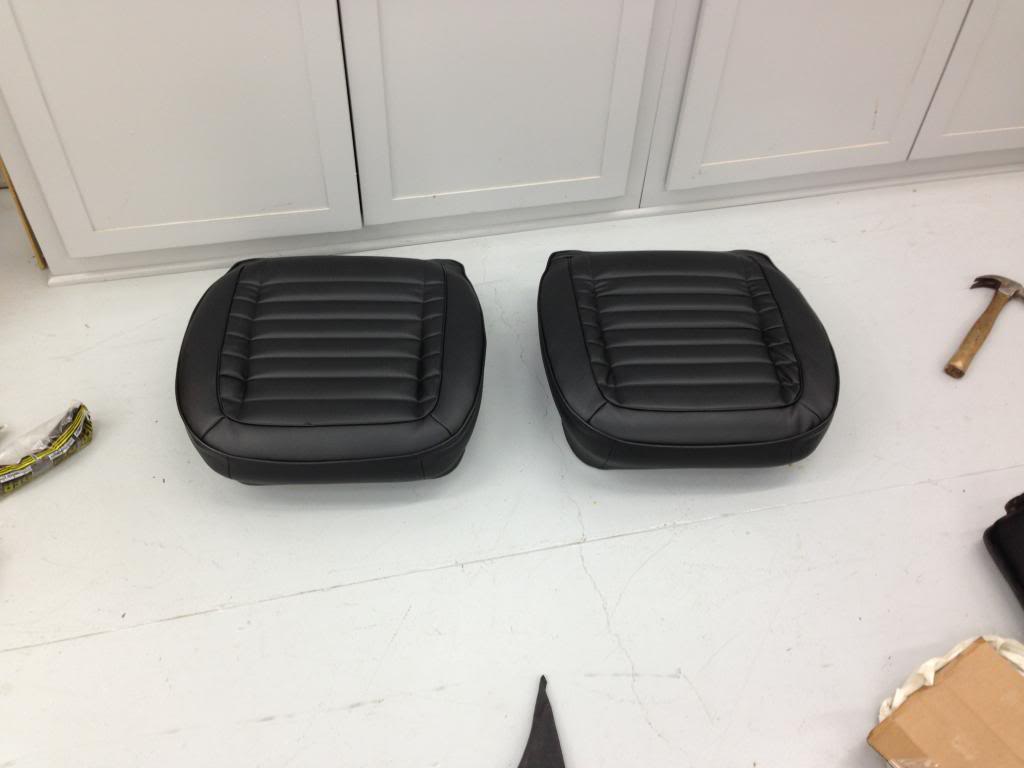
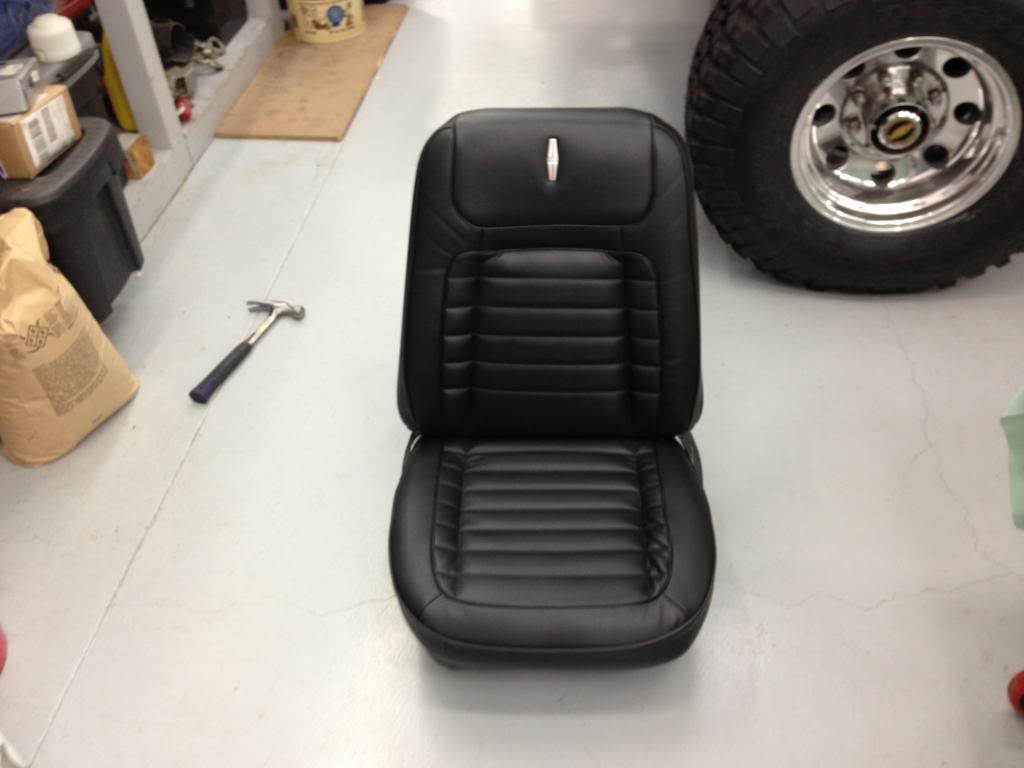
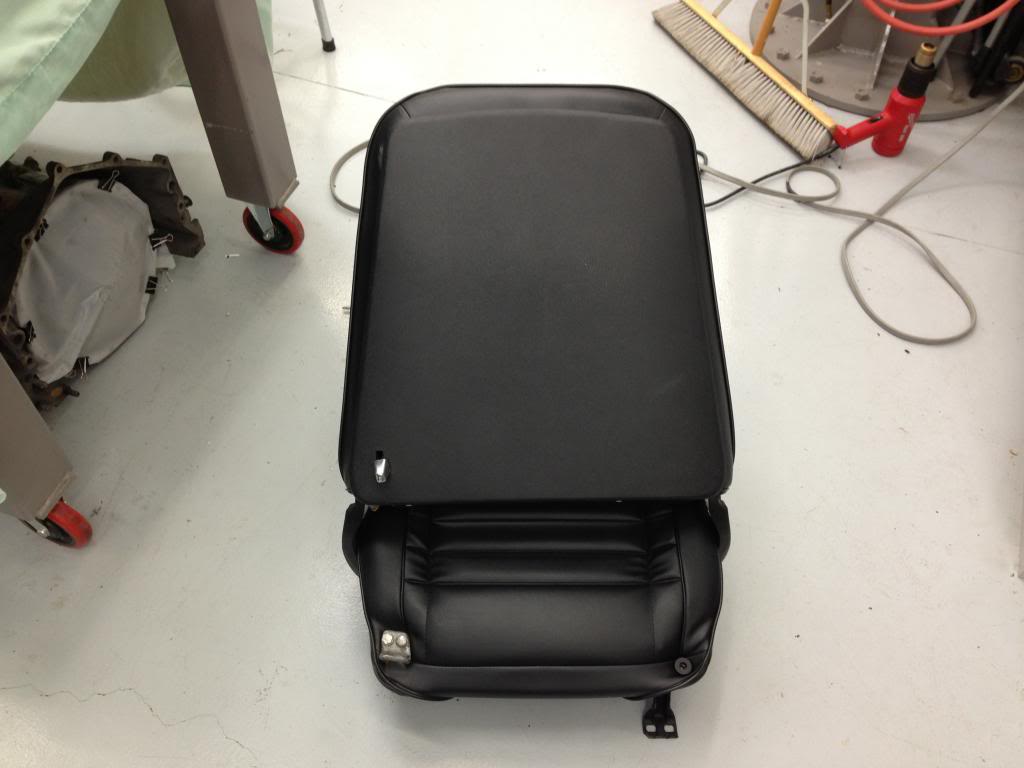
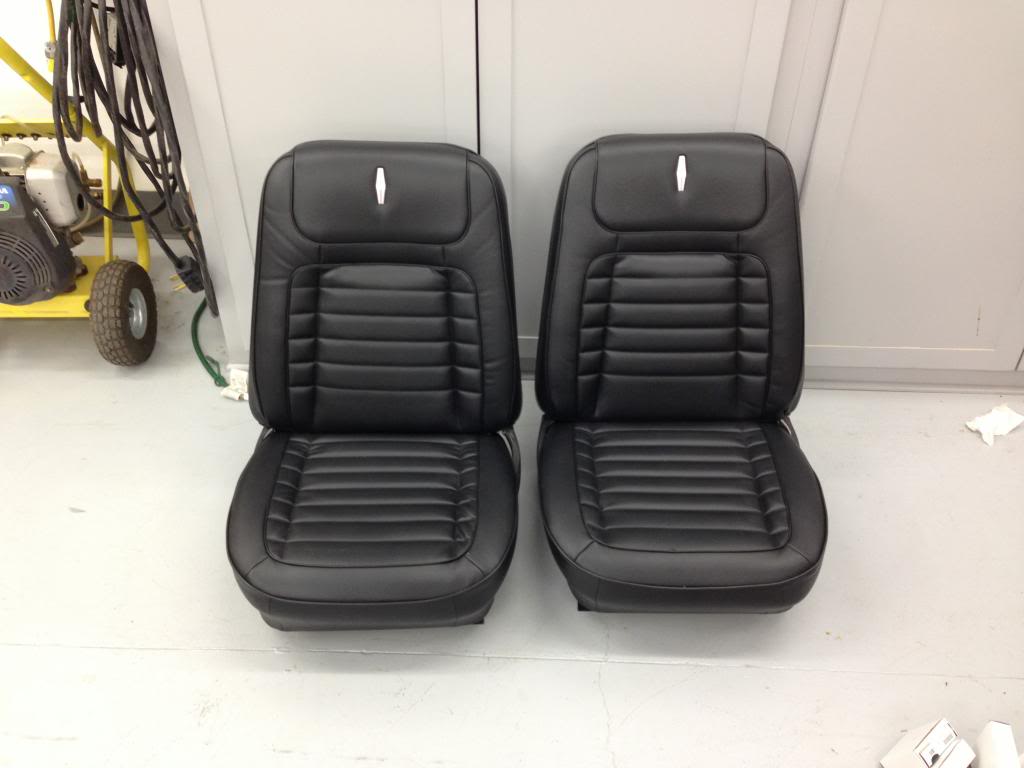
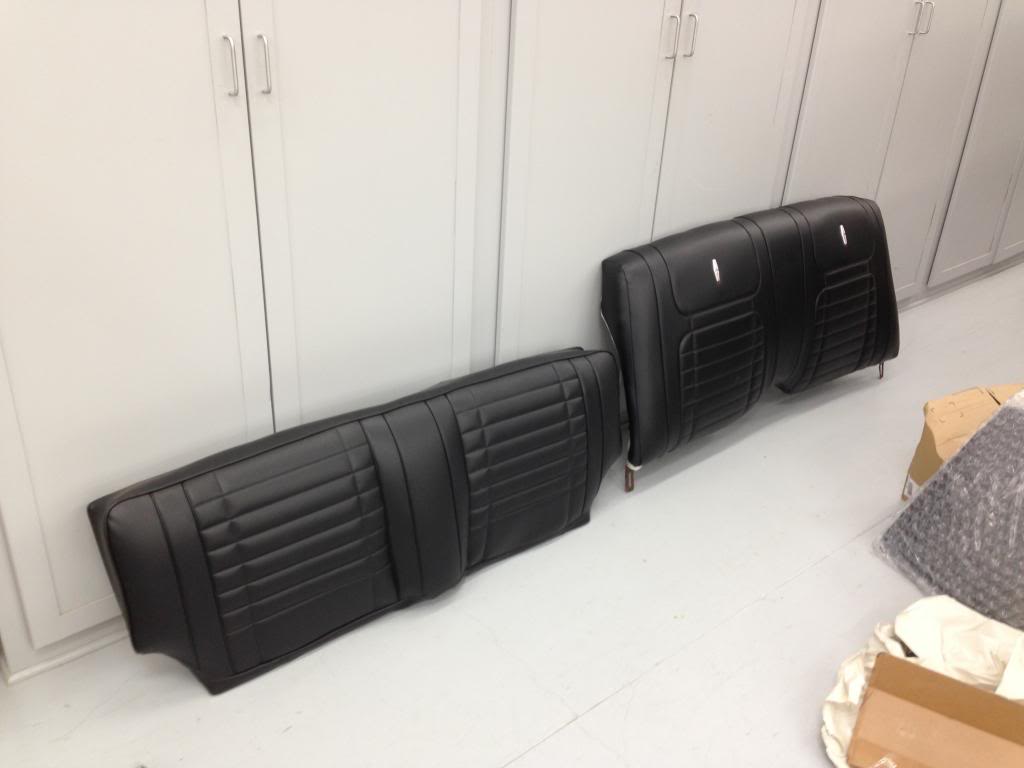
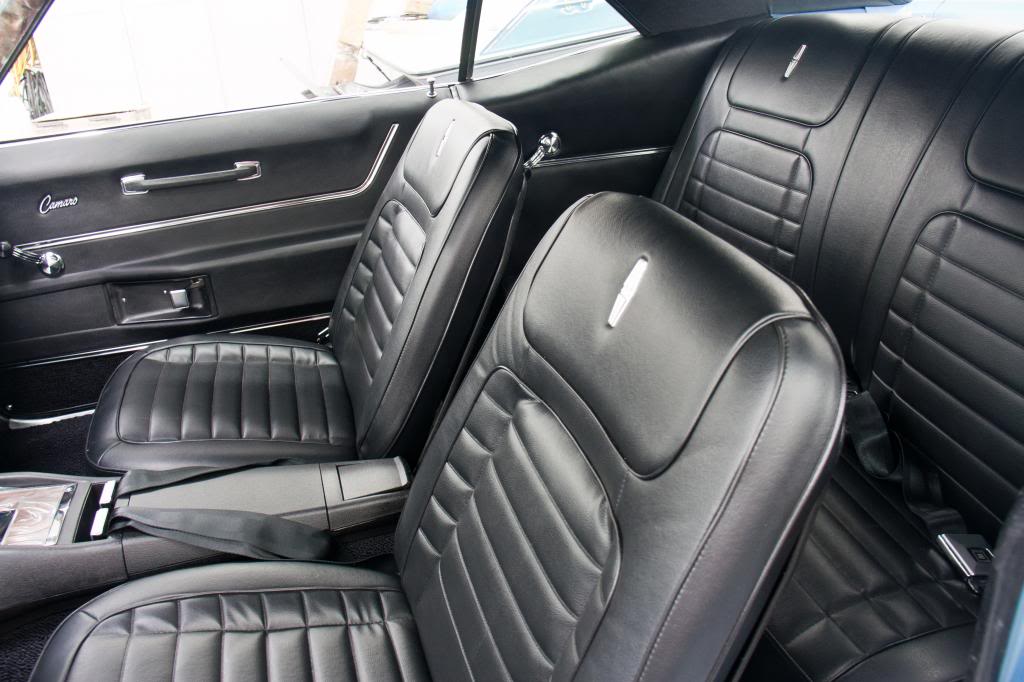
Front Seats:


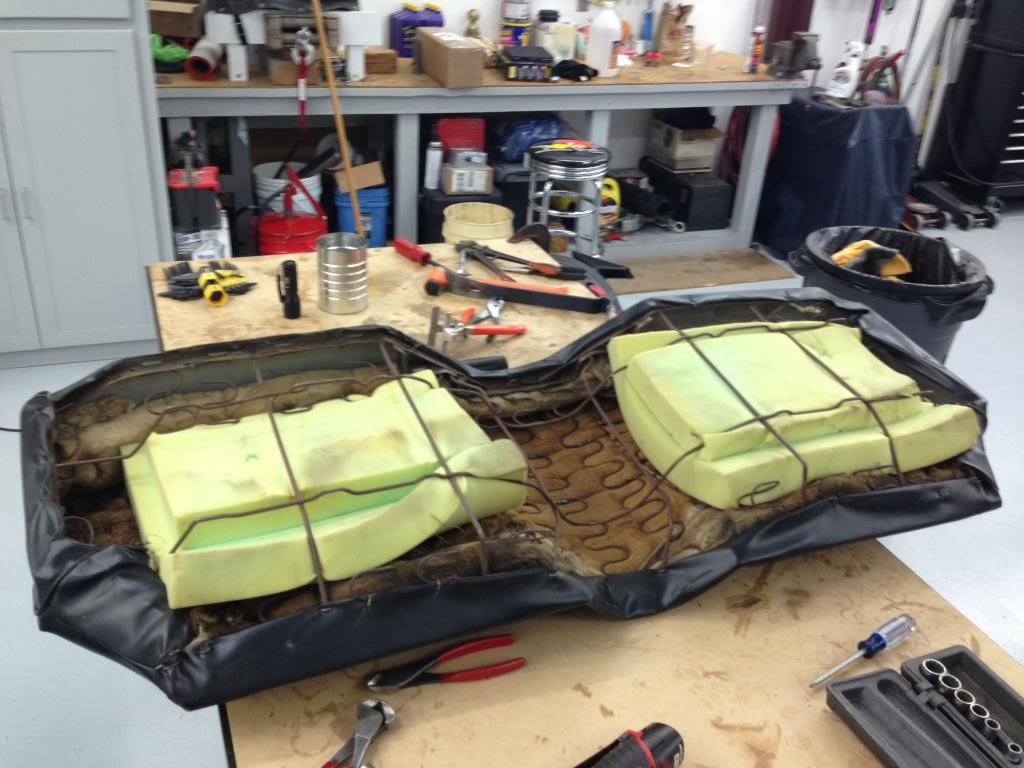
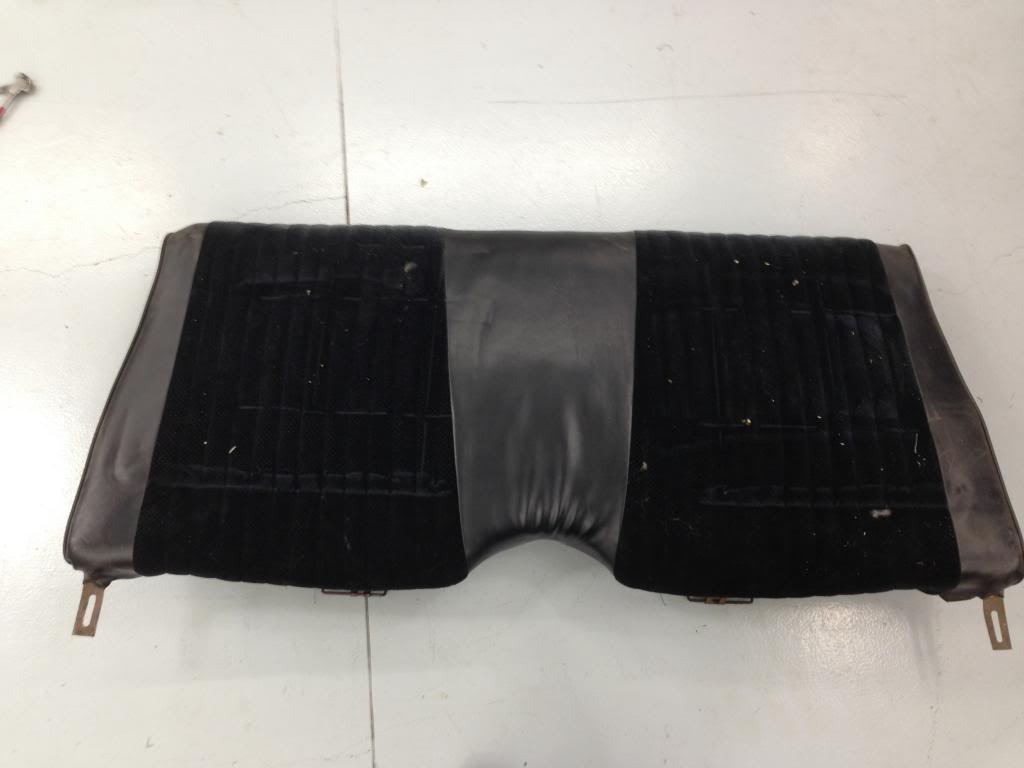
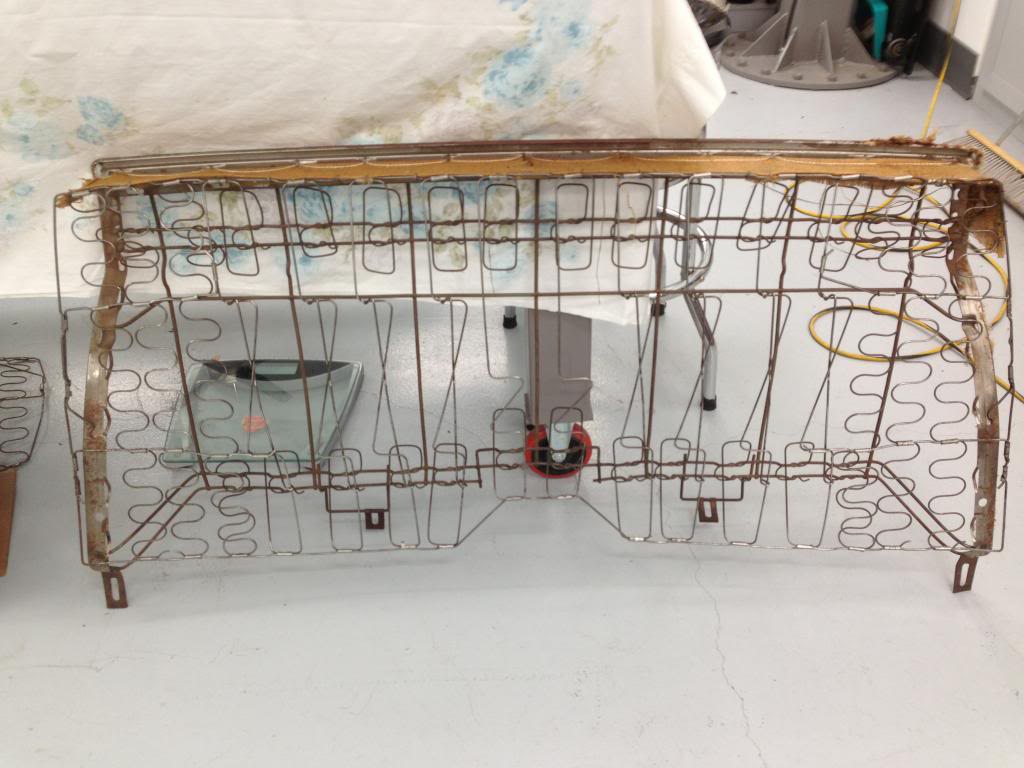
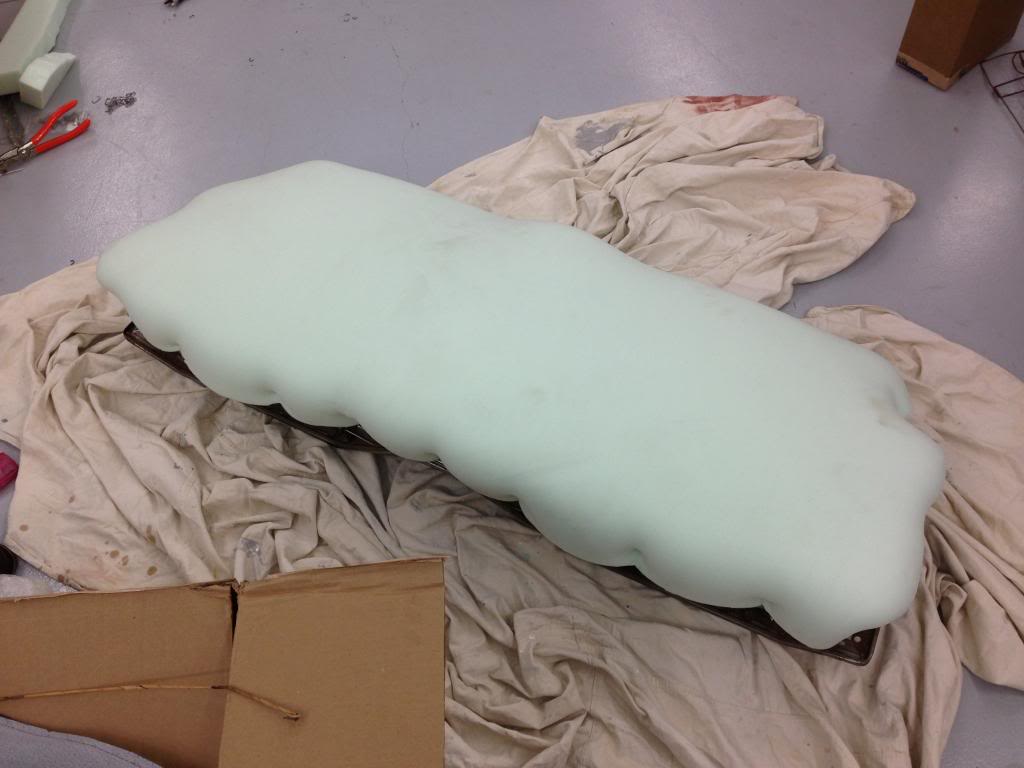
Back Seat:


Sound Deadener:

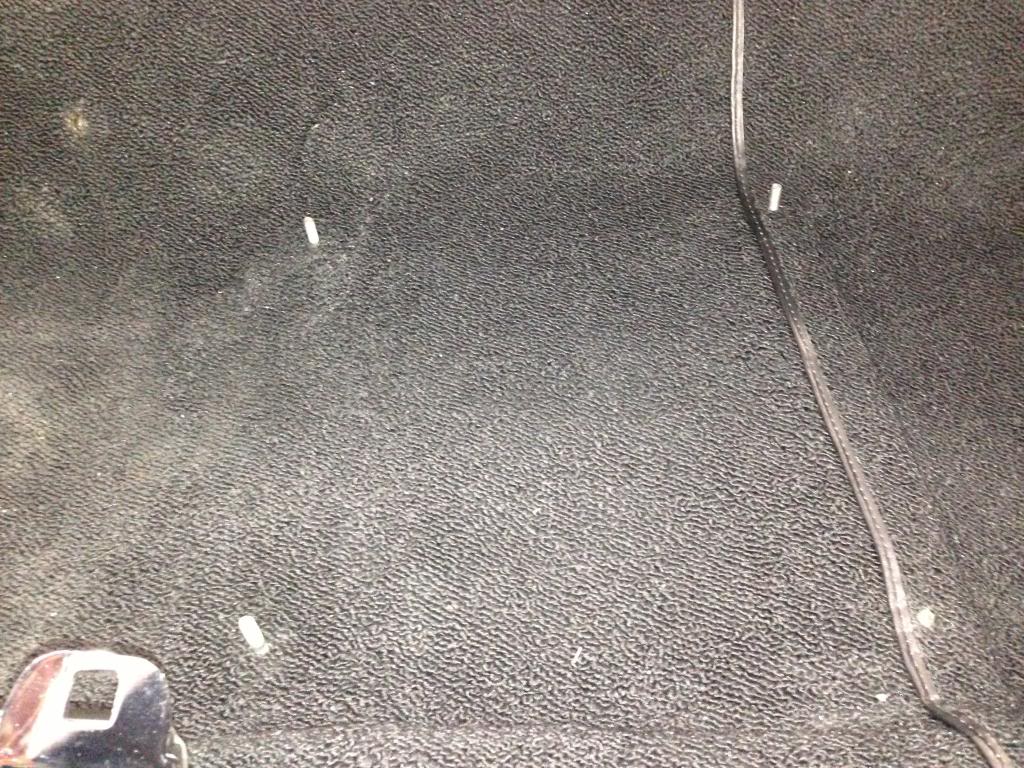
Carpet:

Headliner:


Shifter Boot. It's not pretty, but it's under the console and will keep the dirt out.


Front Seats:


Back Seat:


Sound Deadener:


Carpet:
 07-03-2013, 03:13 PM
#80
Staging Lane
Thread Starter
Join Date: Aug 2011
Posts: 57
Likes: 0
Received 0 Likes
on
0 Posts
After burning through the carpet with a soldering iron, screw some studs in and drop the seat over the studs. Makes life easier.
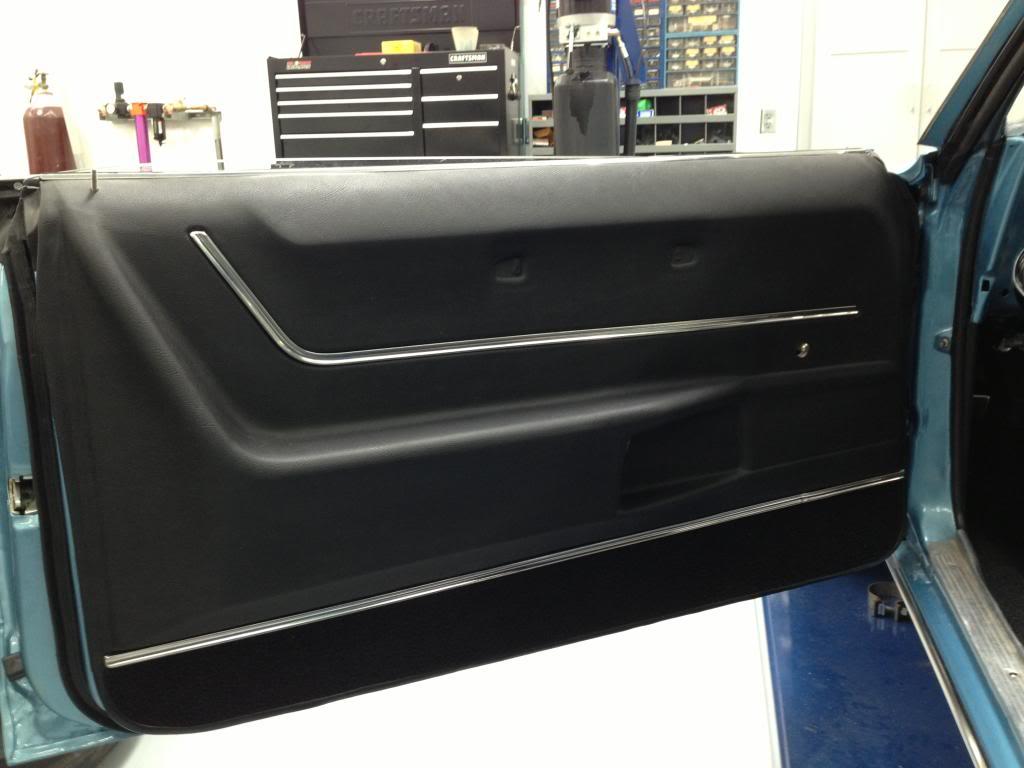
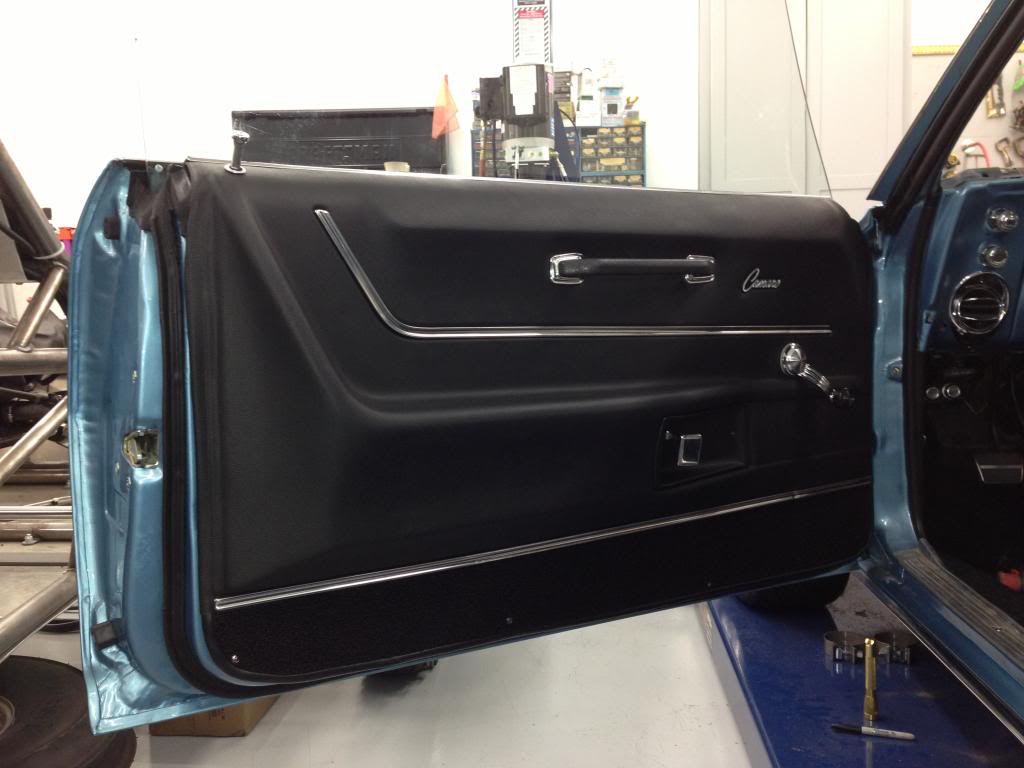
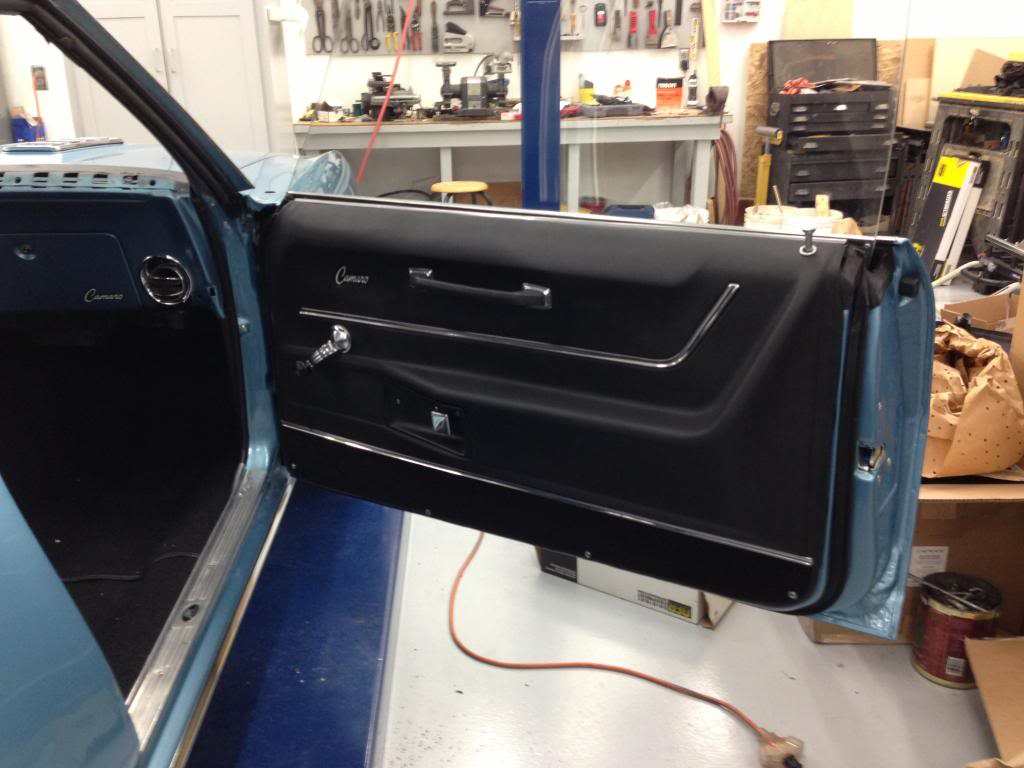
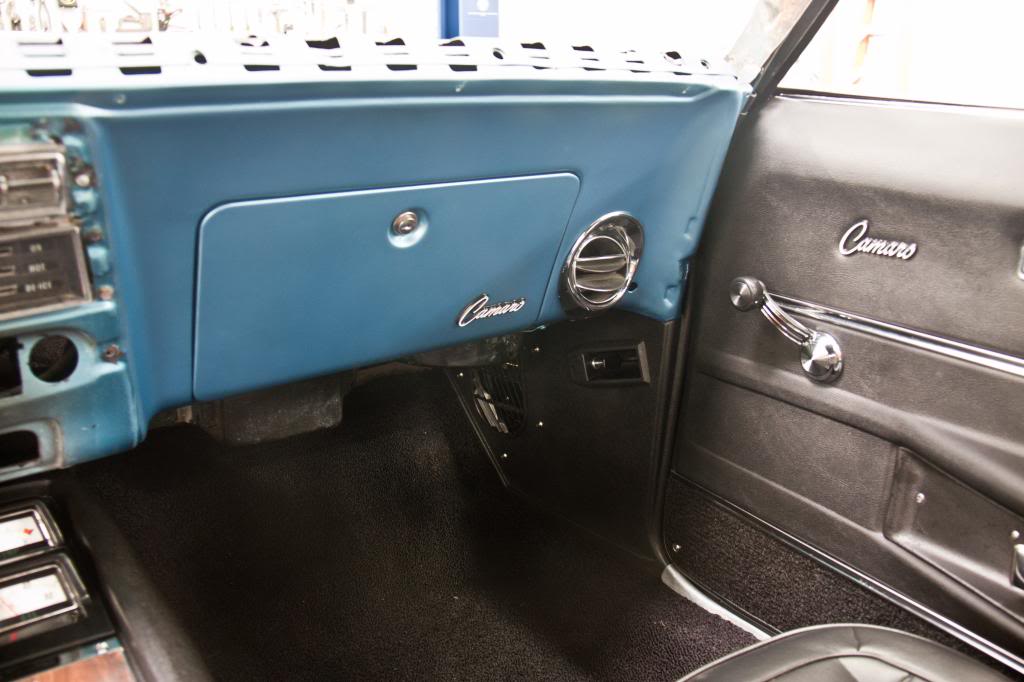
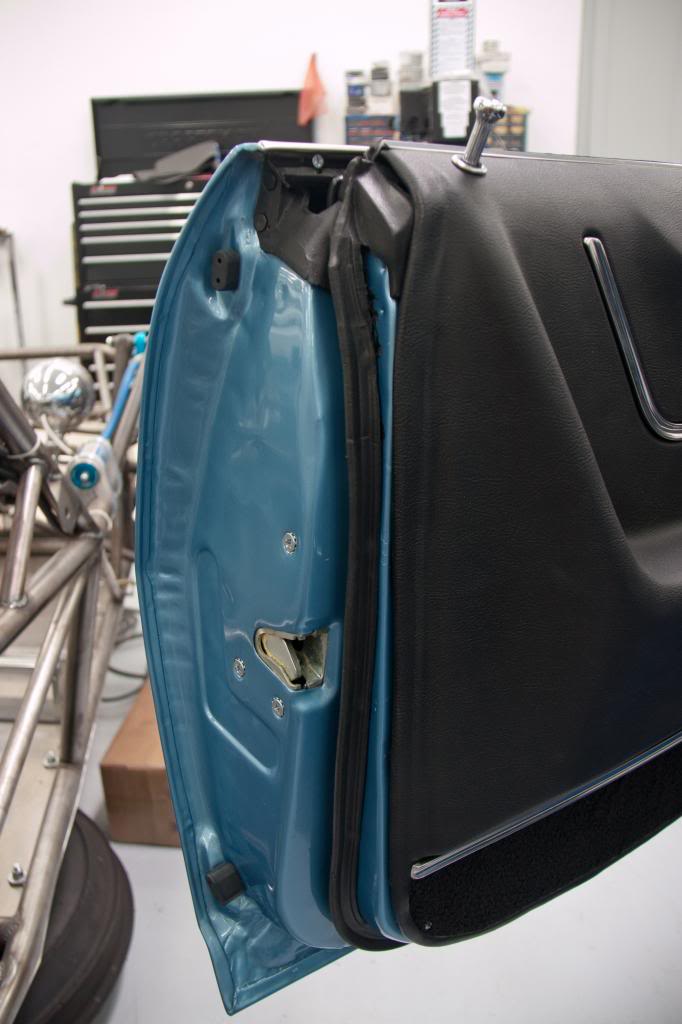
Door Panels from Al Knoch. Took me almost 2 full solid days to get these on. LOTS of hand fitting.
Had to pull up the vinyl and cut off about 1/4" off the front of the passenger panel then reglue and staple it. Major PITA:

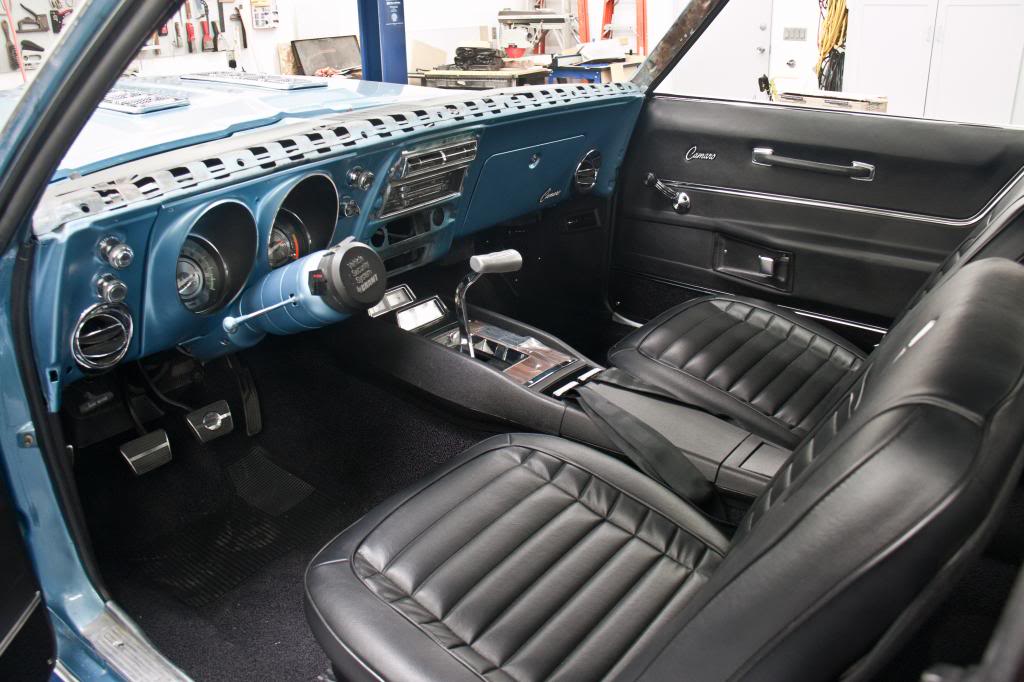
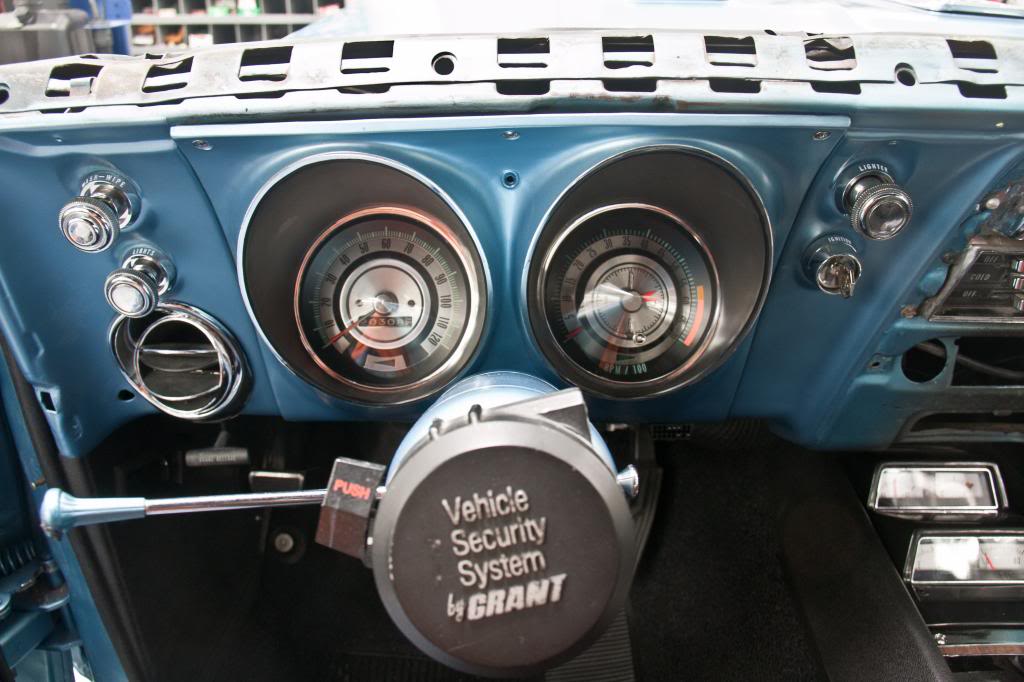
Everything pretty much in except the Dash and Pillar post Moldings, which just came back from Just Dashes.

Door Panels from Al Knoch. Took me almost 2 full solid days to get these on. LOTS of hand fitting.
Had to pull up the vinyl and cut off about 1/4" off the front of the passenger panel then reglue and staple it. Major PITA:


Everything pretty much in except the Dash and Pillar post Moldings, which just came back from Just Dashes.


