
1969 Nova L33 swap


 03-21-2014, 10:20 PM
#67
Teching In

Join Date: Jul 2008
Posts: 3
Likes: 0
Received 0 Likes
on
0 Posts

Hi,
I was looking over your build, great work! I just got my 72 moving with an LM7 swap and have a question. I used the dirty dingo plates, auto kraft pan and kooks headers with Moroso solid engine mounts, as locating the poly mounts was difficult. What mounts and stands are you using? The solid mounts work great, just have a vibraton at idle.
Thanks in advance
Tim Bourque
03-27-2014, 08:36 PM
#69
Hi,
I was looking over your build, great work! I just got my 72 moving with an LM7 swap and have a question. I used the dirty dingo plates, auto kraft pan and kooks headers with Moroso solid engine mounts, as locating the poly mounts was difficult. What mounts and stands are you using? The solid mounts work great, just have a vibraton at idle.
Thanks in advance
Tim Bourque
I was looking over your build, great work! I just got my 72 moving with an LM7 swap and have a question. I used the dirty dingo plates, auto kraft pan and kooks headers with Moroso solid engine mounts, as locating the poly mounts was difficult. What mounts and stands are you using? The solid mounts work great, just have a vibraton at idle.
Thanks in advance
Tim Bourque
Sent from my SAMSUNG-SGH-I747 using IB AutoGroup
09-12-2014, 05:08 PM
#71
12 Second Club
Join Date: Jan 2014
Location: 217
Posts: 565
Likes: 0
Received 0 Likes
on
0 Posts
I didn't see where you redid your heater core. I know on the 68 Camaro I had, you can flip the sbc heater core over, drill holes in your sbc heater core cover, sweat a couple extensions on the heater core. It comes out in the same place as the BBC. The only thing you have to get then is the 2 bolt cover that goes around the heater hoses or you can make one which is super easy. I hope that helps.
09-13-2014, 09:08 PM
#72
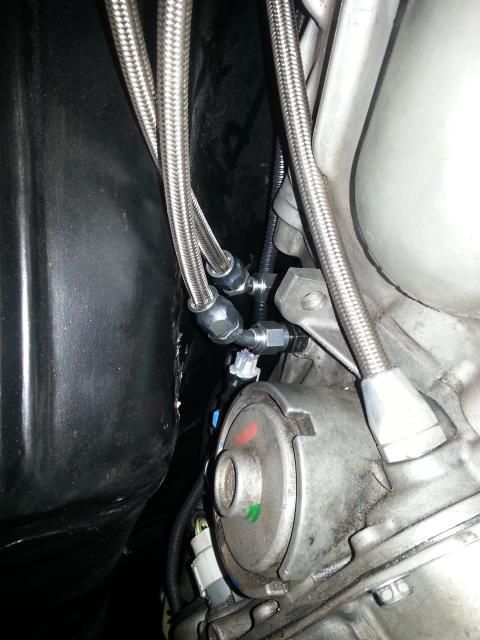
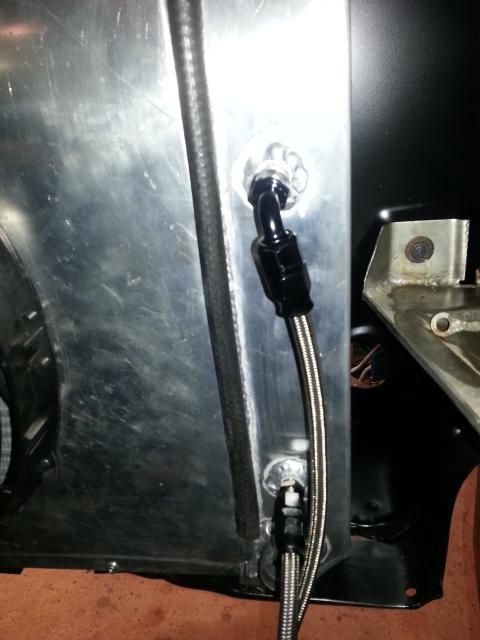
Hey Clint. No, not really much going on with the car. My wife just asked me tonight when I would have the car running and I told her another $2000 would get me the necessary stuff I need. I did have a long weekend so I ordered some ptfe hose and fittings for the fuel and tranny cooling lines. I did get my tranny lines made up yesterday. The ptfe is pretty easy to work with. Our garage is attached so if it is, in fact, non permeable I'll be happy to have spent the extra $$ on it. Of course, I will not know this until I get further along.
I think my next step is getting my rearend rebuilt or buying one already rebuilt. I have the stock pegleg 8.2" in the car now. I bought a used 8.5" out of a 1975 Nova (I think) a while back in hopes of getting it rebuilt. It needs to be totally rebuilt and upgraded with a posi. This guy is about 1 1/2 hours away and my buddy with a potent SBC has one of his rears and likes it. It will cost me almost as much to rebuild mine as it would cost to get one already rebuilt from him. I have never rebuilt a rear so that will be factored in as well.
Ranger,
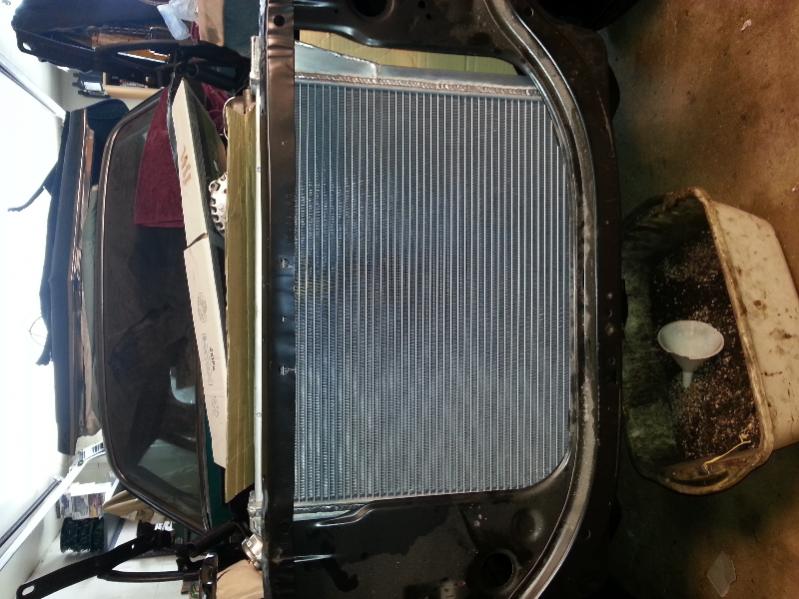
I took my heater core out when I put the engine in. I did this so that it did not get in the way when I located the engine. I was fully planning doing the big block heater core switch but when put it back in it cleared after bending the lower nipple just a bit.
I think my next step is getting my rearend rebuilt or buying one already rebuilt. I have the stock pegleg 8.2" in the car now. I bought a used 8.5" out of a 1975 Nova (I think) a while back in hopes of getting it rebuilt. It needs to be totally rebuilt and upgraded with a posi. This guy is about 1 1/2 hours away and my buddy with a potent SBC has one of his rears and likes it. It will cost me almost as much to rebuild mine as it would cost to get one already rebuilt from him. I have never rebuilt a rear so that will be factored in as well.
Ranger,
I took my heater core out when I put the engine in. I did this so that it did not get in the way when I located the engine. I was fully planning doing the big block heater core switch but when put it back in it cleared after bending the lower nipple just a bit.
09-29-2014, 08:57 PM
#73
I got a pretty significant update. As you can see in the above post I did get some PTFE hose and I made my tranny lines. I'll be using this for the fuel lines too.
I also ordered a Tanks Inc. fuel tank, sender, pumps, straps ect.
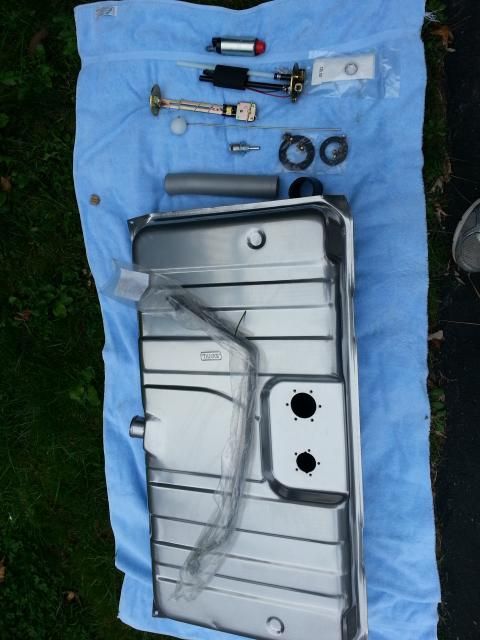
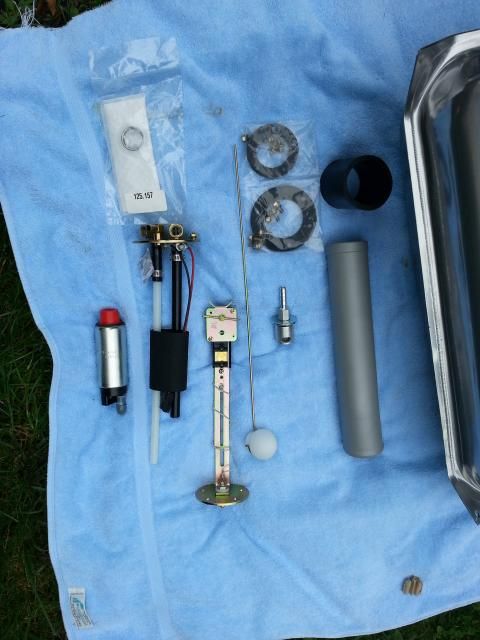
I started getting everything ready to install and came across a problem with the sender. I got it all set up as per the included directions. I tried to put it in the tank in the sender and it is just too wide to fit everything in there. In this pic you can see the little tab that the float rests on when the tank is empty. With it in this position the float sicks out too wide for the sender to go down in.
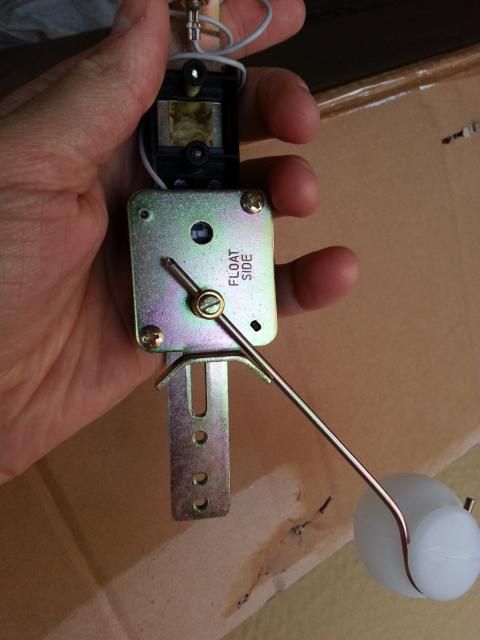
If I bend it down like in this pic it allows the float to stick straight down and the whole assembly fits in there without issue. There would be no way to bend this back once the sender is in place. Does anyone see this as an issue?
 09-30-2014, 10:12 AM
#74
TECH Resident
iTrader: (2)

Join Date: Jun 2013
Location: Wichita, KS
Posts: 755
Likes: 0
Received 0 Likes
on
0 Posts
I got a pretty significant update. As you can see in the above post I did get some PTFE hose and I made my tranny lines. I'll be using this for the fuel lines too.
I also ordered a Tanks Inc. fuel tank, sender, pumps, straps ect.
I started getting everything ready to install and came across a problem with the sender. I got it all set up as per the included directions. I tried to put it in the tank in the sender and it is just too wide to fit everything in there. In this pic you can see the little tab that the float rests on when the tank is empty. With it in this position the float sicks out too wide for the sender to go down in.
If I bend it down like in this pic it allows the float to stick straight down and the whole assembly fits in there without issue. There would be no way to bend this back once the sender is in place. Does anyone see this as an issue?
09-30-2014, 12:17 PM
#76
TECH Resident
iTrader: (2)
Join Date: Jun 2013
Location: Wichita, KS
Posts: 755
Likes: 0
Received 0 Likes
on
0 Posts
I think I remember somewhere that it is standard procedure to trim that extra bracket off to fit the tank. I wouldn't bend that tab over. I don't think it will be detrimental, but it's designed to be there.
10-06-2014, 08:06 PM
#77
I called Tanks the other day. They me that tab is there to keep the float from spinning around during shipping. I bent it down and got that pump and sending unit installed. Ill probably try to get out there tonight or tomorrow to get the tank installed.
Sent from my SAMSUNG-SGH-I747 using IB AutoGroup
Sent from my SAMSUNG-SGH-I747 using IB AutoGroup

 08-25-2016, 09:09 PM
#80
Here it is with the mufflers I'll be using. I am gonna heat cycle it a few times to get the header bolts tight cuz there is an exhaust leak on the drivers side.
Couple of issues.
The throttle activation is barely there. It will idle fine however when I press the pedal the RPMs go up just a little. I don't have a tach hooked up yet but my guess it just a few few hundred RPMs.
Also, I have a miss on the passenger side. I can hear a faint pop. Not sure what that is. I'll look these issues up but if you have any suggestions I am open. This is getting fun!!