When you click on links to various merchants on this site and make a purchase, this can result in this site earning a commission. Affiliate programs and affiliations include, but are not limited to, the eBay Partner Network.
A little history on the car: my uncle bought it new in September 1993. In 2004 he gave it to me as a high school graduation gift, still bone stock. Over the years I did simple bolt ons until 2009 when I replaced the original 200,000 mile LT1 with a new 383 LT1 from Golen Engines. I continued to modify it, eventually settling after putting a Lloyd Elliot Trickflow H/C/I package and 24x conversion on it. It made 390hp/380tq on a mustang dyno and was a ton of fun to drive. Then on July 4th of this year, I was passing a van on a 2 lane highway and the timing chain snapped, cracking the timing cover and bending most of the valves. I have a thread about that here:
The engine only had 60,000 miles on it. While it was devastating and disappointing (because of the low miles), I knew I couldn�t let the car stay down. It�s my baby after all.
Here's the workspace. My lift is a Quick Jack that I bought from Costco. One of the most useful garage purchases I've ever made. Since the plan was to disassemble the LT1 and sell it for parts, I opted lift the short block out the top with a cherry picker.
My cherry picker barely had enough reach even though I took the wheel off and went at it from the side.
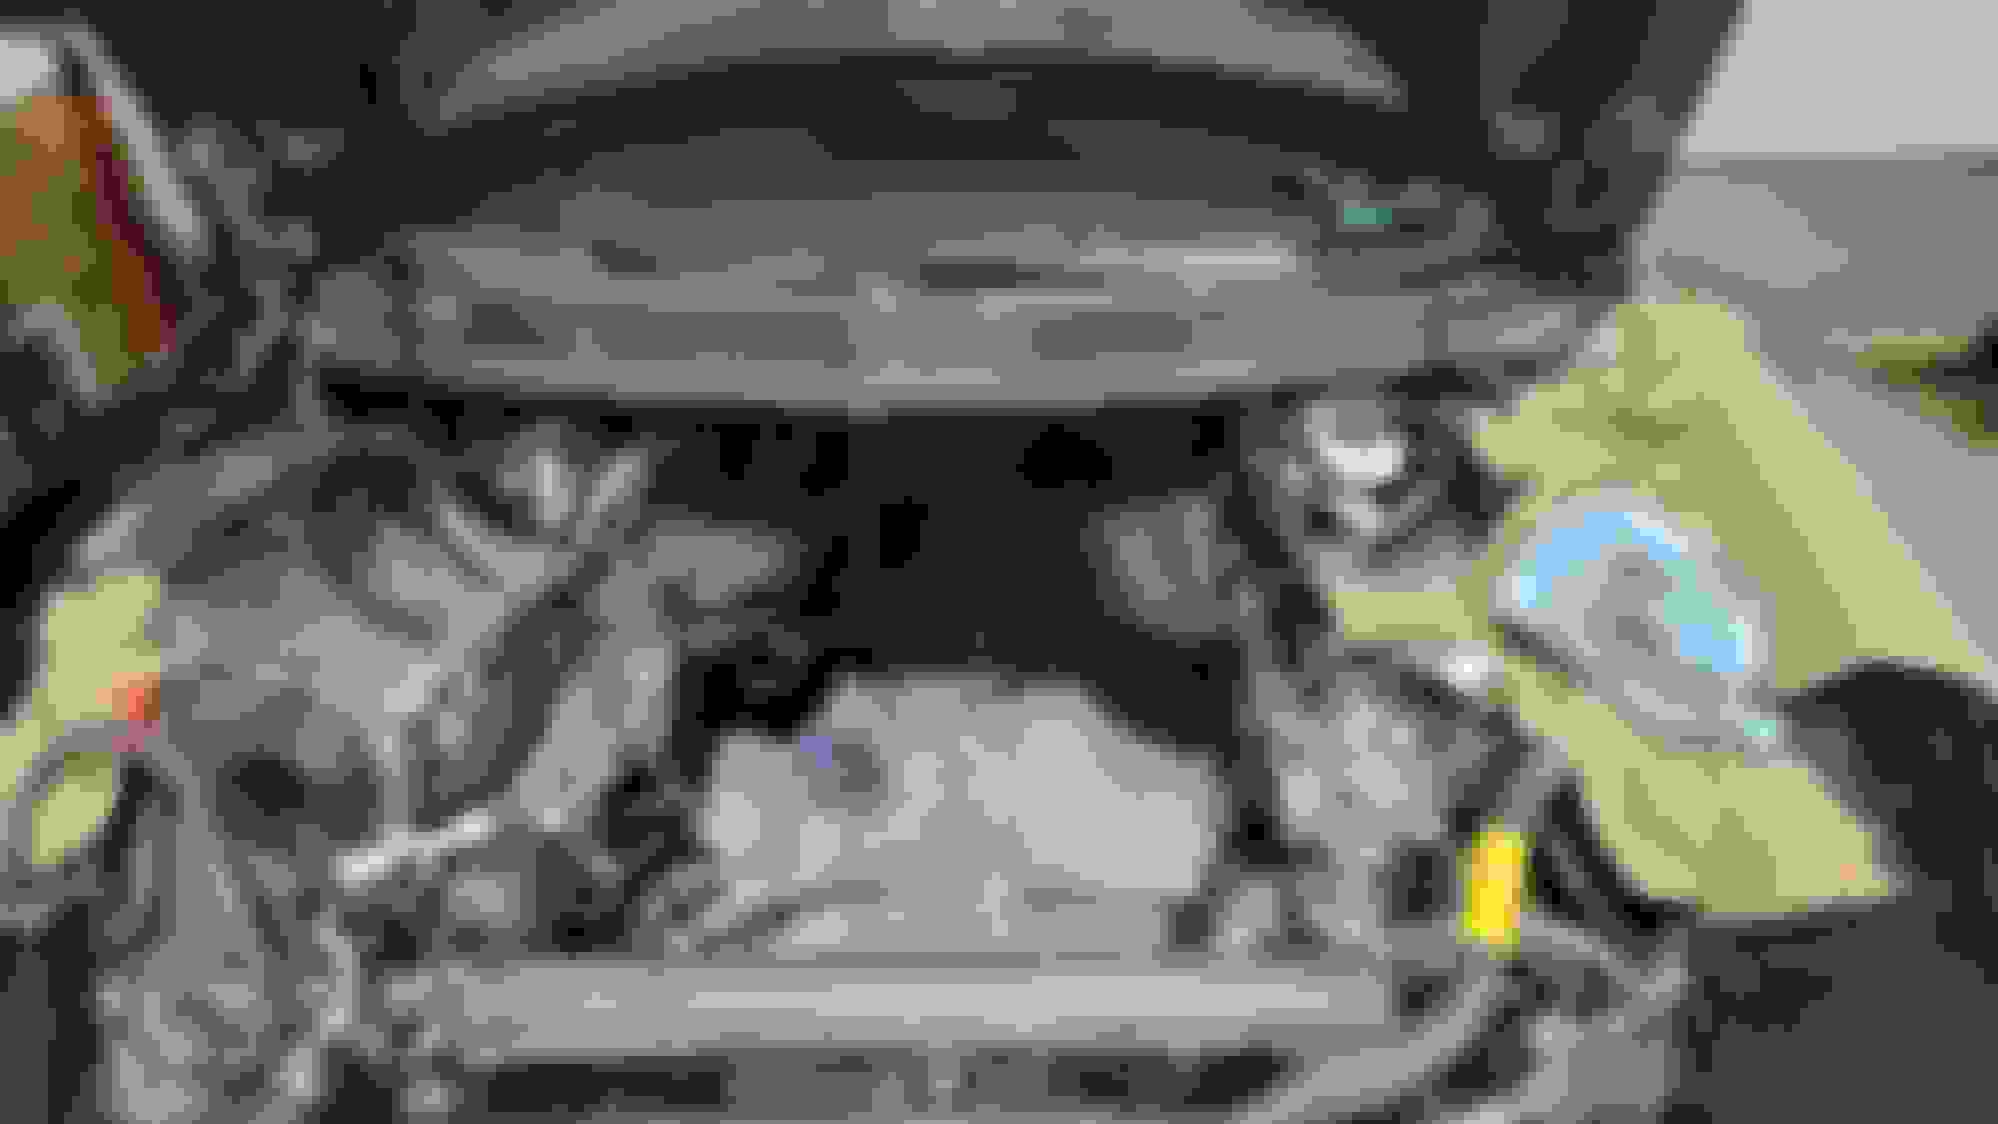
Empty engine bay. I ended up reusing my current T56. I sent it to RPM Transmission for a new input shaft, mid plate, bellhousing, and their recommended upgrades. I also went with Tick's LS7 clutch package that included speed bleeder, adjustable master, slave.
The power plant! It's a brand new LS3 long block built in May of this year according to the plaque riveted to it. After searching high and low, I found this not terribly far from where I live in central Oregon. Luckily the cherry picker was able to hoist it out of my truck bed.
Getting ready to mount it on the engine stand. The only modification I did was a Cam Motion Mild Performance Stage 2 camshaft (216/226-116+3 .553/.553). Otherwise I left the long block stock. Hoping to make more power and get better gas mileage than my LT1 with just this cam.
One of the issues I ran into was the crank pulley. I didn't realize the long blocks came with a Corvette pulley even though they also come with a f-body oil pan. Had to swap the pulley with everything installed in the car. Can't believe that bolt requires 250 ft/lbs!
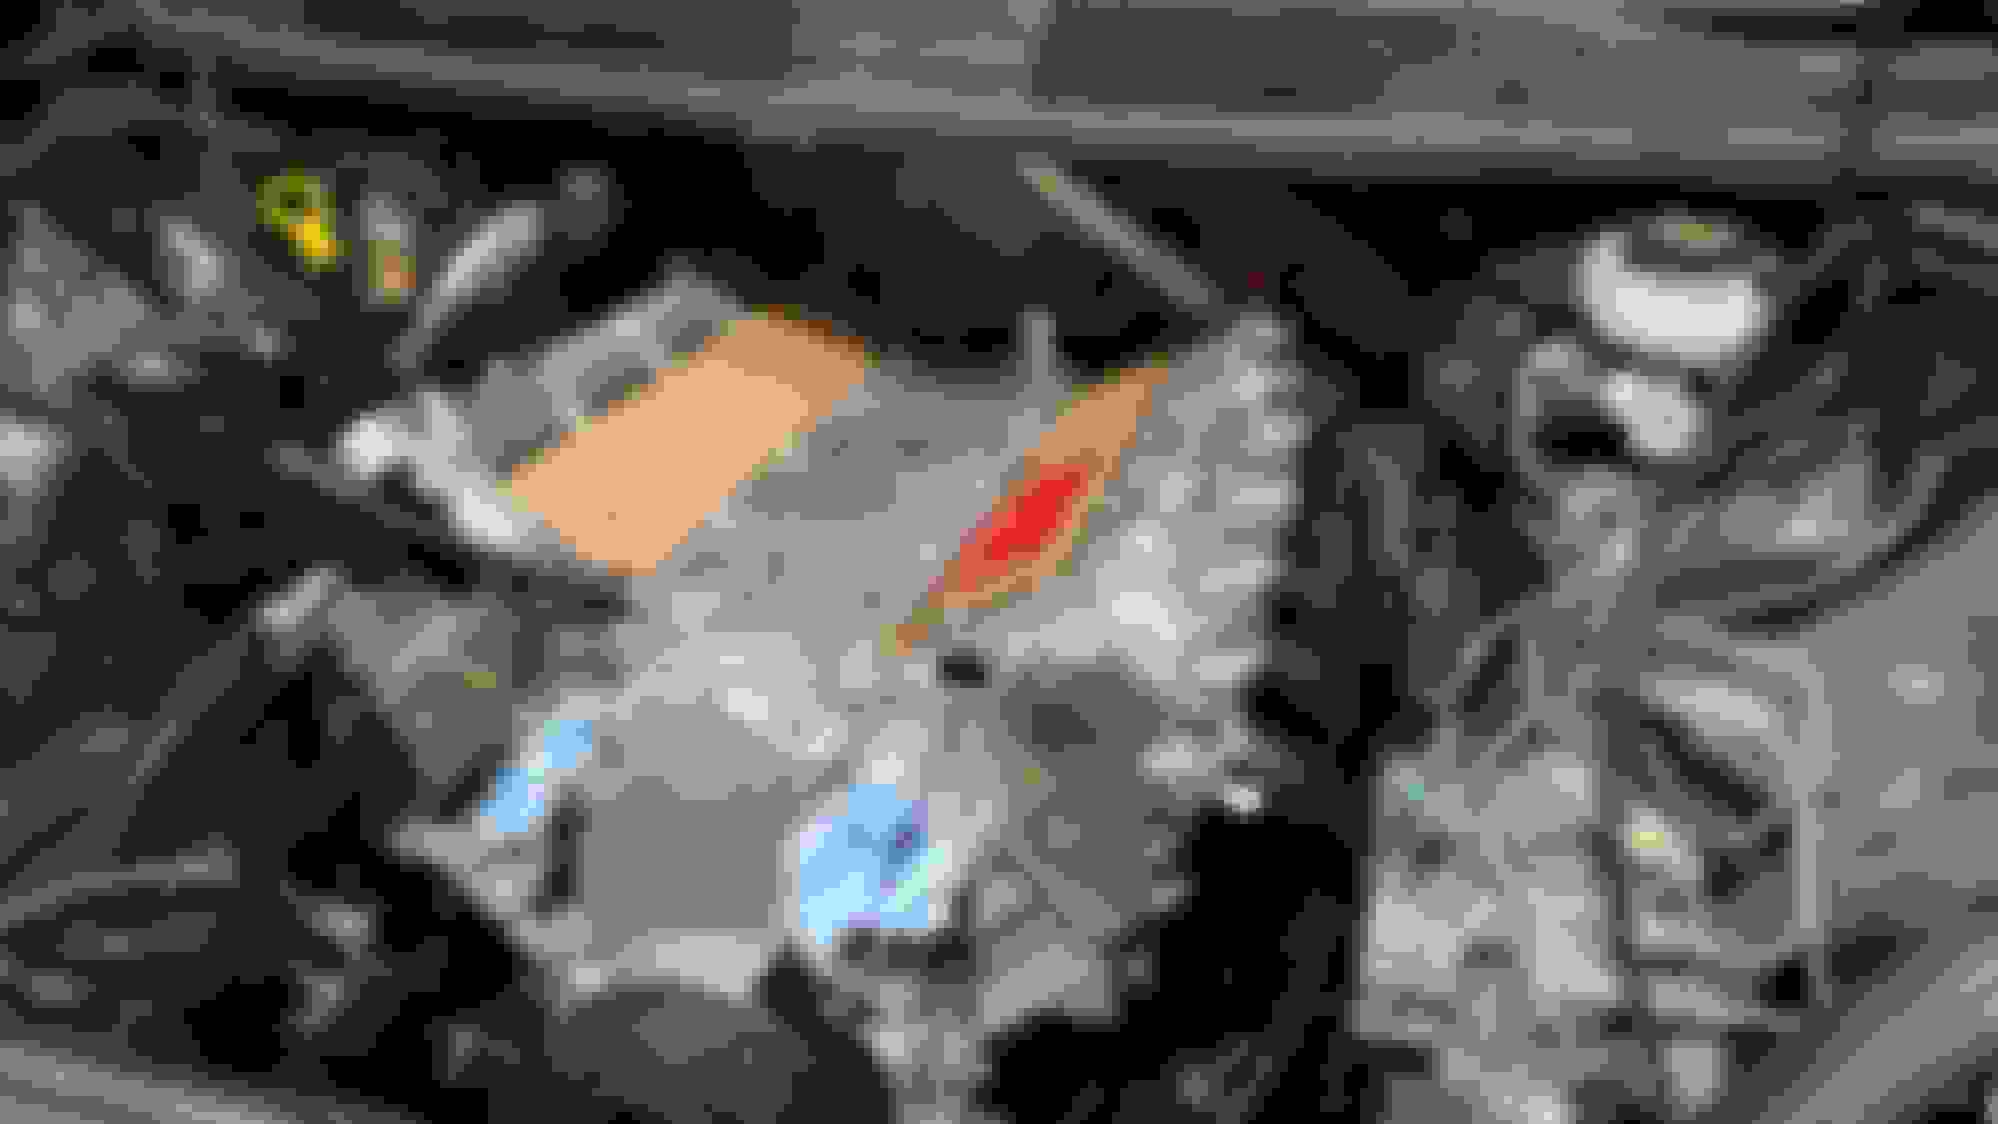
And just like that it's in the car. I initially bought the Motion Raceworks 4 corner flex hose steam pipe kit but ran into two issue. First issue was that it didn't fit once I had all my PCV and EVAP lines installed. Second was that I didn't realize the rear steam ports on the heads were plugged. The engine was installed when I realized this so there was no way I was even going to attempt to drill them out. Ended up going with a Summit Racing steam pipe kit. Also had to swap out the LS3 oil pressure sender to a LS1 style.
The MAP sensor required a bit of problem solving. I needed to use an LS1 MAP sensor but it was too narrow for the hole in the intake and there was no way to fasten it. I ended up cutting the top off a vacuum cap and used that in addition to the rubber piece that comes with the sensor to make it thicker and then it fit in the intake nice and snug. Then I used this body panel shim and bent it in such a way to hold the MAP in place with the stock bolt.
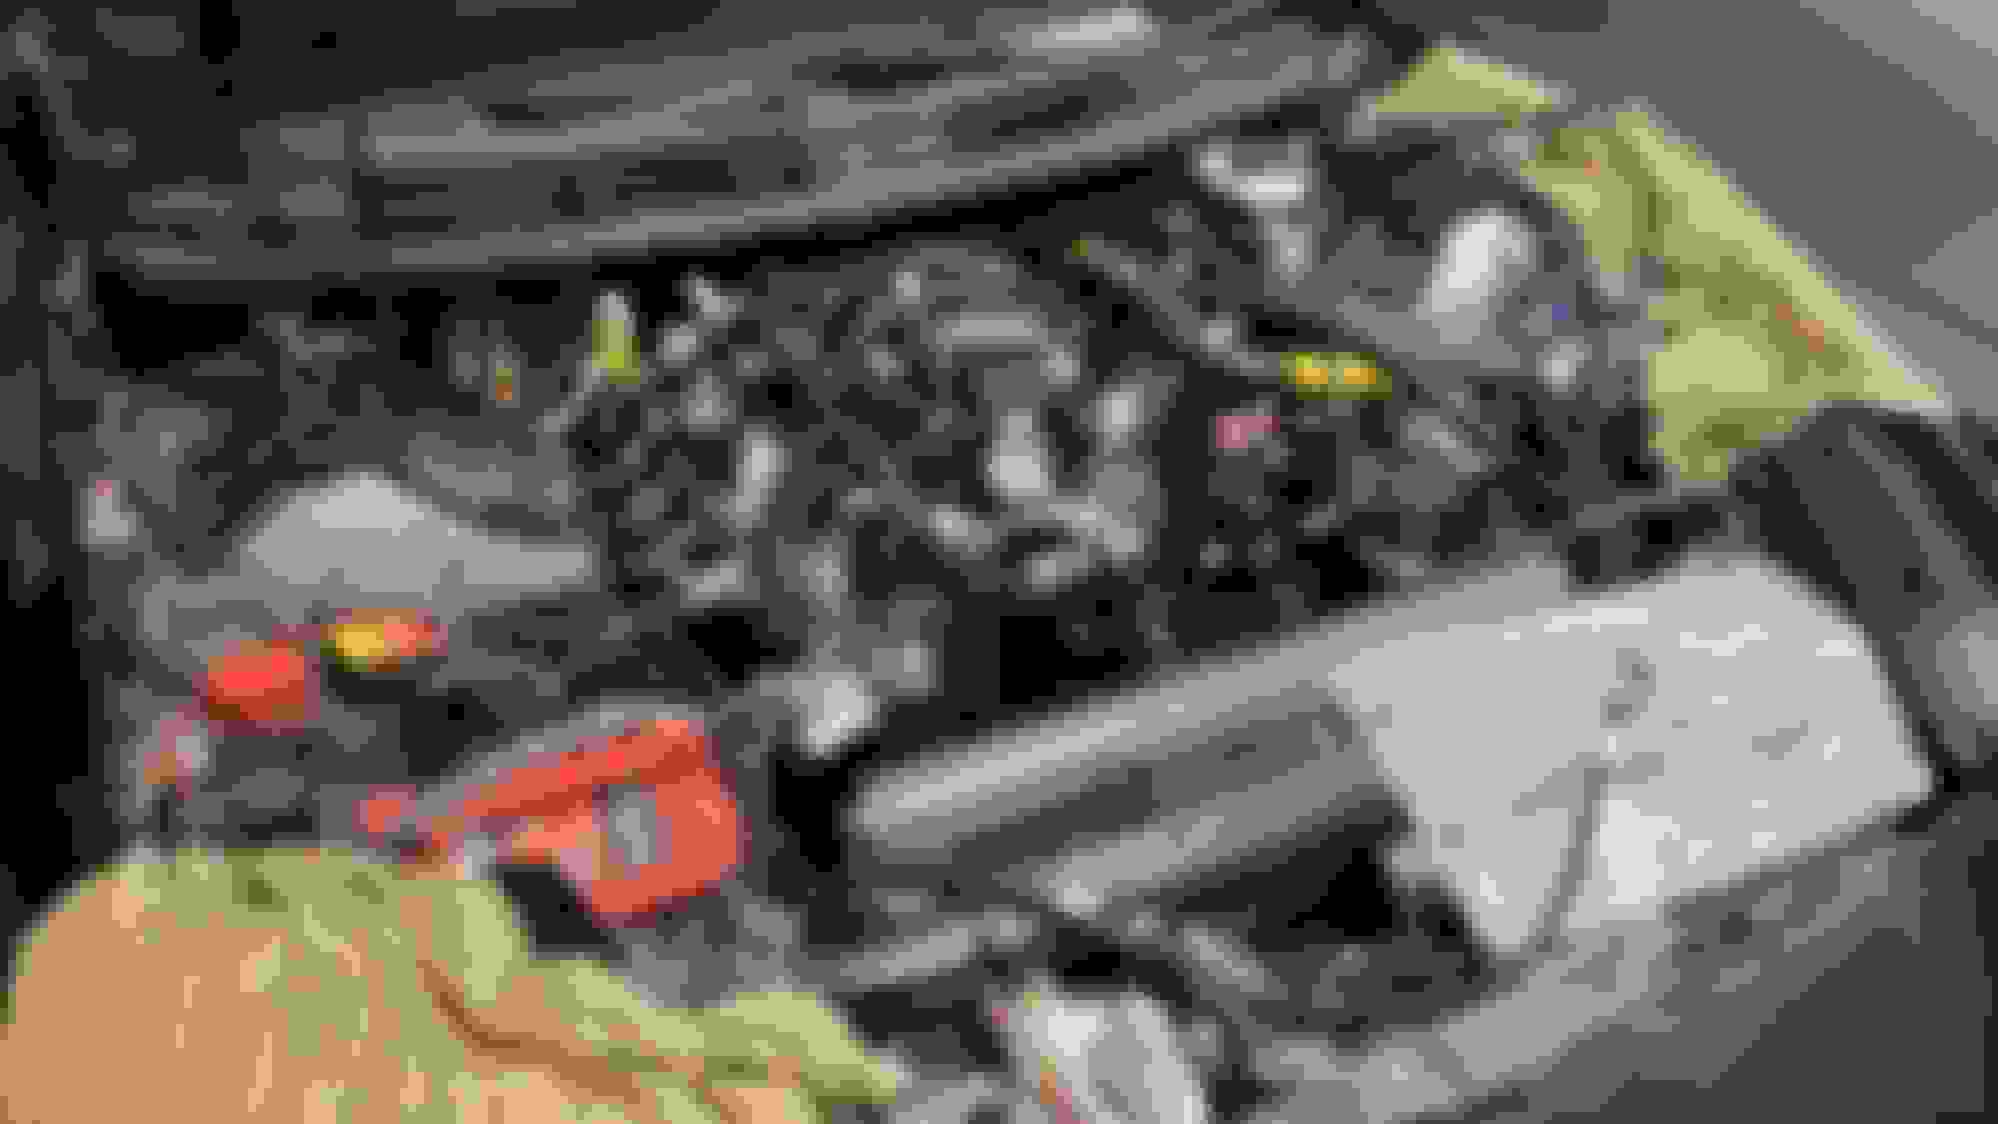
Lots of assembling going on here. Most of the brackets and accessories I got from ICT Billet. I bought the whole intake manifold assembly from Summit. The throttle body is a Nick WIlliams. The wire harness is from BP Automotive. They're the ones who made my 24x harness for the LT1 and both harnesses were absolutely fantastic. The power steering pump ended up being a dud and I replaced it with a Turn One pump that works great. The power steering lines are steel braided custom lines from Huron Speed. The alternator is a 145 amp truck alternator from Napa.
I reused my current radiator since it's a Ron Davis all aluminum. I needed to plug this port which is now unused. After toying with ideas such as using a rubber vacuum cap, using a section of hose with the end sealed somehow, I decided to apply a generous amount of JB weld to a bolt and shove it in. Works like a charm!
Next I needed to figure out how to get it fuel. I had a bunch of ideas here as well. I prefer to keep things as simple as possible and use what's already on the car if I can as opposed to drilling new holes and such. I decided to remove the stock filter and mount a Corvette FFR on the driver's fender using the bolt hole for the stock fuel line bracket. Here you can see the adapters used to delete the stock fuel filter and what the lines look like with it gone.
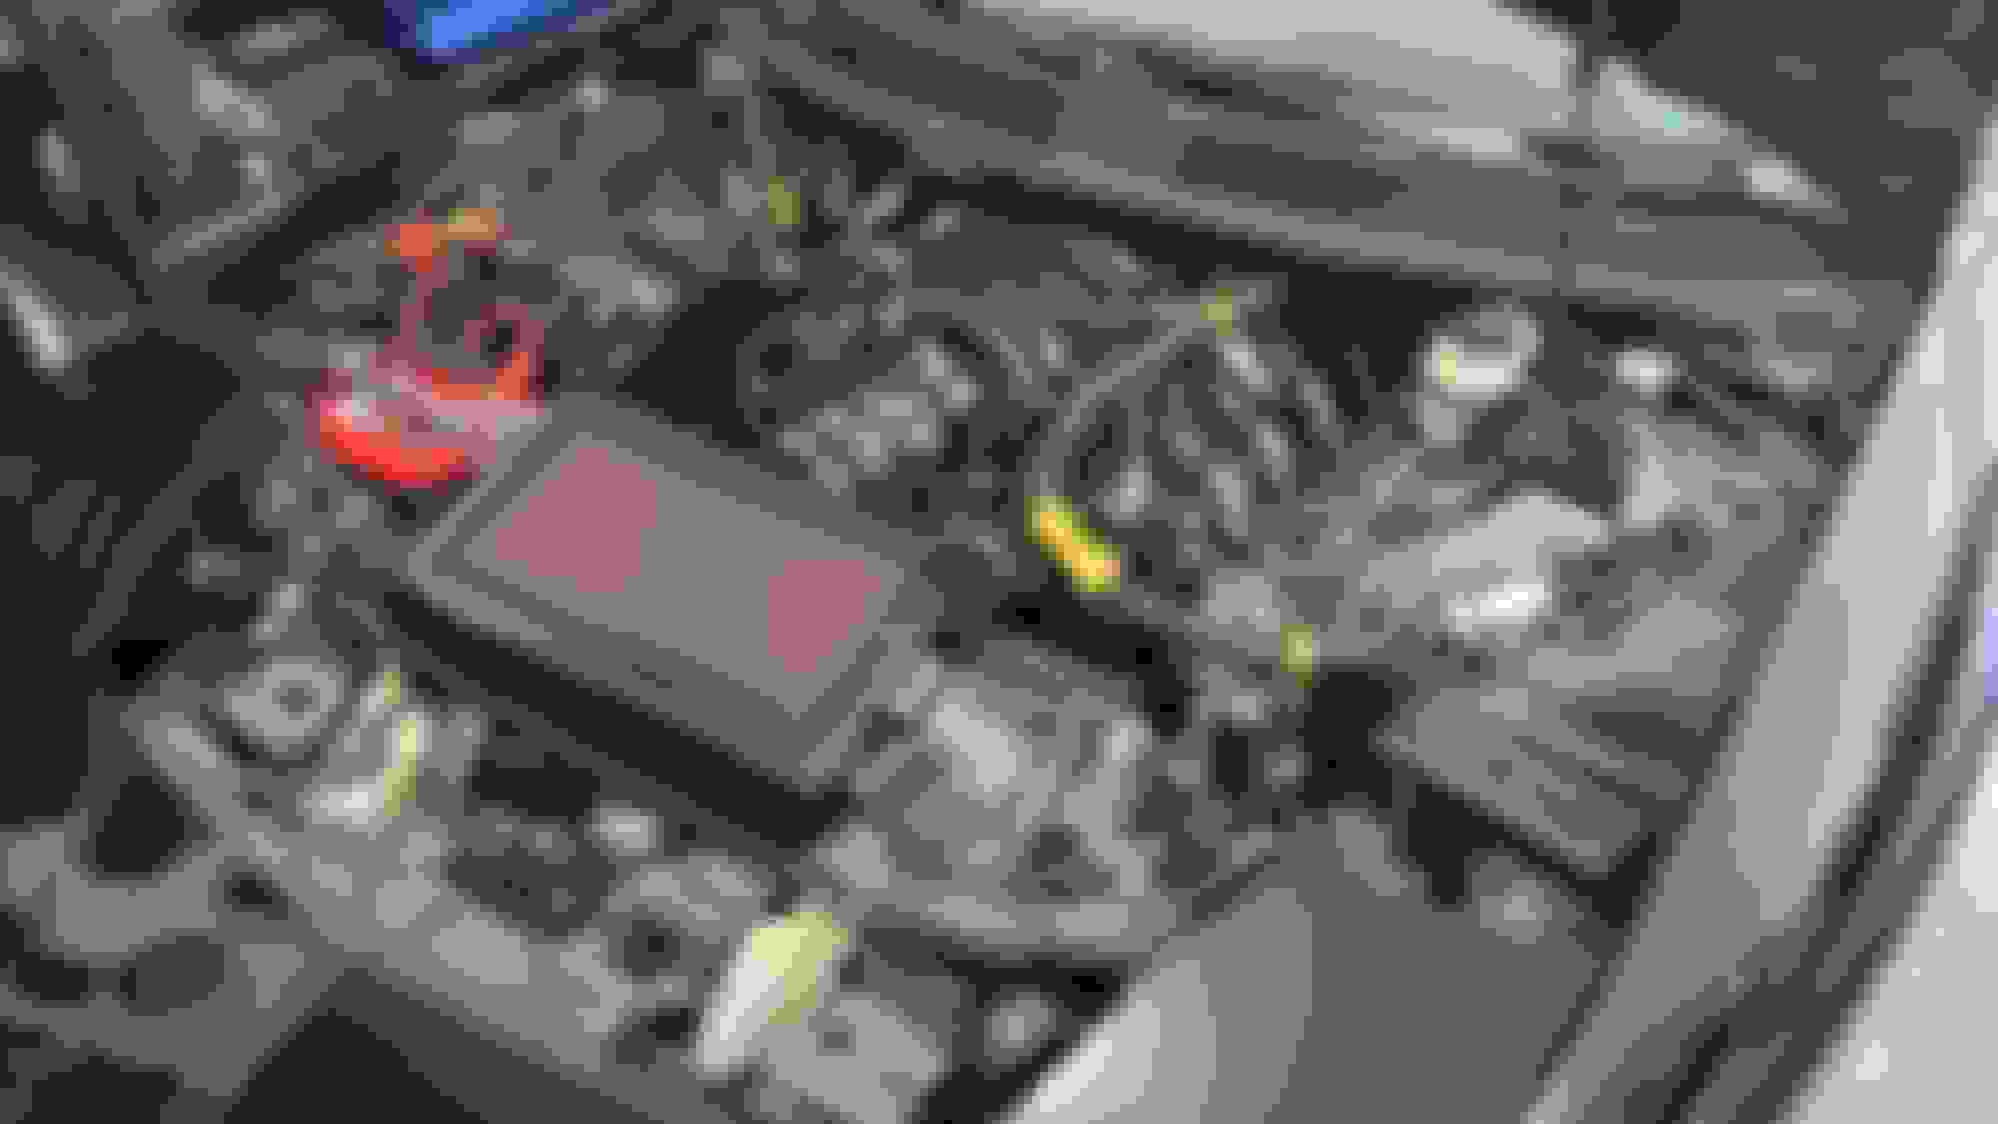
Here is the Corvette FFR all mounted up. I need to cut and change the length of the nylon lines leading to the FFR. I was able to use the stock feed line from the FFR to the fuel rail though. I was also able to reuse the EVAP line. The new sections of nylon line and the line unions were all Dorman parts. In this pic you can also see the Tick speed bleeder on the right and the fuel pressure sensor mounted to the rail on the left. One of the issues I'm having is the fuel pressure is at 70 psi instead of 58. I already tried a new FFR and I ran the car with the return line going into a bucket. Neither made a difference. Next steps are to rule out the feed lines I think.
Since I'm still using the LS1 PCM, I needed the Lingenfelter conversion box to go from 58x/4x to 24x/1x. I wanted to keep it as far from heat and vibration as possible. I also didn't want to drill any new holes as I've mentioned before. I was able to use the mounting holes for the old power steering reservoir and a $2 piece of metal from Home Depot to get the box mounted out of harm's way but still close enough for most wires to reach. I say most because the crank wire wasn't quite long enough and I had to buy an extension. I still love how it turned out. For power I ran a wire to the fuse panel inside the car and used the extra accessory spot for keyed power.
All buttoned and ready to go! This is what the engine bay currently looks like. I'm tuning it myself with HP Tuners. I'm using a stock 2002 TransAm file as my base with some tables copied over from my LT1 tune like throttle cracker, follower, DFCO, MAF curve etc. I'm using the spark tables from a stock LS3 Corvette. So far it purrs like a kitten. AFR is on point, no knock, idle is dialed.
Here's a video of it idling. The exhaust is Texas Speed 1 7/8" long tube headers and off road y-pipe into a GMMG cat back and that's it. The car now has 260,000 miles on it and I plan to keep it forever and drive it as much as possible. What do you guys think??
If you're talking about doing a front end conversion on these cars, you would have to replace every panel from the doors forward including hood and quarter panels. You can't replace just the front clip by itself.

 11-11-2022, 02:42 AM