
88 Fiero Formula LS4/F40 6 speed swap
 01-15-2015, 01:47 AM
#201
Teching In
iTrader: (17)

Join Date: Nov 2008
Location: Mtn Home AFB, Idaho
Posts: 45
Likes: 0
Received 0 Likes
on
0 Posts

fg, i enjoyed reading this. I have wanted a fiero forever and having the info available to put some power out back has me searching for one once again. i a. I have read all of your m leaning toward the ls4/4t65/tapshift and would like to keep DOD. I look forward to more of your work when you get settled. Mostly, thanks for sharing your fun with the rest of us.
 07-04-2015, 05:18 PM
#202

Just a long term update... It has been nearly 2.5 years since the first start, I have put over 16K miles on the swap, and the only real issue I have had with it was breaking the shifter cable.
Work promoted/transferred me back to our Mattoon, IL plant in November of 2014, and I have been in an apt ever since while trying to find the right house/garage to buy. We signed a lease on a townhouse with a small 2 car garage in Champaign, IL, so at least I will be back to having a garage and might be able to pull a small portion of my tools/equipment out of storage.
Not really planning to do much with the car besides continue to drive it and rack up the miles.
 08-23-2015, 07:25 PM
#203
Pulled the dash and center console to do some minor work.

Cluster started acting funny (tach would stop working and gas gauge would drop to E when the head lights were turned on). Fieros have a plastic circuit board and they can deteriorate and cause poor ground issues. So I pulled mine out and ran some dedicated ground wires to the main pickup locations.
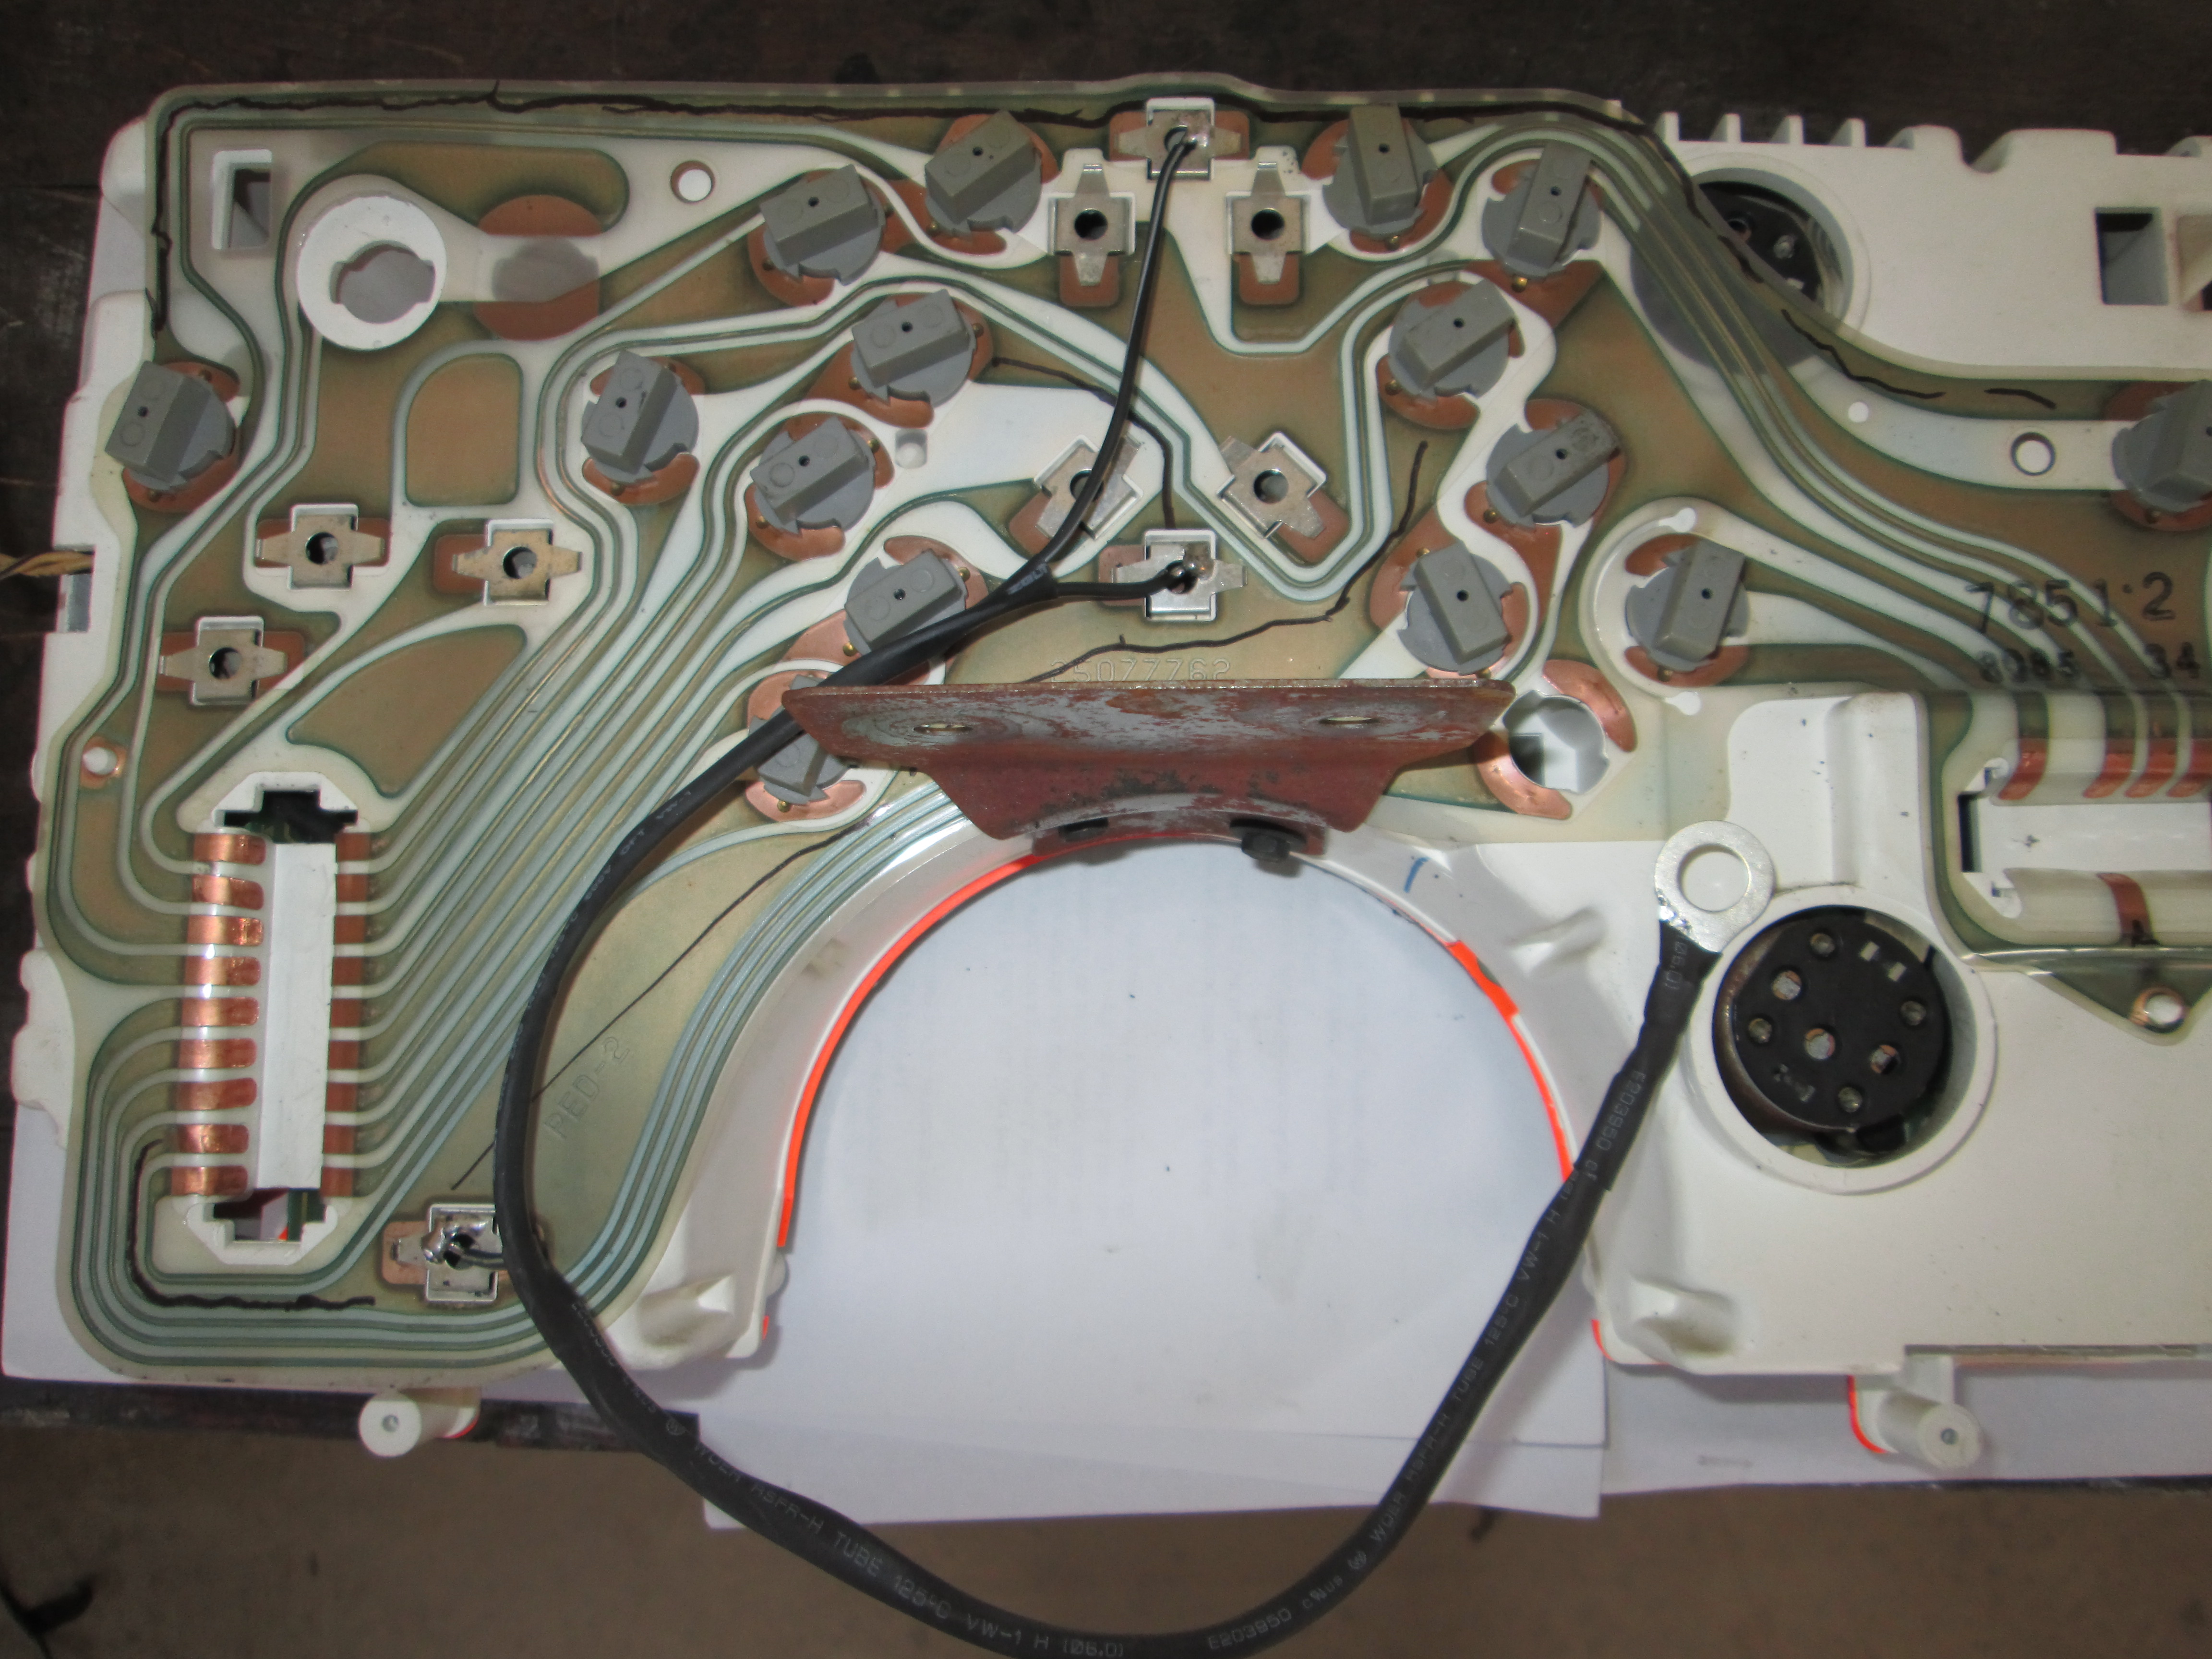
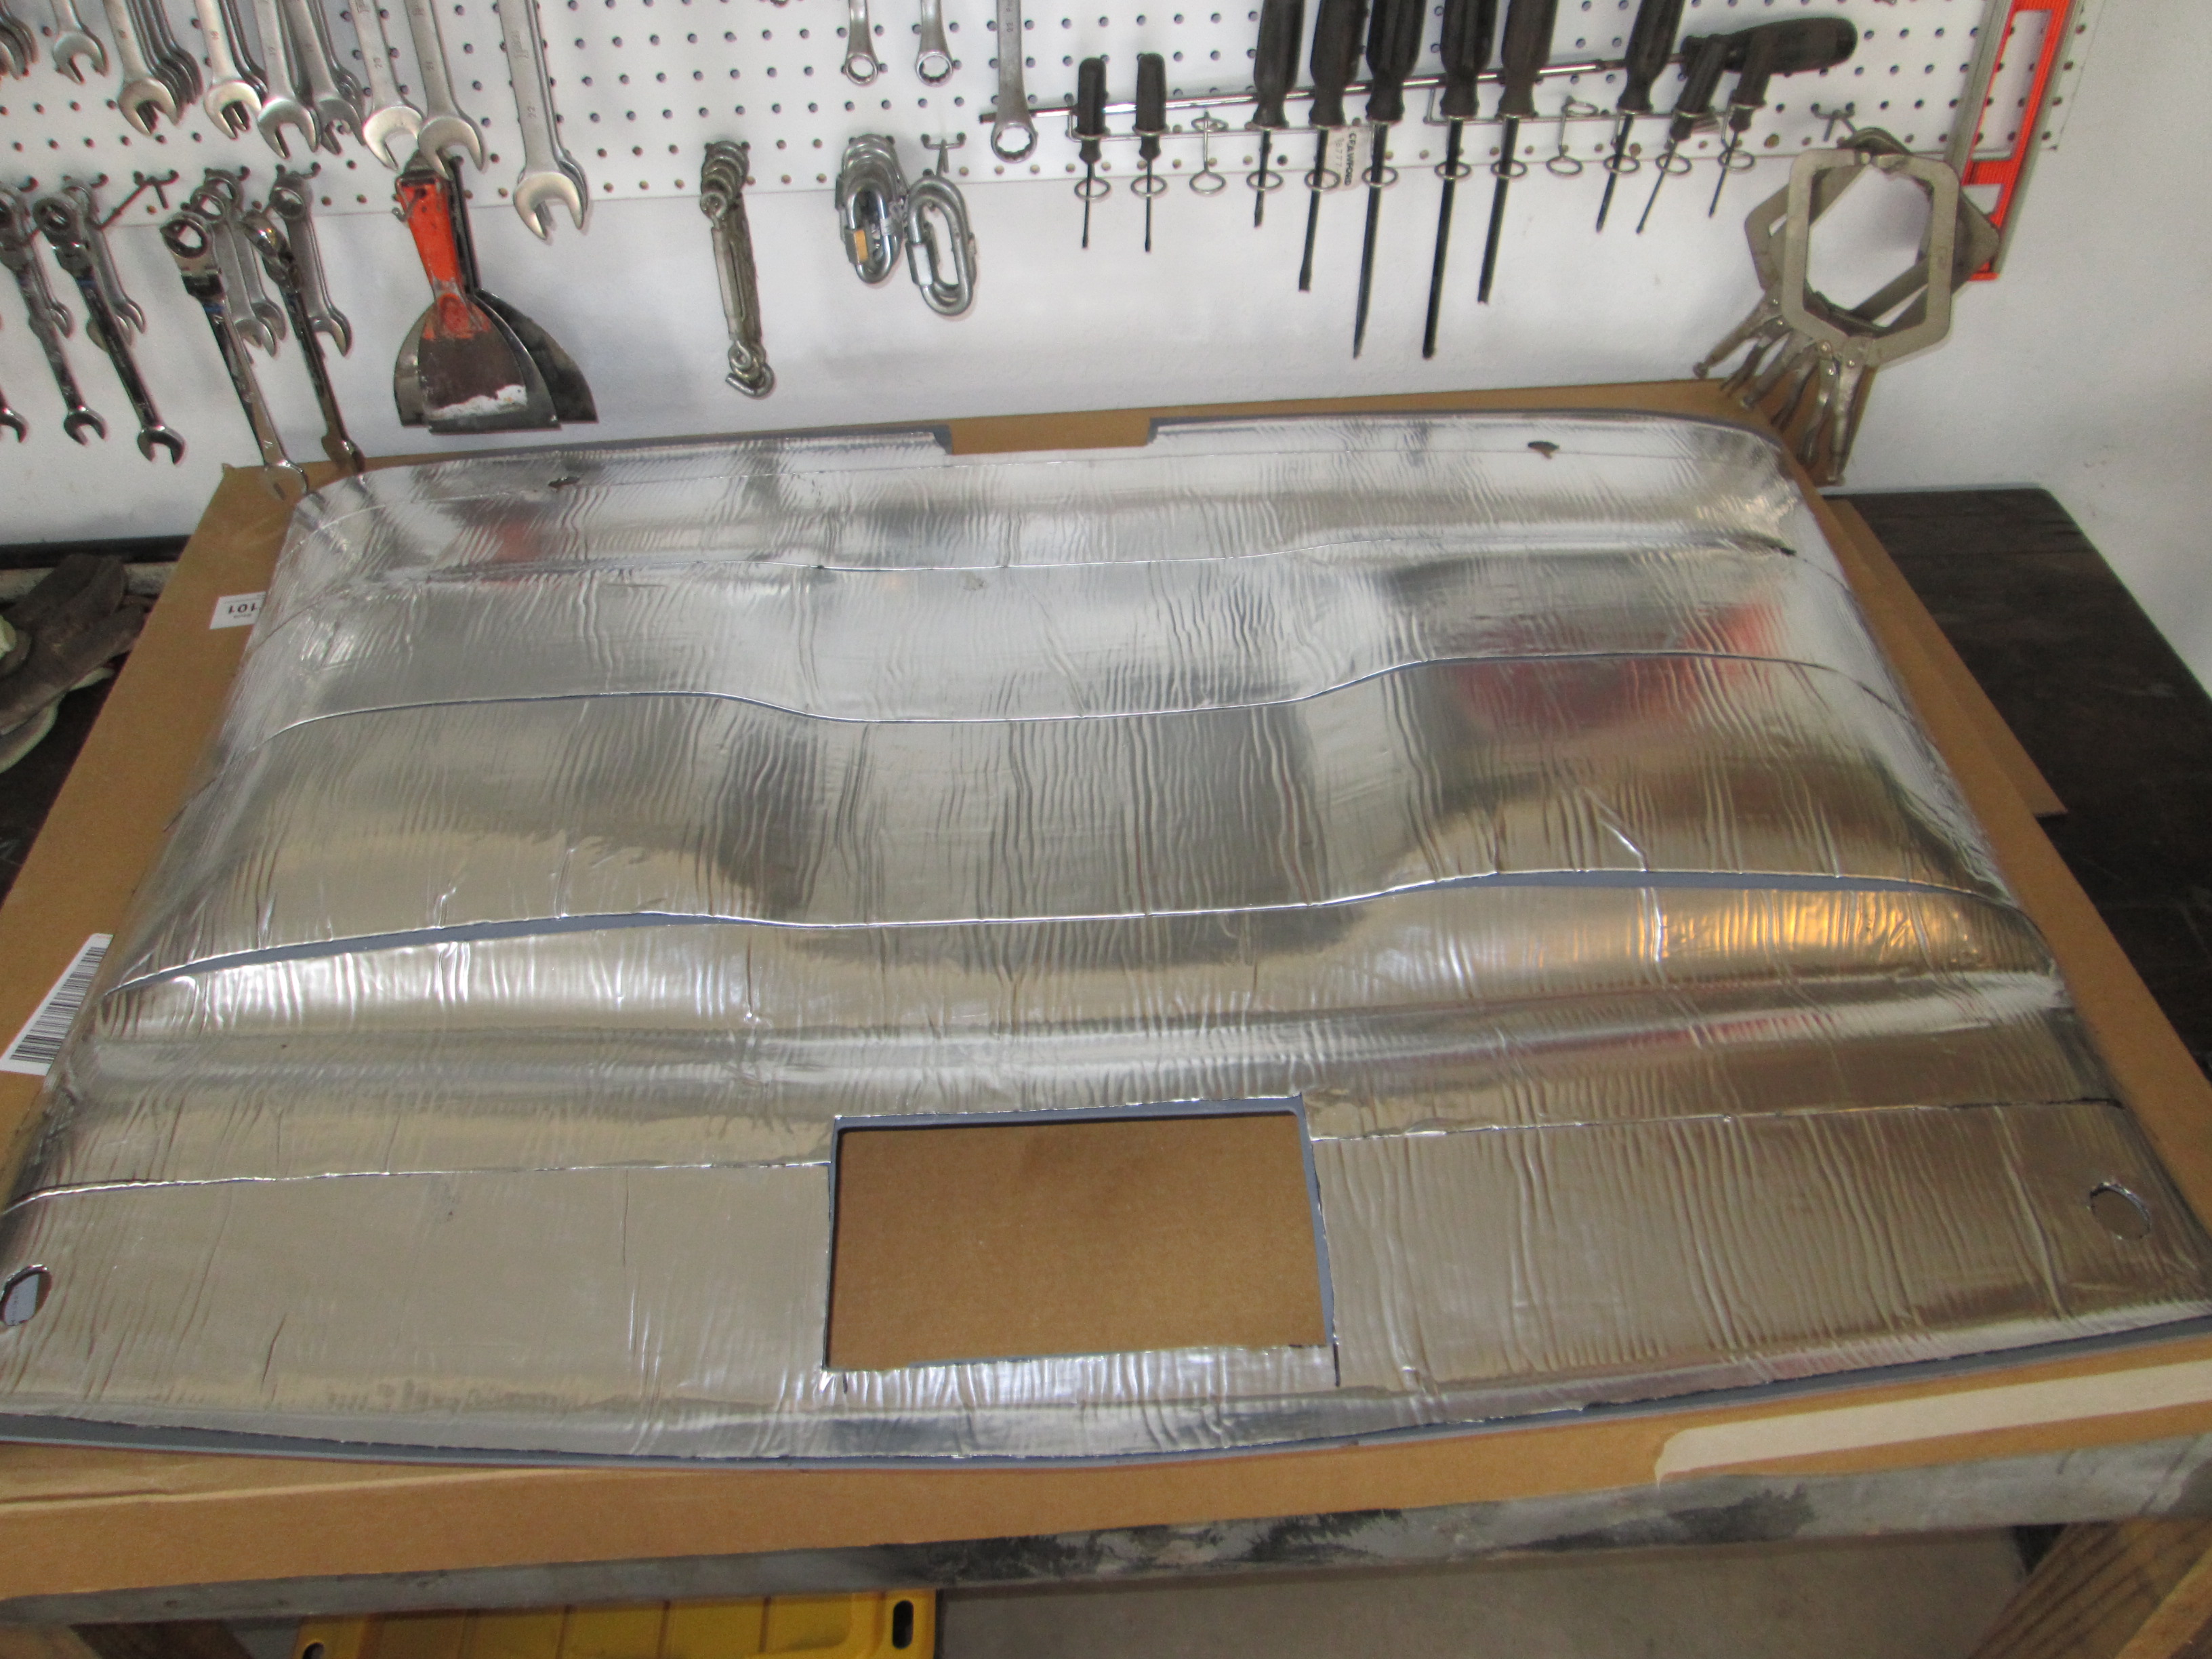
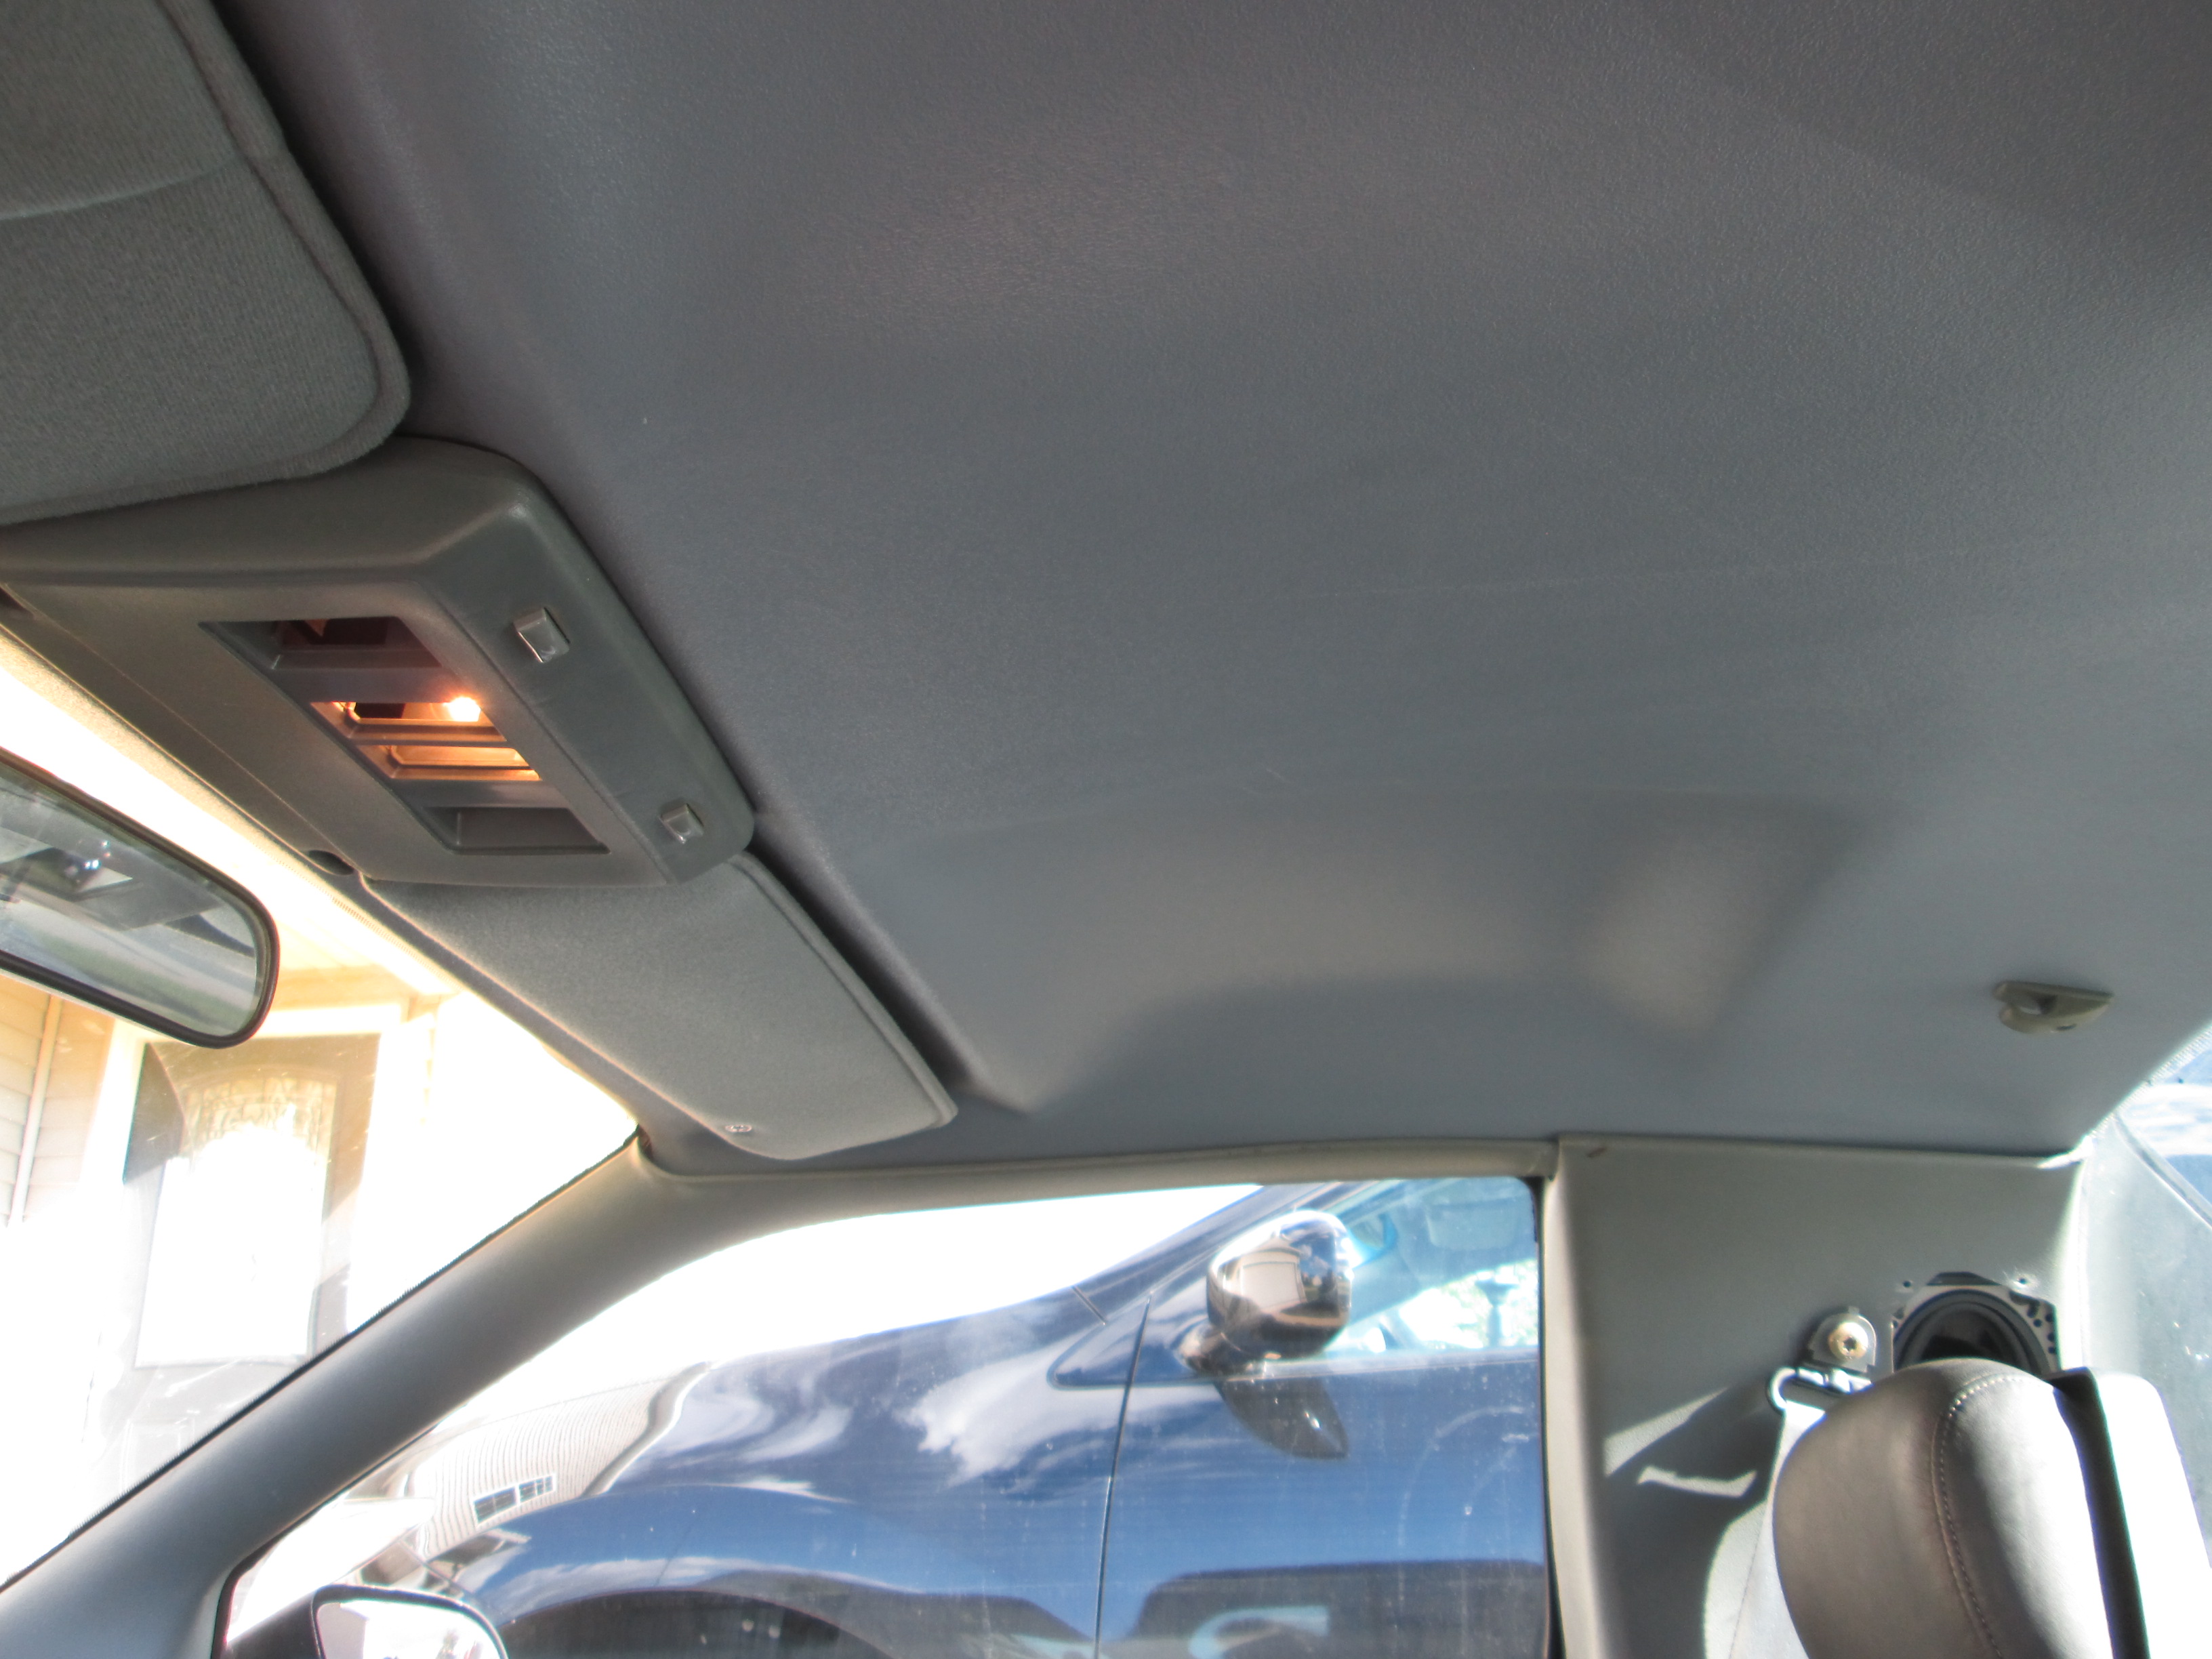
Also picked up an aftermarket ABS head liner. Added some sound deadening material to the topside and installed it:
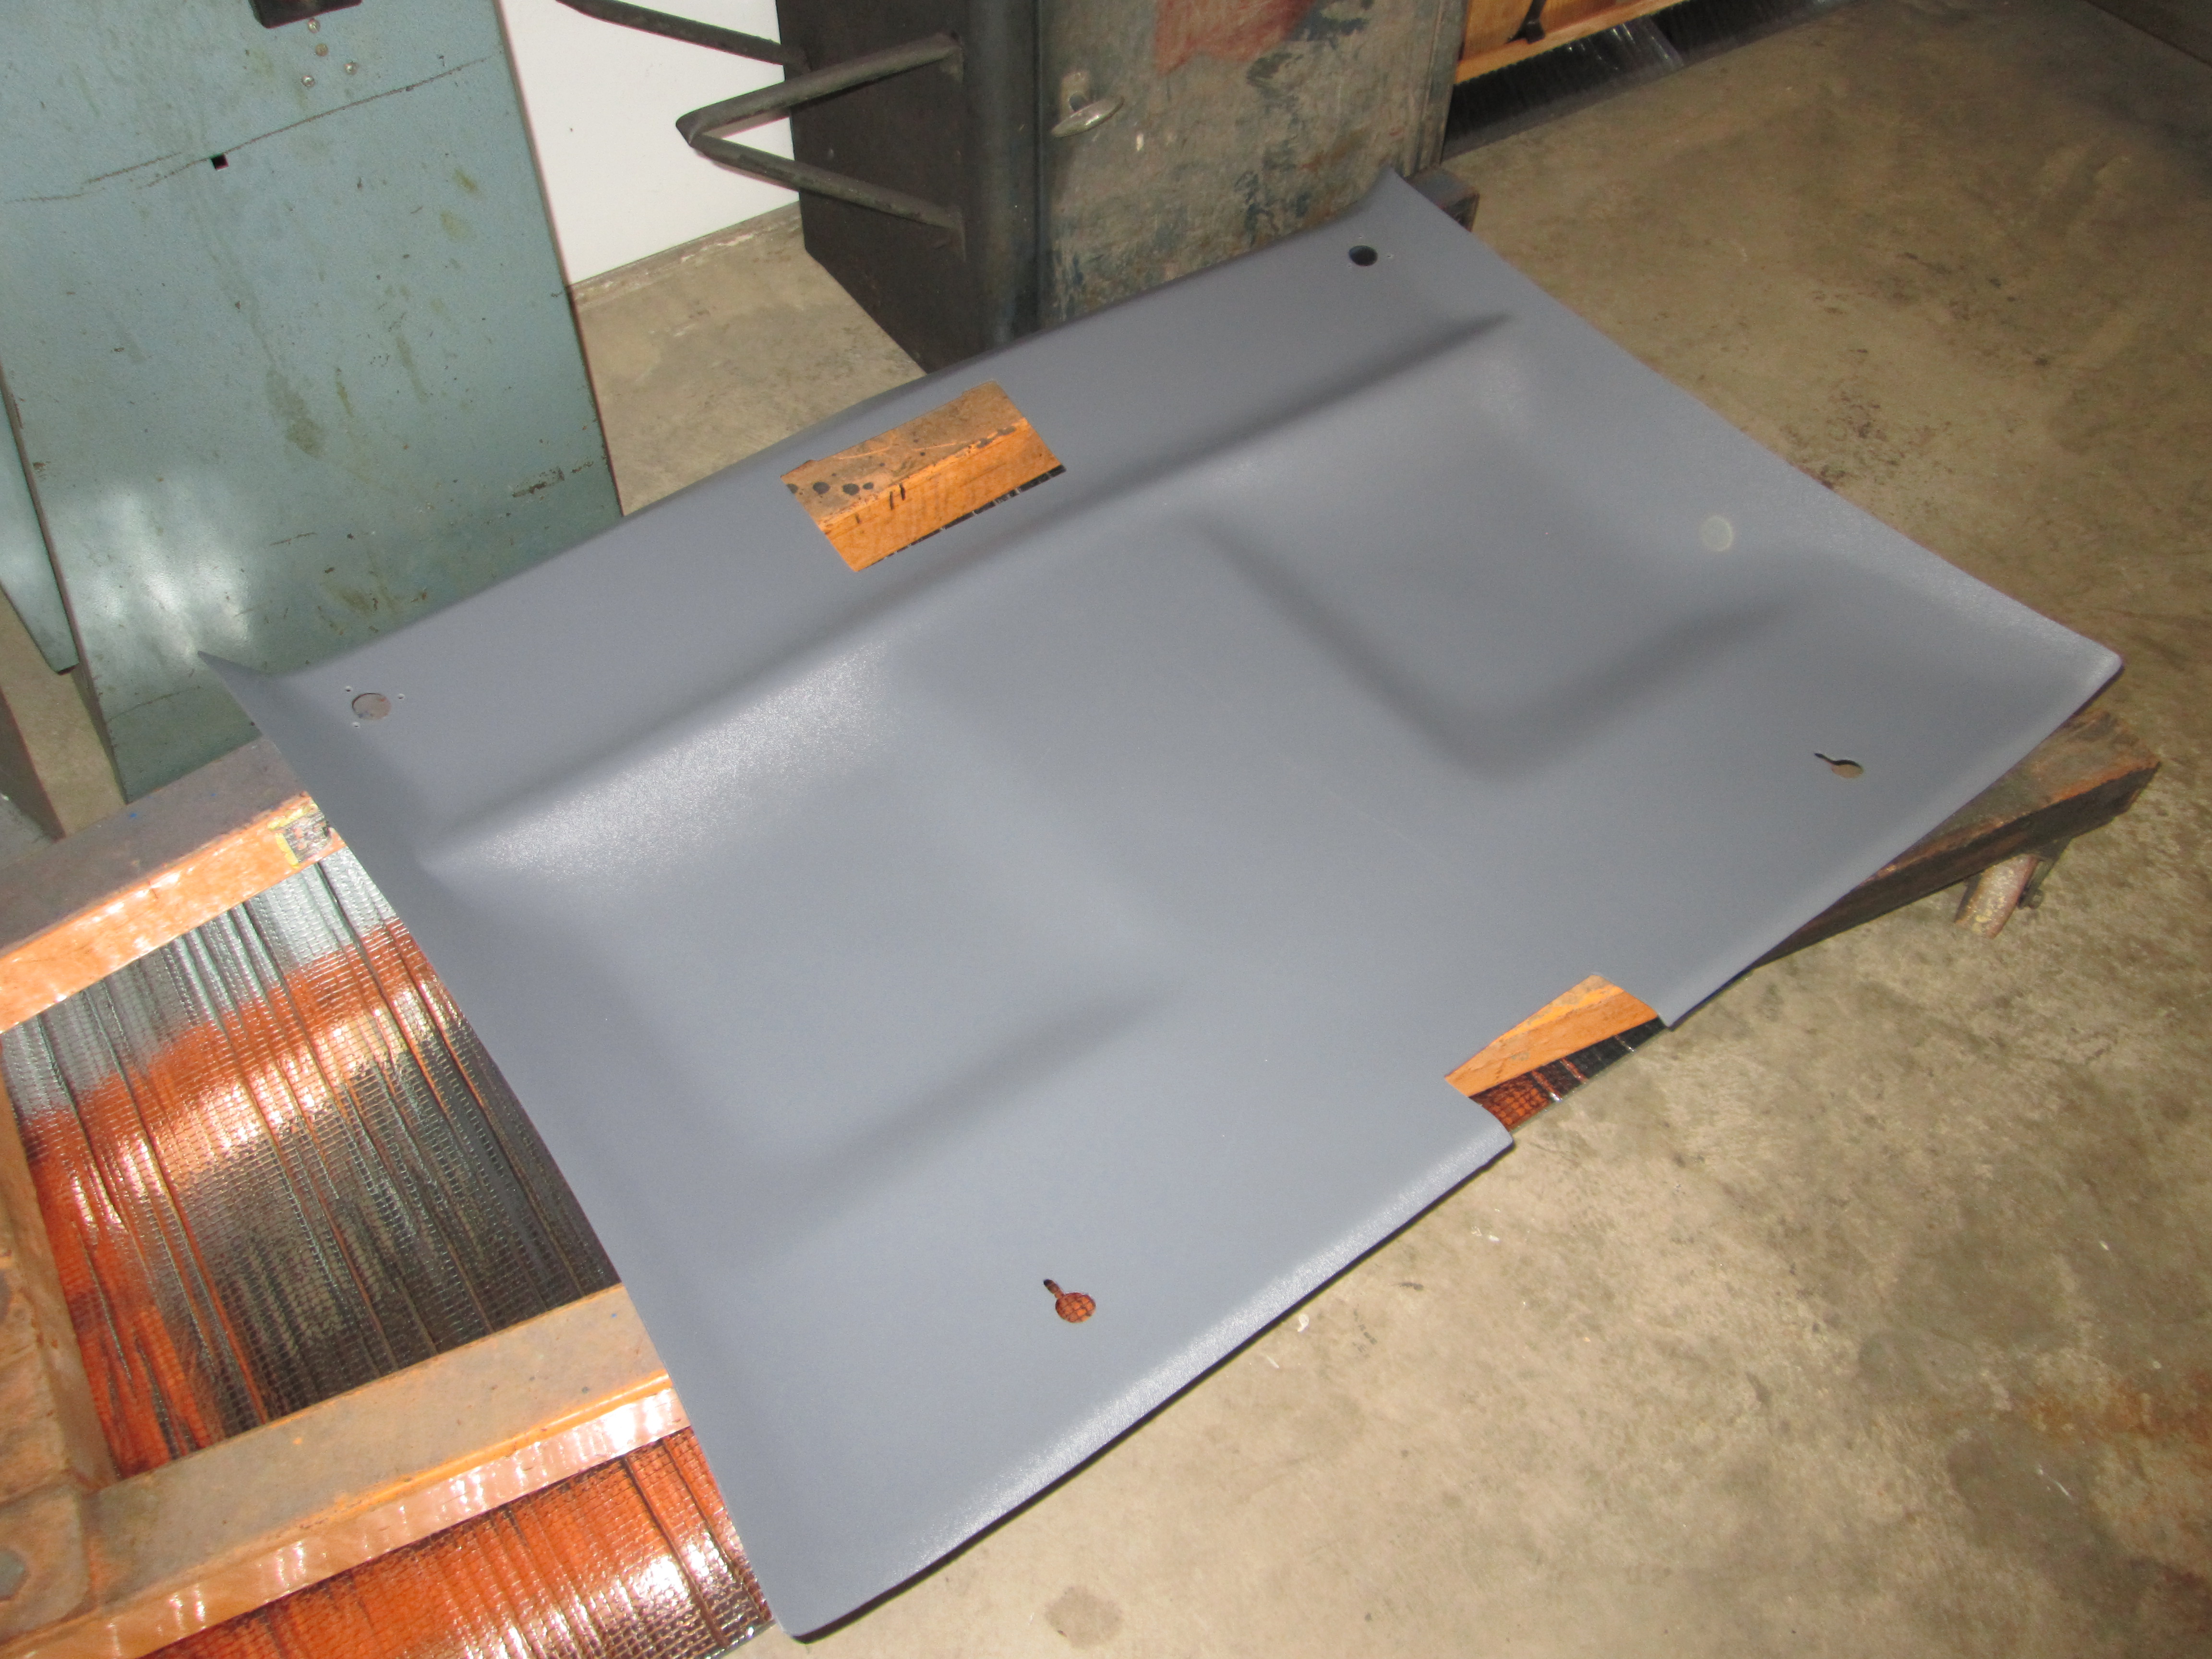

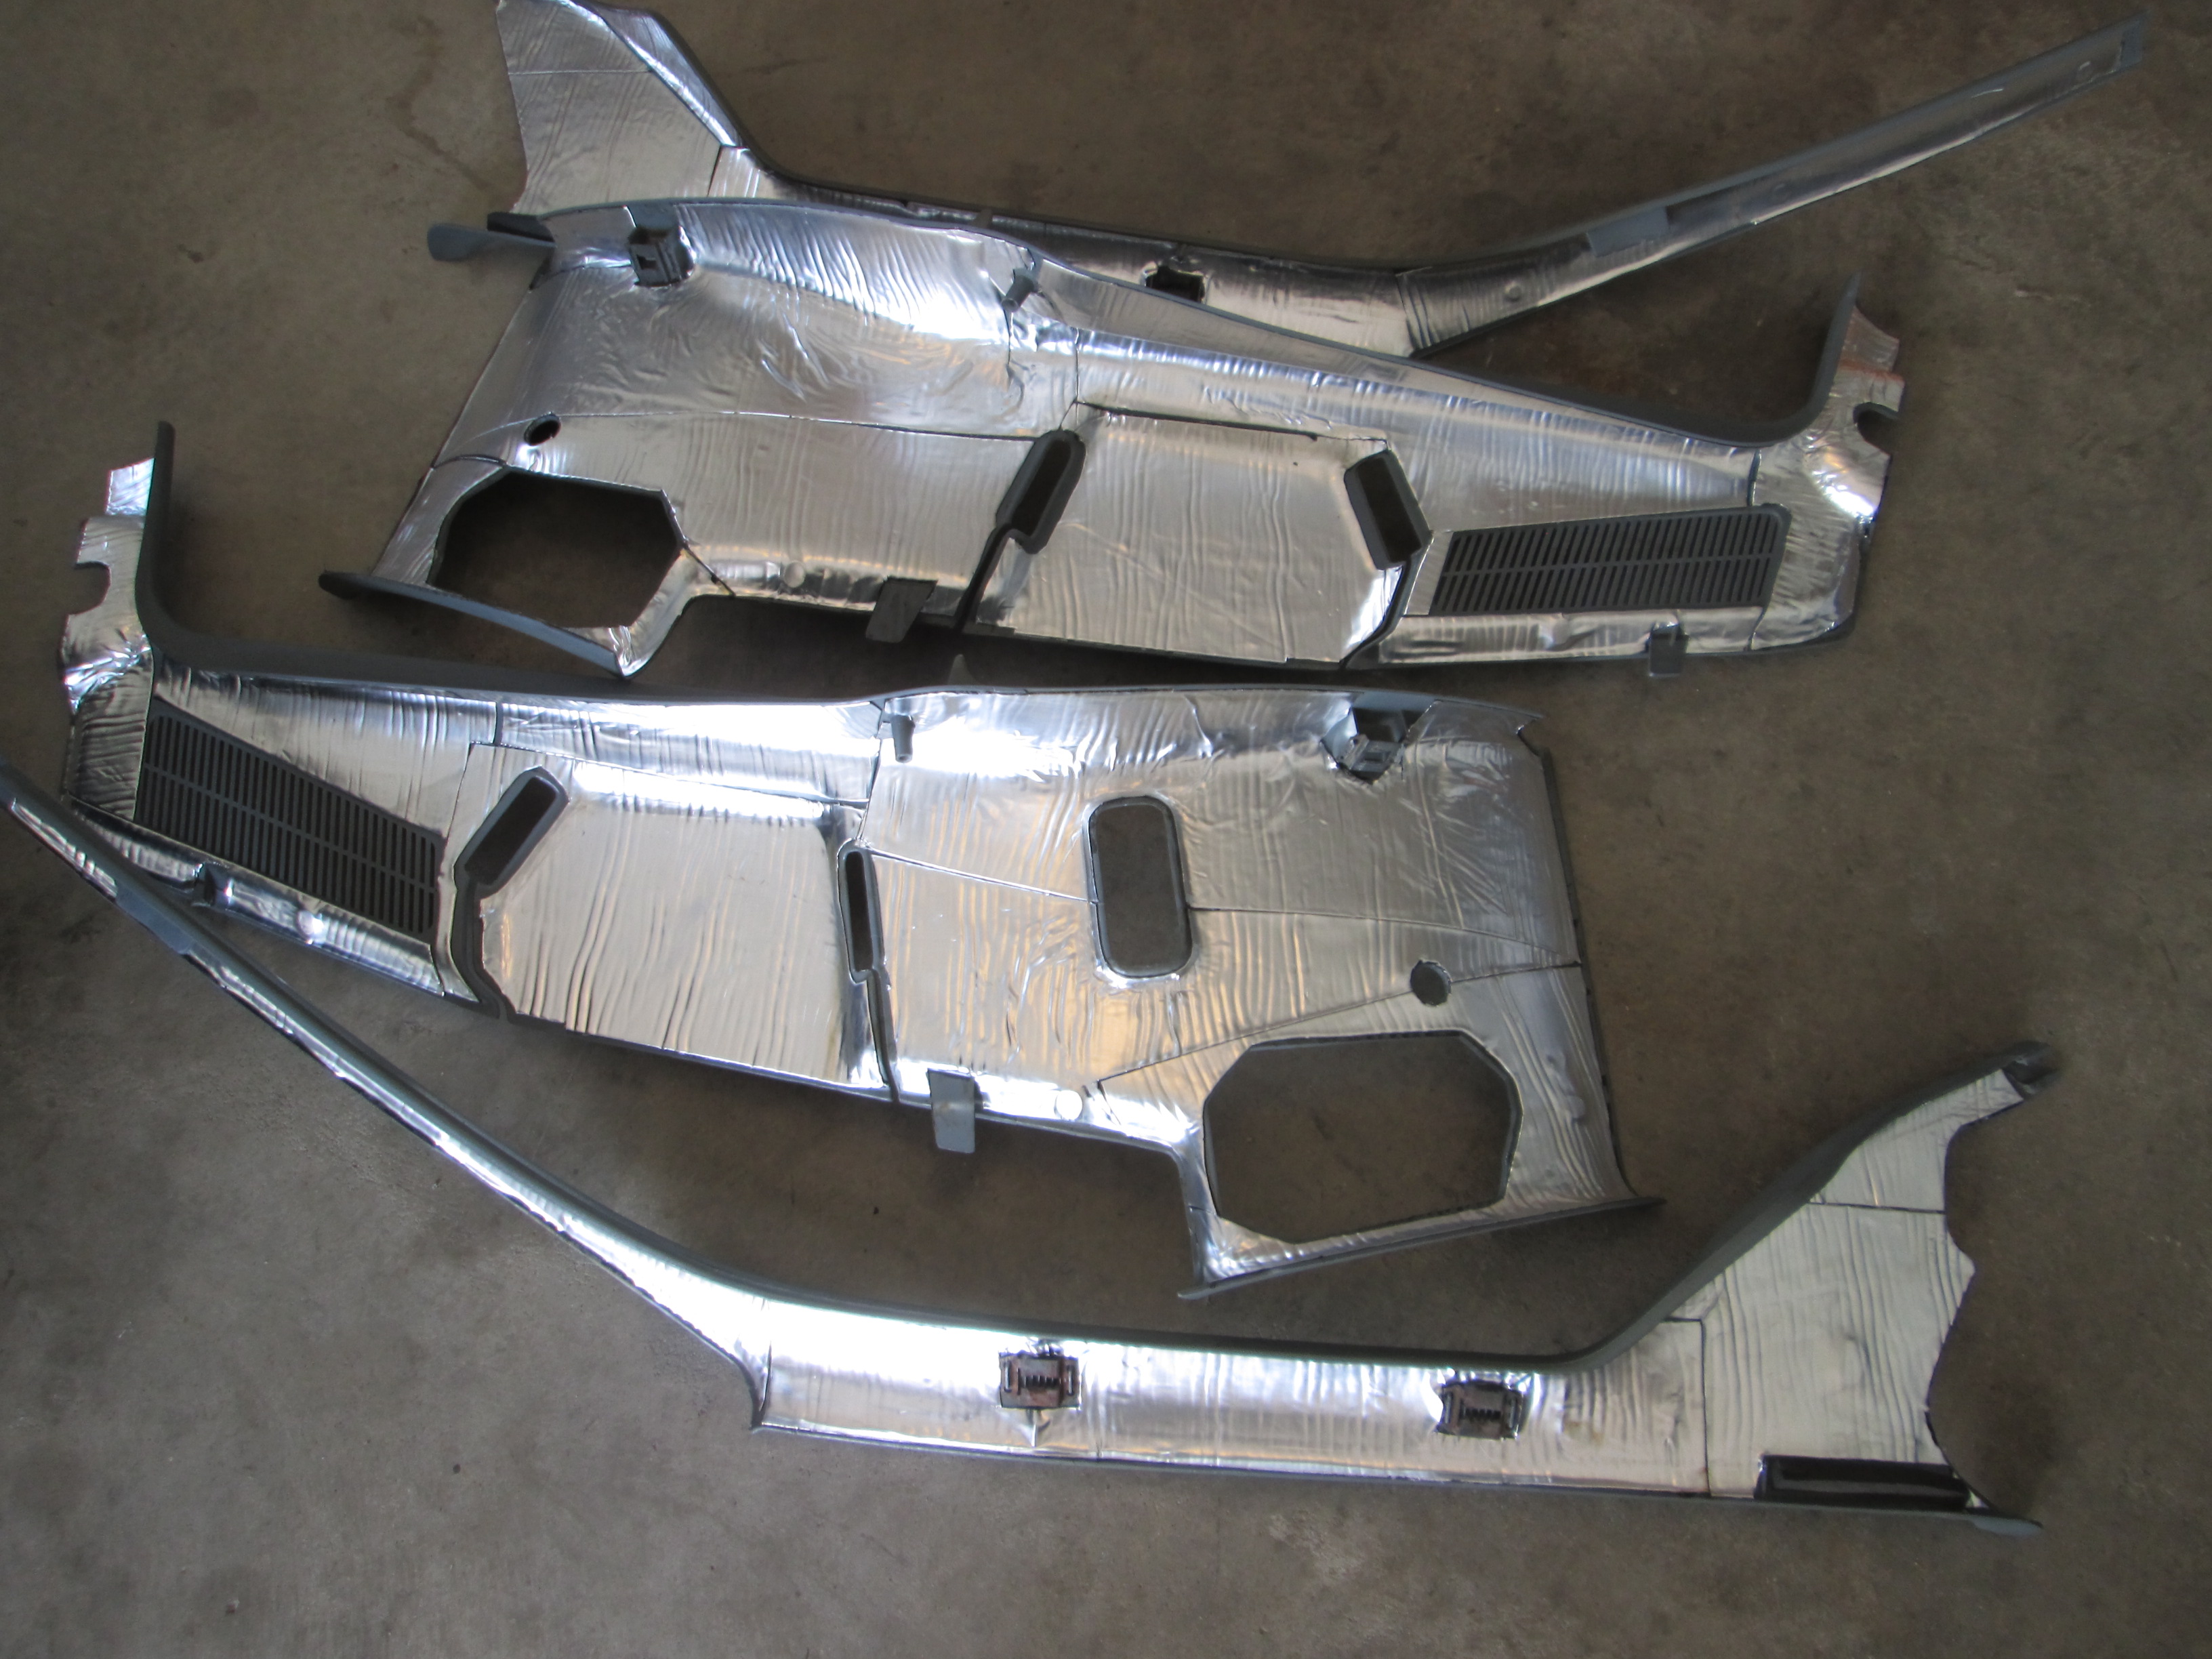
Also put sound deadening material on the inside of the A-pillar and B-pillar trim pieces. Now I am waiting on new clips so they can be installed.
While the dash is out, I will likely install the harness for power windows and install a functioning cruise control setup.
Cluster started acting funny (tach would stop working and gas gauge would drop to E when the head lights were turned on). Fieros have a plastic circuit board and they can deteriorate and cause poor ground issues. So I pulled mine out and ran some dedicated ground wires to the main pickup locations.
Also picked up an aftermarket ABS head liner. Added some sound deadening material to the topside and installed it:
Also put sound deadening material on the inside of the A-pillar and B-pillar trim pieces. Now I am waiting on new clips so they can be installed.
While the dash is out, I will likely install the harness for power windows and install a functioning cruise control setup.
08-24-2015, 05:10 AM
#204

I LIKE what you've done
.I've still got 3 of these, a 88 Formula, 88 GT and a 86 GT. I was in the process of putting the 88 GT in my shop for an LS install when my 911 Porsche project fell into my lap. Still undecided whether I'll ever get around to it now. These cars are a blast but now I've been spoiled by an AWD Porsche.
.I've still got 3 of these, a 88 Formula, 88 GT and a 86 GT. I was in the process of putting the 88 GT in my shop for an LS install when my 911 Porsche project fell into my lap. Still undecided whether I'll ever get around to it now. These cars are a blast but now I've been spoiled by an AWD Porsche.
08-26-2015, 09:52 AM
#205
TECH Addict
So this has proven to be an excellent way to spend my time. I'm almost sad now that I've read it all.
The absolute best part of this build is that you drive it every day.
The ingenuity and craftsmanship are both commendable. Your ability to overcome obstacles, and make it all make sense is outstanding.
And thank you for the amazing documentation of the process. Every update is like a page straight out of the color photo instruction manual for badass fieros.
08-30-2015, 06:16 PM
#206

Amazing fabrication. That flywheel is a work of art. I owned a couple of Fieros back in the day and always wanted to do the V8 thing but never did, this is way over the top.
09-19-2015, 05:05 PM
#207
Thanks guys!
So the interior is all back in, along with the dash. It made a significant reduction in cabin noise while driving! Maybe over the winter I will take it all back out and paint everything so the colors match better. But for now, I want to get as much driving in before the snow comes.
I also had been working on the cruise on 2 fronts.
First was a $350 module used for E67 cars that interrupts the DBW pedal wires to manipulate the cruise.
Unfortunately, that didn't pan out as the LS4 pedal is different than the ones used for this kit. It would immediately go into limp home mode and kill the pedal feedback when I started the car with it hooked up. So I am in the process of returning this.
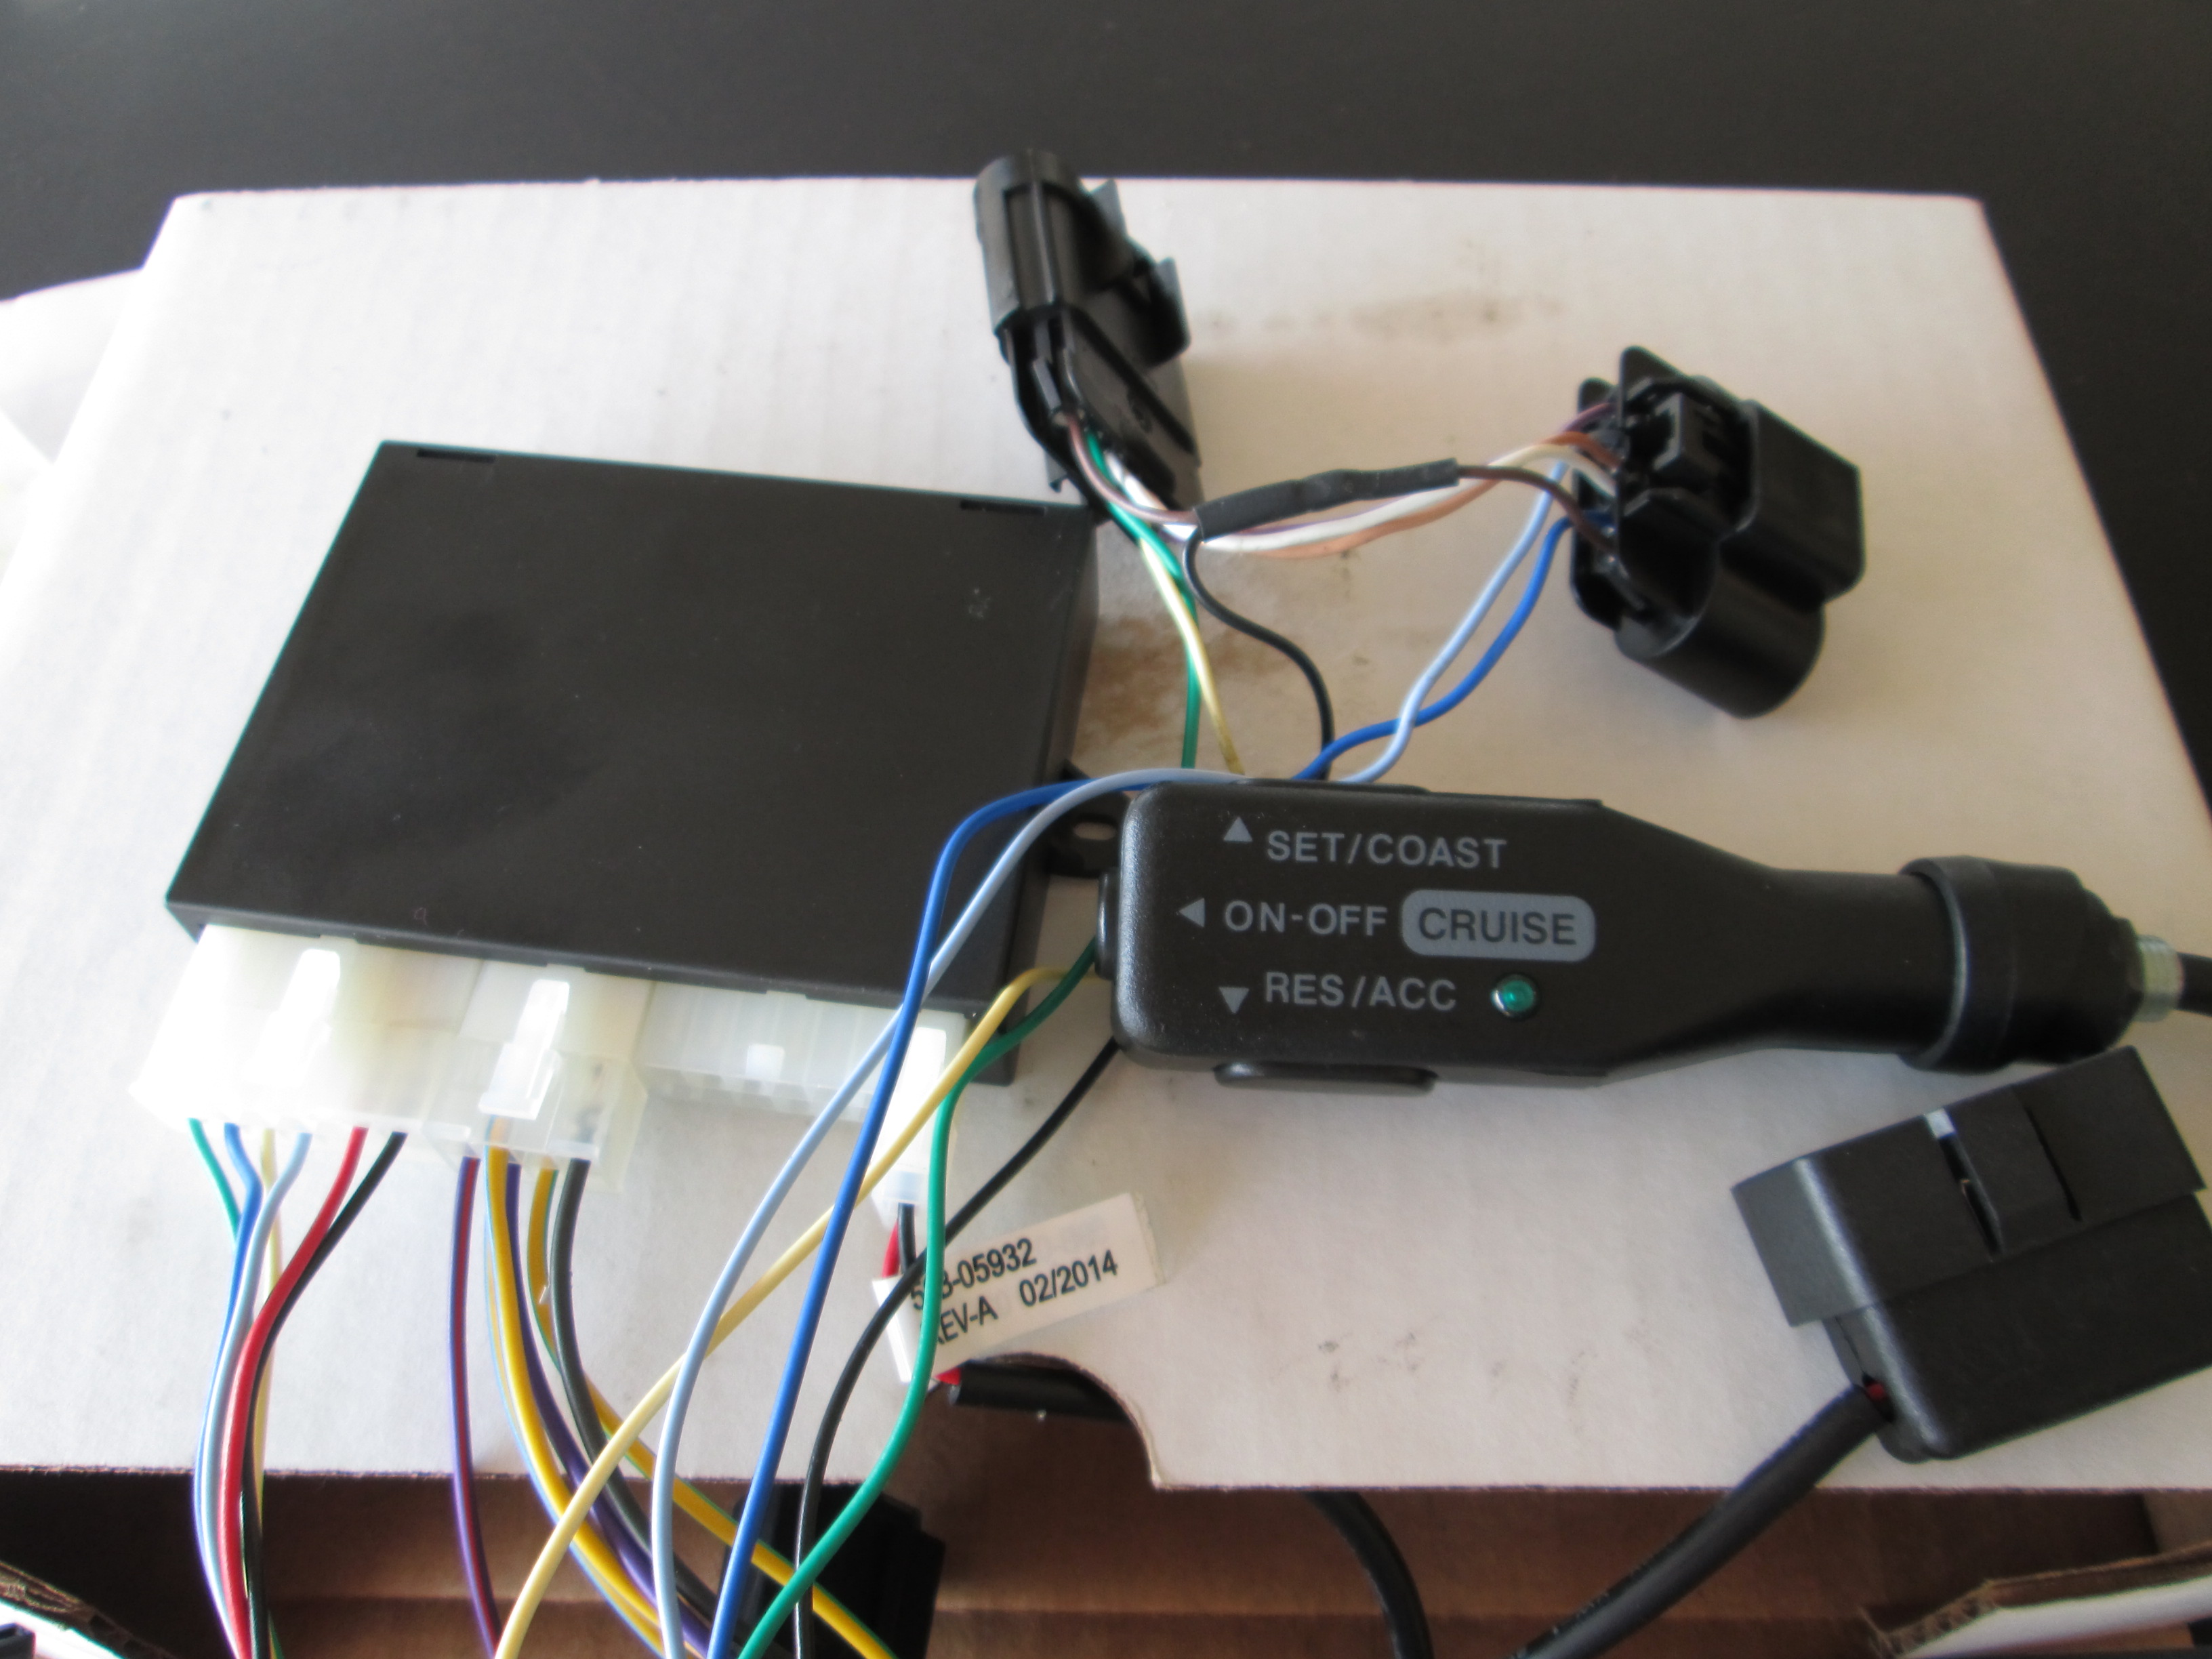
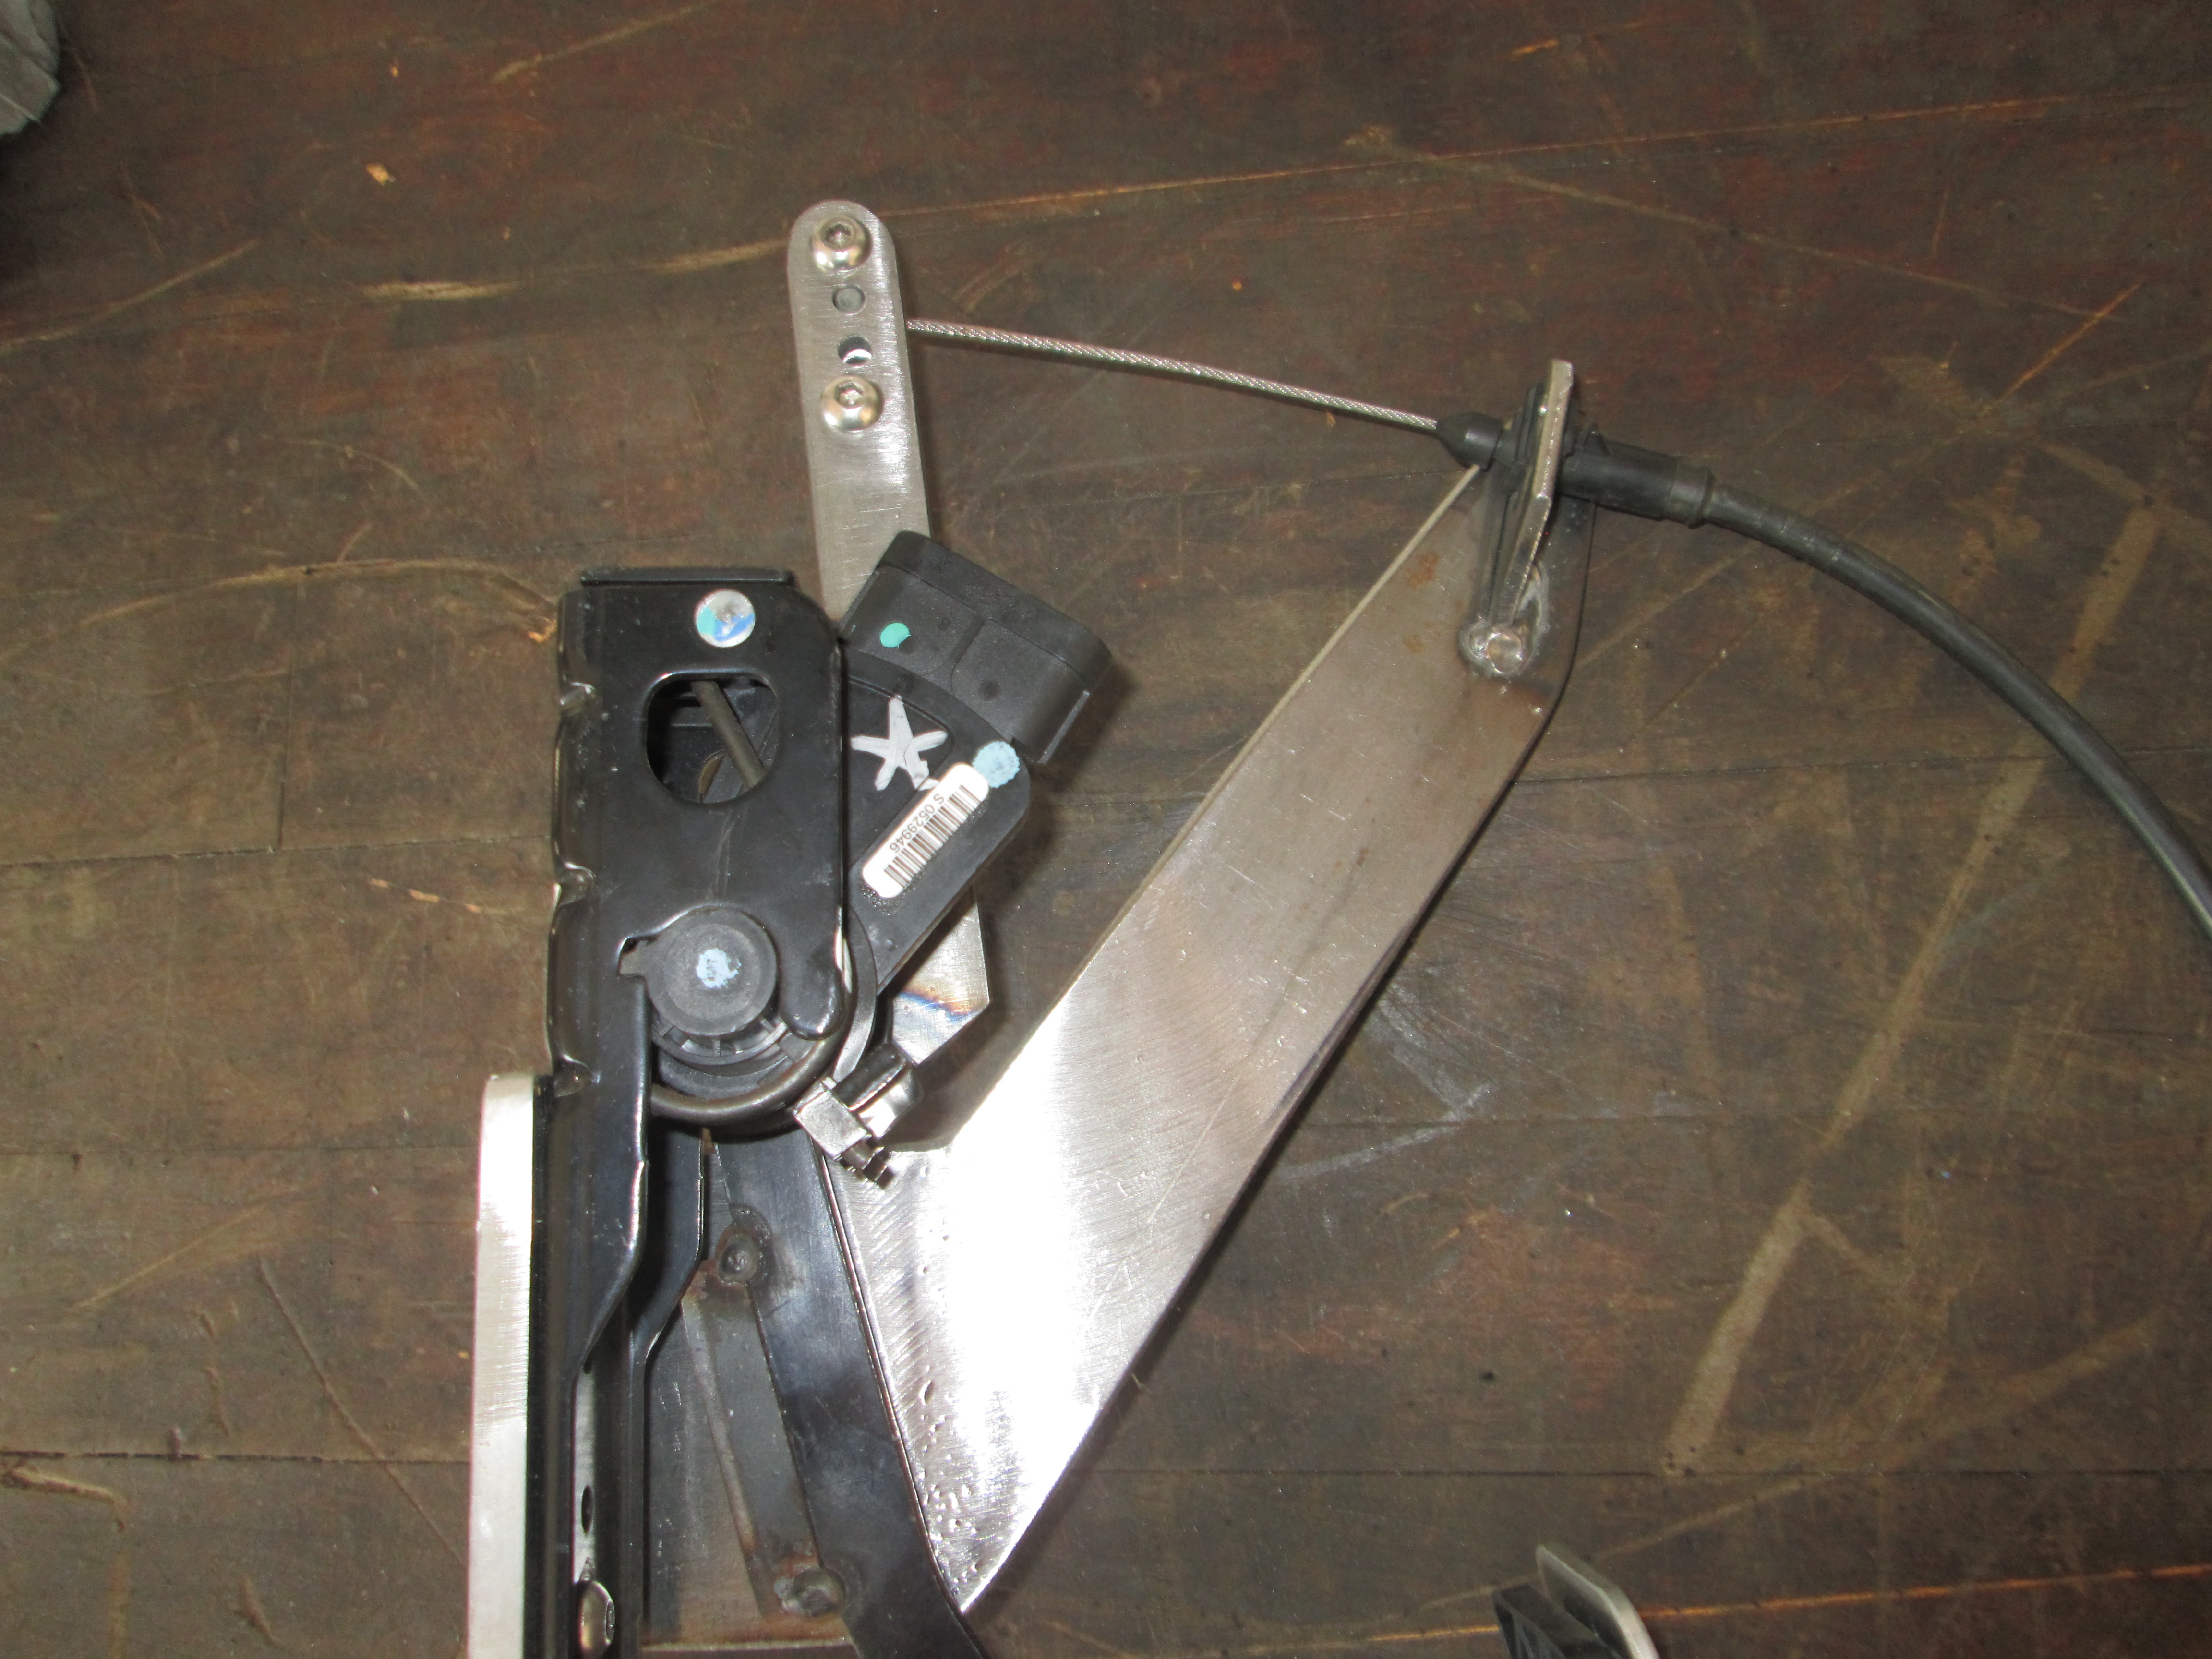
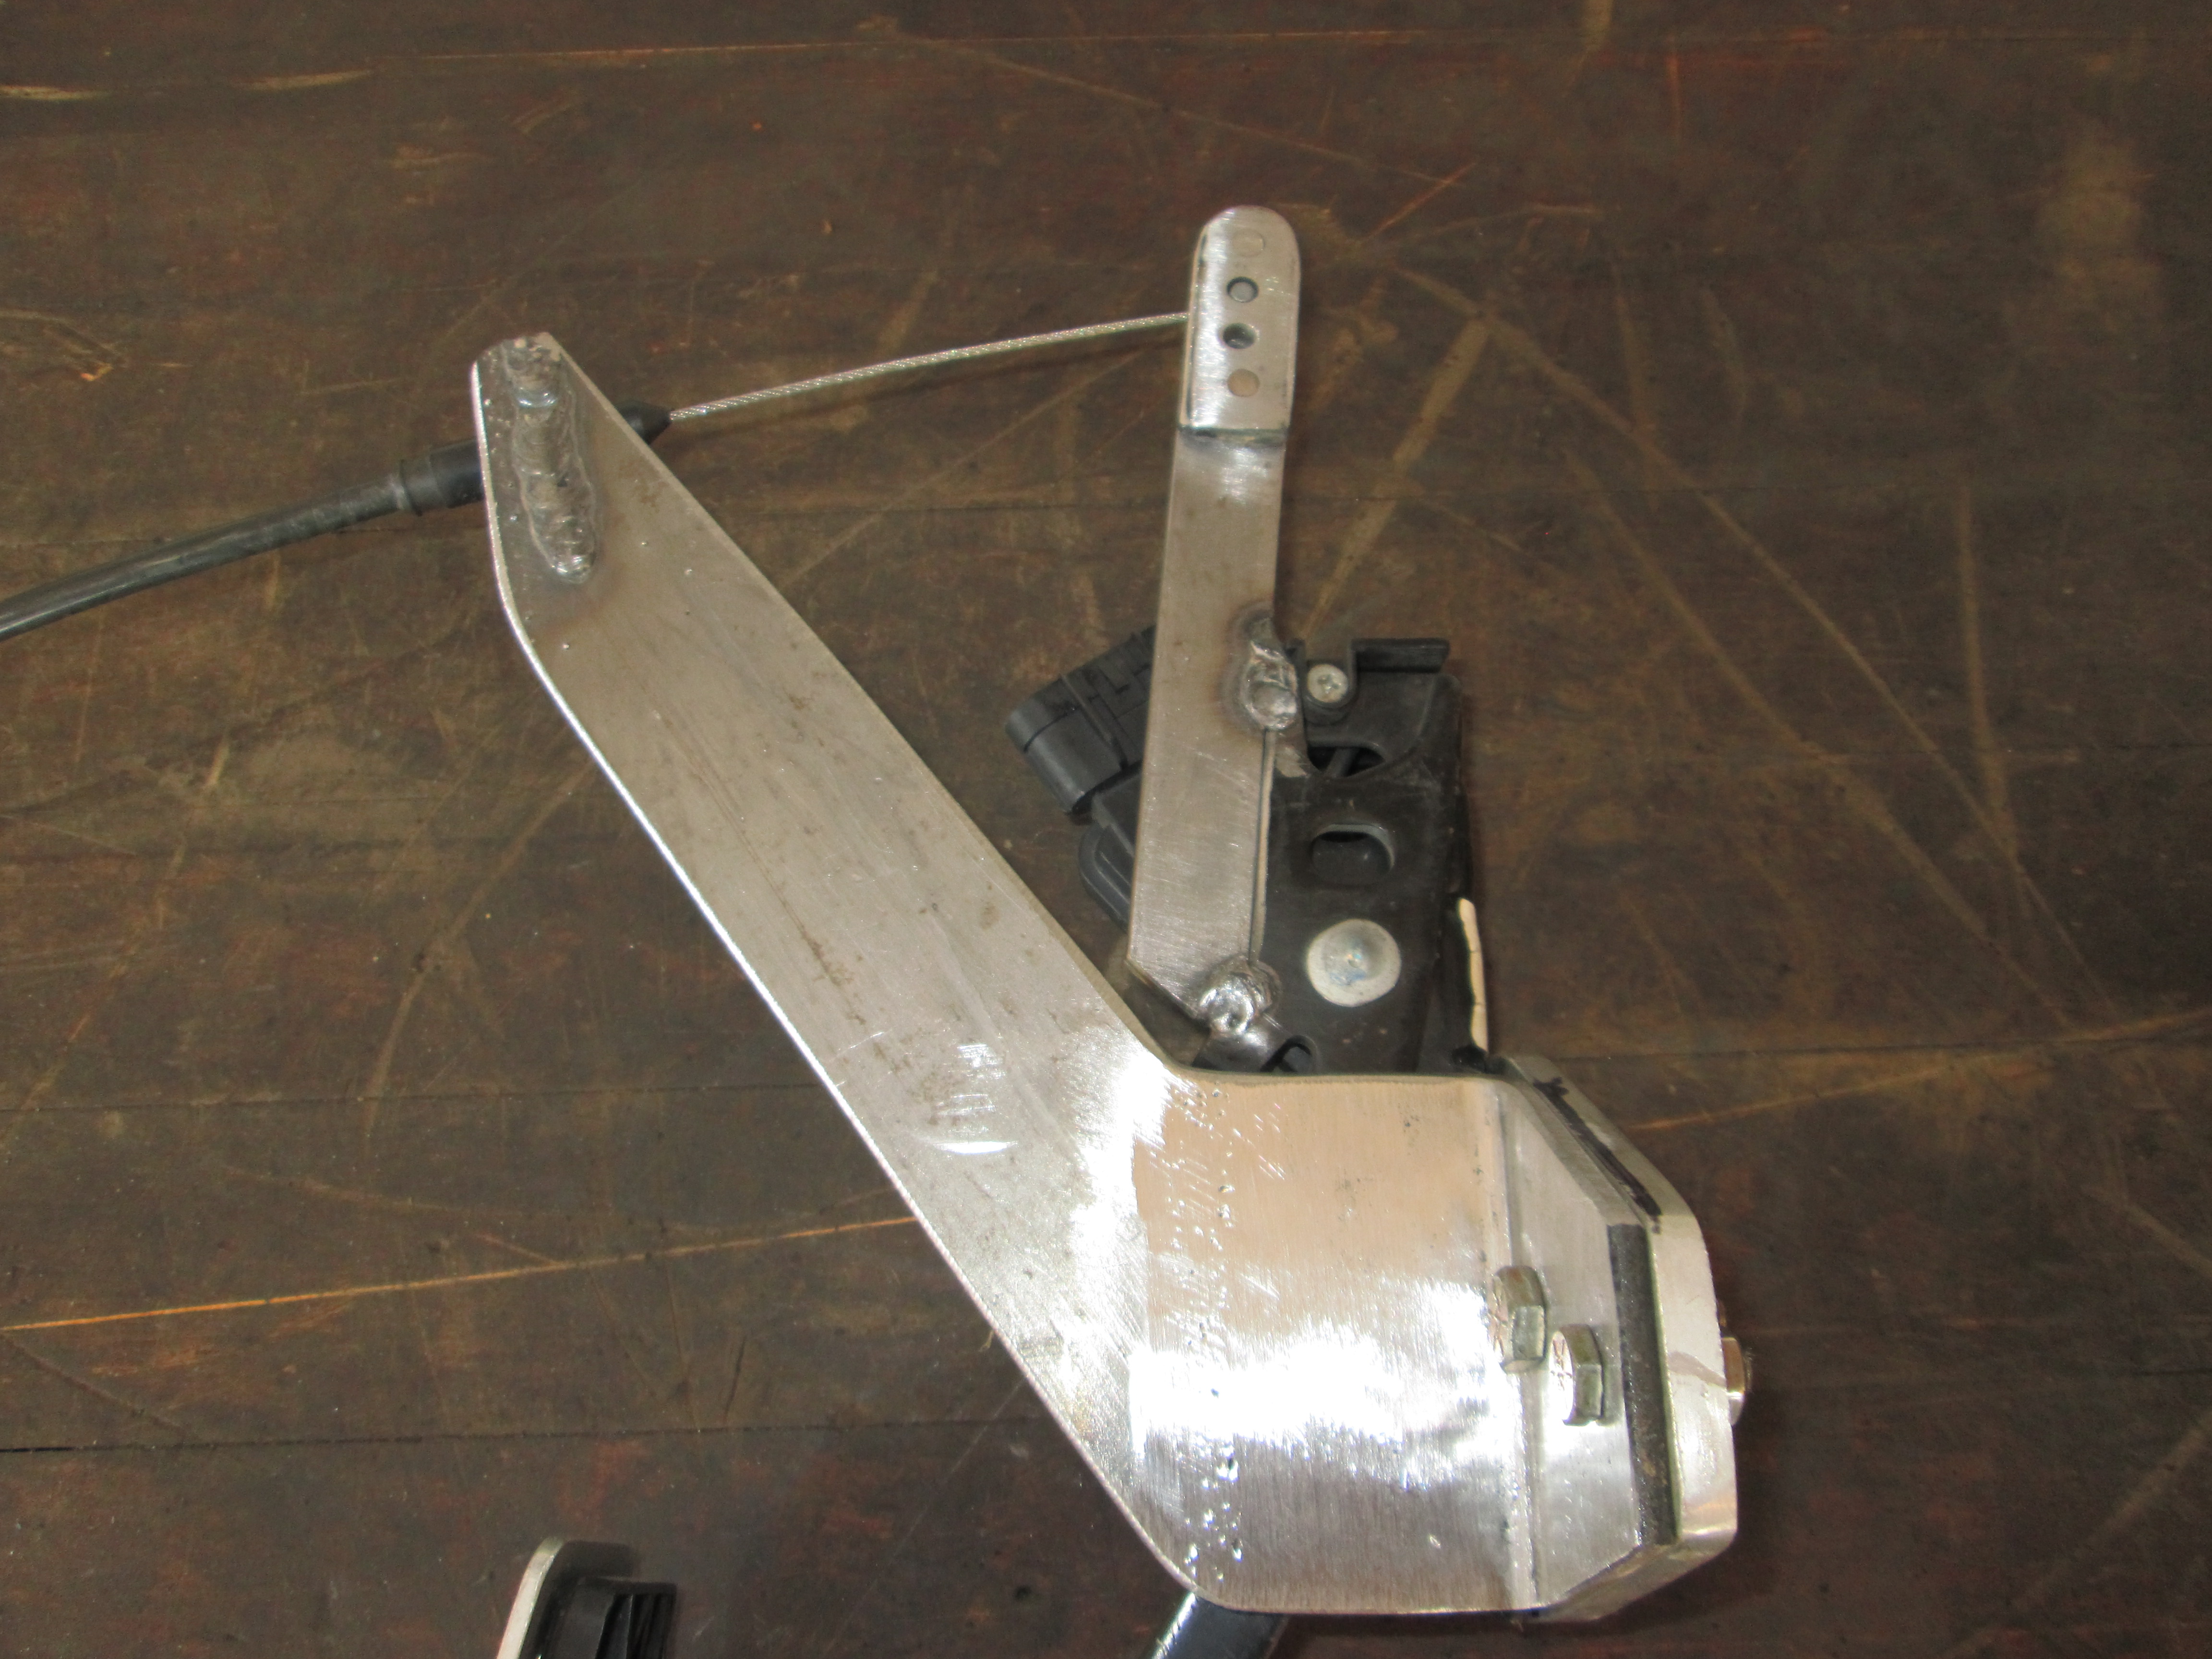
I also was working on an older/simpler/cheaper solution - and IT WORKS!!! In the mid to late 90s, GM had standalone cruise modules with cable activation. Fiero people have been installing these for years in Fieros with engine swaps, but they all had cable activated throttles. So first thing I did was to fab up a bracket to my pedal, so this cruise cable would pull the pedal towards the floor.

Mounted the cruise module up under the dash and over by the HVAC box:

Then built the needed harness from this schematic (use at your own risk):
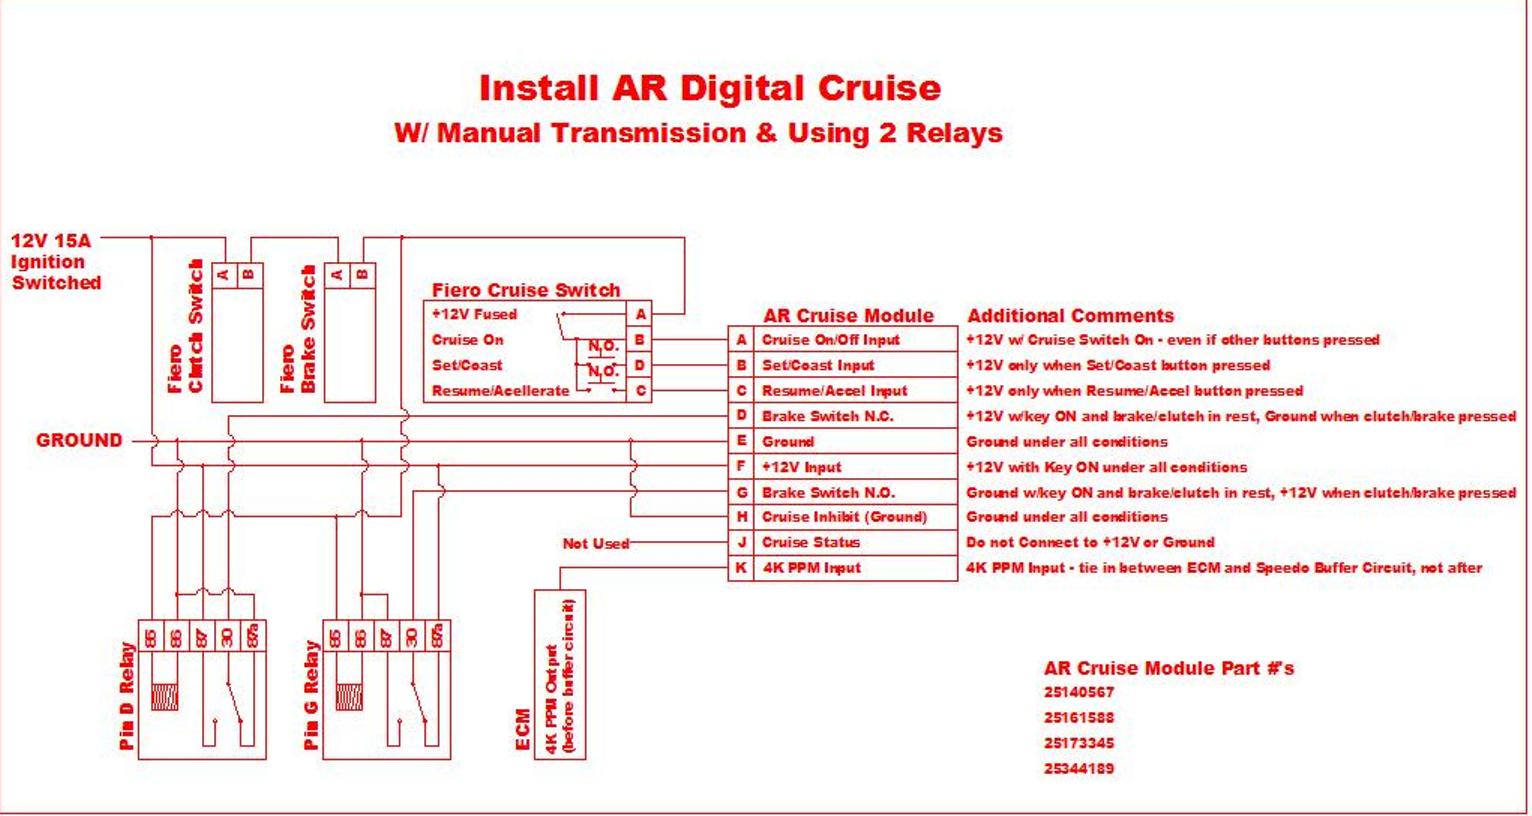
The really nice part about this setup is its under $100 ($50 if you get a good module on the first attempt), is a 3 wire connection (Power, Ground, VSS output from ECM), and the other connectors just plug into the brake, clutch, cruise stalk, and cruise module.
The frustrating part is these AR cruise modules are not all the same, and some work, some won't. It took 3 modules before I finally found one that works.
So the interior is all back in, along with the dash. It made a significant reduction in cabin noise while driving! Maybe over the winter I will take it all back out and paint everything so the colors match better. But for now, I want to get as much driving in before the snow comes.
I also had been working on the cruise on 2 fronts.
First was a $350 module used for E67 cars that interrupts the DBW pedal wires to manipulate the cruise.
Unfortunately, that didn't pan out as the LS4 pedal is different than the ones used for this kit. It would immediately go into limp home mode and kill the pedal feedback when I started the car with it hooked up. So I am in the process of returning this.
I also was working on an older/simpler/cheaper solution - and IT WORKS!!! In the mid to late 90s, GM had standalone cruise modules with cable activation. Fiero people have been installing these for years in Fieros with engine swaps, but they all had cable activated throttles. So first thing I did was to fab up a bracket to my pedal, so this cruise cable would pull the pedal towards the floor.
Mounted the cruise module up under the dash and over by the HVAC box:
Then built the needed harness from this schematic (use at your own risk):
The really nice part about this setup is its under $100 ($50 if you get a good module on the first attempt), is a 3 wire connection (Power, Ground, VSS output from ECM), and the other connectors just plug into the brake, clutch, cruise stalk, and cruise module.
The frustrating part is these AR cruise modules are not all the same, and some work, some won't. It took 3 modules before I finally found one that works.
Last edited by fieroguru; 09-19-2015 at 05:21 PM.
09-19-2015, 05:11 PM
#208
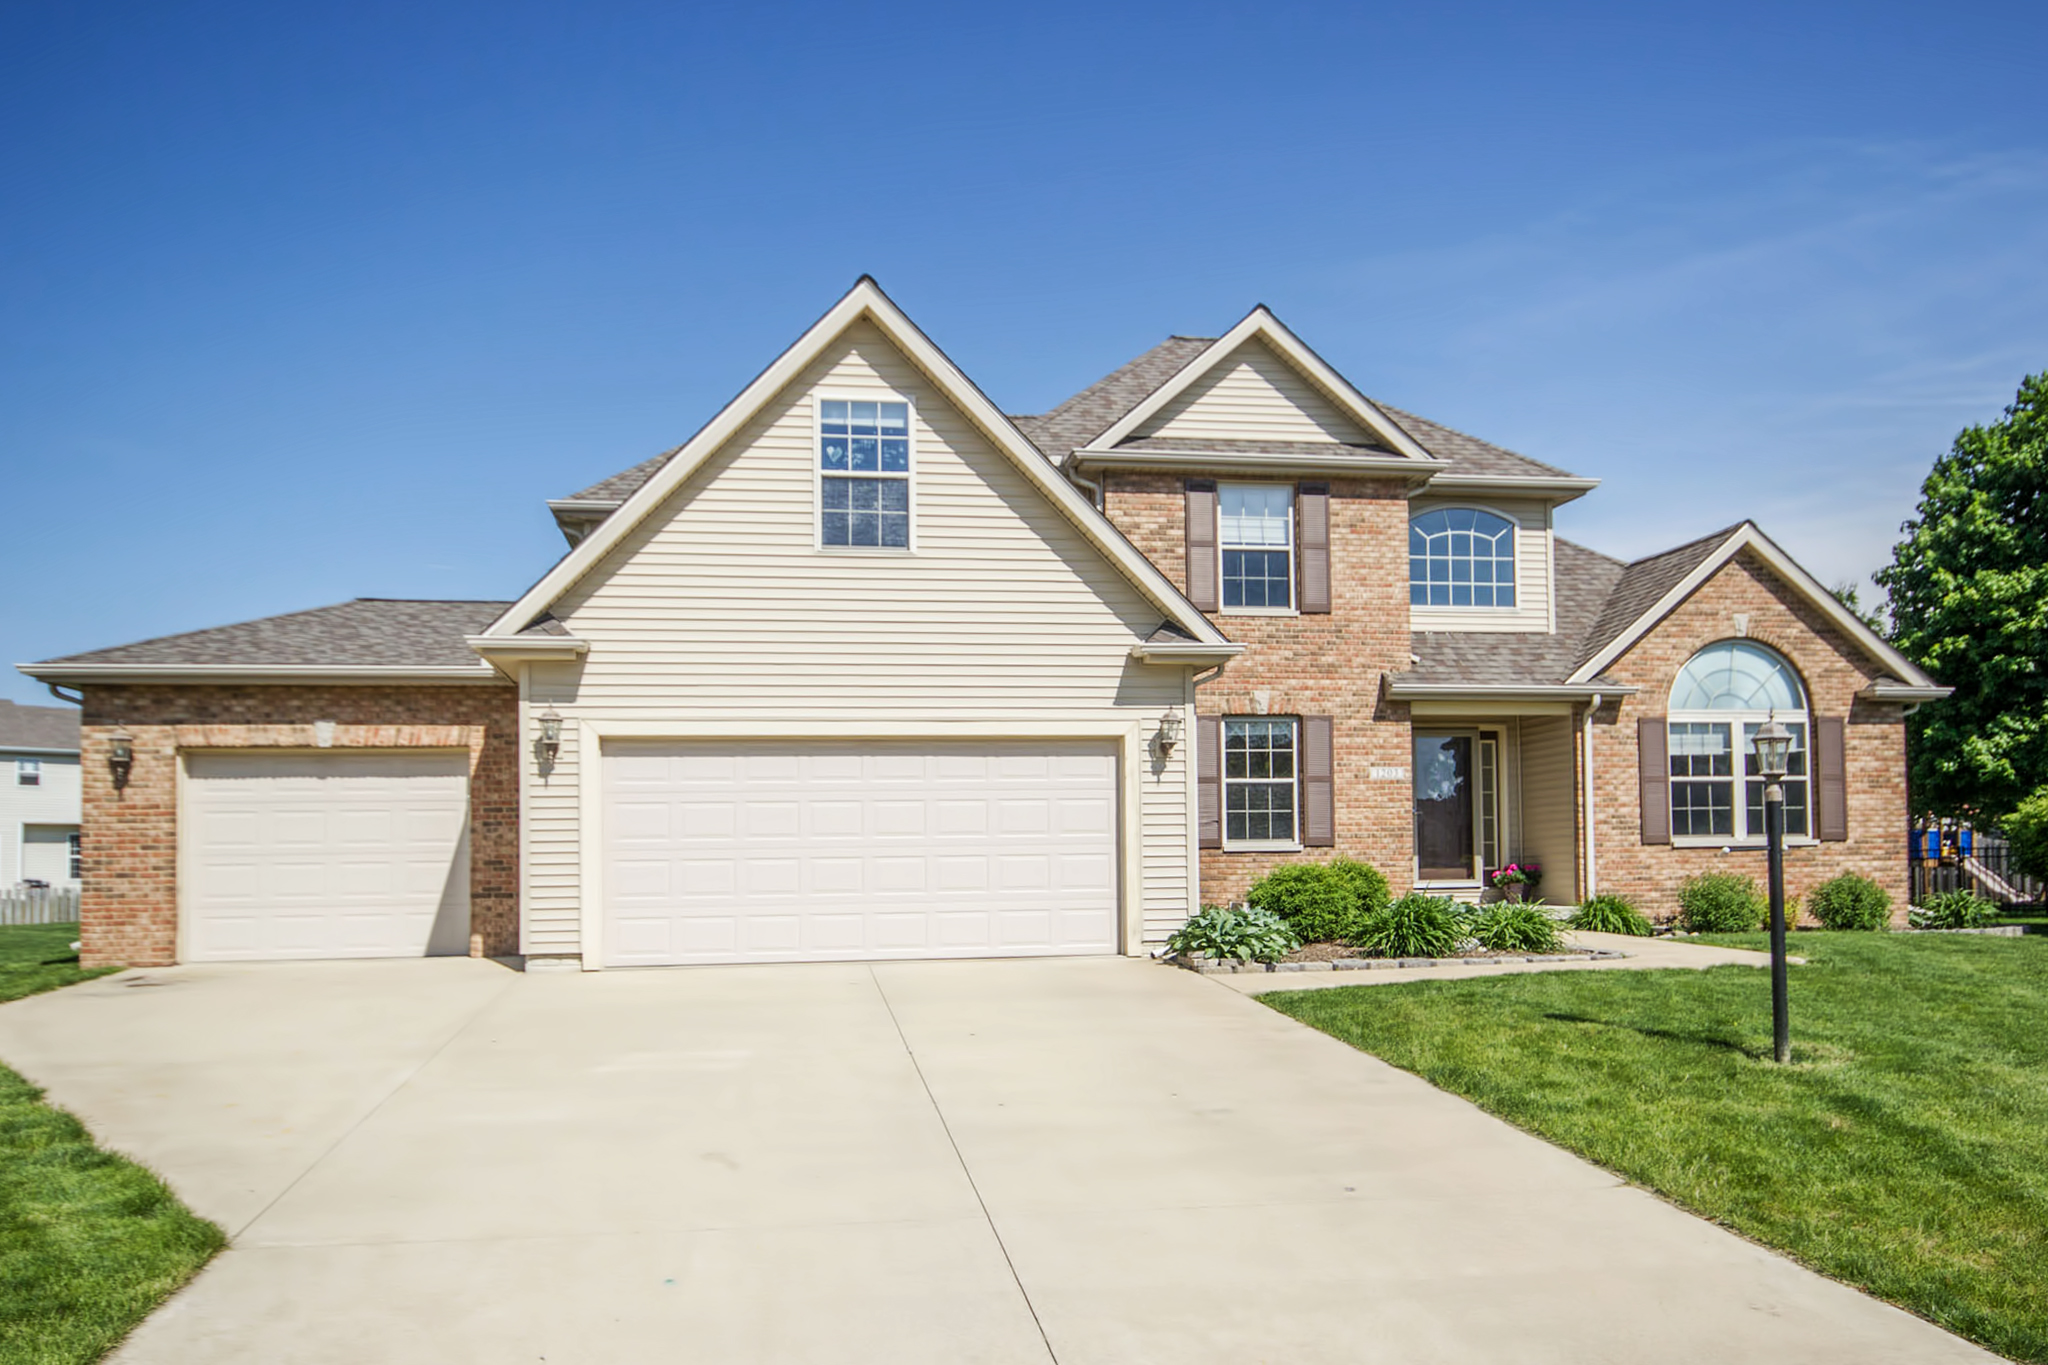
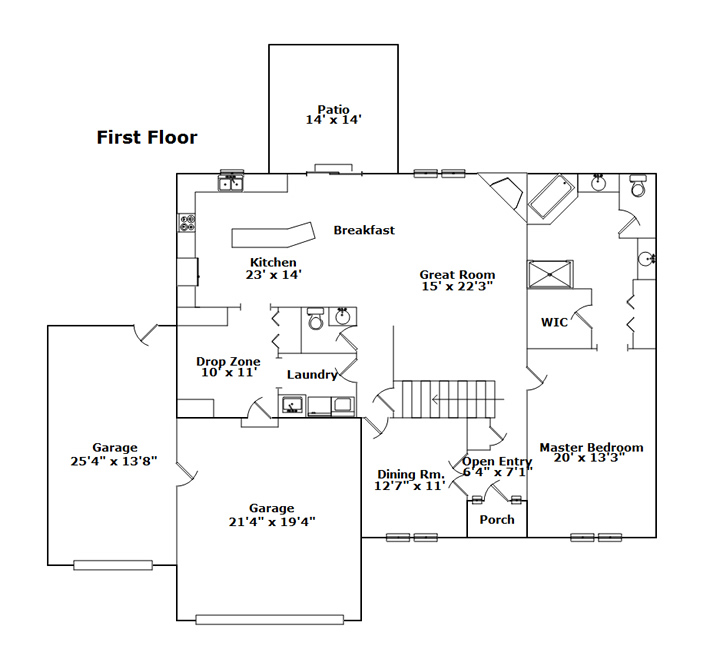
In other news, our offer was accepted on a house and we should close on Nov, 10th, about 1 year and 2 weeks after I transferred back to IL. It's a 5 br, 2.5 bath (3rd full bath roughed in in the basement), 3200 sq-ft, main floor master suite, partially finished basement, 3 car garage, 0.37 acres, at the end of a cul-de-sac. Its has everything my wife wanted in a house, but the lot is a little smaller than I wanted, but it will save on grass mowing time.
The subdivision covenants specify a minimum of 2 car garage, but no maximum. Only restrictions are the garage has to be attached, match the house construction, and the total house foot print can't exceed 33% of the lot sq-ft. The covenants also do not restrict running a home based business, so long term we think this house will work well.
I am hoping everything works out and I can add a 23x40 shop area behind the 3rd garage and against the kitchen wall next spring.
09-19-2015, 07:58 PM
#209

Very nice. Congrats !!!
04-16-2016, 08:43 PM
#211
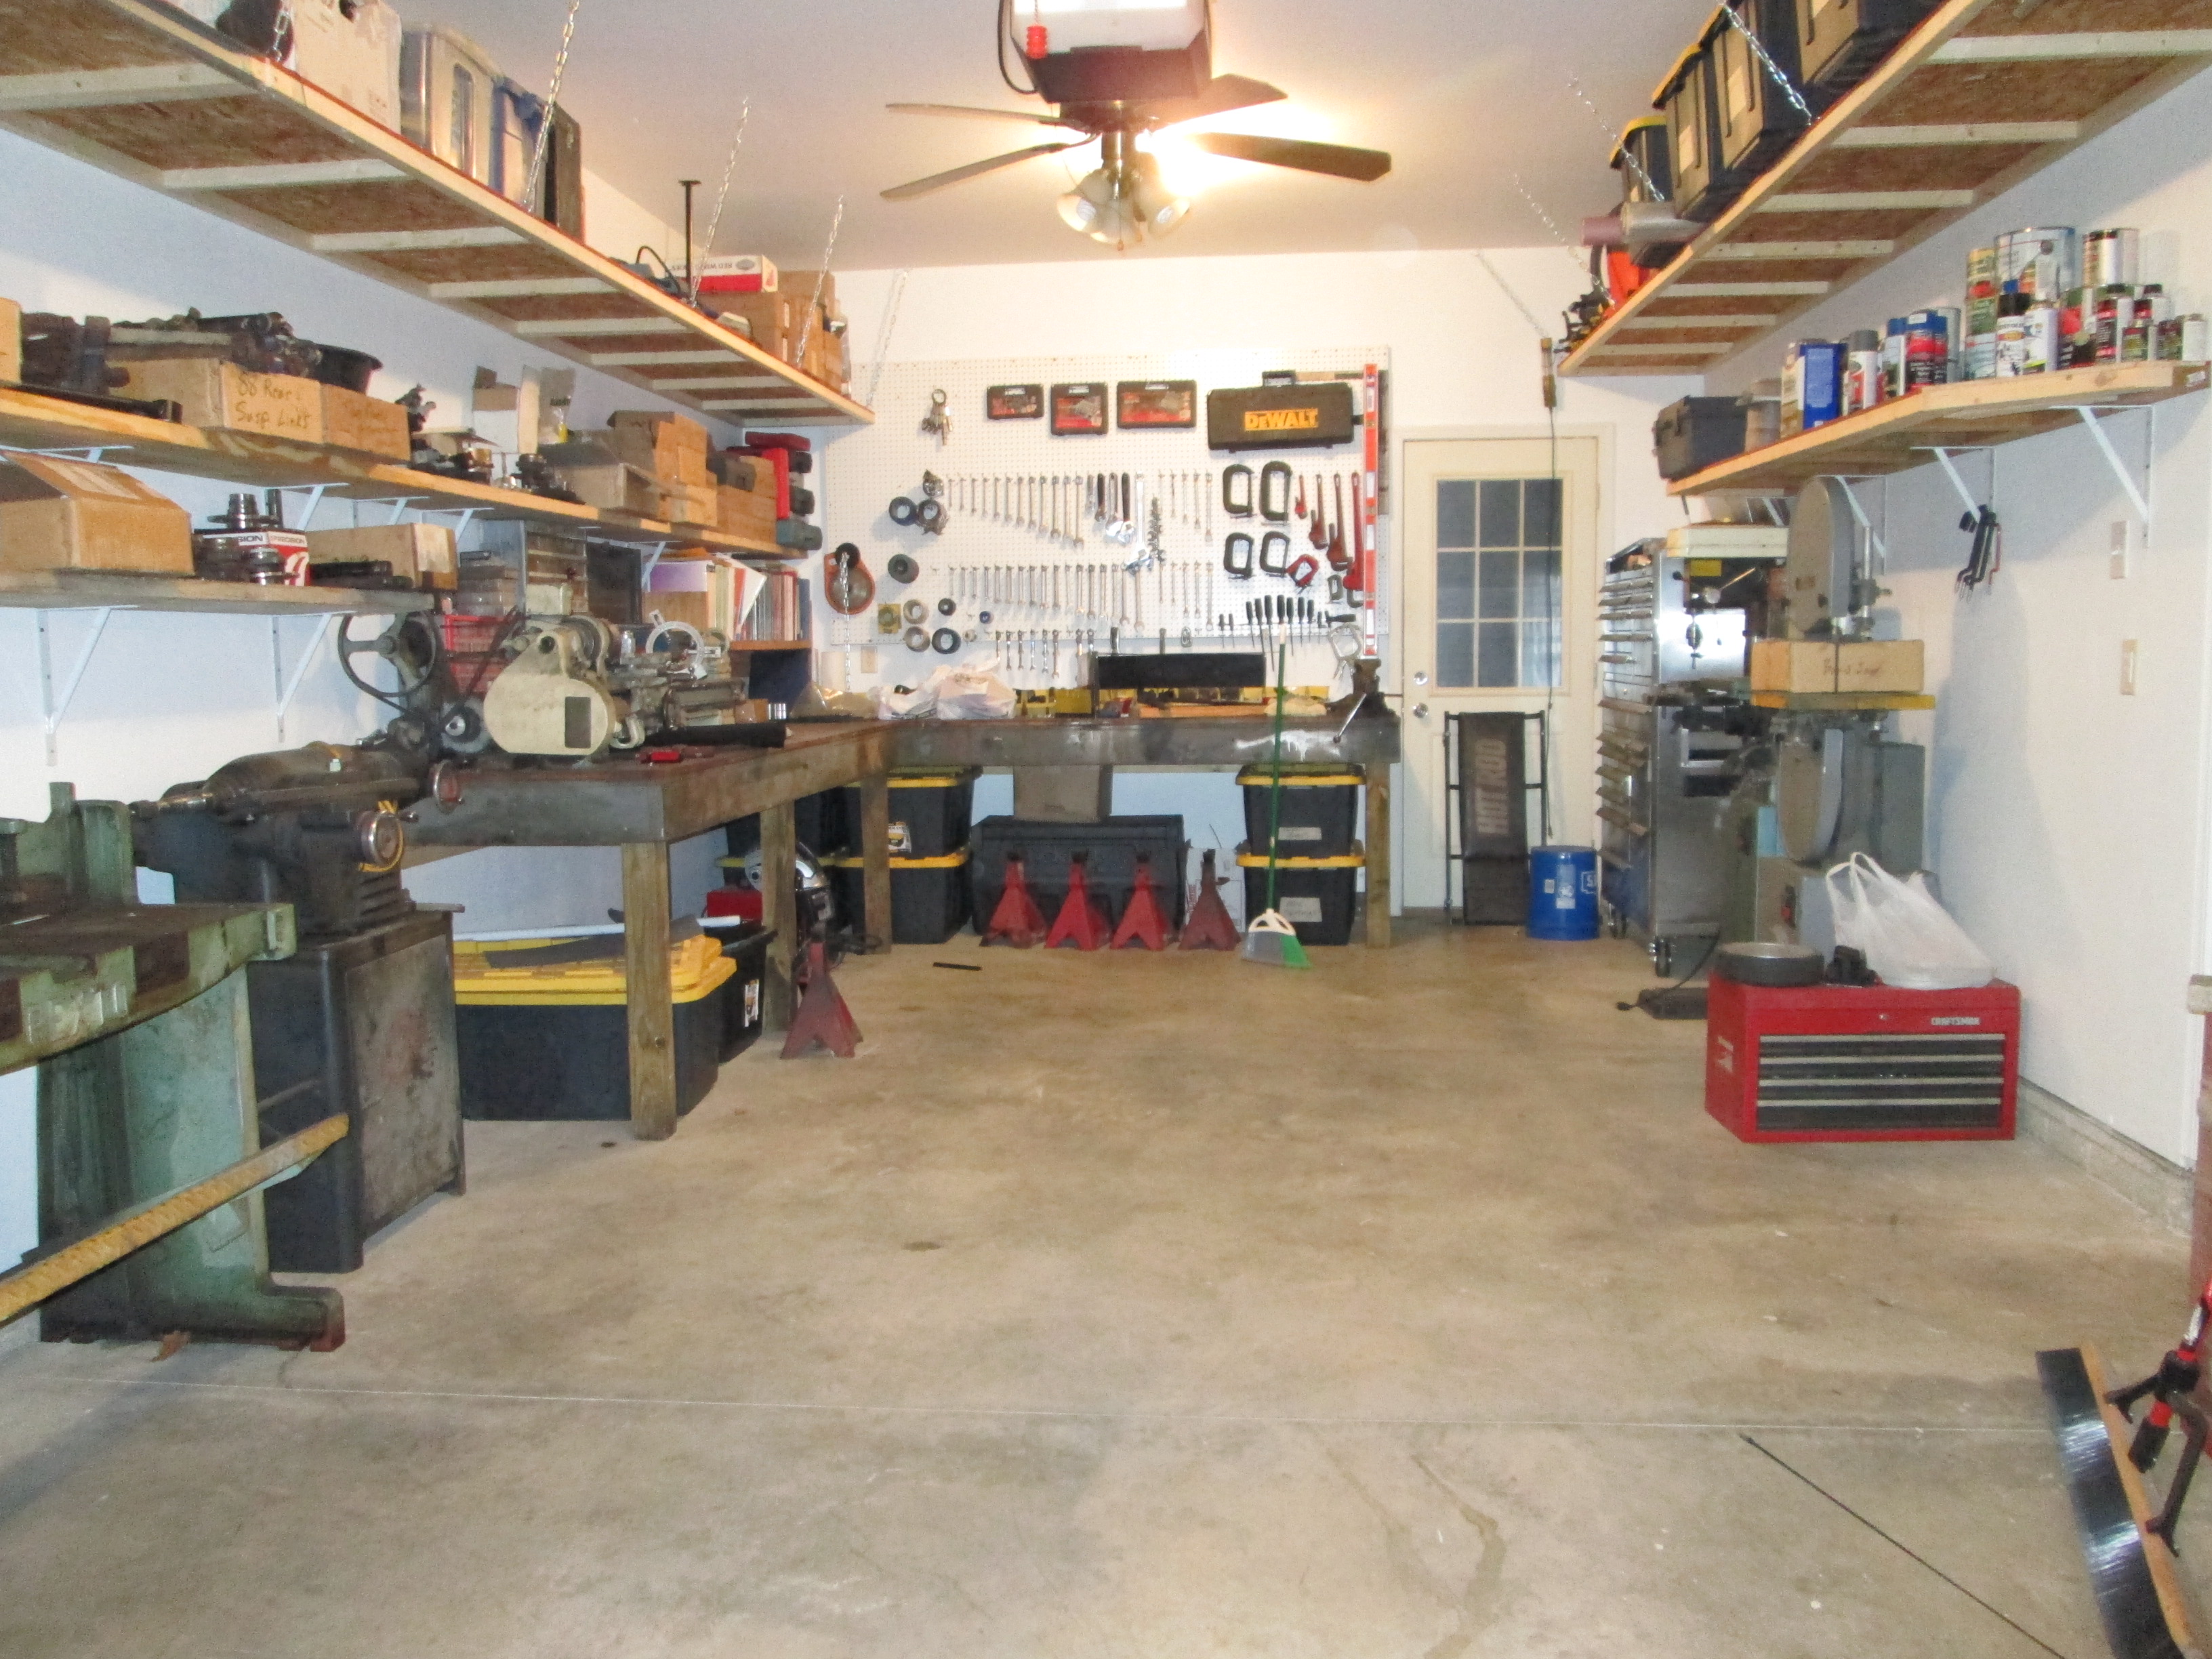
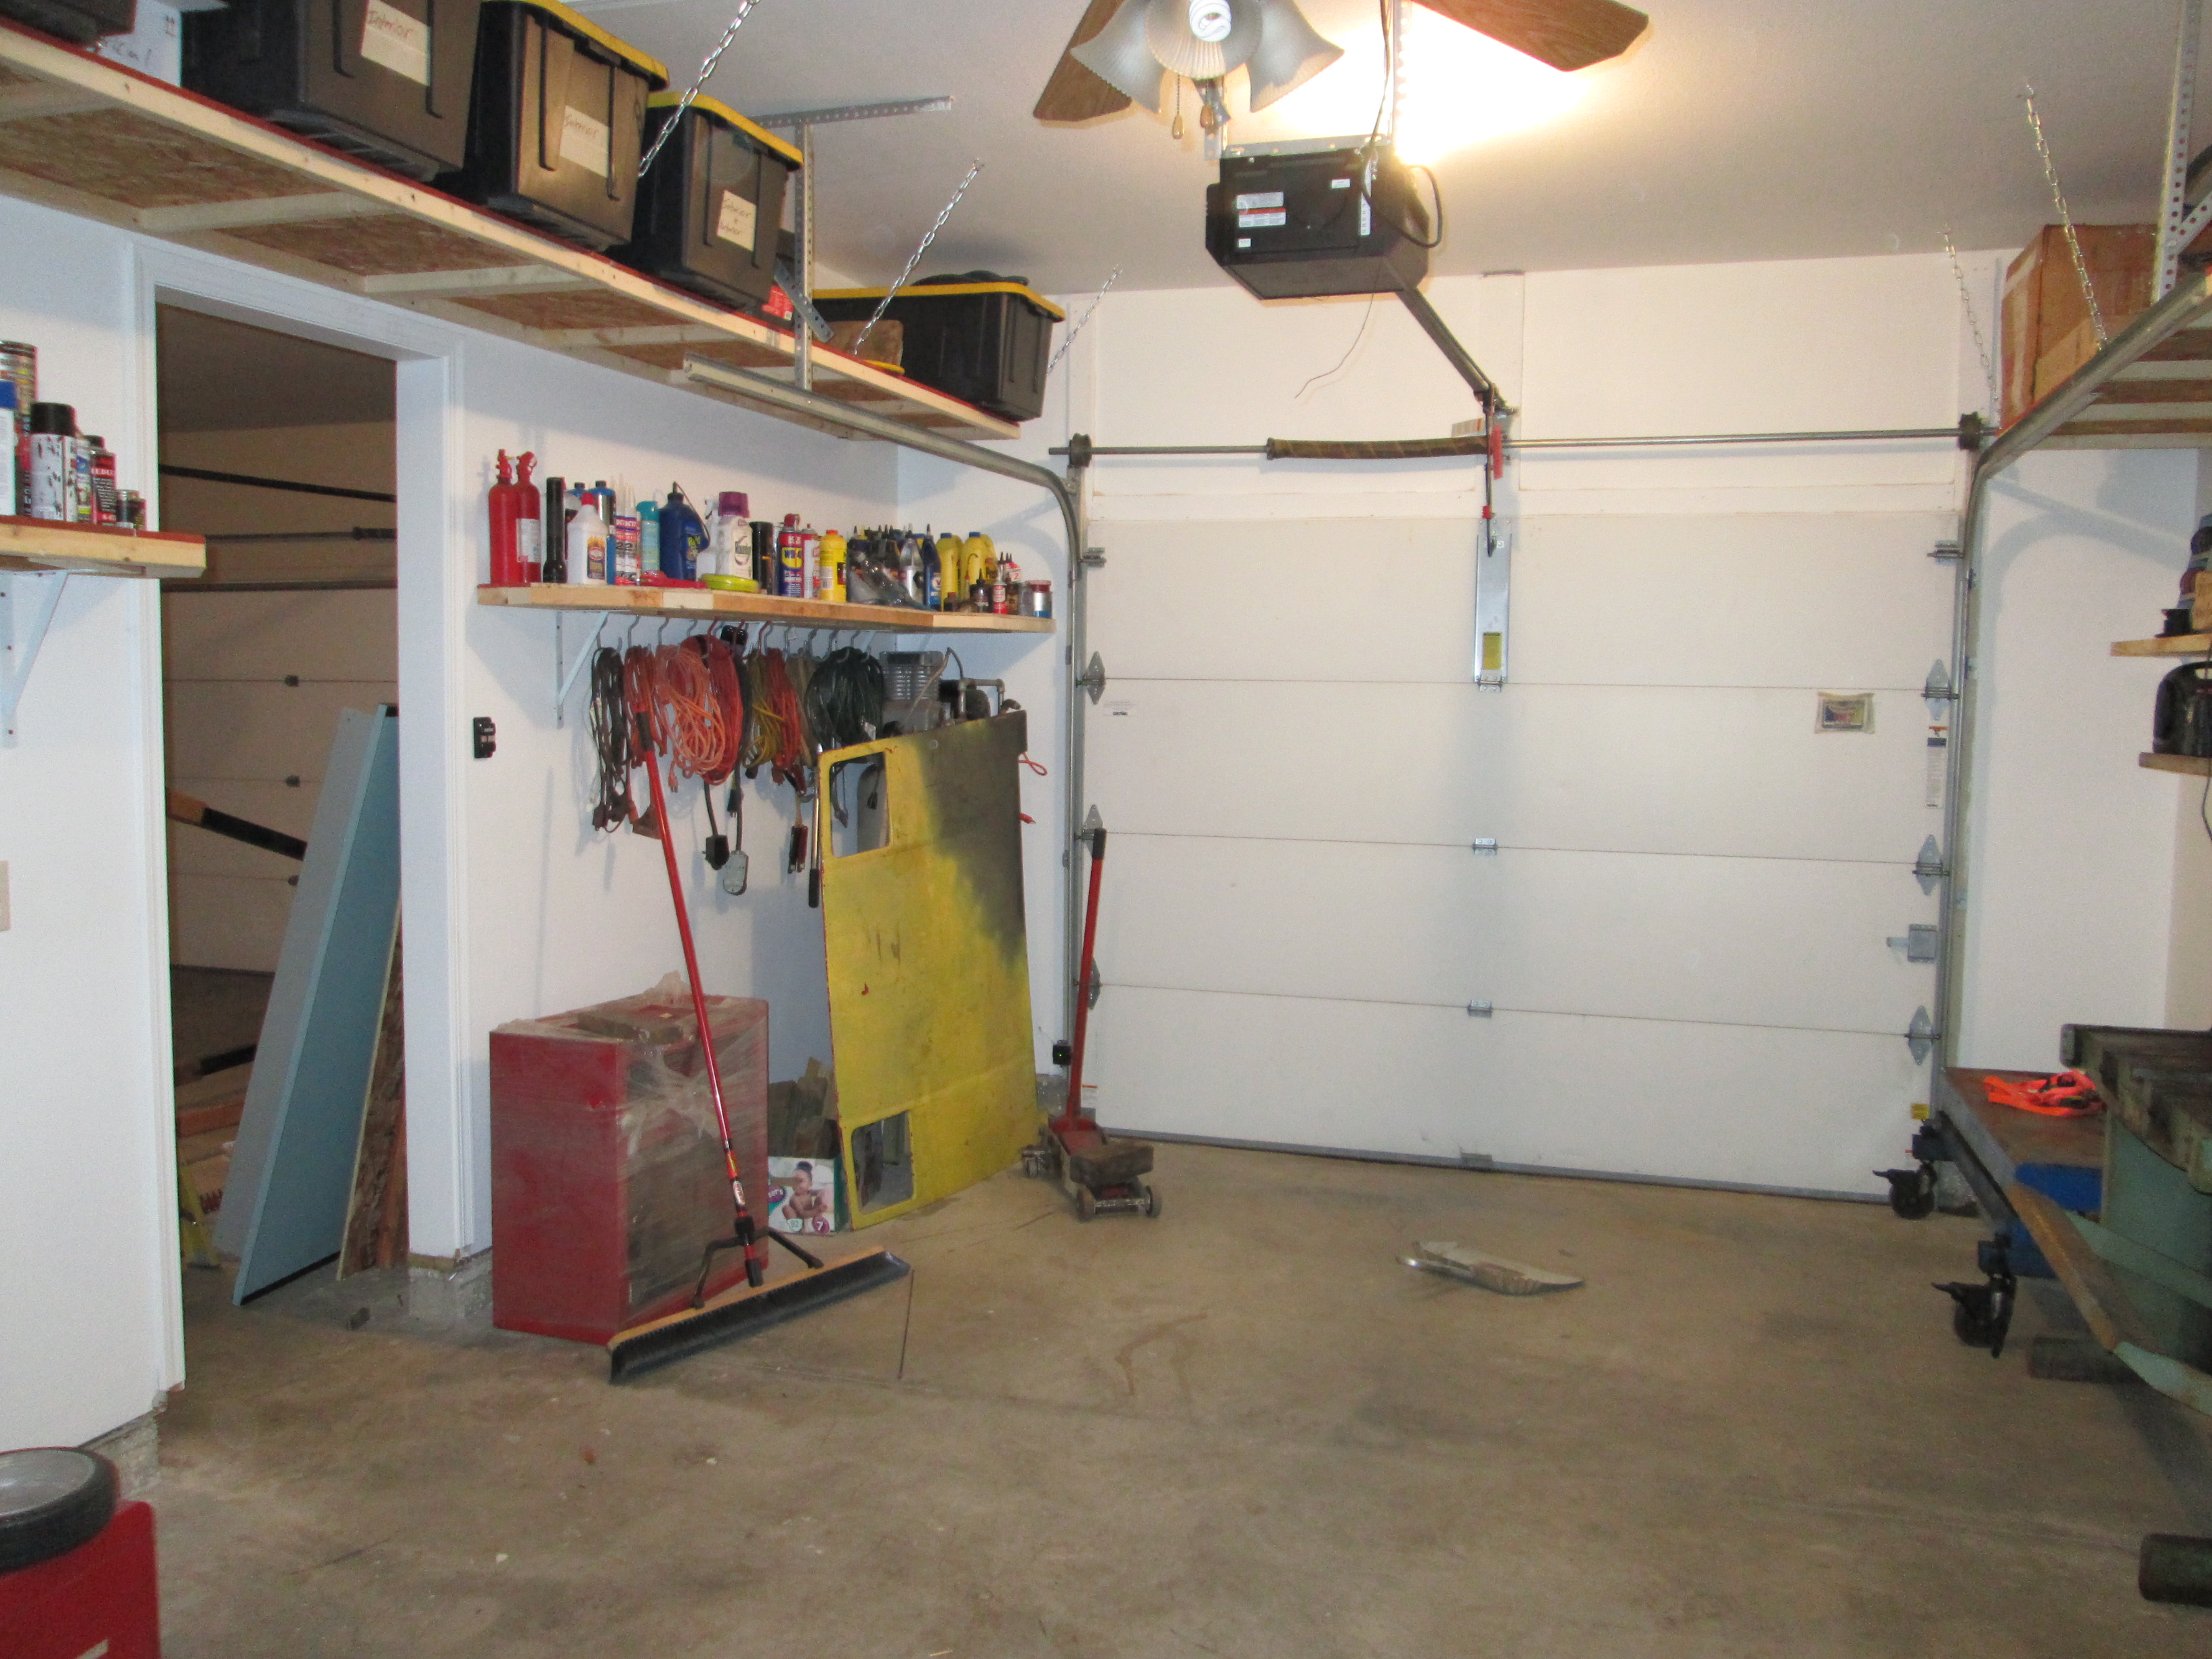
Finally got the garage put together:

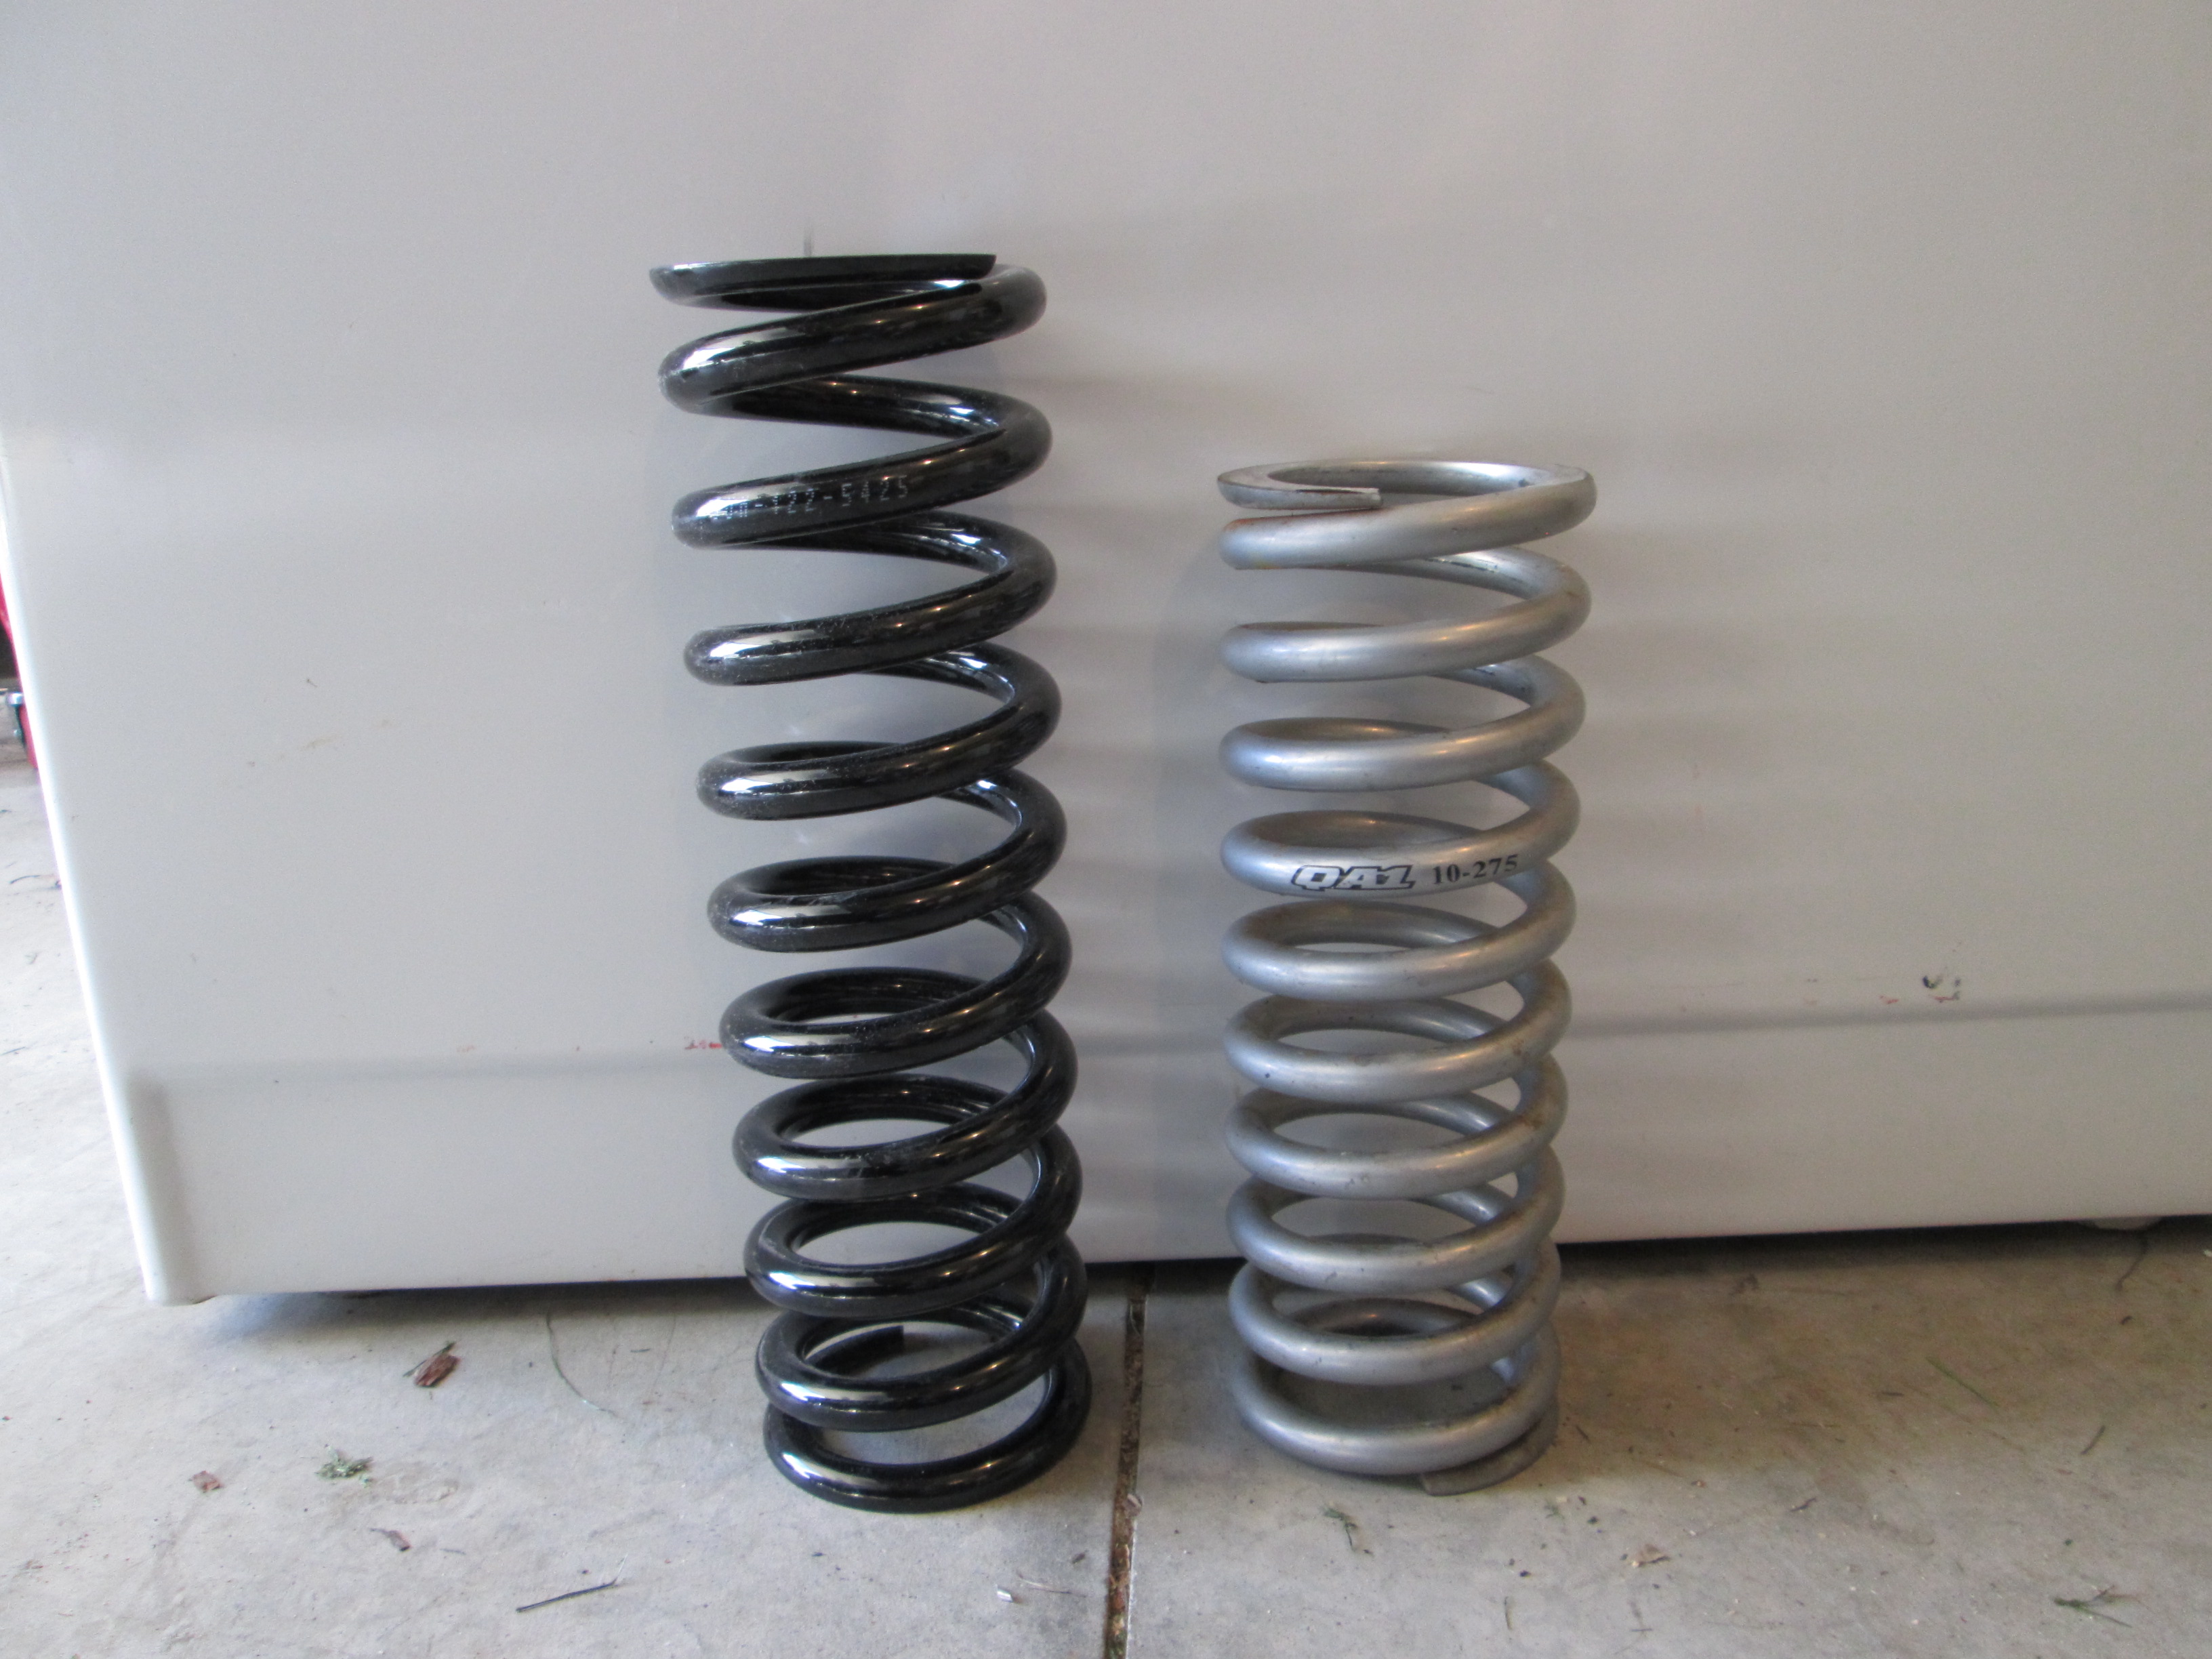
Then started doing some more suspension upgrades to help the car with autocrossing. Swapped the front springs out. The spring on the left is the one that was in the car and about 375 lb/in. The one on the right was cut down to fit. At its shorter length the new rate is about 575 lb/in:
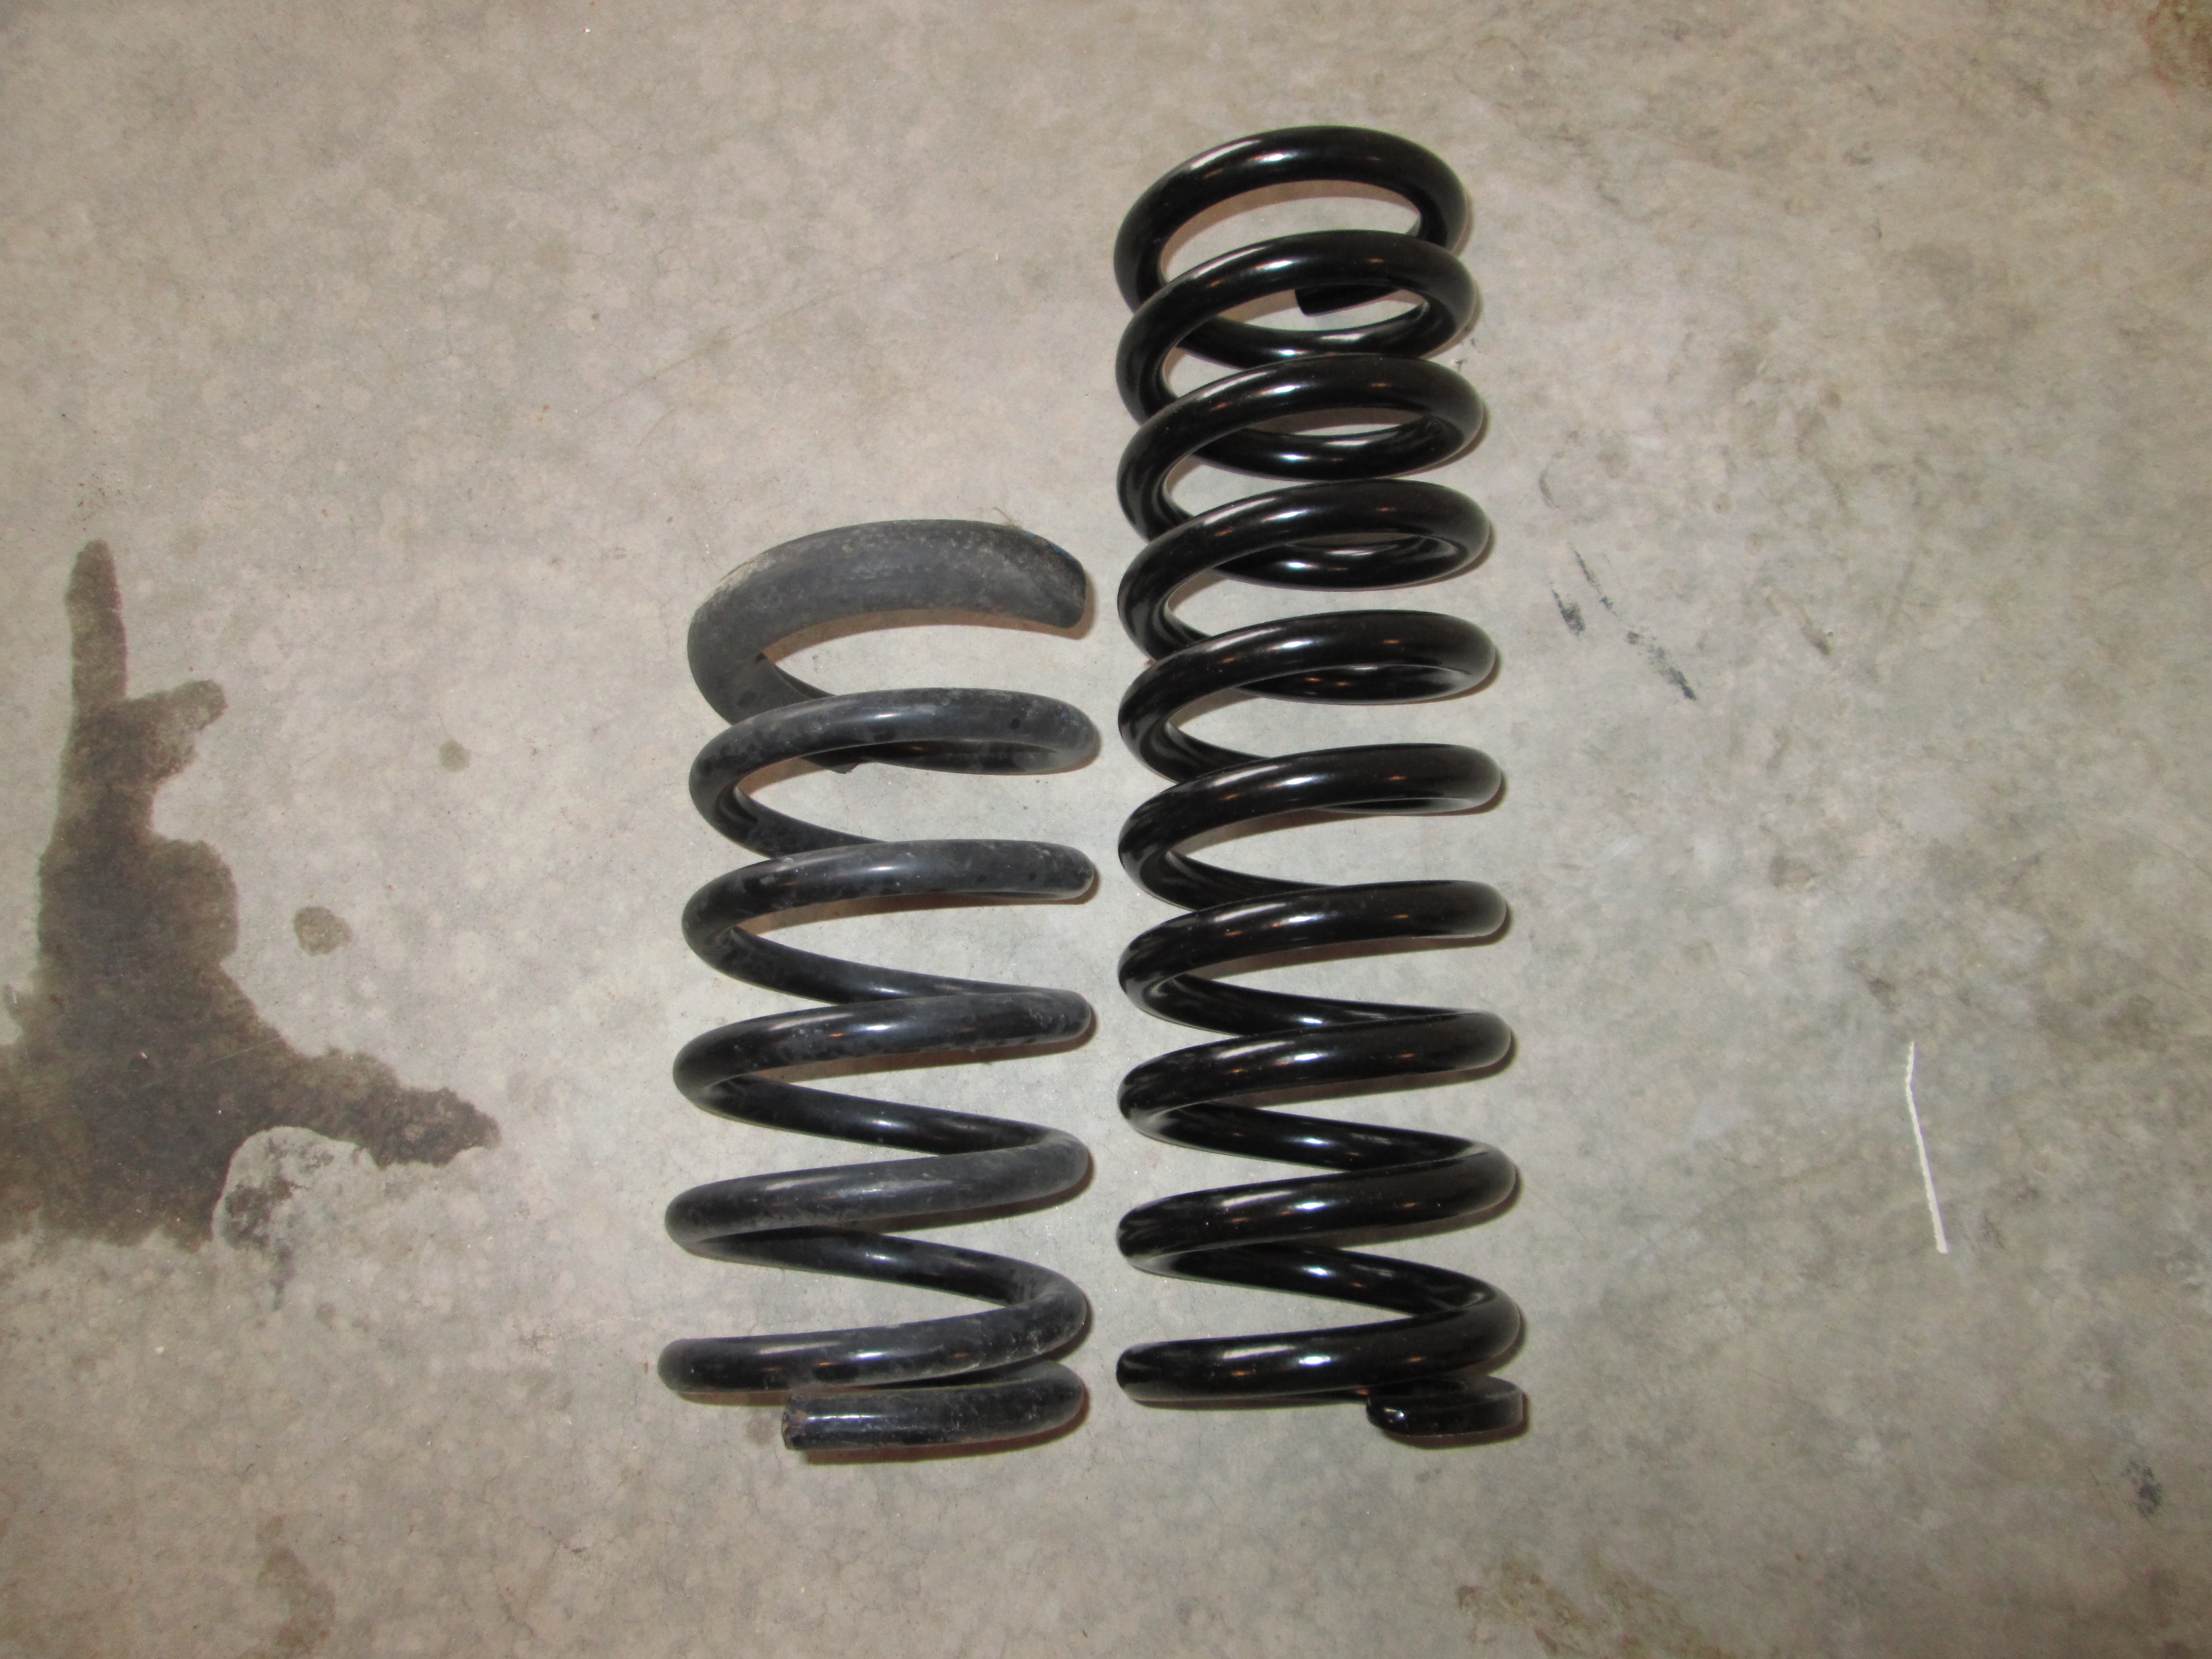
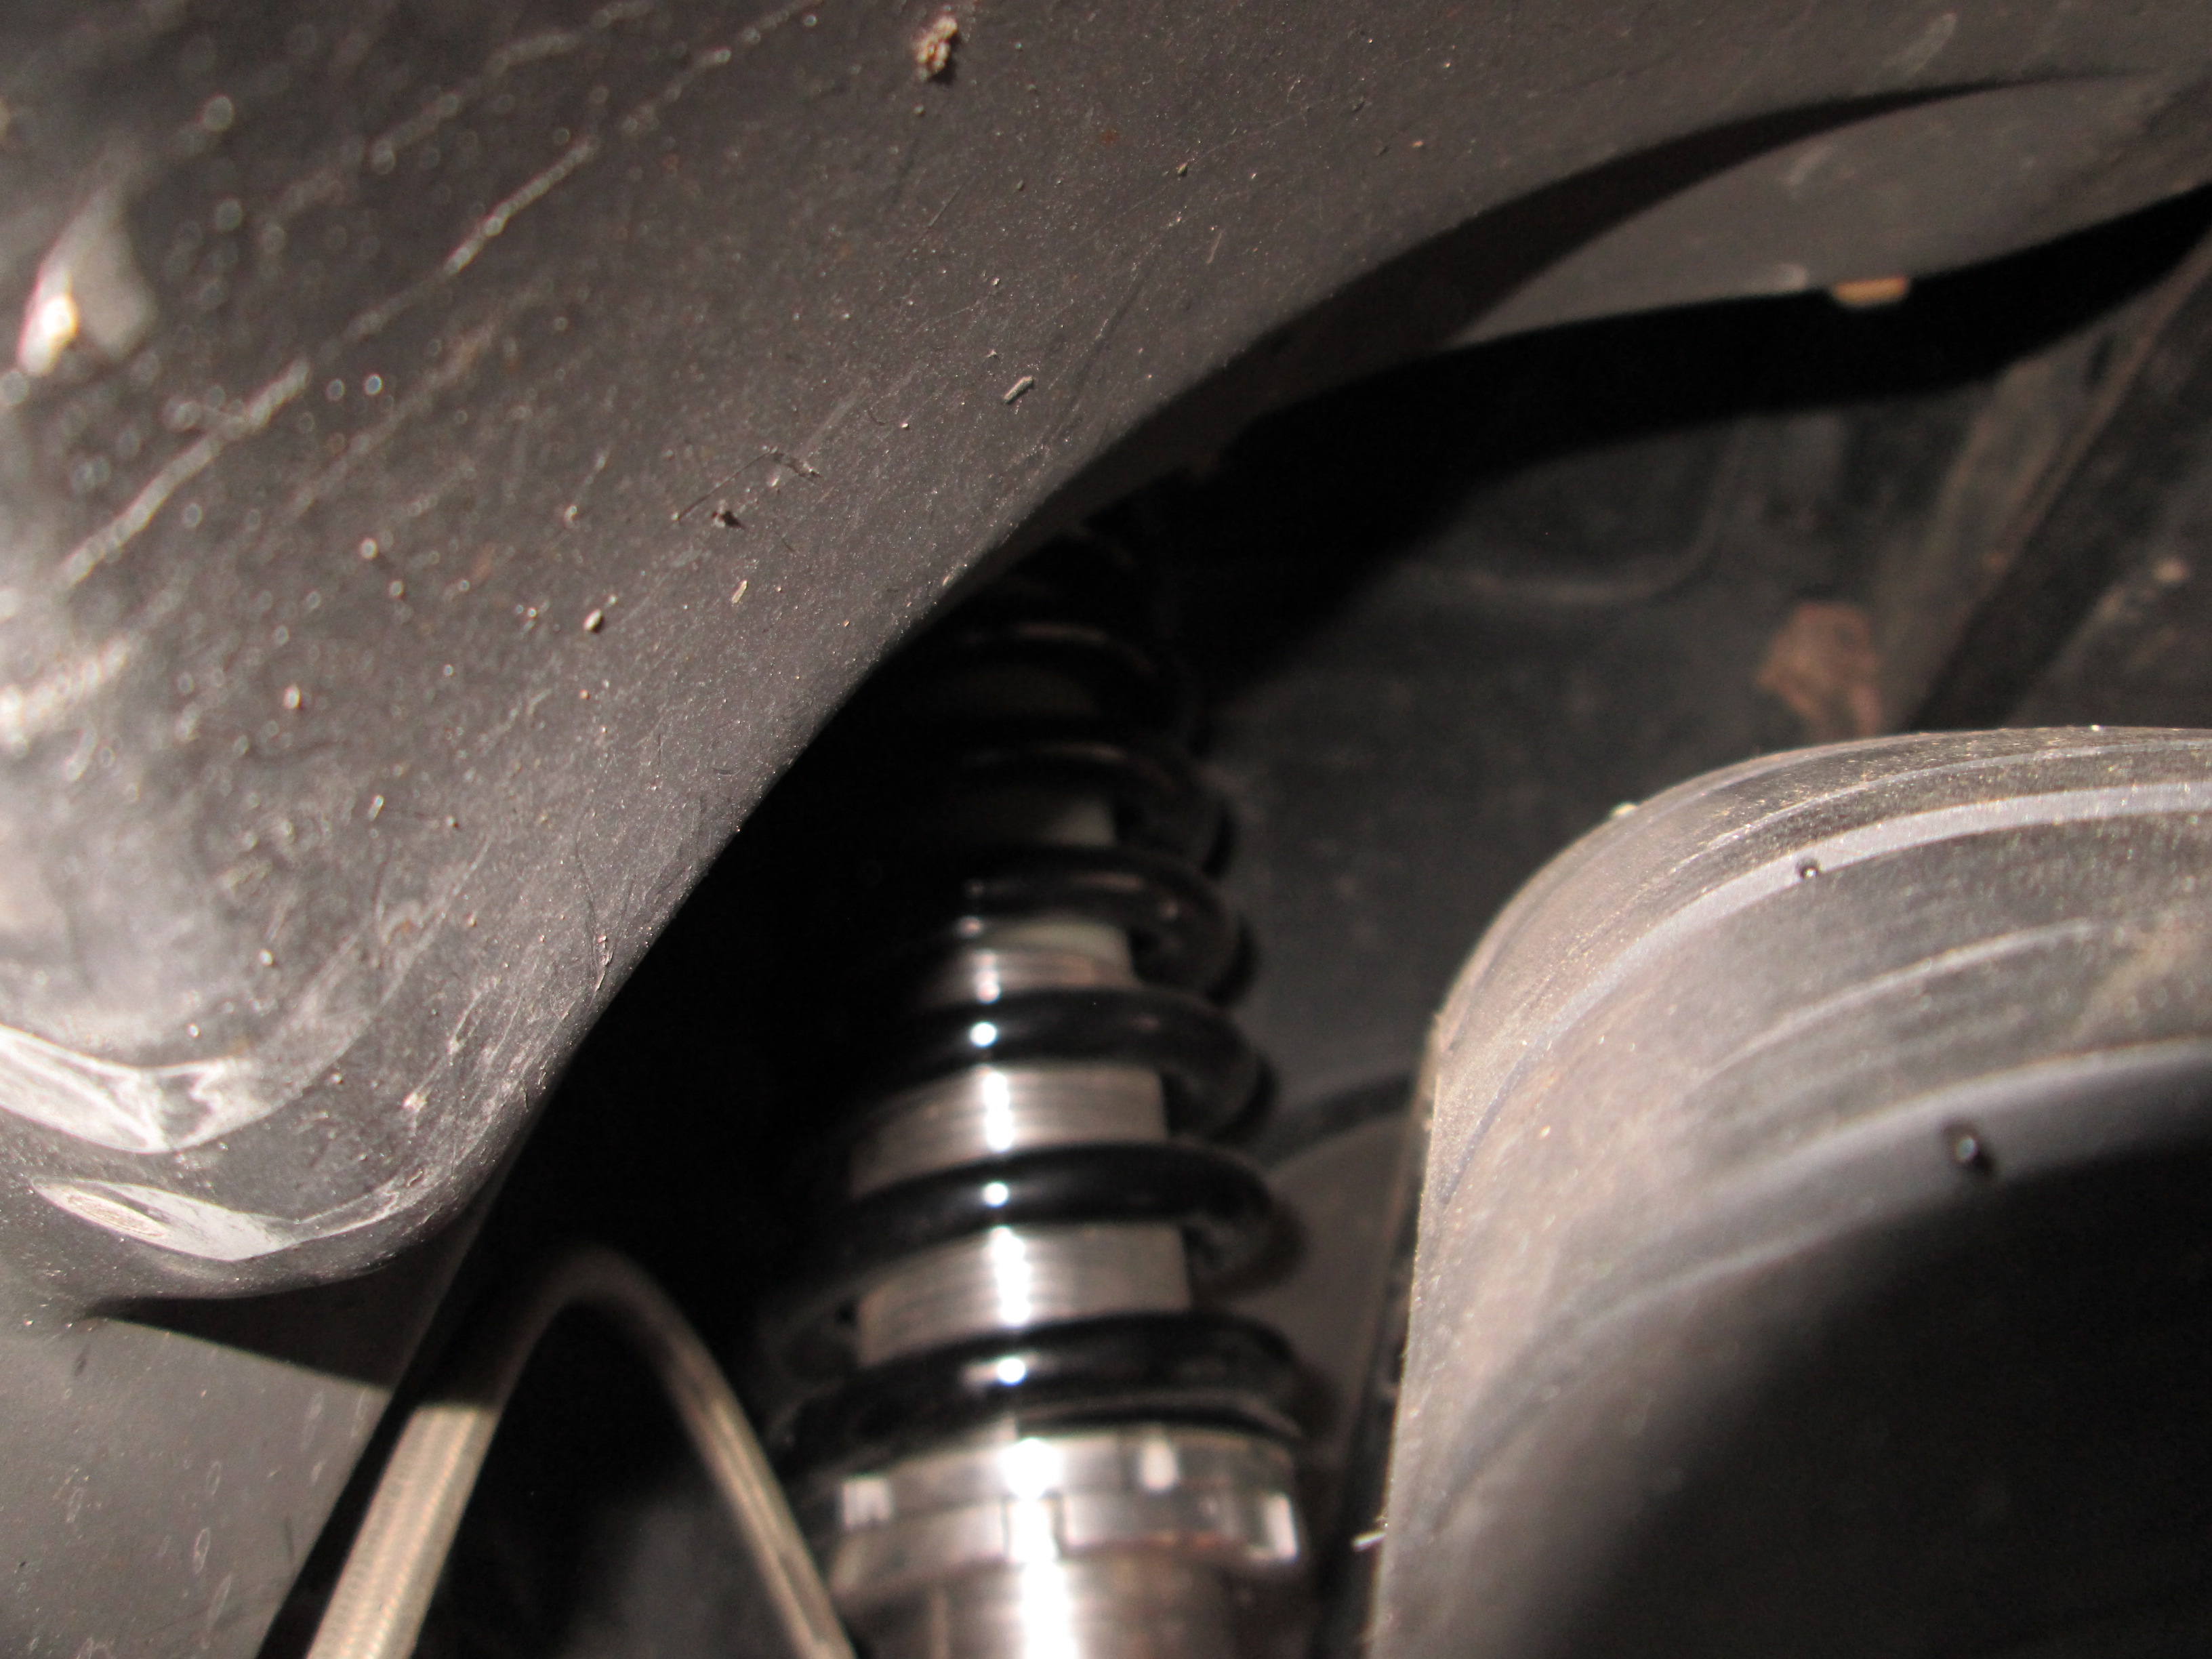
In the rear I swapped out the 10" 275 lb/in coil overs with some12" 425 lb/in ones. I did have to remove the weld bead so the coil over sleeve could go all the way down. Old vs. new springs:
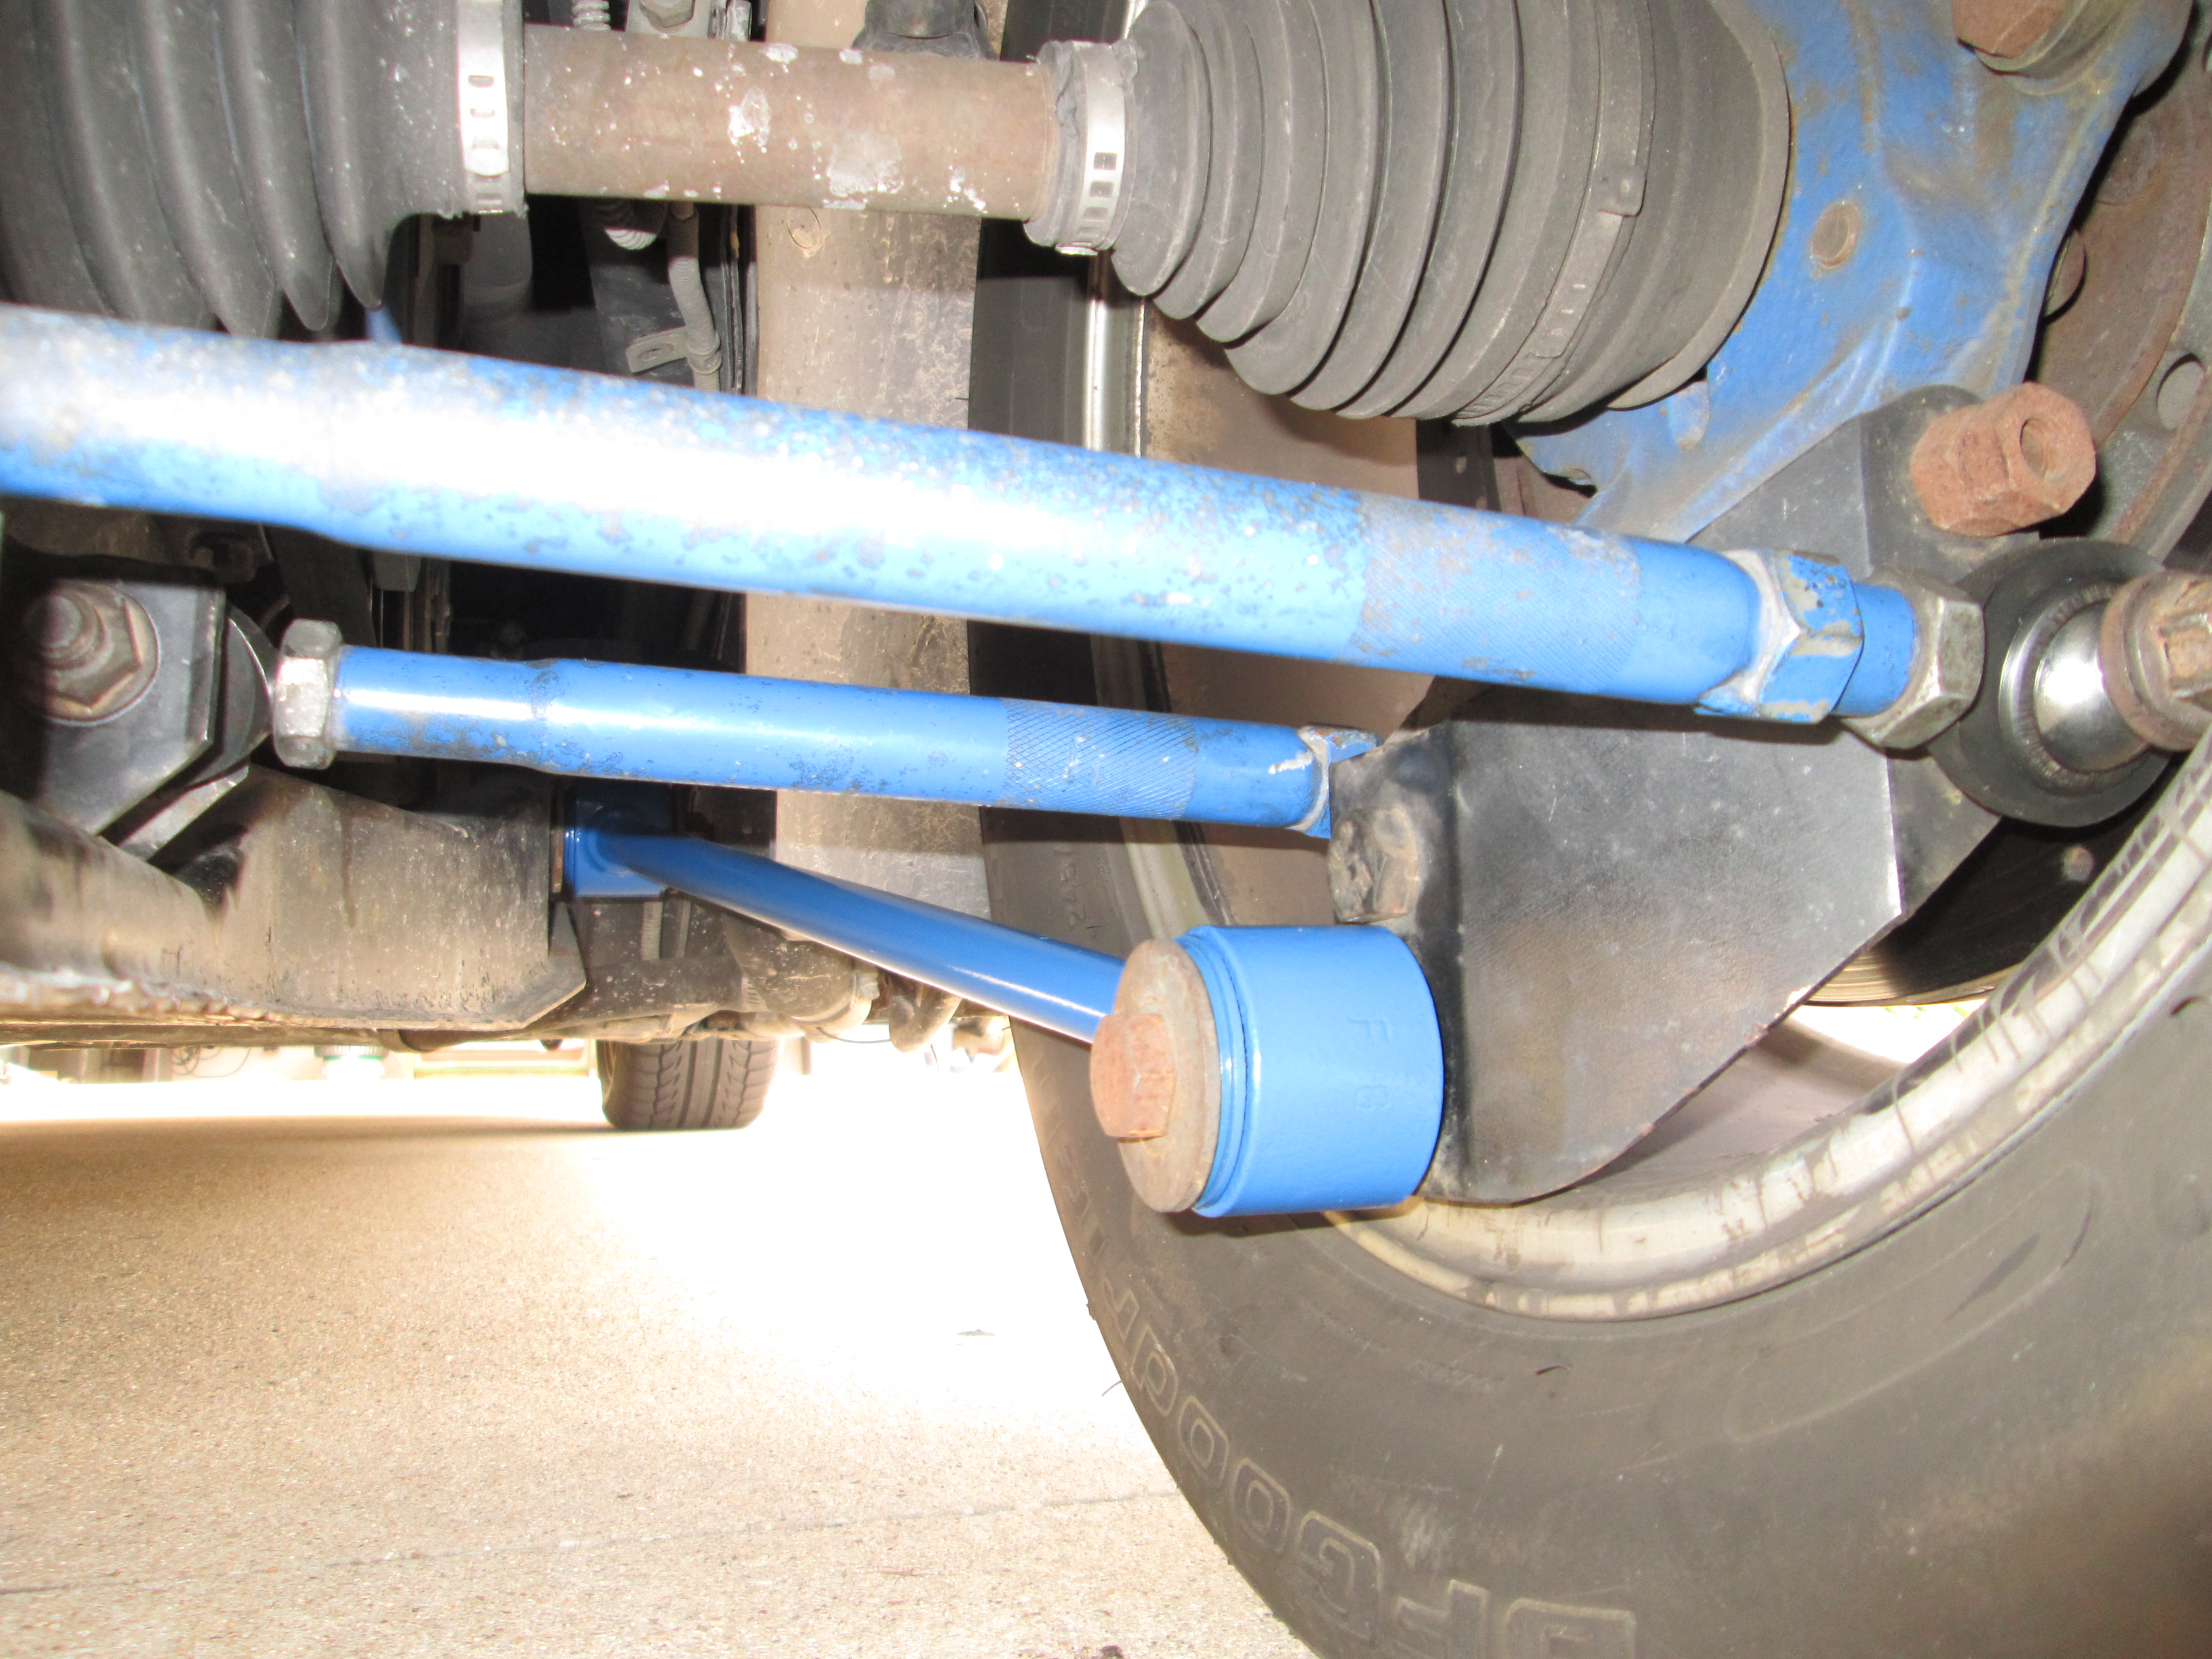
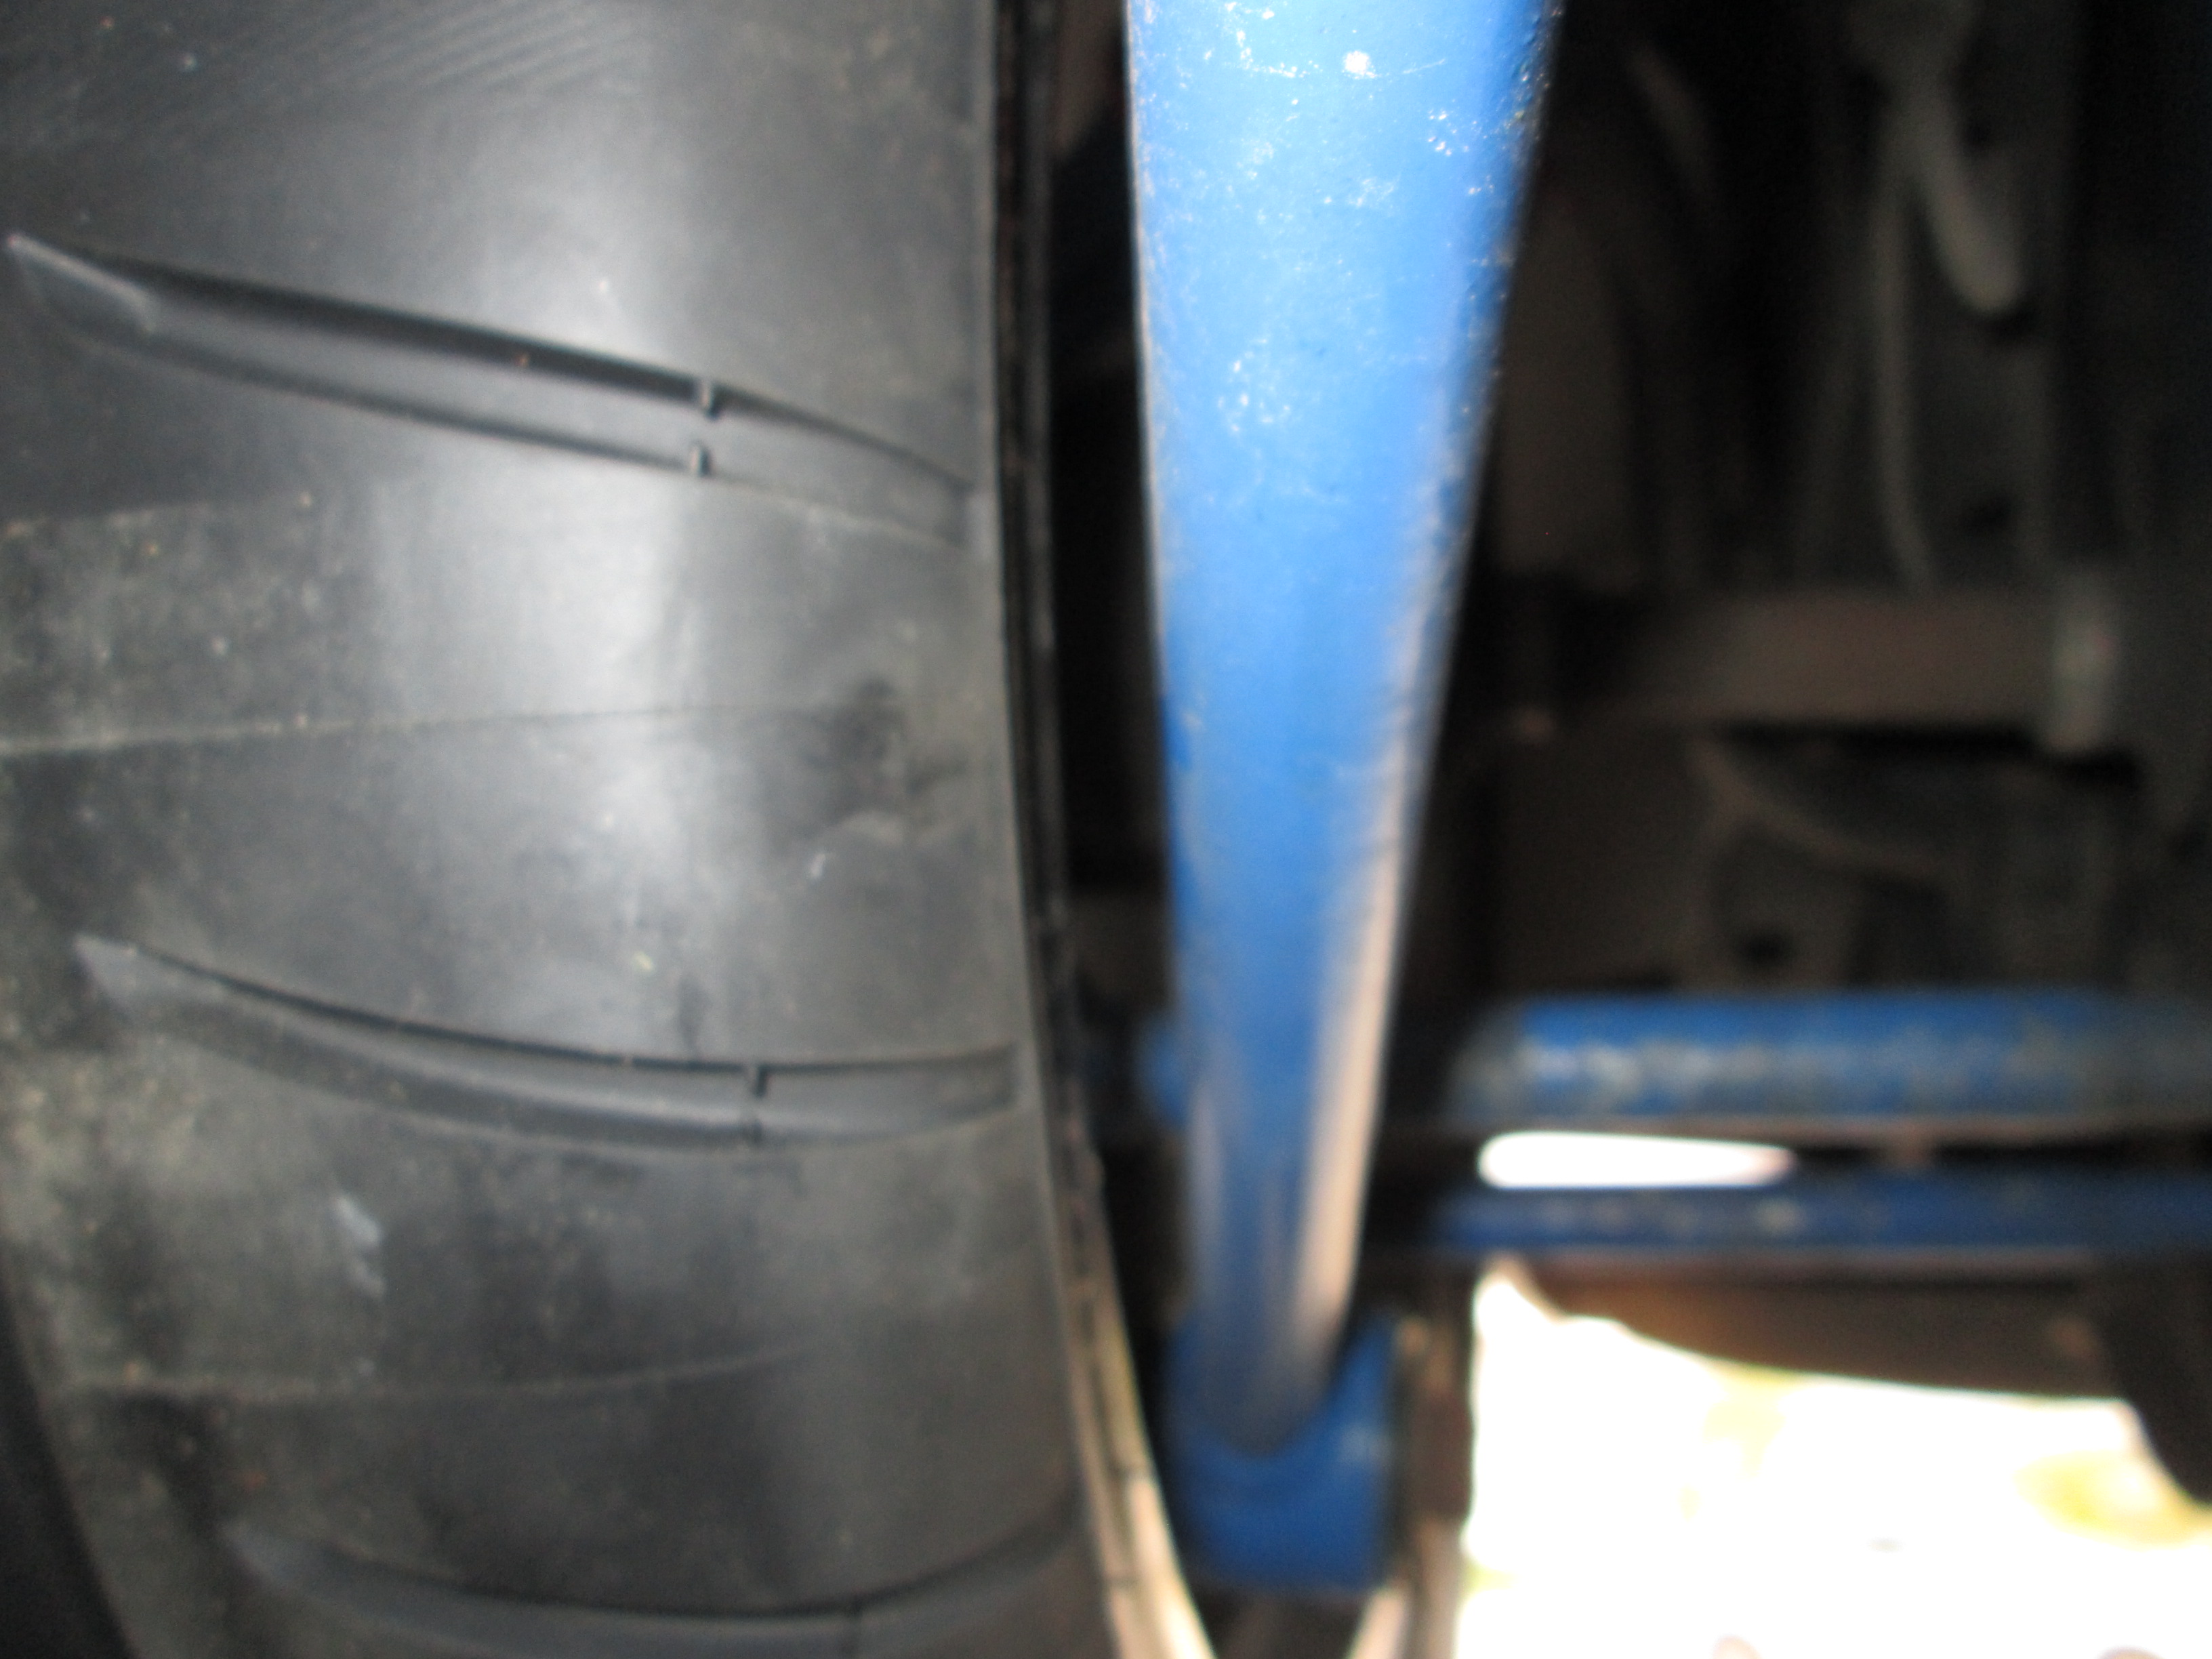
I also replaced all the rod ends in the lateral links as well as swapped out the trailing links with a set that had new rubber bushings installed. Things are a little dirty after 25K daily driver miles...
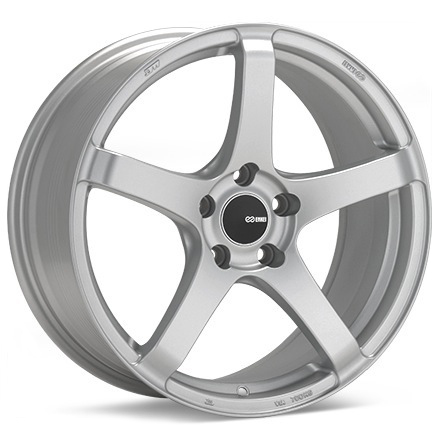
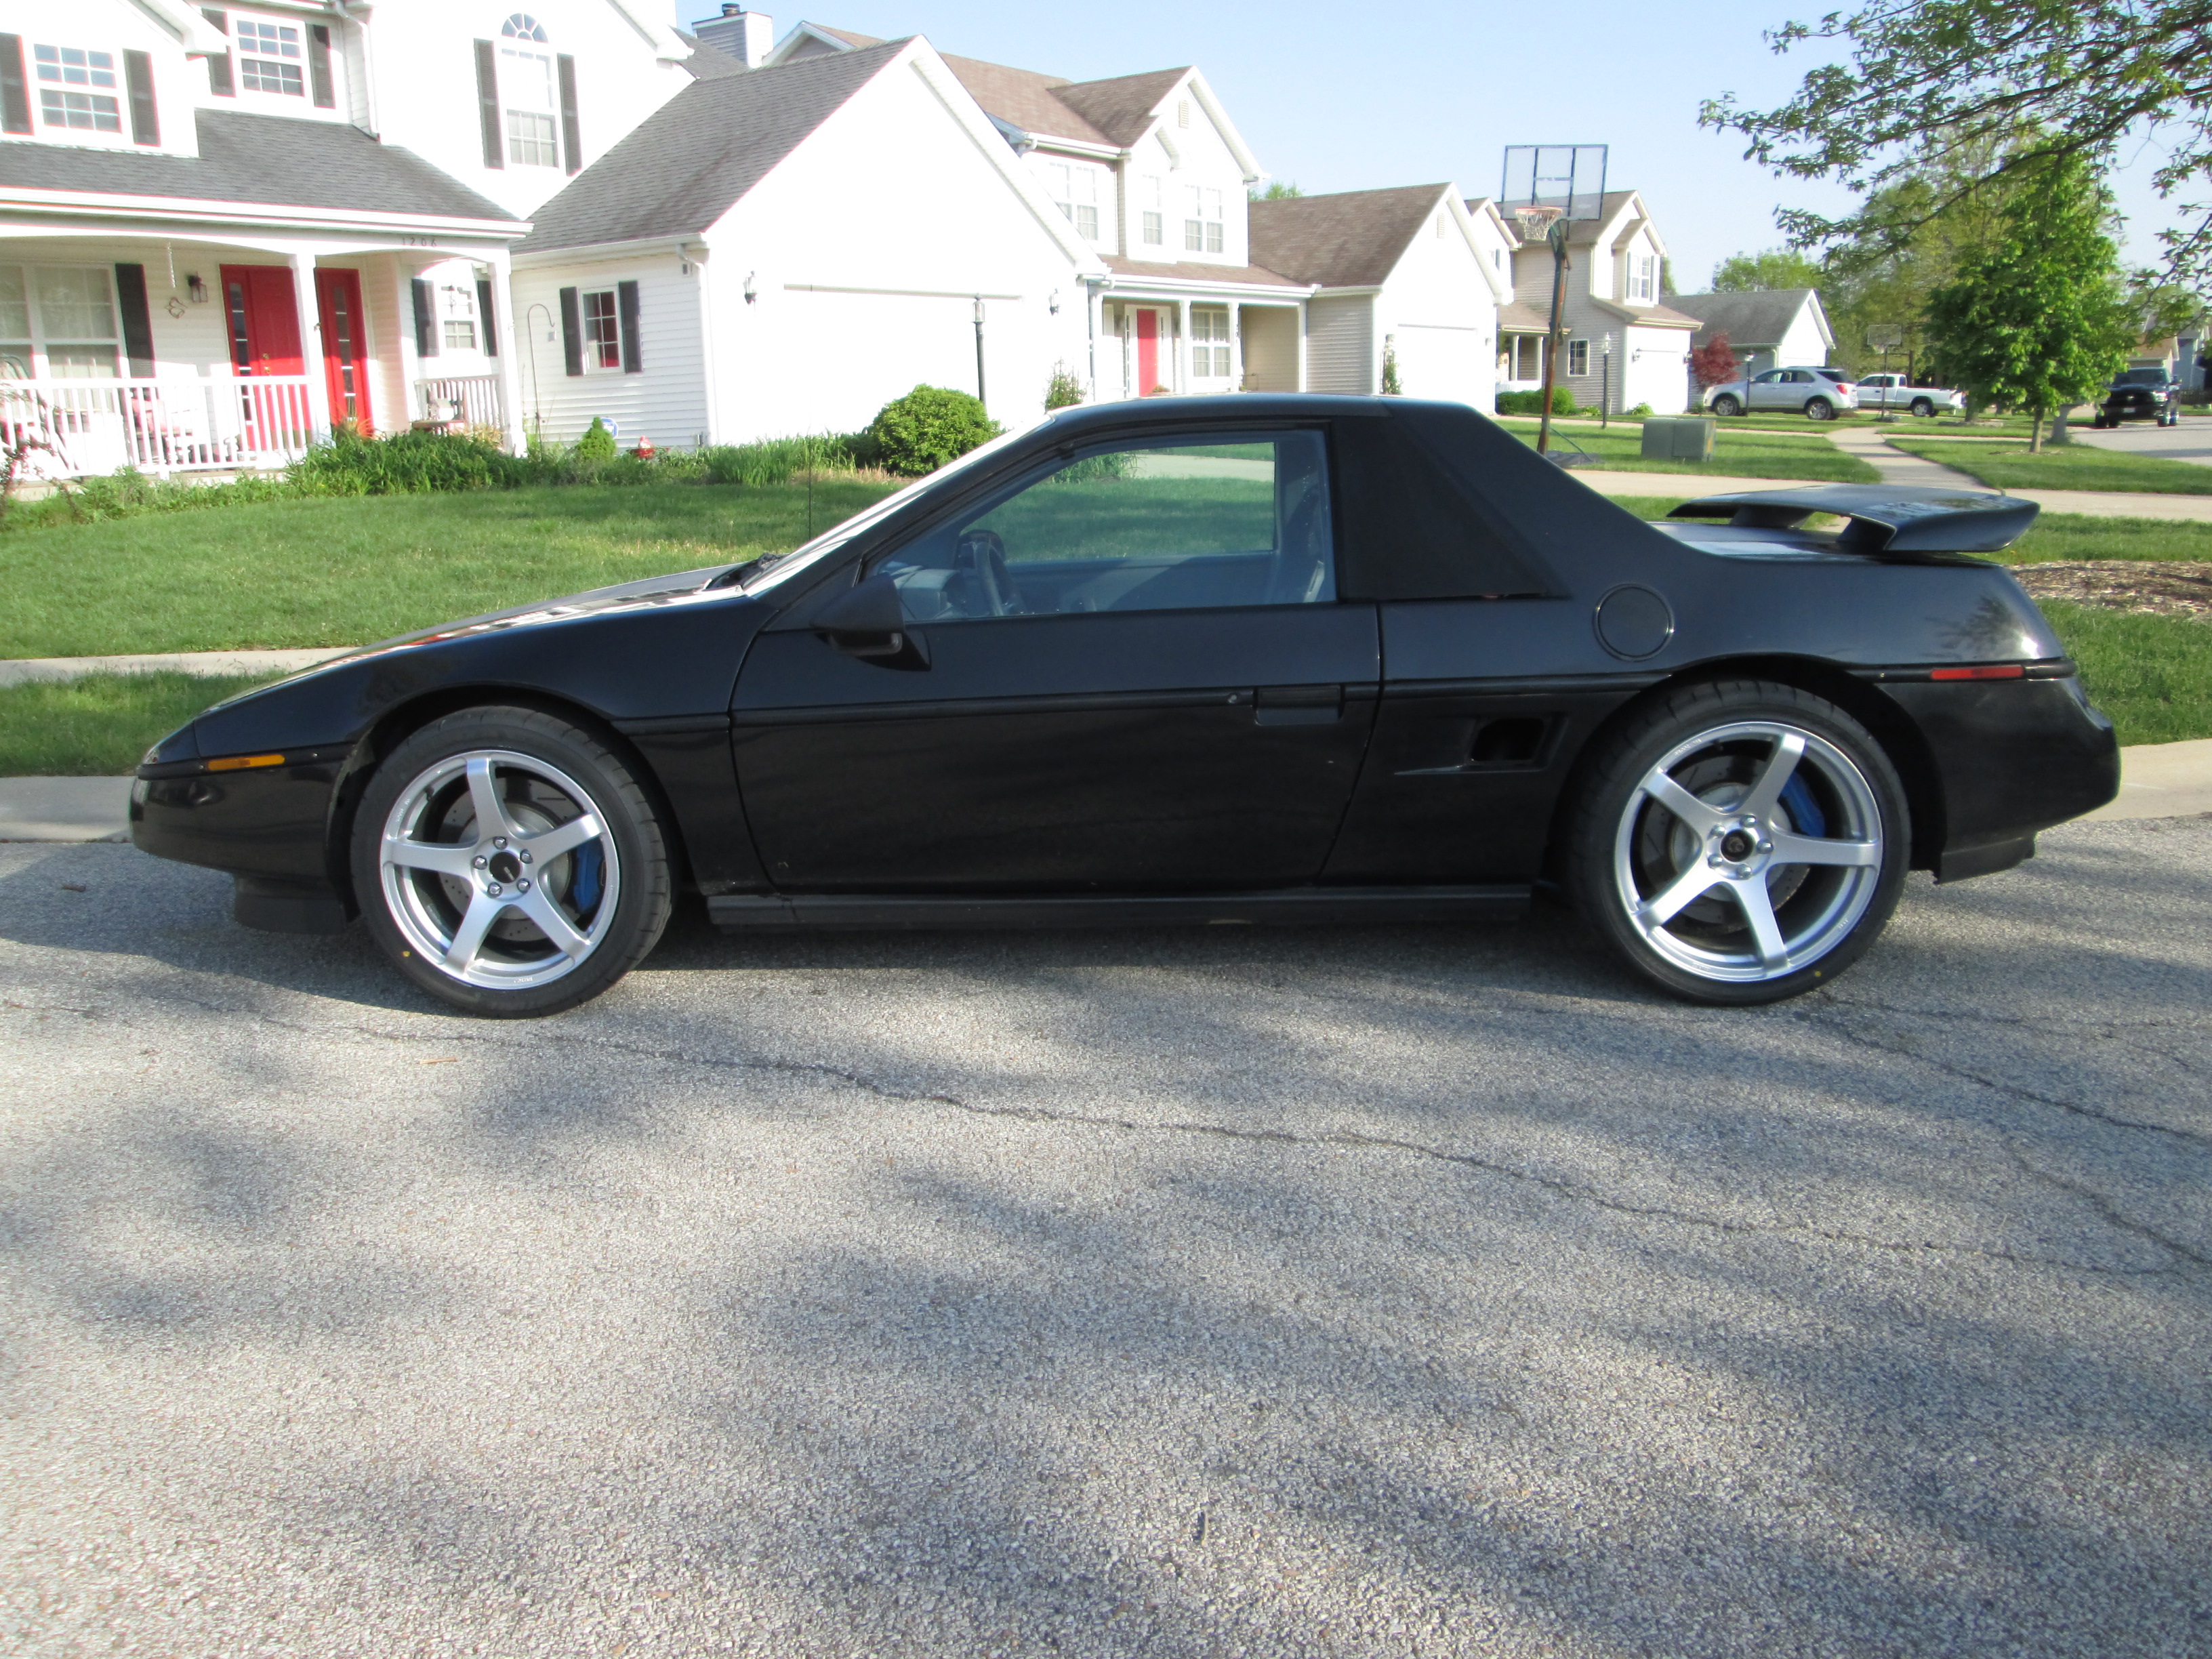
Also sent a quote request in to Tire rack for some new wheels and tires. Wheels are Enkei Tuning Kojin in matte silver.
Tires are Bridgestone Potenza RE-11 as the car is becoming more and more focused on autocrossing.
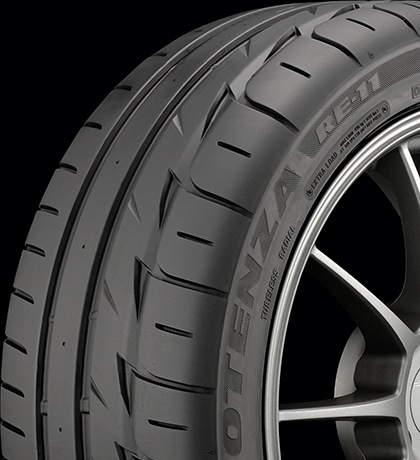
Front: 17x8 45et with 235/40/17
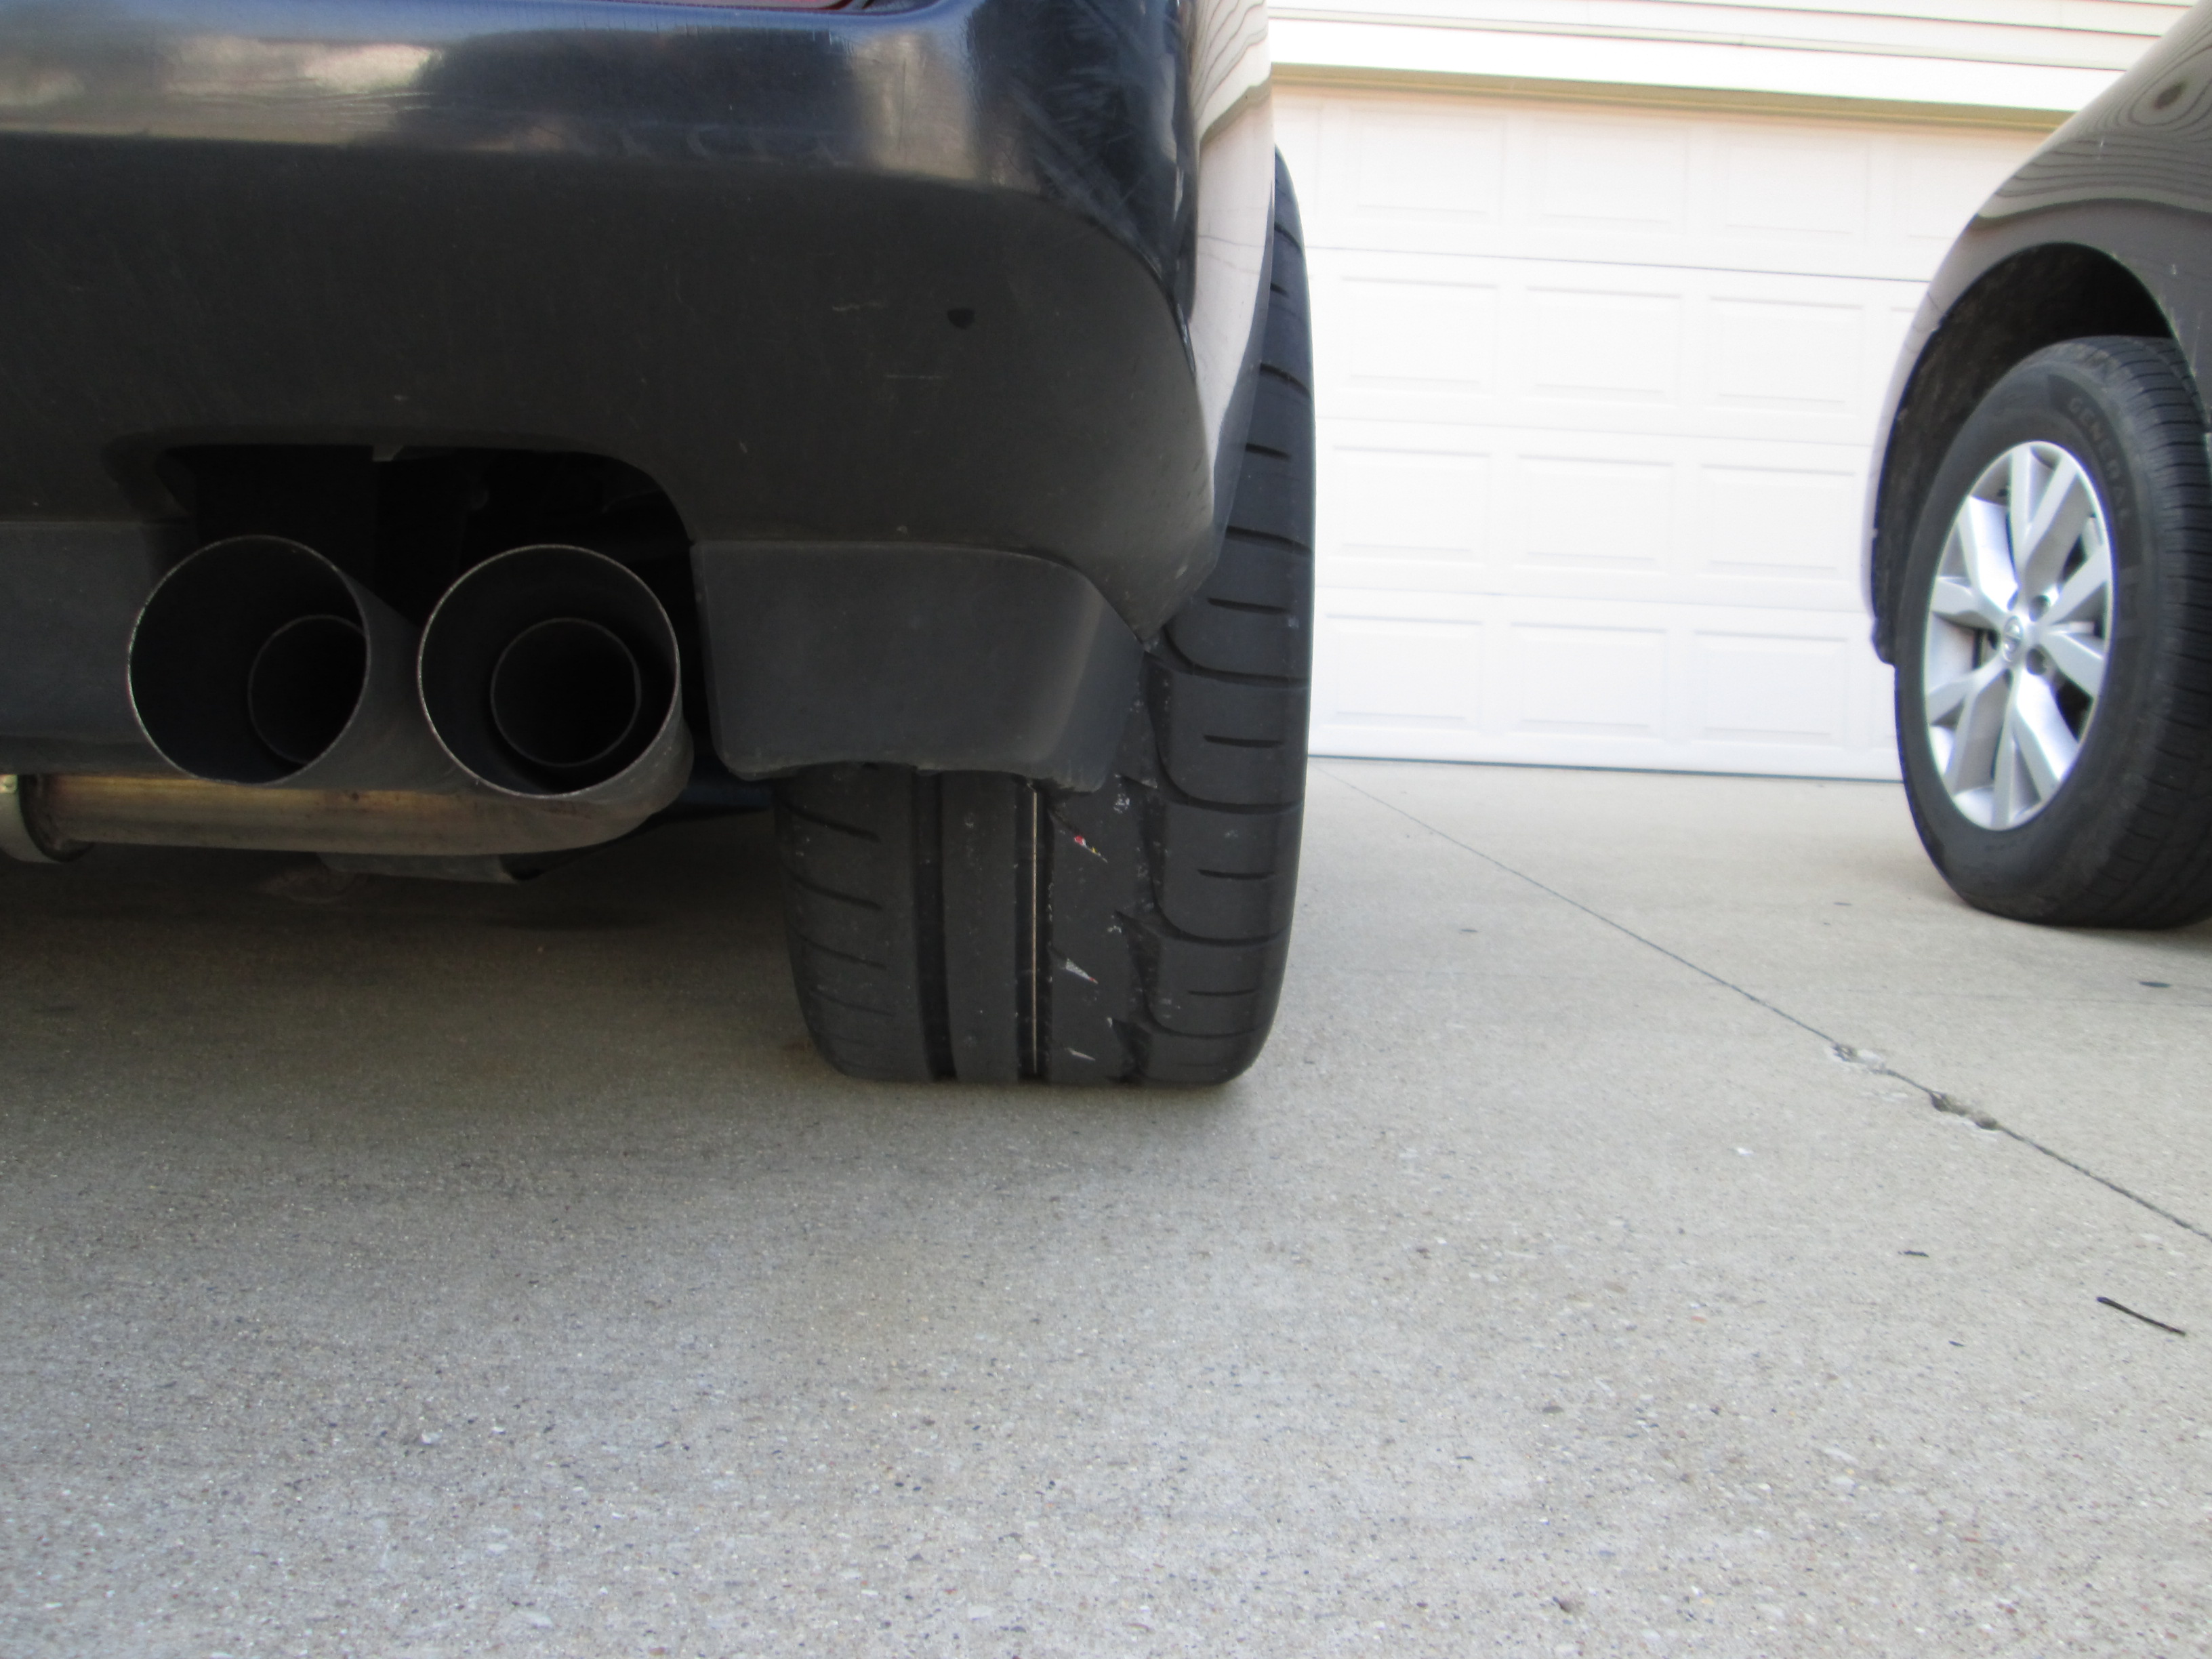
Rear: 18x9.5 45et with 285/30/18
Then started doing some more suspension upgrades to help the car with autocrossing. Swapped the front springs out. The spring on the left is the one that was in the car and about 375 lb/in. The one on the right was cut down to fit. At its shorter length the new rate is about 575 lb/in:
In the rear I swapped out the 10" 275 lb/in coil overs with some12" 425 lb/in ones. I did have to remove the weld bead so the coil over sleeve could go all the way down. Old vs. new springs:
I also replaced all the rod ends in the lateral links as well as swapped out the trailing links with a set that had new rubber bushings installed. Things are a little dirty after 25K daily driver miles...
Also sent a quote request in to Tire rack for some new wheels and tires. Wheels are Enkei Tuning Kojin in matte silver.
Tires are Bridgestone Potenza RE-11 as the car is becoming more and more focused on autocrossing.
Front: 17x8 45et with 235/40/17
Rear: 18x9.5 45et with 285/30/18
04-18-2016, 04:22 PM
#212
That shop looks clean, organized, and very well-equipped. If it has good lighting and plenty of electrical outlets, you've got all my favorite boxes checked! The new home looks fantastic too. My wife would never let me build shop outside her kitchen window.
Car looks great. I miss the engine stage of your build - so much cool stuff in that car.
Car looks great. I miss the engine stage of your build - so much cool stuff in that car.
 04-19-2016, 08:30 PM
#214
Thanks guys!
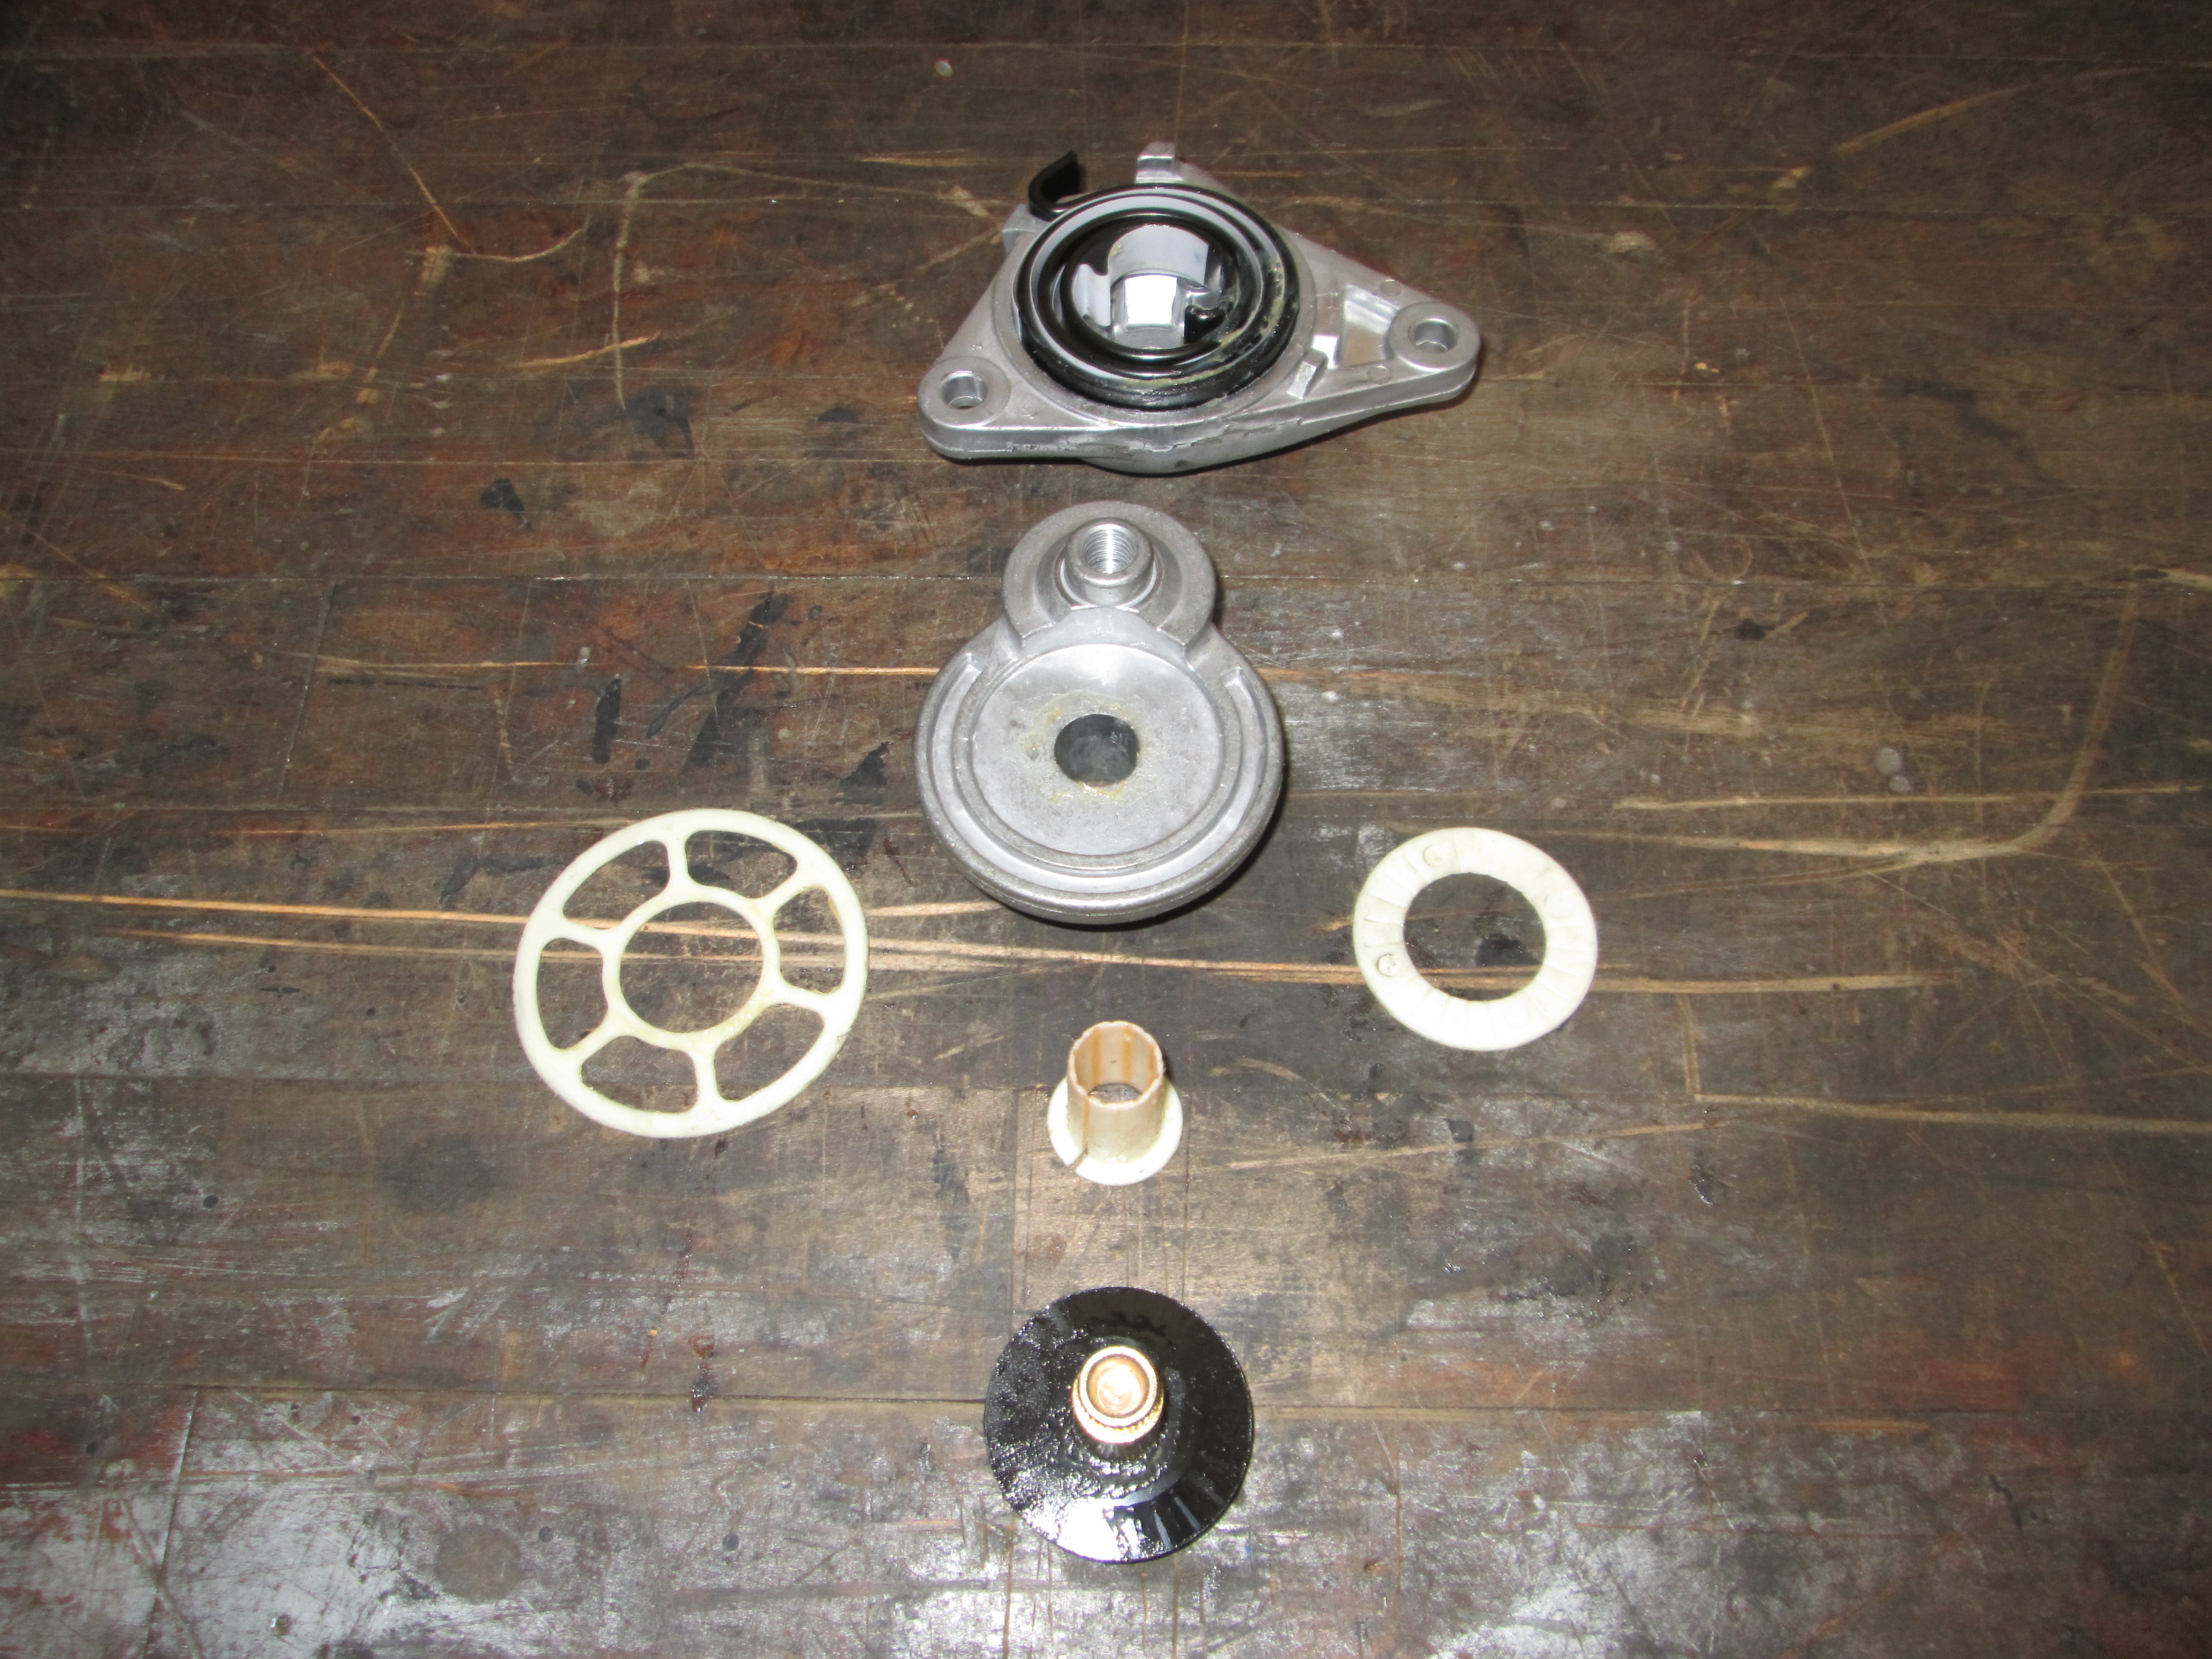
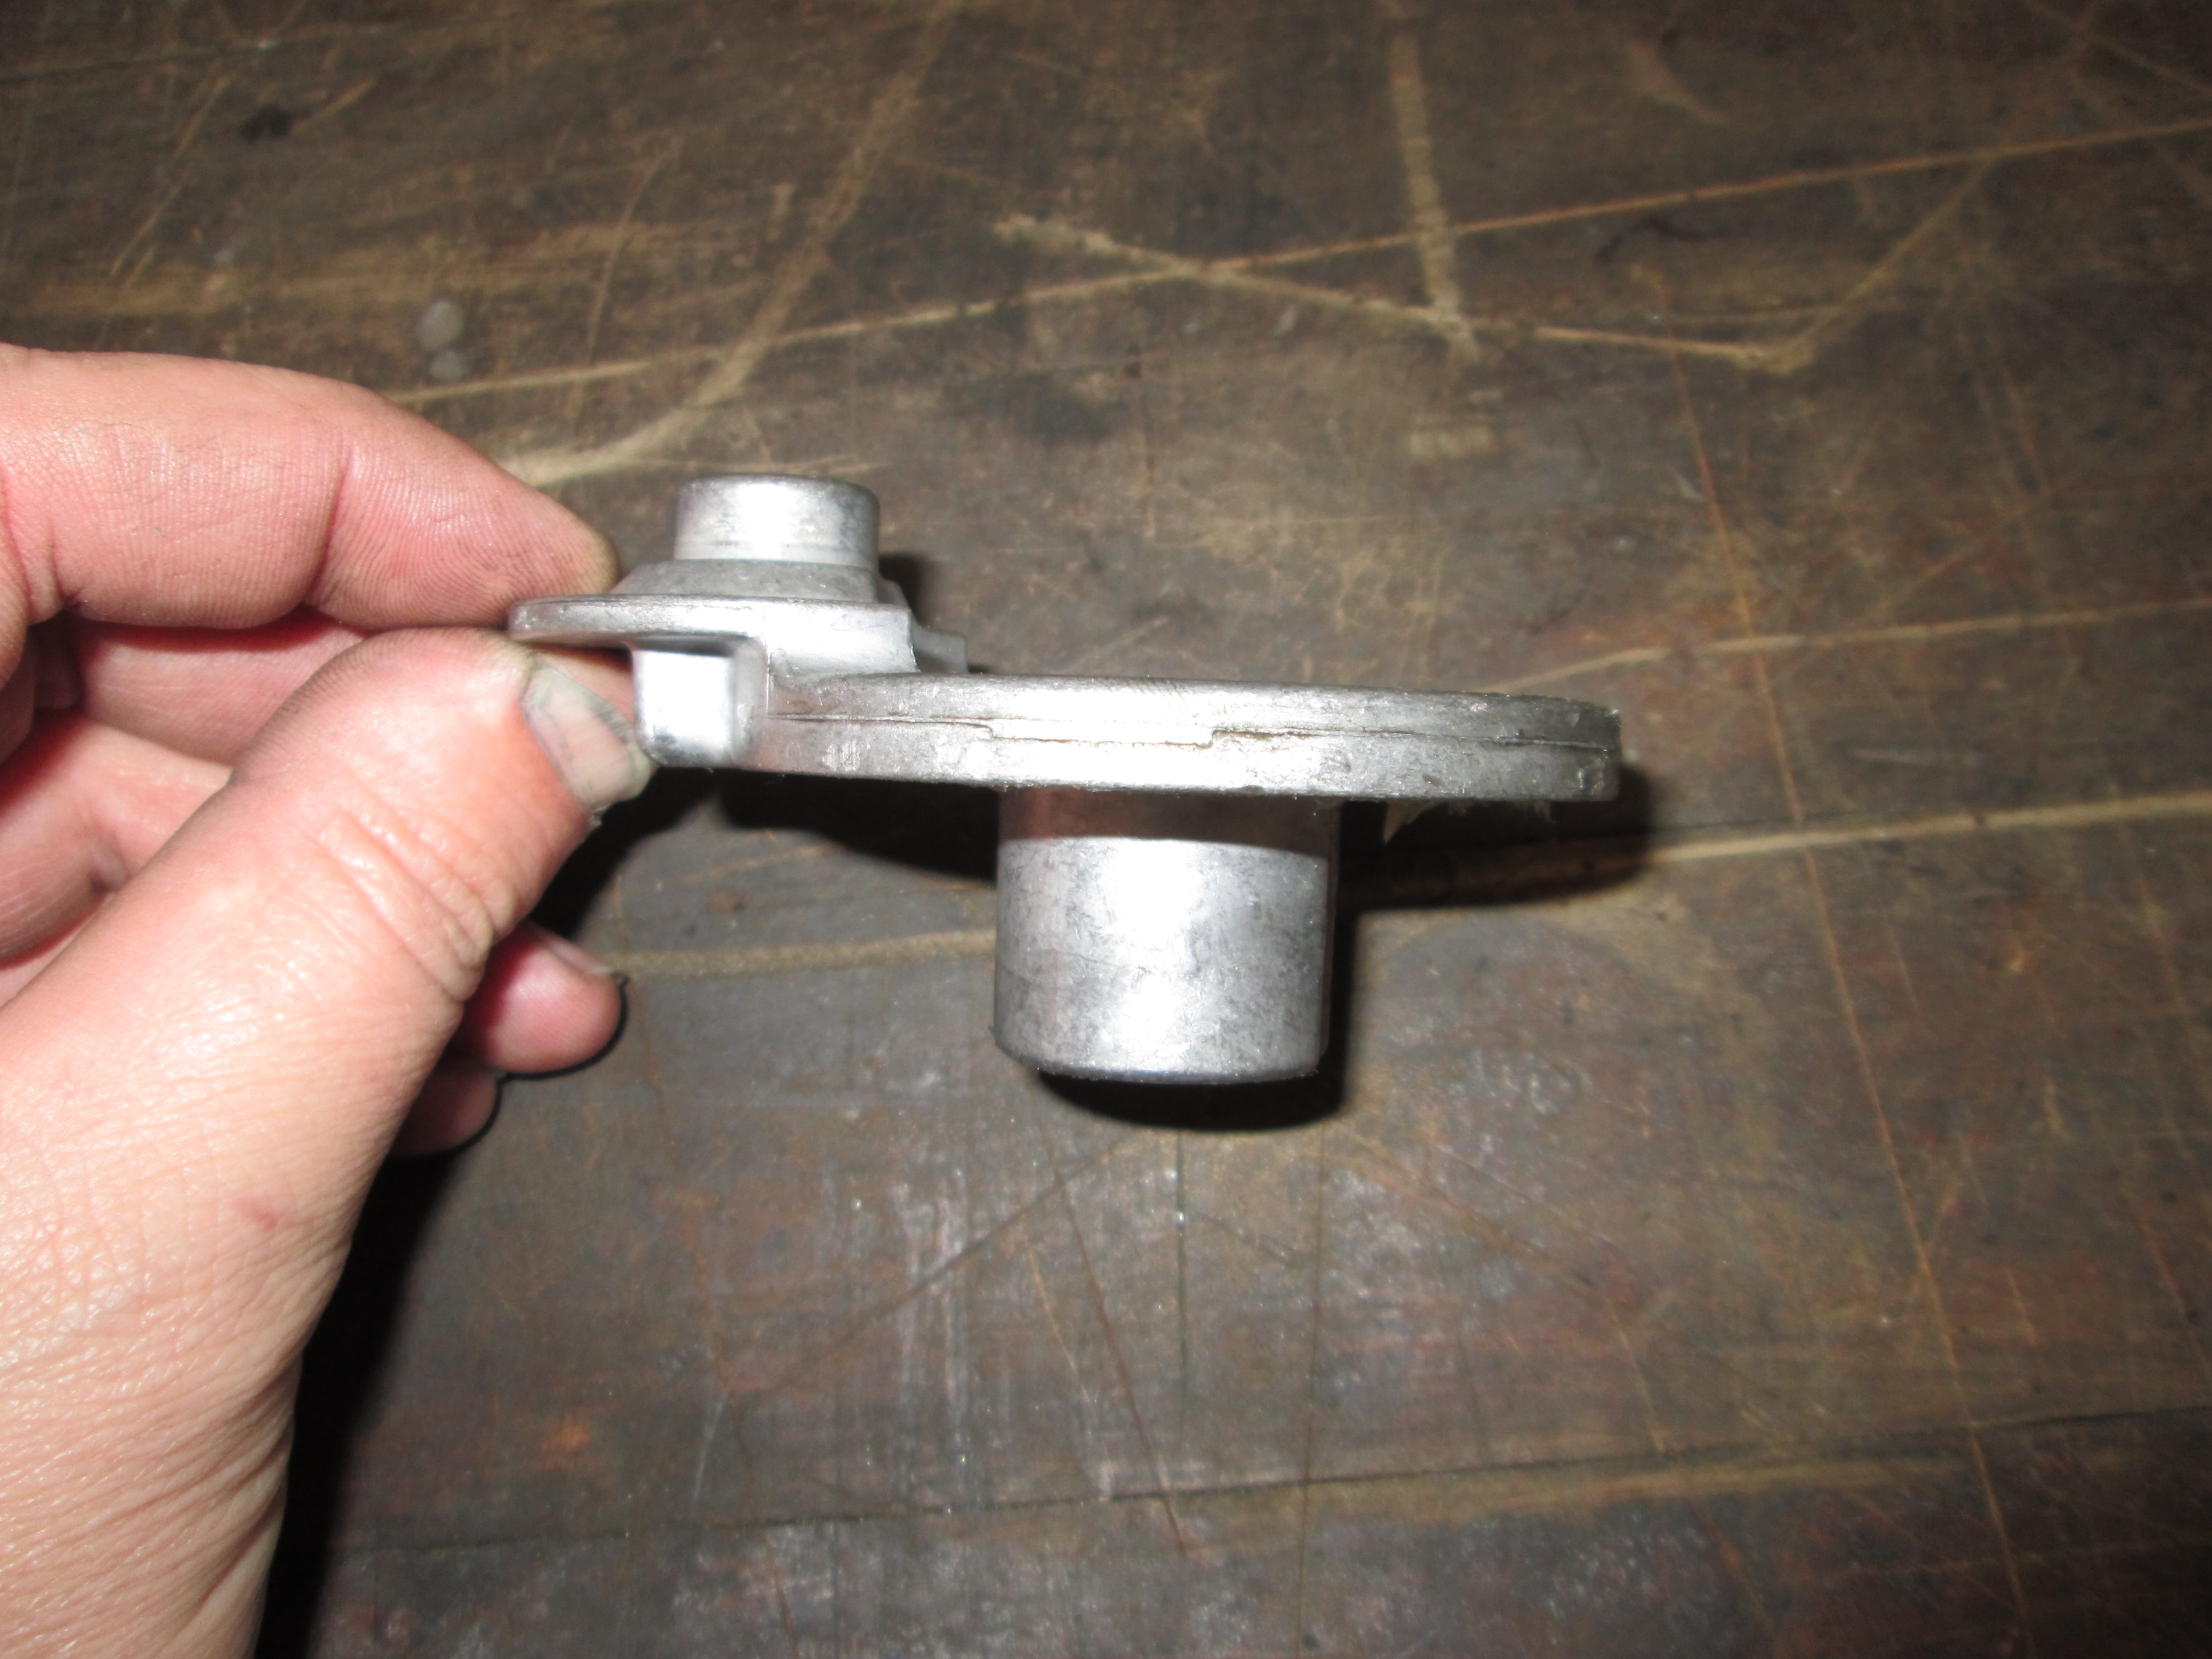
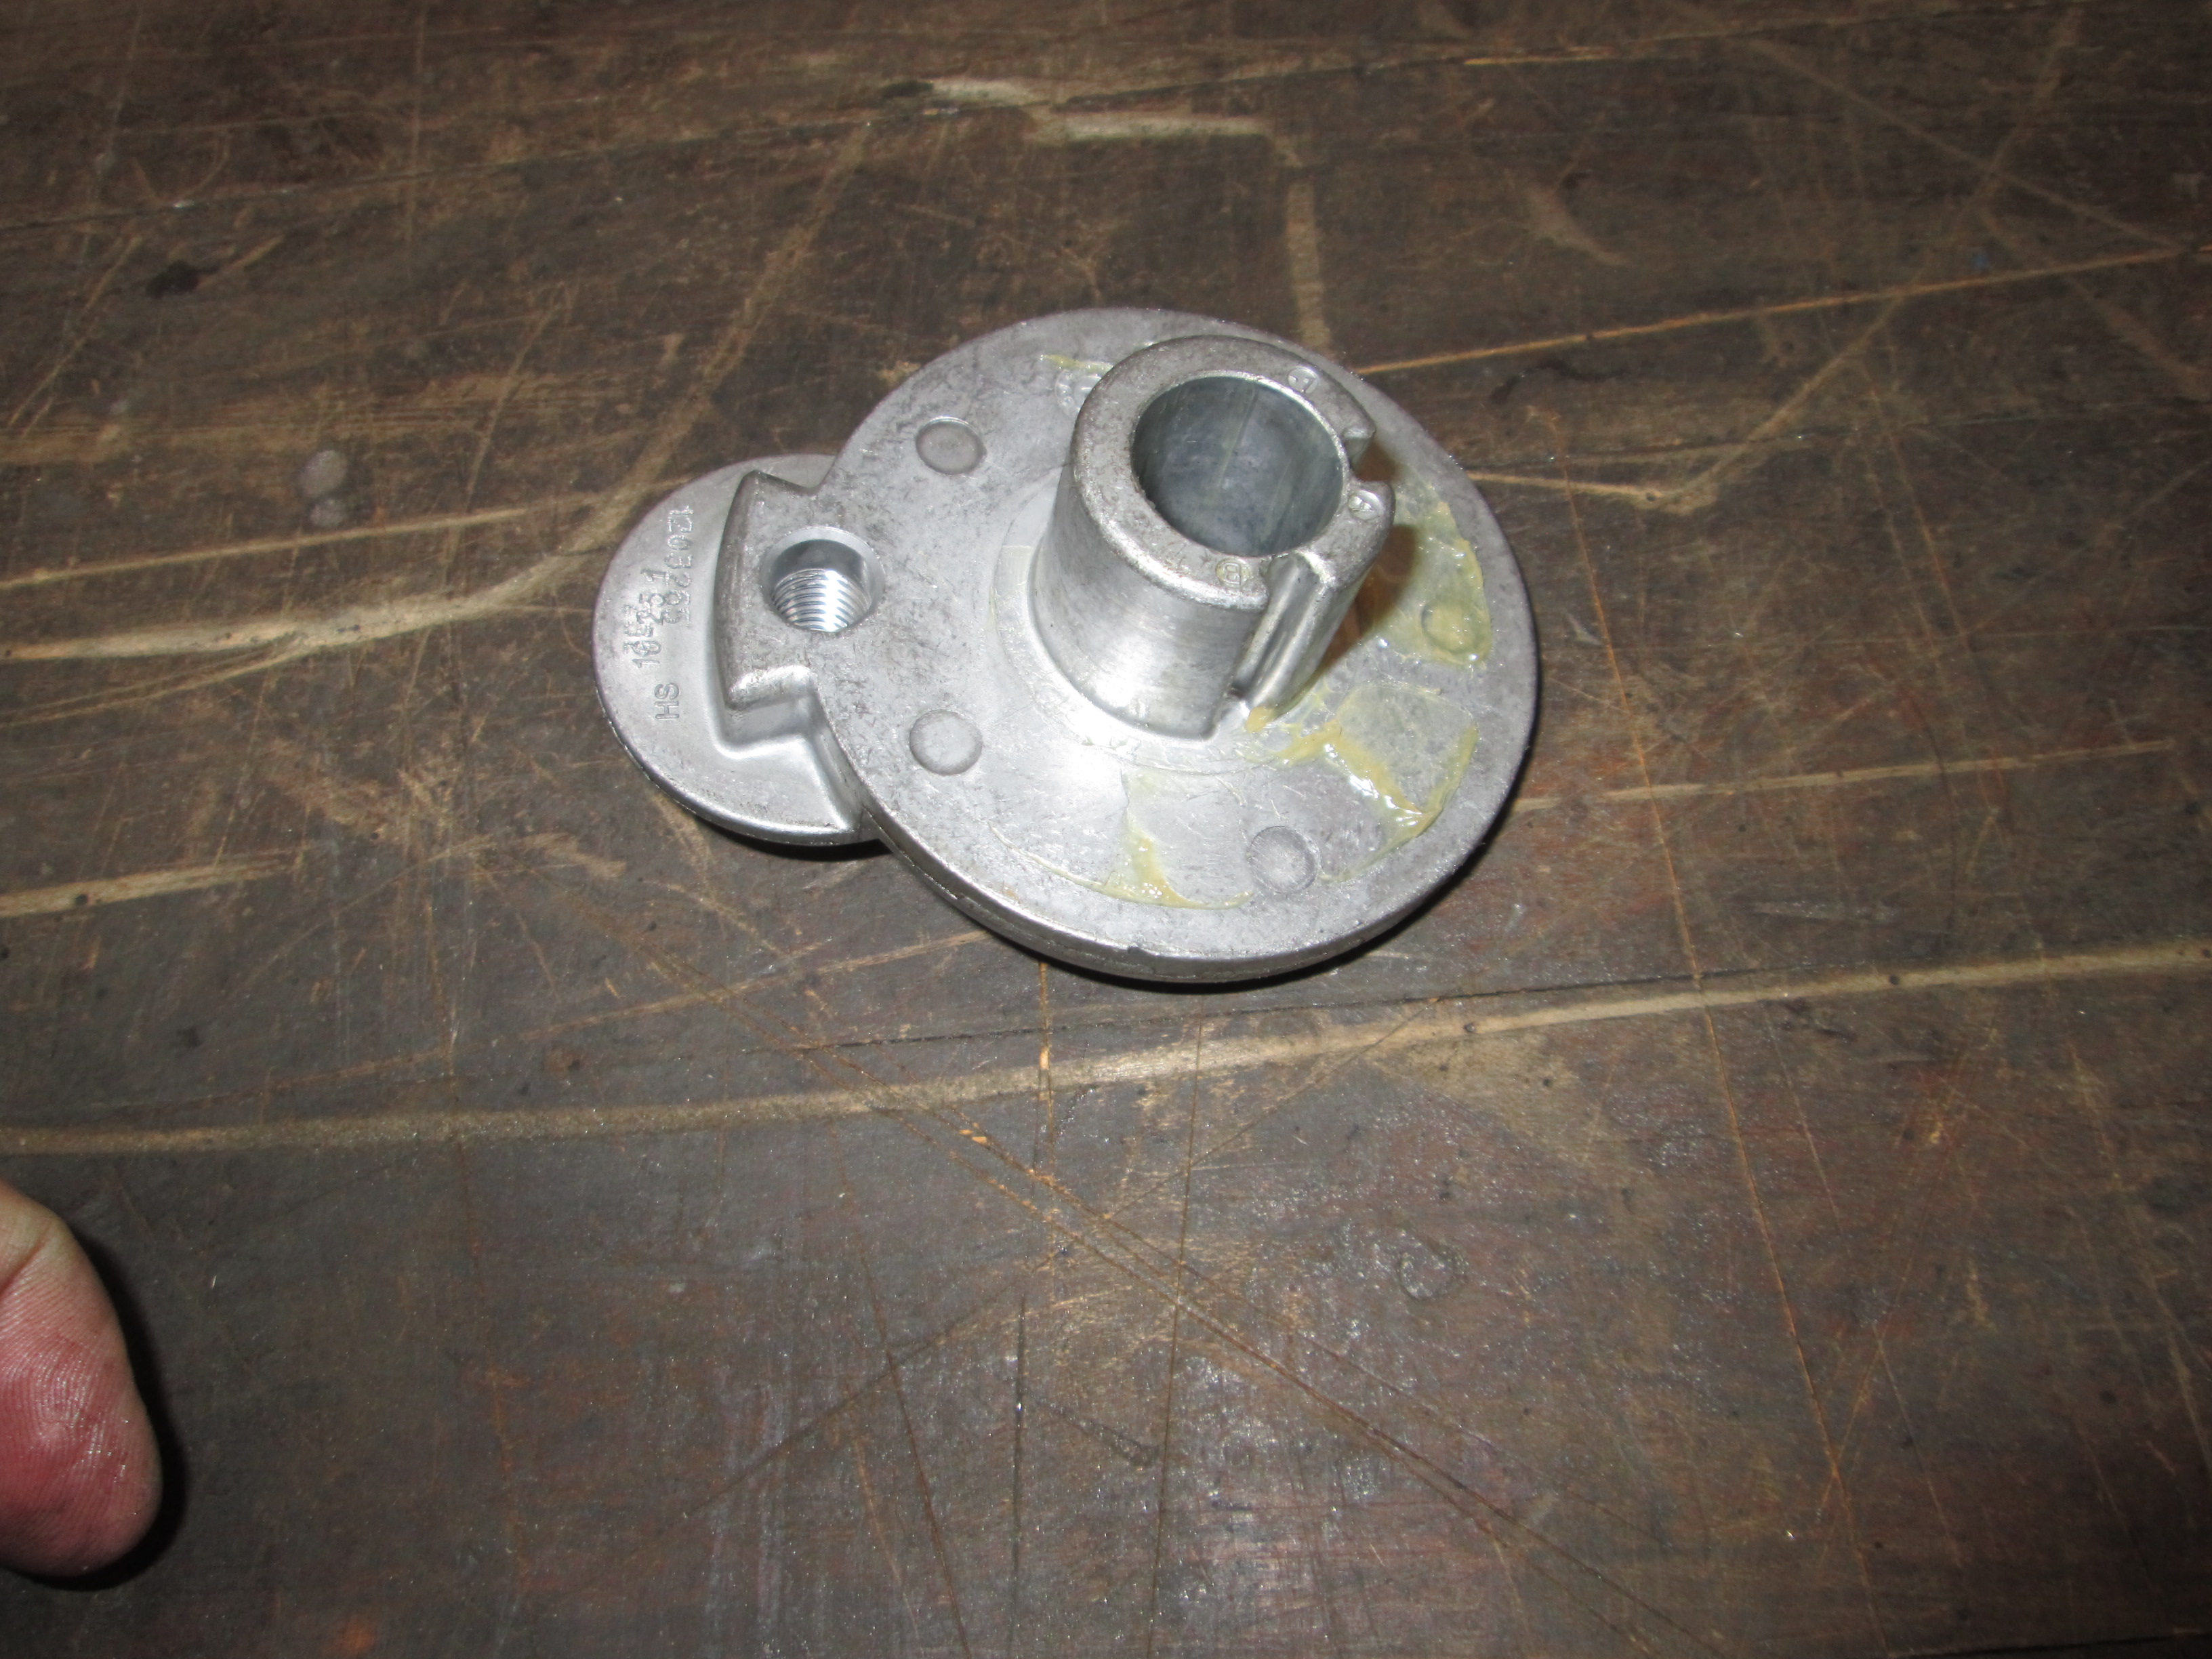
I do have a little maching project for this swap... the belt tensioner arm has broken twice, so I am going to make one out of solid aluminum vs. die cast. Here is where it breaks:
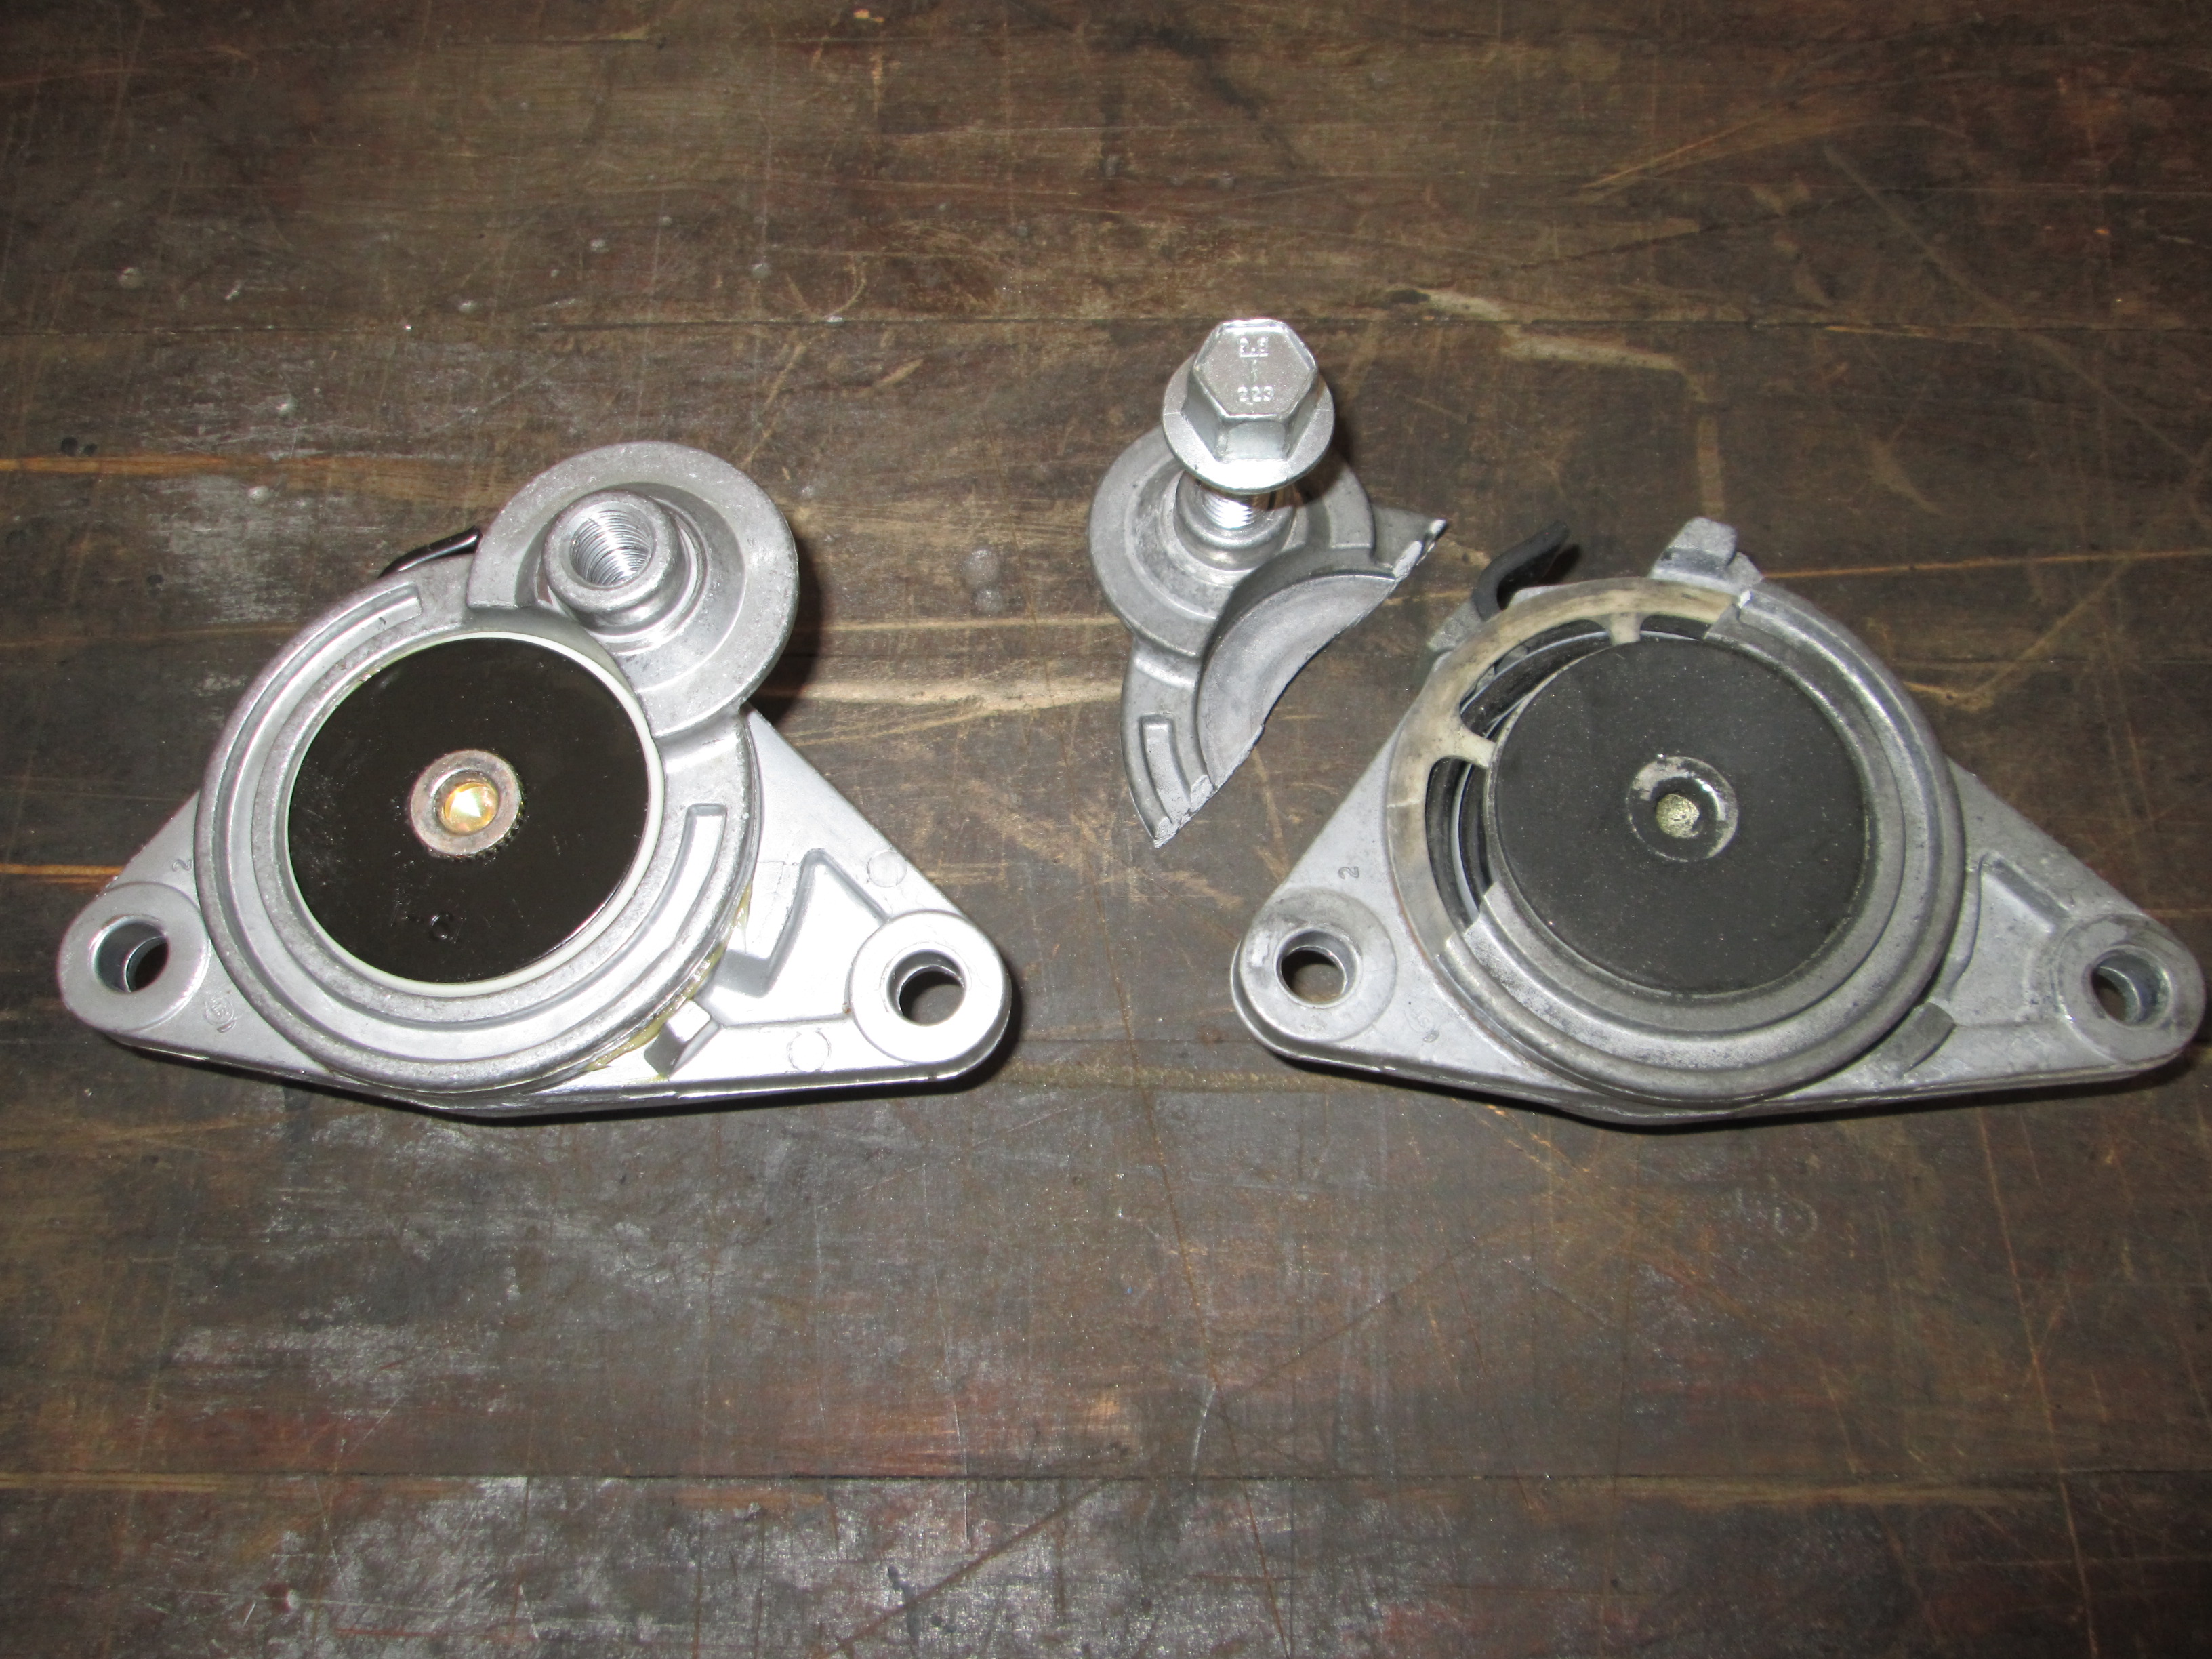
Here is what a new one look like after the tensioner is disassembled:
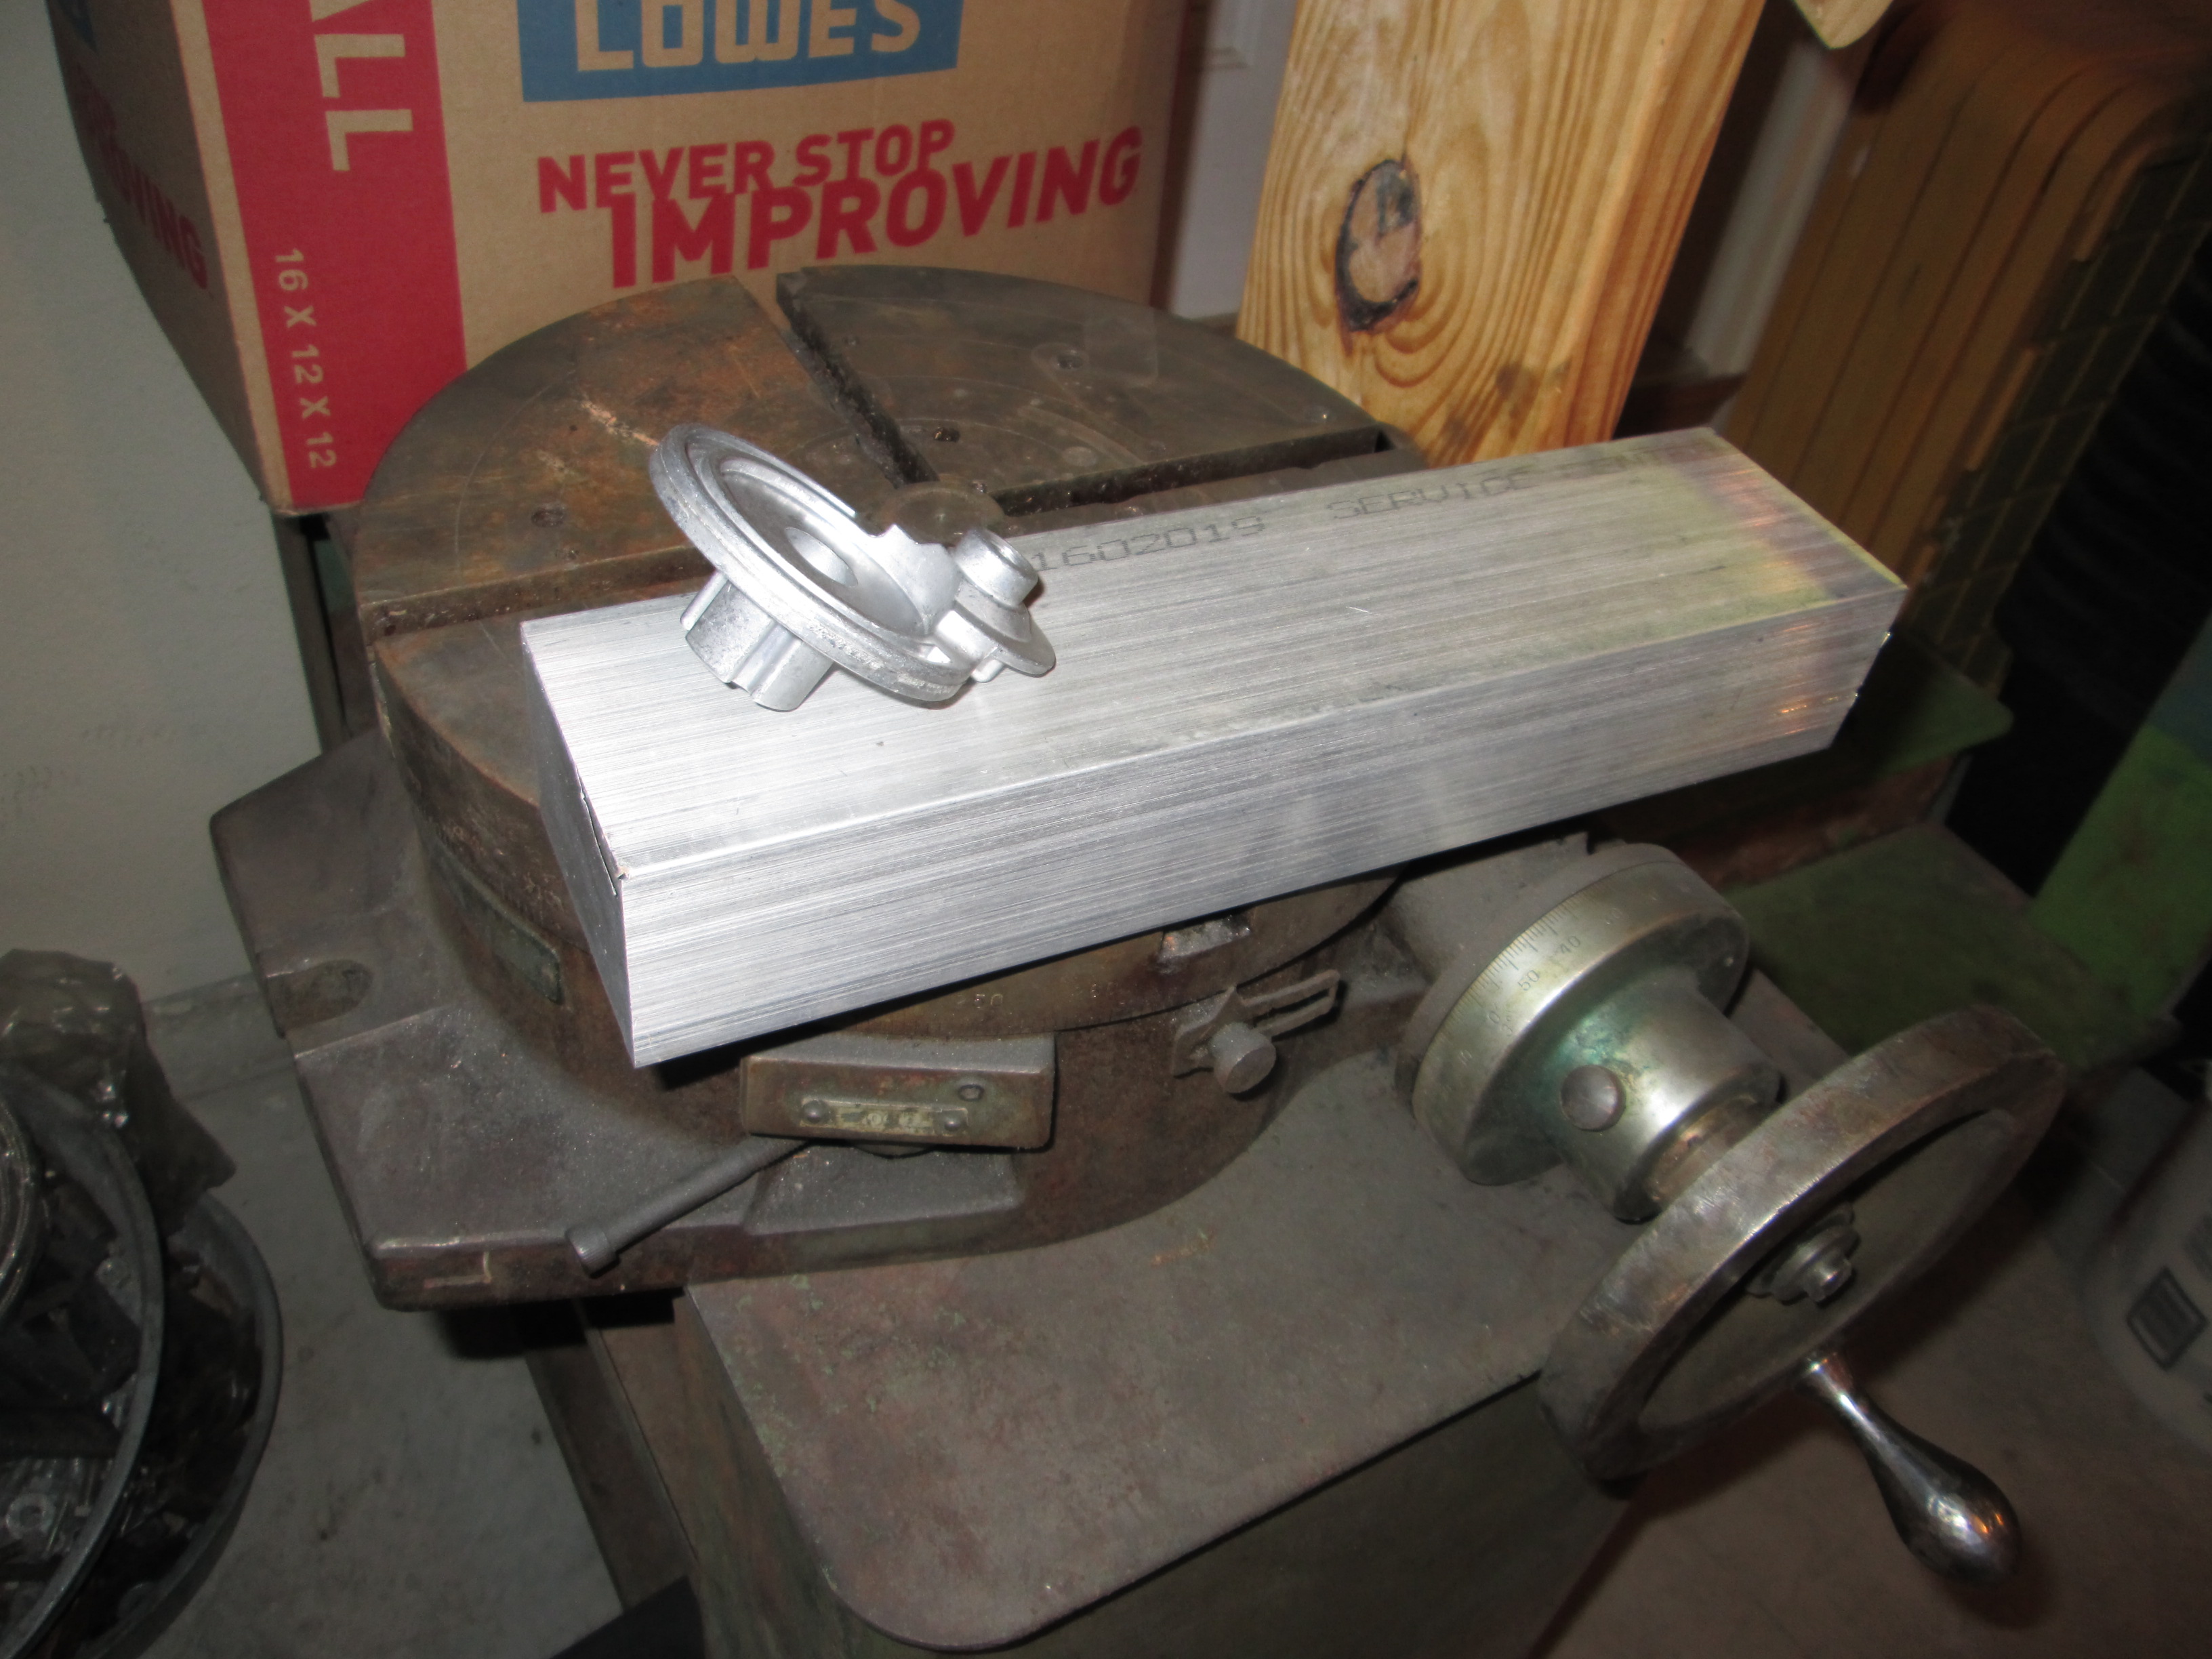
Fun times ahead:
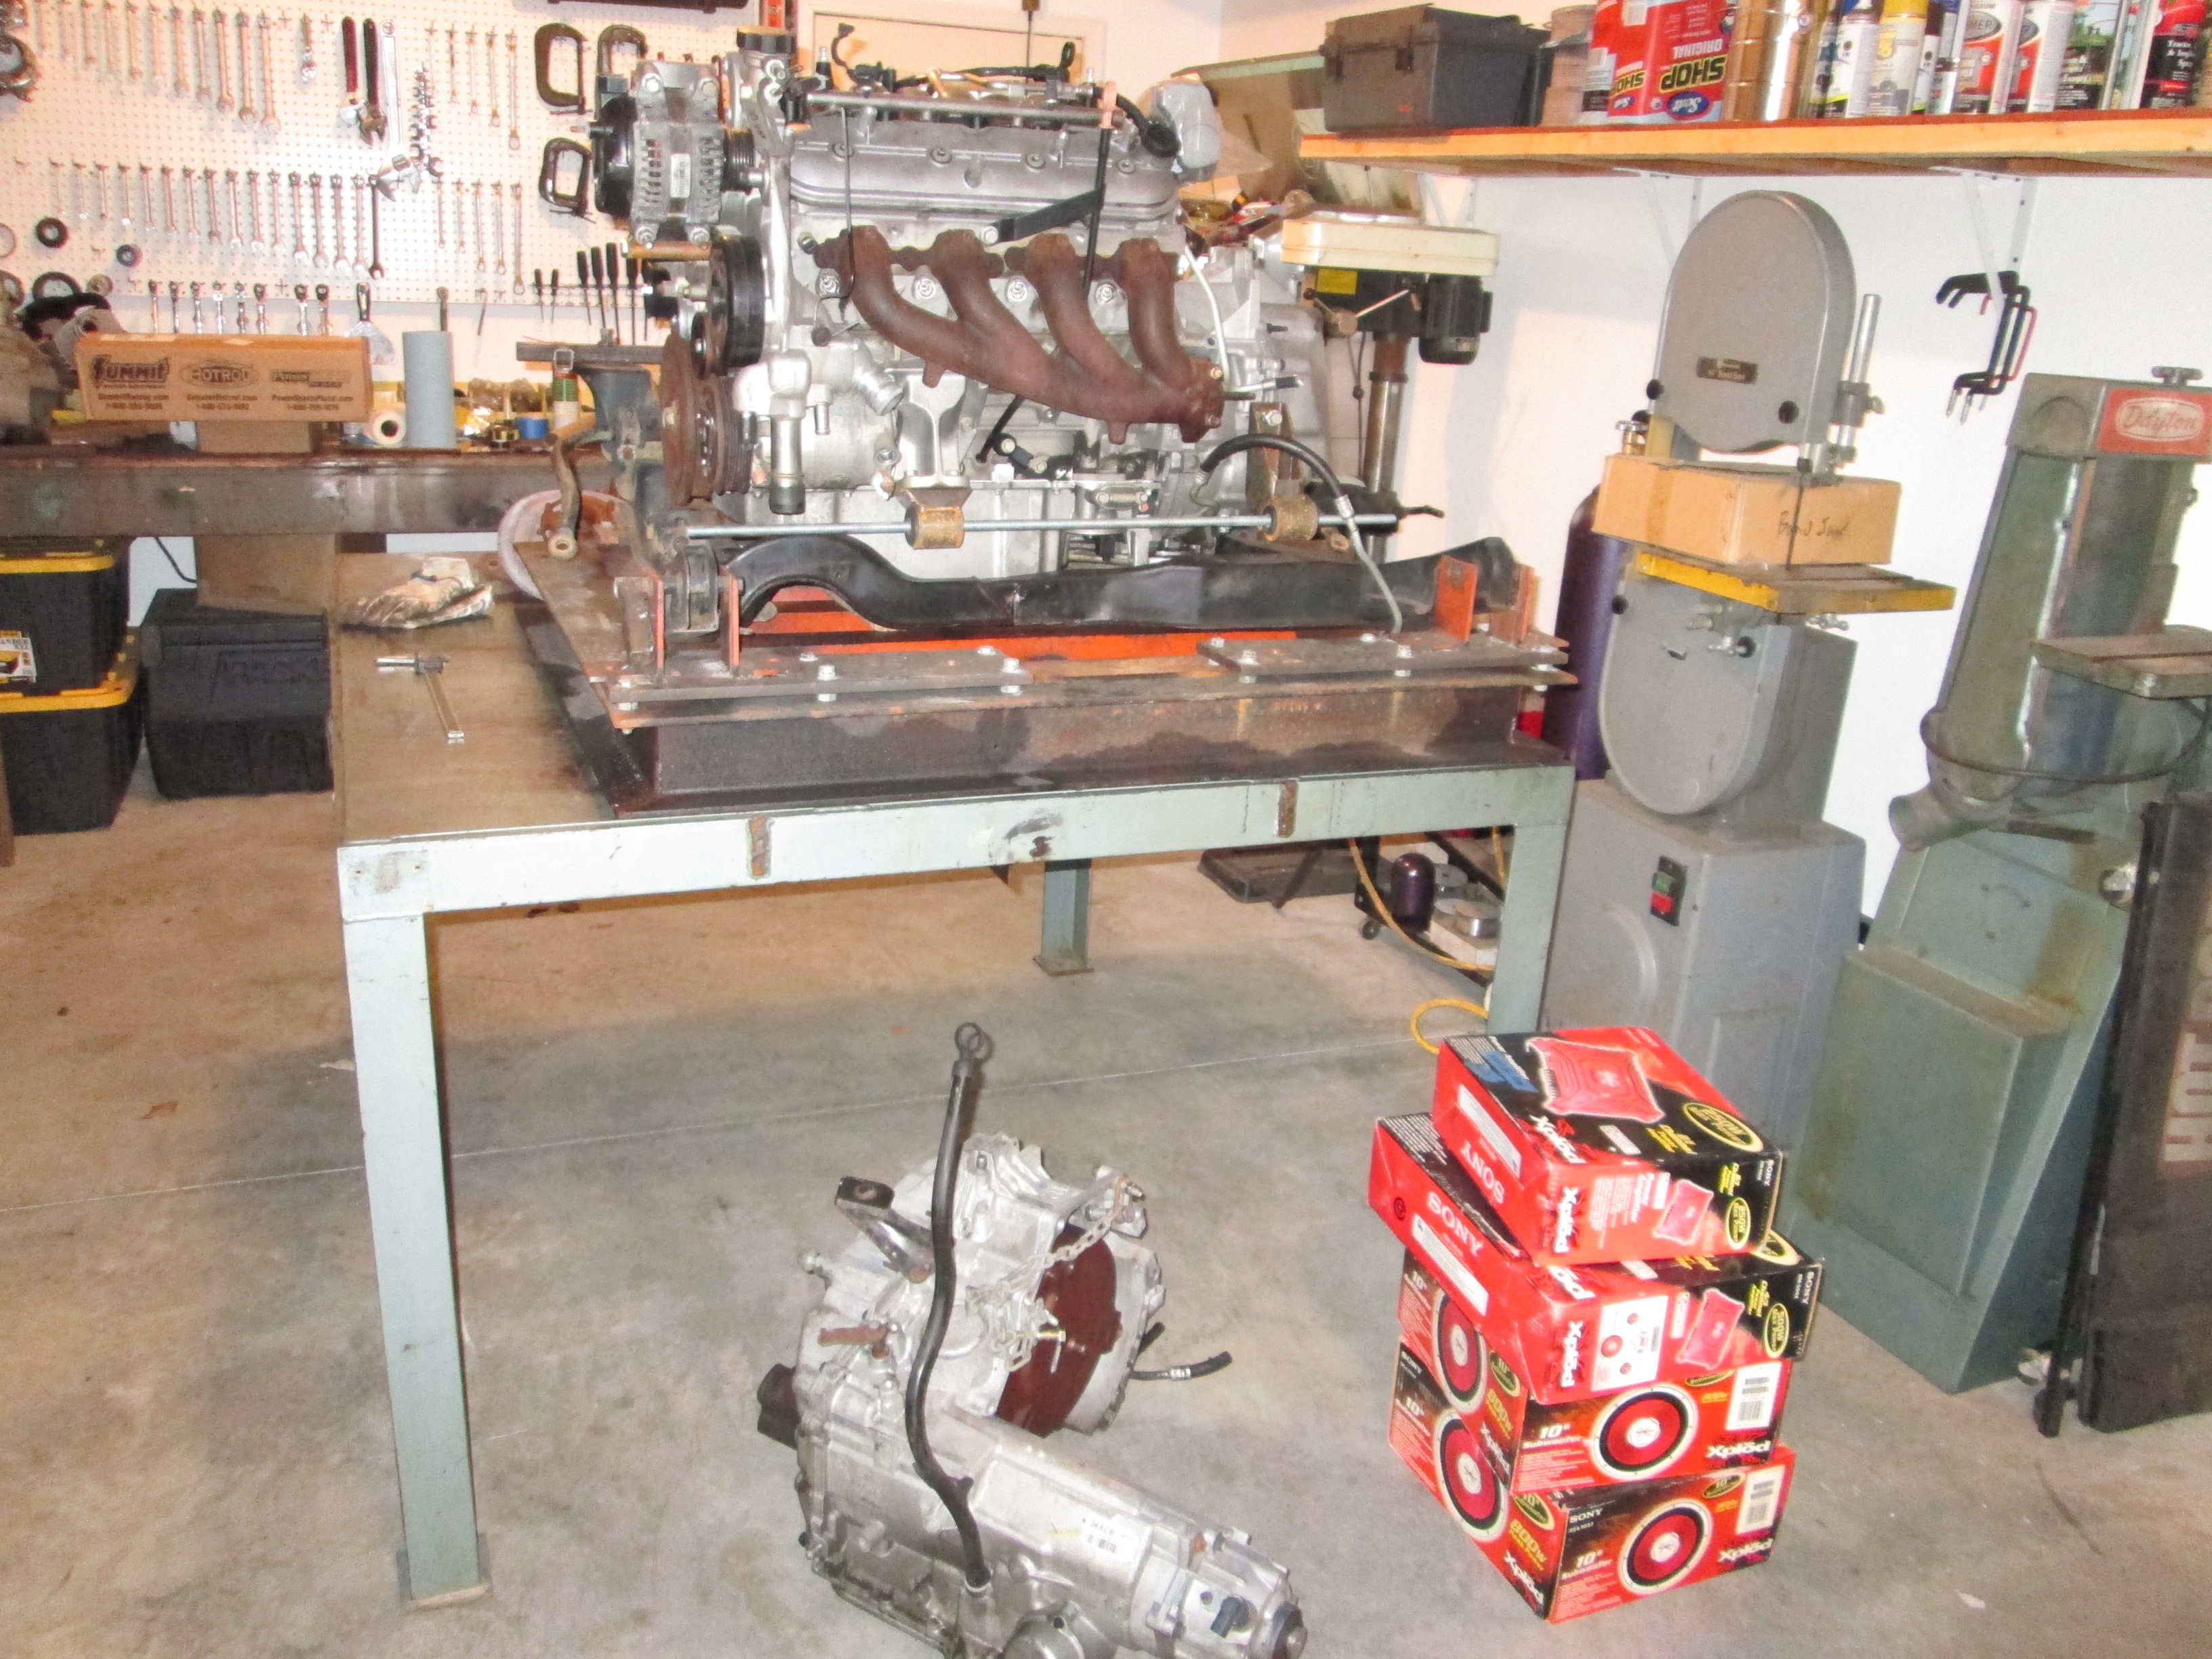
This winter, I will also be revisiting the engine swap to add a turbo... that will be fun too! The shop bay of the garage now has my steel work table and a couple more LS4 taking up residence.
I do have a little maching project for this swap... the belt tensioner arm has broken twice, so I am going to make one out of solid aluminum vs. die cast. Here is where it breaks:
Here is what a new one look like after the tensioner is disassembled:
Fun times ahead:
This winter, I will also be revisiting the engine swap to add a turbo... that will be fun too! The shop bay of the garage now has my steel work table and a couple more LS4 taking up residence.

 04-21-2016, 07:11 PM
#218
Thanks guys!
The F40 is only rated at 295 lb-ft... I am over that now, but have a spare on the shelf and might need to send it out for cryo treating to help it survive. The axles and outboard CV splines are other known weak points on max effort builds.
The F40 is only rated at 295 lb-ft... I am over that now, but have a spare on the shelf and might need to send it out for cryo treating to help it survive. The axles and outboard CV splines are other known weak points on max effort builds.
 05-06-2016, 08:02 PM
#220
TECH Addict
Congrats on the new castle. Shop looks well put together, like everything else of yours. Those 285's are a tight fit, but damn do they look boss back there. Turbo should be lots of fun, too. Keep the updates coming. And get that cool little thing back on the road.

