
BMW e34 Touring LS1 swap (BMW 5 series wagon)


 05-06-2013, 05:45 PM
#84
I wish that were the case, but I am still working on the headers. The tight space and the need to move the engine to test fit as I fabricate is a slow process. I am about halfway on done on the driver's side which is the tough one. I think the passenger side header will go much faster.
Here's were I am now:

I hope all this is worth the few extra ponies that I will get from long tube headers, because the work is tedious.
Here's were I am now:
I hope all this is worth the few extra ponies that I will get from long tube headers, because the work is tedious.
 05-12-2013, 09:32 AM
#86

After just finishing mocking up a set of LSx e36 headers I know what you are dealing with. If you can I would weld on the inside of the ports when you weld each runner. It is A LOT easier to get all the way around and some say allows them to flex a little bit and limit any cracking...
05-12-2013, 12:02 PM
#87
Great advice. I will do that. The headers have been the most time consuming. Two times it thought I was set, then I could not get the plug wires in. Wow. I need to get into Zen of this. LOL
The crazy thing is that part of the reason I am doing custom headers was because of what I saw you doing. You made it look too easy. :

The crazy thing is that part of the reason I am doing custom headers was because of what I saw you doing. You made it look too easy. :
After just finishing mocking up a set of LSx e36 headers I know what you are dealing with. If you can I would weld on the inside of the ports when you weld each runner. It is A LOT easier to get all the way around and some say allows them to flex a little bit and limit any cracking...
Last edited by vazfx16; 05-12-2013 at 12:12 PM.
05-12-2013, 12:10 PM
#88
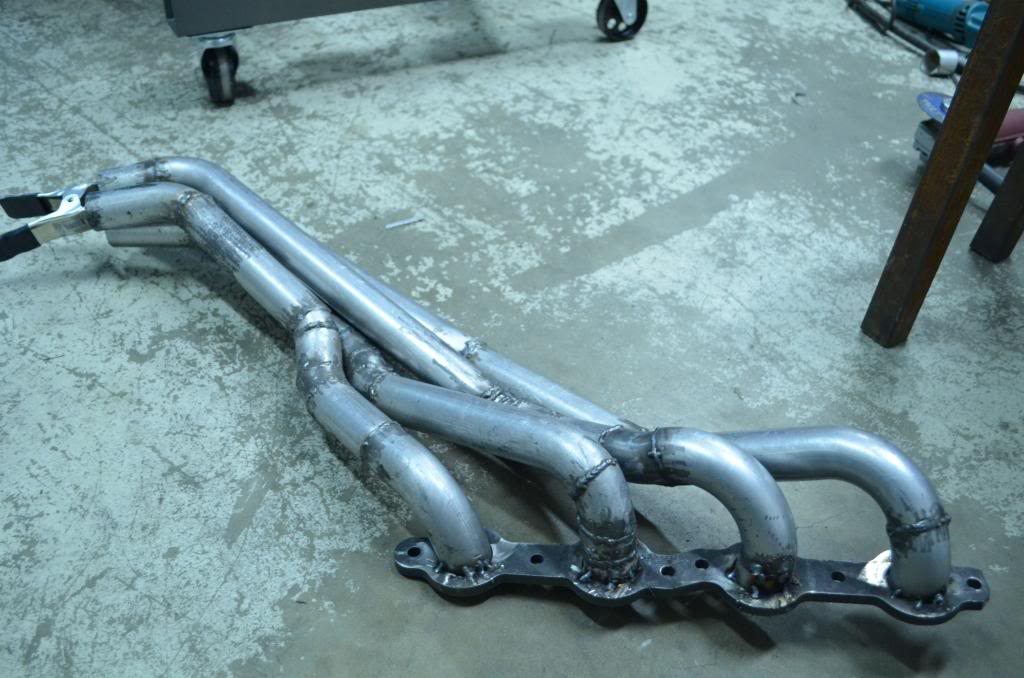
Yeah making headers for an application like this is pretty time consuming. The more you do it the better you get tho...
Here is my most recent set.
Passenger side, easy easy

Drivers side...not so much, hours and hours on this one

Looking forward to seeing yours finished! Keep it up
Here is my most recent set.
Passenger side, easy easy
Drivers side...not so much, hours and hours on this one
Looking forward to seeing yours finished! Keep it up
05-12-2013, 12:16 PM
#89
Nice!
You didn't know it but you were my inspiration. Thanks for the advice.
You didn't know it but you were my inspiration. Thanks for the advice.
Yeah making headers for an application like this is pretty time consuming. The more you do it the better you get tho...
Here is my most recent set.
Passenger side, easy easy
Drivers side...not so much, hours and hours on this one
Looking forward to seeing yours finished! Keep it up
Here is my most recent set.
Passenger side, easy easy
Drivers side...not so much, hours and hours on this one
Looking forward to seeing yours finished! Keep it up

 05-14-2013, 12:52 PM
#91
On The Tree
iTrader: (1)

Join Date: Apr 2009
Location: 201 NJ
Posts: 153
Likes: 0
Received 0 Likes
on
0 Posts

I like everything about this build. Great work, good to see someone fab their own motor mounts and headers instead of insisting on an off-the-shelf, bolt-in solution. Great documentation too.
What's the Jeg's part number on that header kit? Are they 1 3/4" primaries? Where did the header flanges come from? Are you going to have the exhaust coated after you're finished?
What's the Jeg's part number on that header kit? Are they 1 3/4" primaries? Where did the header flanges come from? Are you going to have the exhaust coated after you're finished?
05-14-2013, 08:39 PM
#92
Thanks Flash Gordon
ctd450,
Part of the fun for me is making stuff...and that is a good thing because there is not much out the for swapping and ls1 into and E34.
I got the Jegs headers from Amazon:
I purchase the kit because they had pretty good bends in it, and it they were so cheap. I was going to be an experiment, but I have worked on them so much that they are going to be the real set up. Initially I didn't know if I could fit long tube headers.
They are only 1 5/8th.
The flanges are from Ebay.
I was not going to coat the header. I was going to wrap it, but I am leaning toward coating since so much time and energy is going into them.
I like everything about this build. Great work, good to see someone fab their own motor mounts and headers instead of insisting on an off-the-shelf, bolt-in solution. Great documentation too.
What's the Jeg's part number on that header kit? Are they 1 3/4" primaries? Where did the header flanges come from? Are you going to have the exhaust coated after you're finished?
What's the Jeg's part number on that header kit? Are they 1 3/4" primaries? Where did the header flanges come from? Are you going to have the exhaust coated after you're finished?
Last edited by vazfx16; 05-14-2013 at 09:02 PM.

 05-19-2013, 11:26 AM
#96
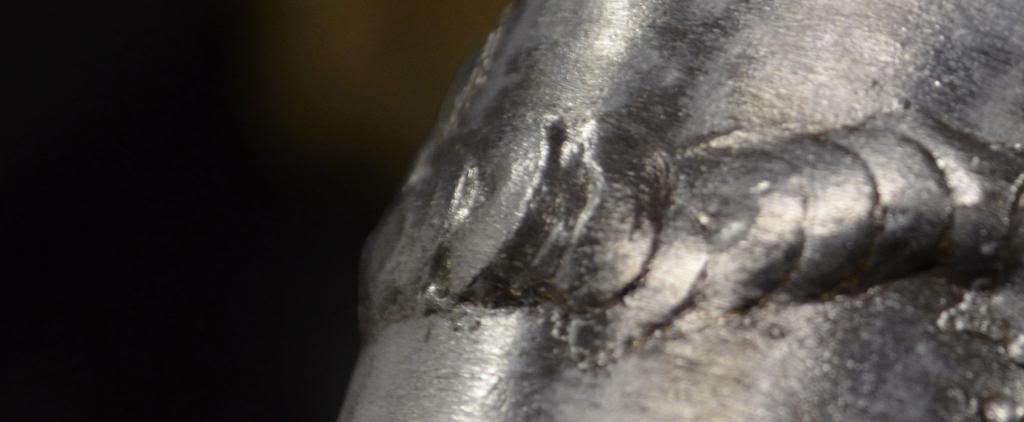
Yes. You must be a pretty good welder then, or missed my post about photographing welds. LOL I mentioned in an earlier post, photographing welds in the a dark garage is problematic. It highlights high spots etc. Example, the tacks on the header flanges look an inch thick, but the are tiny.
Get to welding up something!
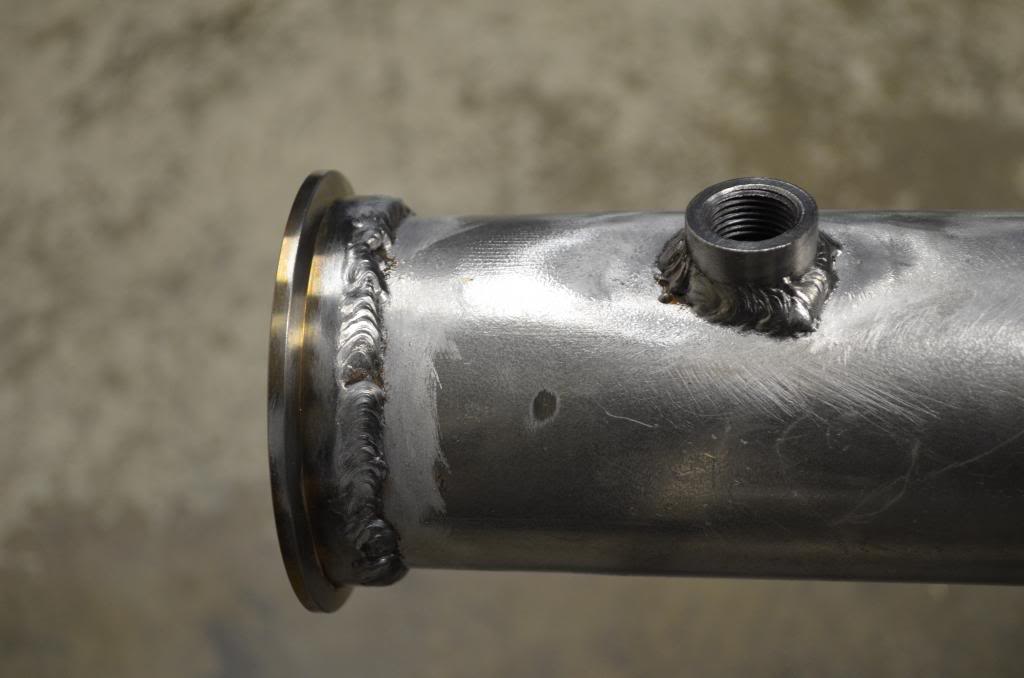
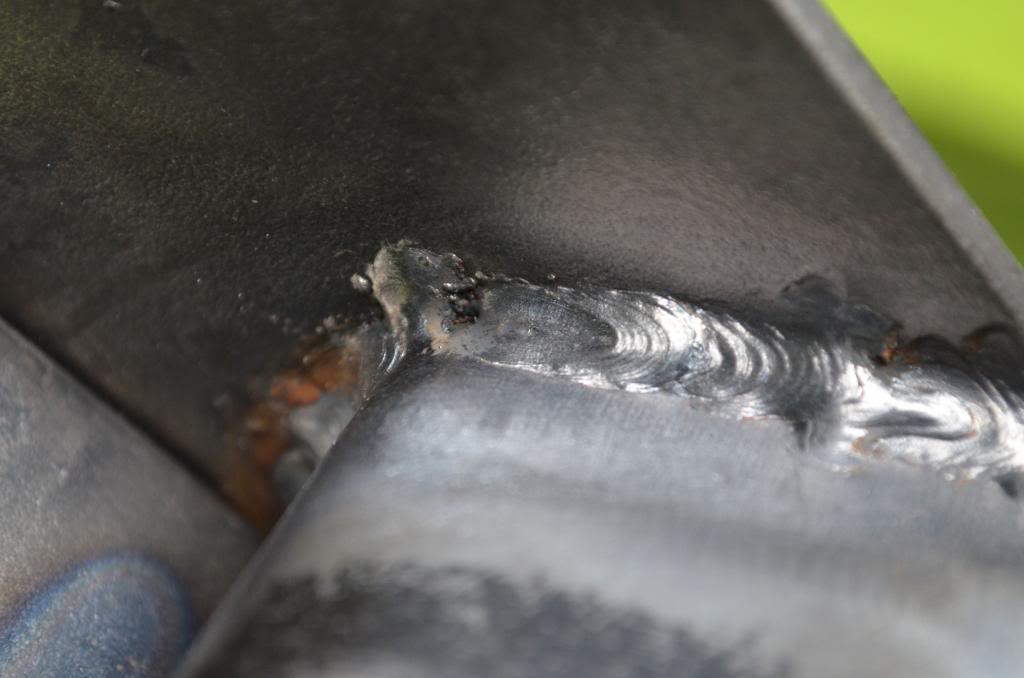
Check out the splatter on the flange in this picture. In reality it is the size of a pinhead, but looks huge here. There is a scratch on the edge of the flange that looks huge because of the way it picks up the light.

There were a few pictures where I focused on photographing the welds better, but the main purpose has not been good weld photos.
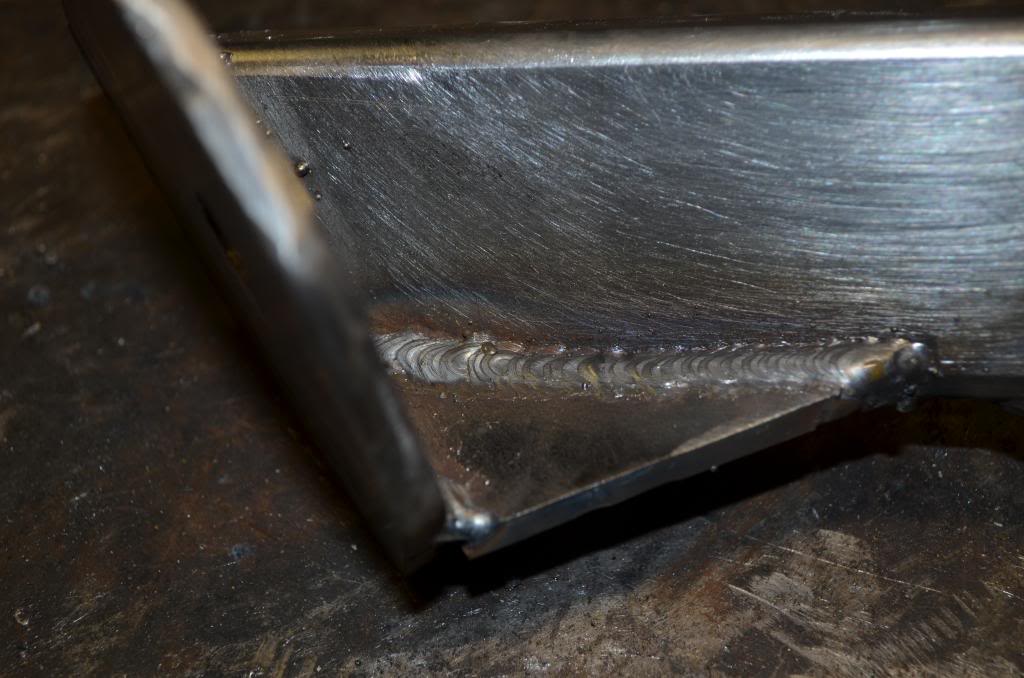
Example of photo focusing on welding. Macro setting full auto.
I'm just documenting what I am doing. Maybe at the end I will get some better lighting and photograph the parts in natural light or something.
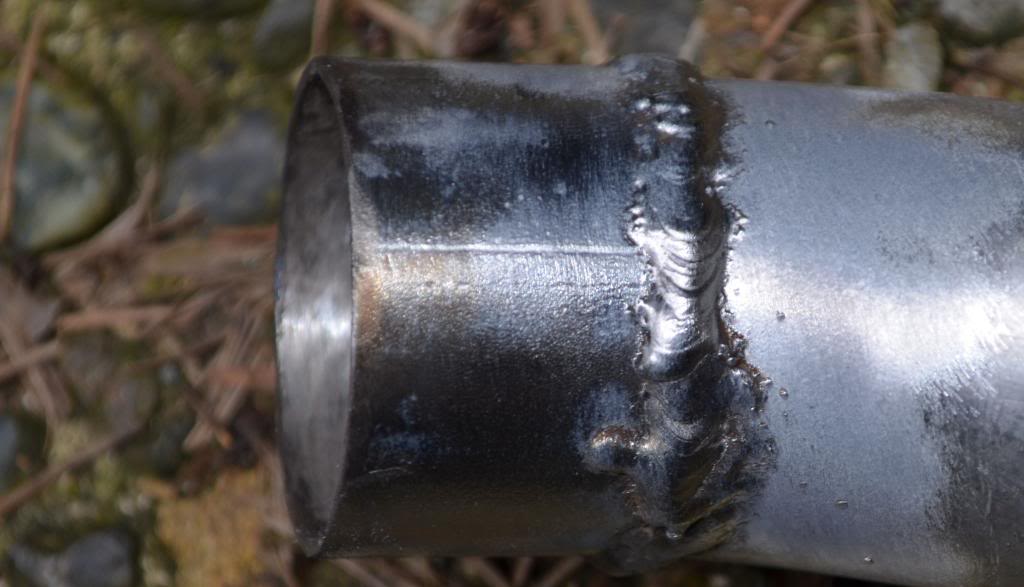
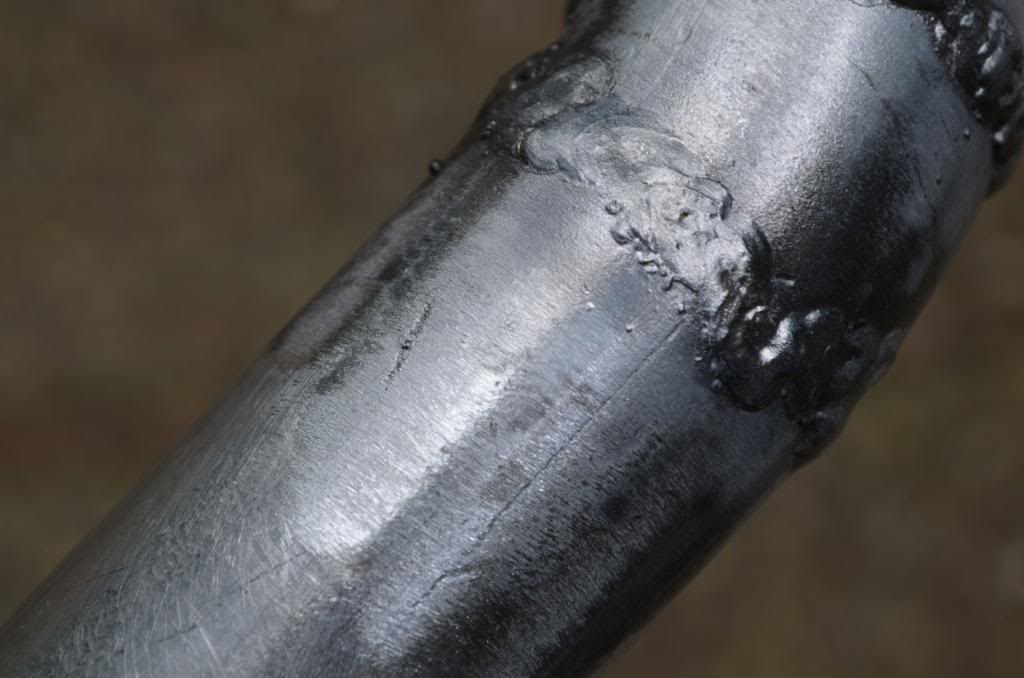
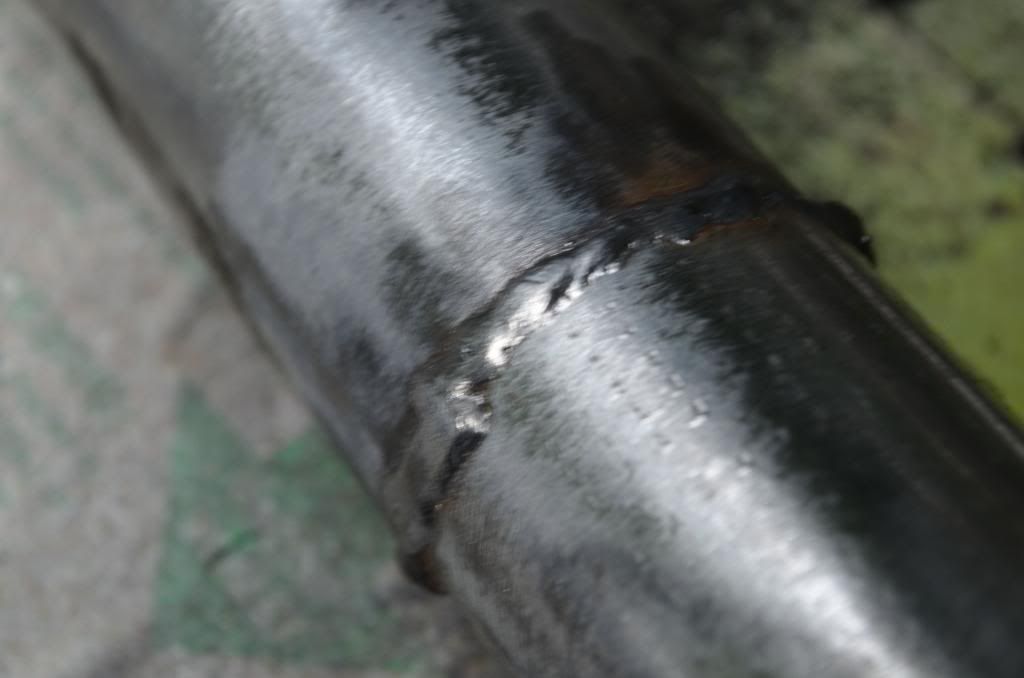
Update on weld photos. Took some shots outside in natural light. Welds are by no means TIG quality, but are sound with no porosity or cold.
Any advice on weld photography?
Thanks
Get to welding up something!
Check out the splatter on the flange in this picture. In reality it is the size of a pinhead, but looks huge here. There is a scratch on the edge of the flange that looks huge because of the way it picks up the light.
There were a few pictures where I focused on photographing the welds better, but the main purpose has not been good weld photos.
Example of photo focusing on welding. Macro setting full auto.
I'm just documenting what I am doing. Maybe at the end I will get some better lighting and photograph the parts in natural light or something.
Update on weld photos. Took some shots outside in natural light. Welds are by no means TIG quality, but are sound with no porosity or cold.
Any advice on weld photography?
Thanks
Last edited by vazfx16; 06-15-2013 at 10:44 PM.
05-19-2013, 12:22 PM
#97
 05-19-2013, 10:59 PM
#98
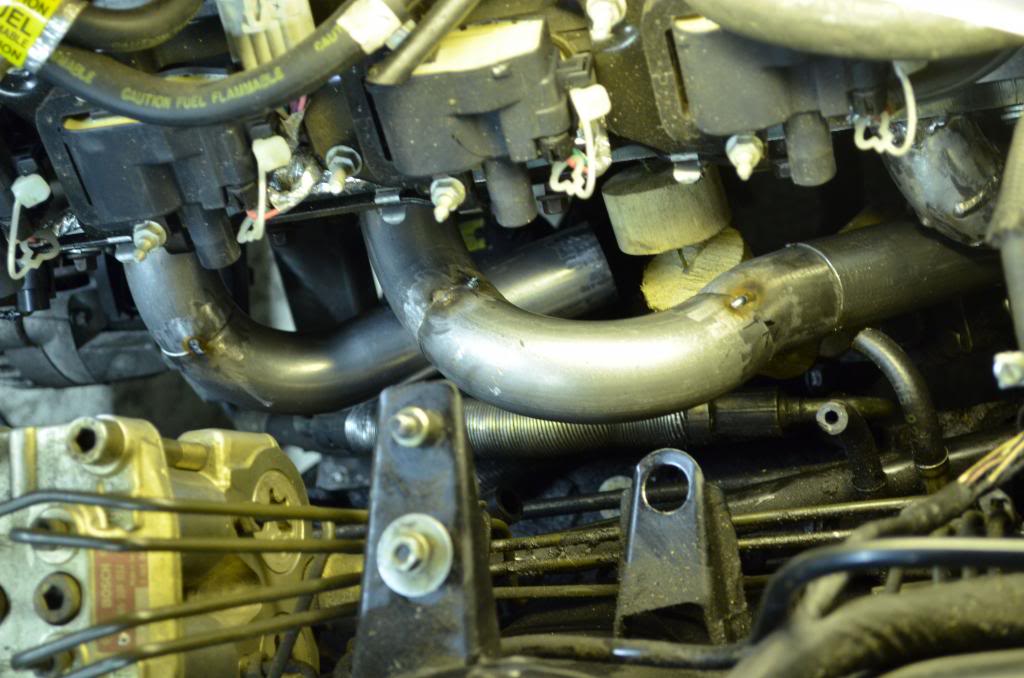
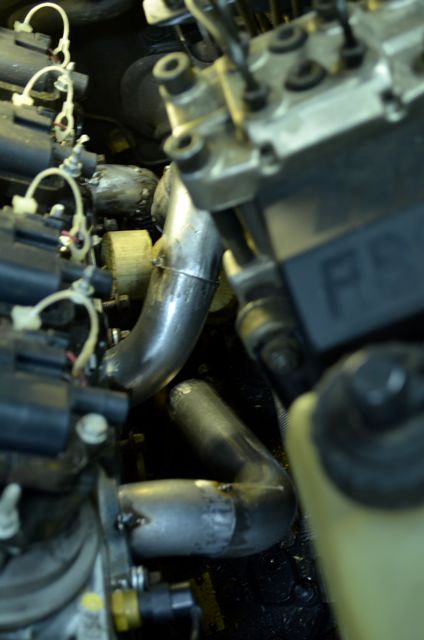
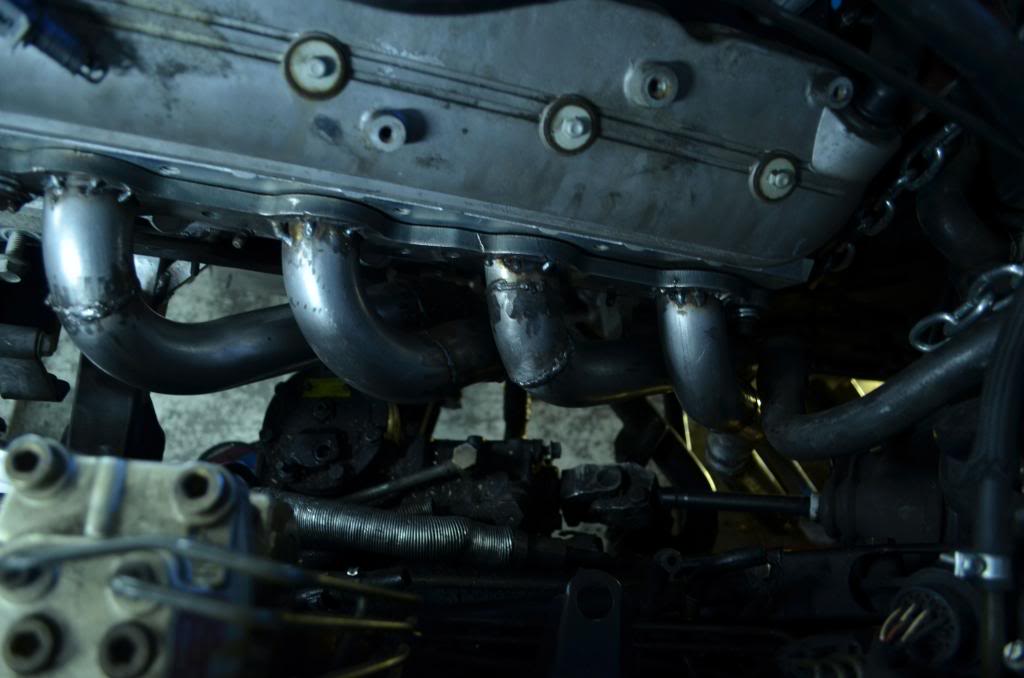
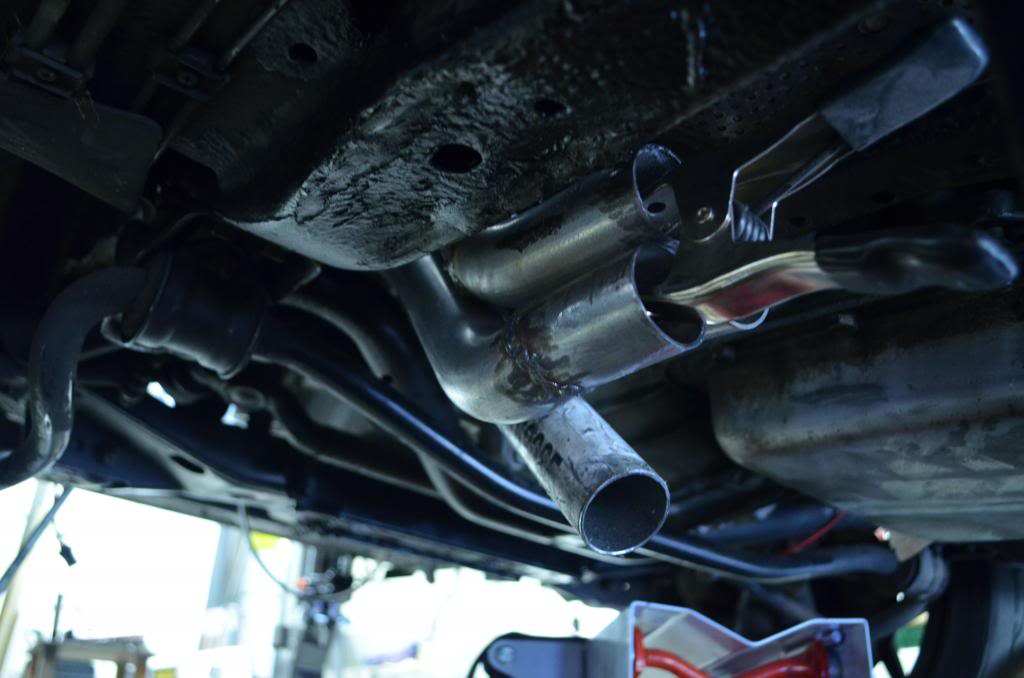
Final got the driver's side header fitted.
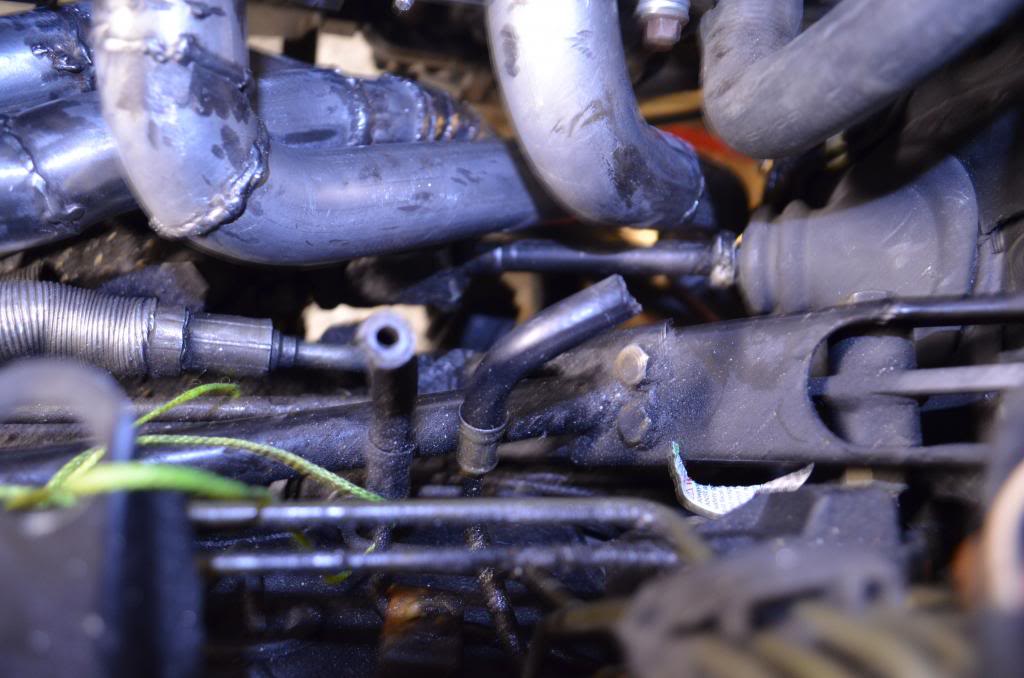
Check out the tight fit on the header and steering shaft. That was the type thing that took forever to sort.
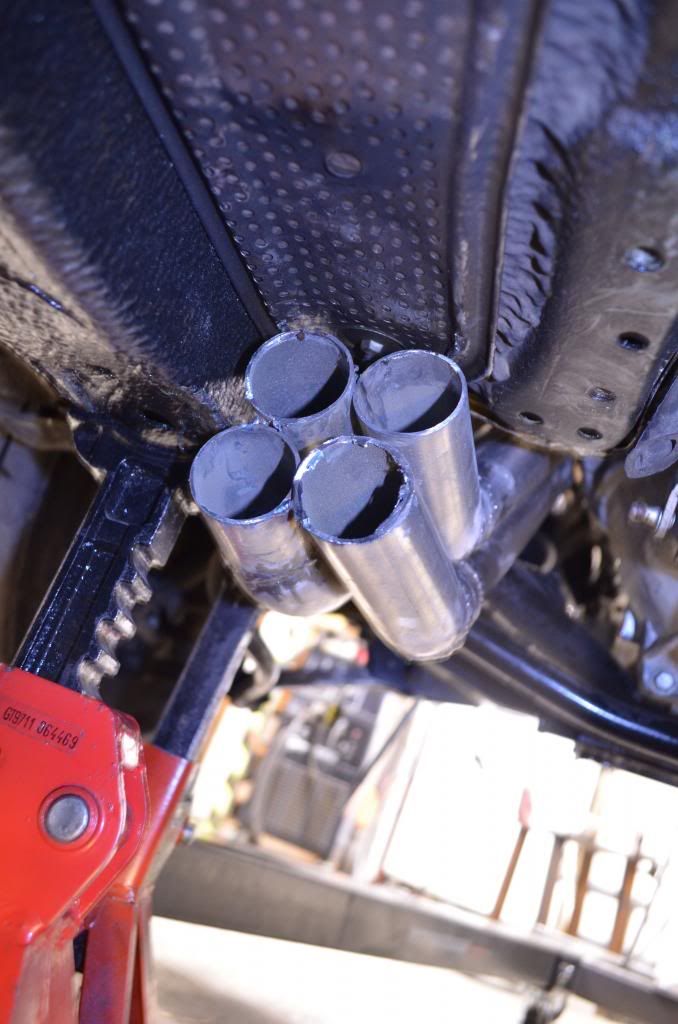
Four pipes under the car. Next the collect.
Check out the tight fit on the header and steering shaft. That was the type thing that took forever to sort.
Four pipes under the car. Next the collect.
05-20-2013, 10:16 AM
#100

I do see the light at the end of the headers tunnel.
Looking at the passenger side, it will be a piece of cake.
If I could have found a CTSV manifold like you, I would have done that.That was a really good exhaust solution. It would have sped me up soooooo much.
Once I get this the headers done, my pace should pick up again.
Maybe I will appreciate the long tube headers later as I do N/A mods with cam and heads.
I guess I have learned a lot about fitting exhaust tubing in small spaces.
Last edited by vazfx16; 05-20-2013 at 10:23 AM.