
32 Ford Truck Build 5.3 H/C 4L60E


 06-19-2014, 04:41 PM
#62
TECH Enthusiast
Thread Starter
iTrader: (15)
Join Date: Aug 2006
Location: DFW....TX
Posts: 624
Likes: 0
Received 0 Likes
on
0 Posts

Well this is the first time I've opened this thread and I don't quite know what to say,,,,just give me a minute.
You can actually make a Radiator? wow I thought it to be magic!
Anyway can you tell us more about your Hardlines Fuel, Steam and the like. What type of tubing do you use and more importantly what 37* Flaring Tool do you recommend . I have a 3/8 SS fuel line I would like to flare and now I can see a few more applications to use one.
A polished Manifold how am I ever going to get my car finished now!
Really nice job you are doing there.
Thanks, Tony
All the tubing is 304 SS seamless and annealed. the 3/16 and 1/4 is .028" wall and the larger OD tubing is .035" wall.
I use the rigid brand flare tool part number 377
The benders are also from rigid here are the sizes and part numbers
.1875" 403
.250" 404
.3125" 405/408M
.375" 406
.500" 408
.625" 310/316M
.750" 312
 08-22-2014, 02:05 AM
#64
TECH Enthusiast
Thread Starter
iTrader: (15)
Join Date: Aug 2006
Location: DFW....TX
Posts: 624
Likes: 0
Received 0 Likes
on
0 Posts
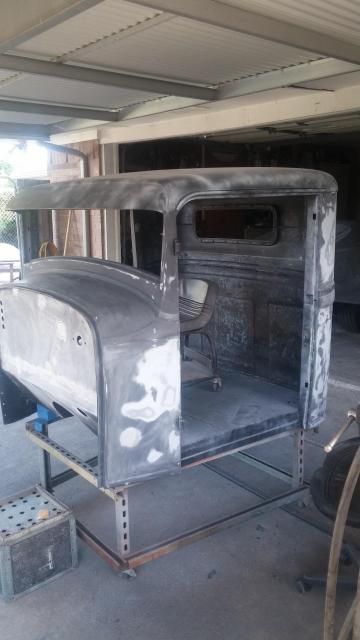
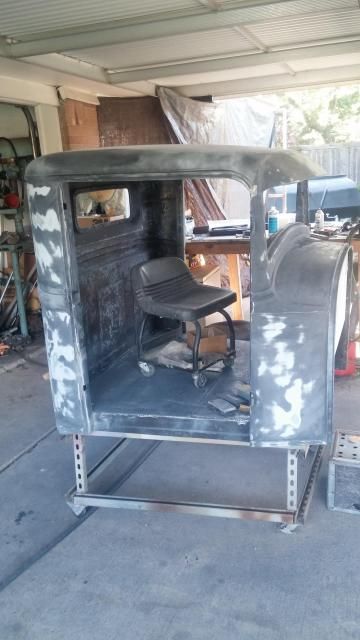
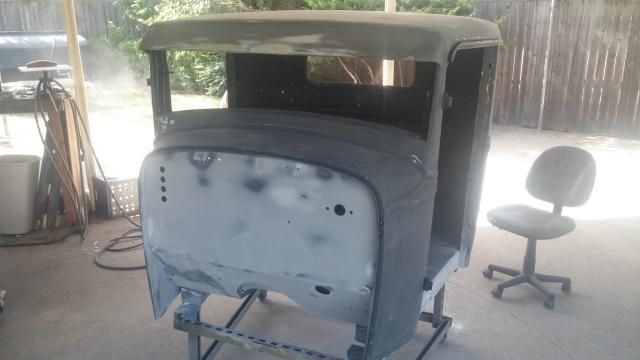
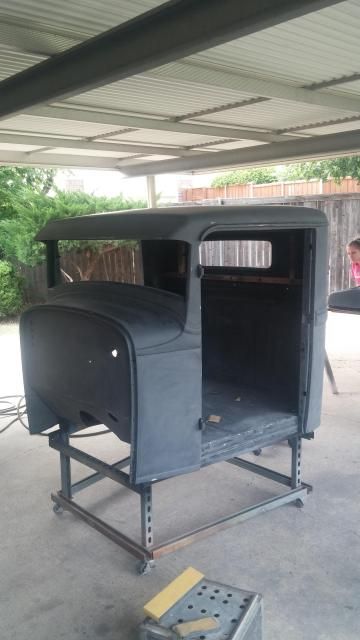
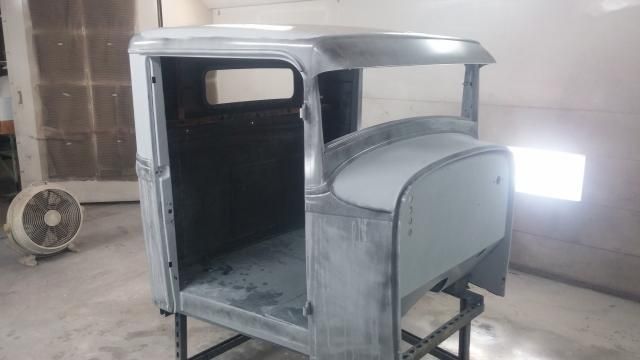
Here is the first blocking with the old DP90 that was on the cab.
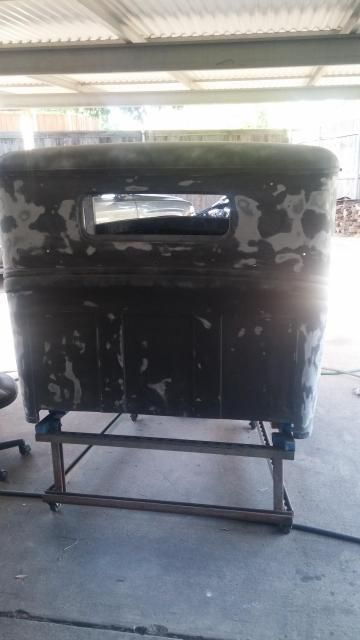
Then I sealed it back up with SPI Epoxy. I'm using only epoxy and slick sand in a few small areas to finish it out.
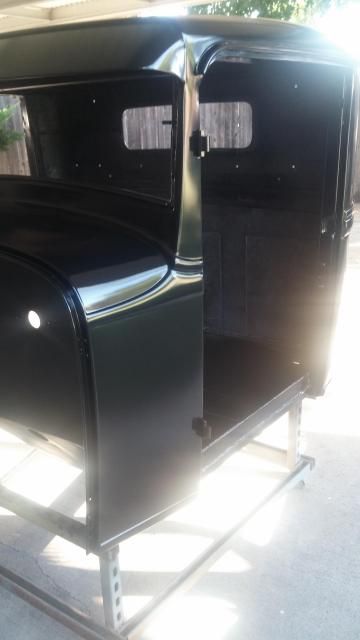
Today we started another blocking session and will finish that up tomorrow. Also got the filler work done on the firewall.
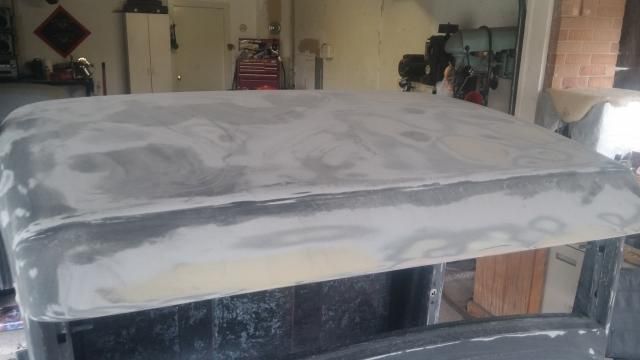
At the end of the day I shot 2 coats of slick sand on the firewall and on the roof.
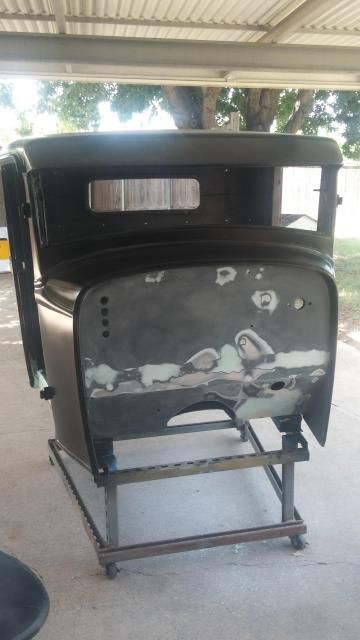
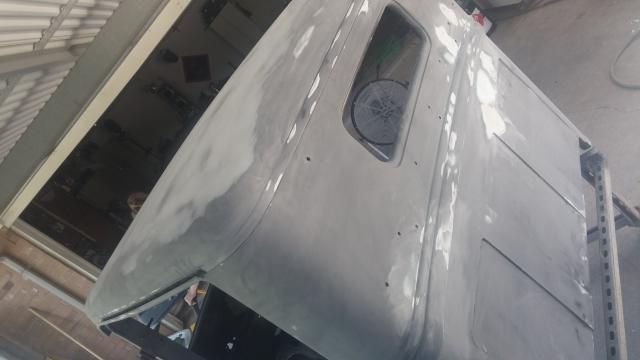
Here is where we left off.
Blocked the cab AGAIN!
 \
\
Then another 2 coats of SPI epoxy.
Followed up by another blocking.
Then off to the booth we went
2 coats of reduced gray SPI expoxy
Guess what??? A bit more blocking
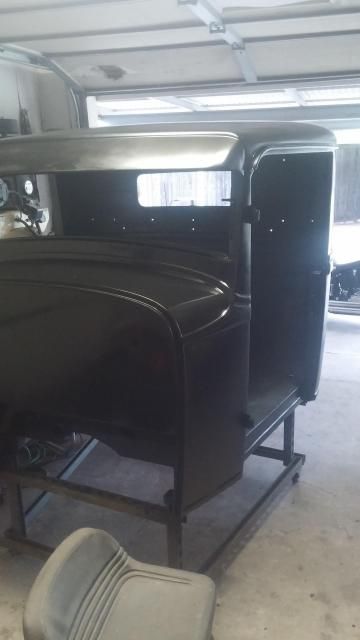
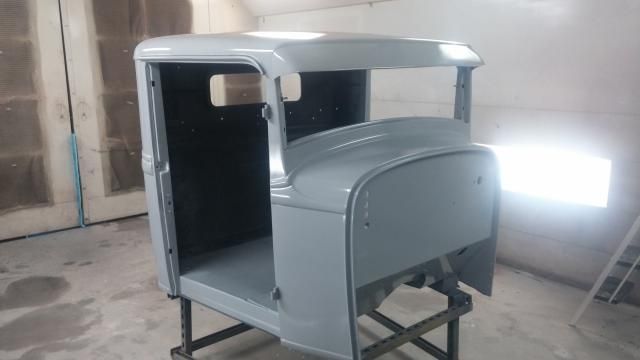
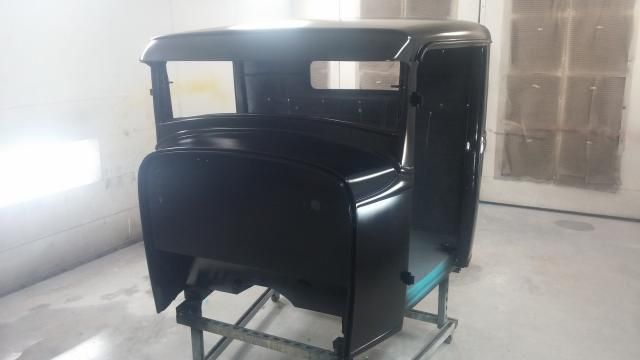
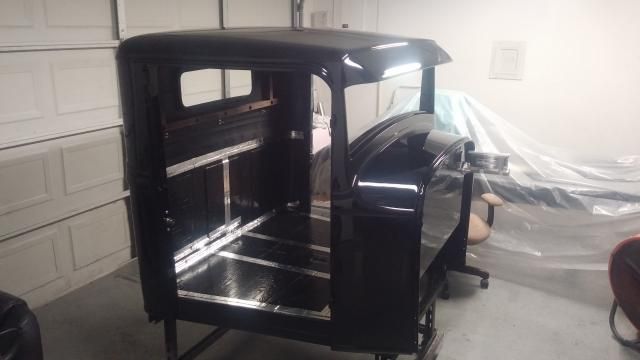
Then sealed her up with a reduced coat of SPI black epoxy and after 2 hours of flash off I shot 3 coats of Spies Hecker FP2002 Blue/Black Base.
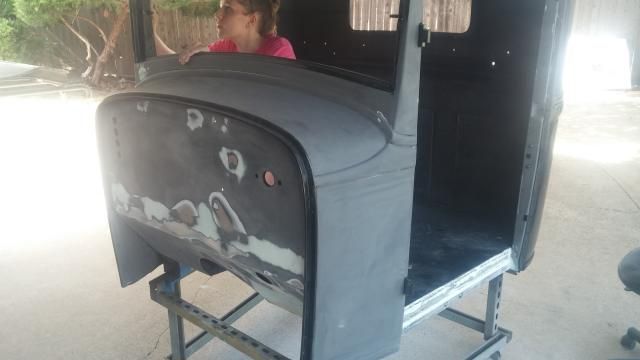
Post Cut/Buff
Firewall
Roof
Rear of cab after buffing and shooting SPI bedliner
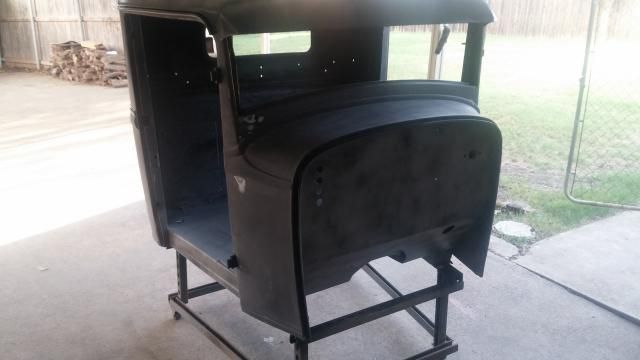
I shot clear on the doors and did a bit of sound management on the cab.

A few pictures
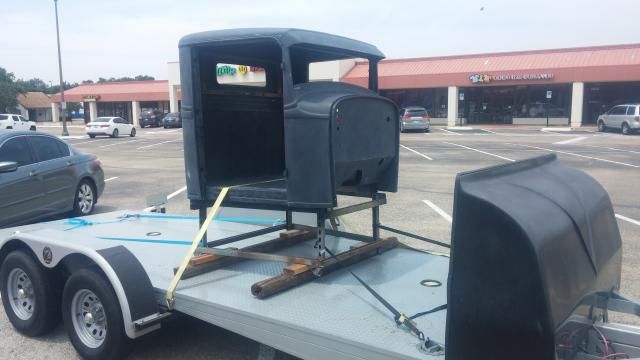
I called over a bunch of friends and family and after I had the "you scratch I will shoot you" conversation we got the cab and chassis back together.

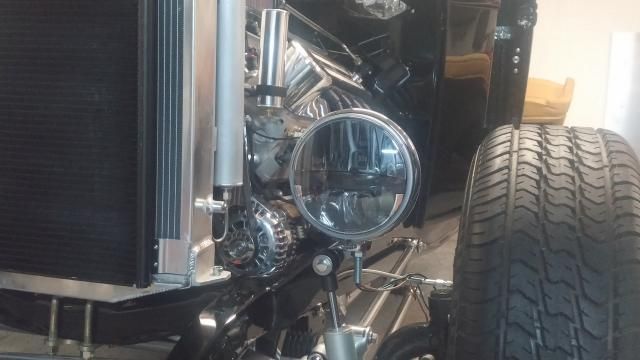
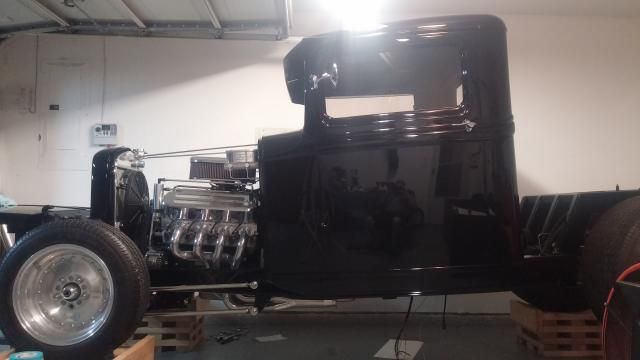
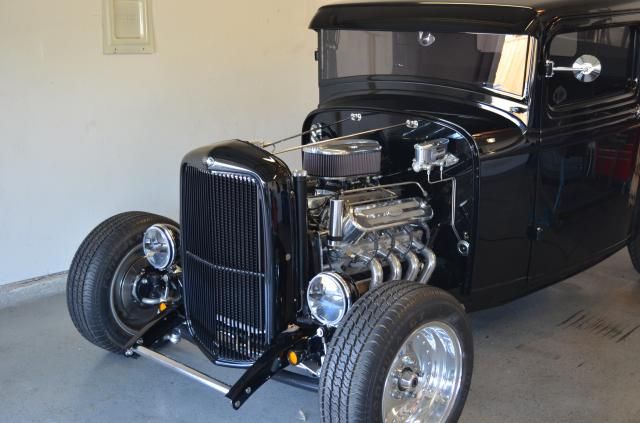
Radiator back on
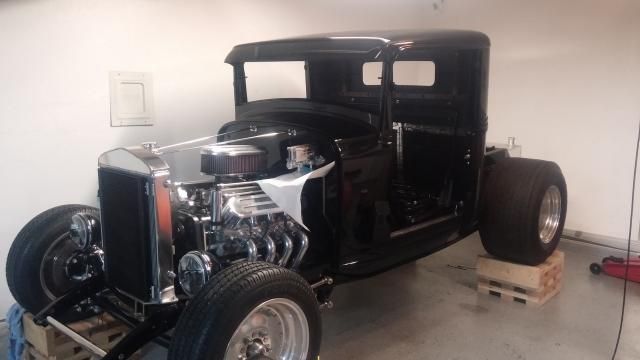
I also changed out the headlights for the series 7 truck lite LEDS.... I love these things


Then I sealed it back up with SPI Epoxy. I'm using only epoxy and slick sand in a few small areas to finish it out.

Today we started another blocking session and will finish that up tomorrow. Also got the filler work done on the firewall.


At the end of the day I shot 2 coats of slick sand on the firewall and on the roof.

Here is where we left off.
Blocked the cab AGAIN!

 \
\Then another 2 coats of SPI epoxy.


Followed up by another blocking.


Then off to the booth we went

2 coats of reduced gray SPI expoxy


Guess what??? A bit more blocking

Then sealed her up with a reduced coat of SPI black epoxy and after 2 hours of flash off I shot 3 coats of Spies Hecker FP2002 Blue/Black Base.


Post Cut/Buff
Firewall

Roof

Rear of cab after buffing and shooting SPI bedliner

I shot clear on the doors and did a bit of sound management on the cab.


A few pictures


I called over a bunch of friends and family and after I had the "you scratch I will shoot you" conversation we got the cab and chassis back together.
Radiator back on

I also changed out the headlights for the series 7 truck lite LEDS.... I love these things
 08-22-2014, 02:06 AM
#65
TECH Enthusiast
Thread Starter
iTrader: (15)
Join Date: Aug 2006
Location: DFW....TX
Posts: 624
Likes: 0
Received 0 Likes
on
0 Posts
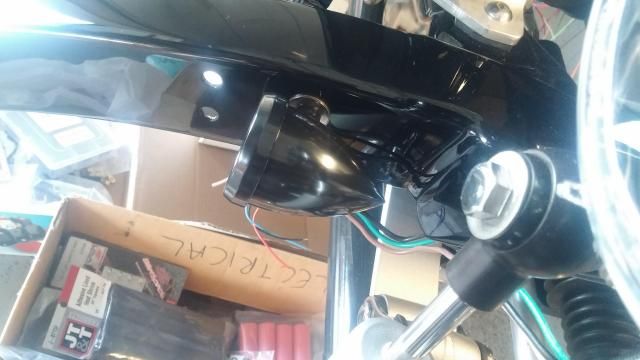
Then I added a set of Arlen Ness billet speeding bullet turn signals.
Jute padding in, there is a reason for that center channel.
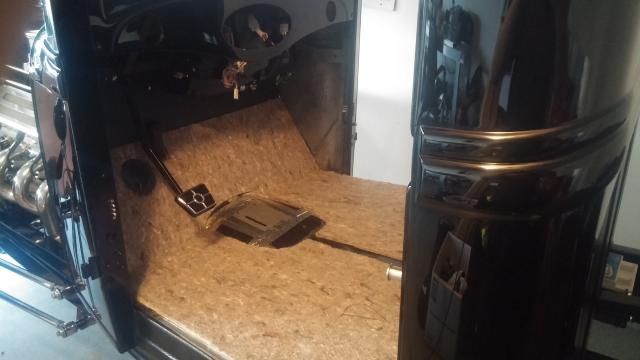
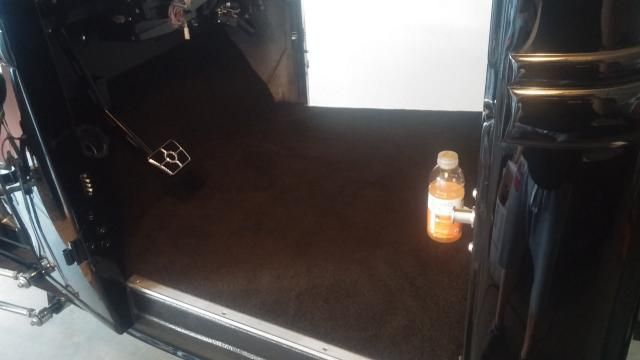
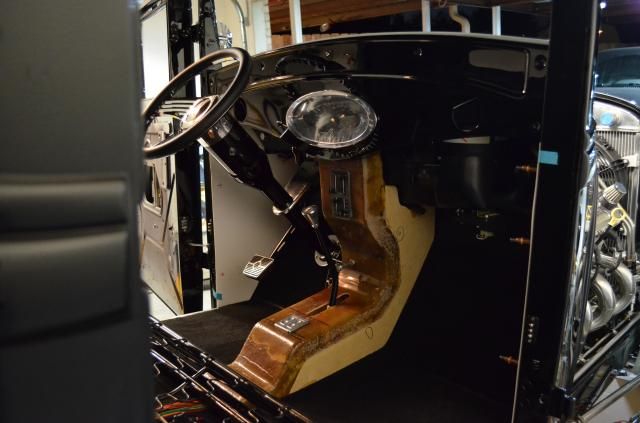
Aluminum door sills I made on the mill and Bentley carpet pre fit
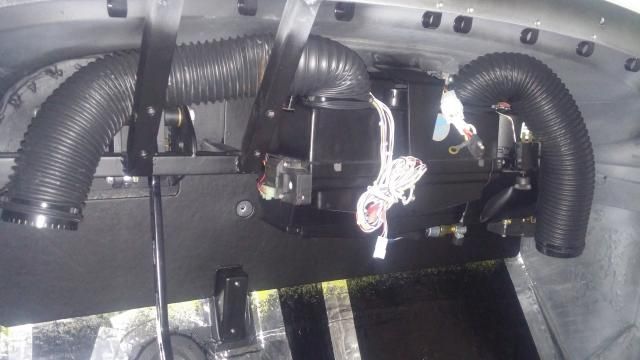
Firewall panel made, covered, and the vintage air system back in place.
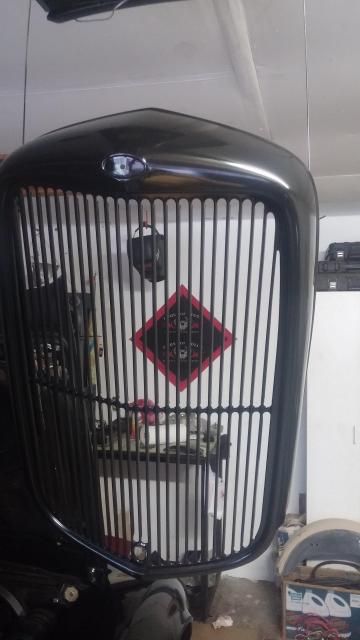
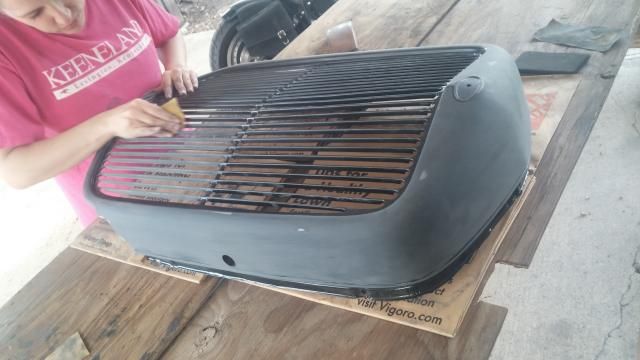
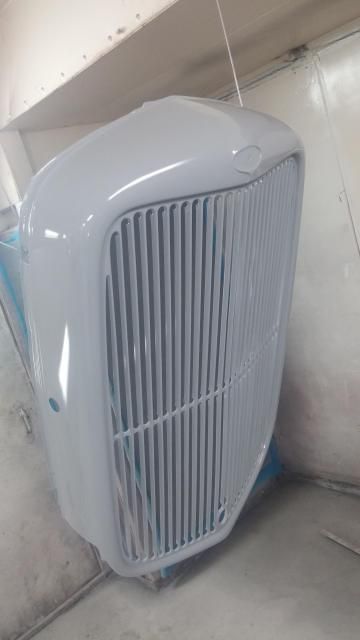
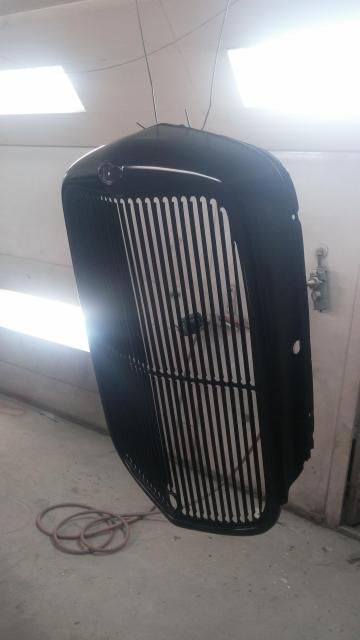
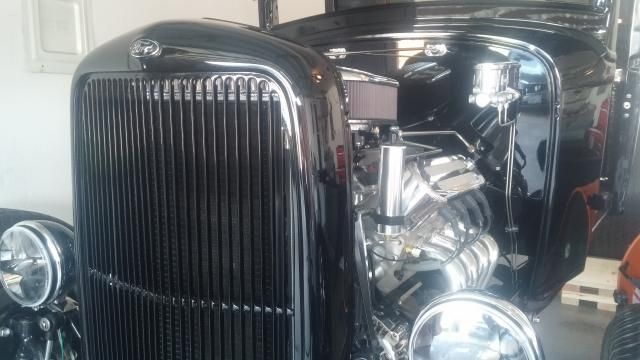
Grille buffed out and Drivers door on!
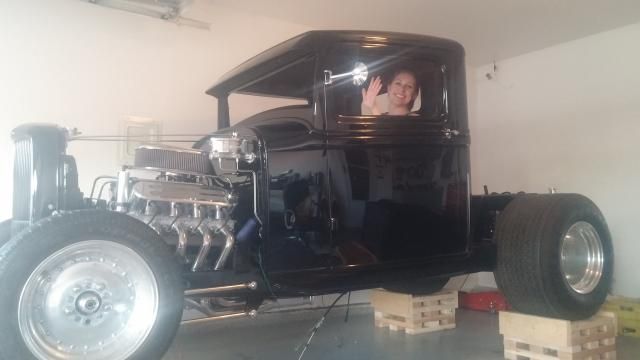
Shot of the Bengels Seat.... Man this thing is killer!
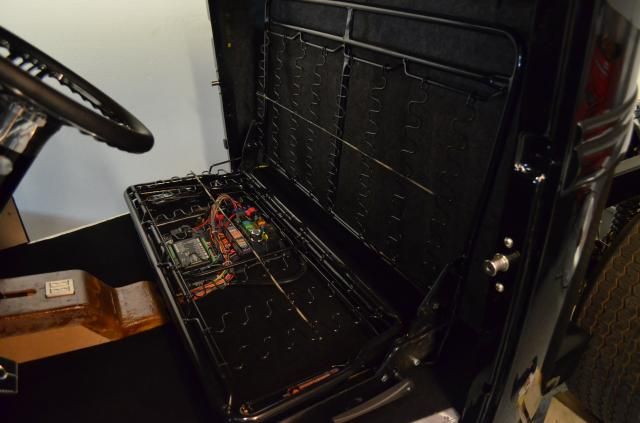
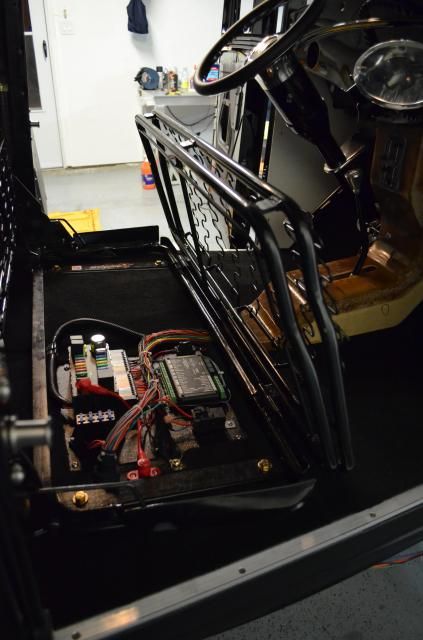
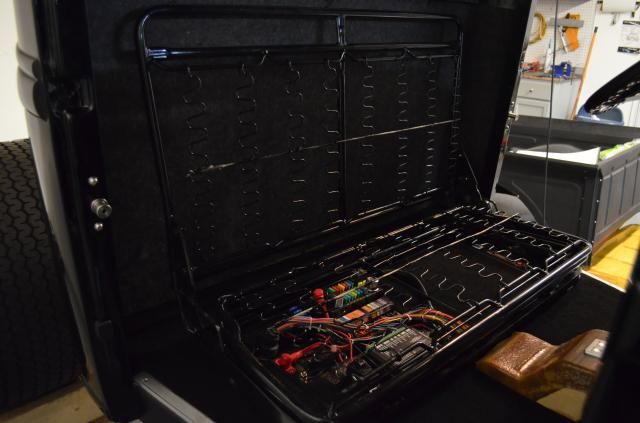
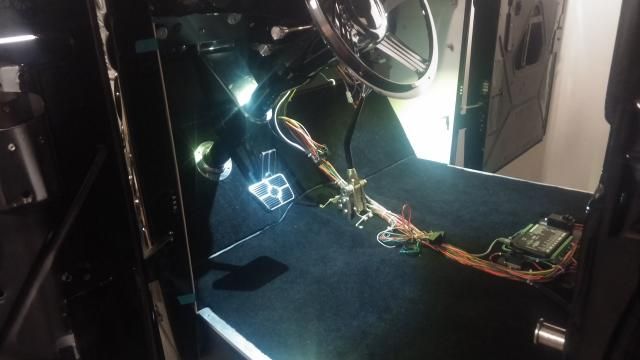
Oh god... the wiring mess!
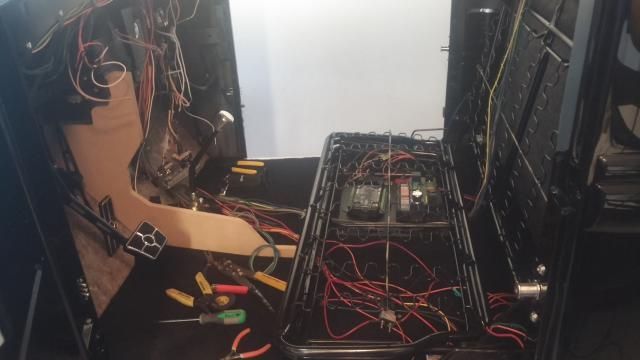
Wiring done! Well most of it anyway.
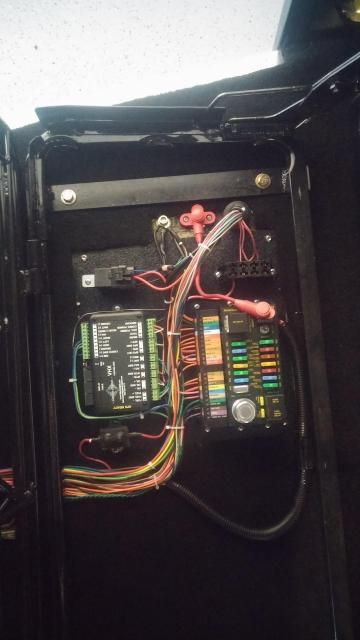
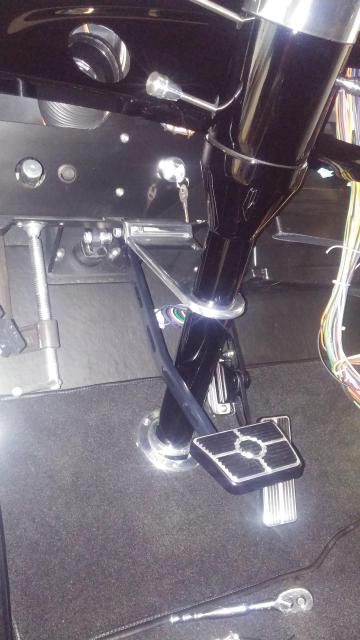
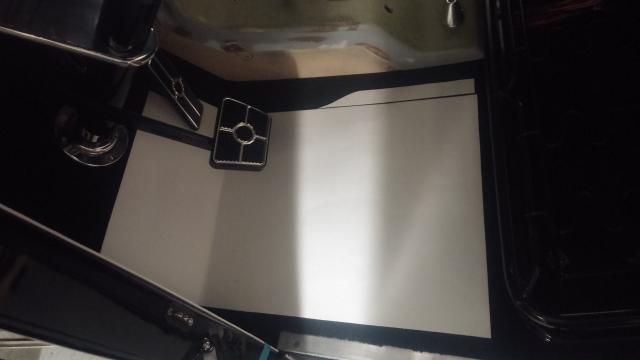
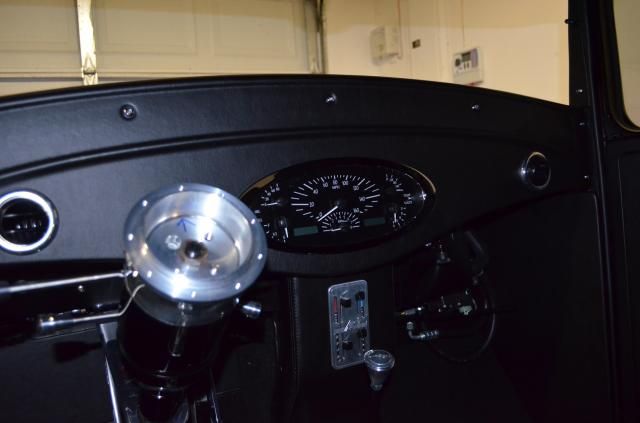
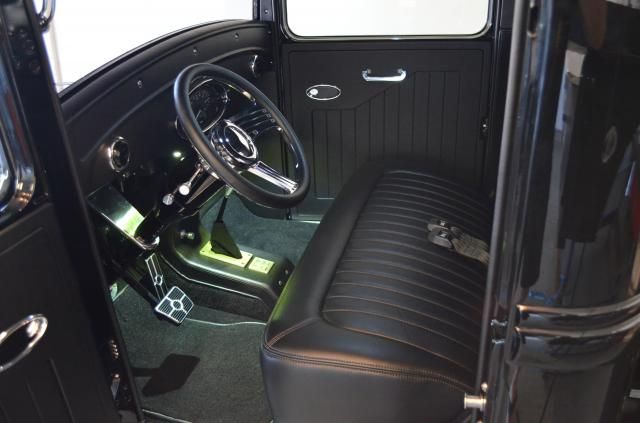
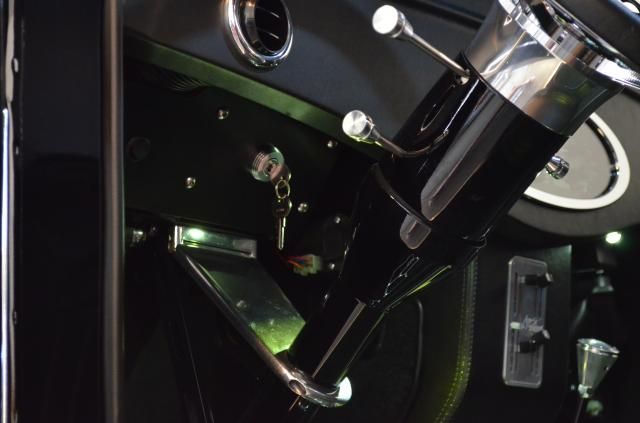
New switch panel made, carpet bound and all glued in, steering column in, and pedals in!!!!!
Ashley testing out foam height for the seat frame.
Bengels Seat ****!

 [/QUOTE]
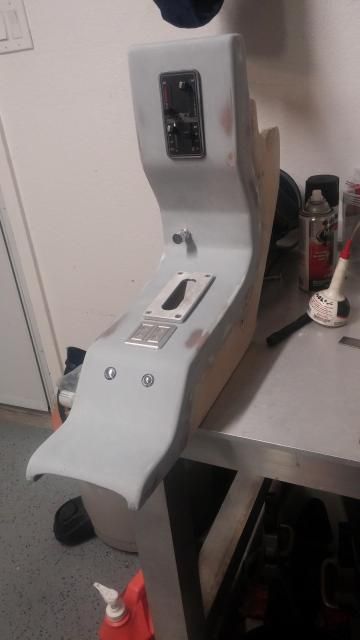
Here are a few of the console.

Here is a few pics of the console all smoothed out and the floor mat templates
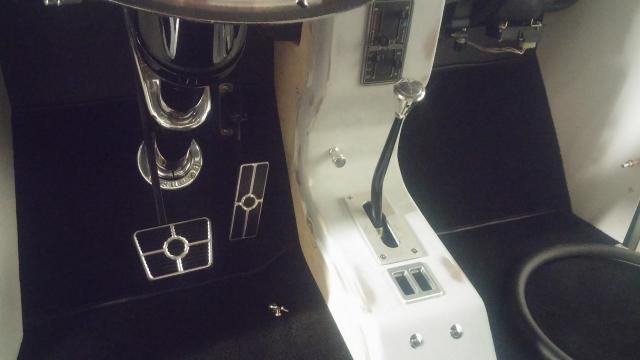
Courtesy Lights
The seat, console, and floor mats are down at Catos Custom Upholstery in Troy, TX.

Jute padding in, there is a reason for that center channel.

Aluminum door sills I made on the mill and Bentley carpet pre fit

Firewall panel made, covered, and the vintage air system back in place.

Grille buffed out and Drivers door on!


Shot of the Bengels Seat.... Man this thing is killer!

Oh god... the wiring mess!

Wiring done! Well most of it anyway.


New switch panel made, carpet bound and all glued in, steering column in, and pedals in!!!!!

Ashley testing out foam height for the seat frame.

Bengels Seat ****!


 [/QUOTE]
Here are a few of the console.


Here is a few pics of the console all smoothed out and the floor mat templates


Courtesy Lights

The seat, console, and floor mats are down at Catos Custom Upholstery in Troy, TX.
 10-01-2014, 02:09 AM
#72
TECH Enthusiast
Thread Starter
iTrader: (15)
Join Date: Aug 2006
Location: DFW....TX
Posts: 624
Likes: 0
Received 0 Likes
on
0 Posts
Well the "To Do" list is shrinking fast. The truck has a great base tune in it and won't take much more to have it spot on. The seat will be done in a few days. All interior panels except the headliner are complete minus covering them in ultra leather.
Things left to do:
Paint Bed
Paint Tailgate
Paint front windshield and Install
Install wiper arm
Make headliner and cover
Cover Interior panels
Bleed brakes about 87 more times.....
Install Seat
BURN RUBBER!!!
Here are a few pictures.
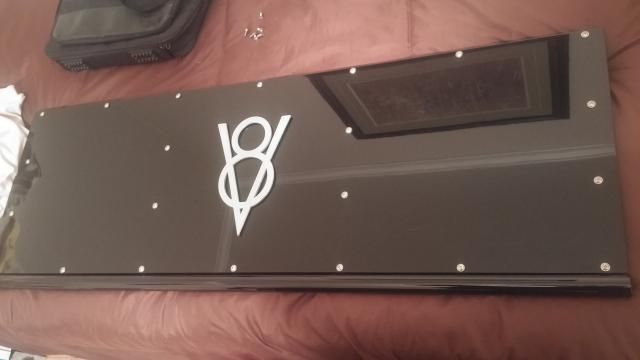
Got my emblems cut and I brushed them, paint filled, and the shot them in SPI matte clear.
Rear window in the right way.... I used urethane and .125 spacers to set the rear window surround exactly .375 off of the window.

Side glass in and sitting outside to charge the A/C
New polished QA1s!
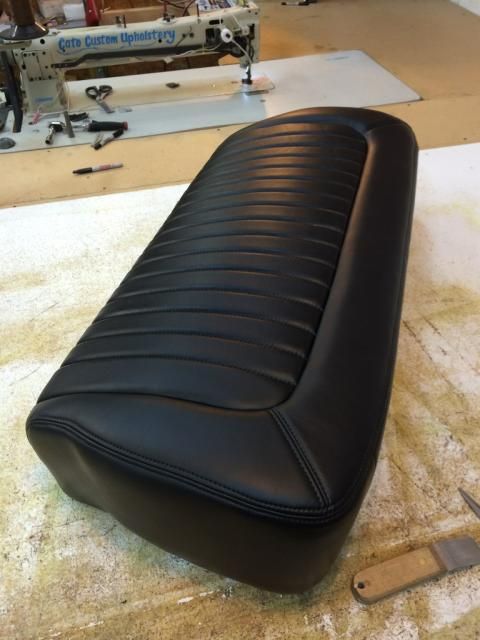
Quick Picture of the seat bottom
Things left to do:
Paint Bed
Paint Tailgate
Paint front windshield and Install
Install wiper arm
Make headliner and cover
Cover Interior panels
Bleed brakes about 87 more times.....
Install Seat
BURN RUBBER!!!
Here are a few pictures.
Got my emblems cut and I brushed them, paint filled, and the shot them in SPI matte clear.


Rear window in the right way.... I used urethane and .125 spacers to set the rear window surround exactly .375 off of the window.

Side glass in and sitting outside to charge the A/C

New polished QA1s!

Quick Picture of the seat bottom


 10-17-2014, 11:53 AM
#74
TECH Enthusiast
Thread Starter
iTrader: (15)
Join Date: Aug 2006
Location: DFW....TX
Posts: 624
Likes: 0
Received 0 Likes
on
0 Posts
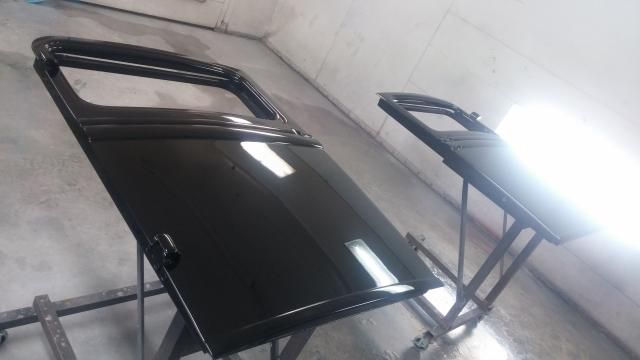
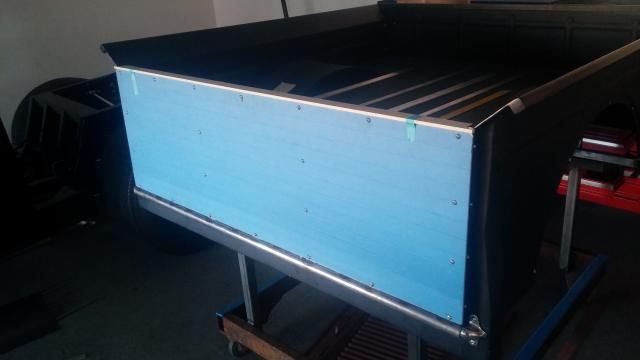
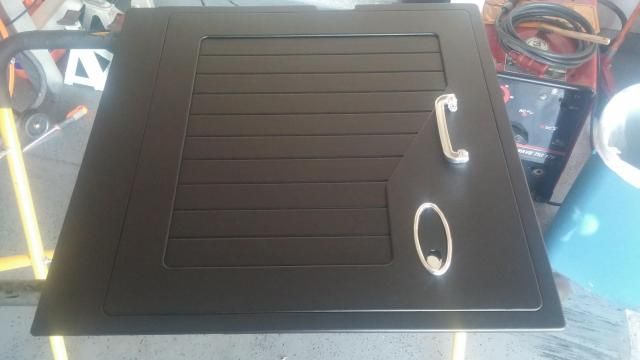
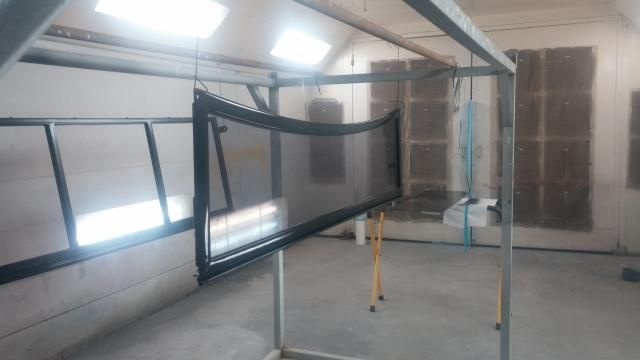
Tailgate fab work is done.
I picked up my extra material from Phil Cato this weekend at Good Guys and couldn't wait to get to work.
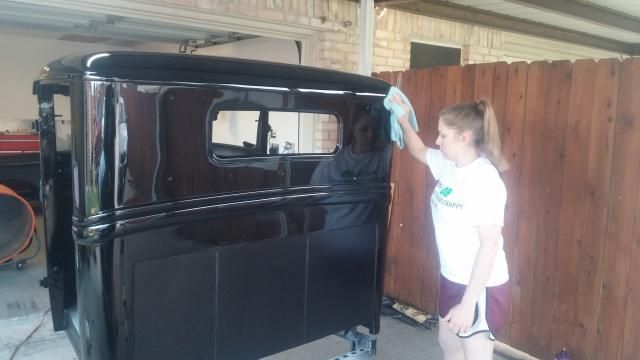
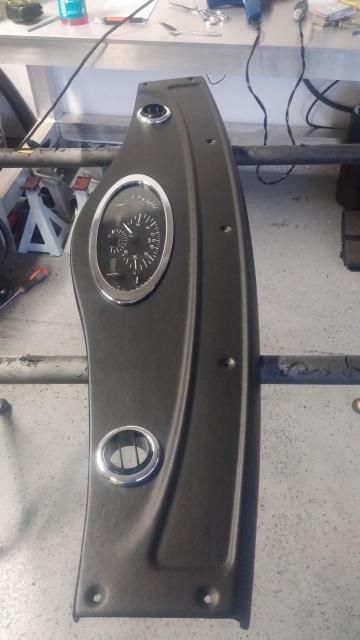
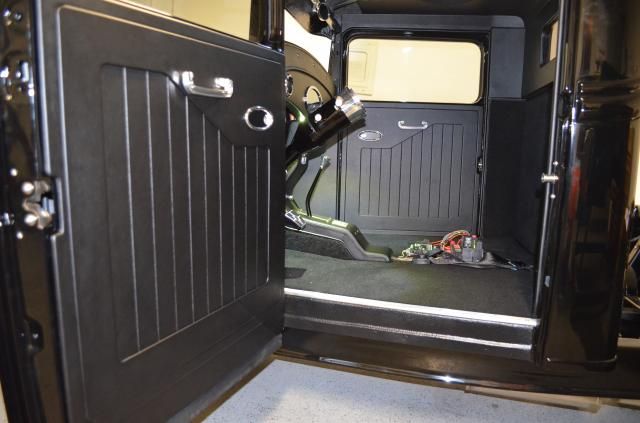
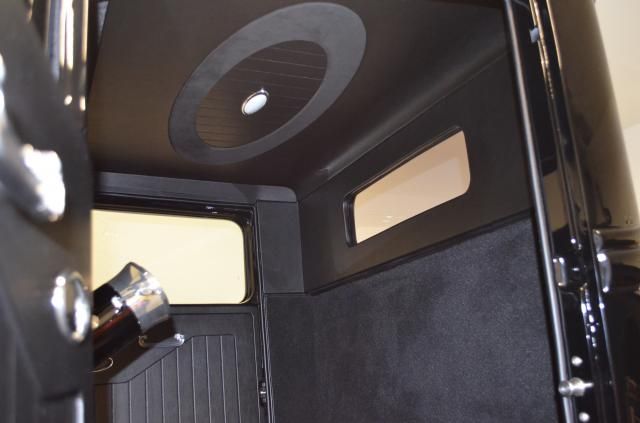
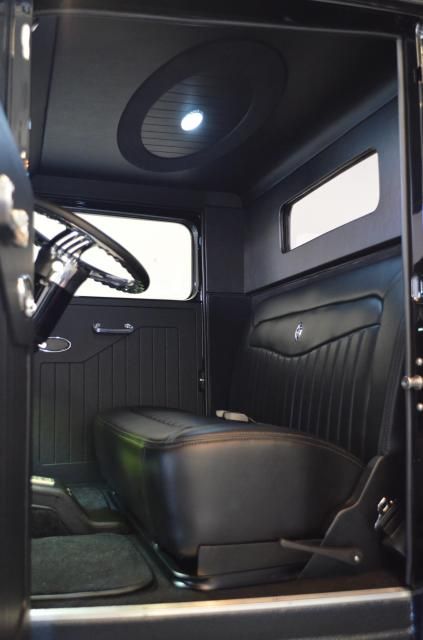
I covered the kick panels, rear cab surround, door panels, and A pillar covers. We also decided to cover the dash instead of having the painted look. I think it turned out great.


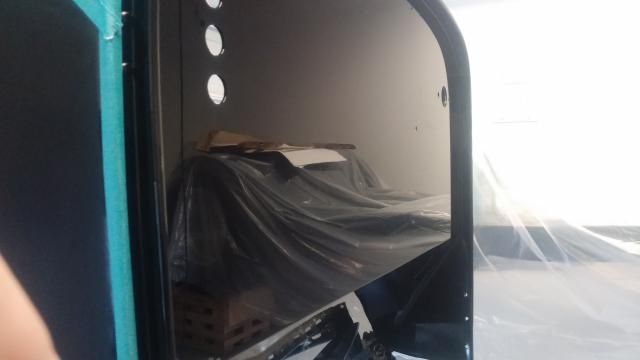
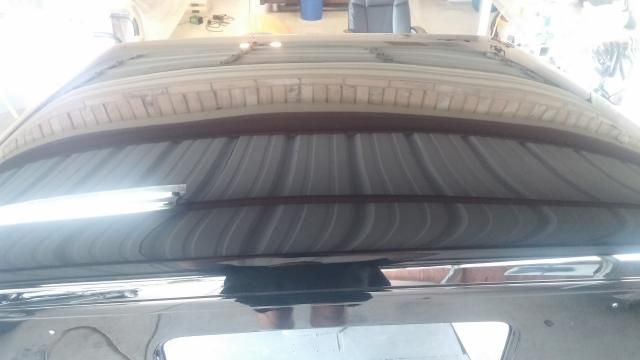
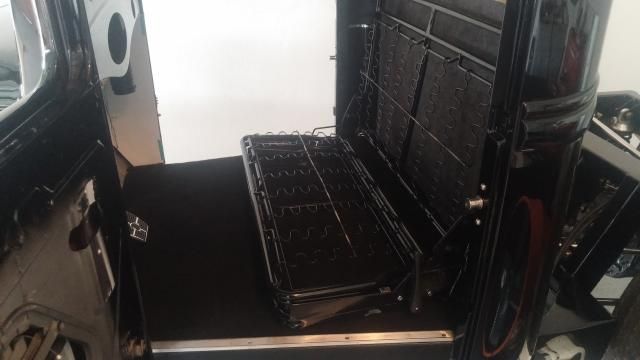
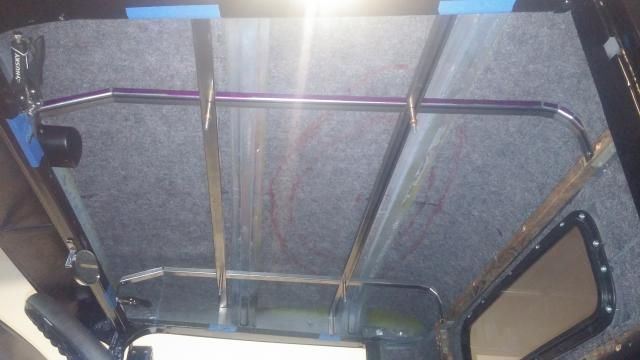
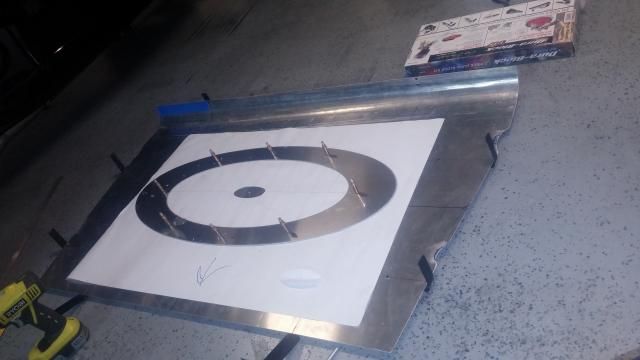
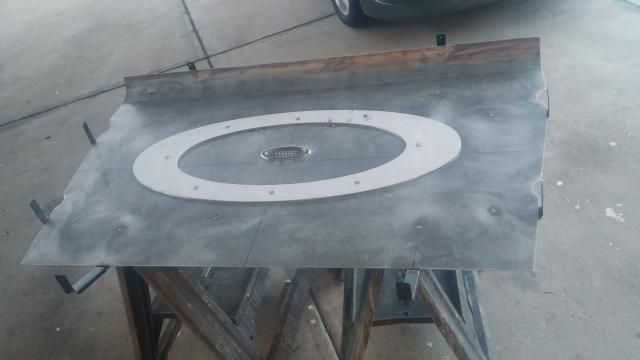
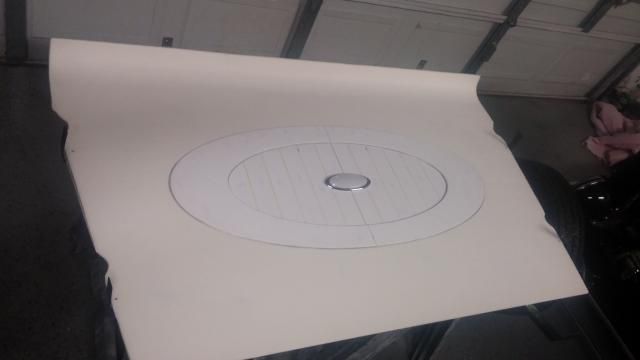
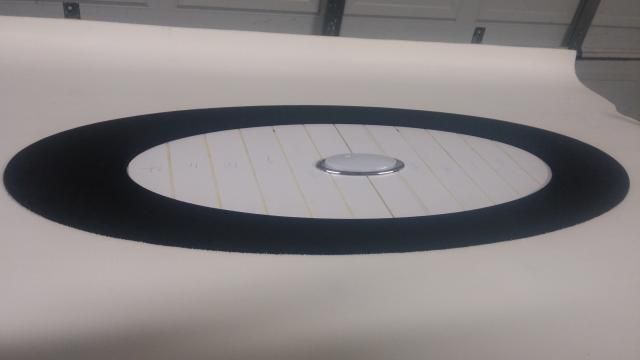
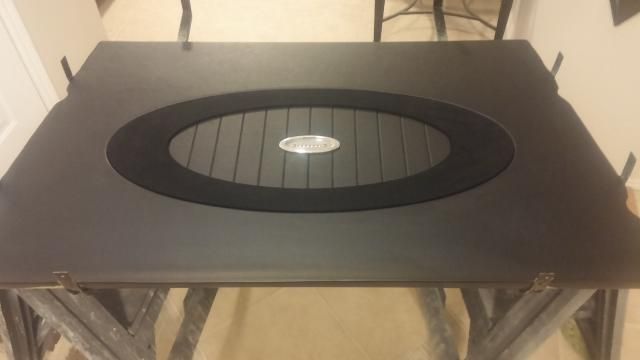
A lot got done this past week. All that is left is getting the bed painted and making the front headliner trim panel. Here are some pictures. The headliner oval, steering wheel half wrap, and the shift boot are going to be covered in black Alcantara.
Headliner:
Then I assembled the interior
I also go the front windshield painted as well as the tailgate skin and frame.
I also ordered got a new steering wheel. Its a Budnik Tri Oval that is satin black. Cant wait to get that thing installed.

I picked up my extra material from Phil Cato this weekend at Good Guys and couldn't wait to get to work.
I covered the kick panels, rear cab surround, door panels, and A pillar covers. We also decided to cover the dash instead of having the painted look. I think it turned out great.


A lot got done this past week. All that is left is getting the bed painted and making the front headliner trim panel. Here are some pictures. The headliner oval, steering wheel half wrap, and the shift boot are going to be covered in black Alcantara.
Headliner:


Then I assembled the interior


I also go the front windshield painted as well as the tailgate skin and frame.


I also ordered got a new steering wheel. Its a Budnik Tri Oval that is satin black. Cant wait to get that thing installed.
10-28-2014, 12:36 PM
#75
TECH Enthusiast
Thread Starter
iTrader: (15)
Join Date: Aug 2006
Location: DFW....TX
Posts: 624
Likes: 0
Received 0 Likes
on
0 Posts
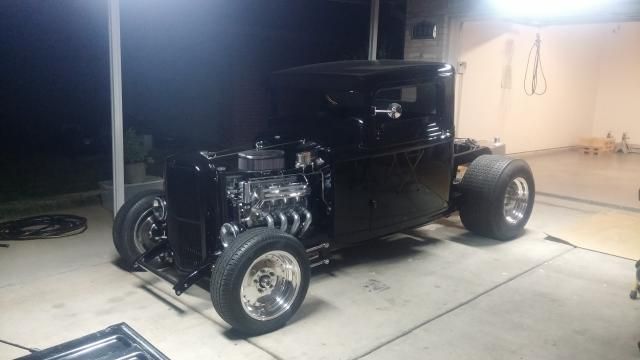
Interior Finished-- Check
Brakes completely bled-- Check
Tailgate buffed and assembled--Check
Front windshield buffed and installed--Check
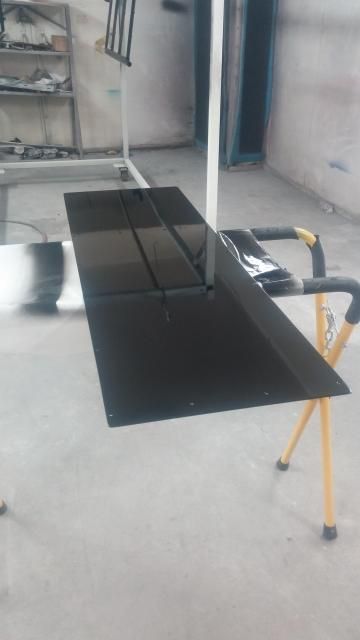
Sheet metal work on the bed complete--Check
Transferring the bed for bodywork tomorrow!

Brakes completely bled-- Check
Tailgate buffed and assembled--Check
Front windshield buffed and installed--Check
Sheet metal work on the bed complete--Check
Transferring the bed for bodywork tomorrow!


 12-16-2014, 10:56 PM
#78
Teching In
Join Date: Dec 2014
Location: Colorado Springs
Posts: 49
Likes: 0
Received 0 Likes
on
0 Posts
OMG !!!
That is a Beautiful Truck
-Love the Interior
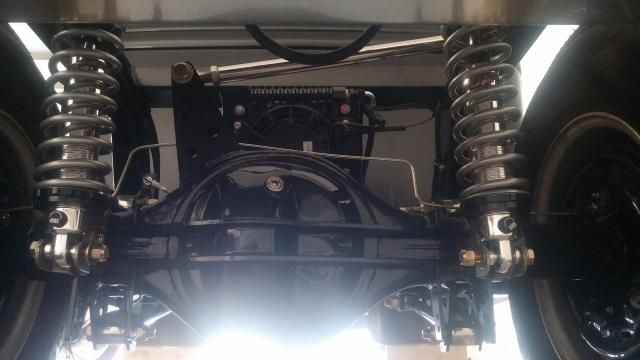
-Love the Engine Bay
-and the Suspension System is a Work of ART !!!
Absolutely Beautiful, Best Build I have Seen Yet, Ride on Man!!!
That is a Beautiful Truck
-Love the Interior
-Love the Engine Bay
-and the Suspension System is a Work of ART !!!
Absolutely Beautiful, Best Build I have Seen Yet, Ride on Man!!!
12-17-2014, 03:10 AM
#79

OMG is right. BAAAAAAD azz build !!!