
Hacksters 68 F100 LQ4/S475/4l80E


 11-27-2013, 10:24 AM
#42
Launching!
Thread Starter

Join Date: Mar 2012
Posts: 214
Likes: 0
Received 0 Likes
on
0 Posts
The last week has been very uneventful....
I did pickup up the exhaust from the ceramic coater last night and it looks great, all black.
Fuel Pumps showed up from Amazon and Fuel Filters should be here today and I hope to skip out of here during lunch and get some hard line for the 1/2" Stainless fuel supply line and 3/8" return line.
Need to order all my fitting's to get from the tank, to the filters, through a y fitting, then up to the rail and back to the tank.
I honestly had no idea that the fuel system was going to be so damn expensive!!!
I did get the pan drilled and tapped for a -10 return line last night so it can go back on the motor now.
Hope to get some descent work done on the old girl this weekend with four days away from work.
Sean
11-27-2013, 11:53 PM
#43
Launching!
Thread Starter
Join Date: Mar 2012
Posts: 214
Likes: 0
Received 0 Likes
on
0 Posts
Well, I managed to get over to the other side of town and pick up another $300.00 in stainless tubing and fittings for the fuel system.
Got the oil pan all cleaned up and installed along with a fresh new filter. Installed my new fitting in the pan as well.
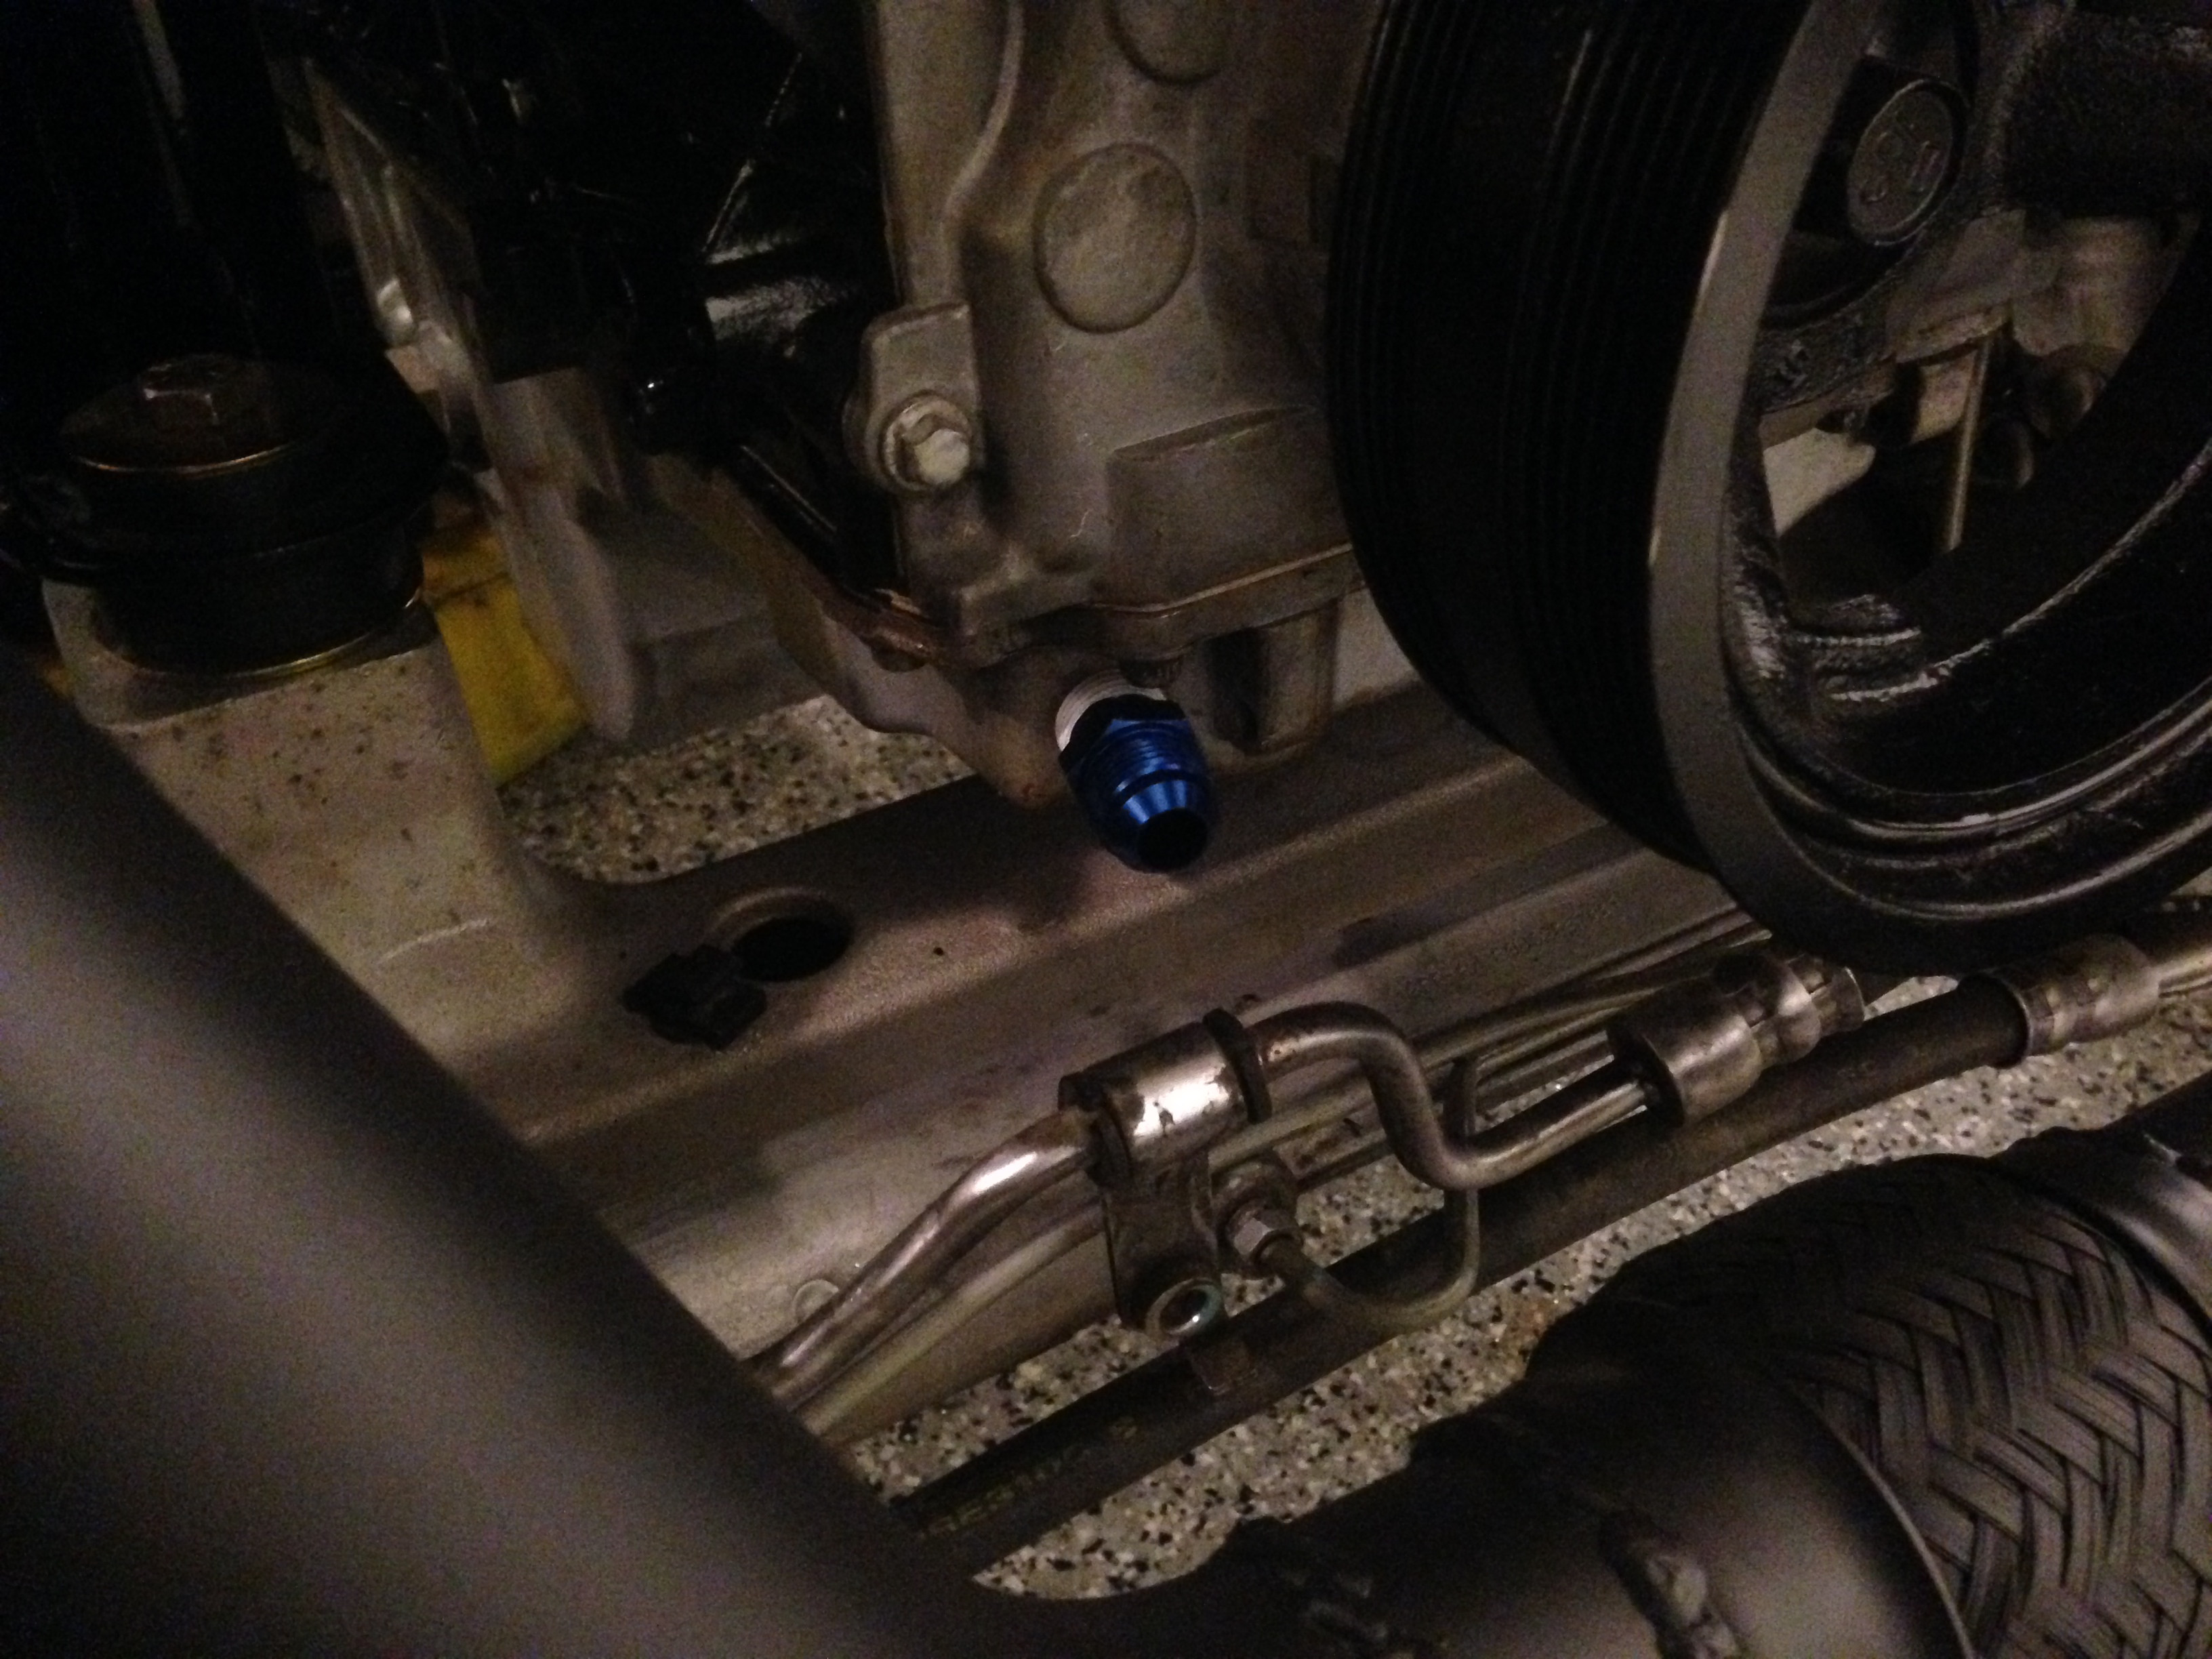
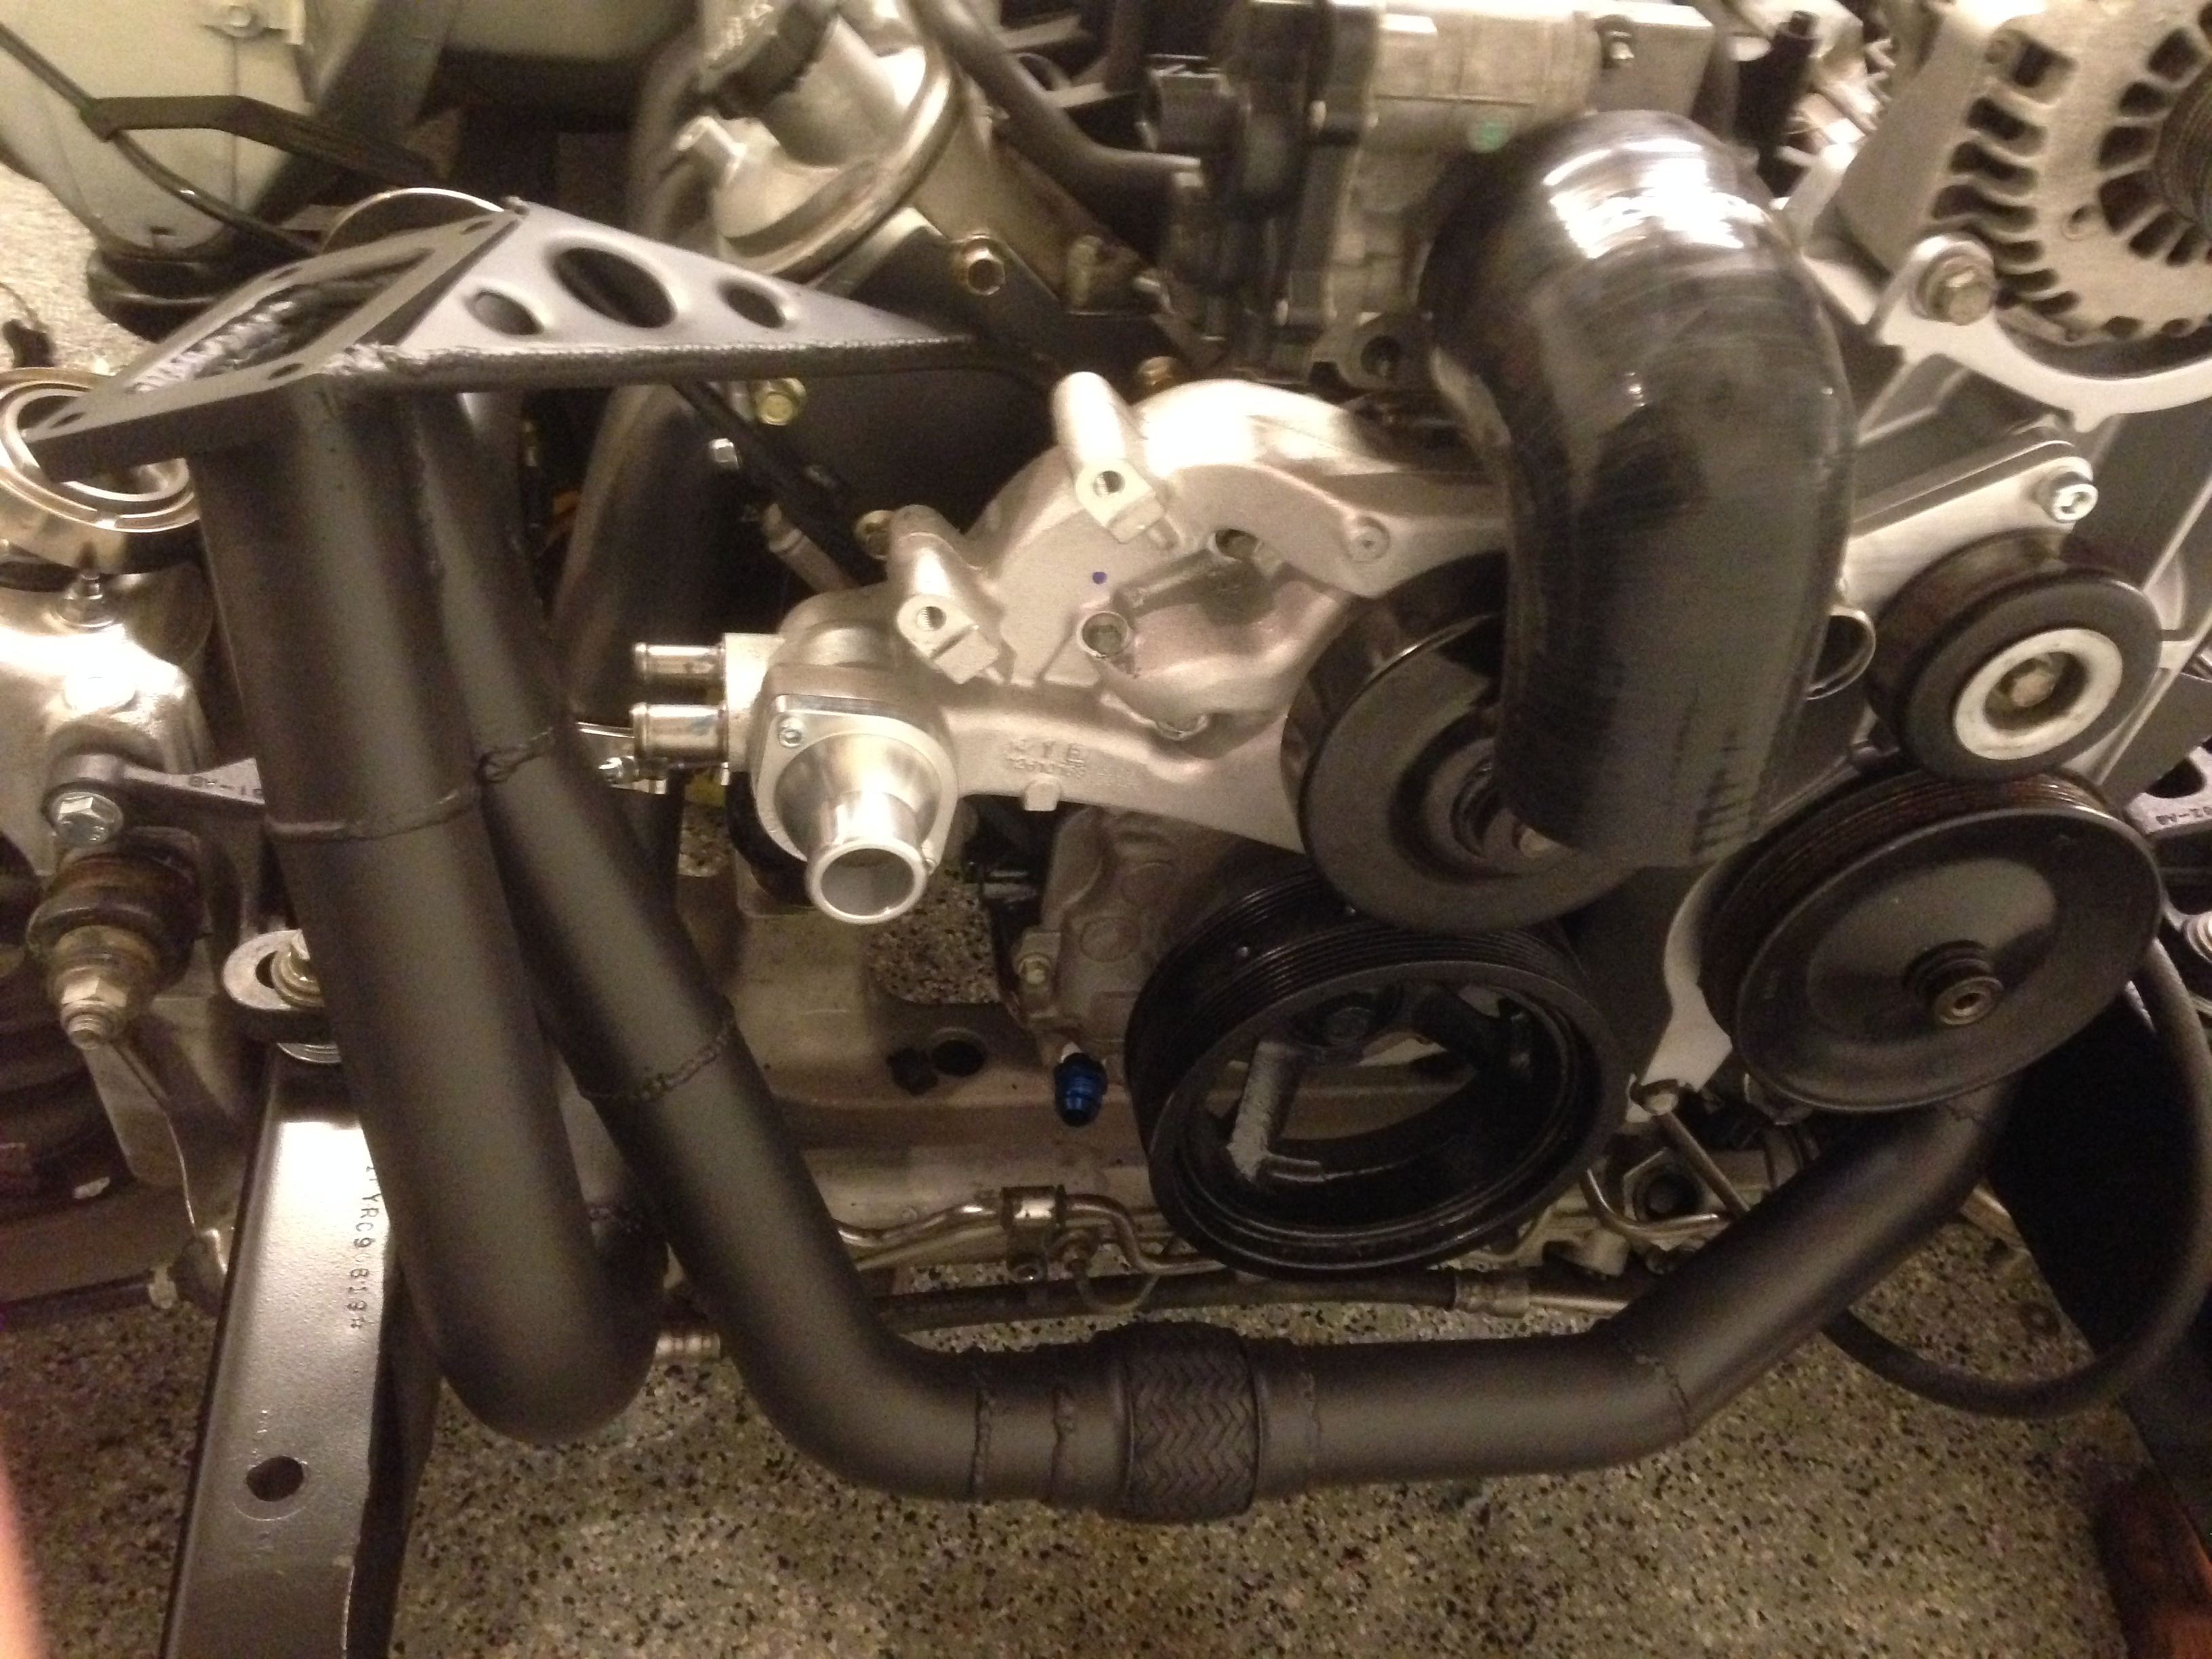
Got the power steering lines finally made up with the Swagelok fitting and pressed on the power steering pump pulley, installed the water pump gaskets and final bolted on the water pump and the new billet straight water pump outlet.
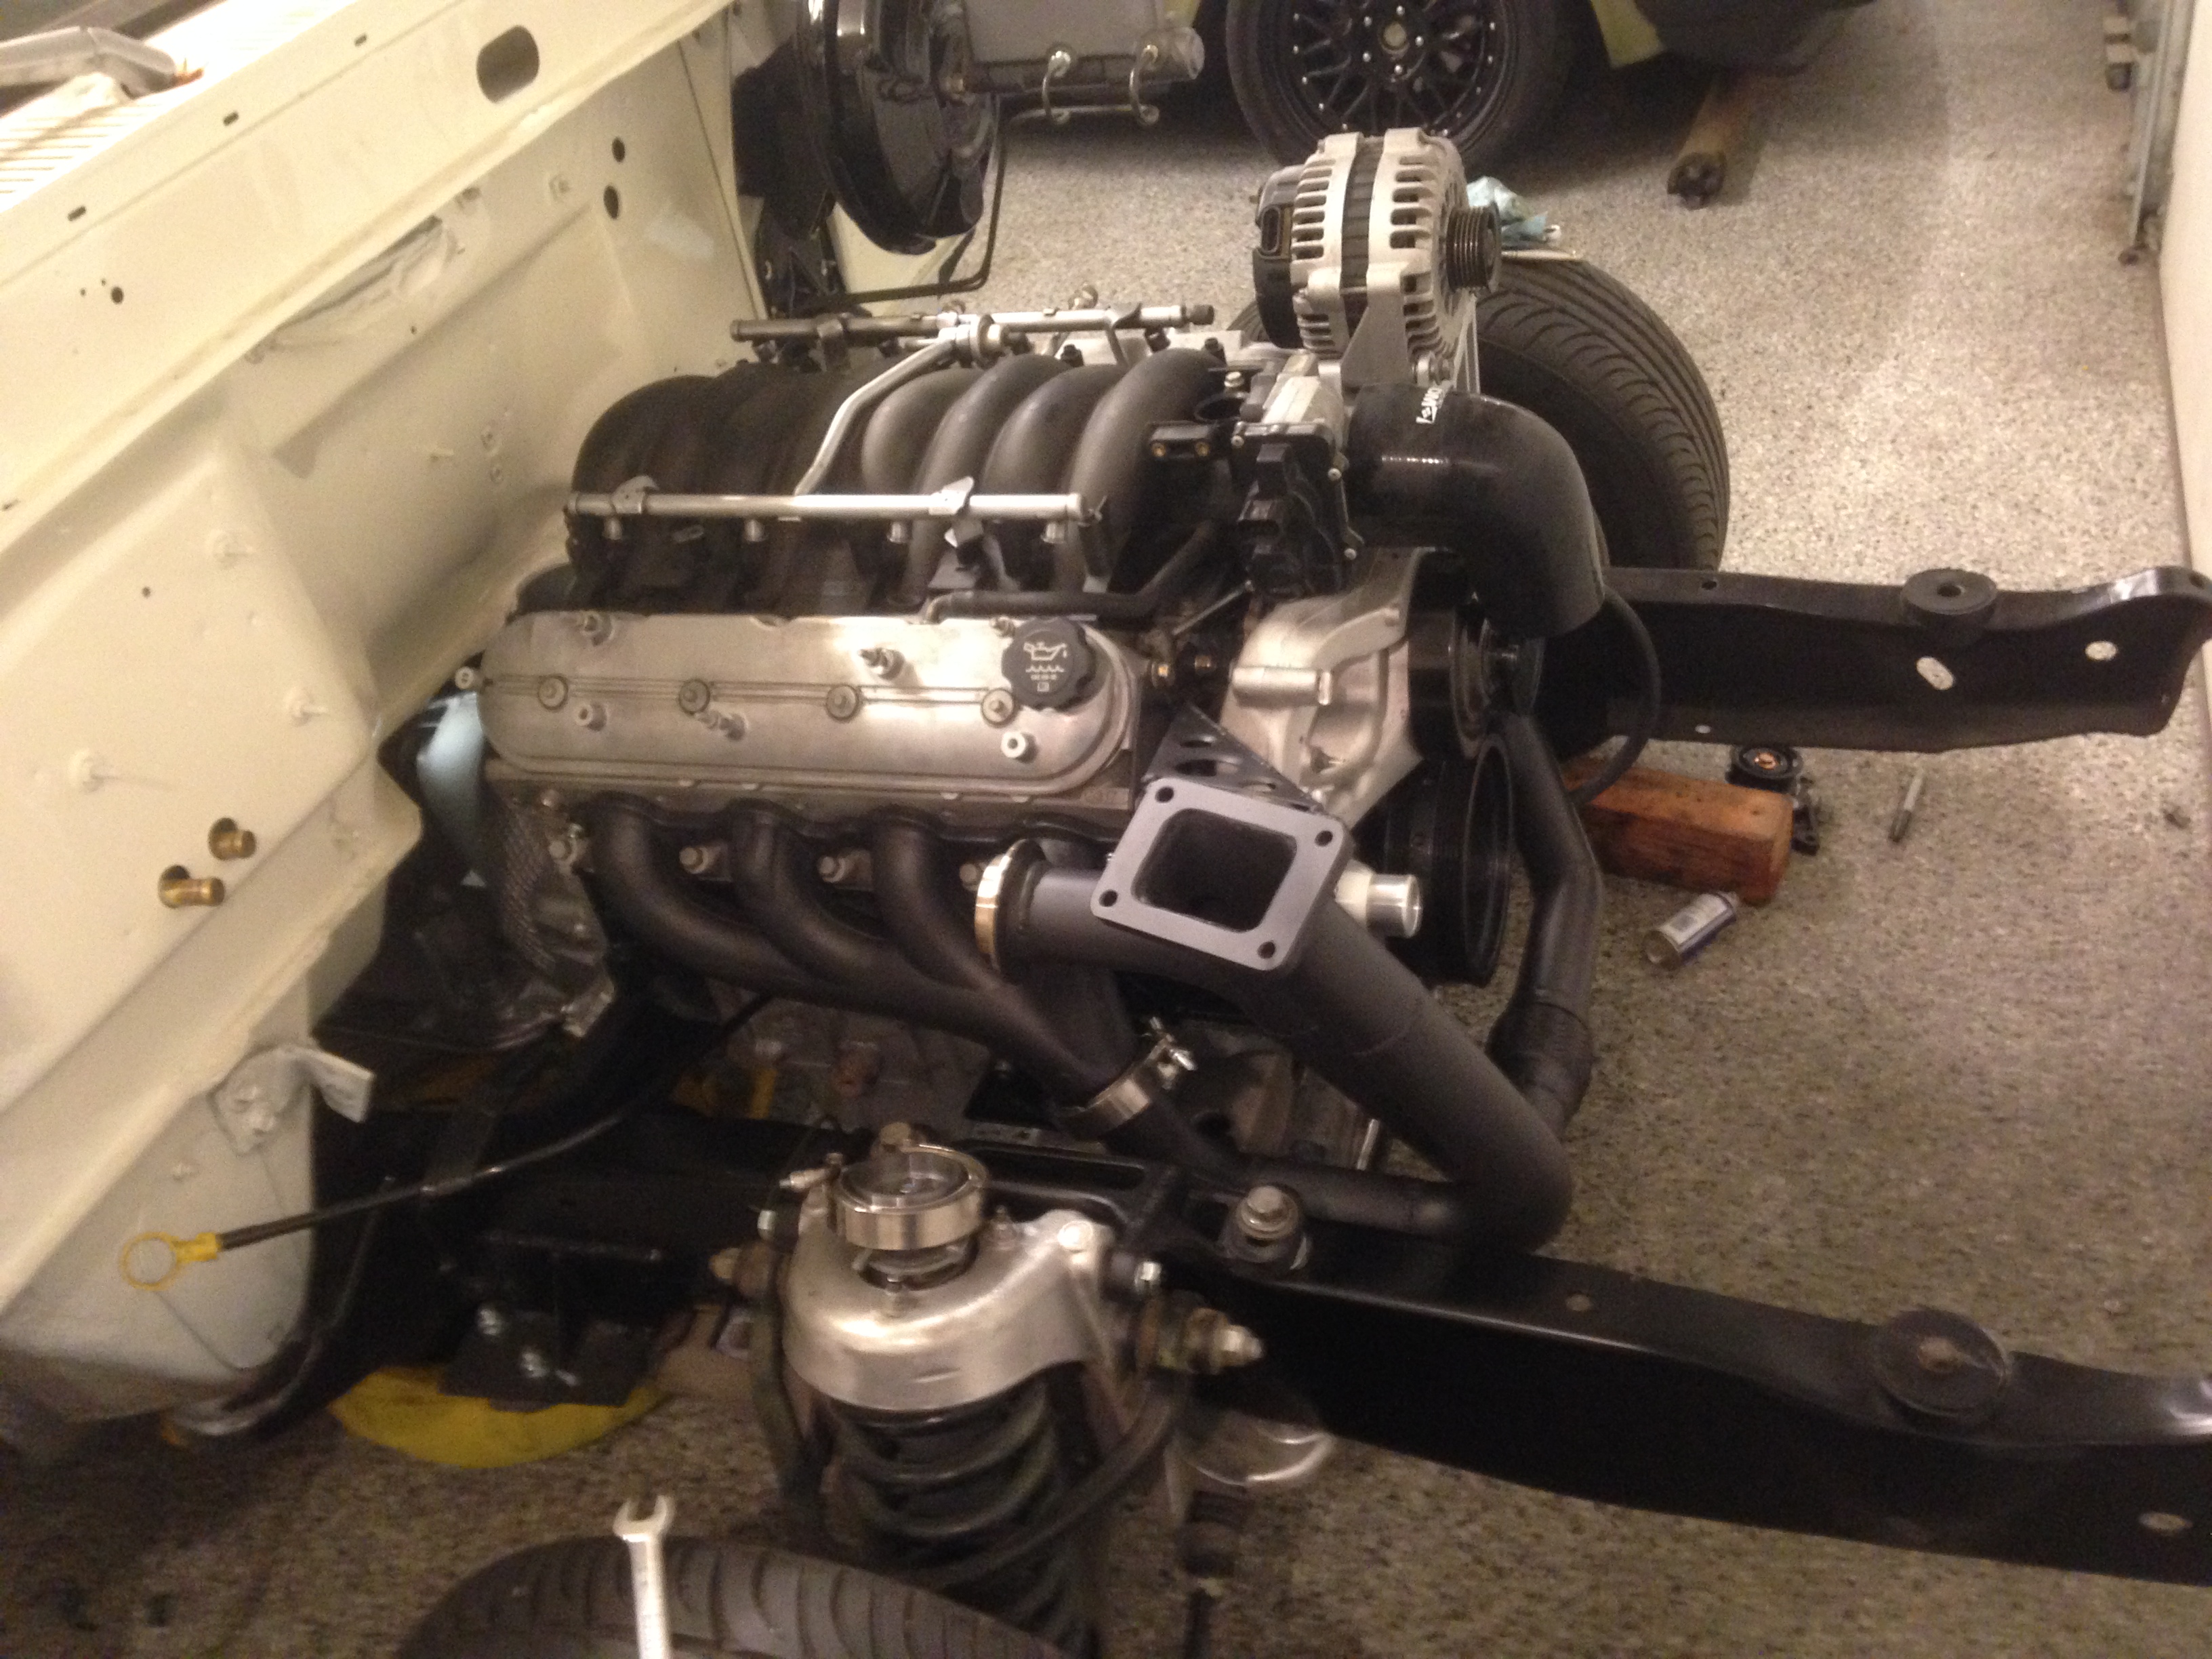
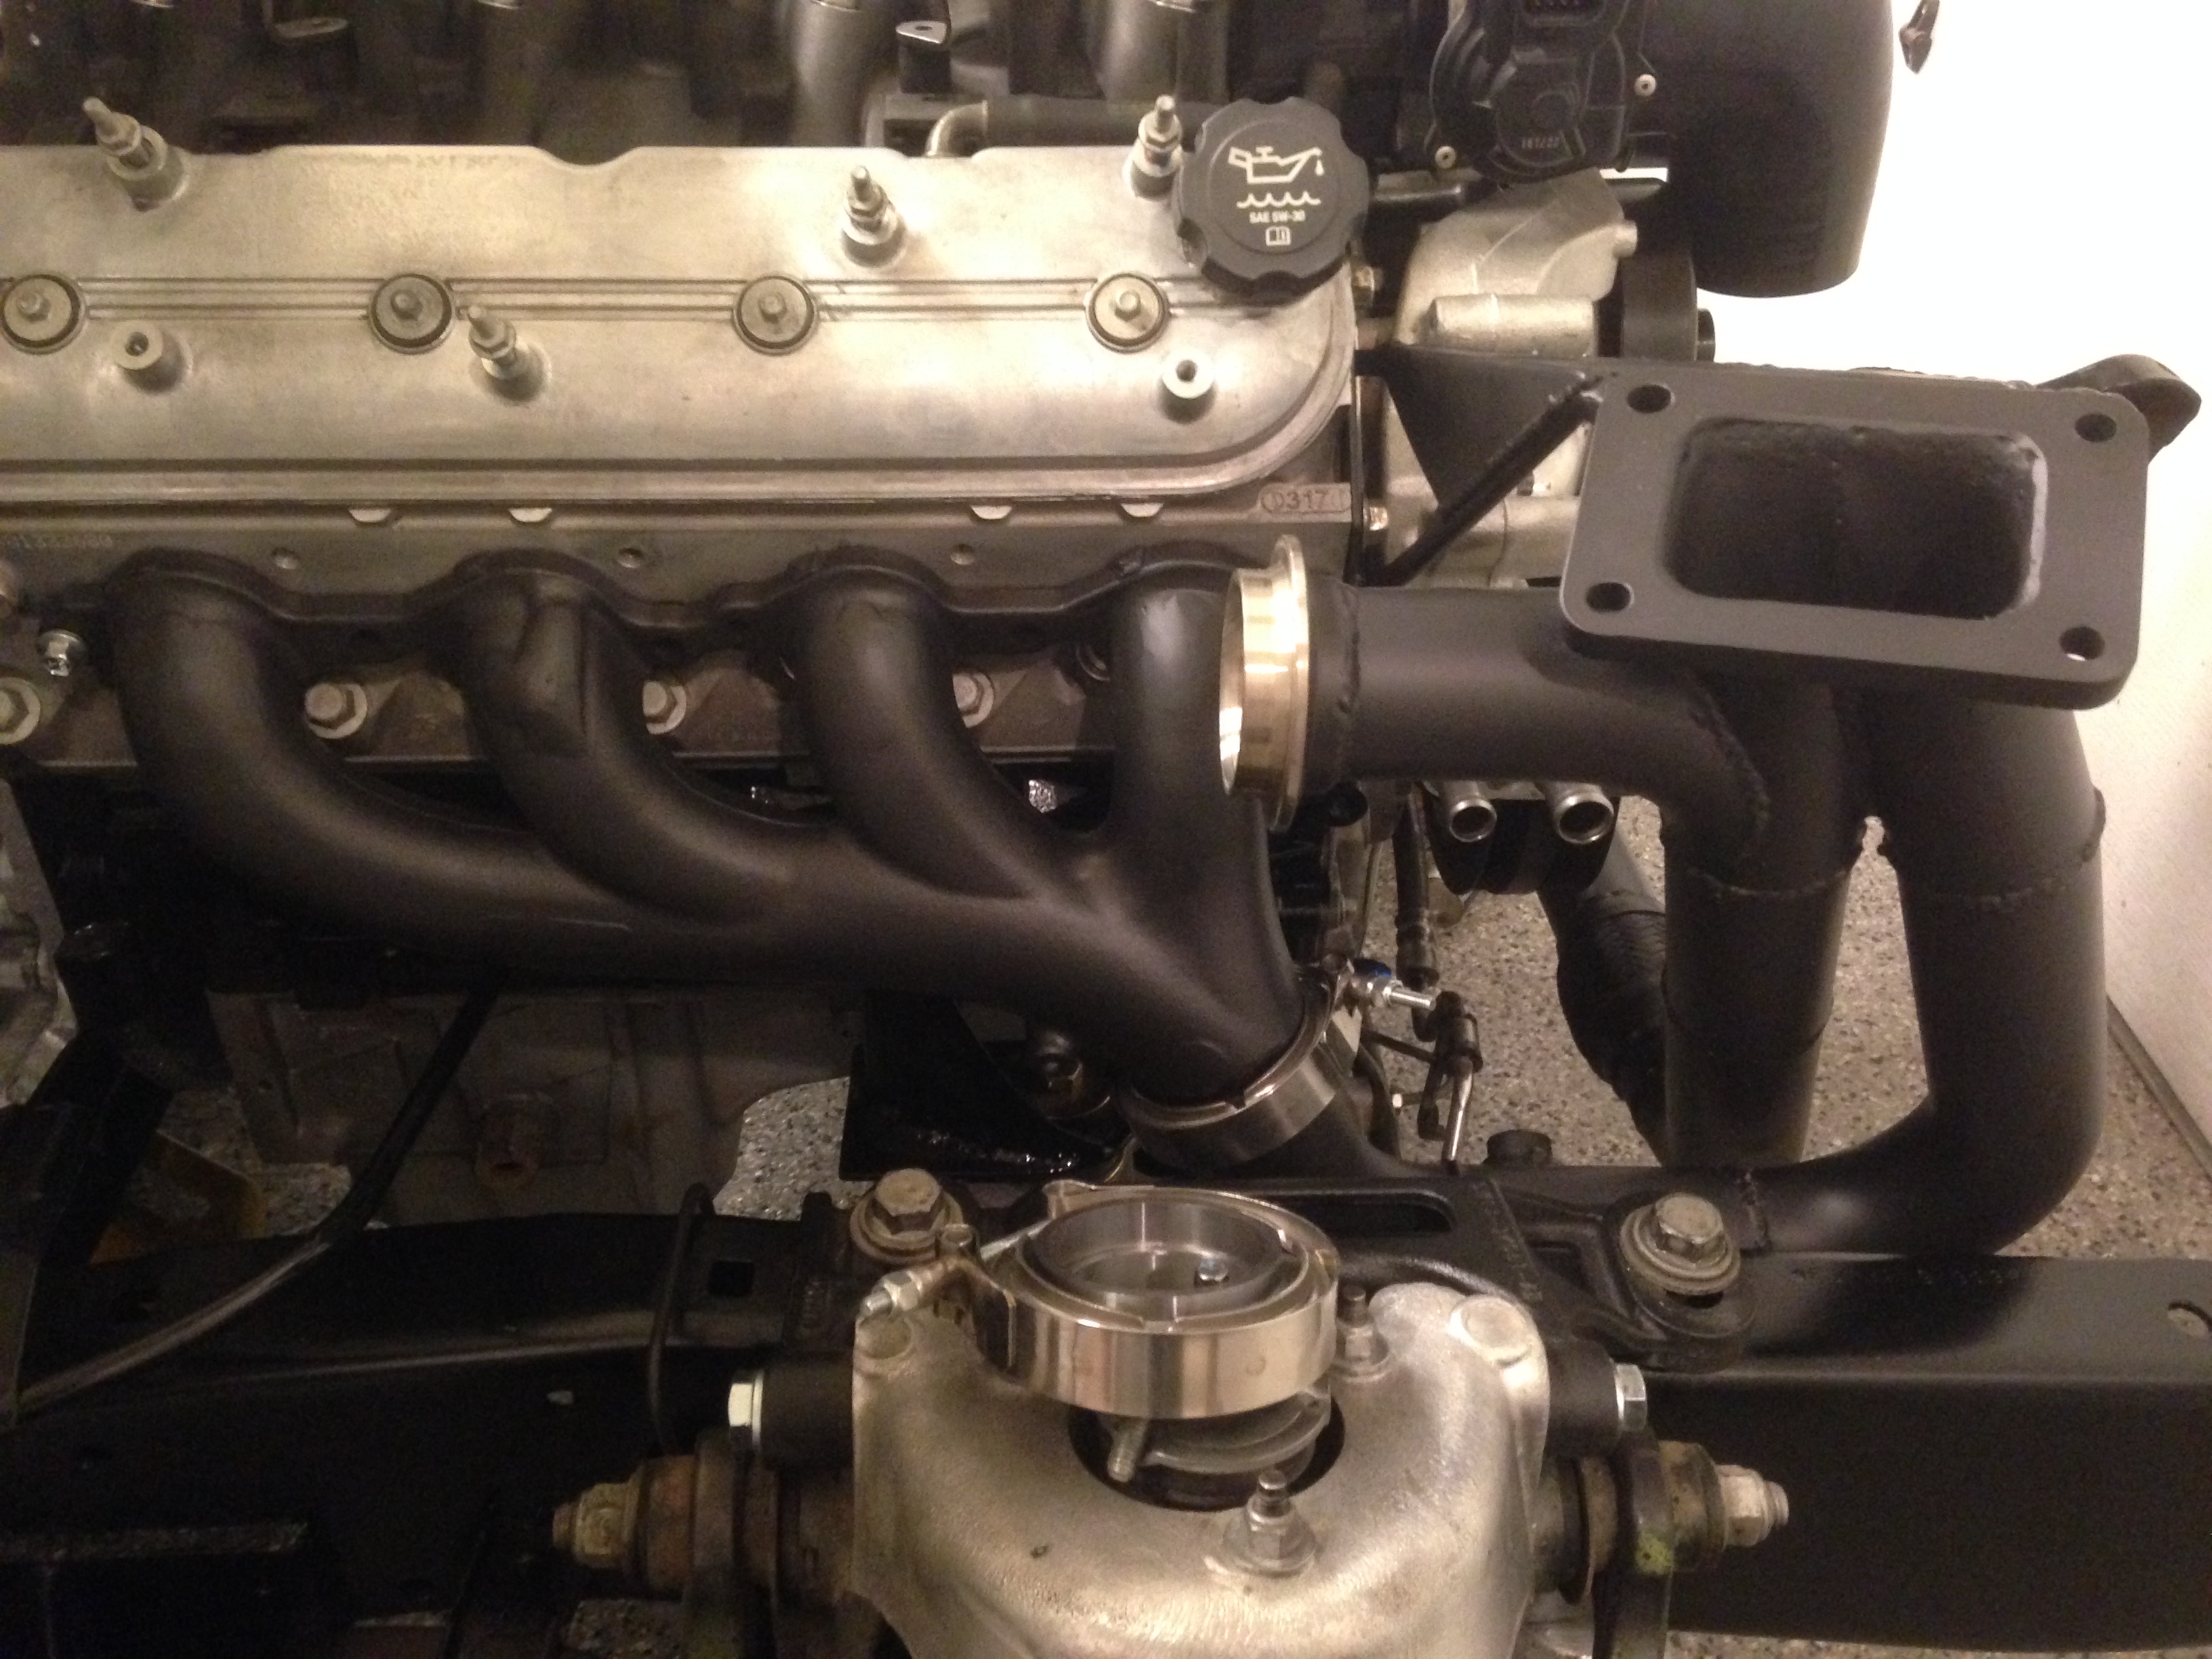
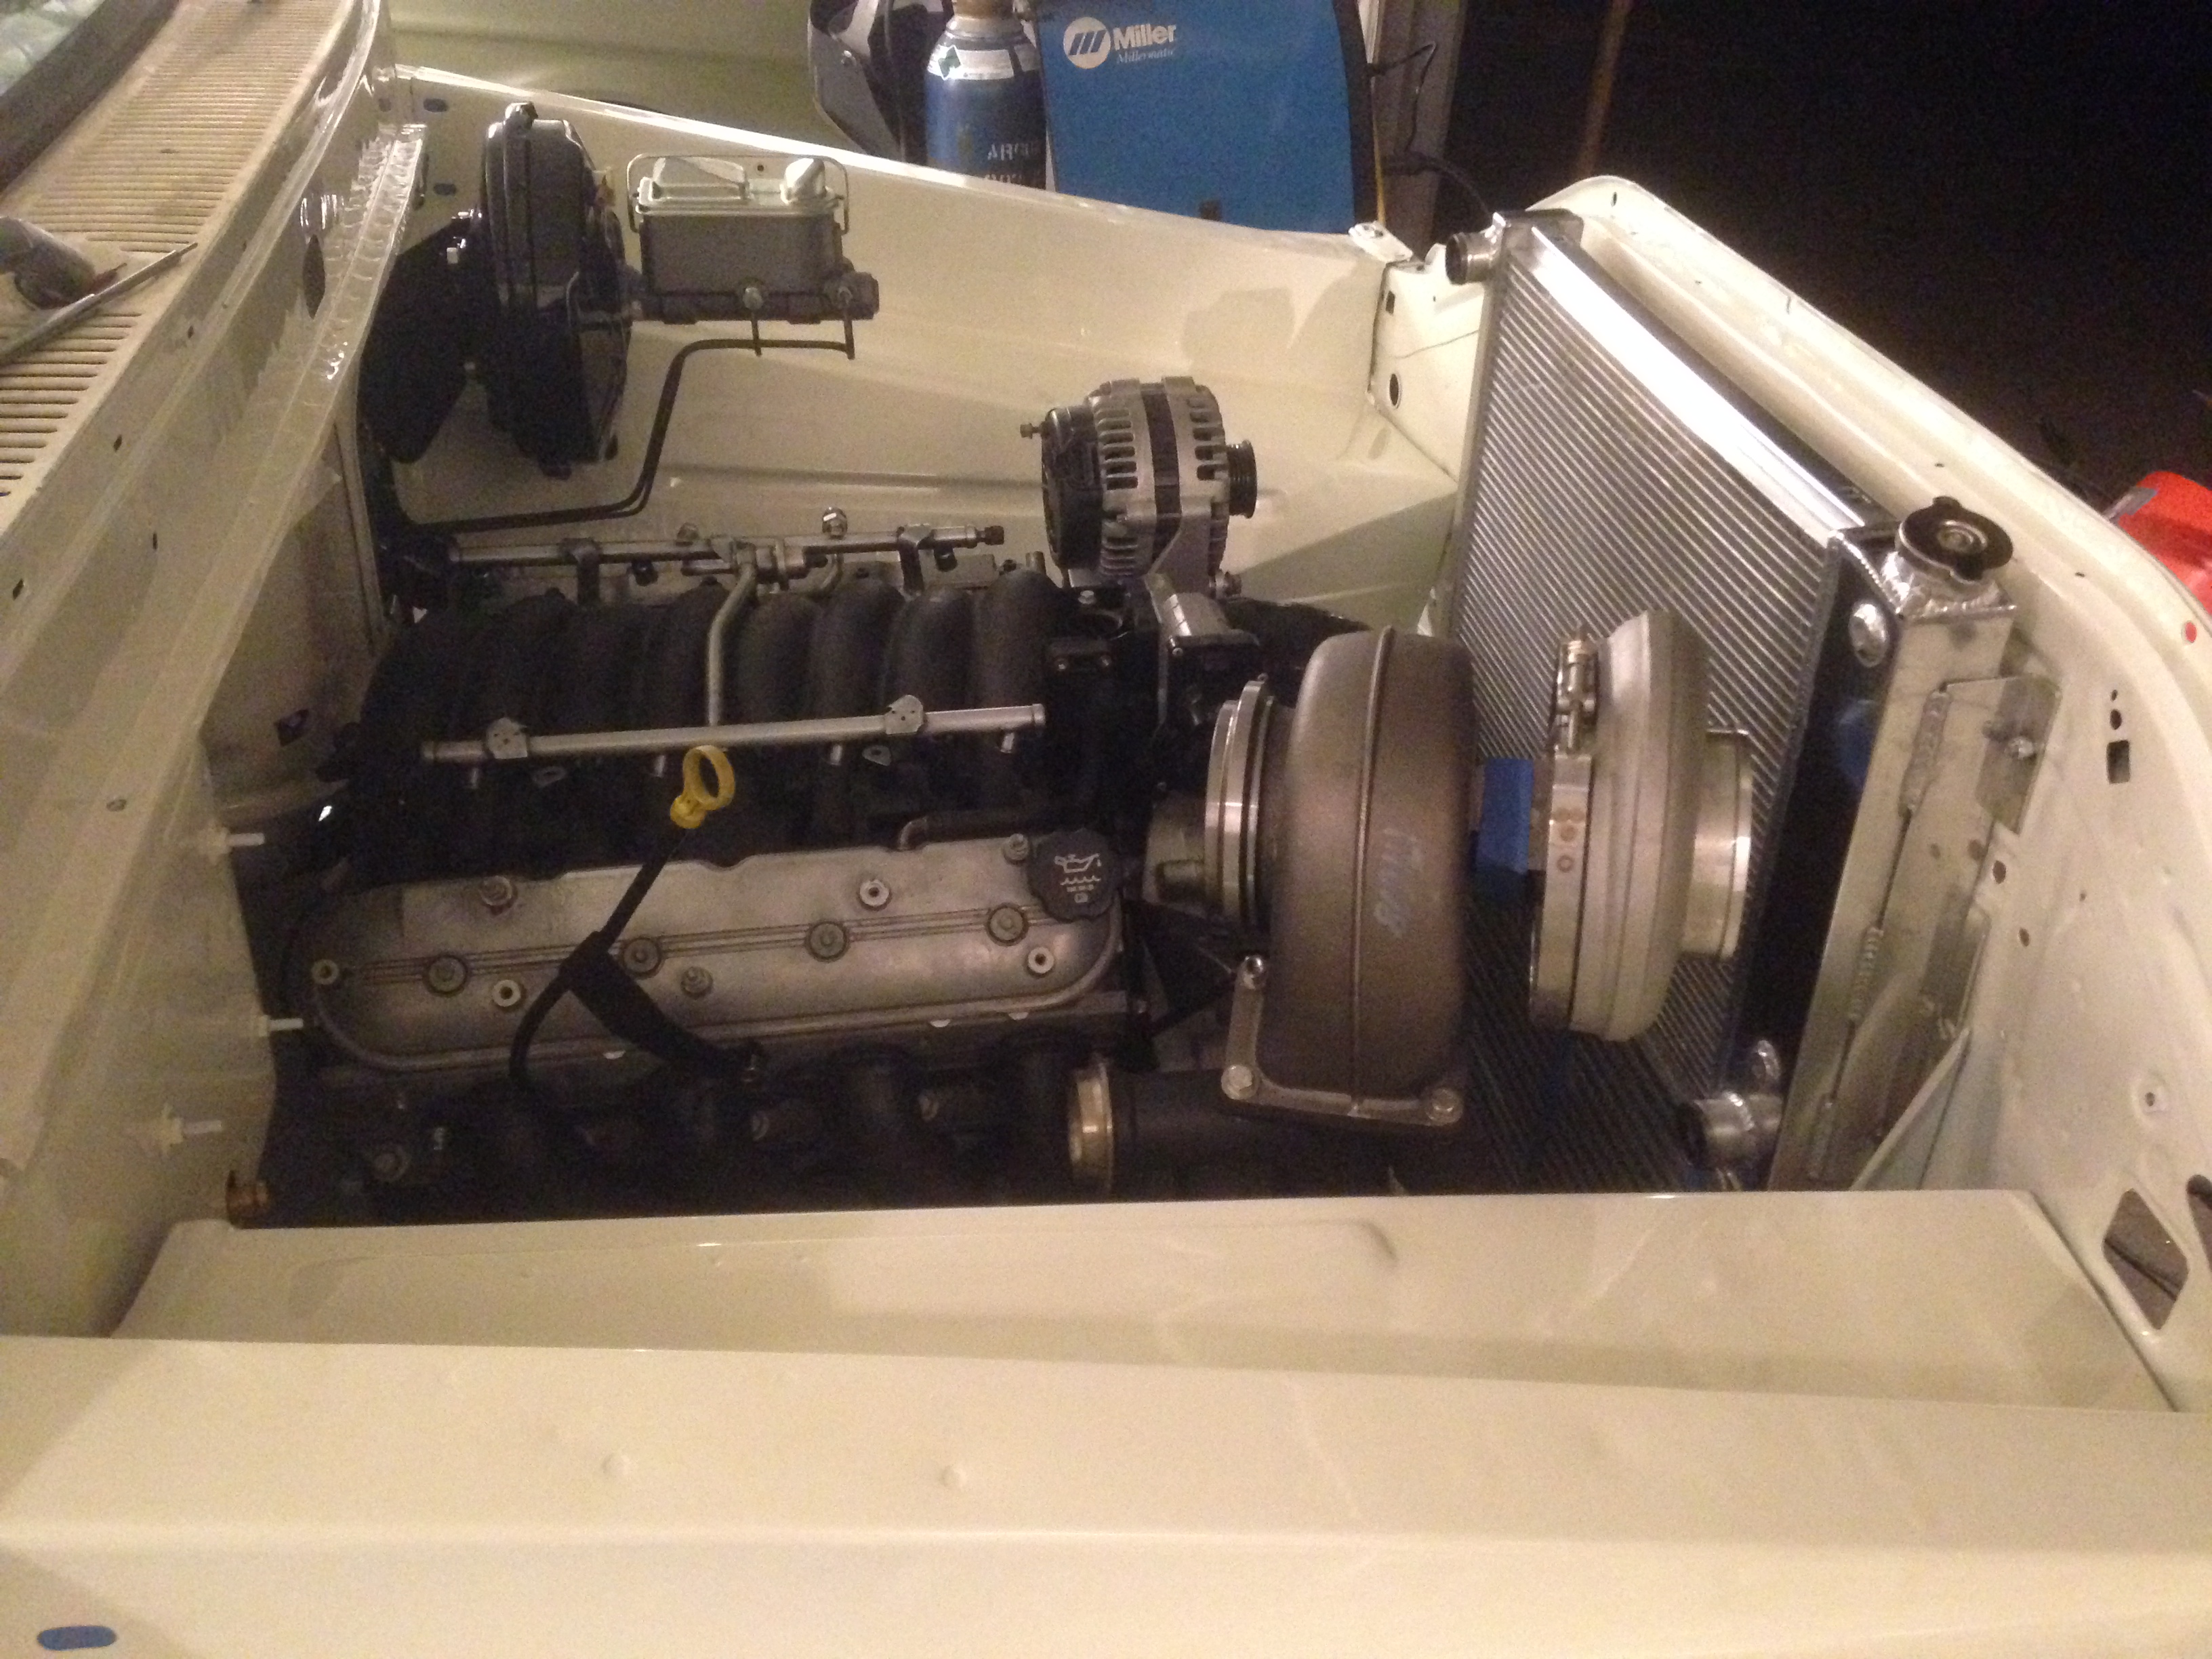
I am actually ready to bolt on some stuff for good onto the motor so I threw on my new ceramic coated manifolds and crossover. Pretty happy with how this stuff looks Finish Line did a great job and got it turned around in just about a week.
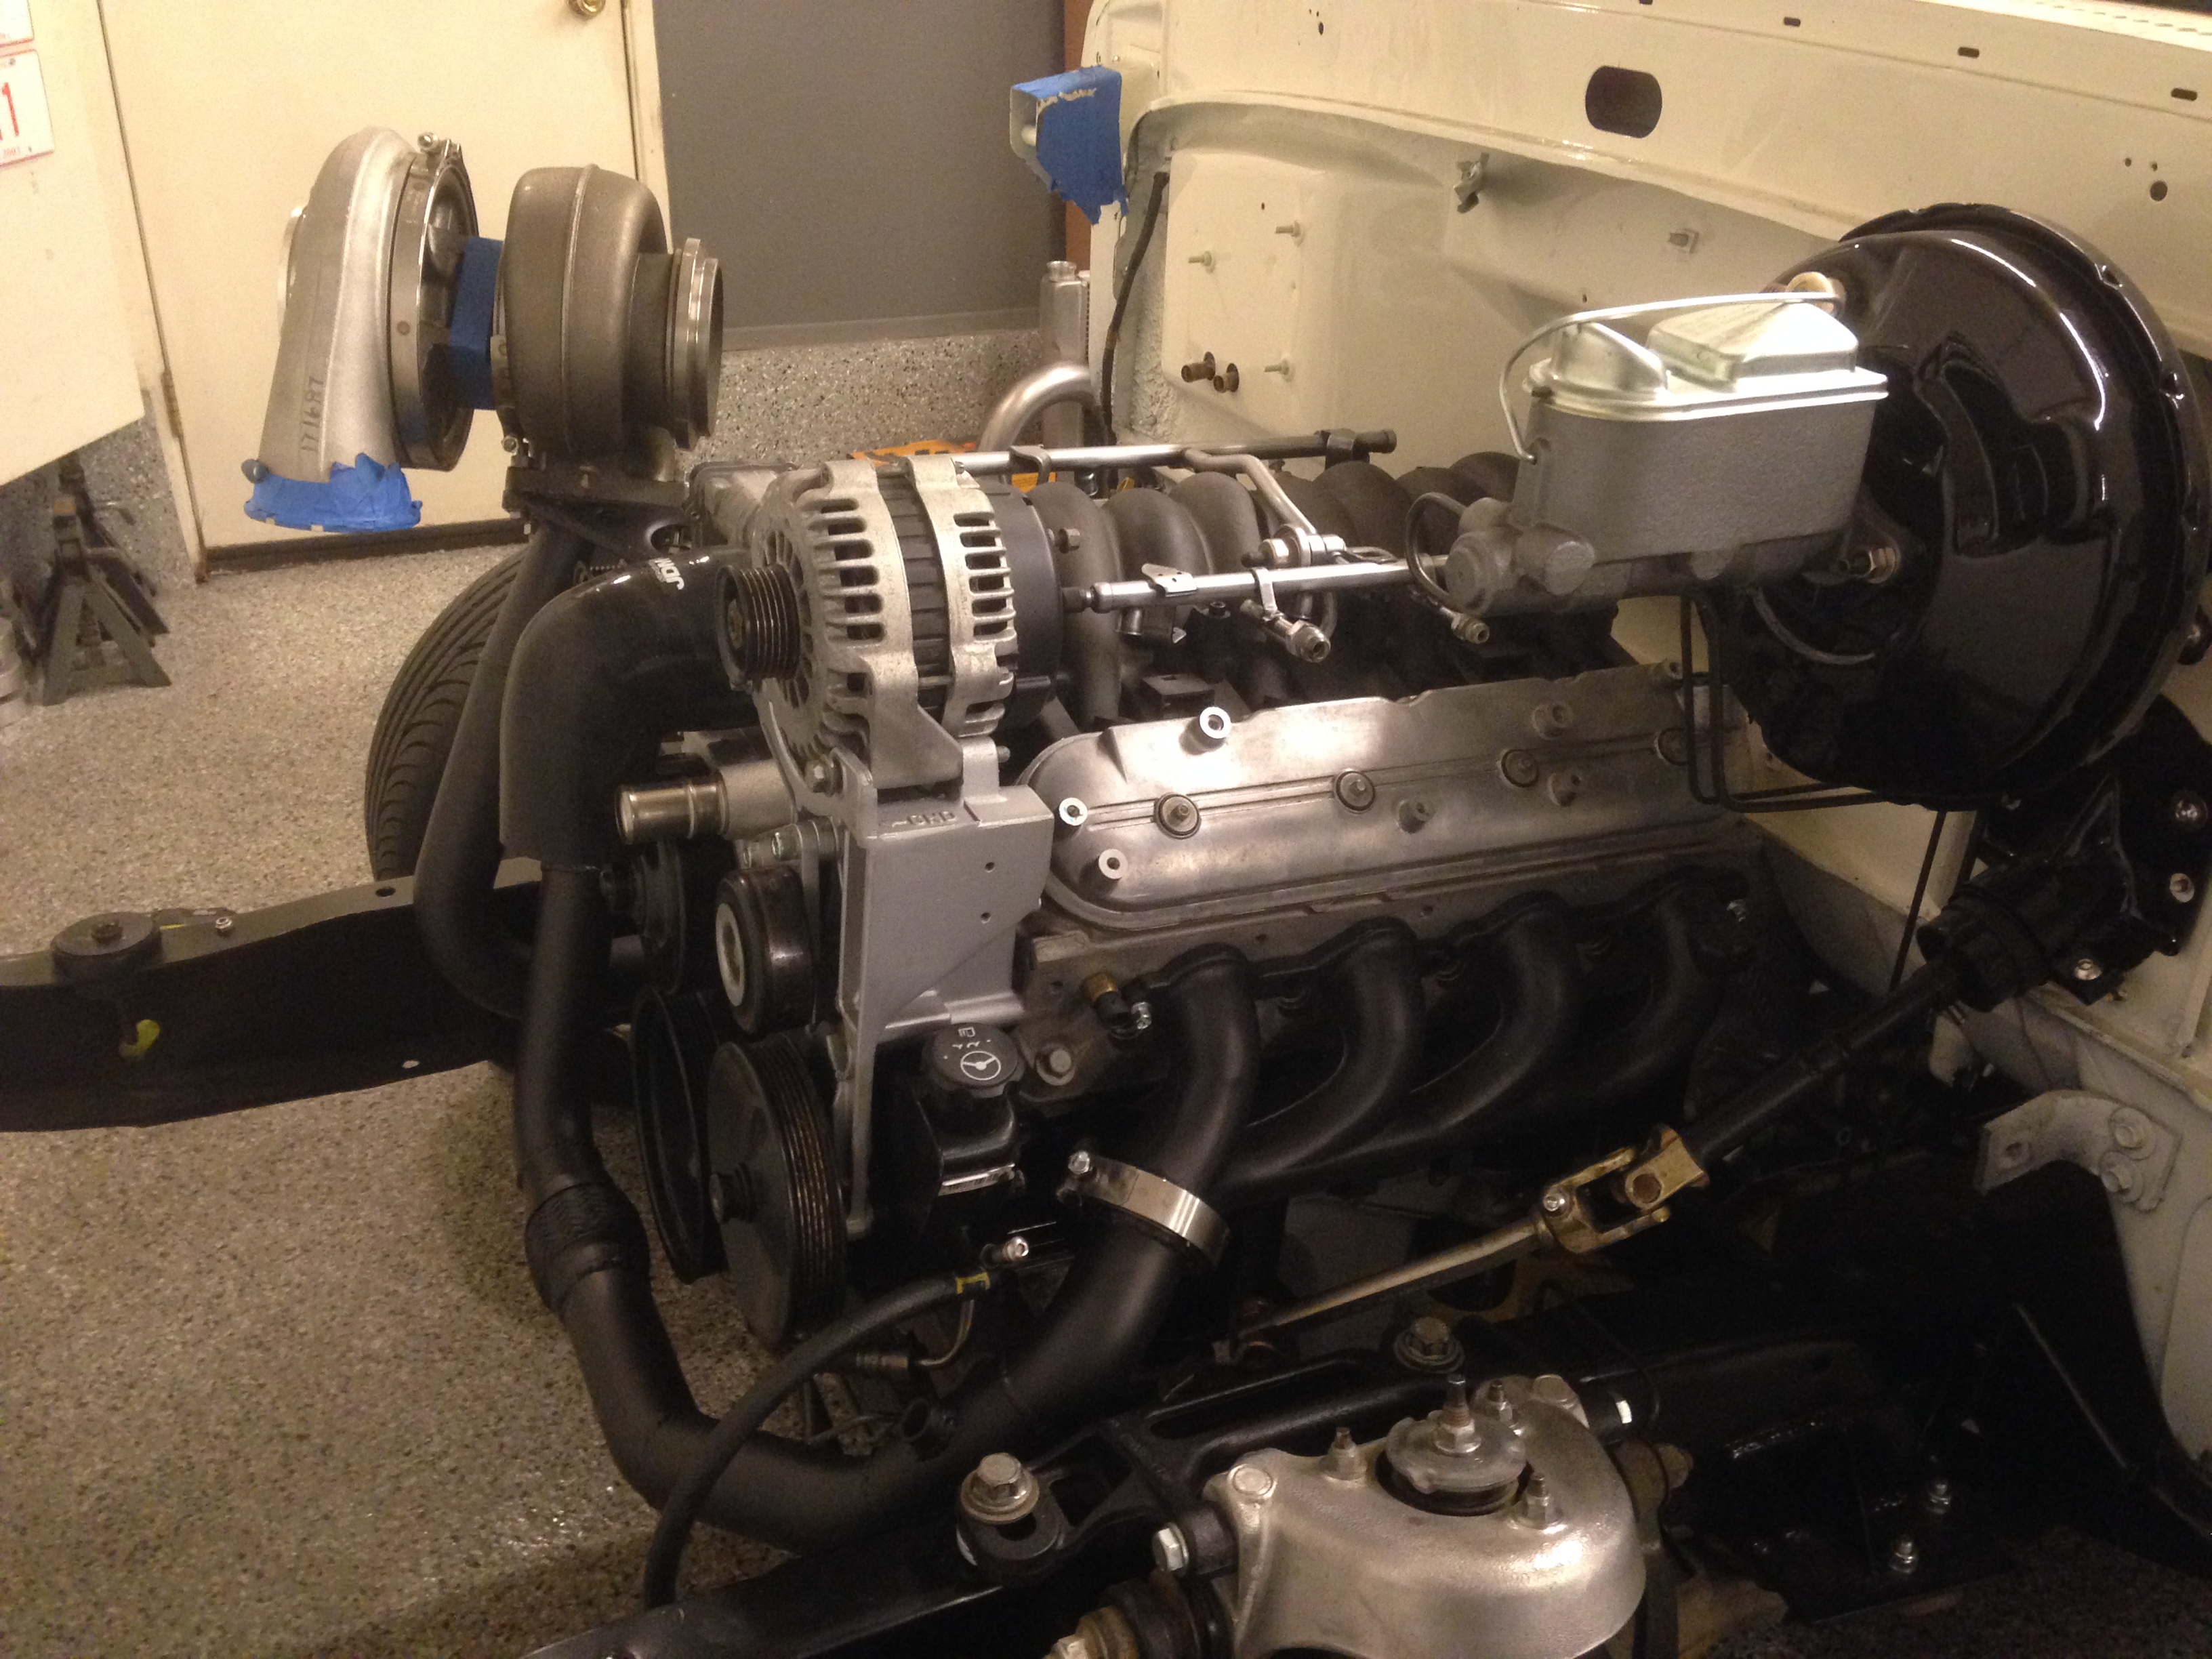
Picked up some 3" aluminum to modify my intercooler...might get a little more progress on that tomorrow.
Sean
Got the oil pan all cleaned up and installed along with a fresh new filter. Installed my new fitting in the pan as well.

Got the power steering lines finally made up with the Swagelok fitting and pressed on the power steering pump pulley, installed the water pump gaskets and final bolted on the water pump and the new billet straight water pump outlet.
I am actually ready to bolt on some stuff for good onto the motor so I threw on my new ceramic coated manifolds and crossover. Pretty happy with how this stuff looks Finish Line did a great job and got it turned around in just about a week.


Picked up some 3" aluminum to modify my intercooler...might get a little more progress on that tomorrow.
Sean
 11-29-2013, 11:52 PM
#45
Launching!
Thread Starter
Join Date: Mar 2012
Posts: 214
Likes: 0
Received 0 Likes
on
0 Posts
Made a little progress the last couple days.
Yesterday I started on the intercooler chopping it all up and turning the outlets back so they fit in the framerails. Got everything ready to weld but again with the lack of a tig welder I am up a creek without a paddle. Gotta wait until next week to get someone to weld this junk for me.
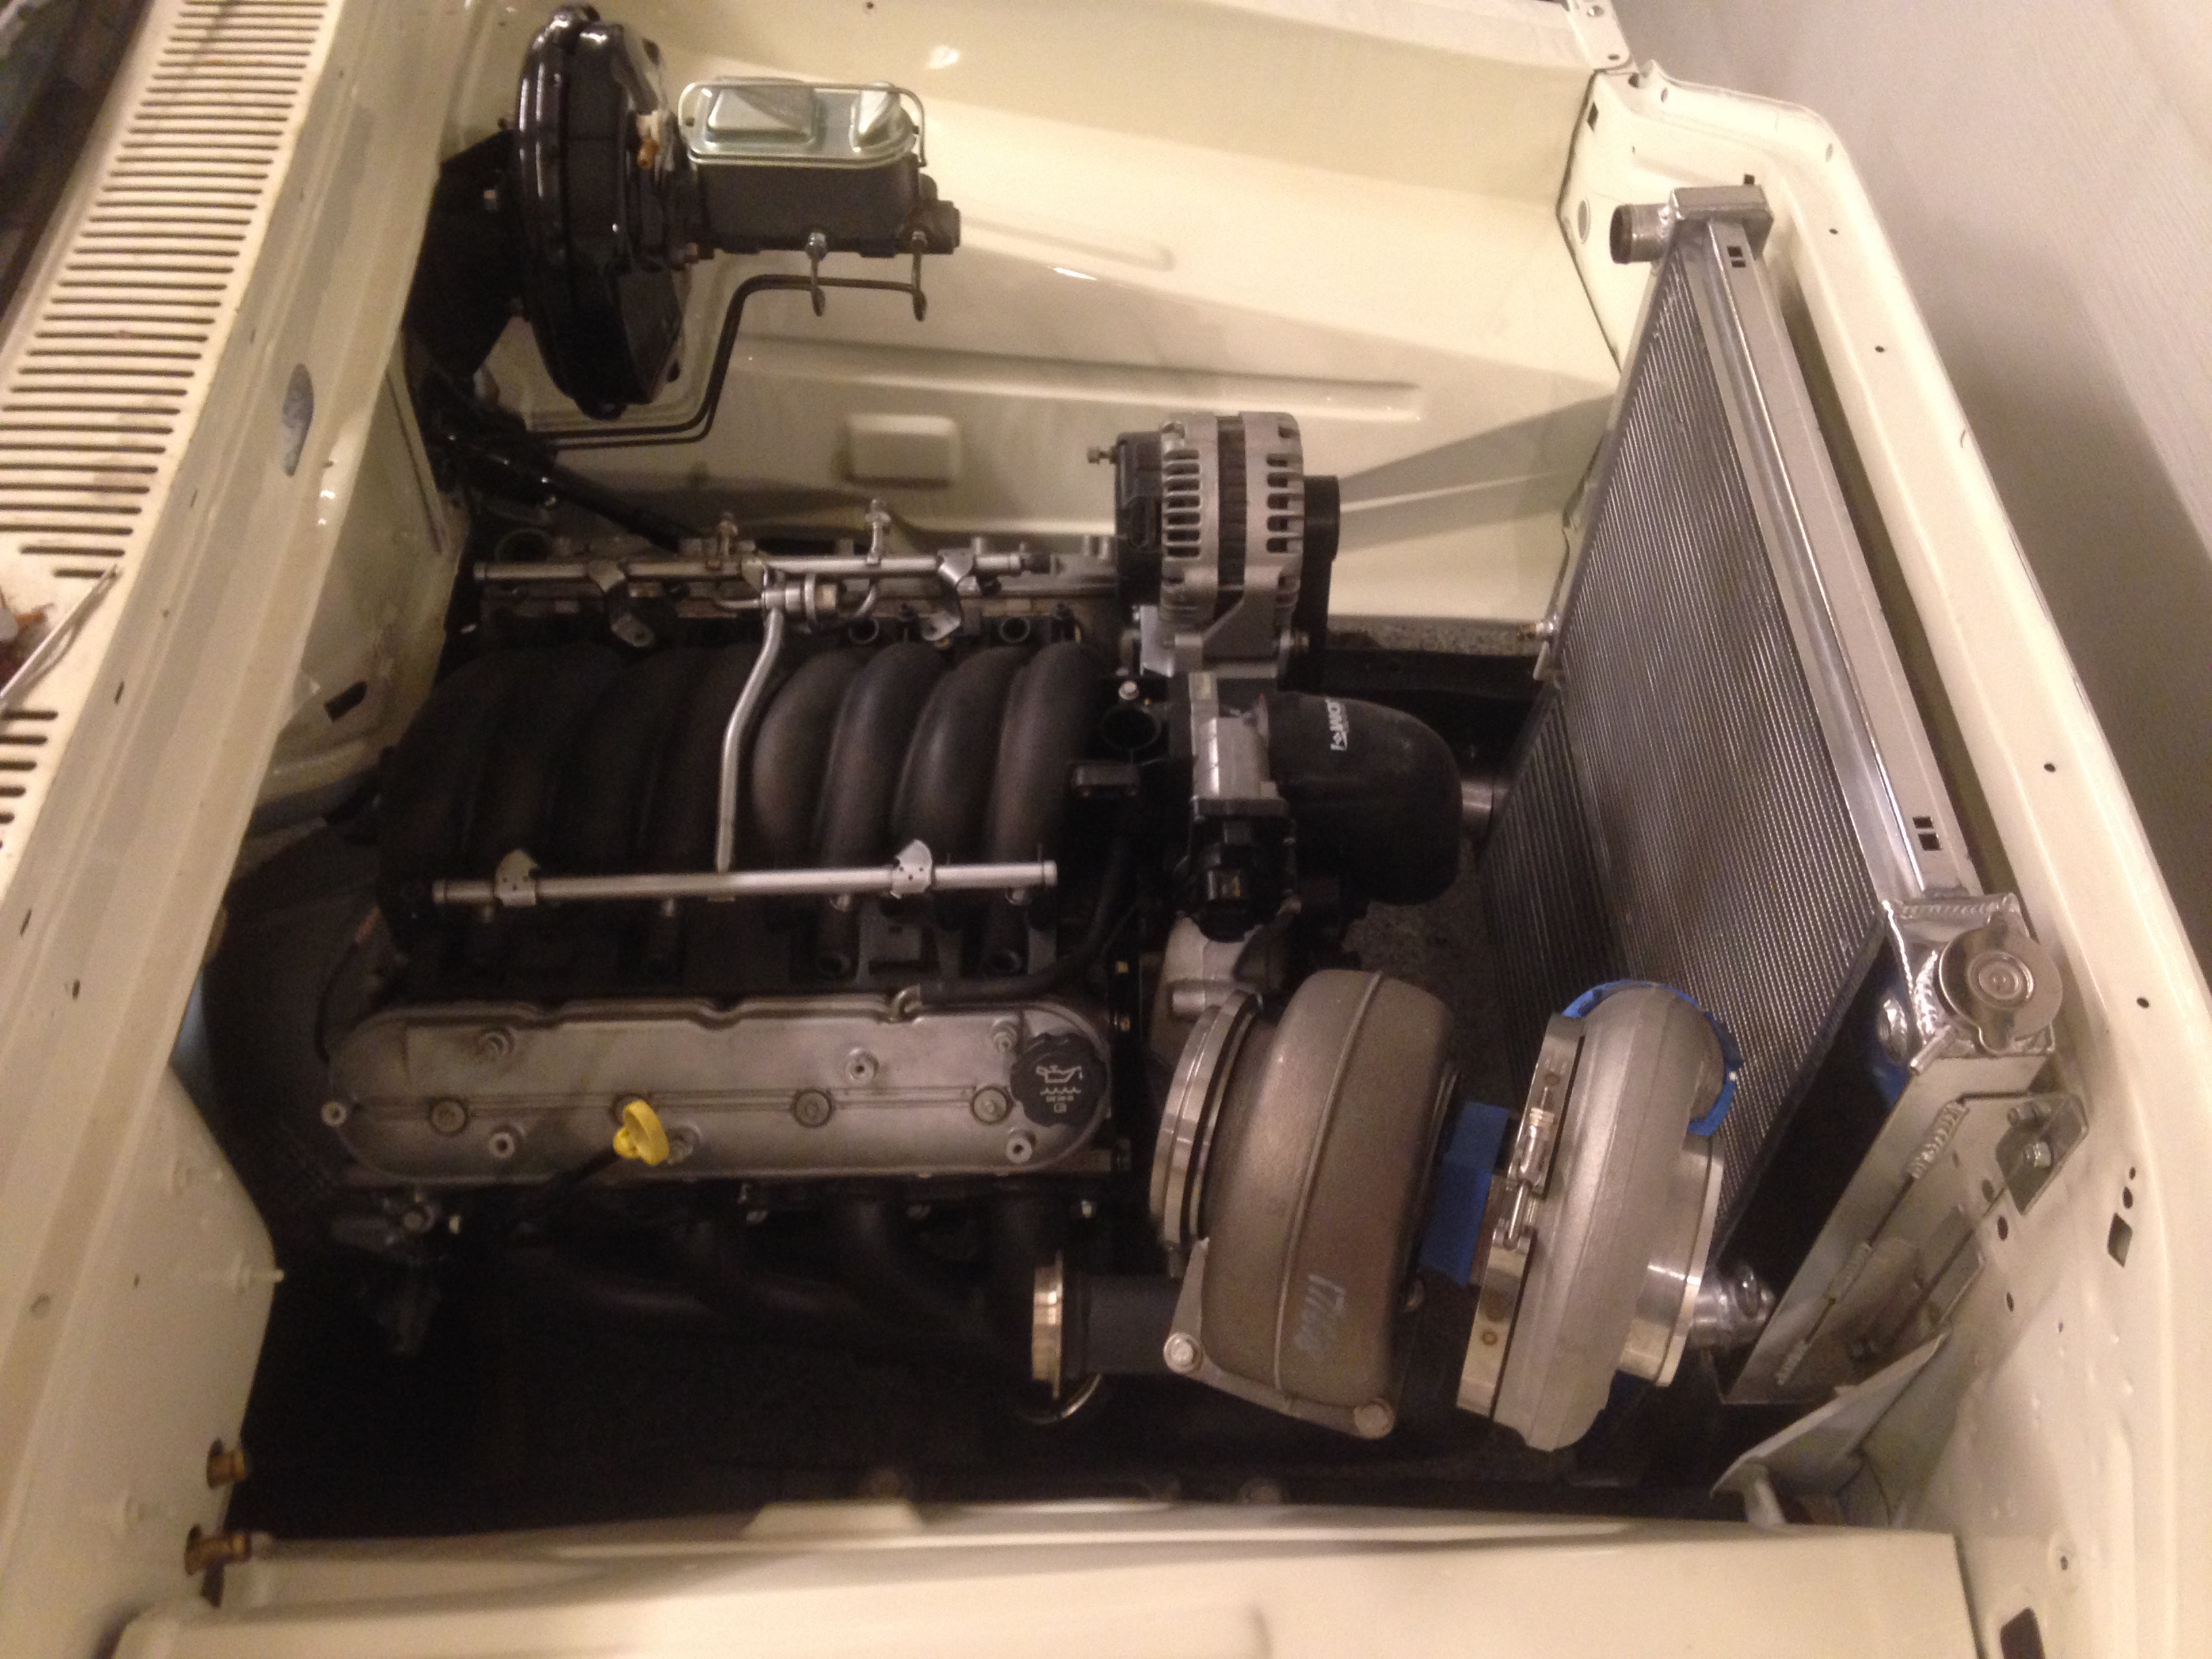
Once I had that dialed in, I got to mounting it, this turned out to damn near an all day event mocking up, core support on then off then on and so on. Finally landed on a location, a little bit lower than the frame rails, but it was about the only place I could make room for both the intercooler and the radiator.
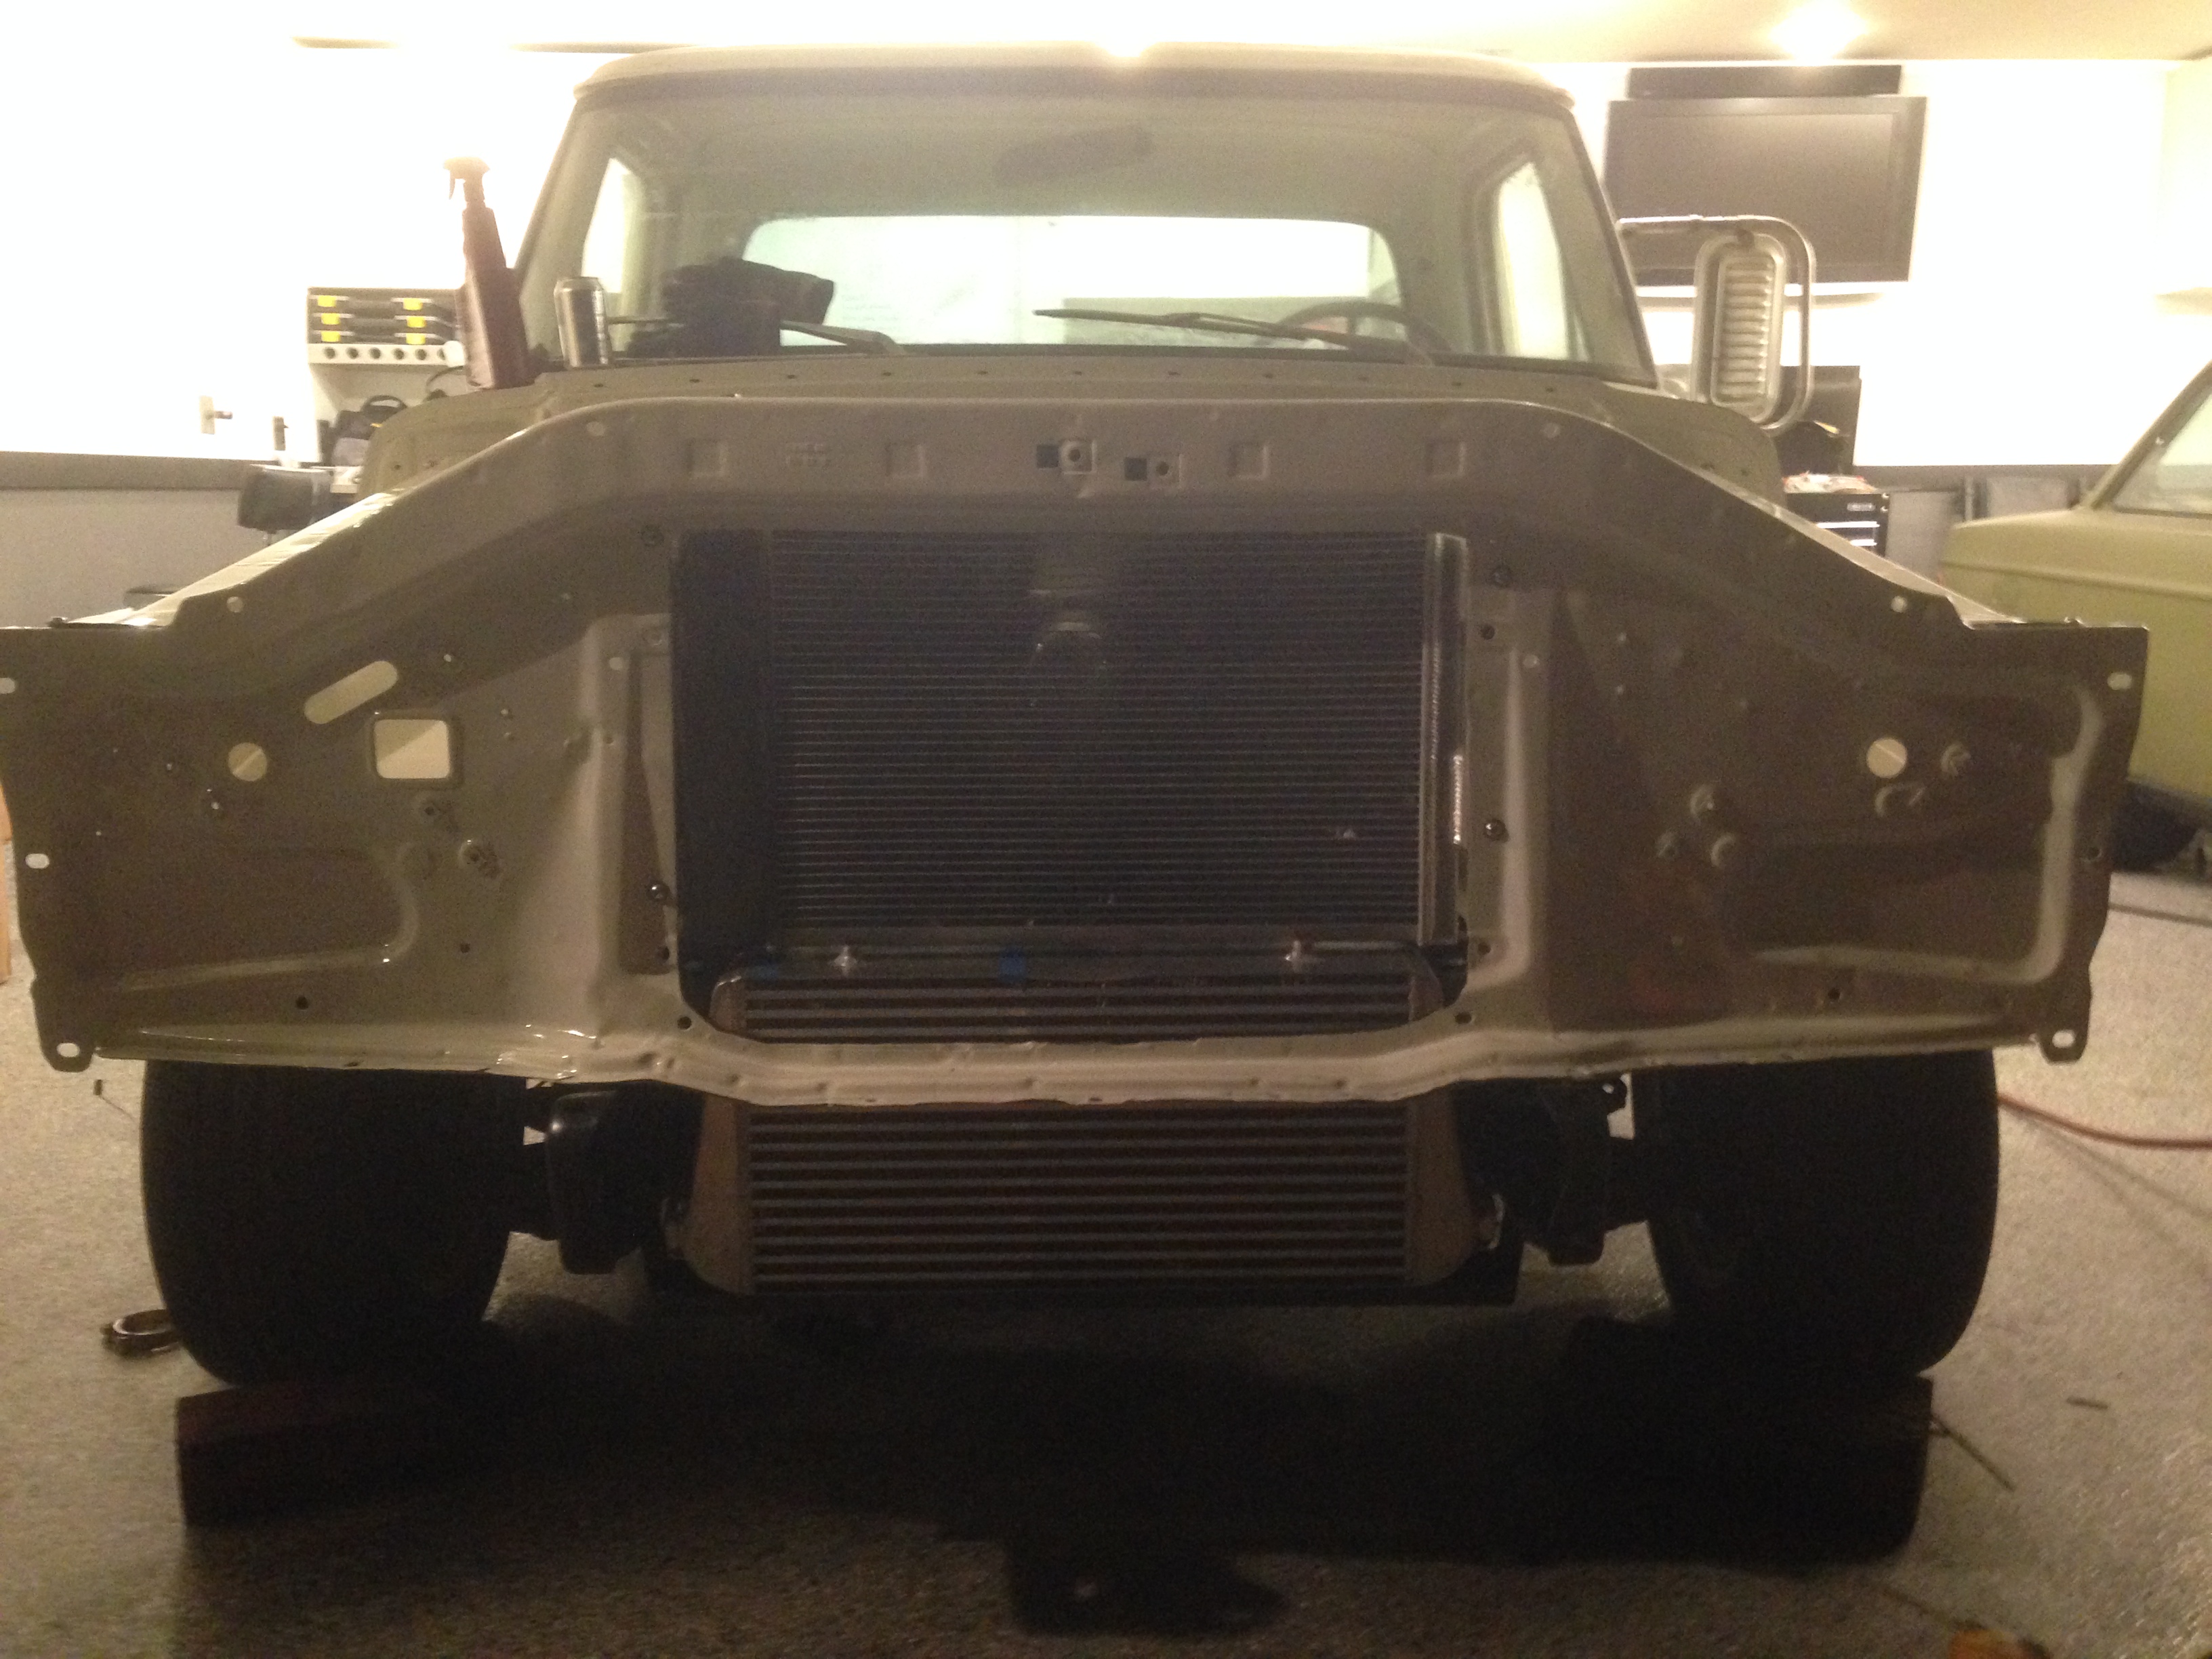
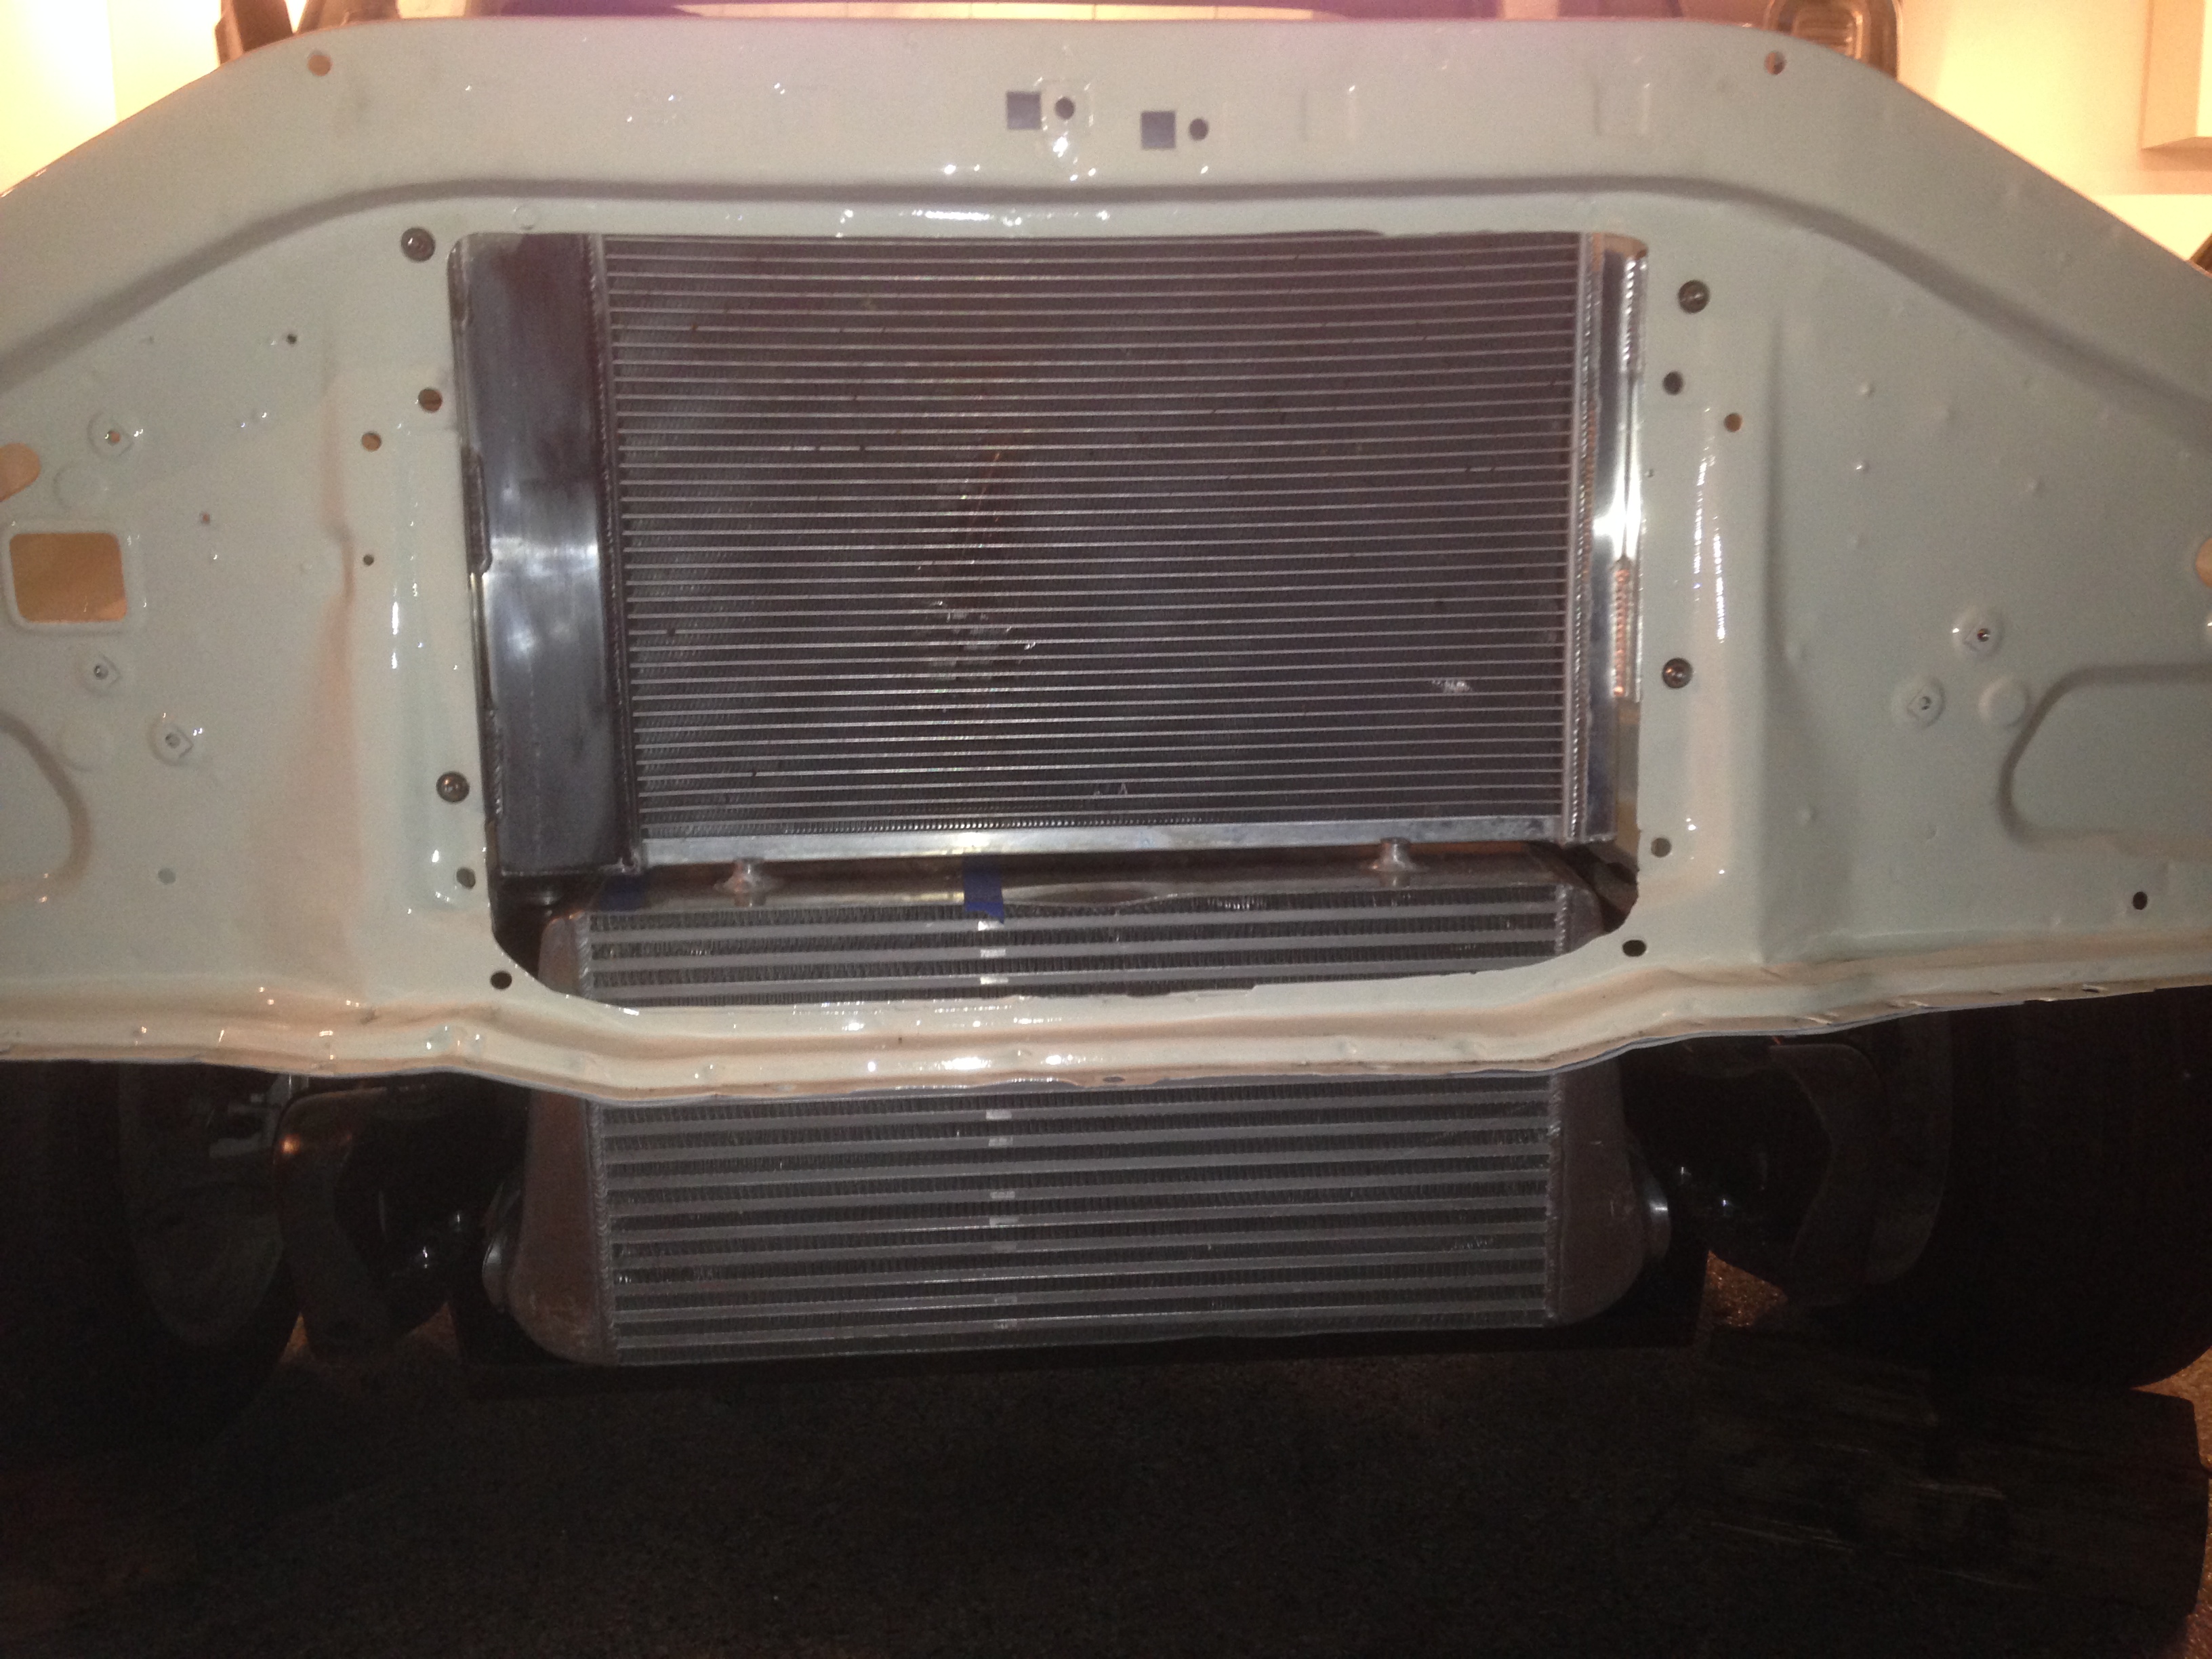
So you can also see that I got a radiator mounted up. This was a total score on the local Craigslist. Believe it or not, its for a 68 camaro. I literally trimmed a little bit off the mounting bracket and bolted it up.
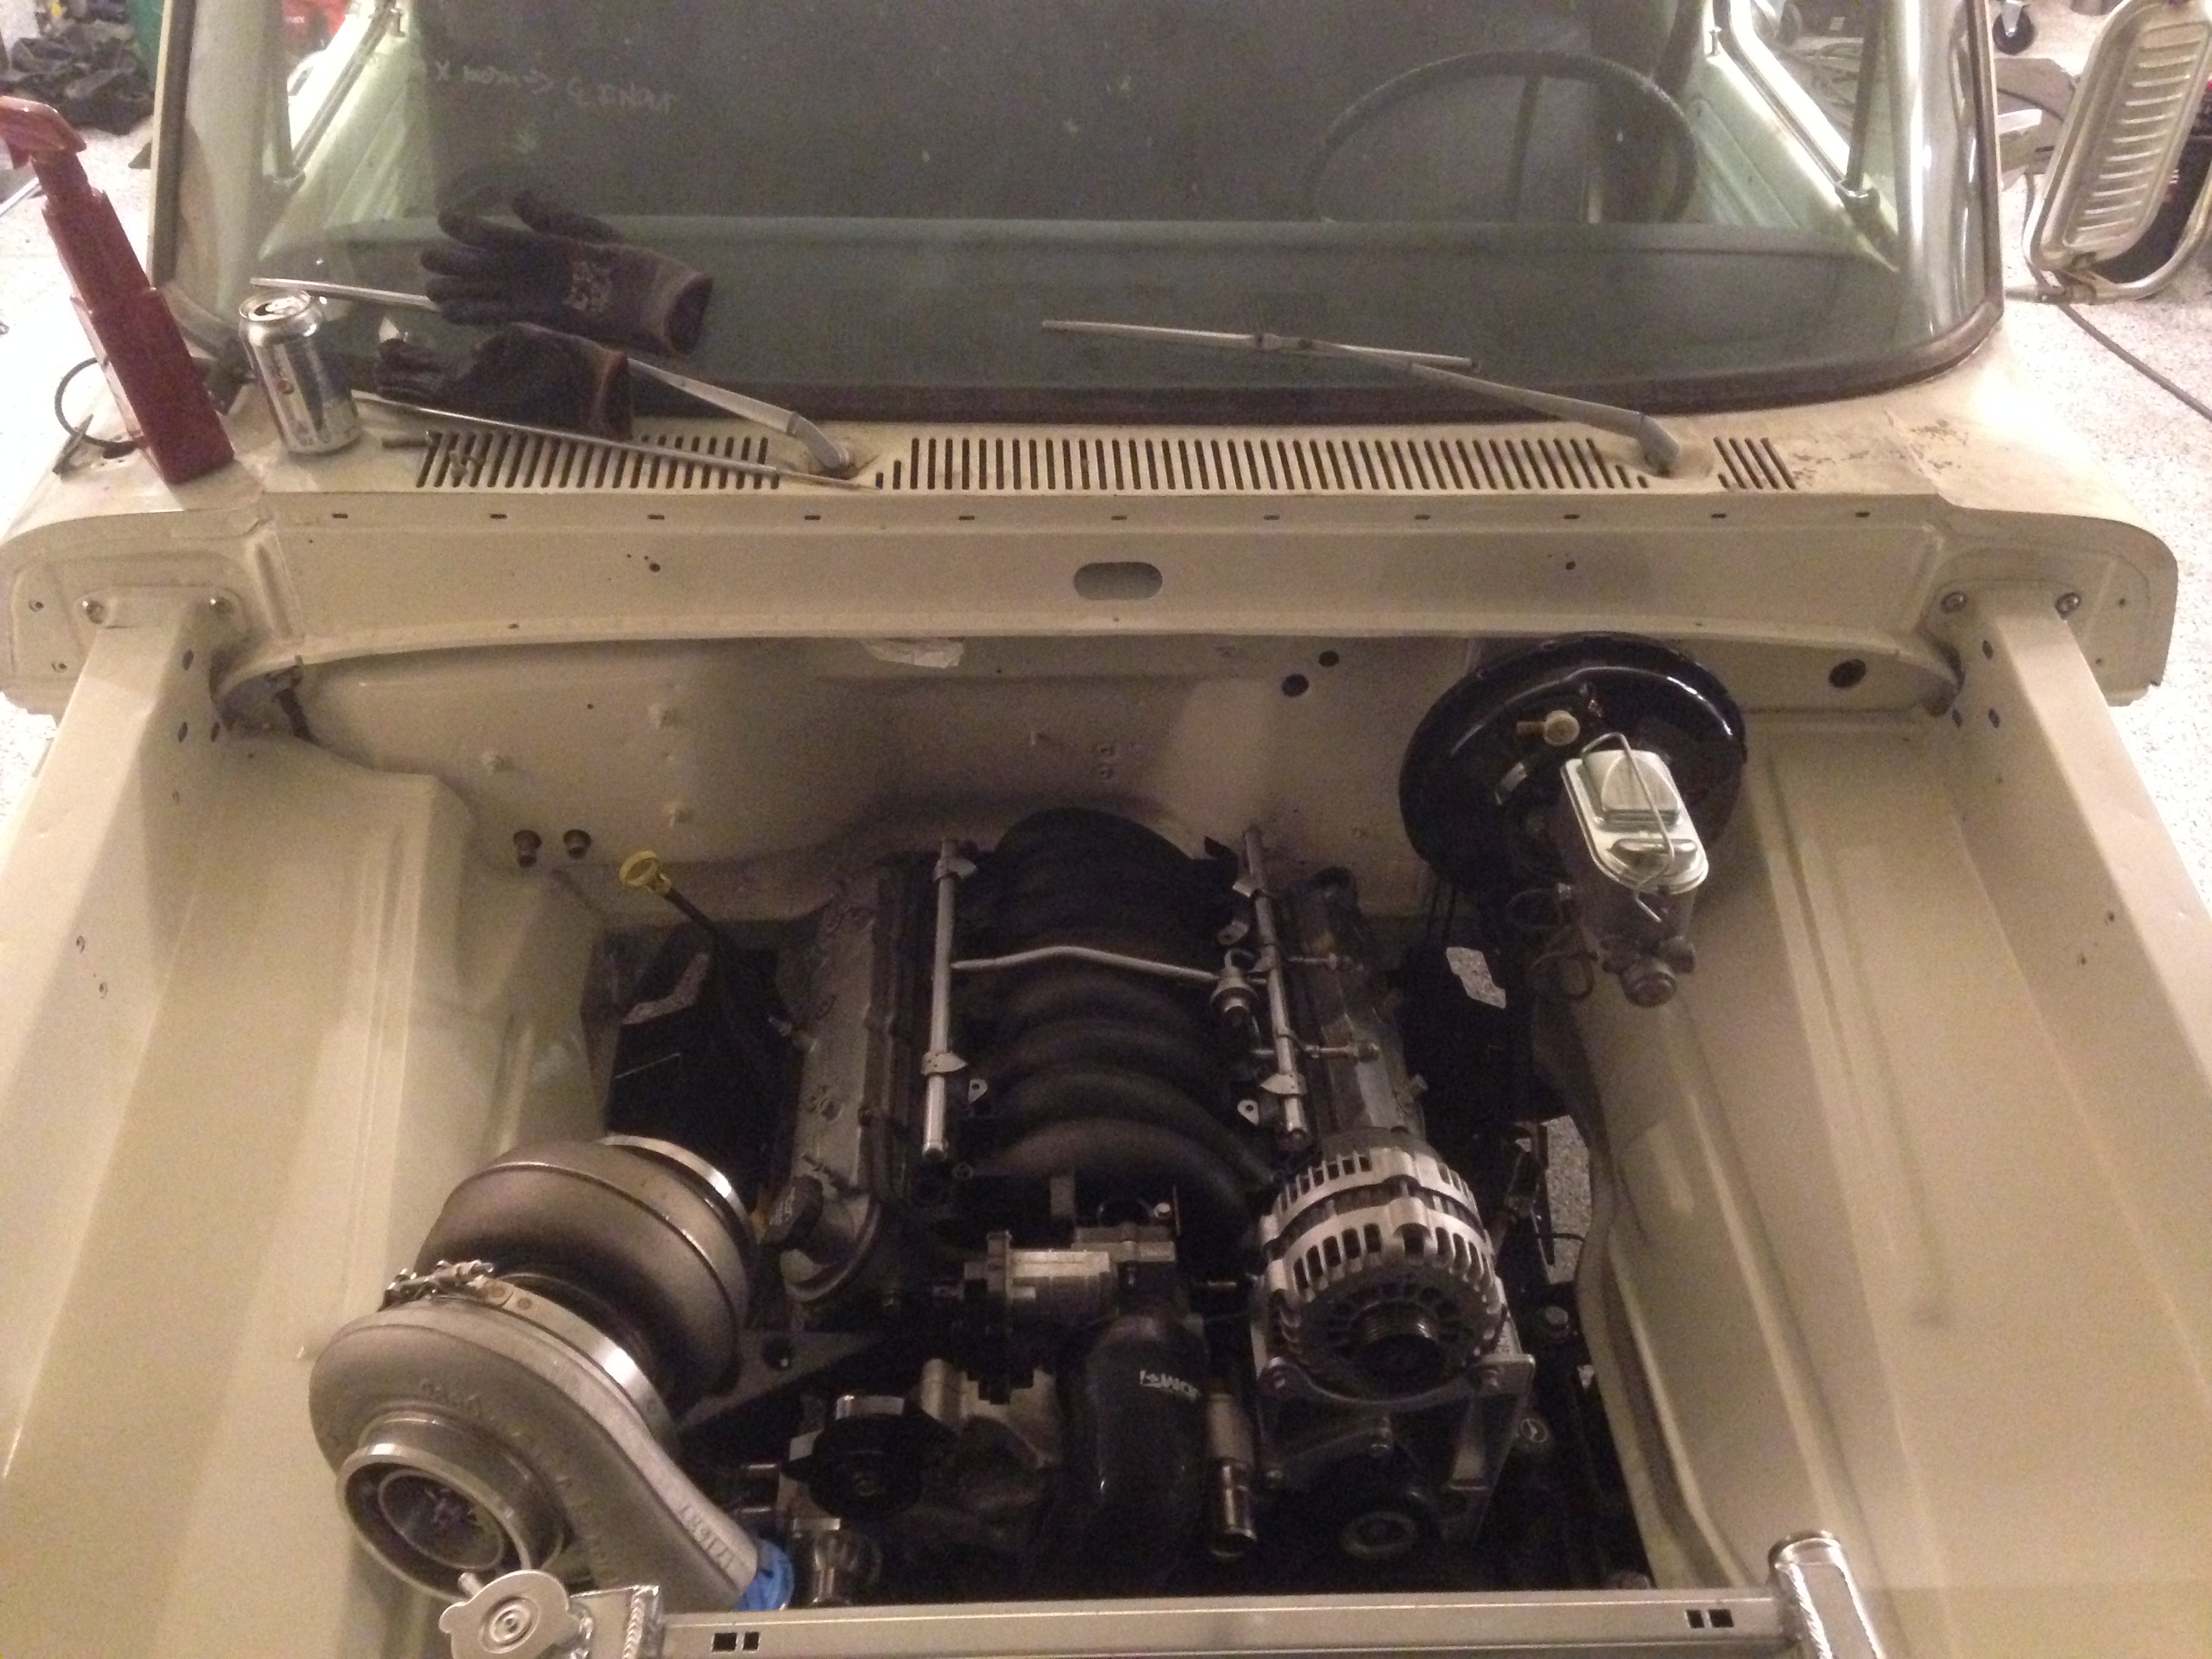
Well, i was able to actually get both inner fenders installed, with the radiator and core support with the intercooler and radiator.
I don't know why but it's a damn good feeling having this look like an engine bay again.
Also measured for a belt and picked one up and I'll be damned if the thing fit first time around.
Started fabbing up the upper and lower radiator hoses tonight but ran out of tube on the upper so it should be tomorrow?
Great thanksgiving weekend!!!
Yesterday I started on the intercooler chopping it all up and turning the outlets back so they fit in the framerails. Got everything ready to weld but again with the lack of a tig welder I am up a creek without a paddle. Gotta wait until next week to get someone to weld this junk for me.

Once I had that dialed in, I got to mounting it, this turned out to damn near an all day event mocking up, core support on then off then on and so on. Finally landed on a location, a little bit lower than the frame rails, but it was about the only place I could make room for both the intercooler and the radiator.


So you can also see that I got a radiator mounted up. This was a total score on the local Craigslist. Believe it or not, its for a 68 camaro. I literally trimmed a little bit off the mounting bracket and bolted it up.


Well, i was able to actually get both inner fenders installed, with the radiator and core support with the intercooler and radiator.
I don't know why but it's a damn good feeling having this look like an engine bay again.
Also measured for a belt and picked one up and I'll be damned if the thing fit first time around.
Started fabbing up the upper and lower radiator hoses tonight but ran out of tube on the upper so it should be tomorrow?
Great thanksgiving weekend!!!
11-30-2013, 07:58 AM
#46

Very nice. Not to derail your thread but I'm always wondering how you guys have gained your knowledge about boosting?
I worked in a speed shop for several years when I was in HS and college....granted that was 20+ years ago, but I couldn't tell you the name of a turbo manufacturer, no less have any idea how to properly plumb a system or choose components.
Tipsy
I worked in a speed shop for several years when I was in HS and college....granted that was 20+ years ago, but I couldn't tell you the name of a turbo manufacturer, no less have any idea how to properly plumb a system or choose components.
Tipsy
11-30-2013, 11:46 PM
#47
Launching!
Thread Starter
Join Date: Mar 2012
Posts: 214
Likes: 0
Received 0 Likes
on
0 Posts
Very nice. Not to derail your thread but I'm always wondering how you guys have gained your knowledge about boosting?
I worked in a speed shop for several years when I was in HS and college....granted that was 20+ years ago, but I couldn't tell you the name of a turbo manufacturer, no less have any idea how to properly plumb a system or choose components.
Tipsy
I worked in a speed shop for several years when I was in HS and college....granted that was 20+ years ago, but I couldn't tell you the name of a turbo manufacturer, no less have any idea how to properly plumb a system or choose components.
Tipsy
Since then I have built a number of turbo cars. Each one seems to take the build to the next level, at least I think so.
Its been a long learning curve though.
Sleep was apparently not in the cards last night so I got an early start today, headed out and hit the eastside to get some tubing for the upper radiator hose.
Stopped by Mac's and left them with my intercooler to weld up the ends. They had it in and out in a half hour and did a great job welding it all up.
Got back home and got to work.
Polished up the intercooler and got it mounted up. Fits great and might be installed for good too.
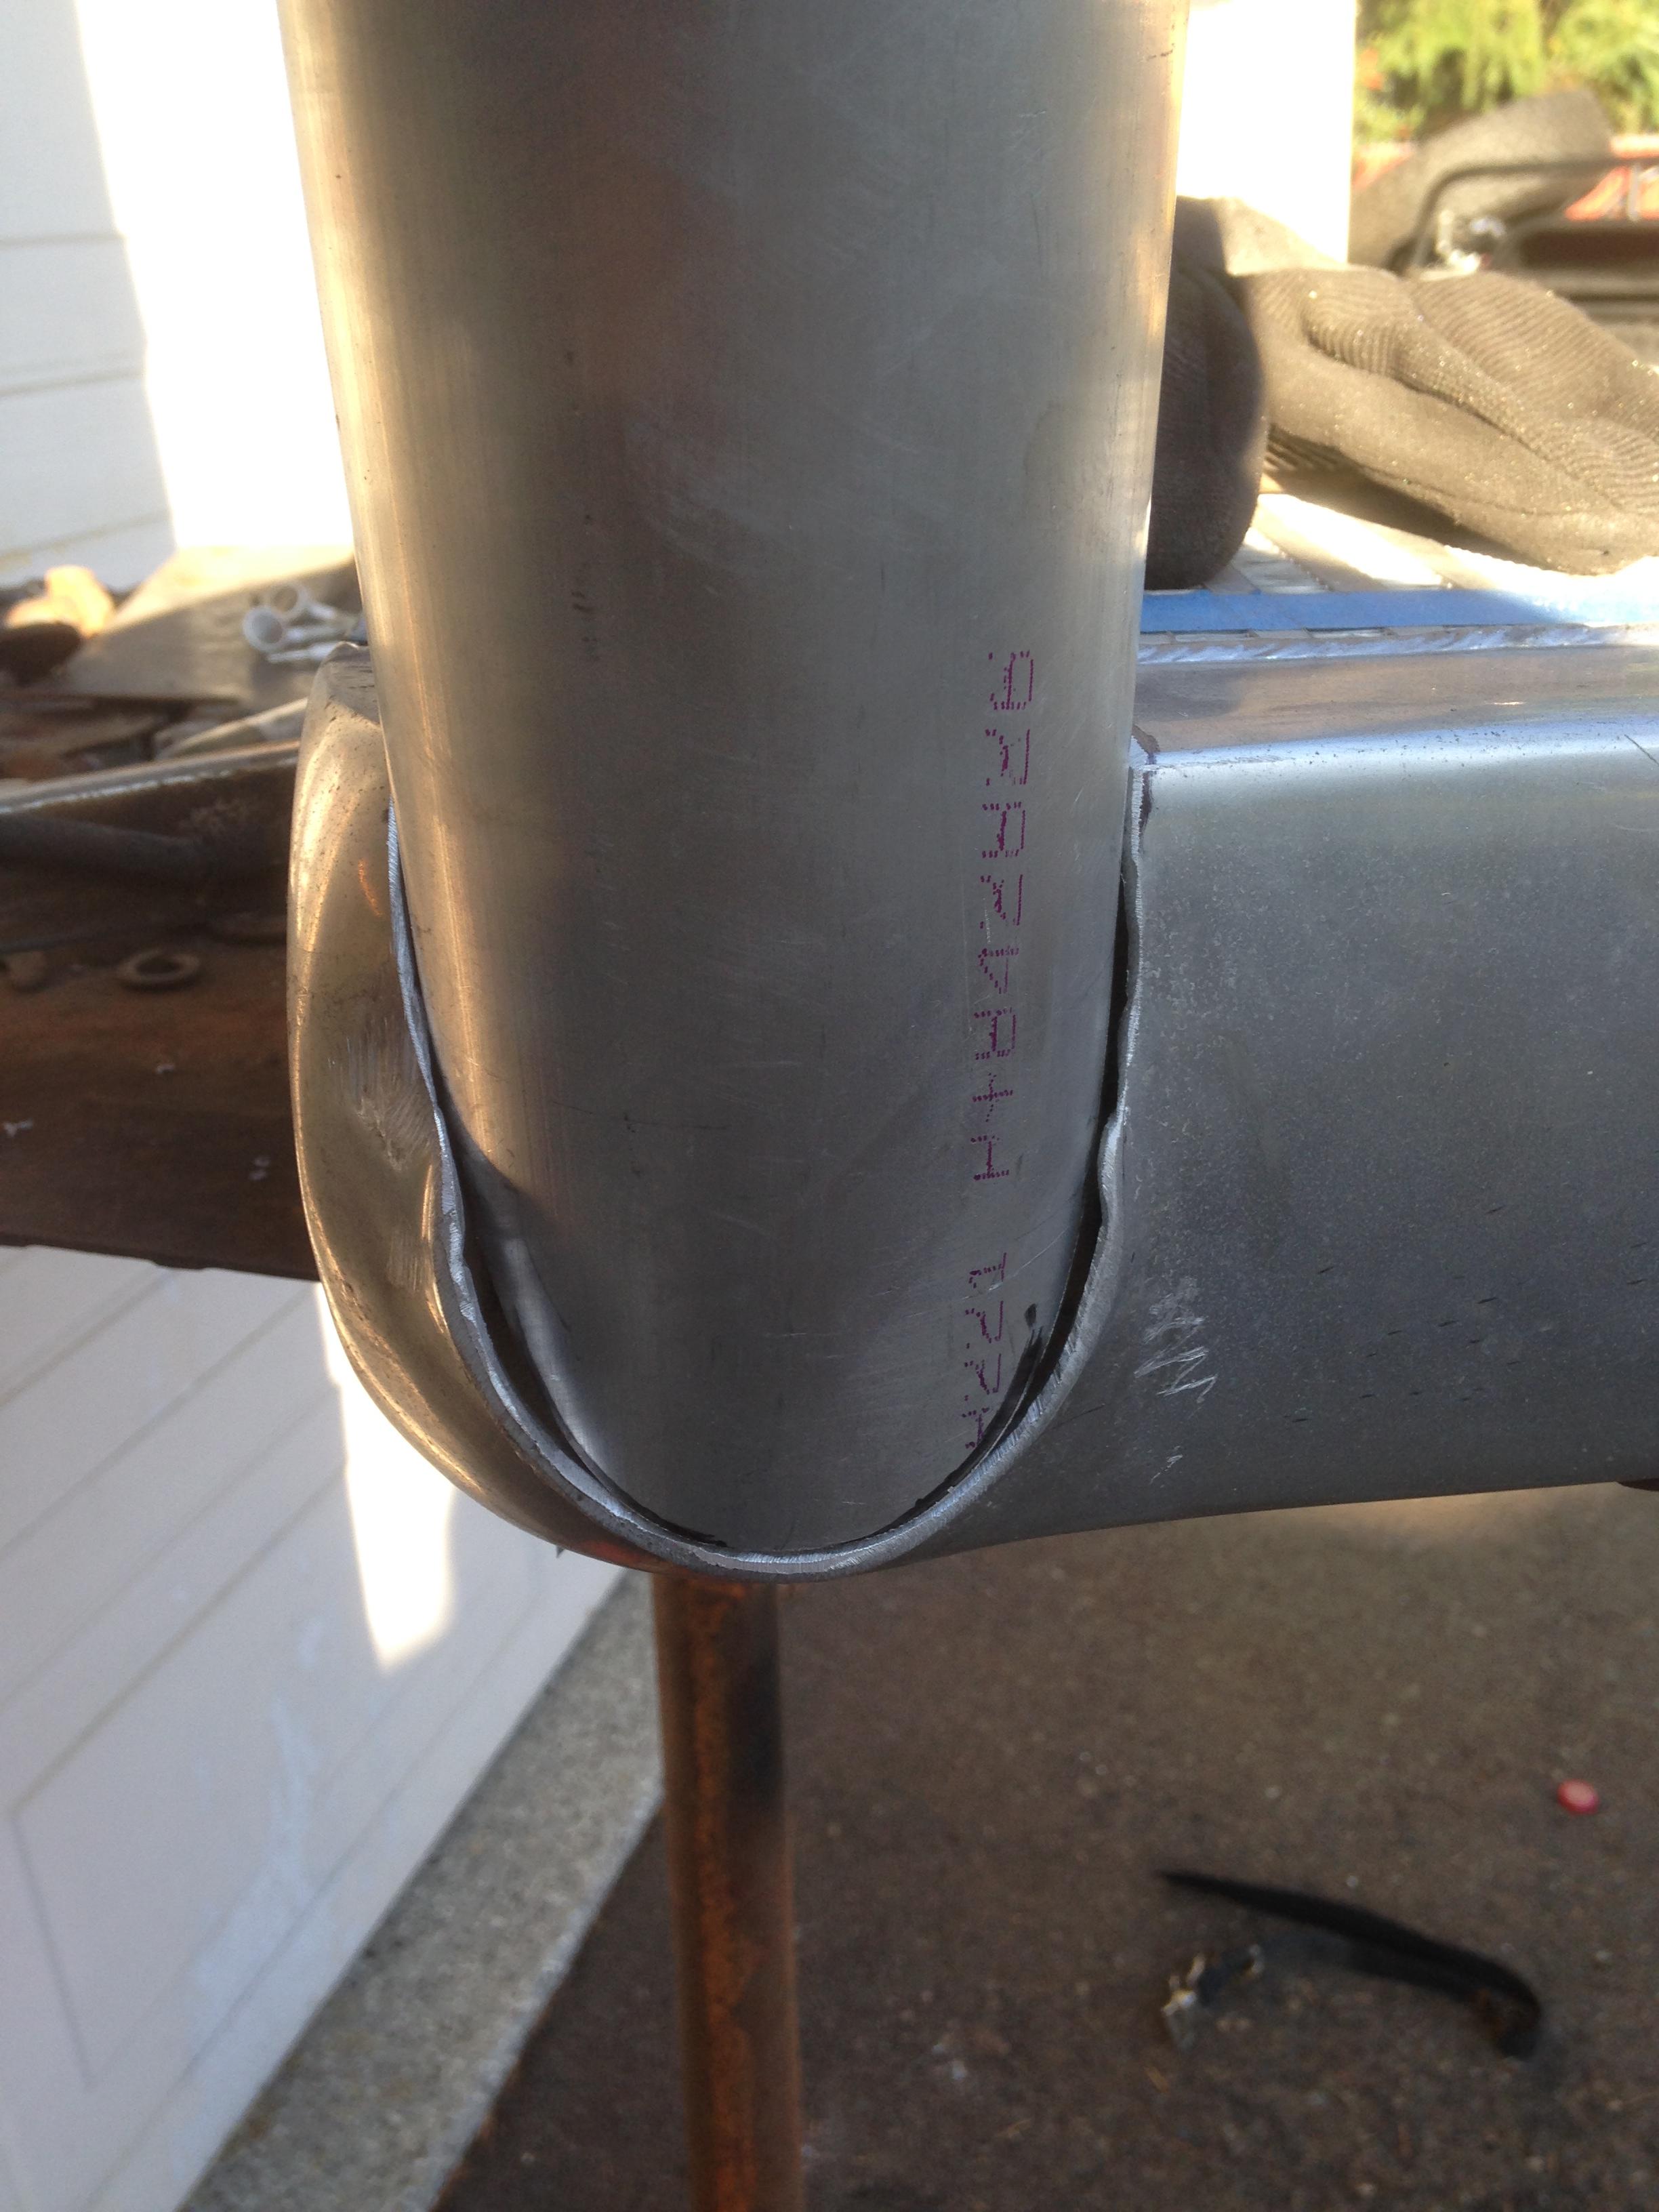
Built the upper and lower radiator hoses out of .065 wall 1.5 and 1.375 mandrel bends and a little straight tube.

Turbo outlet is 4" v band connection with a short section of mandrel bent 4" then to a reducer and into the intercooler. Trying to keep my runs as short, clean and simple as possible.
Intercooler outlet is a couple more bends and up to the inlet via a 3"x4" 90.

Also fabbed up a little upper filler panel for the top of the radiator.
Piping is all welded ground down and sanded with a da and ready for paint or powder coat.


Hopefully tomorrow will be working on this fun project...
Dual Bosch 044, dual 100 micron filters, -8 from the sumped tank all the way up to the rail. -6 back from the rail to the tank.
 12-01-2013, 11:33 PM
#48
Launching!
Thread Starter
Join Date: Mar 2012
Posts: 214
Likes: 0
Received 0 Likes
on
0 Posts
Well,
Had a few setbacks today and struggled to keep on task, but I did make a little progress.
Made up a little plate and figured out a good plan for mounting up the pumps, filters and misc crap out of harms way and tucked up near the bottom of the bed.

I got it mounted up between where the driveline will go and the frame and shock.
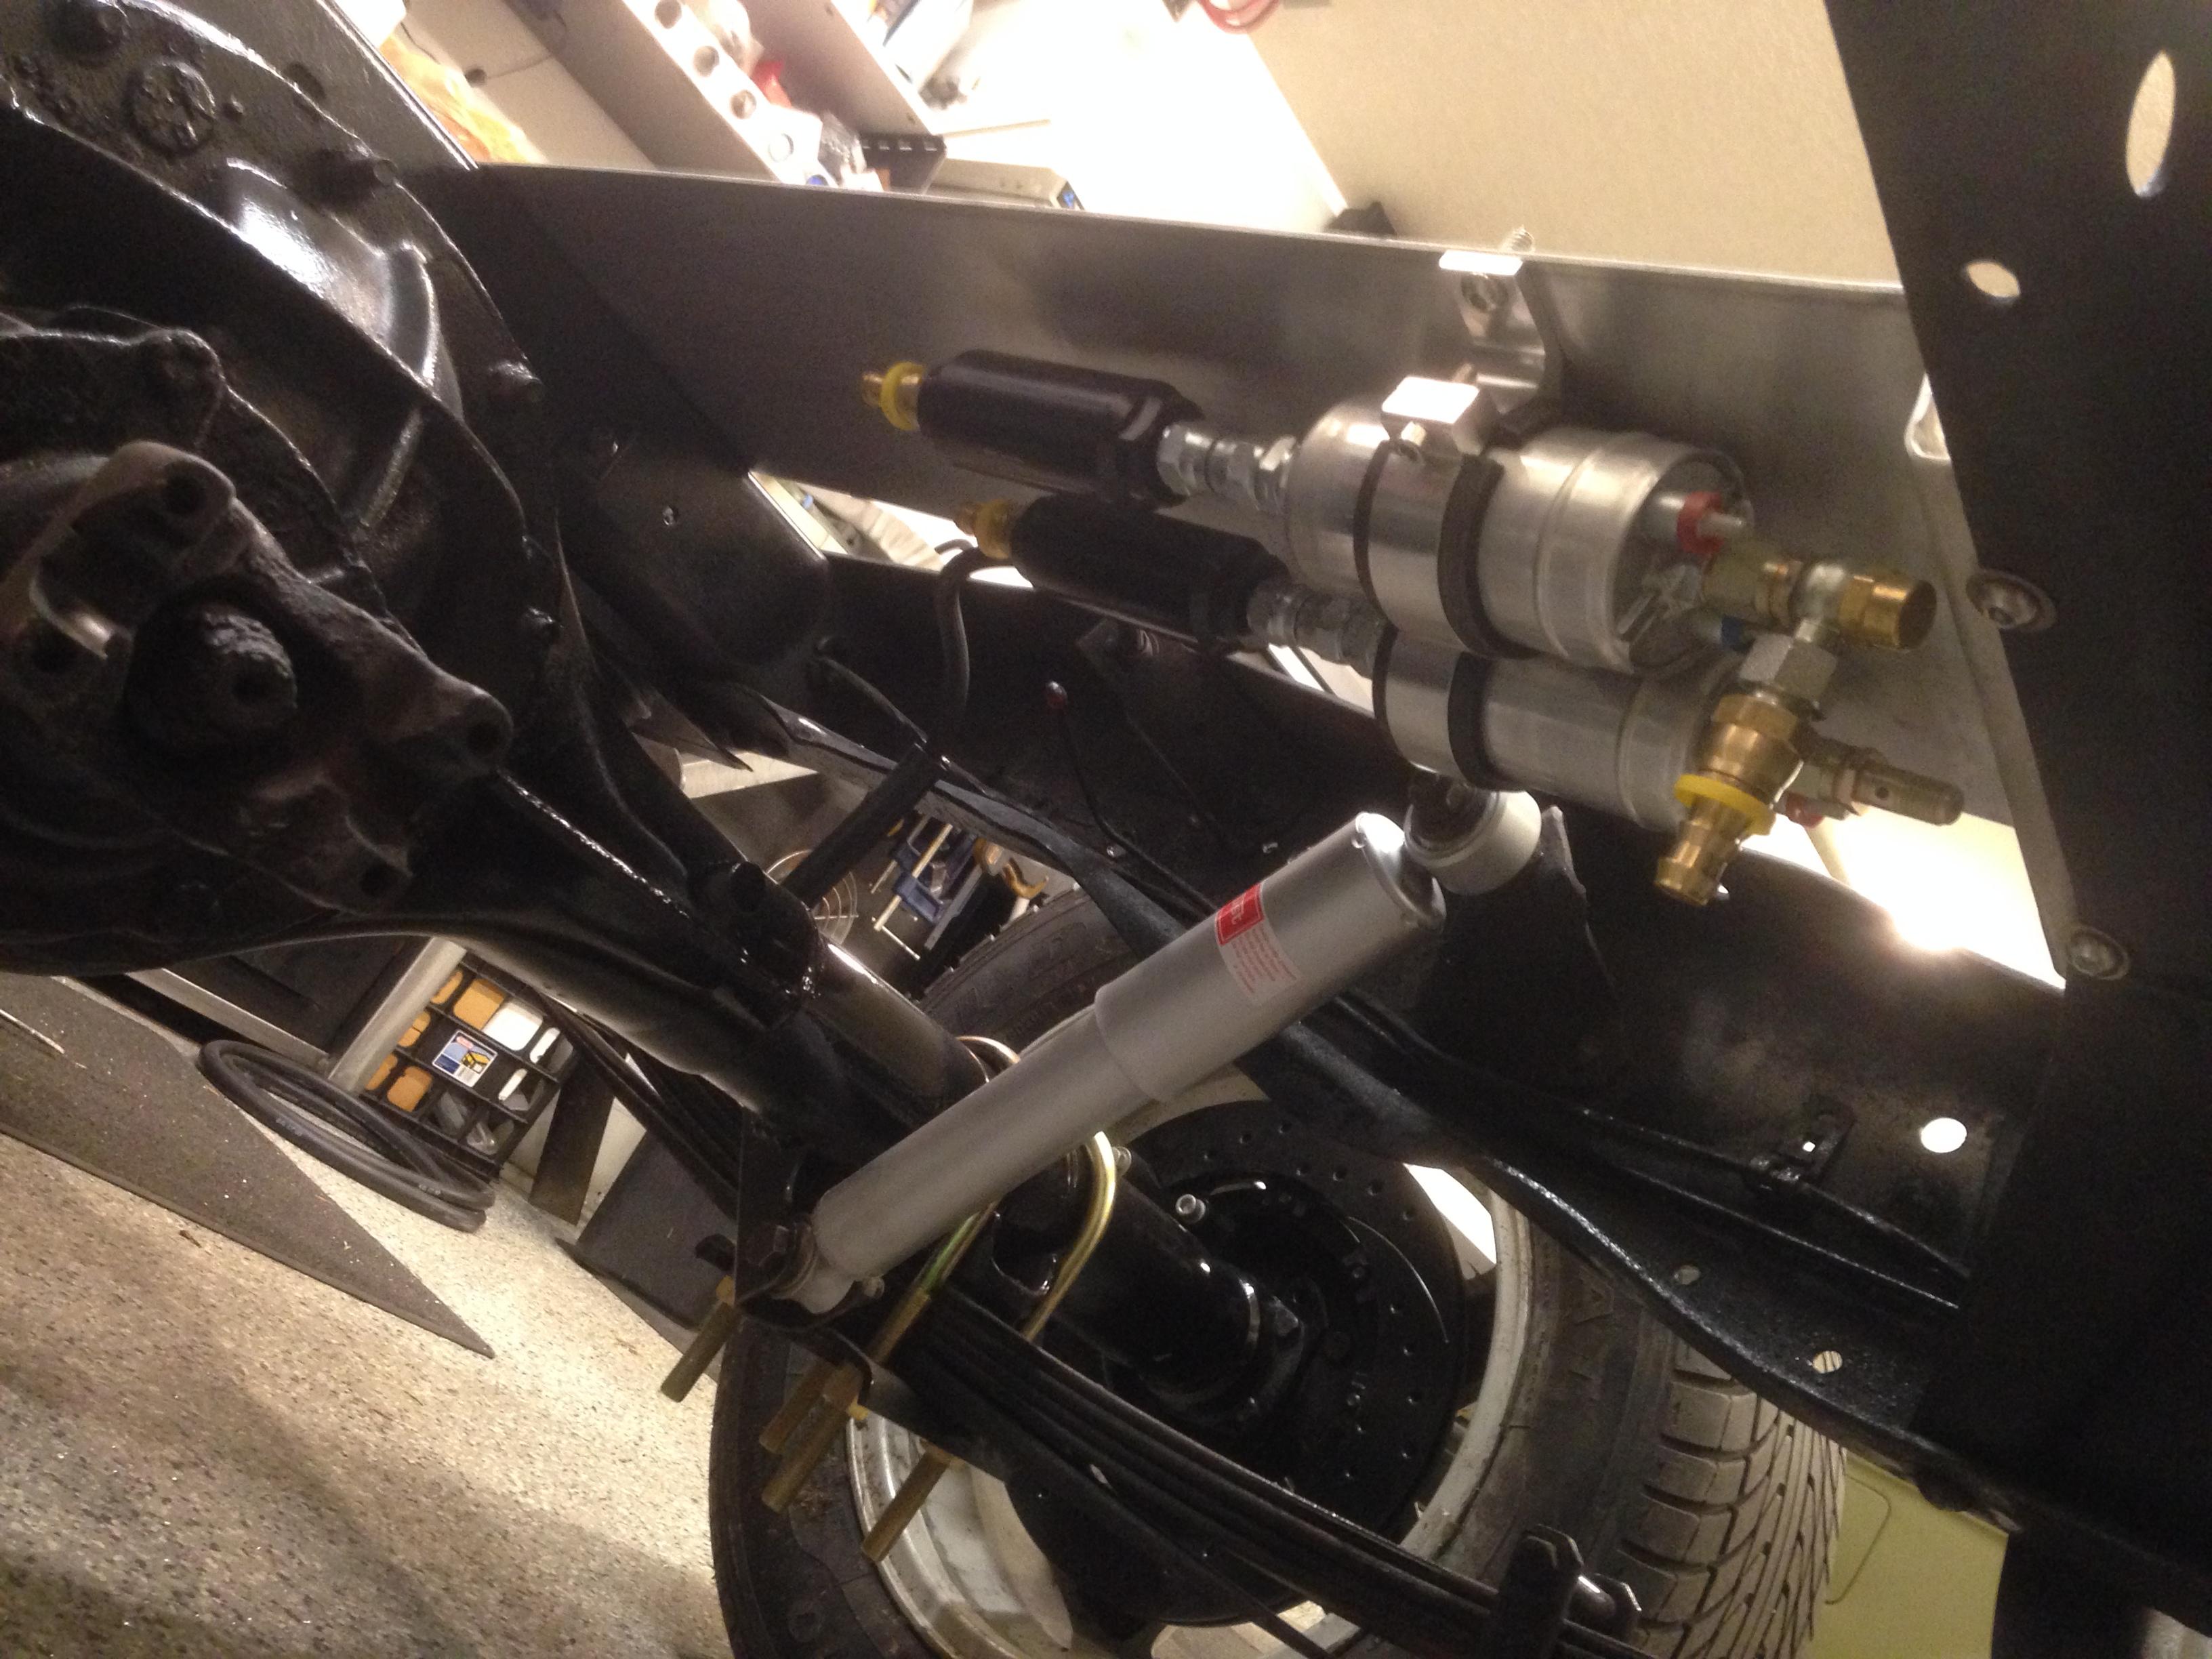
Built a little bracket for the third 10 micron filter and got it all mounted up to the next crossmember.
All the fittings are tightened up and teflon taped for the pipe fittings.
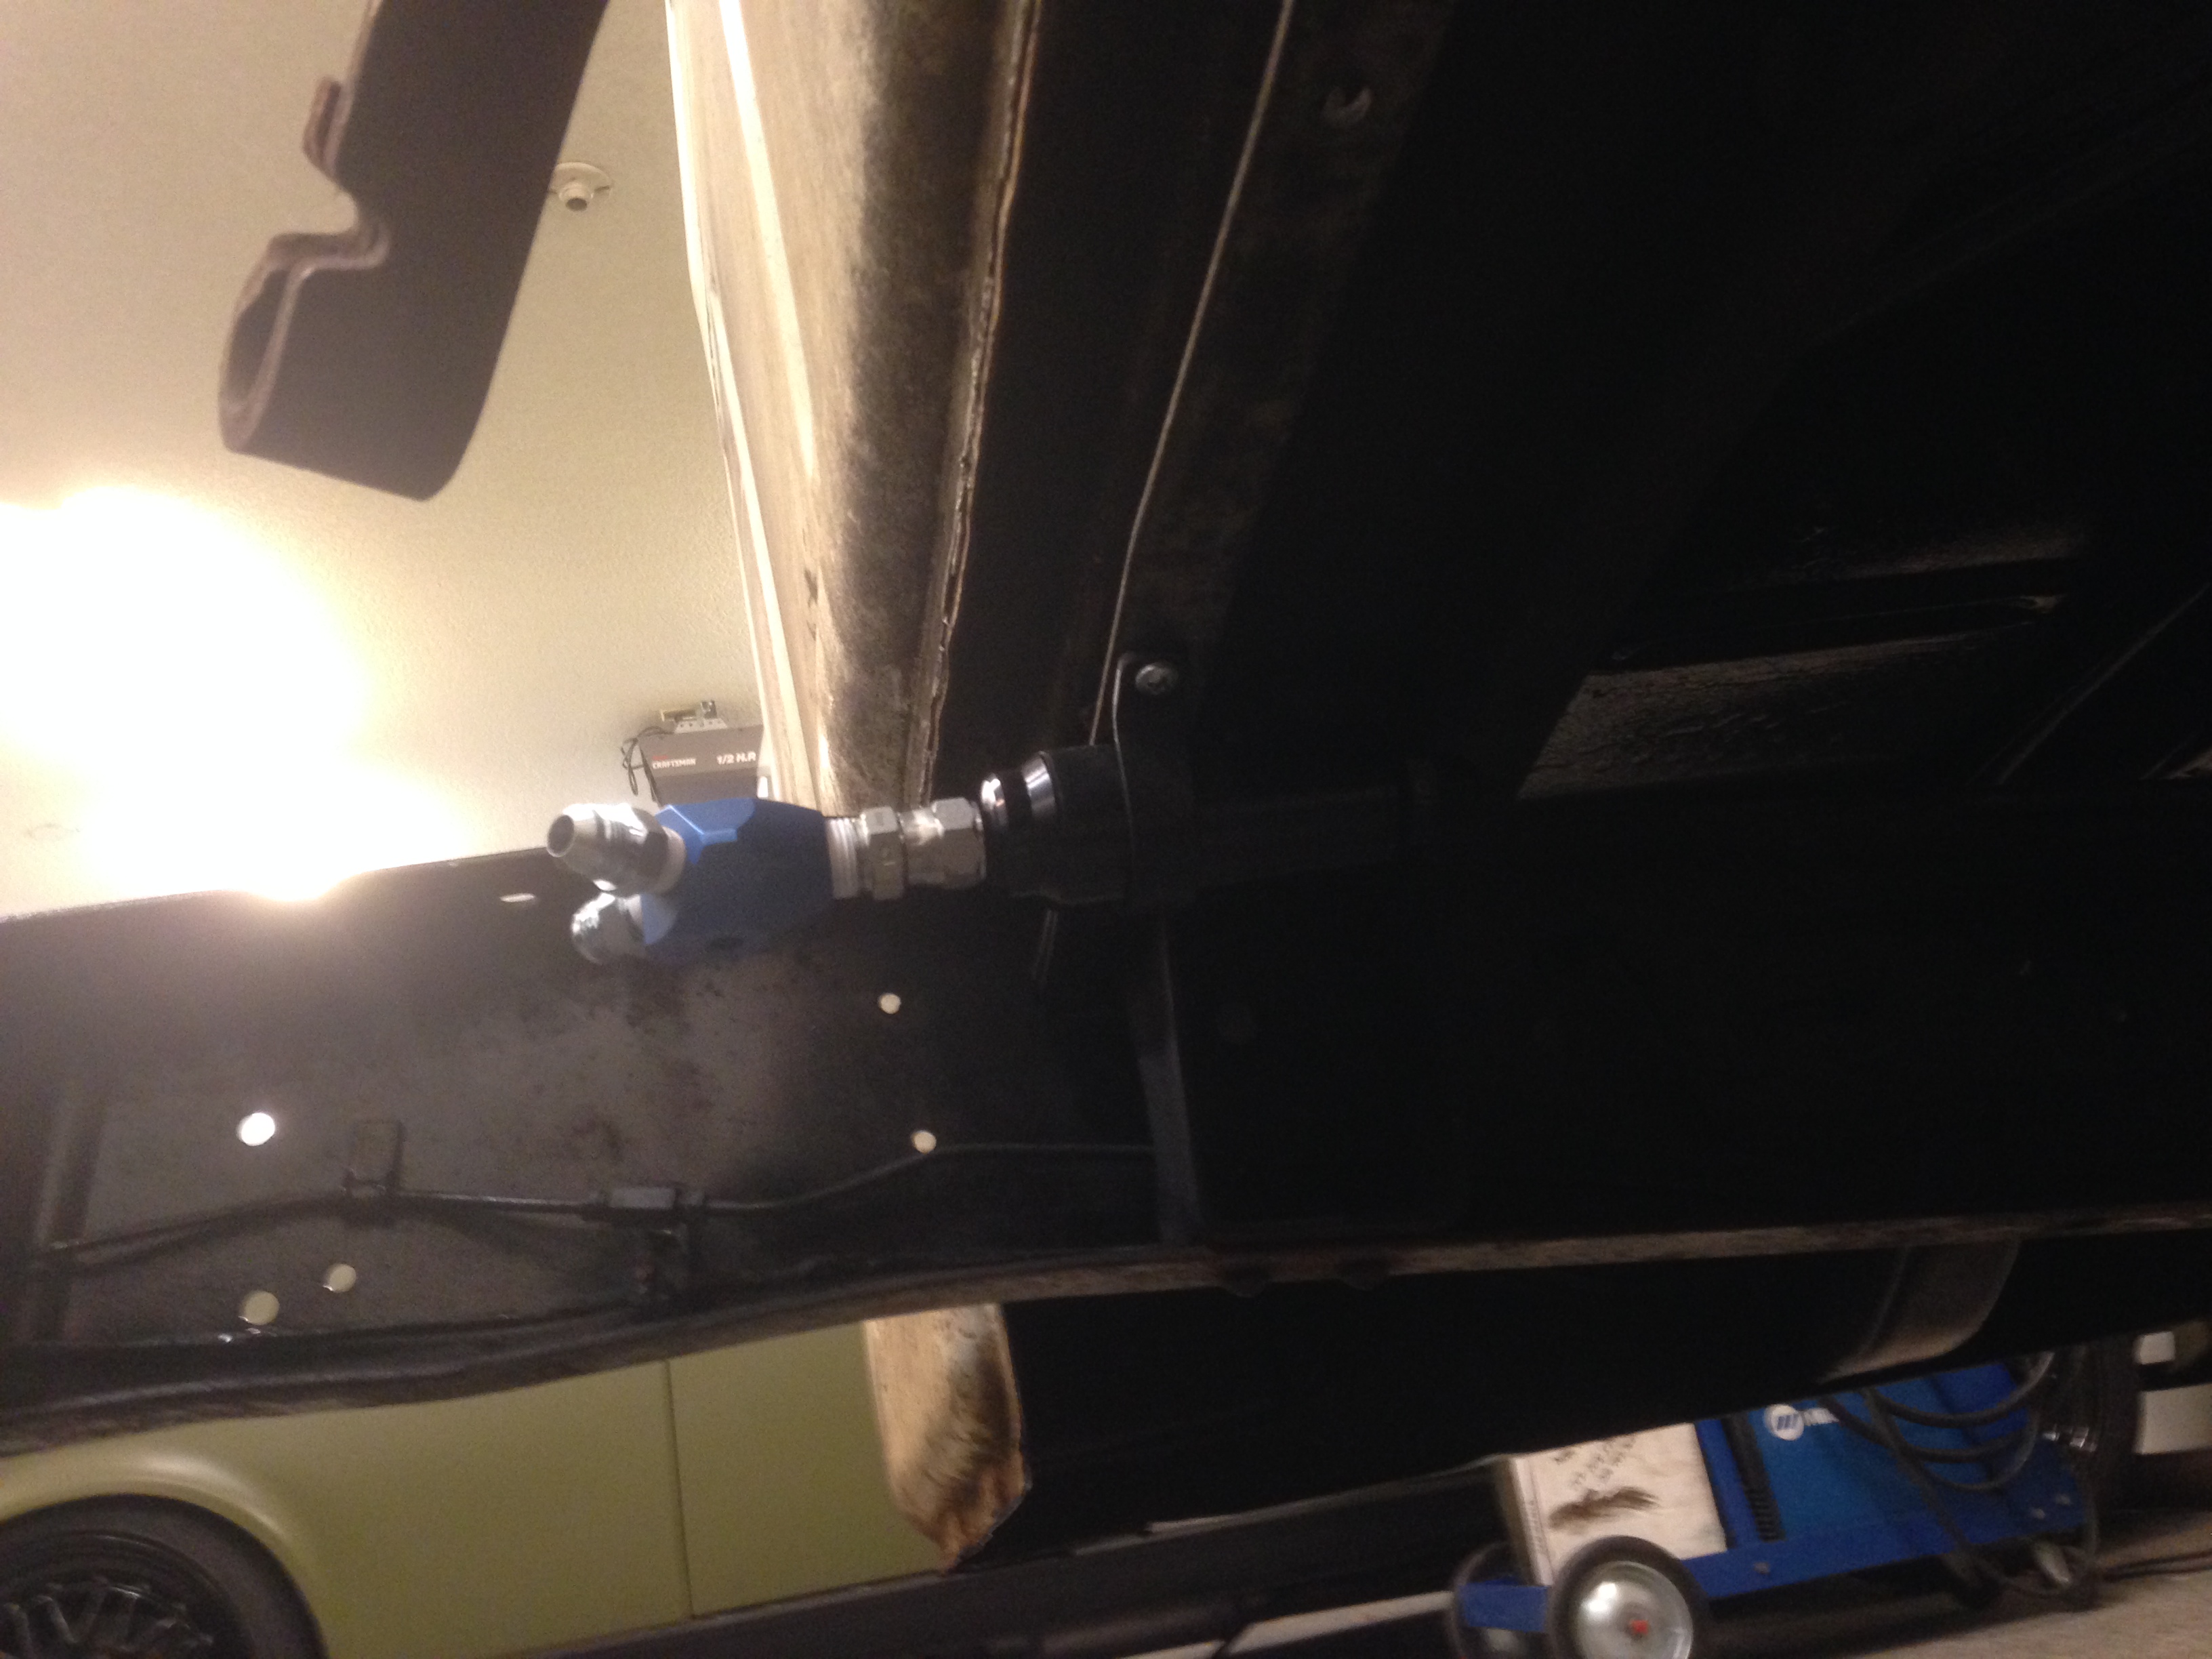
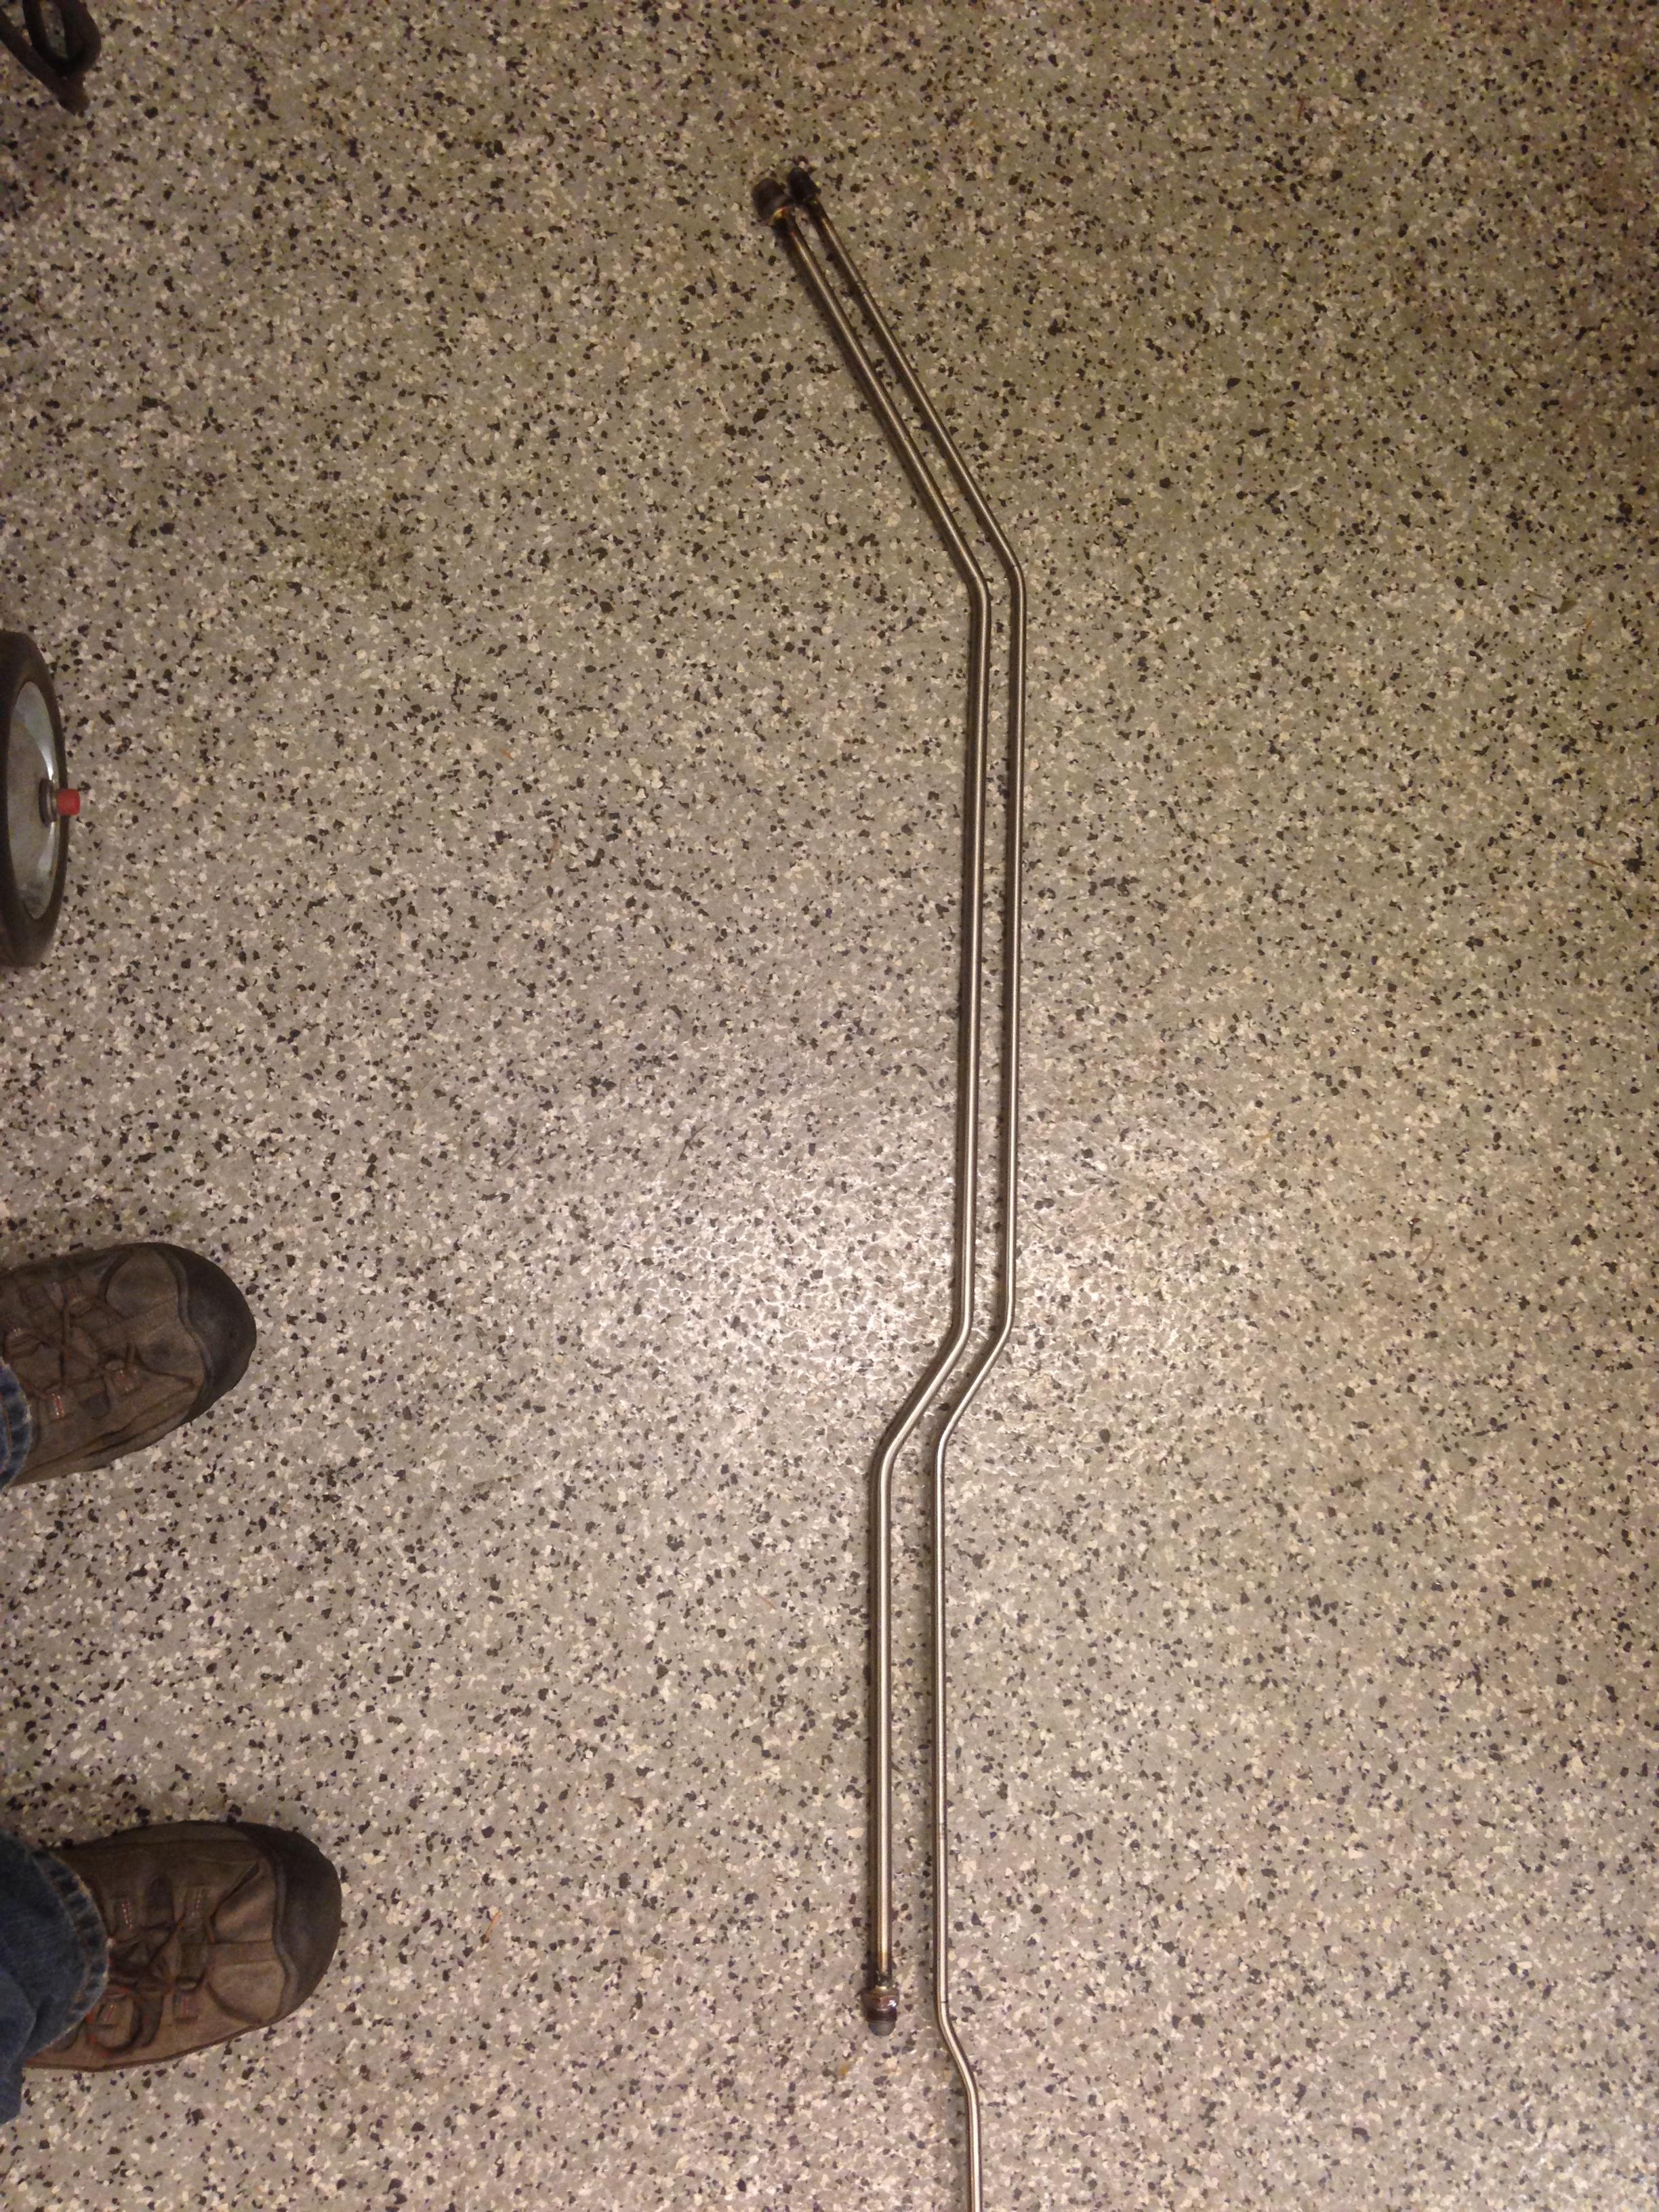
Bent up one 1/2" supply line and one 3/8" return line and brazed on the -8 and -6 fuel lines onto them. Bending the stainless and getting it all mounted up was way more work than I imagined but they turned out about perfect.
Then did some sheetrock repair and textured the wifes bathroom (we are doing a little remodel )
Spent a couple of hours cleaning and painting the entire underside of the cab before any wires or lines get mounted up.
Back to work tomorrow.....well, the one that pays the bills at least.
Sean
Had a few setbacks today and struggled to keep on task, but I did make a little progress.
Made up a little plate and figured out a good plan for mounting up the pumps, filters and misc crap out of harms way and tucked up near the bottom of the bed.

I got it mounted up between where the driveline will go and the frame and shock.

Built a little bracket for the third 10 micron filter and got it all mounted up to the next crossmember.

All the fittings are tightened up and teflon taped for the pipe fittings.
Bent up one 1/2" supply line and one 3/8" return line and brazed on the -8 and -6 fuel lines onto them. Bending the stainless and getting it all mounted up was way more work than I imagined but they turned out about perfect.

Then did some sheetrock repair and textured the wifes bathroom (we are doing a little remodel )
Spent a couple of hours cleaning and painting the entire underside of the cab before any wires or lines get mounted up.
Back to work tomorrow.....well, the one that pays the bills at least.
Sean
12-03-2013, 02:47 PM
#49
Launching!
Thread Starter
Join Date: Mar 2012
Posts: 214
Likes: 0
Received 0 Likes
on
0 Posts
trying to figure out a couple things maybe a few of you can help with that are following along.
Steam port. For those of you that are running a standard radiator and radiator cap, what are you doing for the steam port? Are you injecting it into the coolant line between the upper water pump and the upper radiator hose?
Water Meth injection. What size fitting should I weld in my pipe from the intercooler to the throttle body? Need to get that in and an IAT sensor that will thread into the pipe before the water meth injection.
Need to get these ironed out before I can get the pipes painted or powder coated.
Thanks in advance for the info.
Sean
12-04-2013, 09:07 AM
#51
Launching!
Thread Starter
Join Date: Mar 2012
Posts: 214
Likes: 0
Received 0 Likes
on
0 Posts
Thanks for the great heads up, one less thing to worry about right now before this tubing all gets finished. Pretty sure that piping is all going to get painted gloss black like the booster for lack of being able to choose a better color.
Hope to get IAT sensor figured out and get that and meth nozzle bung welded up tonight.
Sean
12-04-2013, 10:33 AM
#52
TECH Regular
iTrader: (3)

Join Date: Jan 2011
Location: Springfield, MO
Posts: 429
Likes: 0
Received 0 Likes
on
0 Posts
I got a fitting to put the steam line into my heater hose. If you want I can find the part number for it. I did this instead of tapping the water pump in case of being on a trip and having the water pump go out and not having the stuff to retap the steam line.
Oh, and nice job. That body style ford is the newest I like.
Oh, and nice job. That body style ford is the newest I like.
12-10-2013, 10:06 AM
#53

I got a fitting to put the steam line into my heater hose. If you want I can find the part number for it. I did this instead of tapping the water pump in case of being on a trip and having the water pump go out and not having the stuff to retap the steam line.
Oh, and nice job. That body style ford is the newest I like.
Oh, and nice job. That body style ford is the newest I like.
beats a ride home on a rollback.
 12-10-2013, 01:59 PM
#57
Get the image code for the picture. Your picture in your folder should have a gear looking thingy in the top right corner. hover your mouse over it and when the menu pops up click on get links. when that little window pops up, click in the LAST LINE that says IMG codes
then come here and right click and hit paste and your picture will show up.
then come here and right click and hit paste and your picture will show up.
12-23-2013, 11:43 AM
#59
Launching!
Thread Starter
Join Date: Mar 2012
Posts: 214
Likes: 0
Received 0 Likes
on
0 Posts
Well this here project has screeched to a damn hault. After getting the bottom of the cab painted and the fuel lines all bent up it got really cold up here and work got chaotic.
Not to mention I was starting to get a little bit burned out on working on this every day.
I did however get some work done on the LS Swapped Volvo. Rebuilt the entire front suspension and got some proper wheels and tires on it.
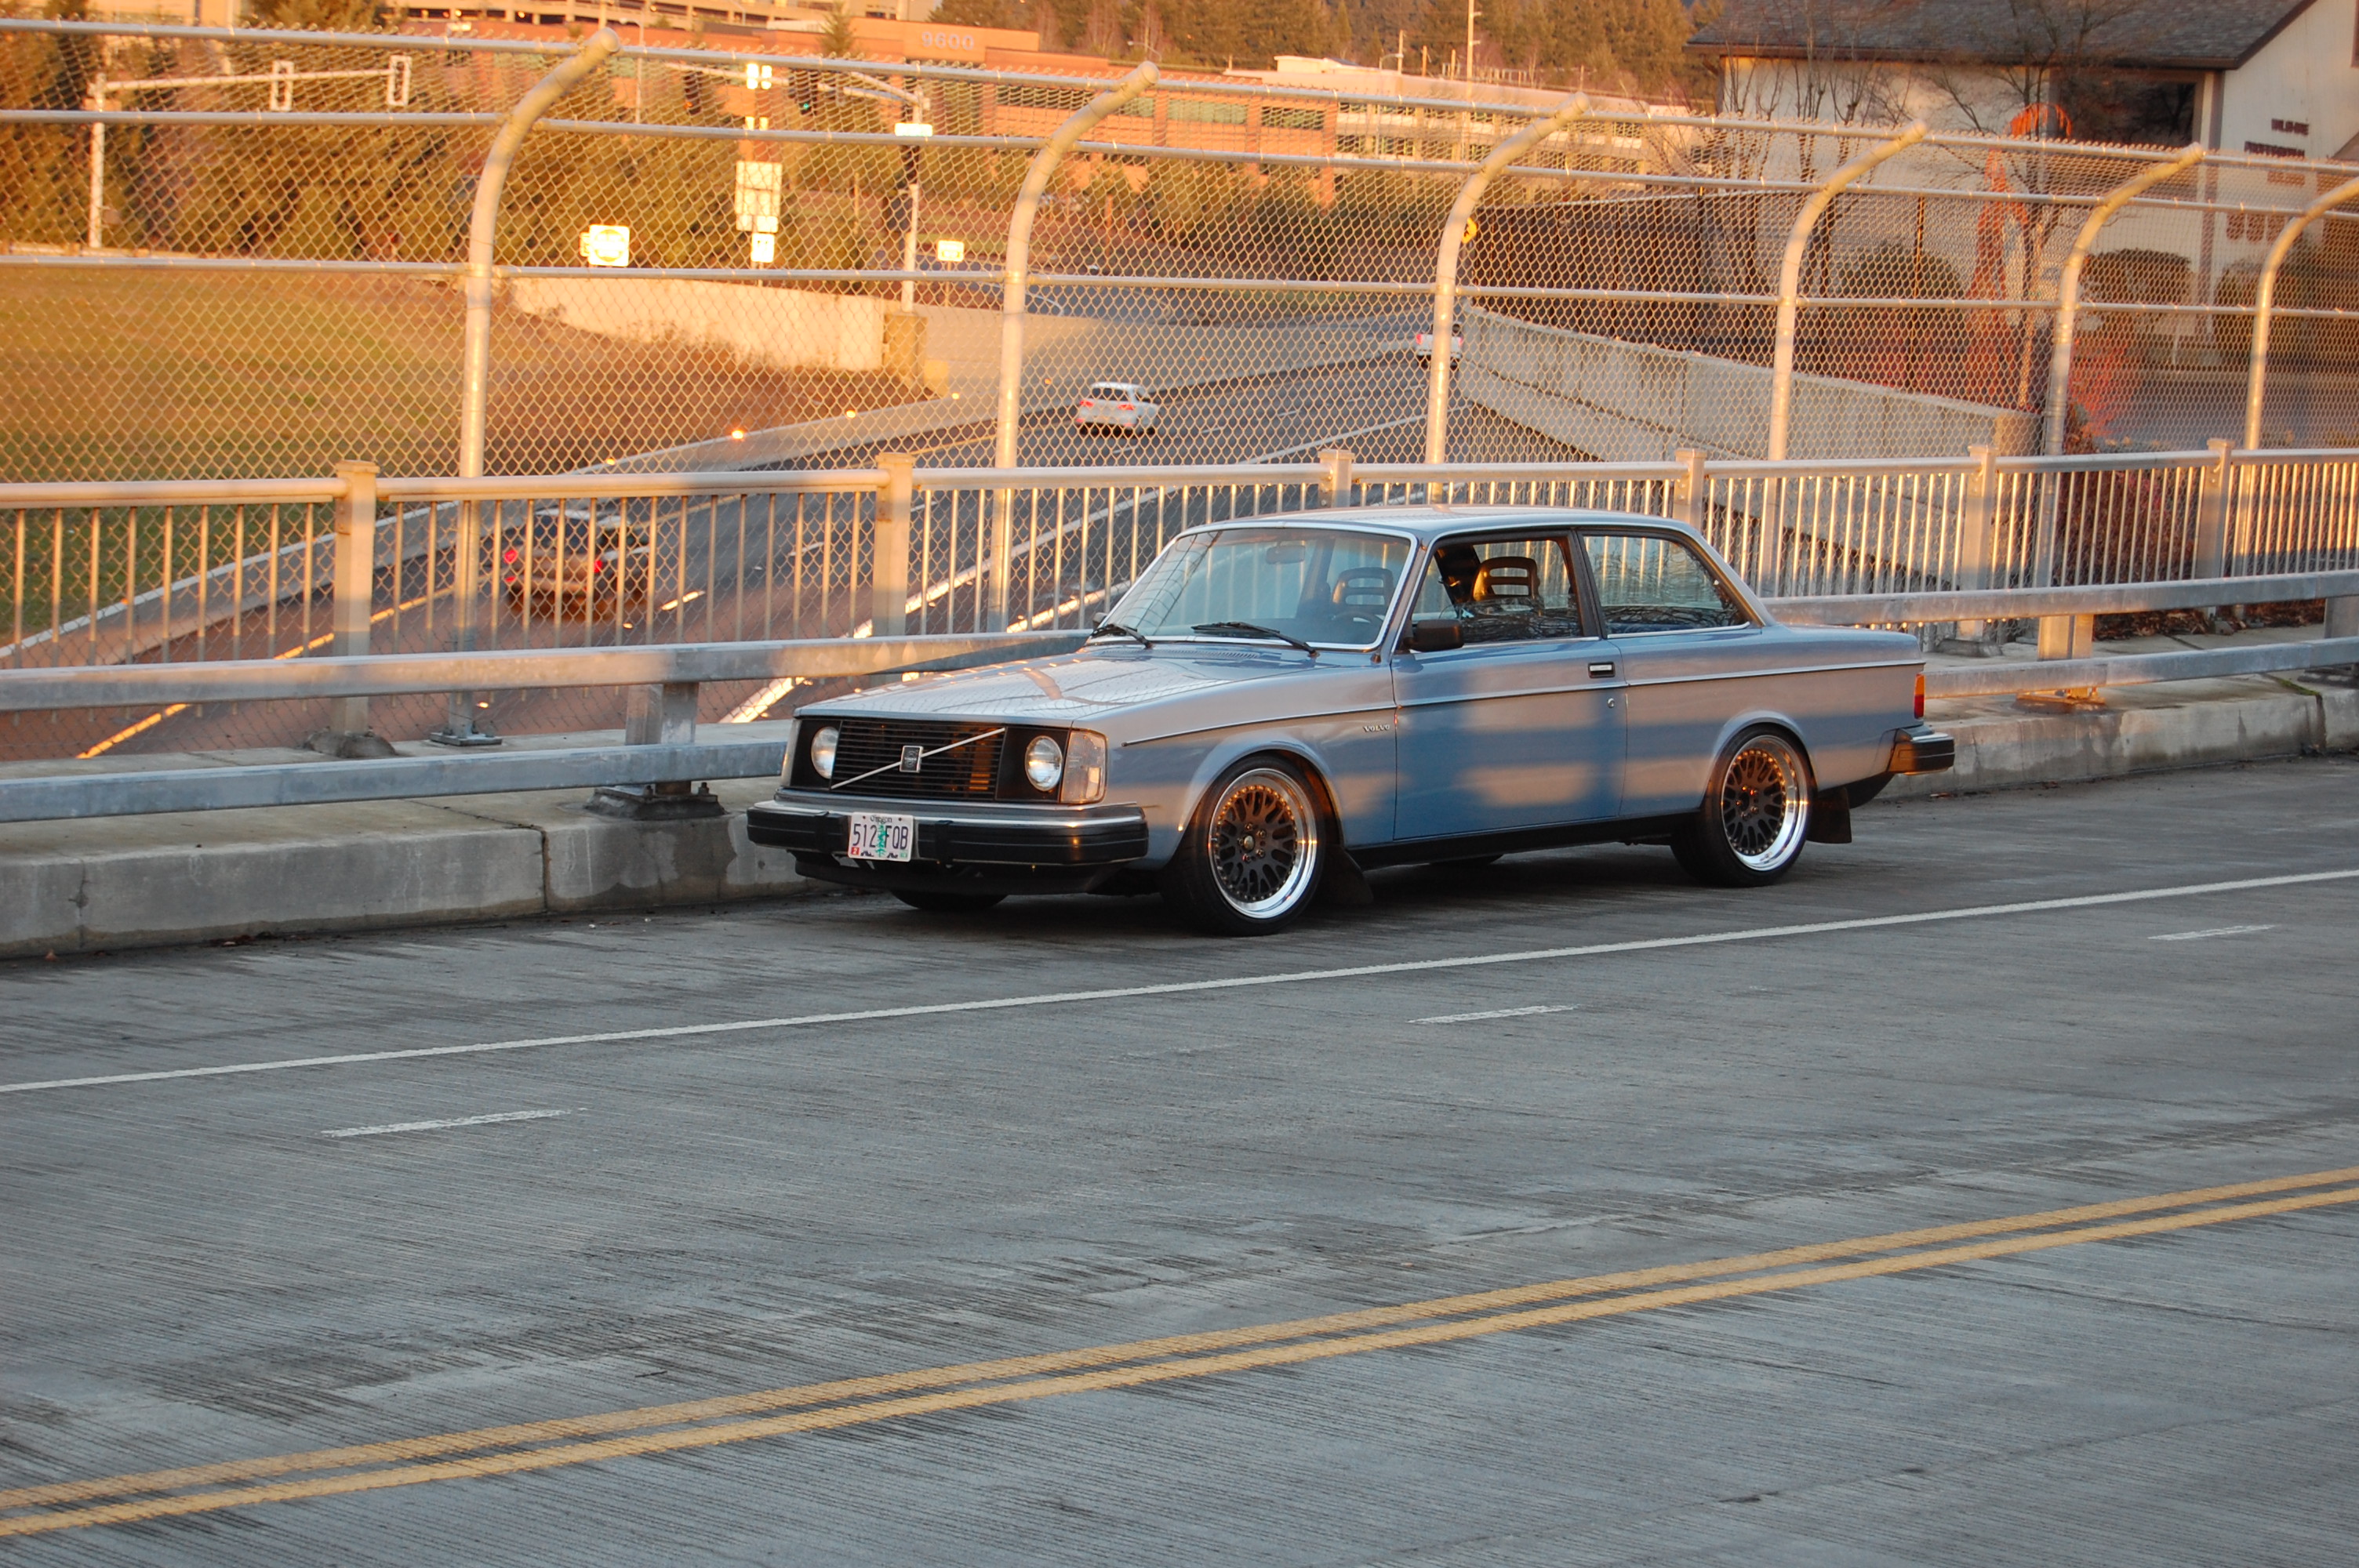
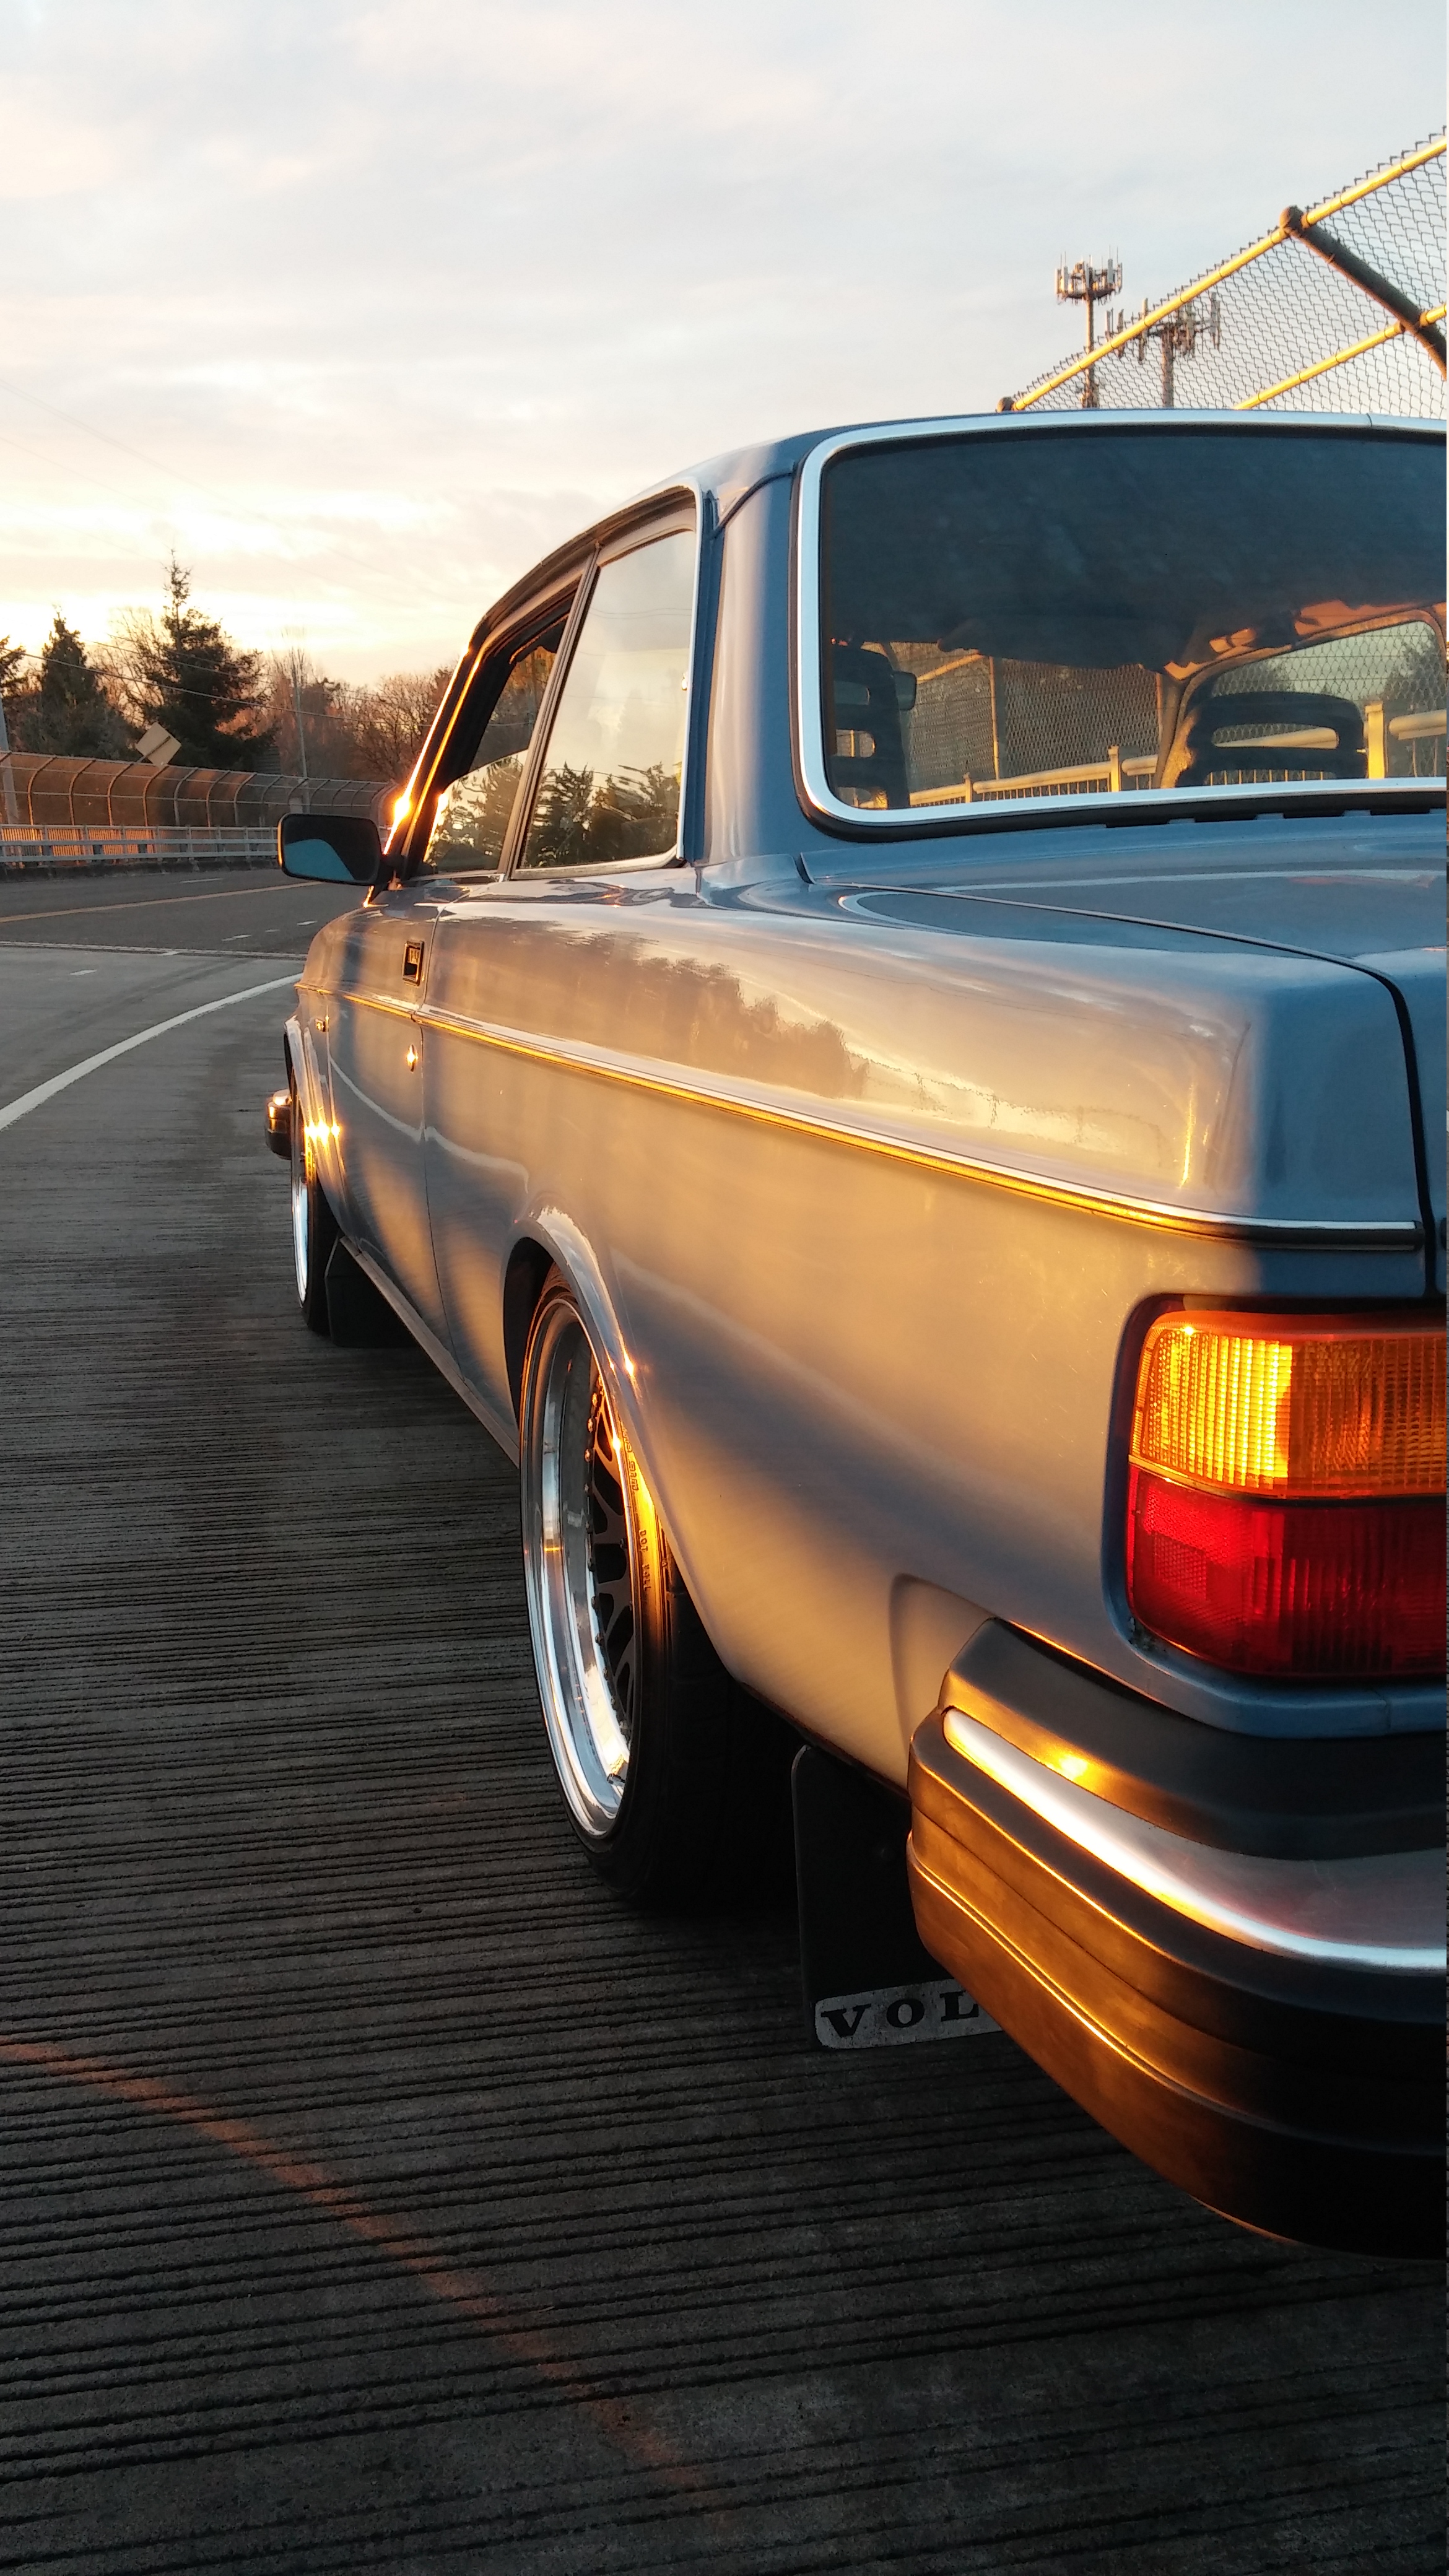
I know its not f100 related, but this thread needed a good bump. Should get back on the f100 after this Wednesday with the Volvo buttoned up.
Sean
