When you click on links to various merchants on this site and make a purchase, this can result in this site earning a commission. Affiliate programs and affiliations include, but are not limited to, the eBay Partner Network.
Yea, sleeper will be an understatement! I weighed this car before I started working on it, and it was 2820lbs idling on the scale with no one in it. Seeing as the LS is WAY lighter and 3 times the power, the real trick will be getting it to hook up.
Here are more progress pics.
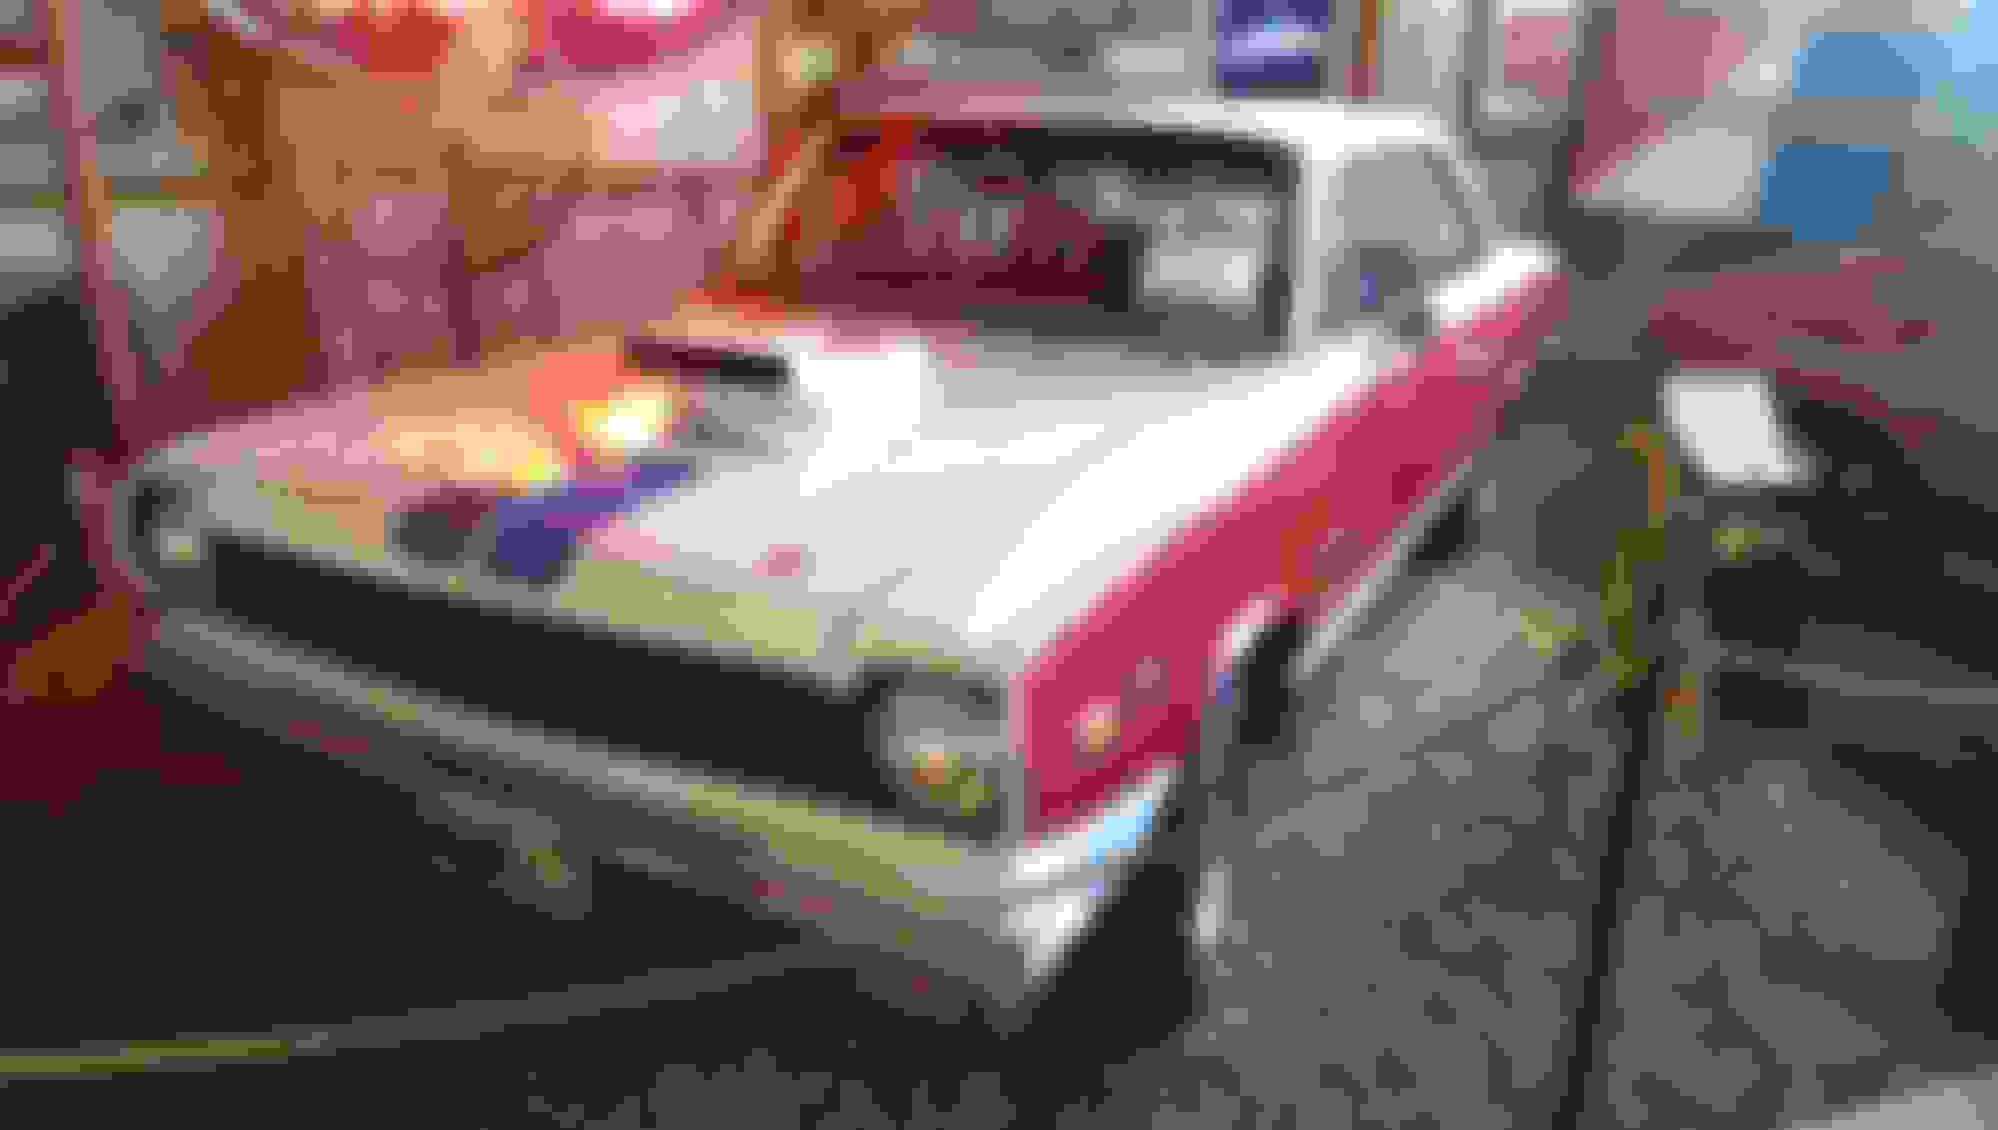
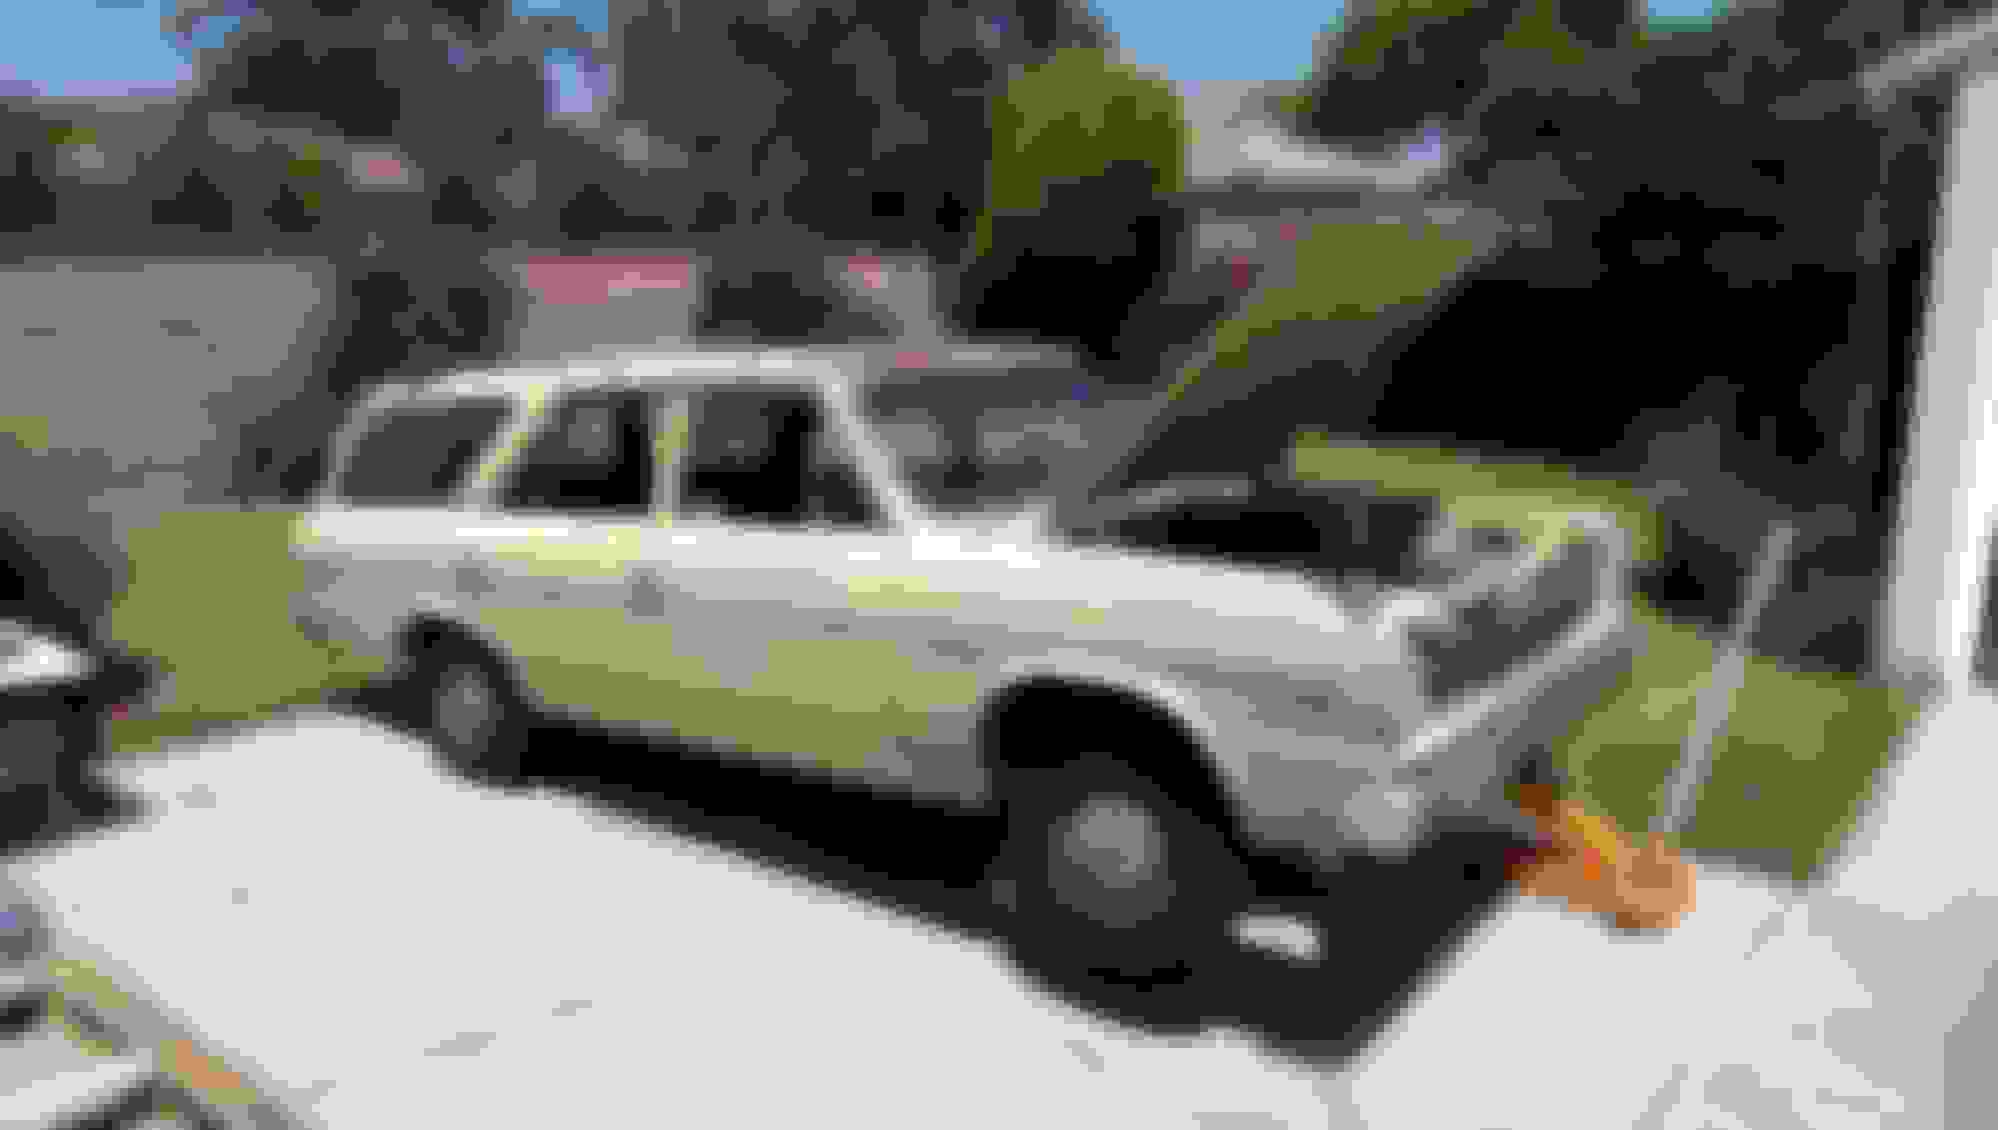
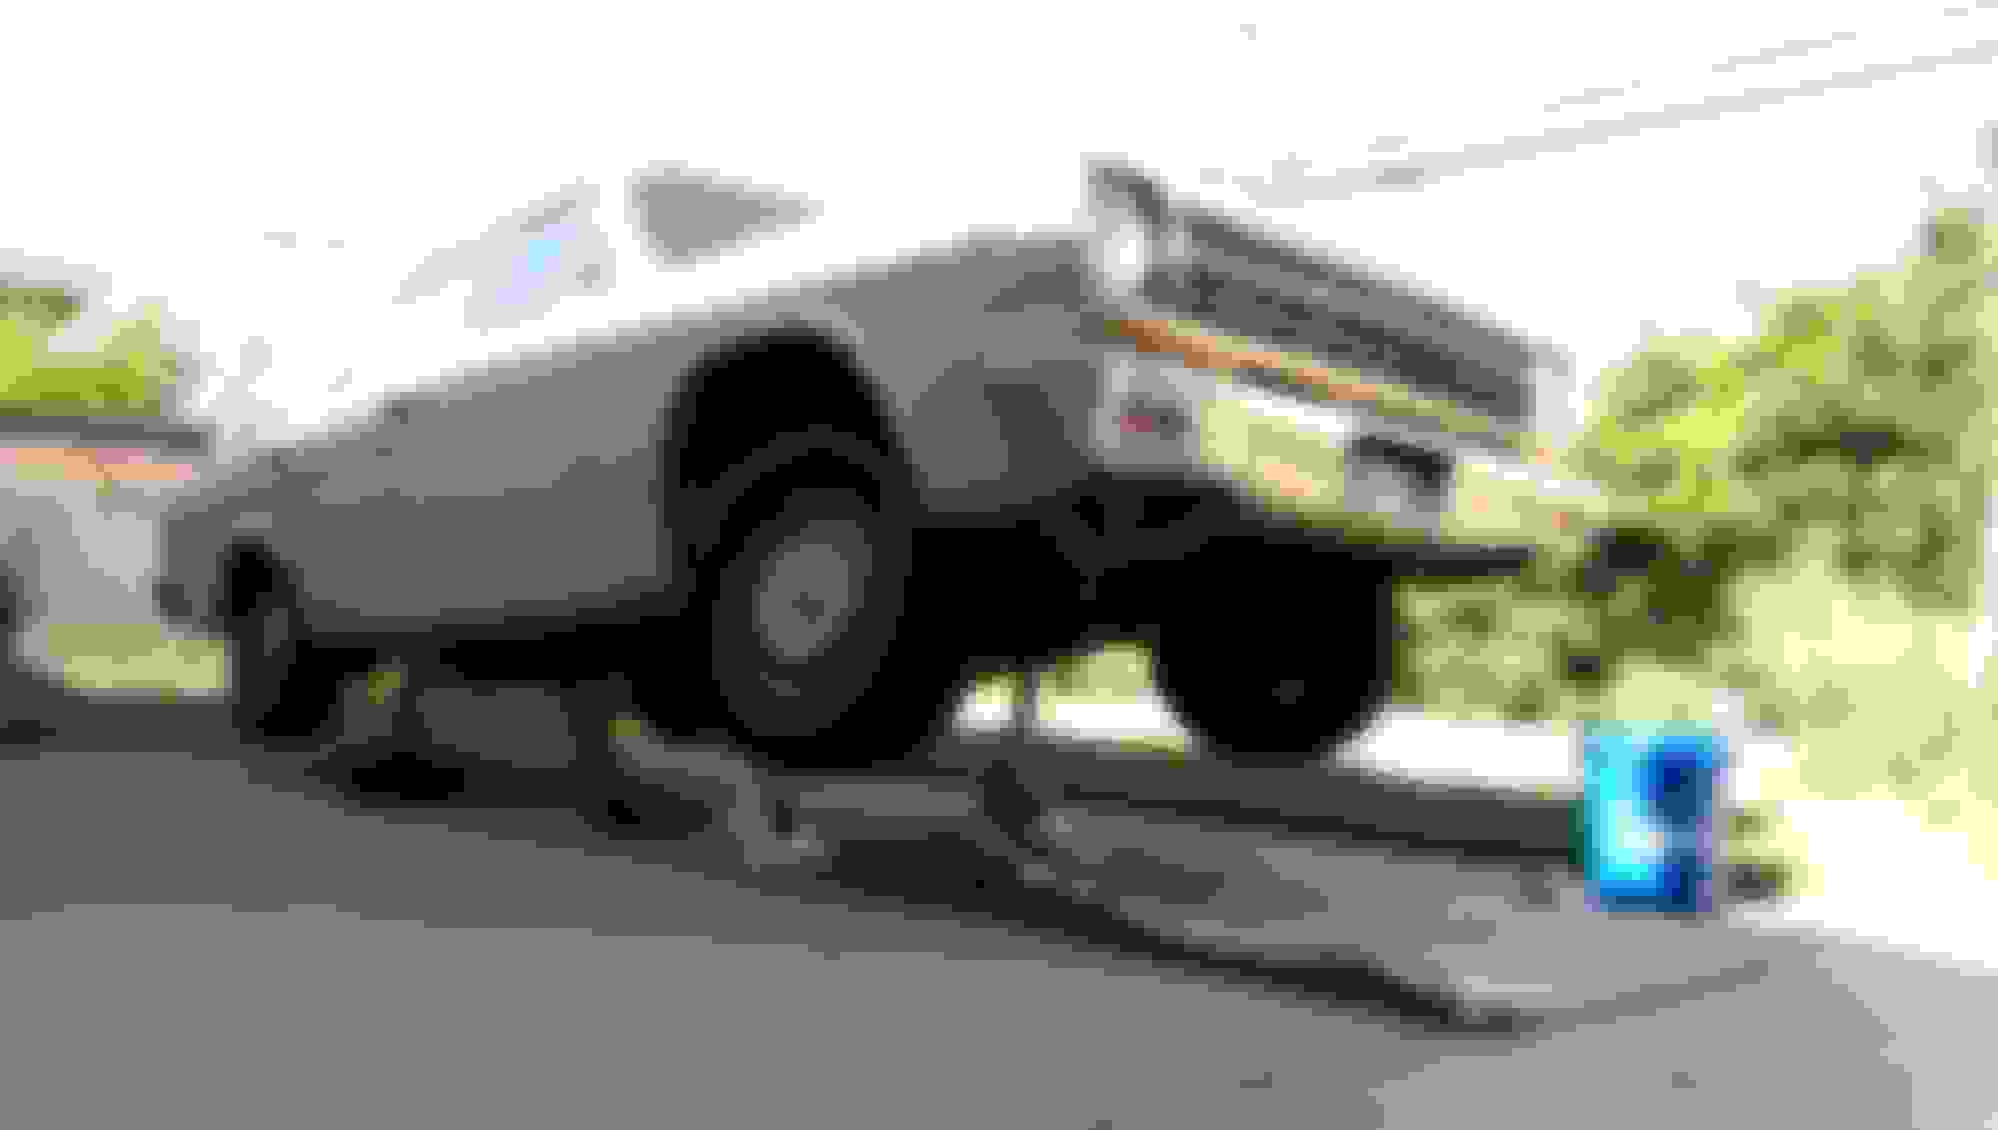
Finally was able to move it into the garage
She's pretty clean for 45 yrs old!
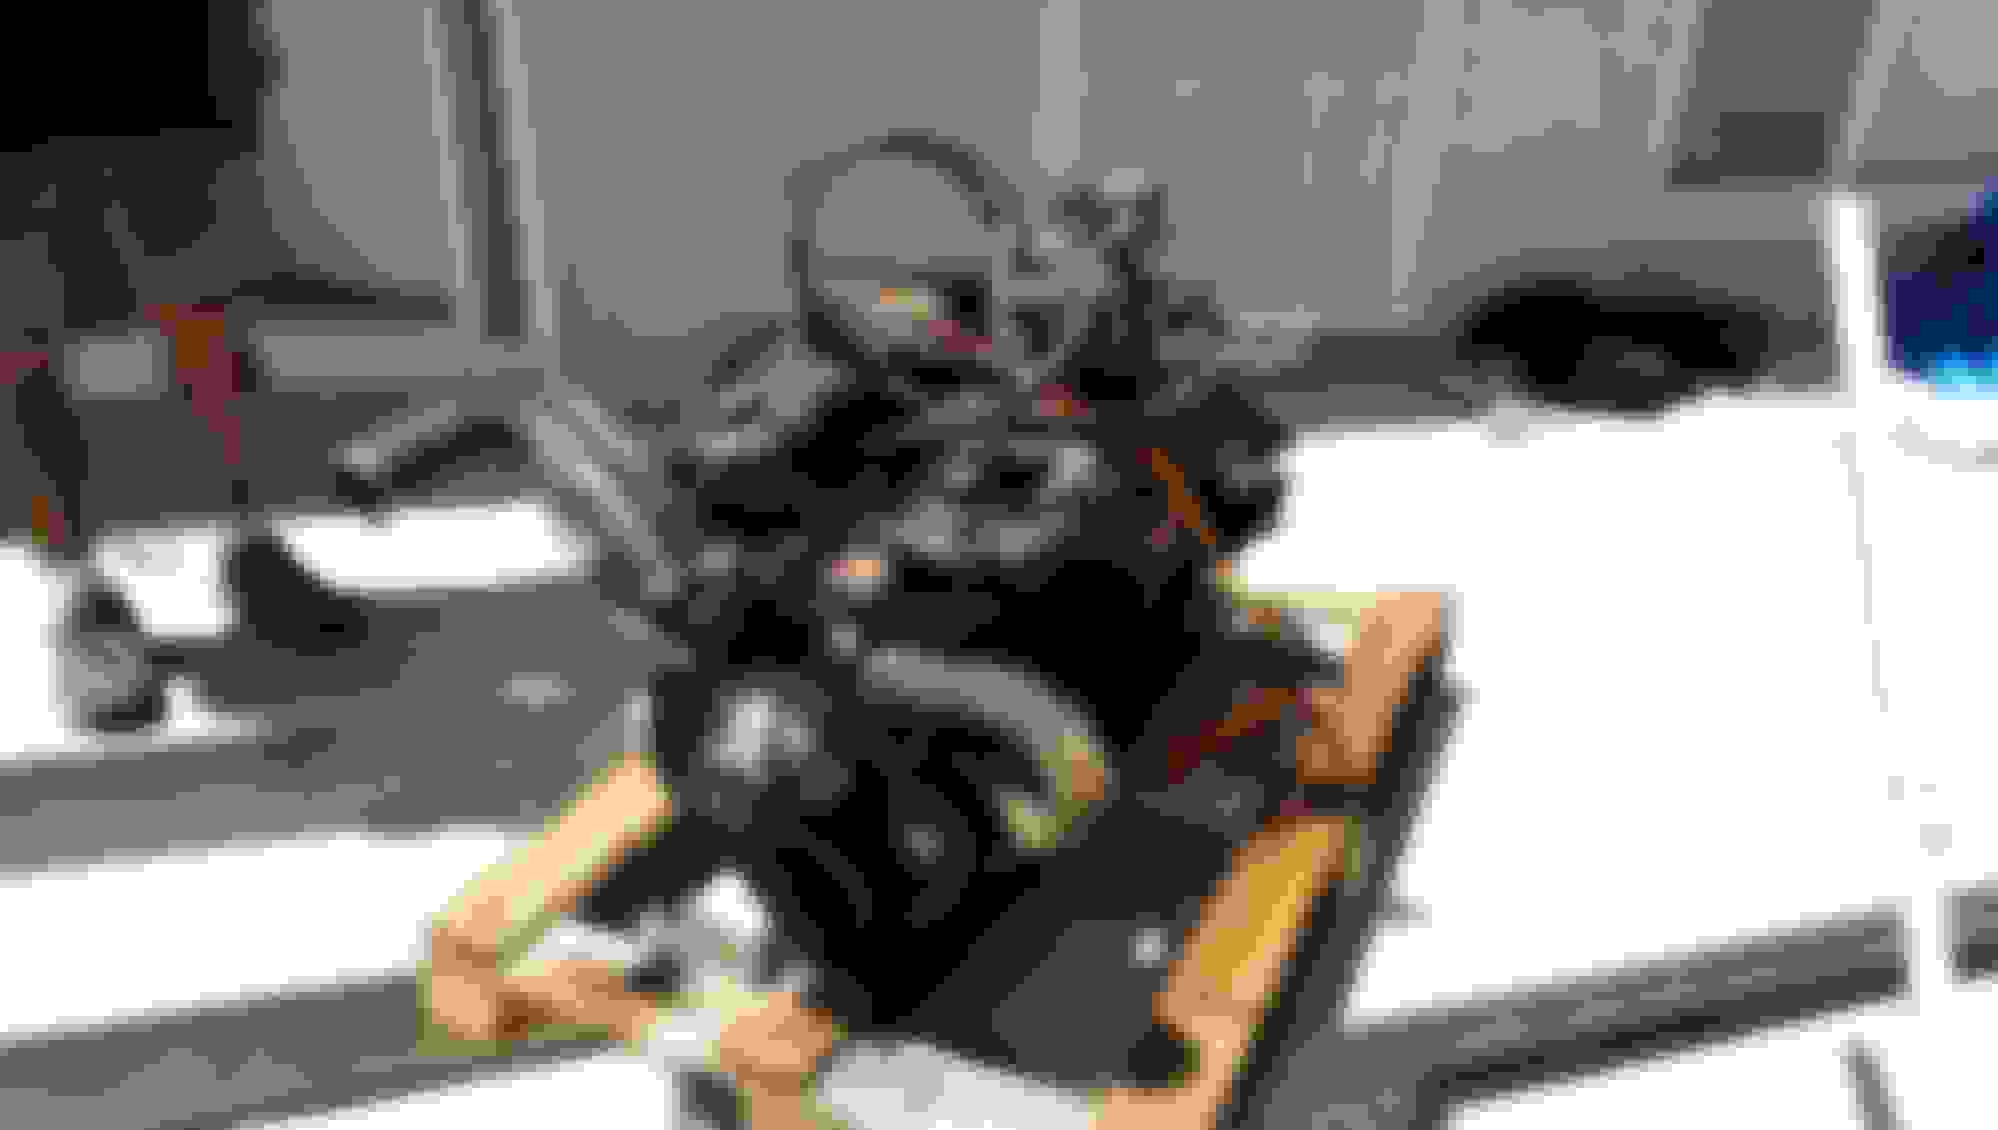
Lots of spare parts, and finally getting rid of that JUNK trunion suspension!
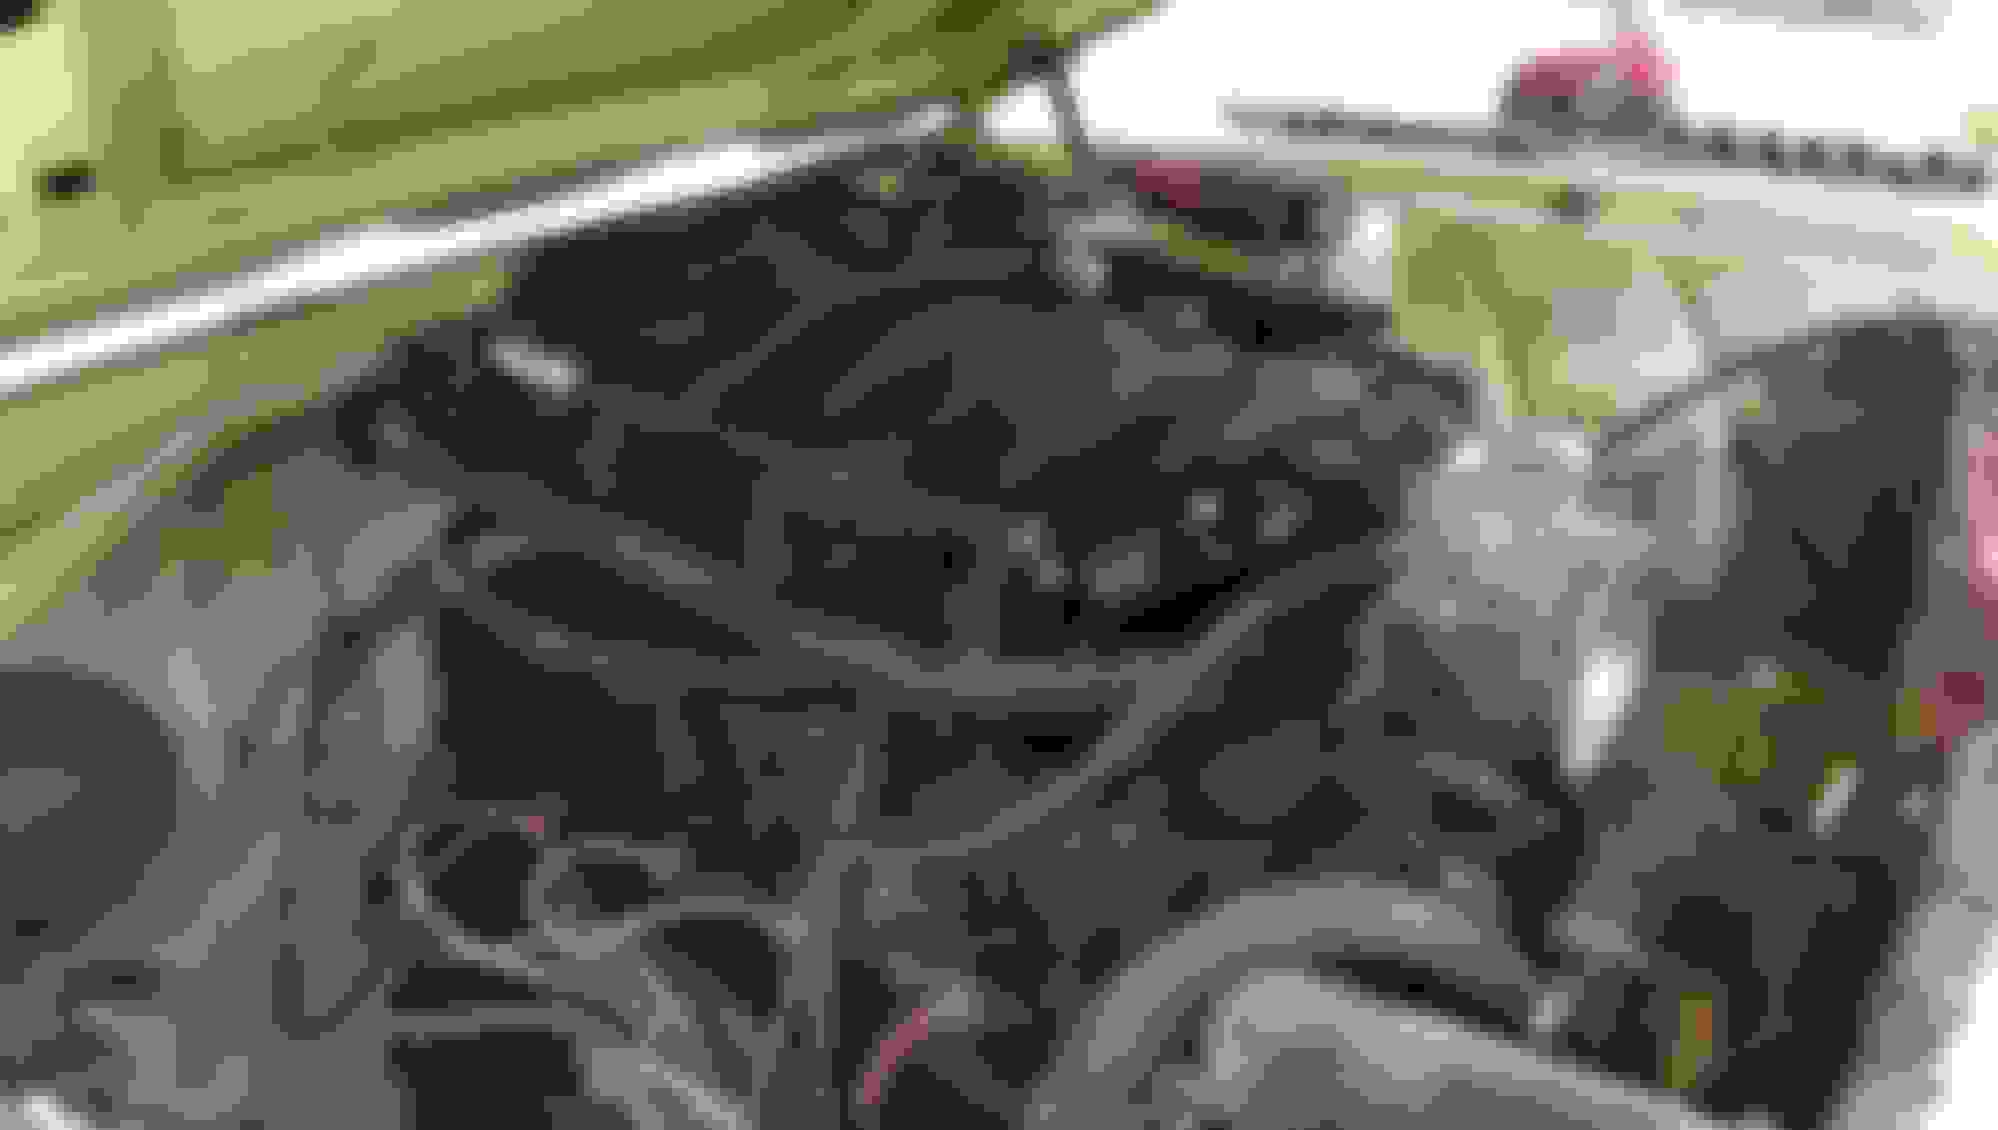
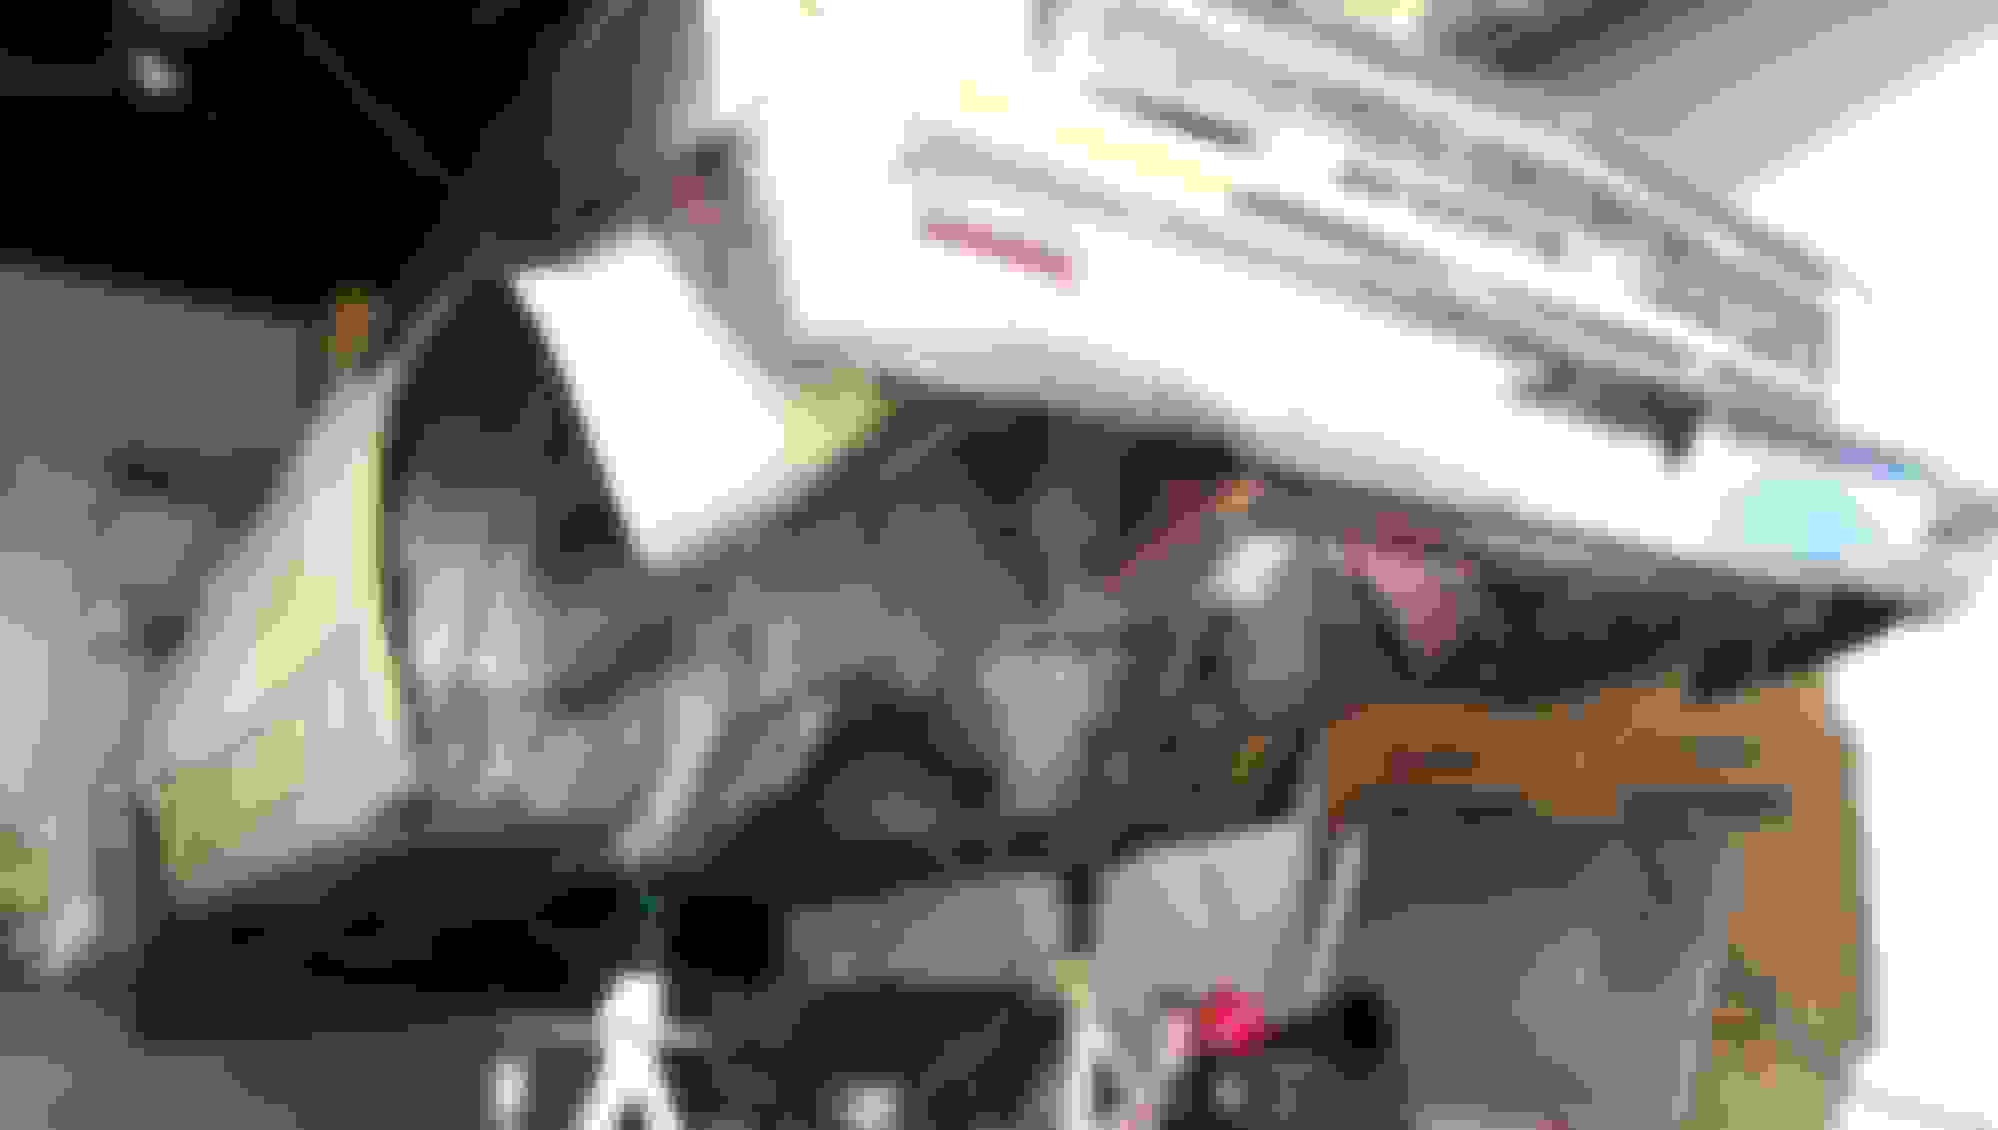
Stock oil pan hits the Control Freak tubular subframe and bulkhead.
Hey, I thought I had the only little old lady car! I wanted to do a swap like this since I had my 61 American back in 1973. Props to you for making it happen.
I'm pretty sure LS1s didn't exist in 1973, are you a time traveler?
It occurred to me the other day that not everyone I talk to about this project knows that I refer to it as "old lady". This realization happened when I was telling an acquaintance that I was going to go home and grind on old lady. Man, did he give me a funny look!
Anyway back to the fun!
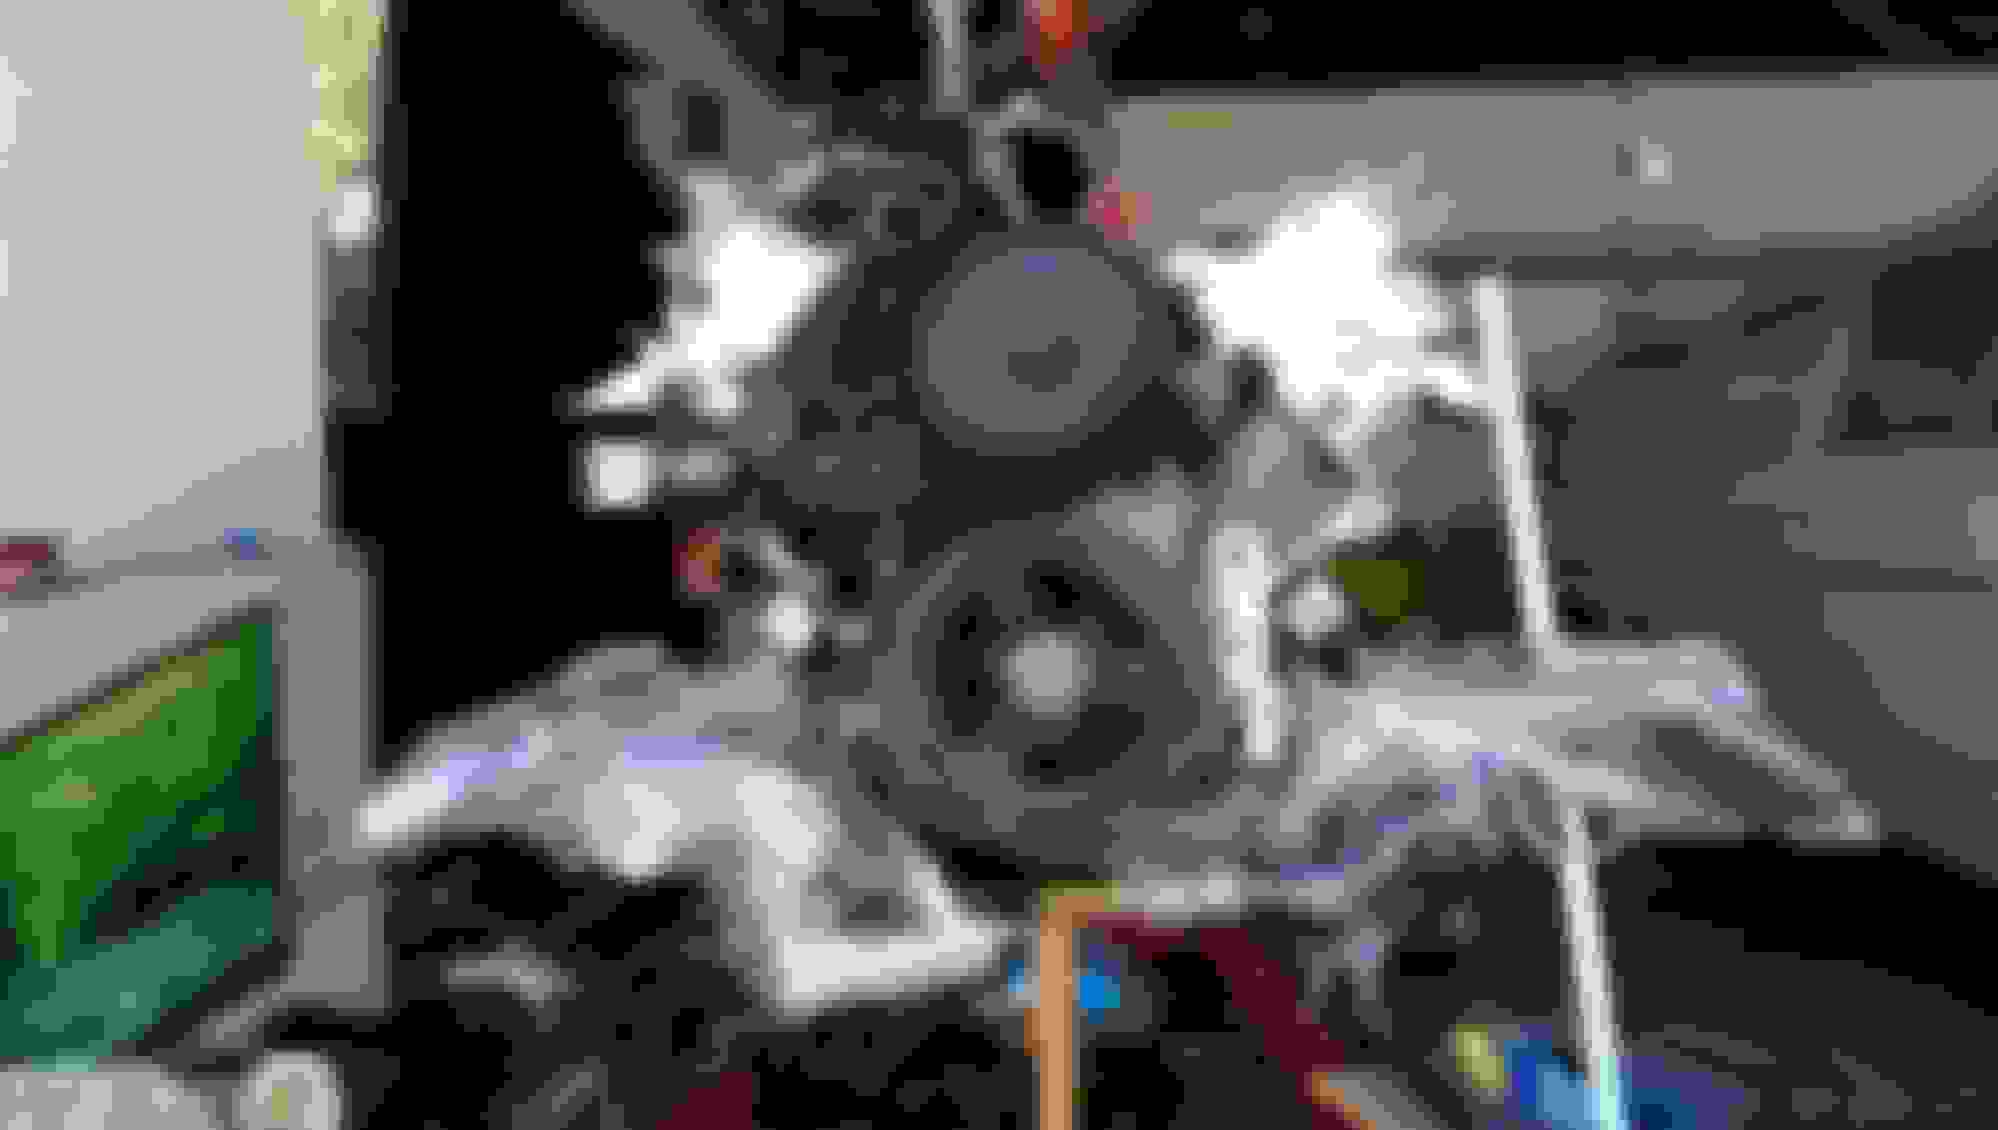
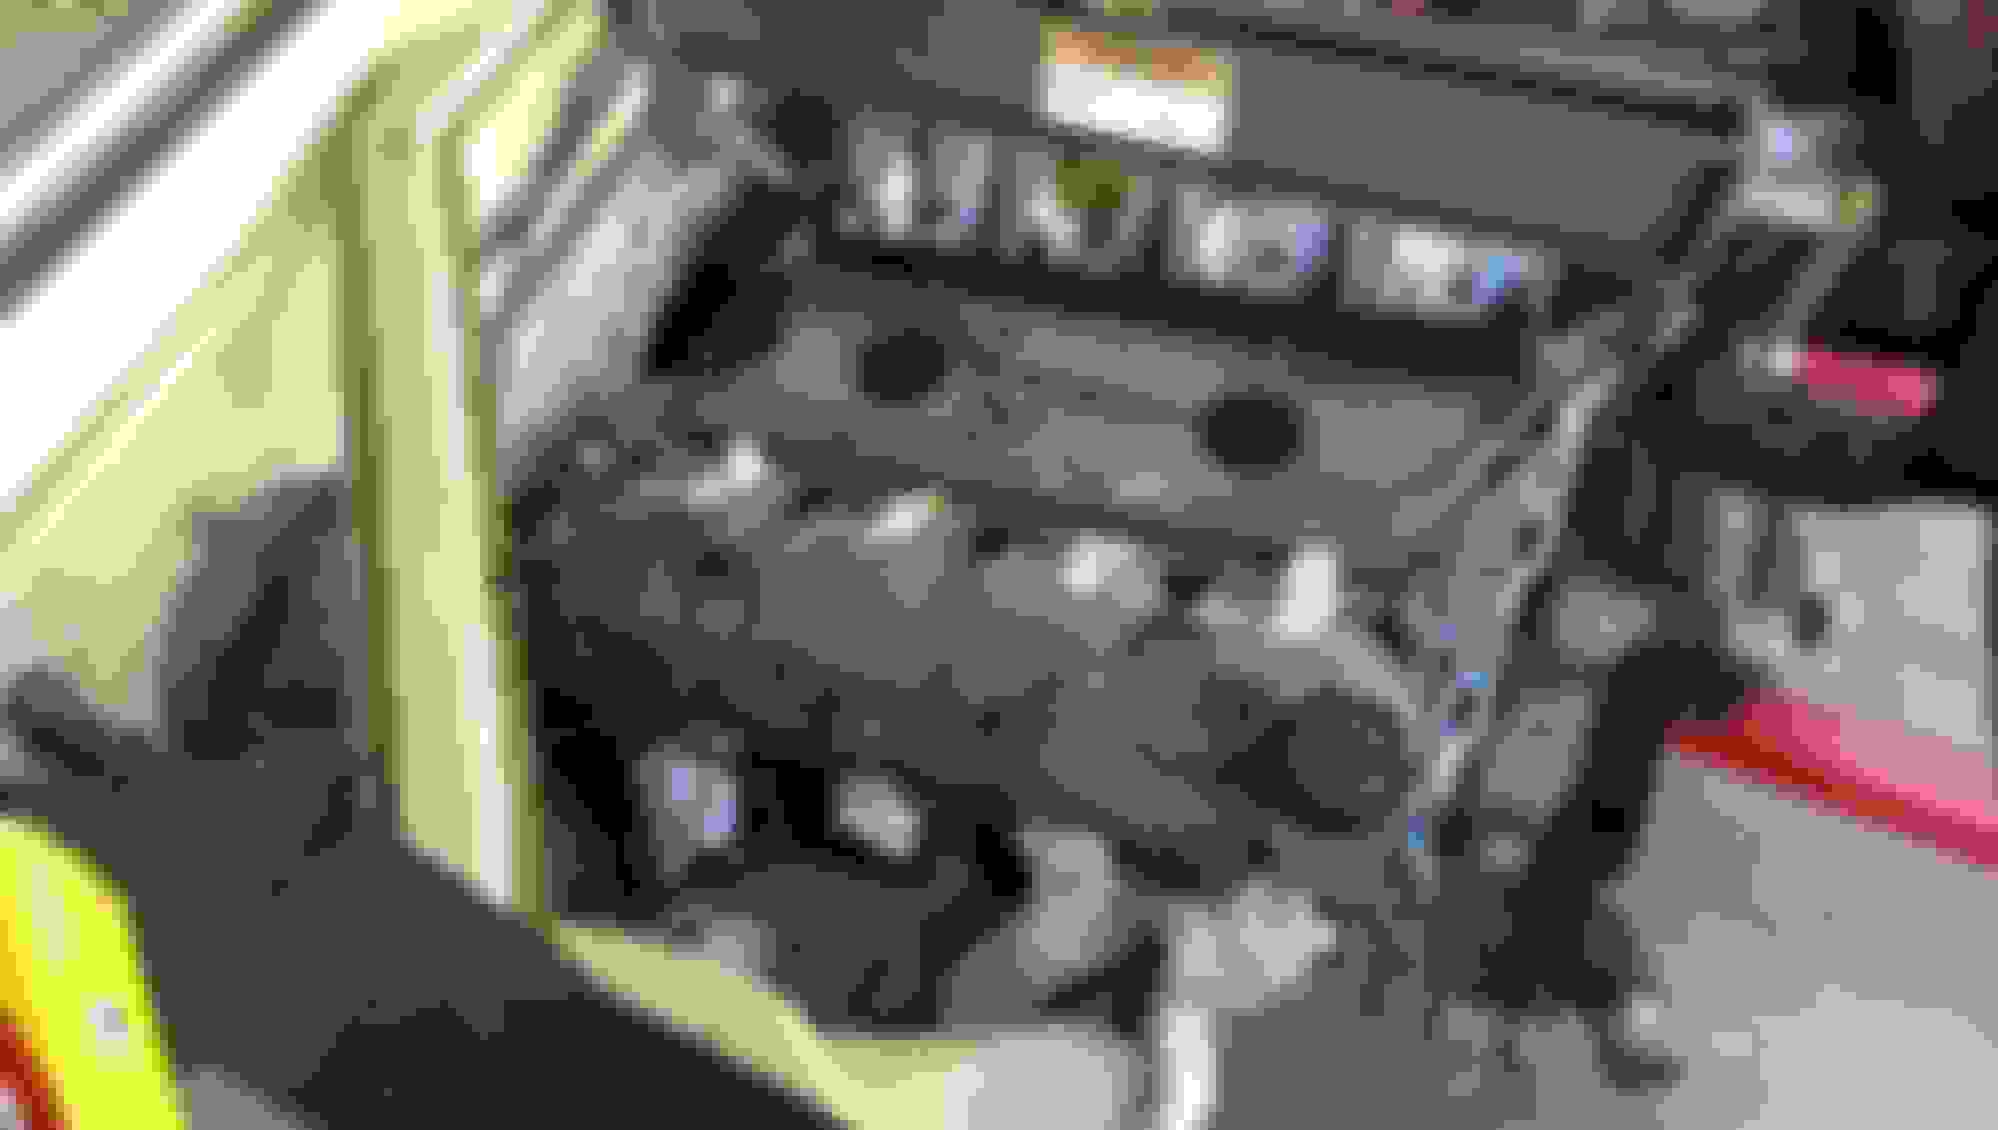
After I took the oil pan off, I was able to move the engine forward. This gave me the necessary clearance for the bulkhead.
Thank goodness for cling wrap!
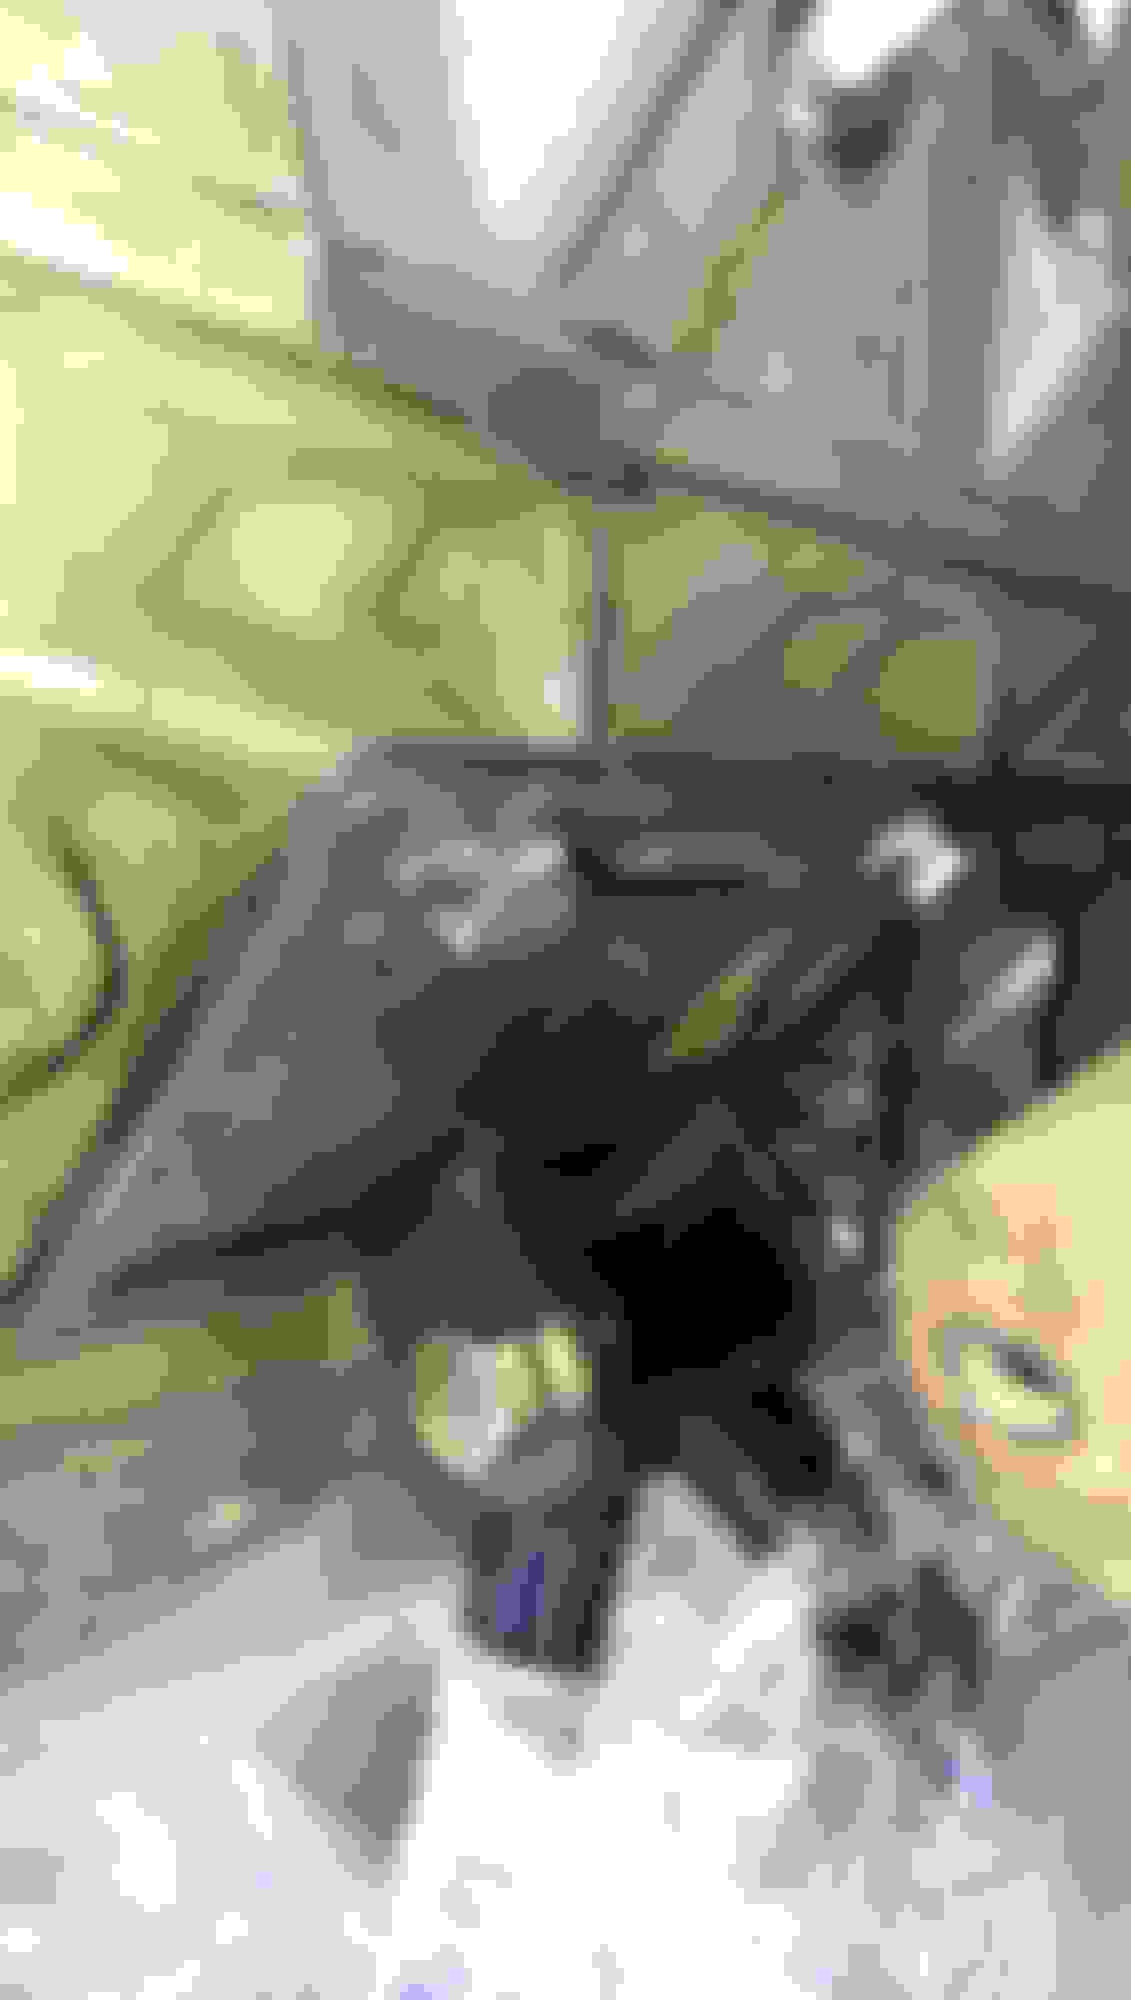
Dirty Dingo mounts were not even close! Basically the only way to mount this puppy is to make custom mounts, the Control Freak subframe is designed to mount to the 390ci V8. This means the driver's side subframe to engine mount is about 1/4" further forward than the passenger side. Too bad it took me paying for TWO sets, and having to make templates out of the one set I received.
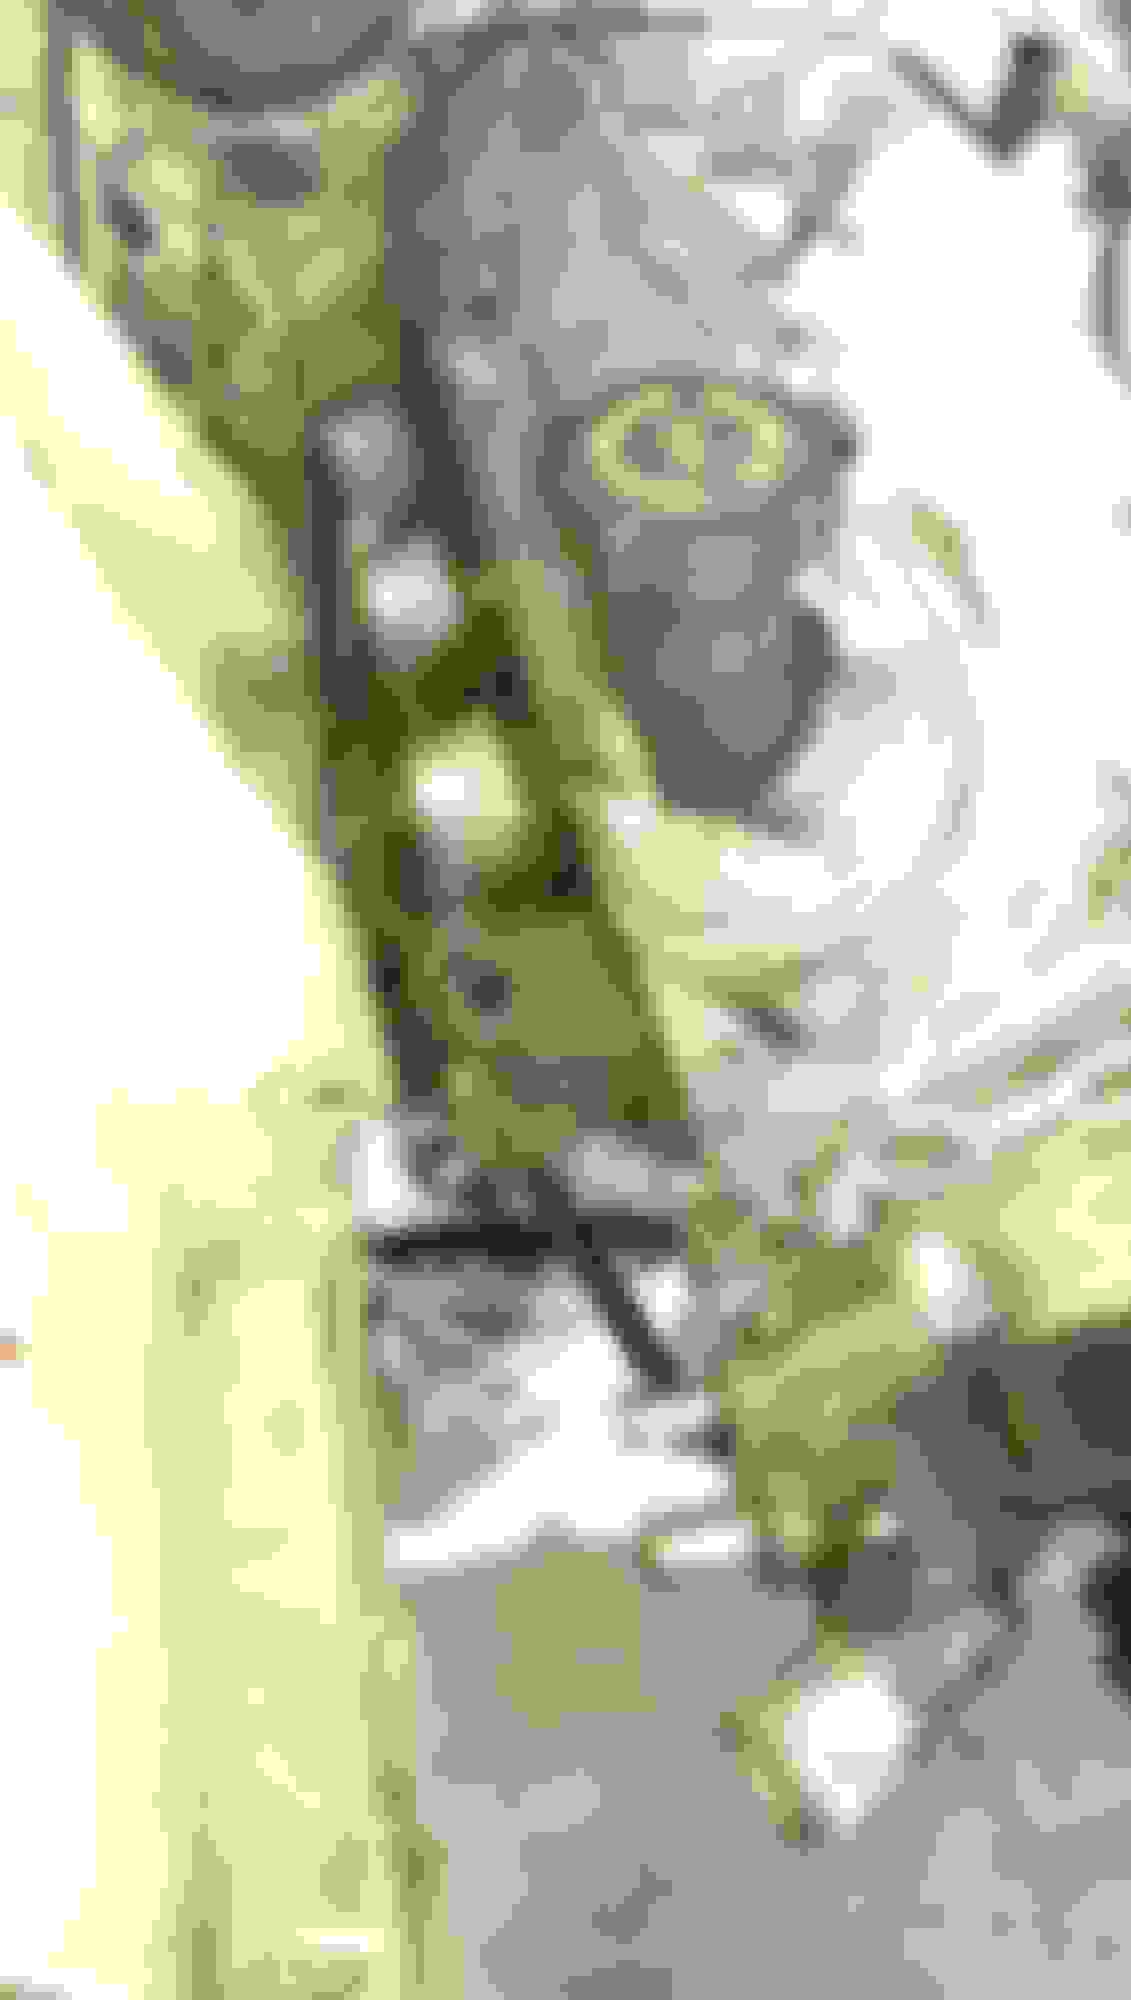
Stock exhaust manifolds clear!
This side will require some massaging
This is the only section of the trans that actually "clears", the rest of the transmission is a touch larger than the 3-speed I took out of it.
Man LS powered wagons are bitchin'...I love mine...no one ever notices you until it's too late...
Yours is going to be even more of a "sleeper"...
Hell yea they are, practical, cool, and COMPLETELY under the radar! I can't wait to troll the Honda/350Z/S2K/FRS/240 boys, they'll never know what left them!
Originally Posted by bajabooie
hell yea i love my ls powered nova wagon, i drive it every weekend
that engine swap just makes these old cars a blast to drive
Mine was HILARIOUS to drive before, the steering, brakes, and suspension were all a joke. I've got the new brakes in a box next to the car (pics to come ), and the new coil over suspension is next to that, I can't wait to get this thing running!
Originally Posted by ls1nova71
Well the exhaust manifolds may clear, but it looks like it may be tough to get your 6 speed on the tree linkage hooked up!
Oh, yee of little faith! I would love to have a column shifted 6 speed, but after a drag race I don't want to be called out for granny shifting and not double clutching like I should, HAHA! <-- Last Fast in the Furious reference, I promise! Please don't ban me mods, it was only a joke!
Pretty sure I've been to that car museum in SD during one of my cross-country treks. Just a bunch of barns and random buildings filled with cars, right?
Anyway, very cool project, looking forward to seeing more!
Pretty sure I've been to that car museum in SD during one of my cross-country treks. Just a bunch of barns and random buildings filled with cars, right?
Anyway, very cool project, looking forward to seeing more!
Originally Posted by CattleAc
You stopped in Murdo...lots of cool stuff for being inside a bunch of pole buildings...
Yea, I got the feeling they had a couple buildings and put a few cool cars in there, then the rest of the cars got parked, and buildings were built up around them. Like the AMC Javelin, it was parked in the middle, four mismatched tires, rust and it looked like it was parked and left there. It was cool to see the S/C Rambler, but that wasn't worth the $11 each to get in.
Originally Posted by autocomman
Very cool, I like the direction your going. Planning on A/C, power steering and all the other creature comforts?
Thanks! I want ALL the creature comforts, this is a NO option car, bought in AZ (I think, that's where I bought it) and it has no A/C, no radio, no passenger side mirror and poverty caps. Anyway, I'm going to try and hide all the extra plumbing, because I like really clean underhood areas.
I can't wait for SEMA in a few weeks, I'm sure I'll find all kinds of neat ideas to implement on this car.
So I've been working on the transmission crossmember, and since the factory one would be too difficult to relocate, my buddy suggested to fabricate one from scratch. Last weekend we built the main support tube and support brackets, this weekend we buit the pedestal that the trans will sit on. Enough talking, time for some pics!
Making the pedestal mounts.
Cool smoke...
Don't mind the dog blanket
Mocking it all up and taking measurements (poorly, apparently)
Passenger side is all done and fits beautifully!
After drilling the holes for the driver's side, and the holes looking like they were about the same distance back as the passenger side, I bolted everything up and found this!
So, tomorrow (I'm too frustrated at myself to continue) I'll look at slotting those holes to fit the bolts. I will be putting in inserts through the frame to prevent pinching the frame and having the bolts rip out. ugh...
I'm really glad I walked away from it last night, after trying to think of ways to remedy my mistake, I came up with a pretty simple solution. I was about 1/4" off of the Driver's Side holes, so I elongated the holes on both sides by 1/16". that means I only had to shift the engine/trans forward 1/16" from where I originally had it. After doing that, I was able to bolt it all up and the trans is sitting at about 2� relative to the car (the car is sitting at 1�). Next step is to install the trans cross member bolt sleeves/inserts/spacers, then finish welding the crossmember, and weld the engine mounts. I can't wait for the easy stuff, like wiring, fuel and brakes.
Made some progress this week/weekend. Since the trans crossmember was tacked up and the engine mounts got tacked up, I pulled everything out to clean up the engine bay.
Getting welded up!
Before
After!
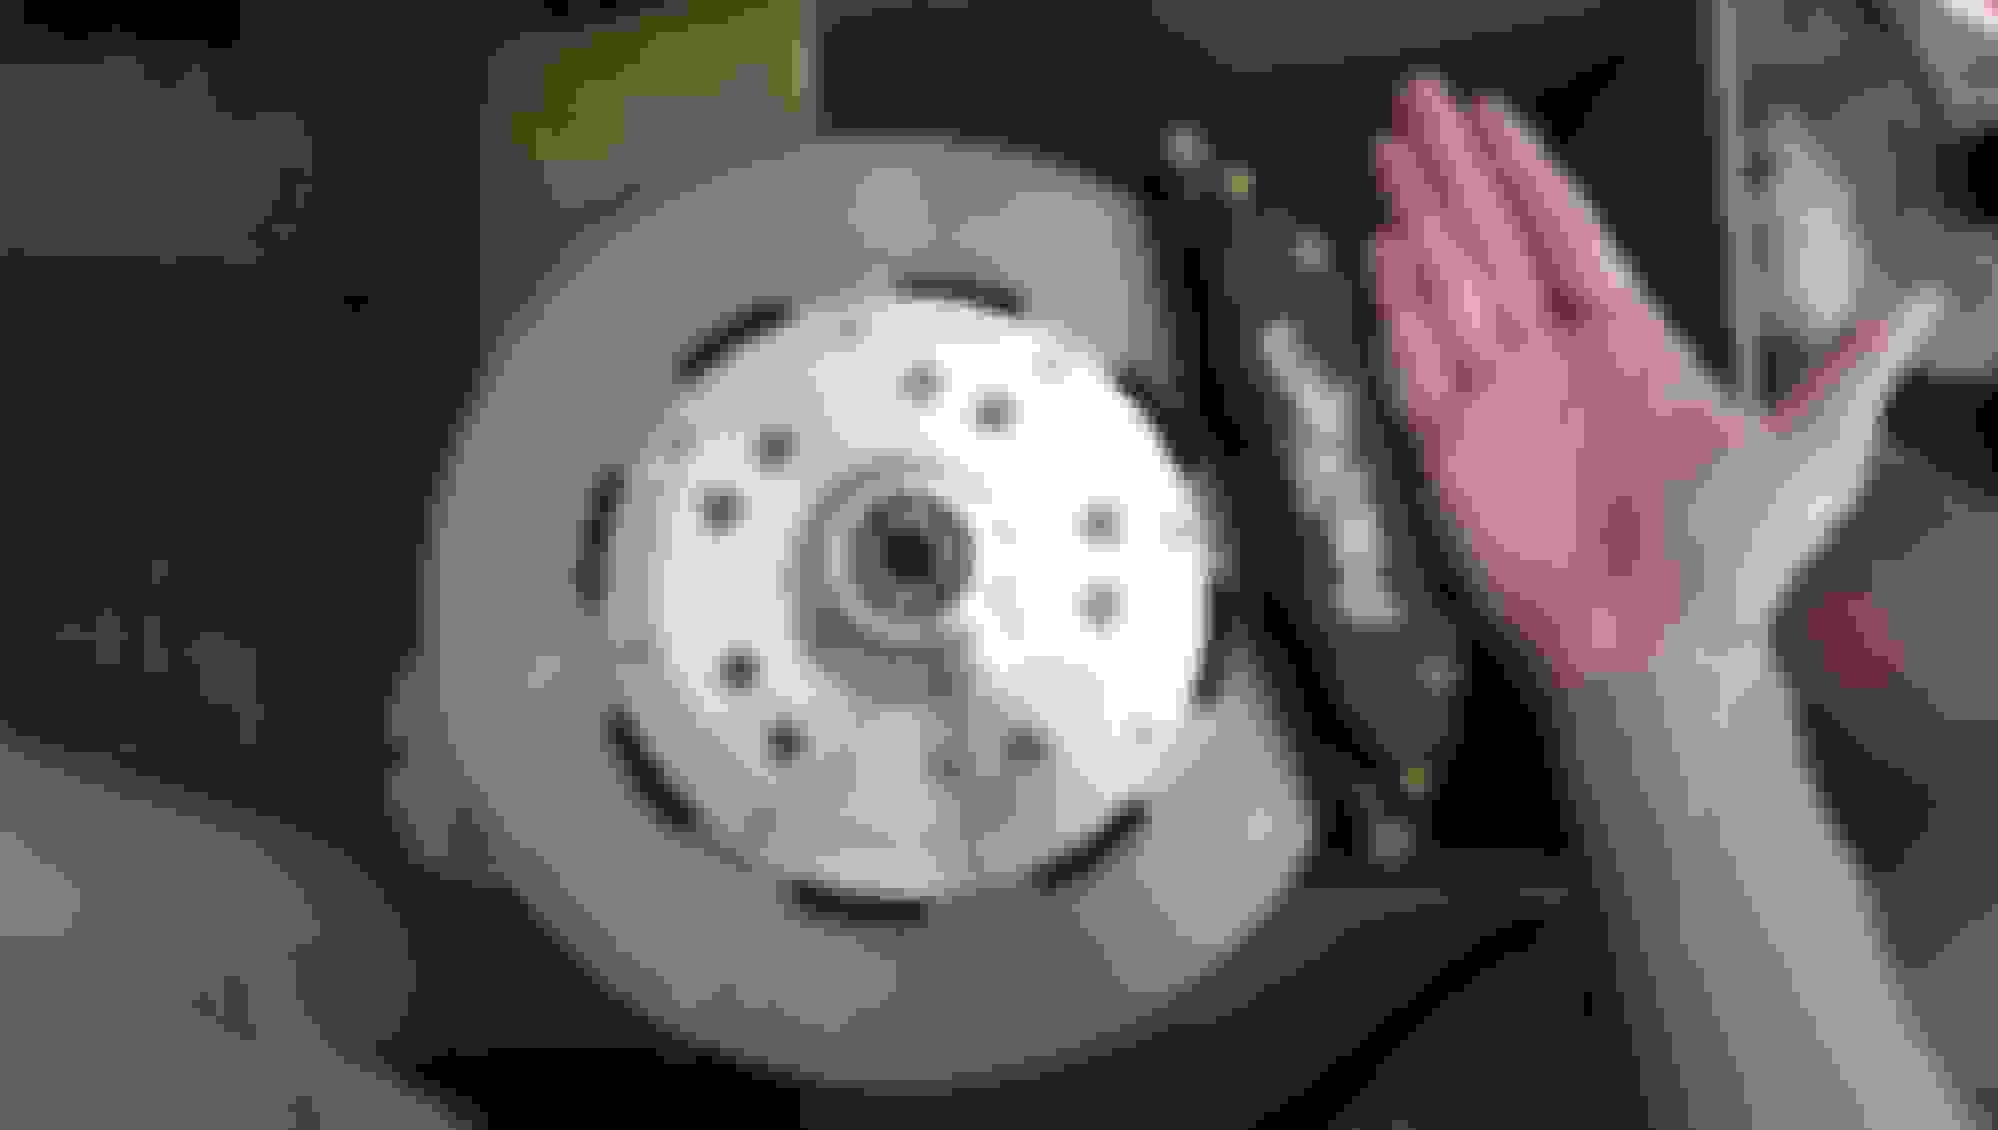
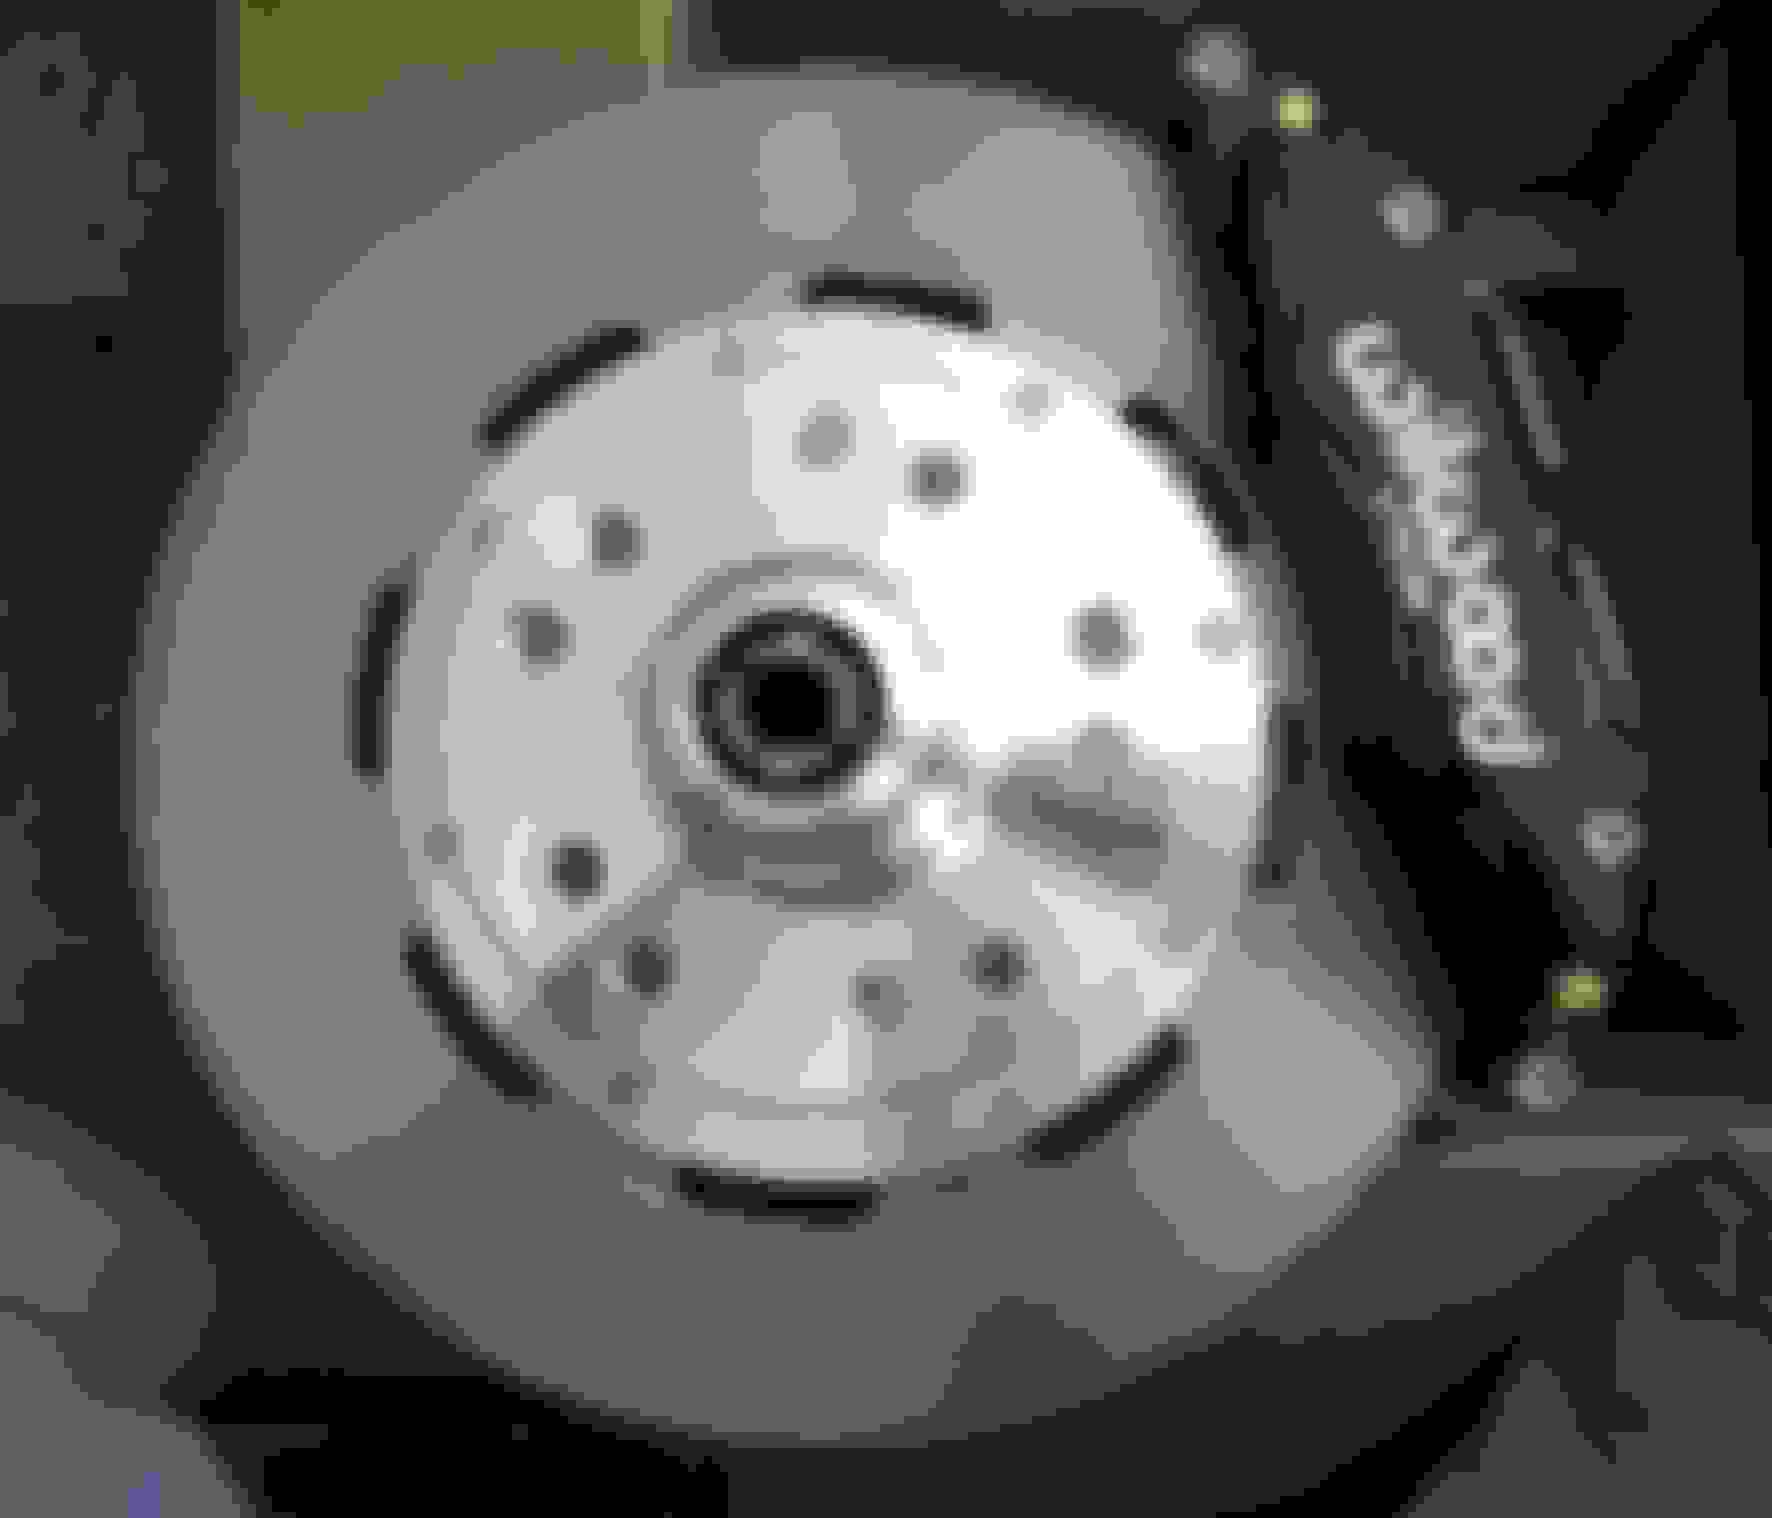
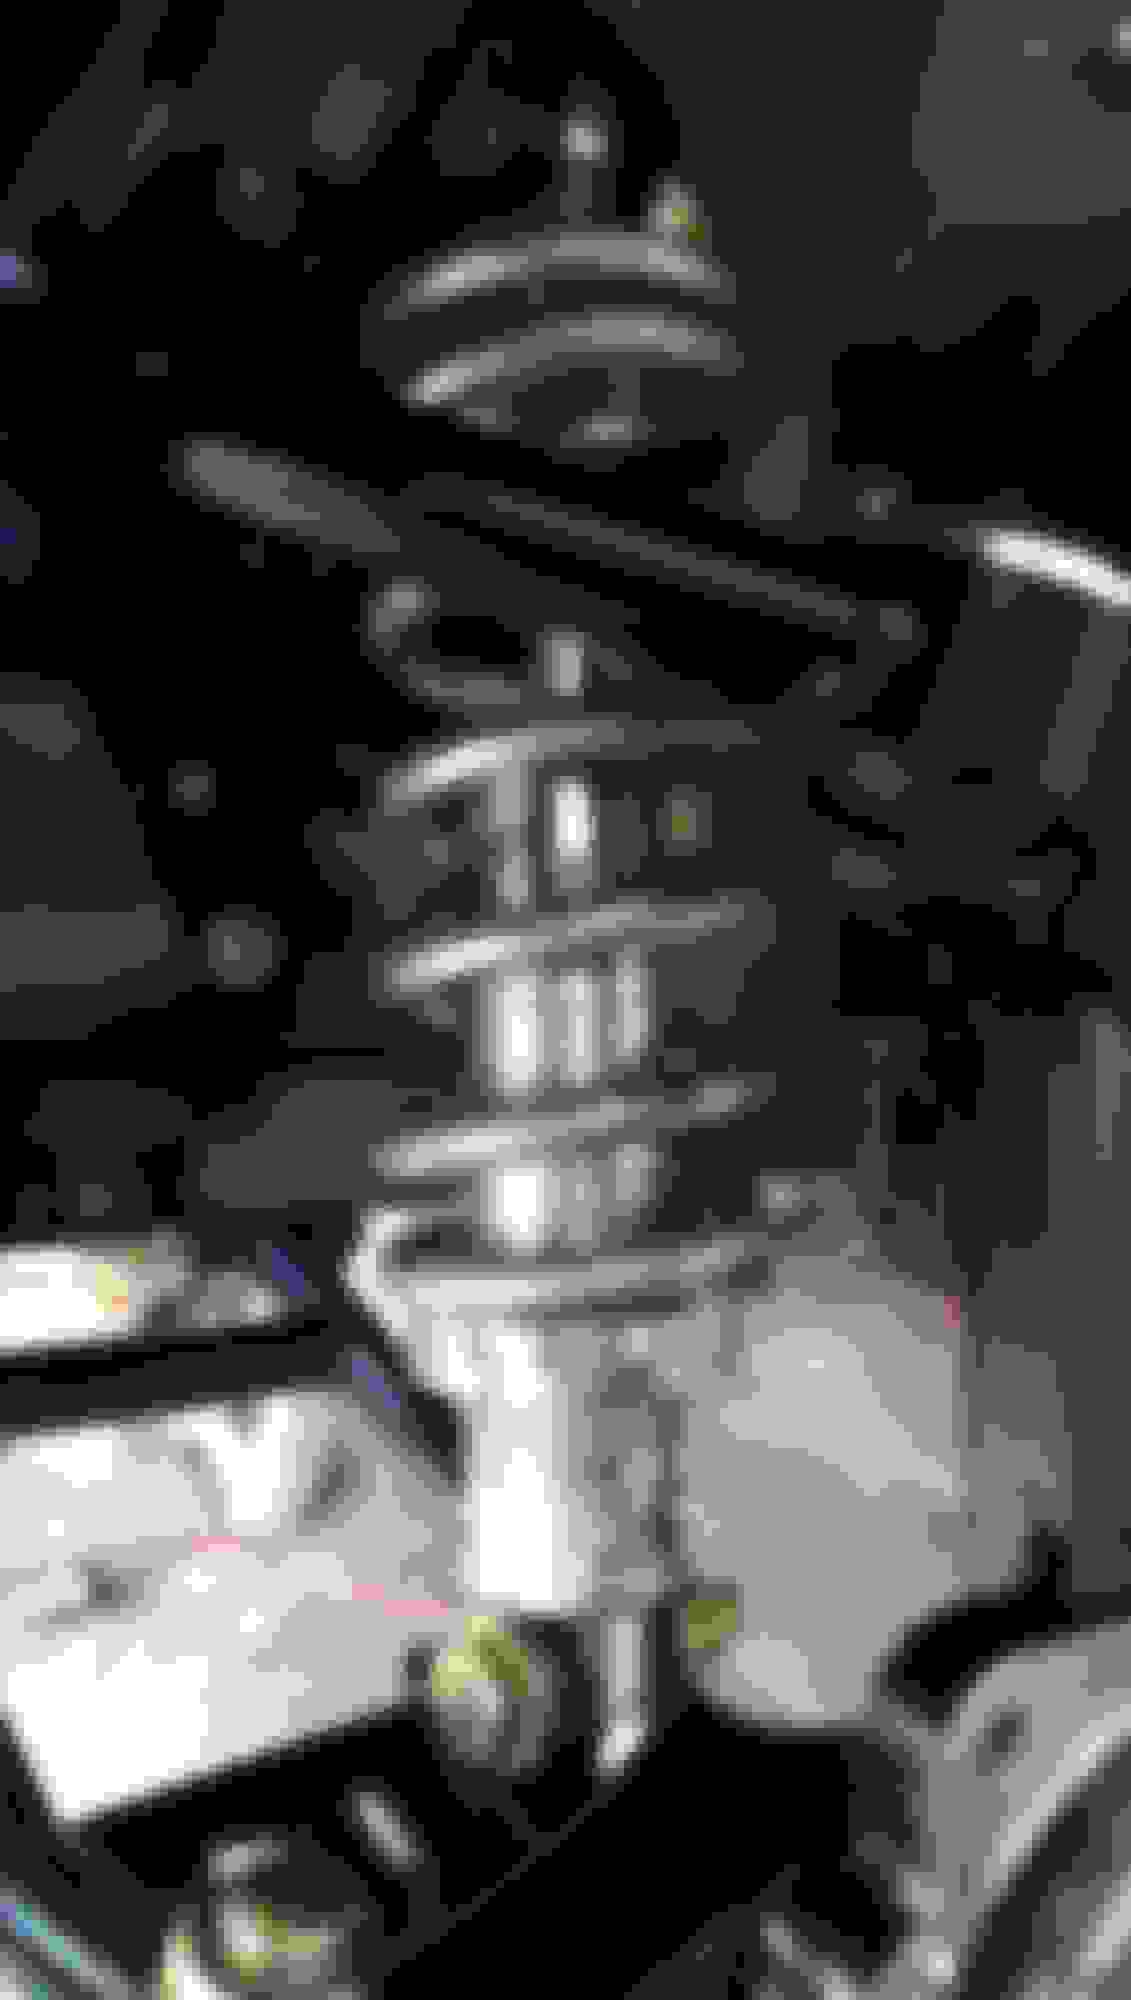
The BIG Wilwoods installed.
Compression and rebound are seperately adjustable
Steering linkage built and intstalled! Woohoo!

 10-08-2014, 10:06 AM


 ), and the new coil over suspension is next to that, I can't wait to get this thing running!