When you click on links to various merchants on this site and make a purchase, this can result in this site earning a commission. Affiliate programs and affiliations include, but are not limited to, the eBay Partner Network.
REALLY debated going LS instead of fixing the issues with the 350. However, I have a PILE of stuff to go in for the interior and want to finish that and drive it for a while before doing the LS this winter. Also want to save the $ for the right LS. I could put a 5.3 in right now, but I want to go LS3 and would rather not do it twice. So hopefully this fixes everything for the moment so I can enjoy the car until transplant surgery this winter. LS3, T56, 9" rear to come hopefully.
Small update. So far, so good. I had a small leak and I started freaking out, until I realized that I didn't tighten up the oil filter enough. I was having a hell of a time yesterday getting it started until I realized I installed the distributor slightly off. Once I nailed that down, she fired right up. But it is LOUD with straight headers and no exhaust. Next step is to test drive it close around my house, then get it to the exhaust shop to connect the new shorty headers to the current exhaust. Then off to the painters. A couple pictures of it out of the garage and LOW. I can now drop the front lower as the short headers offer WAY more clearance than the long tube.
Looks great as is - Changing color or just freshening it up? Looks really nice on the ground.
Thank you sir.
I am planning to leave it the same color. The outside is DECENT. A couple issues here and there. The interior (dash, door & 1/4 upper and lowers) look TERRIBLE. Looks like the previous owner put the interior paint on with a roller. On top of that, I had a new dash made (see earlier in thread). I really like this color though. It's Indigo Blue from early 90s GM trucks.
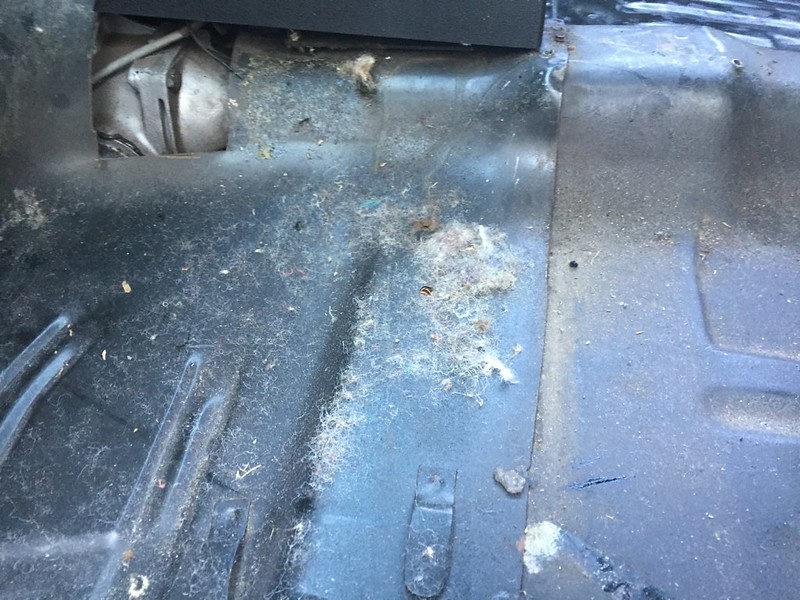
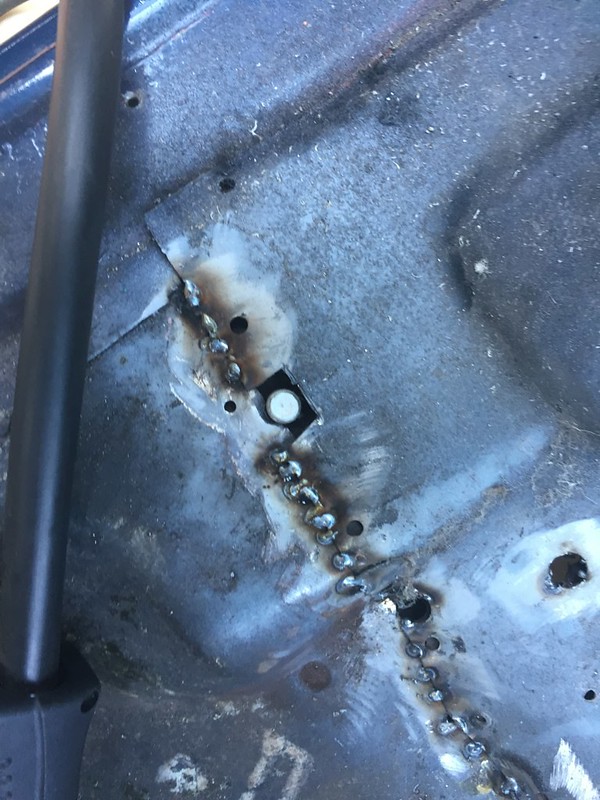
As the saying goes, "There are welders, and there are grinders." Well, I am definitely the latter. Hell, I'm not sure I'd call me either...it's offensive to both 'welders' and 'grinders'...and any metal worker...and anyone who has even seen a welder. I haven't touched a welder in probably 20 years, but I figured I'd give it a whirl. Now mind you, I would never try my hand at a quarter panel or something visible or that I wanted to look nice. But the previous owner of my 66 had put in these hideous seats and put holes all over the floor trying to get them in. Since I'm changing the seats, I figured I'd plug the holes before grinding the floor, coating it and laying down some Dynamat. The welds don't need to be pretty since they'll be covered and they aren't anything structural.
Here is what I started with:
Don't mind the floor seam. It's another from the previous owner that I'll have to attempt to clean up and seam-seal.
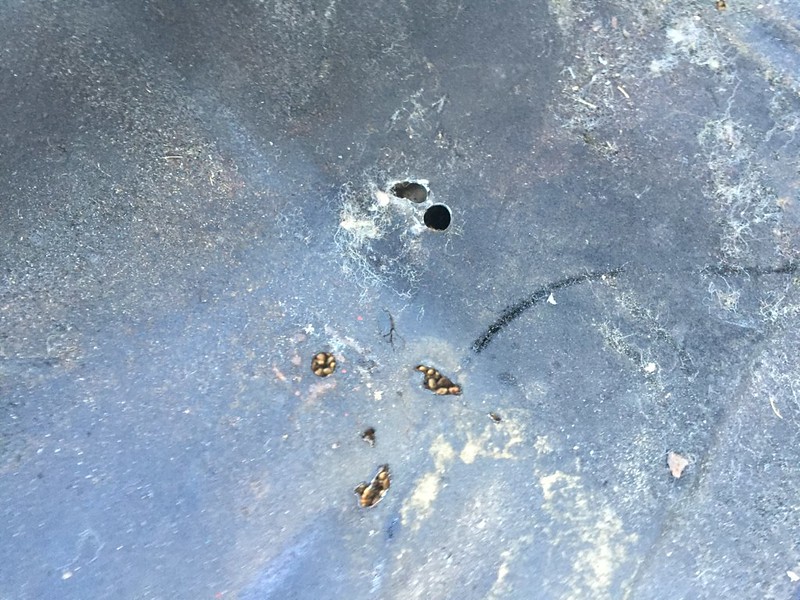
First, I tried just adding material with the welder, then grind it down. Here how it started:
And how those ended up:
That was taking too long - weld, grind, weld, grind, etc. So I decided to do a couple by just cutting out a small piece of metal and stitching that in. It went WAY faster, but I don't think it looks as good. But I'm not too concerned about that. This is a driver and it'll be under everything:
Hoping to get the rest of the floor done this week so I can get the car to the painters for this inside paint. My pile of parts (seats, wiring, steering column, TigerCage, carpet is starting to get bored sitting in the garage instead of the car.
Started working on the inside floors in prep for interior paint. I'm not going to paint the floor other than primer and sealer, but wanted to get this done before the painter does the dash and tops of doors/quarters.
Here's what I started with:
Took a 4" grinder to the floor and a lot of adhesive remover:
Finally, two coats of rust-converter:
One side done. Hoping to get the rest of the holes on the driver's side filled and floor prepped this weekend.
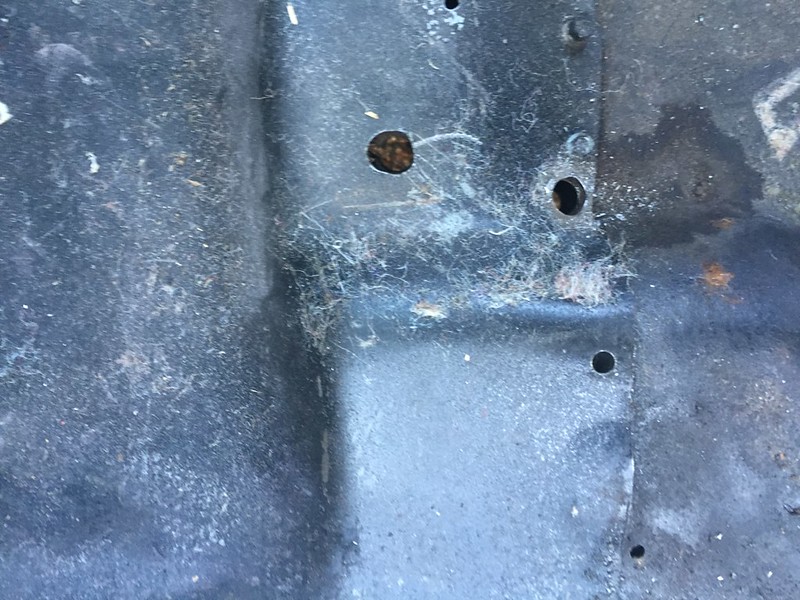
Started on the other side. It appears that both front floor plans were replaced by the previous owner. Needless to say, I am not impressed with the work. You'll notice two things in the first photo. Anyone see the GIANT hole for the 700r4? Holy cow...how do you leave that big of a gap? I'll deal with the tranny tunnel when I swap to LS and t56. No sense in doing it now. The other thing to see...uuuhhhh, NO welds from front floor pan to back?
Question: I spot welded the pans together. Do I need to stitch them together completely? Or is spot welding OK, then seam seal?
A couple more of what I started with:
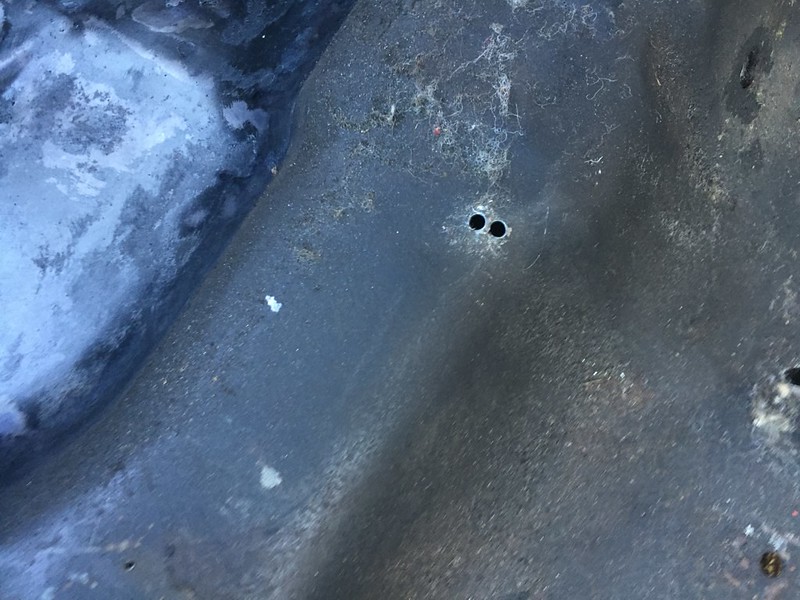
Lot's of holes. The holes in the lower part of the picture look weird, but it's just my aggregate driveway you can see through the holes:
Holes on the top of the tunnel. WTH were these for?
More holes:
Last one. Not sure why they made all these holes to mount seats. And more of the un-welded floor pans:
Started stitching the pans:
Is this enough welds, then seam seal? Or should I put them completely together?
Holes at the top of the tunnel filled:
Put some primer down on the other side. I like how it turned out:
After taking about two months off from the Chevelle, I was able to get back to it. I got it back from the painters and the interior paint looks good. Haven't put the new dash in as there are a lot of steps to do before hand. However, I was able to get the front Nu-Relics power windows, Corbeau seats and Tiger Cage in. Pics are below.
Nu-Relic power window - Work great. No instructions though, so it was a process of removing one side and replace regulator with power one. Pretty easy. I am ready to do the rear quarter windows, but found out they sent me the ones for a convertible. I am awaiting the replacements. Found a great YouTube video on it as I hear they are a pain -
Corbeau Seats - Fit pretty darn well and easy to install. I drilled a couple holes for the bolts as my floors were jacked up by the previous owner and I had to fill a BUNCH of holes from the crappy seats he put in. No biggie. My plan is to weld the bolts facing up to create studs to mount the seats. The seats are comfy, but they sit up a little high for my taste. Not sure what can be done other than cutting out a section of the brackets, but then I think mounting the brackets will be next to impossible. I guess I'll drive it for a while to see.
Tiger Cage - REALLY cool with good instructions. Bolts through the floor and down to the frame. I opted for the door bars and harness bar as well. The main hoop hooks to brackets on the floor, which bolt through floor and to brackets that bolt to frame. Rear bars attach through rear package tray to truck bars with attach through floor to brackets which bolt to frame. Door bars attach to main hoop in rear and in the front, to brackets which bolt through floor and to bracket bolted to frame. In my car, installation was a pain in the @$$. First, the previous owner replaces the front floor pans and didn't do a good job. Therefore things didn't line up great for the door-brace bars. Had to do quite a but of work to get everything to line up. Second, my battery box in the trunk was placed almost exactly where the trunk bars go, so I had to move that. Finally, I broke two cheap sockets and an allen socket trying to torque the bolts down. Time for a tool upgrade
Oh and I also put in the 4-point RideTech harnesses in.
Pics:
Ignore the dash. I have a new one to put in from ABC. But have a LOT of things to do before that.
Got a little more work done. Removing heater core and installing seat studs and seam sealing.
Removing heater core:
The more I get into this car, the more I see I have to fix from the previous owner. I knew there was a little rust on the firewall by the heater core. I imagine this isn't too uncommon as I am sure the leak a bit. However, when the previous owner installed the new front floor pans, it appears they just attached (a couple welds) to the rusty area. Now I have to cut more out and patch. It's not that big of a deal as I'm going to run vintage air as well as smooth the firewall. Pics:
Hole at bottom of heater core:
From inside - you can see the new floor welded to rusty firewall:
Wasp nest (thankfully vacant) that was inside heater core:
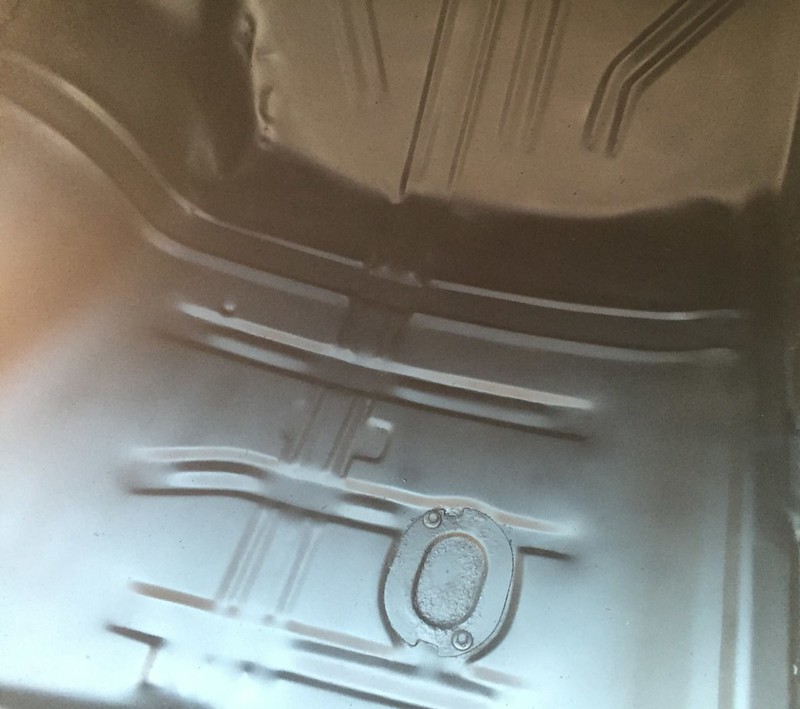
Seam sealer on fixed front to rear floor pans. Don't mind gaping hole in tranny tunnel. I plan to fix that when I enlarge the tunnel for new transmission:
Then I welded in stud for the seats to make it easier to put seats in:
Next I'll start on dynamat for the floors and trunk under the air ride tank and compressor
I too hadn't caught up with this build before, and have read every post you have made. You seem to be doing a thorough job, and have heaps of patience from the look of it.
Keep up the good work, and keep the reports coming.
I too hadn't caught up with this build before, and have read every post you have made. You seem to be doing a thorough job, and have heaps of patience from the look of it.
Keep up the good work, and keep the reports coming.
--Is this enough welds, then seam seal? Or should I put them completely together?
No it's not enough. Anytime you do a patch, the correct way is to butt weld around the entire patch panel then grind smooth without grinding too much and thining the metal. The repair should be nearly invisible. Tacked patches are not as strong, can flex and break the welds, let moisture and rust in, etc, etc.
A little late man. In order to have everything perfect, then probably yes. However, most of the panels are spot welded from the factory...at least floors to braces underneath. Although it may be better to cut everything out and butt weld them completely, I'm not taking this car all the way down. I'm making a nice driver. On top of that, I've ground down everything on the floors I could, filled the holes and put rust inhibitor, primed and painted.
I'm not trying to be combative and I know I asked the question, but I JUST put the seam sealer down yesterday.
When I patch the area by the old heater core, I will definitely butt weld completely
Originally Posted by trozfan
--Is this enough welds, then seam seal? Or should I put them completely together?
No it's not enough. Anytime you do a patch, the correct way is to butt weld around the entire patch panel then grind smooth without grinding too much and thining the metal. The repair should be nearly invisible. Tacked patches are not as strong, can flex and break the welds, let moisture and rust in, etc, etc.
Did some work over the weekend. Started welding on the firewall (still working on that). The area where the air tank and pumps for the air ride needed some TLC. It was both a little rusted (not through) and rattling when the pumps turned on. So I POR-15'ed the area then put down Dynamat. I LOVE POR-15. Yes, it's messy, yes it won't come off anything, but it goes on well and provides a great basecoat. I only wish I had known about it when I did the floors and frame.
Side note - you should ABSOLUTELY follow the prep instructions. I used their degreaser/cleaner, then metal prep, then POR-15.
Area prepped:
Sorry, no pics with just the POR-15, but here it is with Dynamat:
Was also able to work on the quarter windows. Took out the regulators and cleaned everything up. Still need to paint the roller channels so I can put in the Nu-Relics power windows.
Can you tell which one I cleaned first?
Roller channels. I was able to get the wire wheel on most of the area, then scratch up the rest. I hit it with some rust-converter and need to paint them to put them back in. I also ordered some of the window rollers to try to smooth out the window operation. Just waiting for them to come in.
More pictures after painting the window roller channels. And a couple of the interior Dynamat. I have most of the floor done except for the edges and transmission tunnel, which will be done after I patch the tunnel for the larger trans. Don't mind the masking tape on the Dynamat edges. It's just there so I can climb around the cab without getting the Dynamat all over myself
So I've been trying to figure out more stuff to do on the car while I save for the new motor. When I do the motor, I need to do the trans. When I do that, I need to do the rear end. Then comes the fuel tank, etc. I like to keep the car running so I can put around a bit and easily roll it in and out of the shop. Moving it in and out of the shop normally wouldn't be necessary, but I have the MaxJax in the garage and with it bolted to the floor, it's kinda hard to open the doors and work, so I generally move it outside if I'm doing anything on the interior.
At any rate, I figured I could take out the dash and start to prep the inner firewall for Dynamat and Vintage Air. I assume that my inner firewall is pretty common with a fair amount of surface rust and a little rot here and there. Here are my pictures on the clean up and POR-15 (LOVE this stuff):
If you remember, here is what I started with around the heater box:
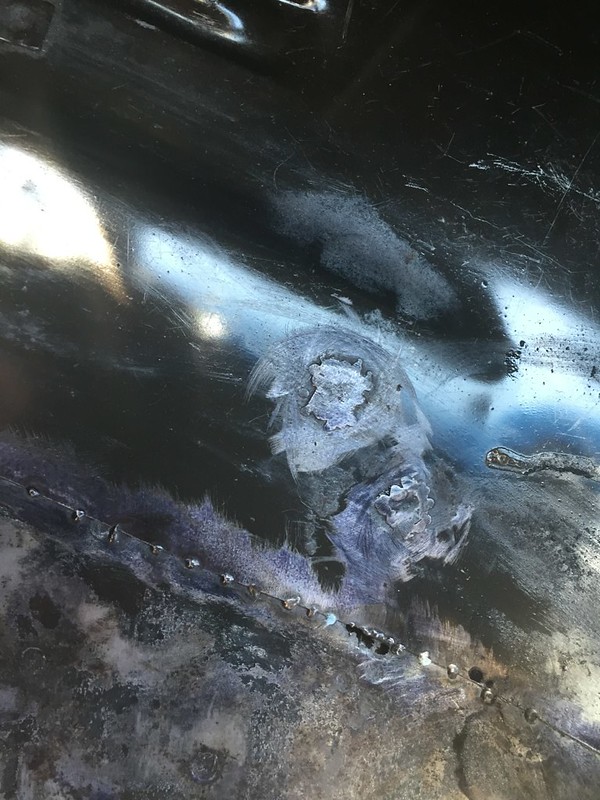
I cut out the offending rust areas and welded in patch panels. I just made my own panels as I couldn't find smaller patch panels without buying the whole firewall and paying six billion dollars in shipping.
VERY important to remember I am not a welder or metal fabricator. I put in my homemade patch pieces and they were OK structurally, but the welds were HIDEOUS. I didn't think I cared as they will be covered with Dynamat and the outside will be smoothed. Honestly, I didn't even take too many pictures from embarrassment. In progress:
So I took out the dash to find this. Not too terrible, but needing attention:
I decided to clean up the passenger side first and them POR-15 it. POR-15 is great, but I have heard horror stories from people. My guess is they didn't prep well. I used their de-greaser and prep spray and everything went very well (you can see my crappy welds and patch work):
Two things about the patch work bothered me. The welds and it was a little flimsy. I don't have a bead roller, so I couldn't put the little lip in at the opening for the heater box or beads for strength. Necessity is the mother of invention, so I decided to try a fix. I took some pretty heavy steel and bolted them to the outside of the firewall right below where the lip is supposed to be for the heater box. Then took a handy body hammer and bent the metal over it. FIXED. It is now solid. I welded up the holes, decided the grind the welds pretty good and POR-15'ed the rest. It ain't perfect, no doubt about that, but it's solid, it will last and no one will see it:
The lighting makes it look like there's a crease in the patch, but there isn't
Next, I'll do the drivers side, but for that I have to take out the wiring and that leads to doing EVERYTHING else. Gotta save some $ for the motor I suppose.

 08-31-2015, 09:49 AM


 In order to have everything perfect, then probably yes. However, most of the panels are spot welded from the factory...at least floors to braces underneath. Although it may be better to cut everything out and butt weld them completely, I'm not taking this car all the way down. I'm making a nice driver. On top of that, I've ground down everything on the floors I could, filled the holes and put rust inhibitor, primed and painted.