When you click on links to various merchants on this site and make a purchase, this can result in this site earning a commission. Affiliate programs and affiliations include, but are not limited to, the eBay Partner Network.
Got the surge tank fabricated. Only thing left is a leak test and marking the fittings.
Also got some work done in the engine bay. Lots and lots of cutting/fitting/welding. Will it ever end? At least I'm putting back pieces rather than cutting them out.
Fuel system: Waiting on a few 150 degree AN hose fittings to finish up the plumbing but got the LP pump, HP pump, and surge tank installed. Still have to find a home for the regulator but I am going to hold off on that till the pedals and steering are installed.
Chassis: What has been taking the most time is all the finish metalworking. It has been fairly hot so working in gloves, jacket, and hot metal wears you out pretty quick. I think I have about 3-4 more weeks of grinding, welding, grinding, welding..... Here is my progress to date:
Torque Tube: Got my lengthened torque tube drive shaft on Friday! I was a little nervous installing it hoping all my numbers added up correctly. I am happy to say that it fit perfect! I think the torque tube is first thing that was final assembled for good!
Steering: Started working and figuring out the steering. I'm going to use the corvette steering column. This is due to me using all the Corvette wiring so this makes it easy for turn signals, wipers, lights, etc to work. It is also a fairly nice unit with tilt and telescoping. The bad part about this is that it needs to be cut down and is giving me fits taking it apart. I never really realized how complicated the column was.
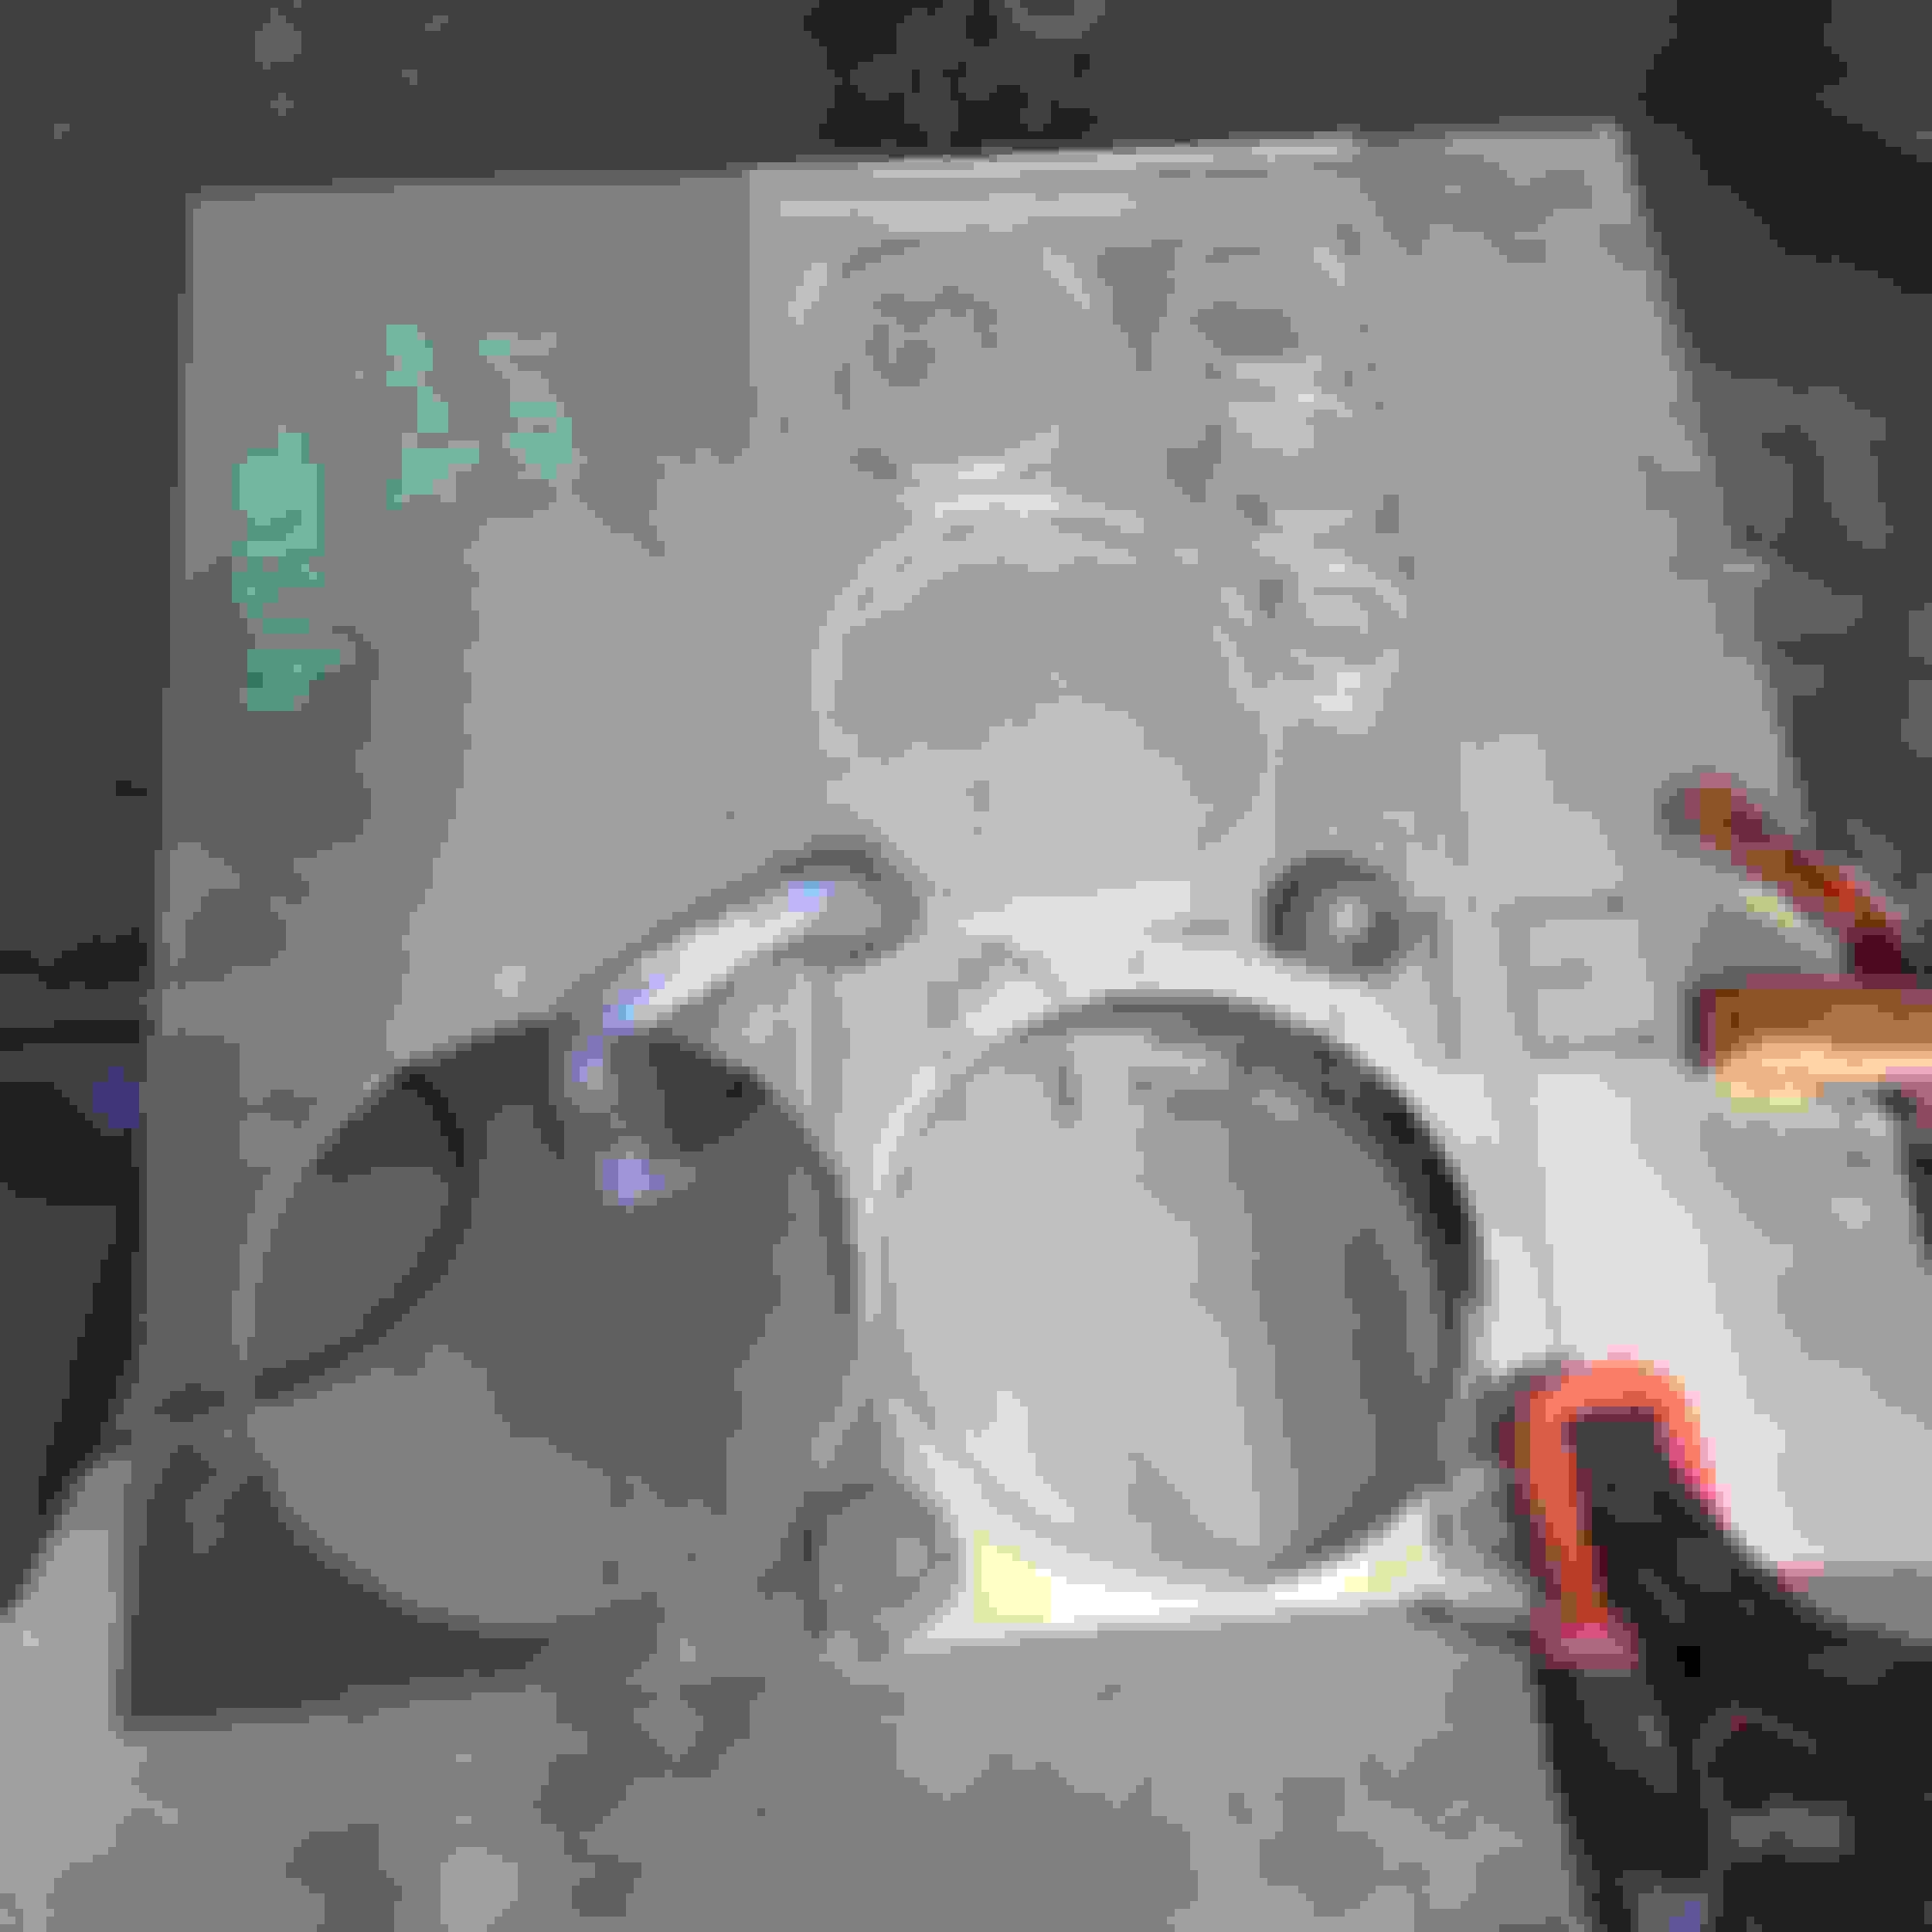
The picture below is the mount for the steering column that I cut off the pedal assembly. I was hoping to use the whole thing to retain the pedal to steering wheel relationship but it didn't fit. Big surprise there.
Next up is lots of welding/grinding. I will also be getting my shortened CV half shaft this week, so I will be able to put those together which will finish up the drive train (minus actually installing everything). Radiator is also on order and will need to be installed. Cooling system and brake design is underway.
Got a whole bunch of goodies in the mail this week. First is my new shorter CV half shafts. Getting ready to put those together.
Also got my Wilwood pedal assembly in. Got it mounted as well. It doesn't look like there will be enough room from the picture but surprisingly there will be. It will be tight though. The pedals are sitting a little far back since there are no masters to hold them in the correct position. The gas pedal will be in the 45 degree bend area.
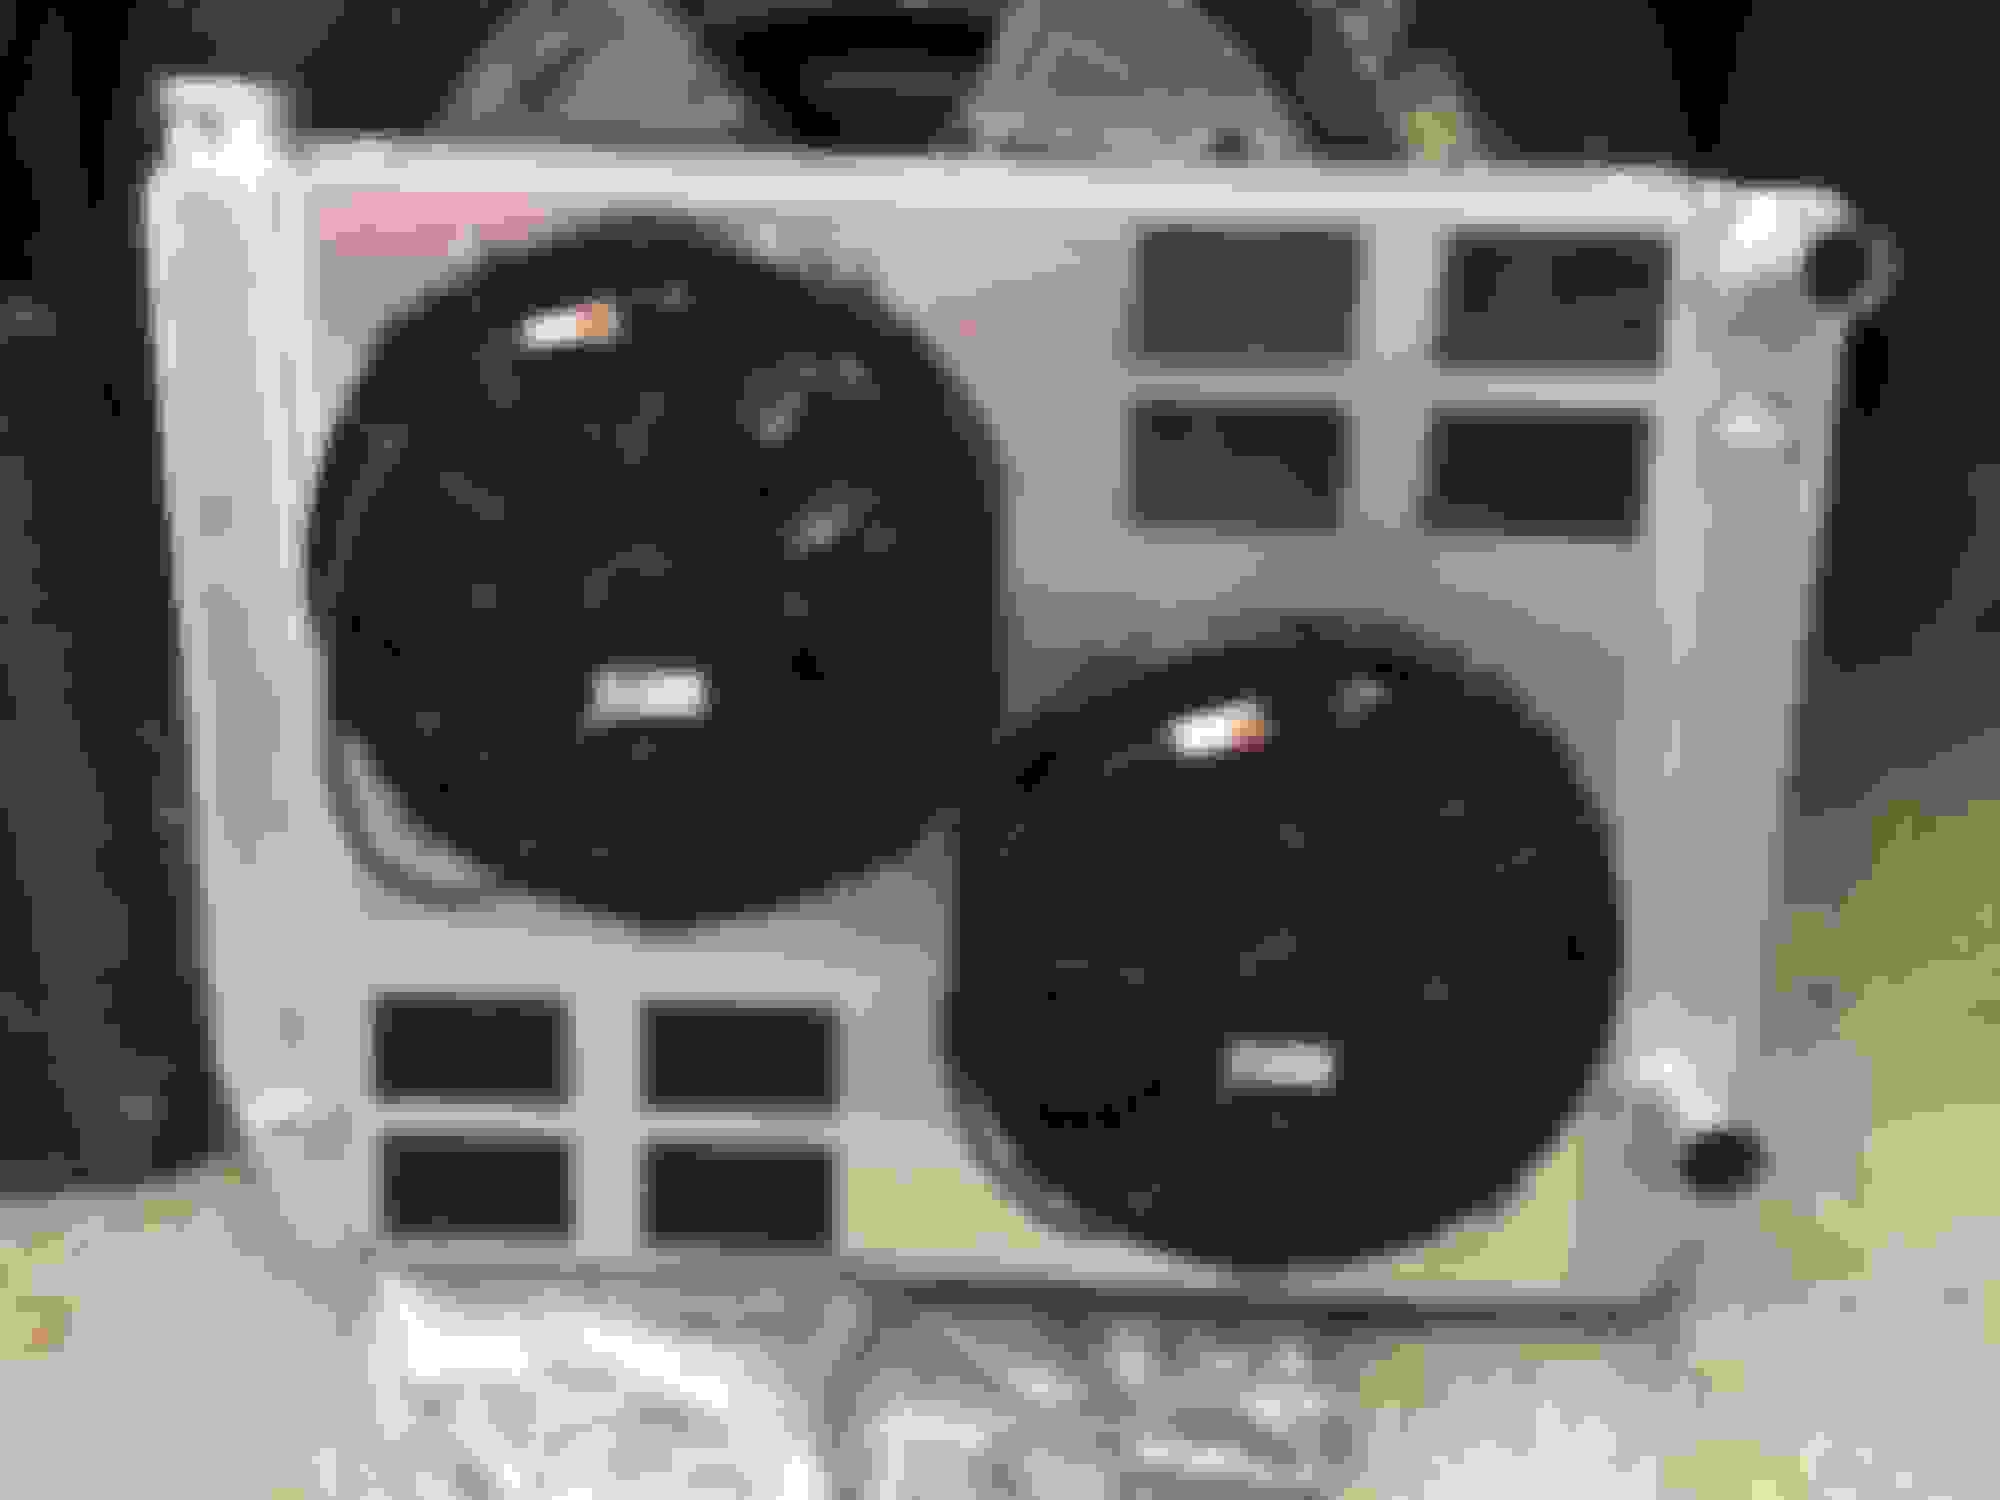
And finally, I got my Griffin radiator in! Looks like it will have a little more cooling potential than the stock Volvo one next to it. The size is 26x19x3. Comes with fans all ready to go.
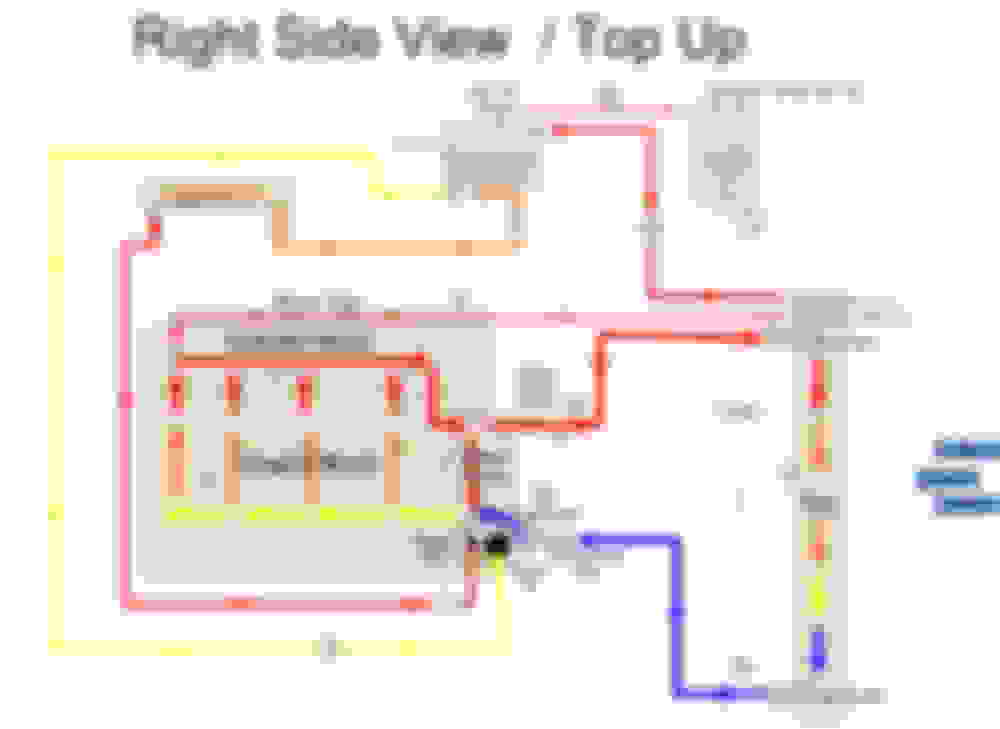
Below is the cooling system design. The only issue I am currently having is that the radiator has a radiator cap on it which should be blocked off since the Surge tank will have the real radiator cap and control the pressure of the system. The problem is I cant find a griffin block off radiator cap. It also has a 3/8 NPT near the bottom which I am assuming is the drain but I am not positive. So if anyone here knows please let me know.
Just run a higher pressure cap on the radiator than you are running on the surge tank.
Not a lot of room there for a gas pedal....
Andrew
Didn't think of that. But I think its opposite, I would want to run a lower pressure cap on the radiator that way it flows to the surge tank. I'm also not sure what pressure a normal hose can tank before blowing, guess it more depends on the clamps. I am not planning on running ANs.
As for the pedals, I got the gas petal mounted today. I am going to replace the plastic end with a straight piece rather than the angle. Its tight but it doesn't feel to awkward. Gas pedal has full travel despite what the picture looks like.
On a side note. I found a use for the old 740 air bag.
Will have to take your word that its not too tight , cause it looks way to tight for my chubby butt lol . But I really like the work you have put in so far . On a side note I don't know who is going to enjoy that bag more you or Barbie lol .
The pedal placement looks all right as long as you are comfortable with it. As for the radiator, you essentially want the radiator capped off, right? So the surge tank acts as the highest point and as the vent for extra pressure. So having the radiator cap being of a higher pressure value, will essentially make it function as if it is completely capped off.
Updates: Aside from what it may look like, I have been working on the car quite a bit over the last few weeks. Mostly all boring finish welding/grinding work. The rear chassis is done and ready for some undercoating (hopefully next weekend). The front still needs some minor steel work. Once steering is all figured out Ill put the engine back in.
I did get the lower core support fabed up. Forgot to take pictures with it finished welded and radiator. The reason for hanging the radiator off the lower core support rather than right on top was to allow a good mounting location for the additional radiators (Oil & PS).
Didn't think of that. But I think its opposite, I would want to run a lower pressure cap on the radiator that way it flows to the surge tank. I'm also not sure what pressure a normal hose can tank before blowing, guess it more depends on the clamps. I am not planning on running ANs.
The radiator as photographed is not compatible with your schematic.
The remote header tank should be an integral part of the pressurised system. If you install a cap and use the vent tube on the side of the cap fitting to the remote header, it will be all wrong.
That is a vent to an unpressurised overflow.
To do the way your correct schematic shows, fit either a blocked or very high pressure cap to the radiator, and you'll need two new takeoffs from the rad end tank itself for the steam port and bleed/overflow to the remote reservoir.
The discharge at the cap on the rad strictly speaking should not be in use at all for your system as you've drawn it.
a) you have ***** to take this as far as you have
b) great fab skills sir!
c) maybe the best handling Volvo wagon ever built with all that engine setback!
this is awesome . What are you plans as far as a daily driver or toy . This is very cool . WHat are you plans for paint or leave it as it ?
I tend to go in spurts with my non daily driver cars. I'll drive them for a full week here and there switching between my actual daily driven car in the summer. So to answer your question I suppose its more of a toy.
Paint is an undermined topic. I like the natural patina but I have a feeling it will end up getting painted down the road. I will probably go gun metal gray if I do paint it.
Originally Posted by gnx7
a) you have ***** to take this as far as you have
b) great fab skills sir!
c) maybe the best handling Volvo wagon ever built with all that engine setback!
Thanks for the kind words. And to comment on "c" I sure hope so, I dont think anyone is as dumb as I am to attempt this
Few updates:
Working on fabing up upper radiator core support. Was way harder to come up with a good looking strong enough design. Part of it you can see in the picture. More fabrication to come. But the engine does look good in there if I do say so myself
Was able to finish shortening the steering rack. I'm sure most people would say that these racks are not supposed to come apart but with lots of frustration it can be done. I always say, anything that goes together can come apart. So if anyone needs to take one apart, let me know and I'll give you some tips.
The drivetain will need to come out one more time to make clearance in the frame for the steering shaft. It will end up being a 3 U-joint and 2 bearing design. It's been a real PITA to figure out but I think I'm in the clear now. Hopefully it all works with good steering feel.
I'm currently also running brake lines, cooling hoses, battery cable, and fuel lines (pretty much done). Next big task is seats, mounting the steering column, and finding a home for the shifter.
Man, this is badass!! I've always wanted to own a rear wheel drive minivan, and I think I found the answer...Vette chassis and a Plymouth Voyager or something like that
Lots of progress this weekend. Got the battery mounted. Had to fabricate the tray since it was an awkward location.
Got the battery cable ran.
Was able to get the computer, fuse boxes, throttle control unit, and some wires mounted. Looks like a mess now but it will be clean when it�s all done. I'm actually surprised how well the corvette harness uncut fits inside. Sure you have some sections of wire that take a U-turn but it will all be covered up eventually.
Also got the fuel system finished up. Just need to test it with my fingers crossed.

 08-03-2015, 07:36 PM