
2000 Durango SLT 4x4 LS Swap-Build thread


 10-26-2015, 12:31 AM
#24
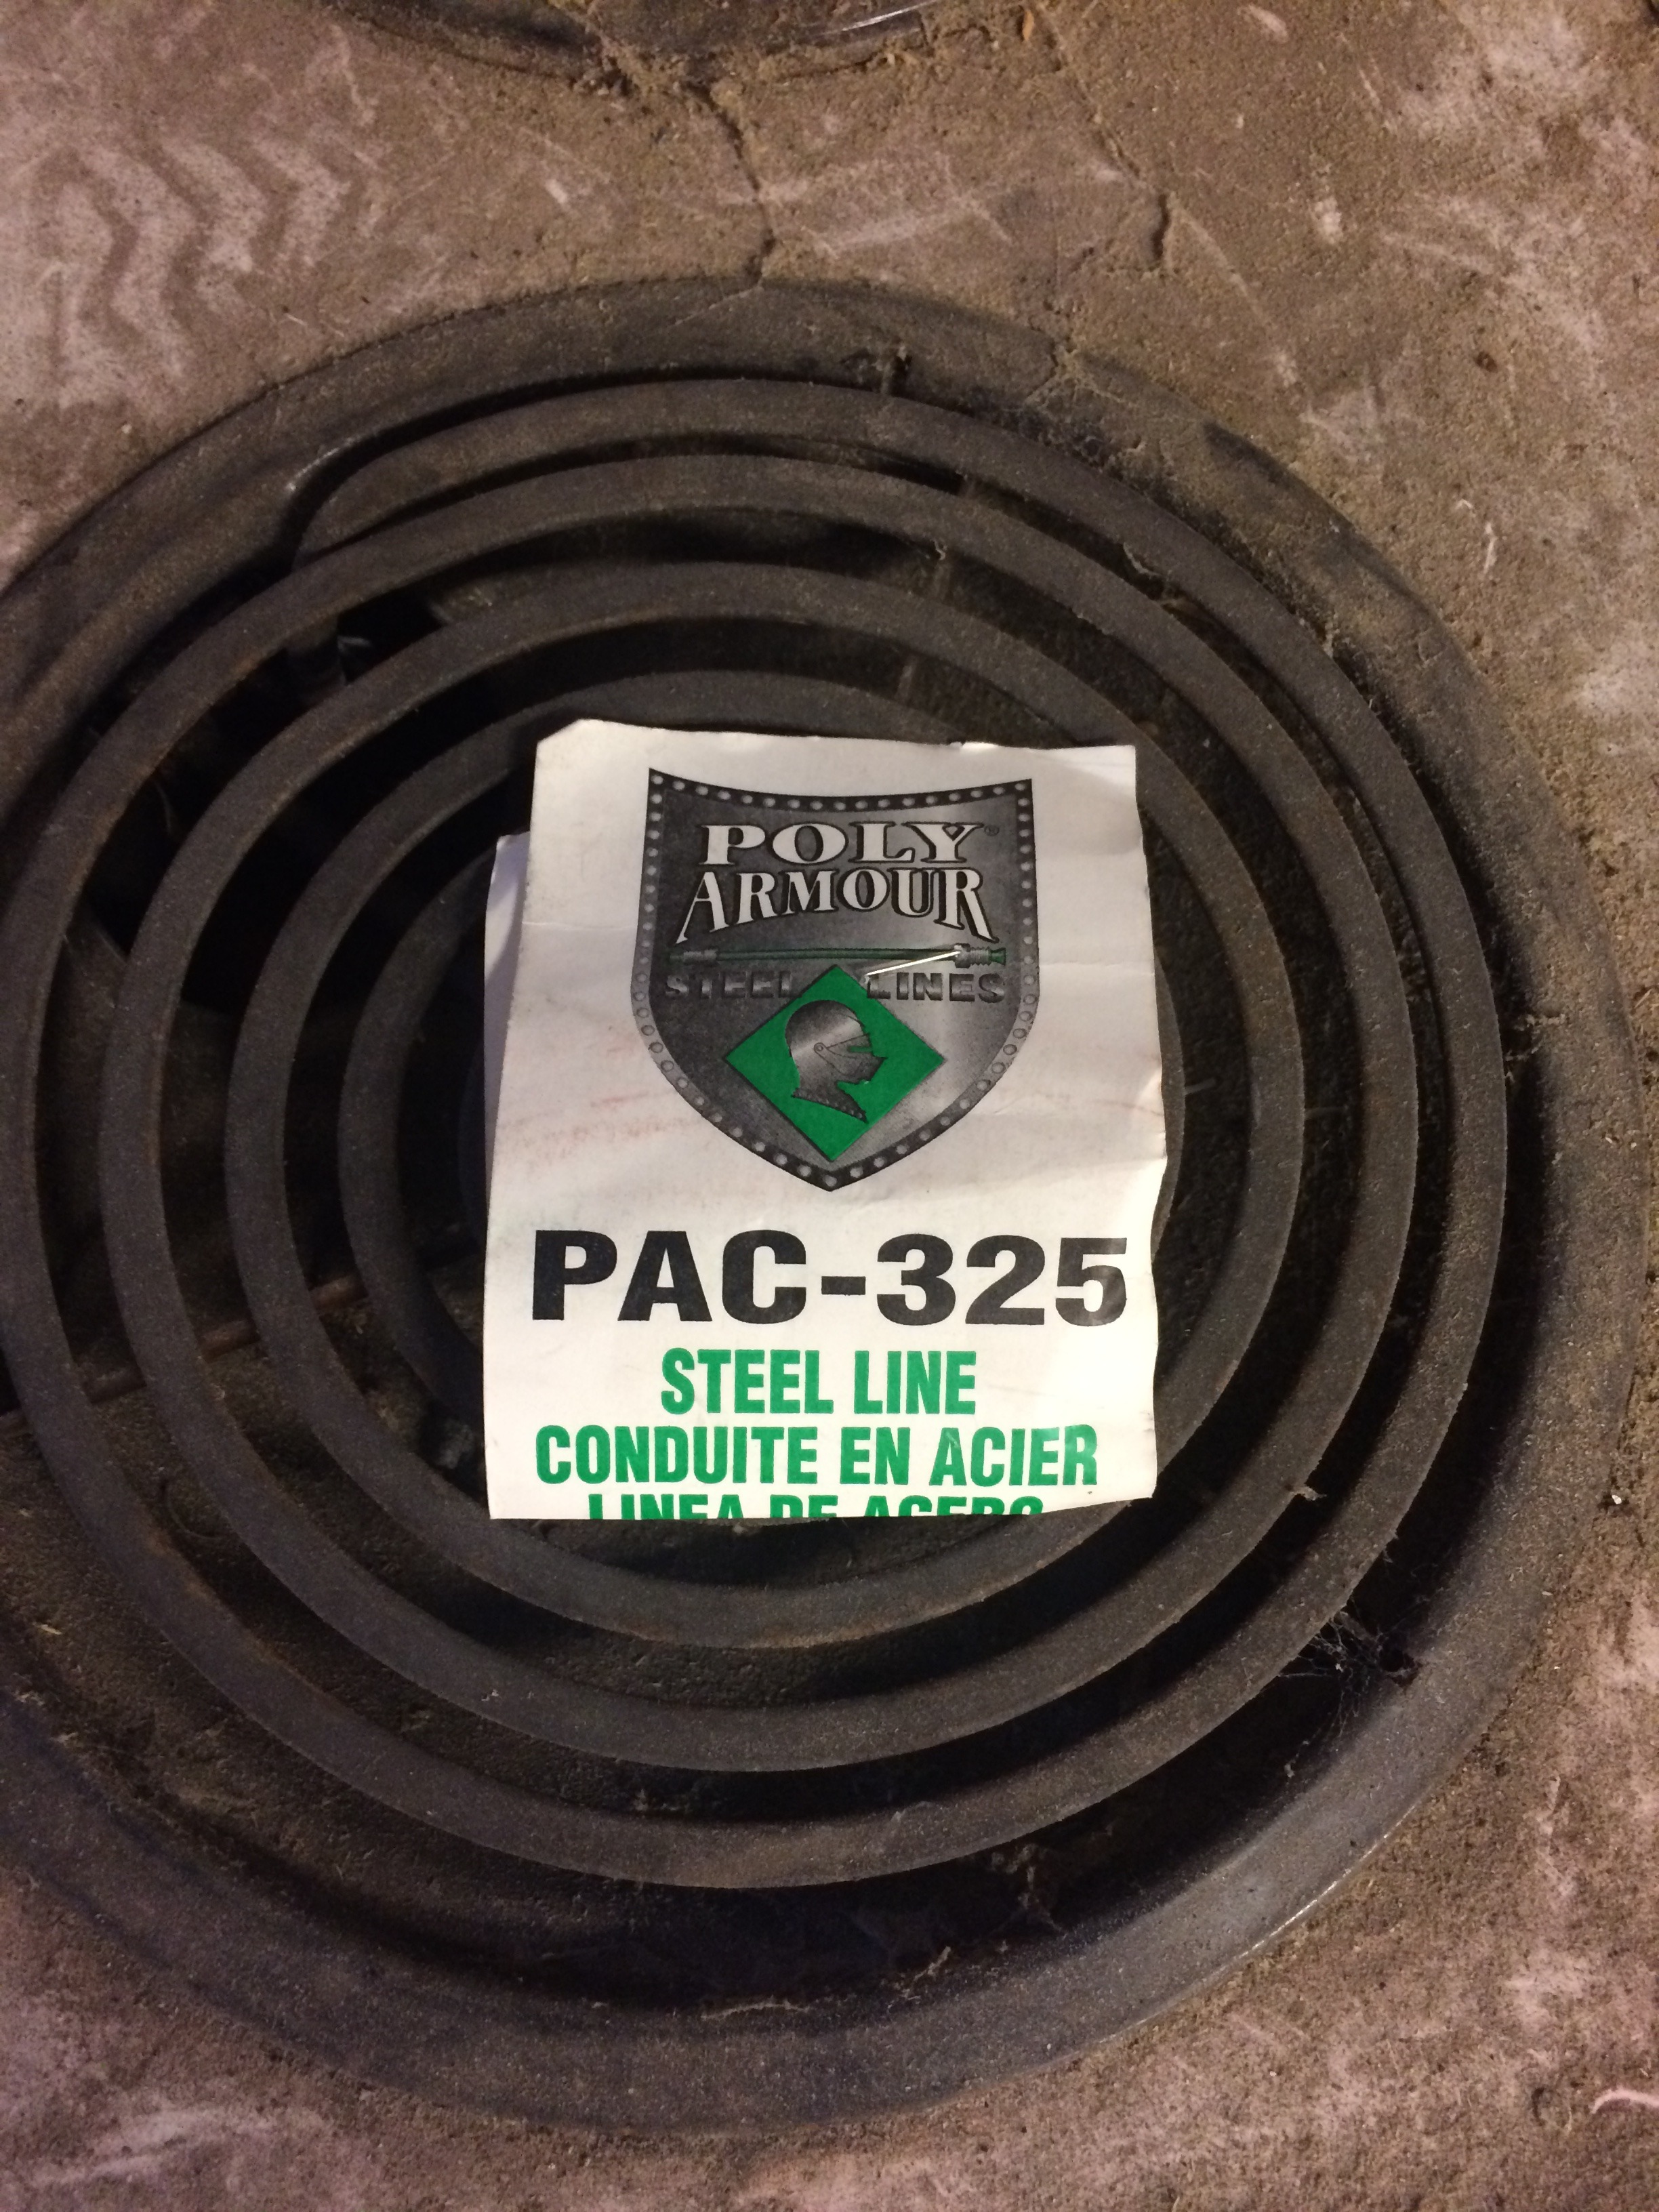
The most recent updates to the build are boring, but important. I replaced all of the brake lines with Poly-armour, and got rid of the ABS, which won't be used anymore. The ABS on these trucks was truly awful. At least twice since I have owned this Durango, the ABS has tried to jump in and help with hard braking, only to take away braking at the worst possible time, and "chatter", like crazy. Scray and dangerous. I trust a well-balanced system, and my foot, more than I trust the ABS system on this truck, so it goes away.
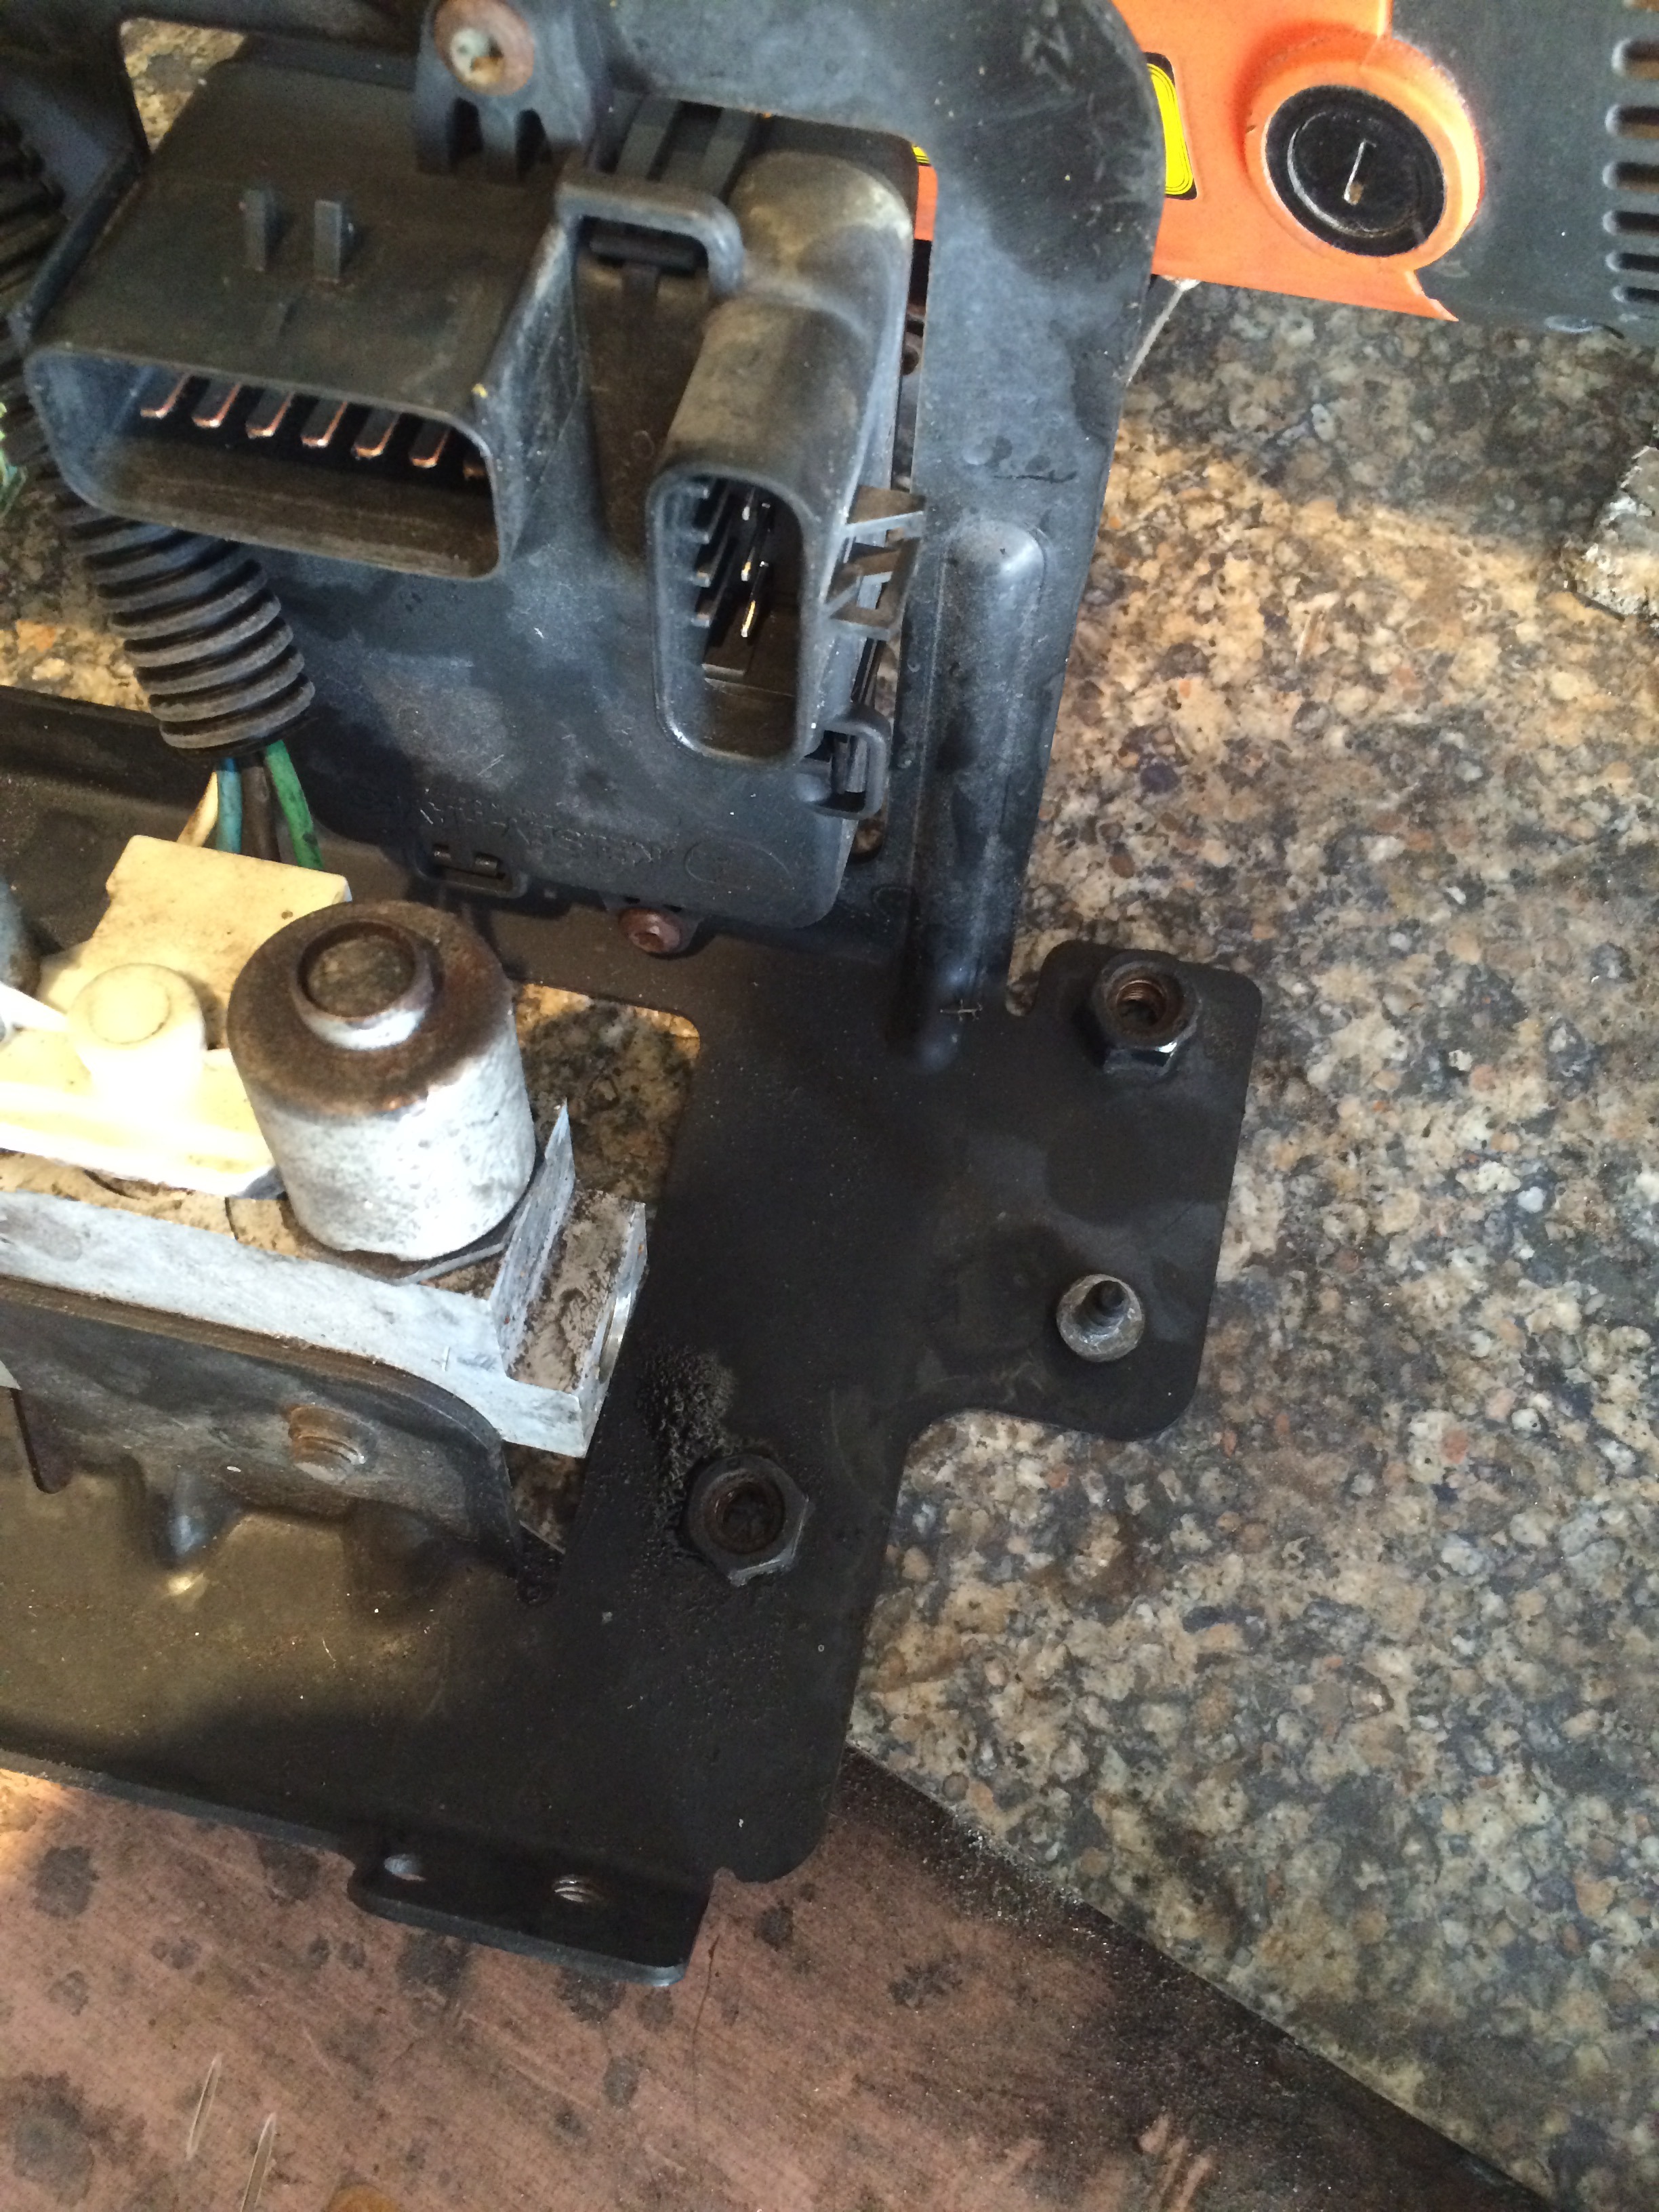
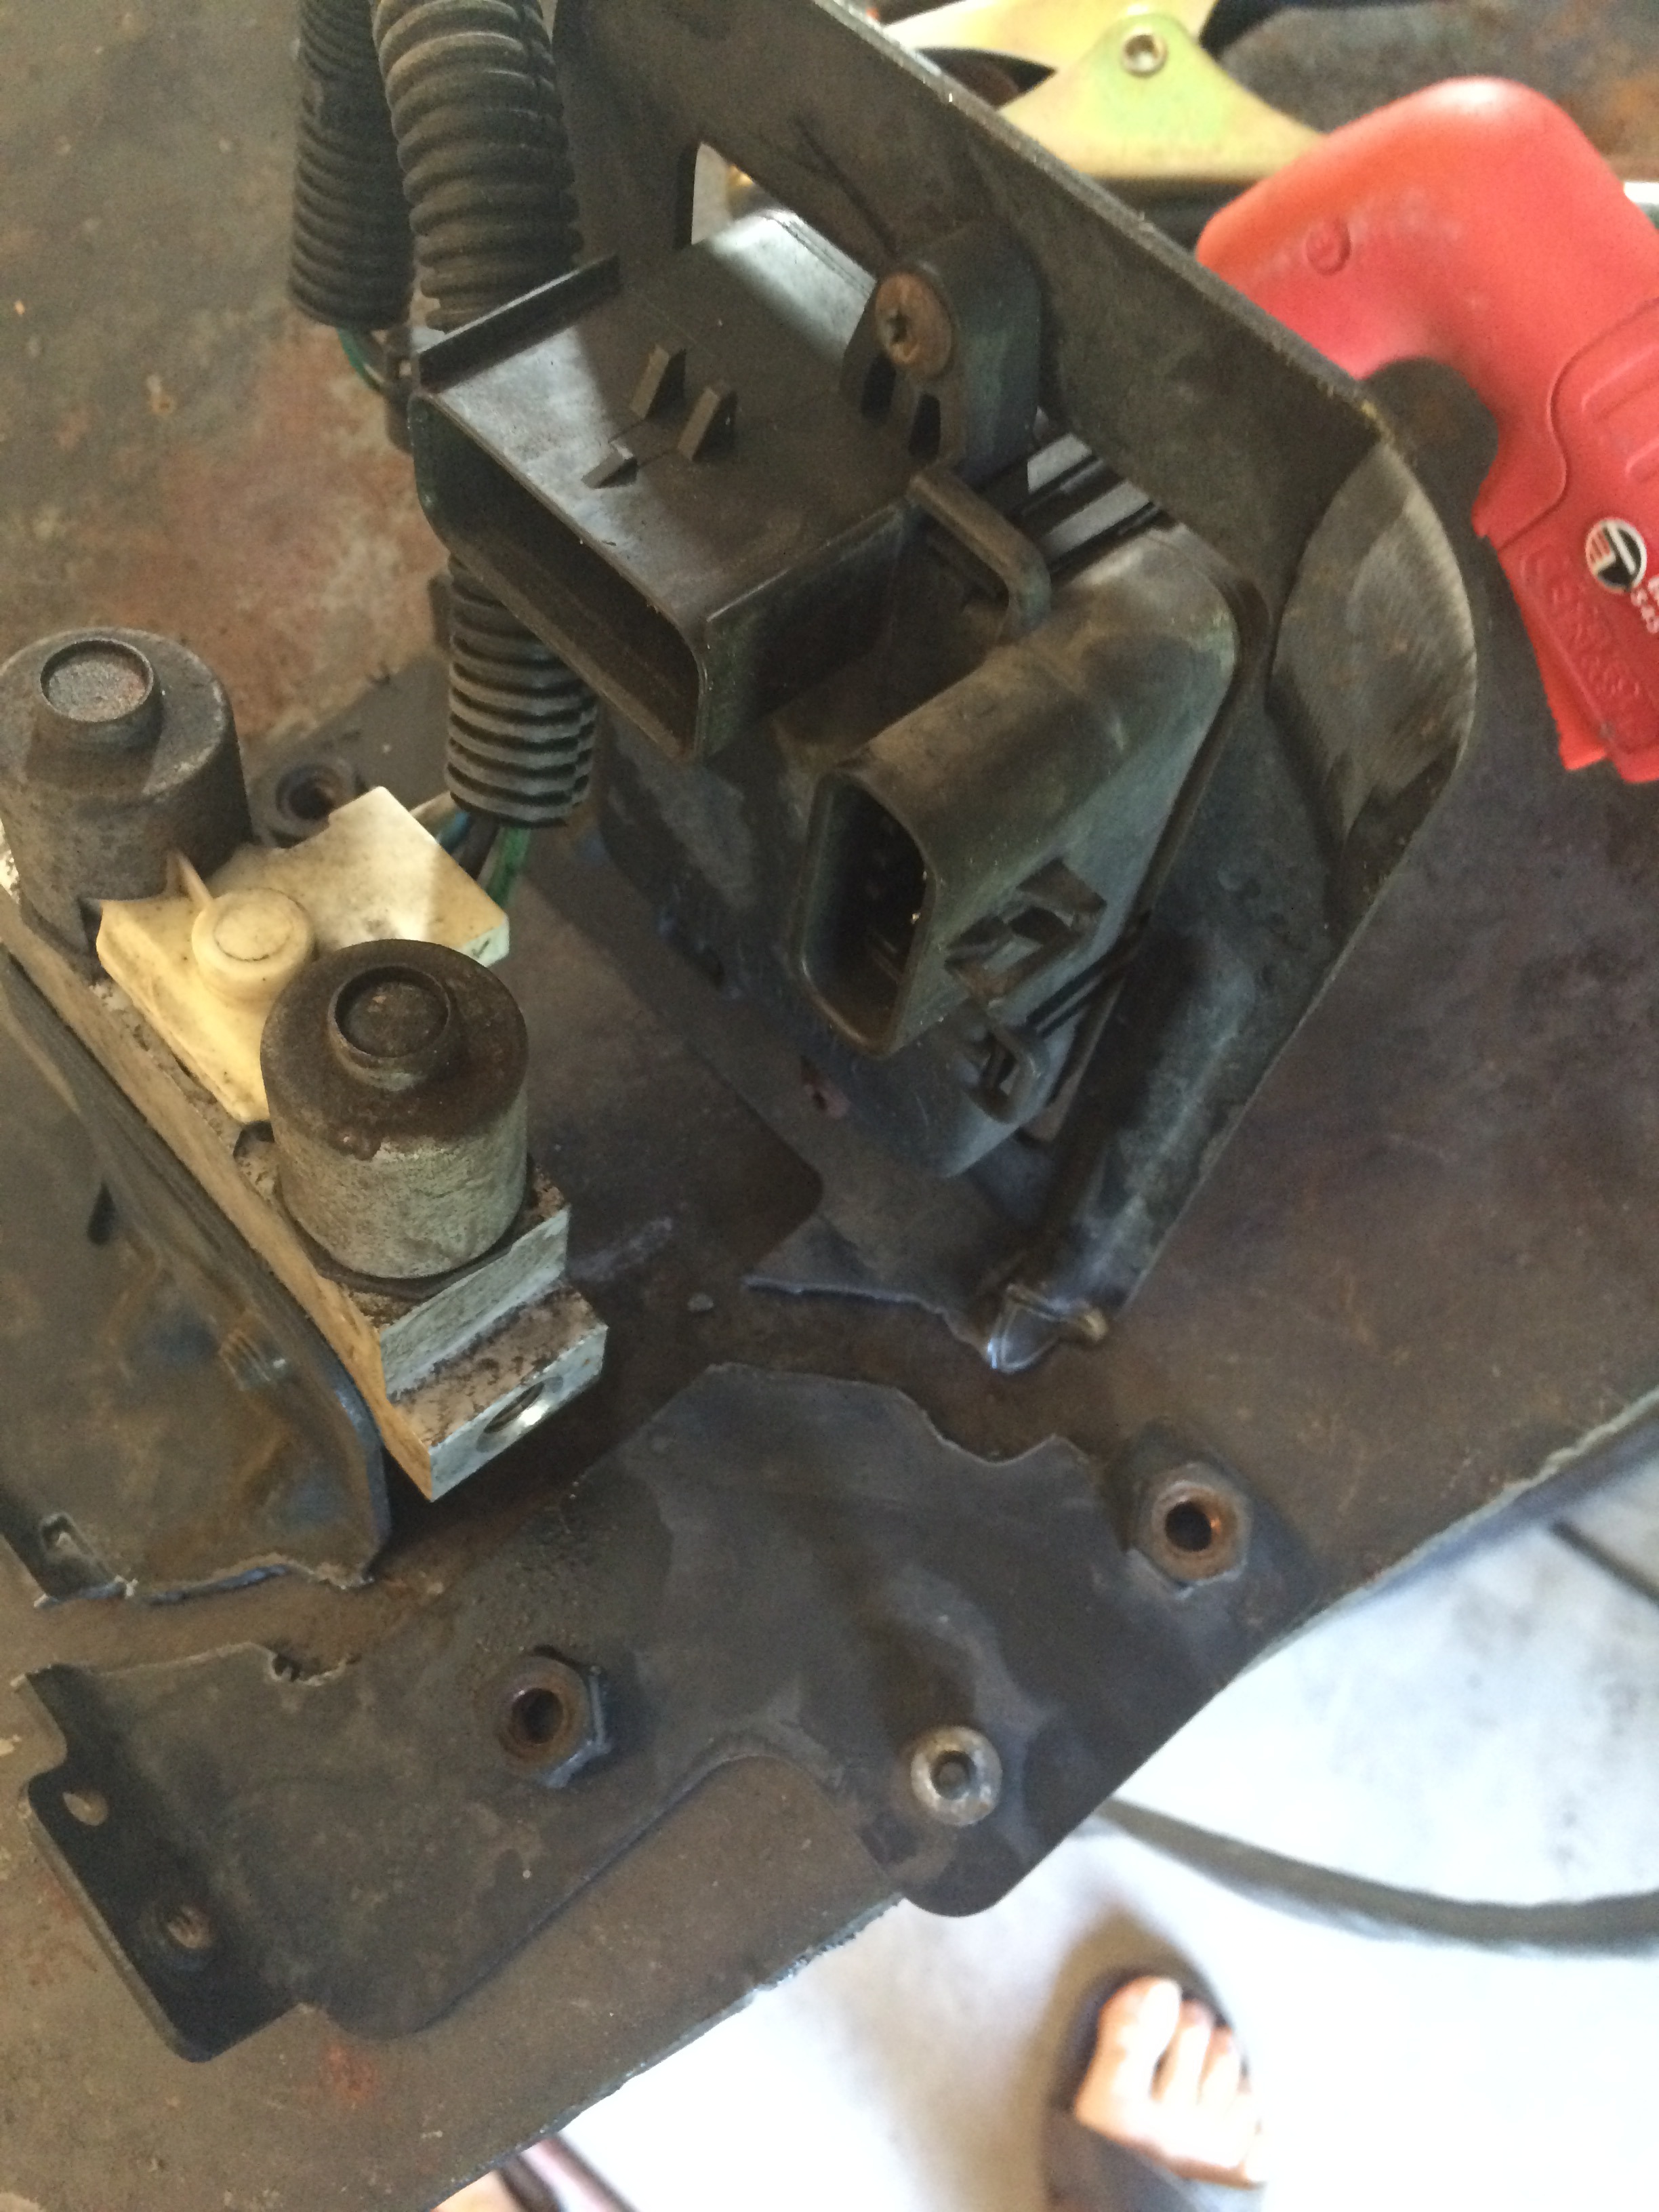
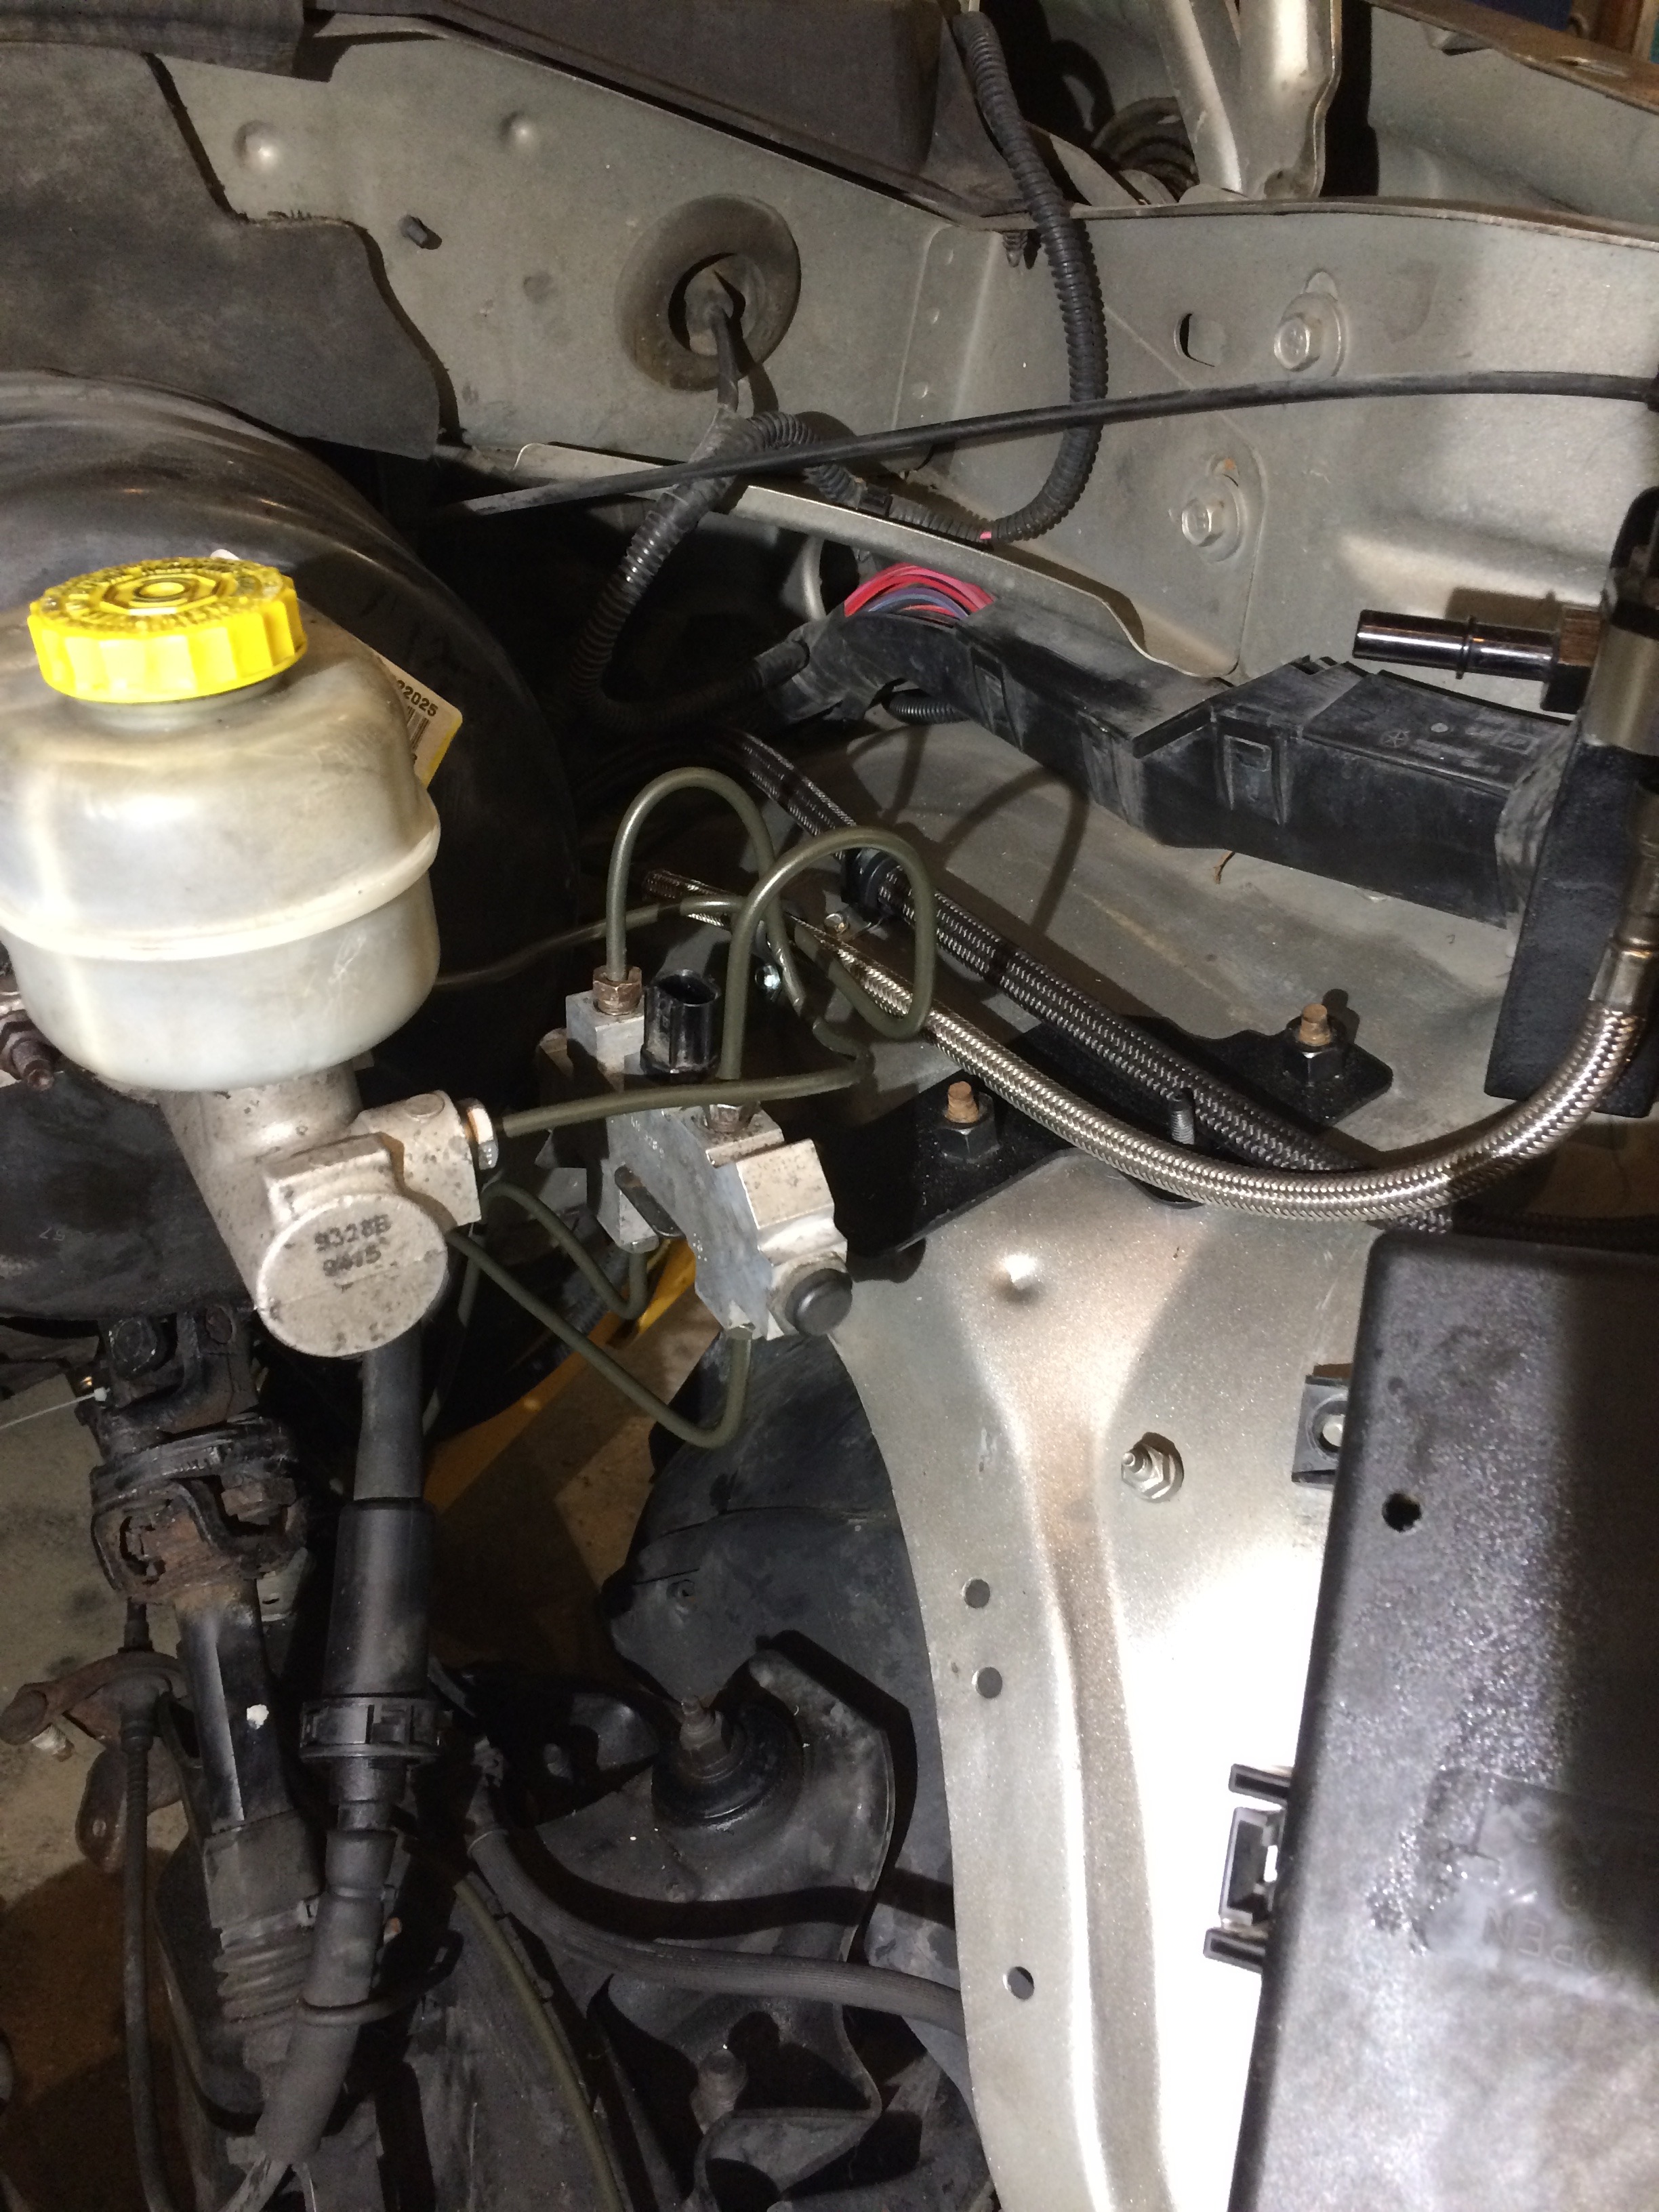
I wanted to use the original bracket for the combo valve, but get rid of the ABS electronics. Plasma cutter made quick work of the excess.
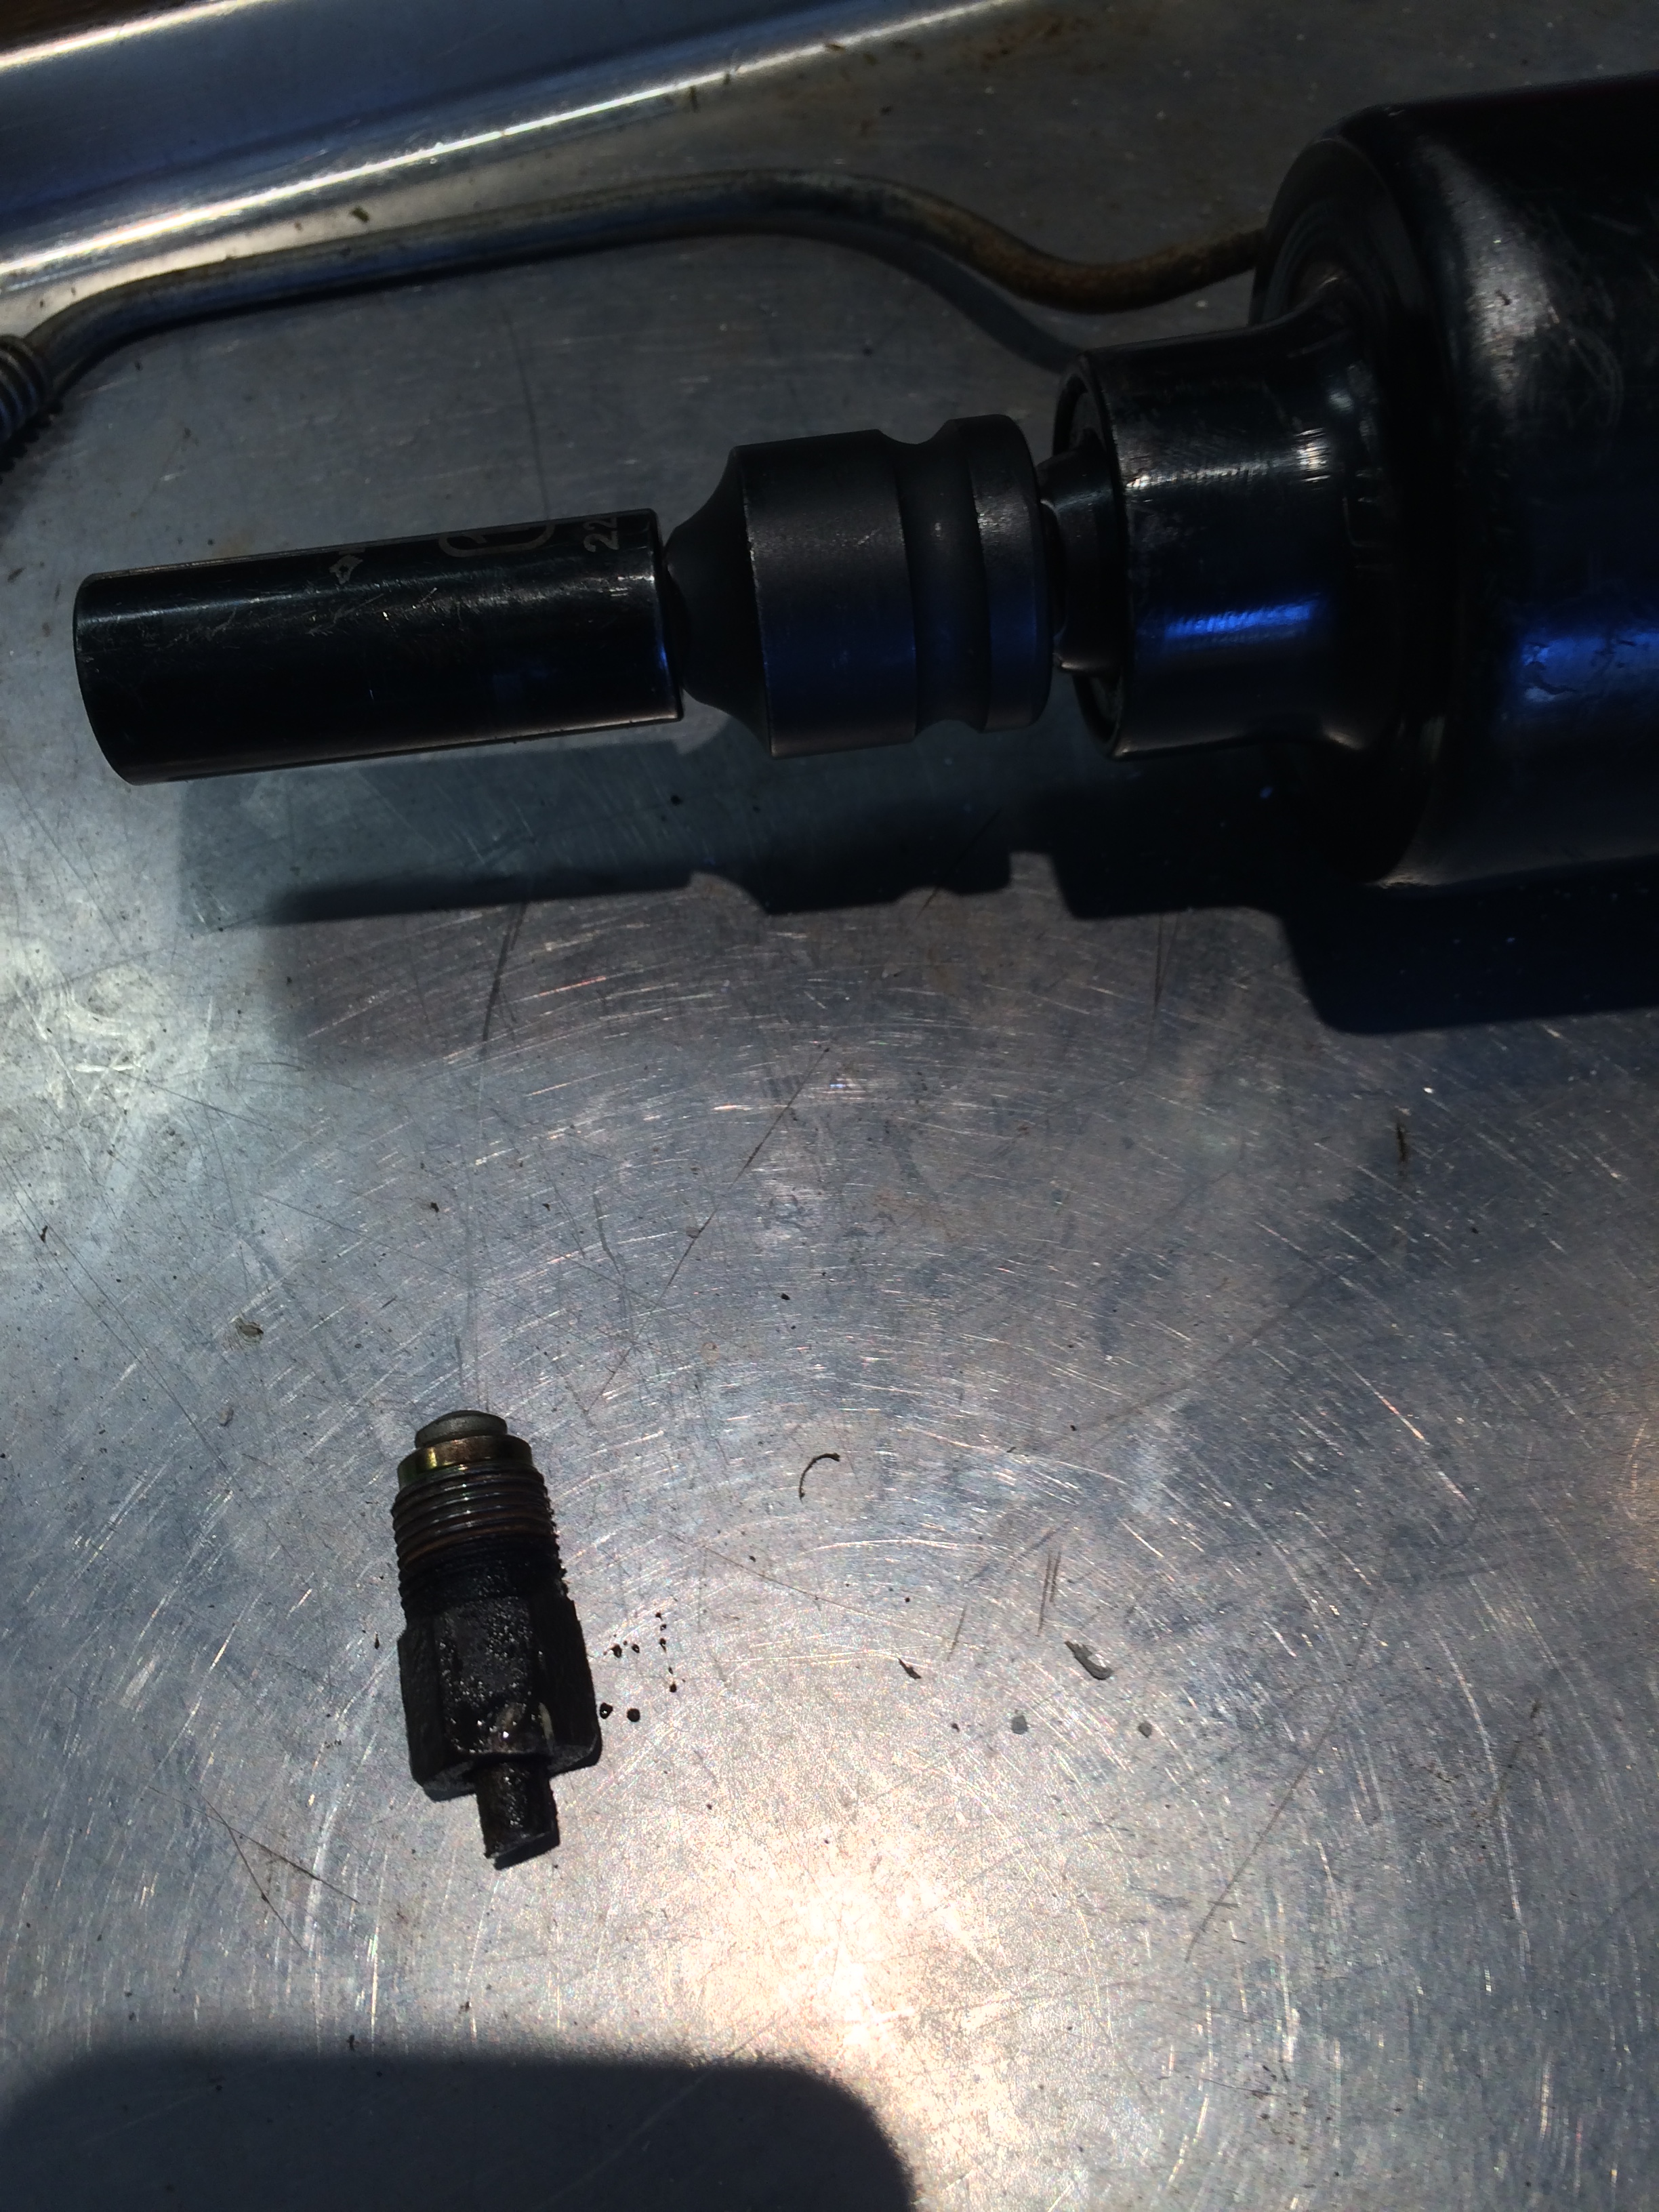
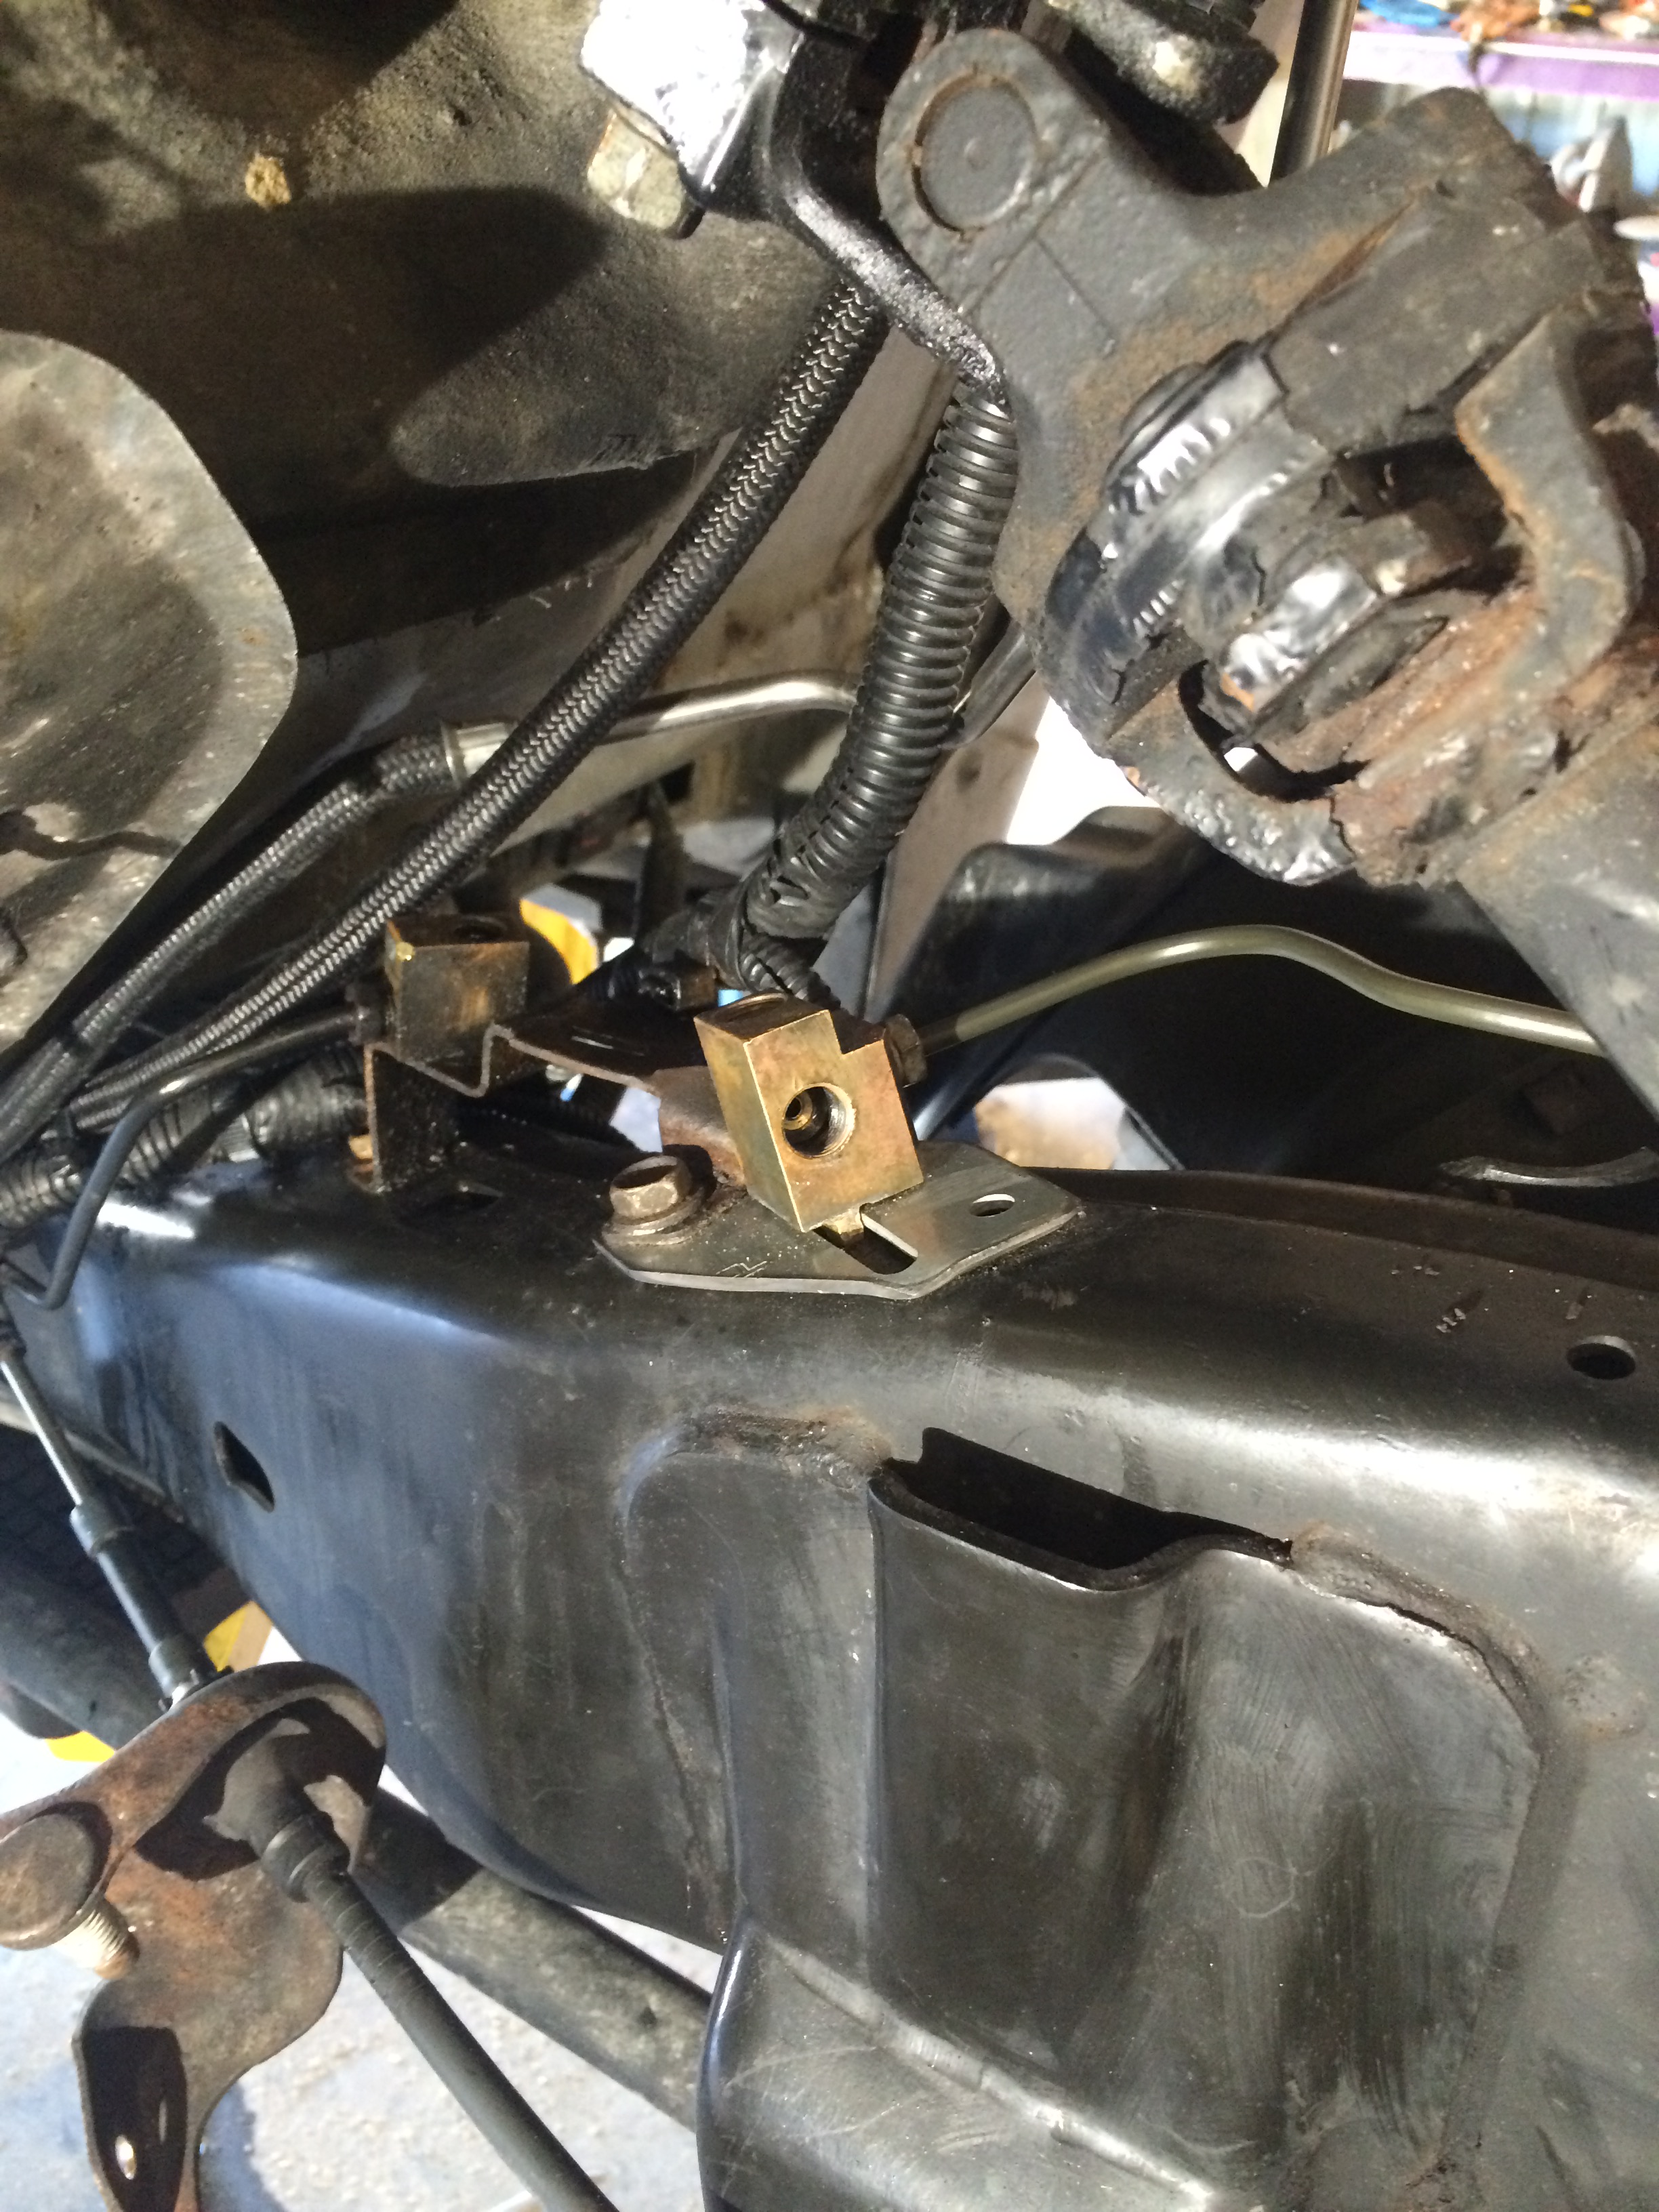
Tear out the rusted line to the distribution blocks.

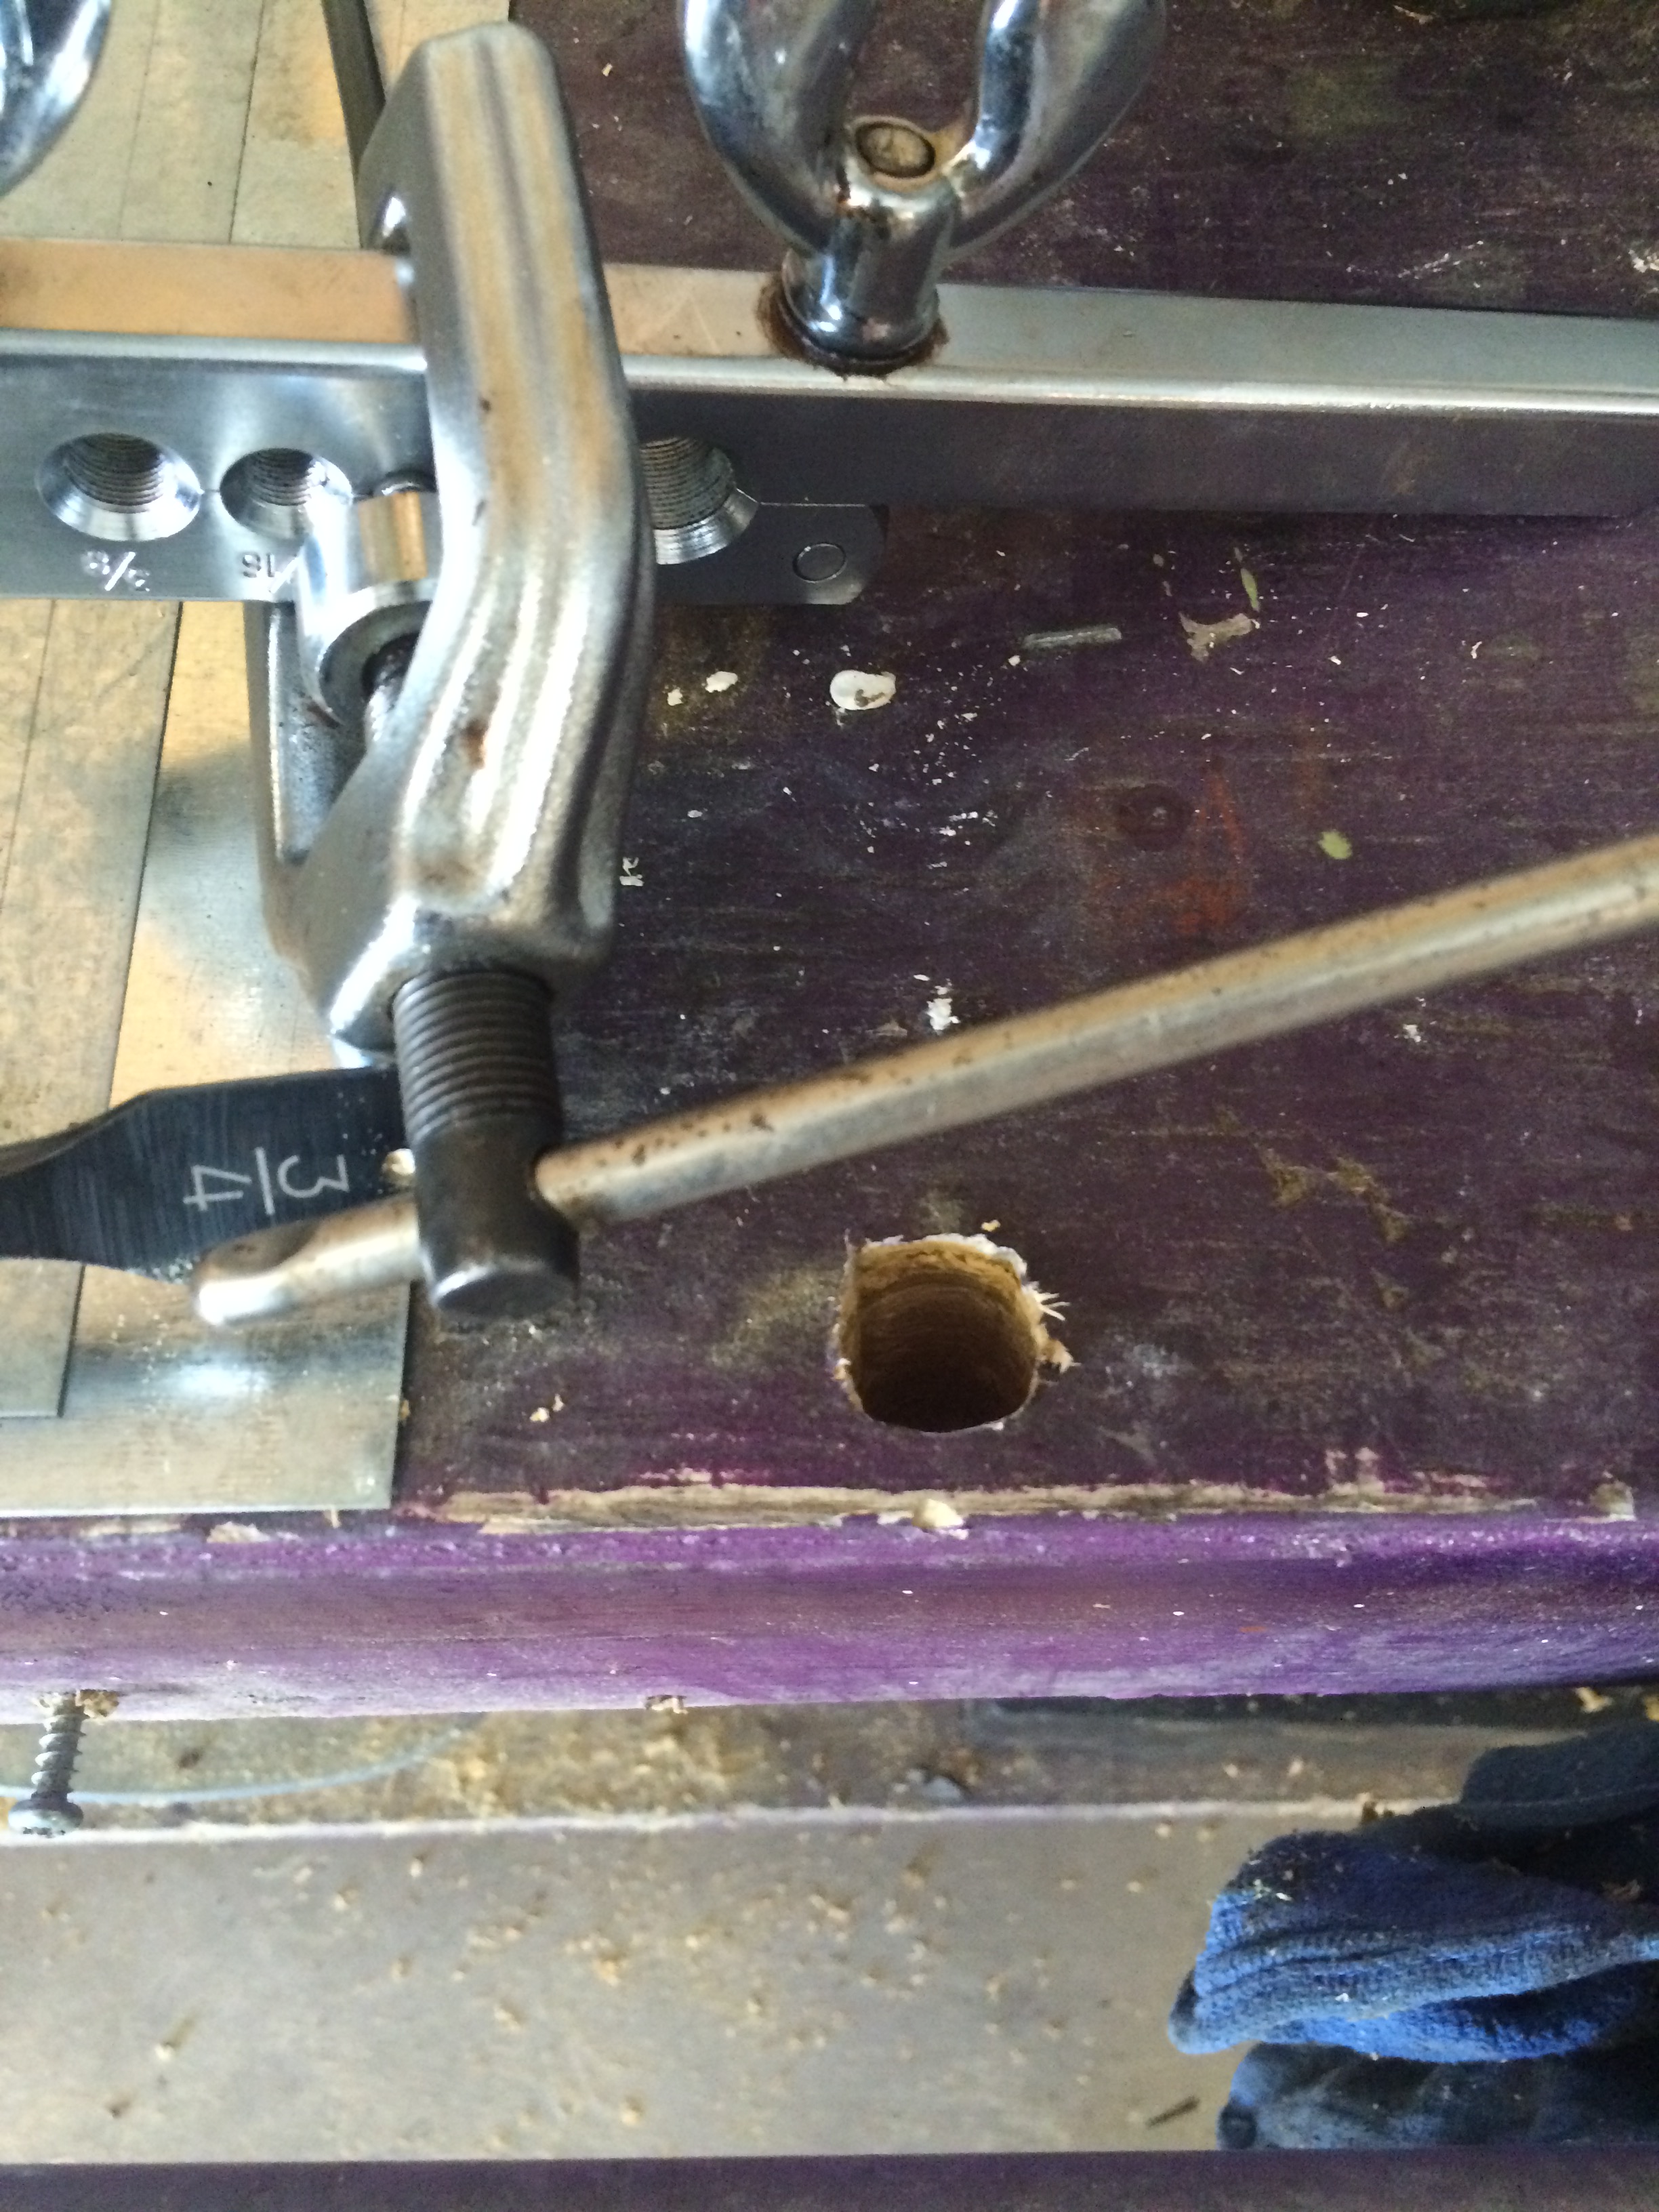
I don't know about you, but I can't stand wrestling a flaring tool around the table. So I drilled a 3/4 inch hole in the table, and stuck the end in it. That way, it stays where I want it while I flare line.

I had to make a new bracket for one of the distribution blocks. The rusted bracket broke when I tried to loosen the fitting.
New line bent into place.

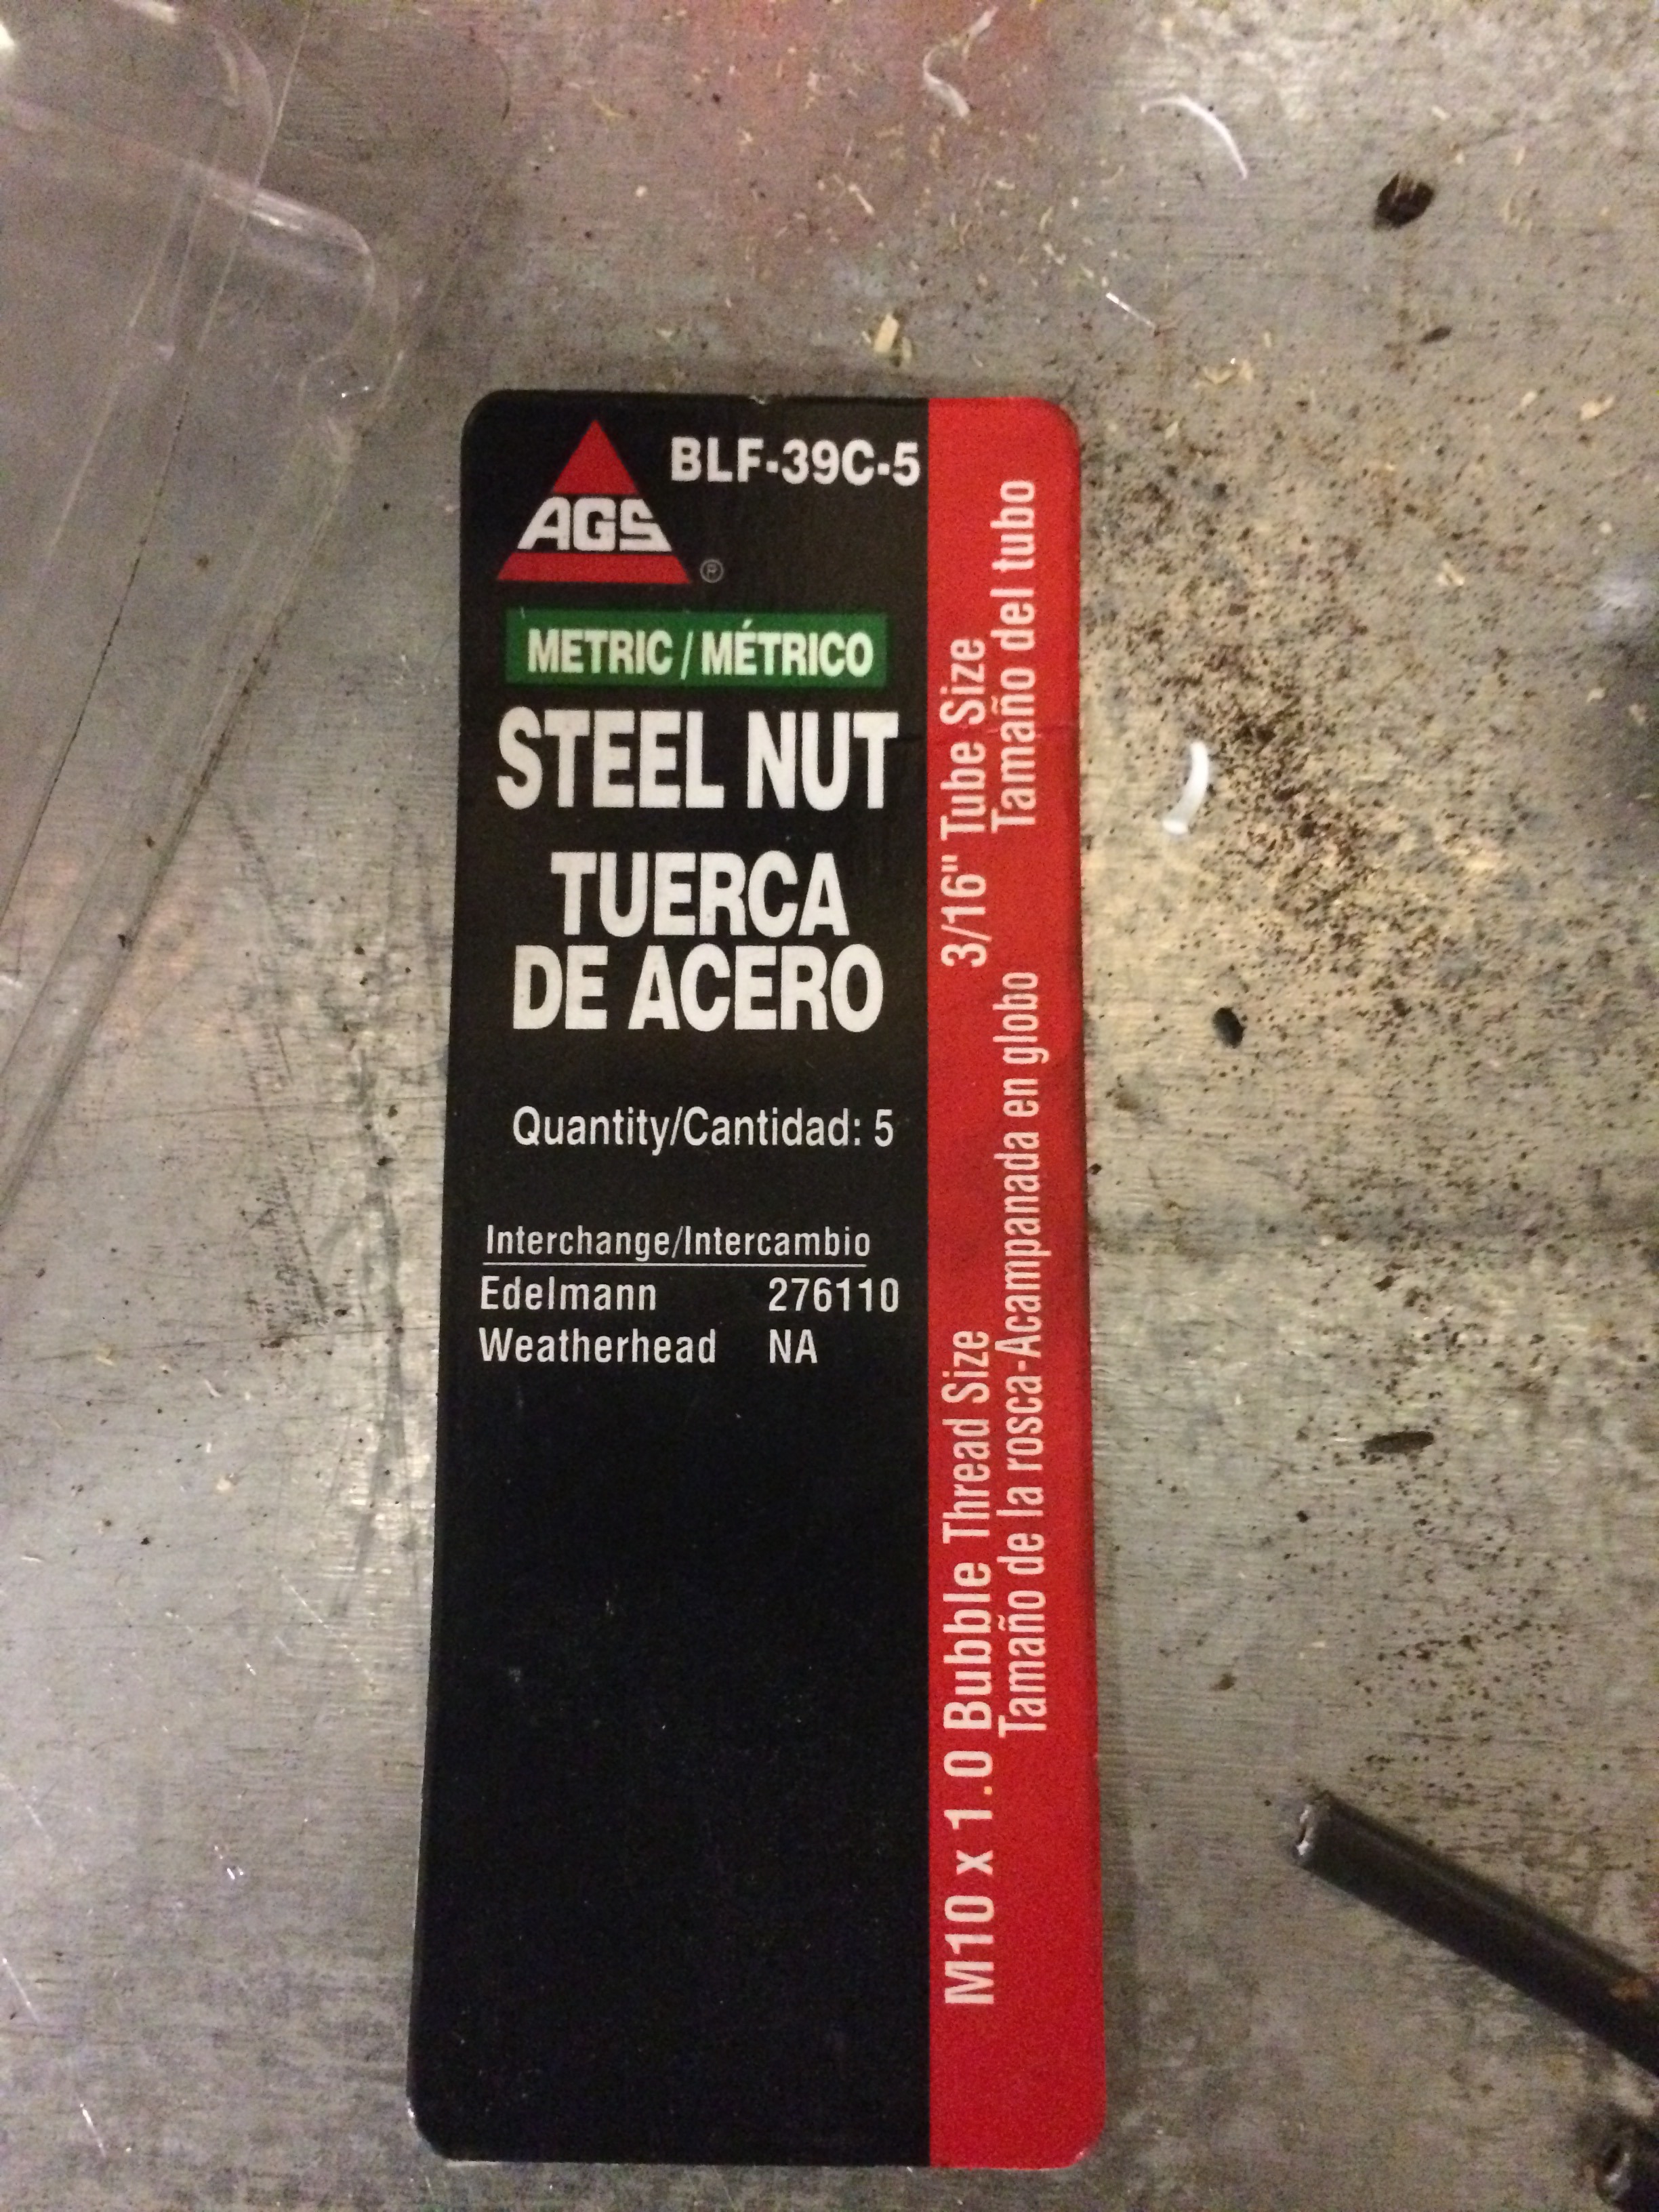
New fittings
Done. The combo valve is probably one of the most misunderstood components of the braking system. I know people remove them, and replace them with adjustable proportioning valves. In this case, I kept it for 3 reasons. 1) It proportions the front/rear bias pretty well with the addition of the rear disc swap. The braking on this truck has been very well-balanced since we did the swap a couple of years ago. 2) It causes the rear brakes to apply a fraction of a second before the front brakes. Something a proportioning valve doesn't do, but handy to help maintain stability. 3) It sets the brake warning light in the dash if one half of the circuit loses pressure. This will still activate even after the LS swap.
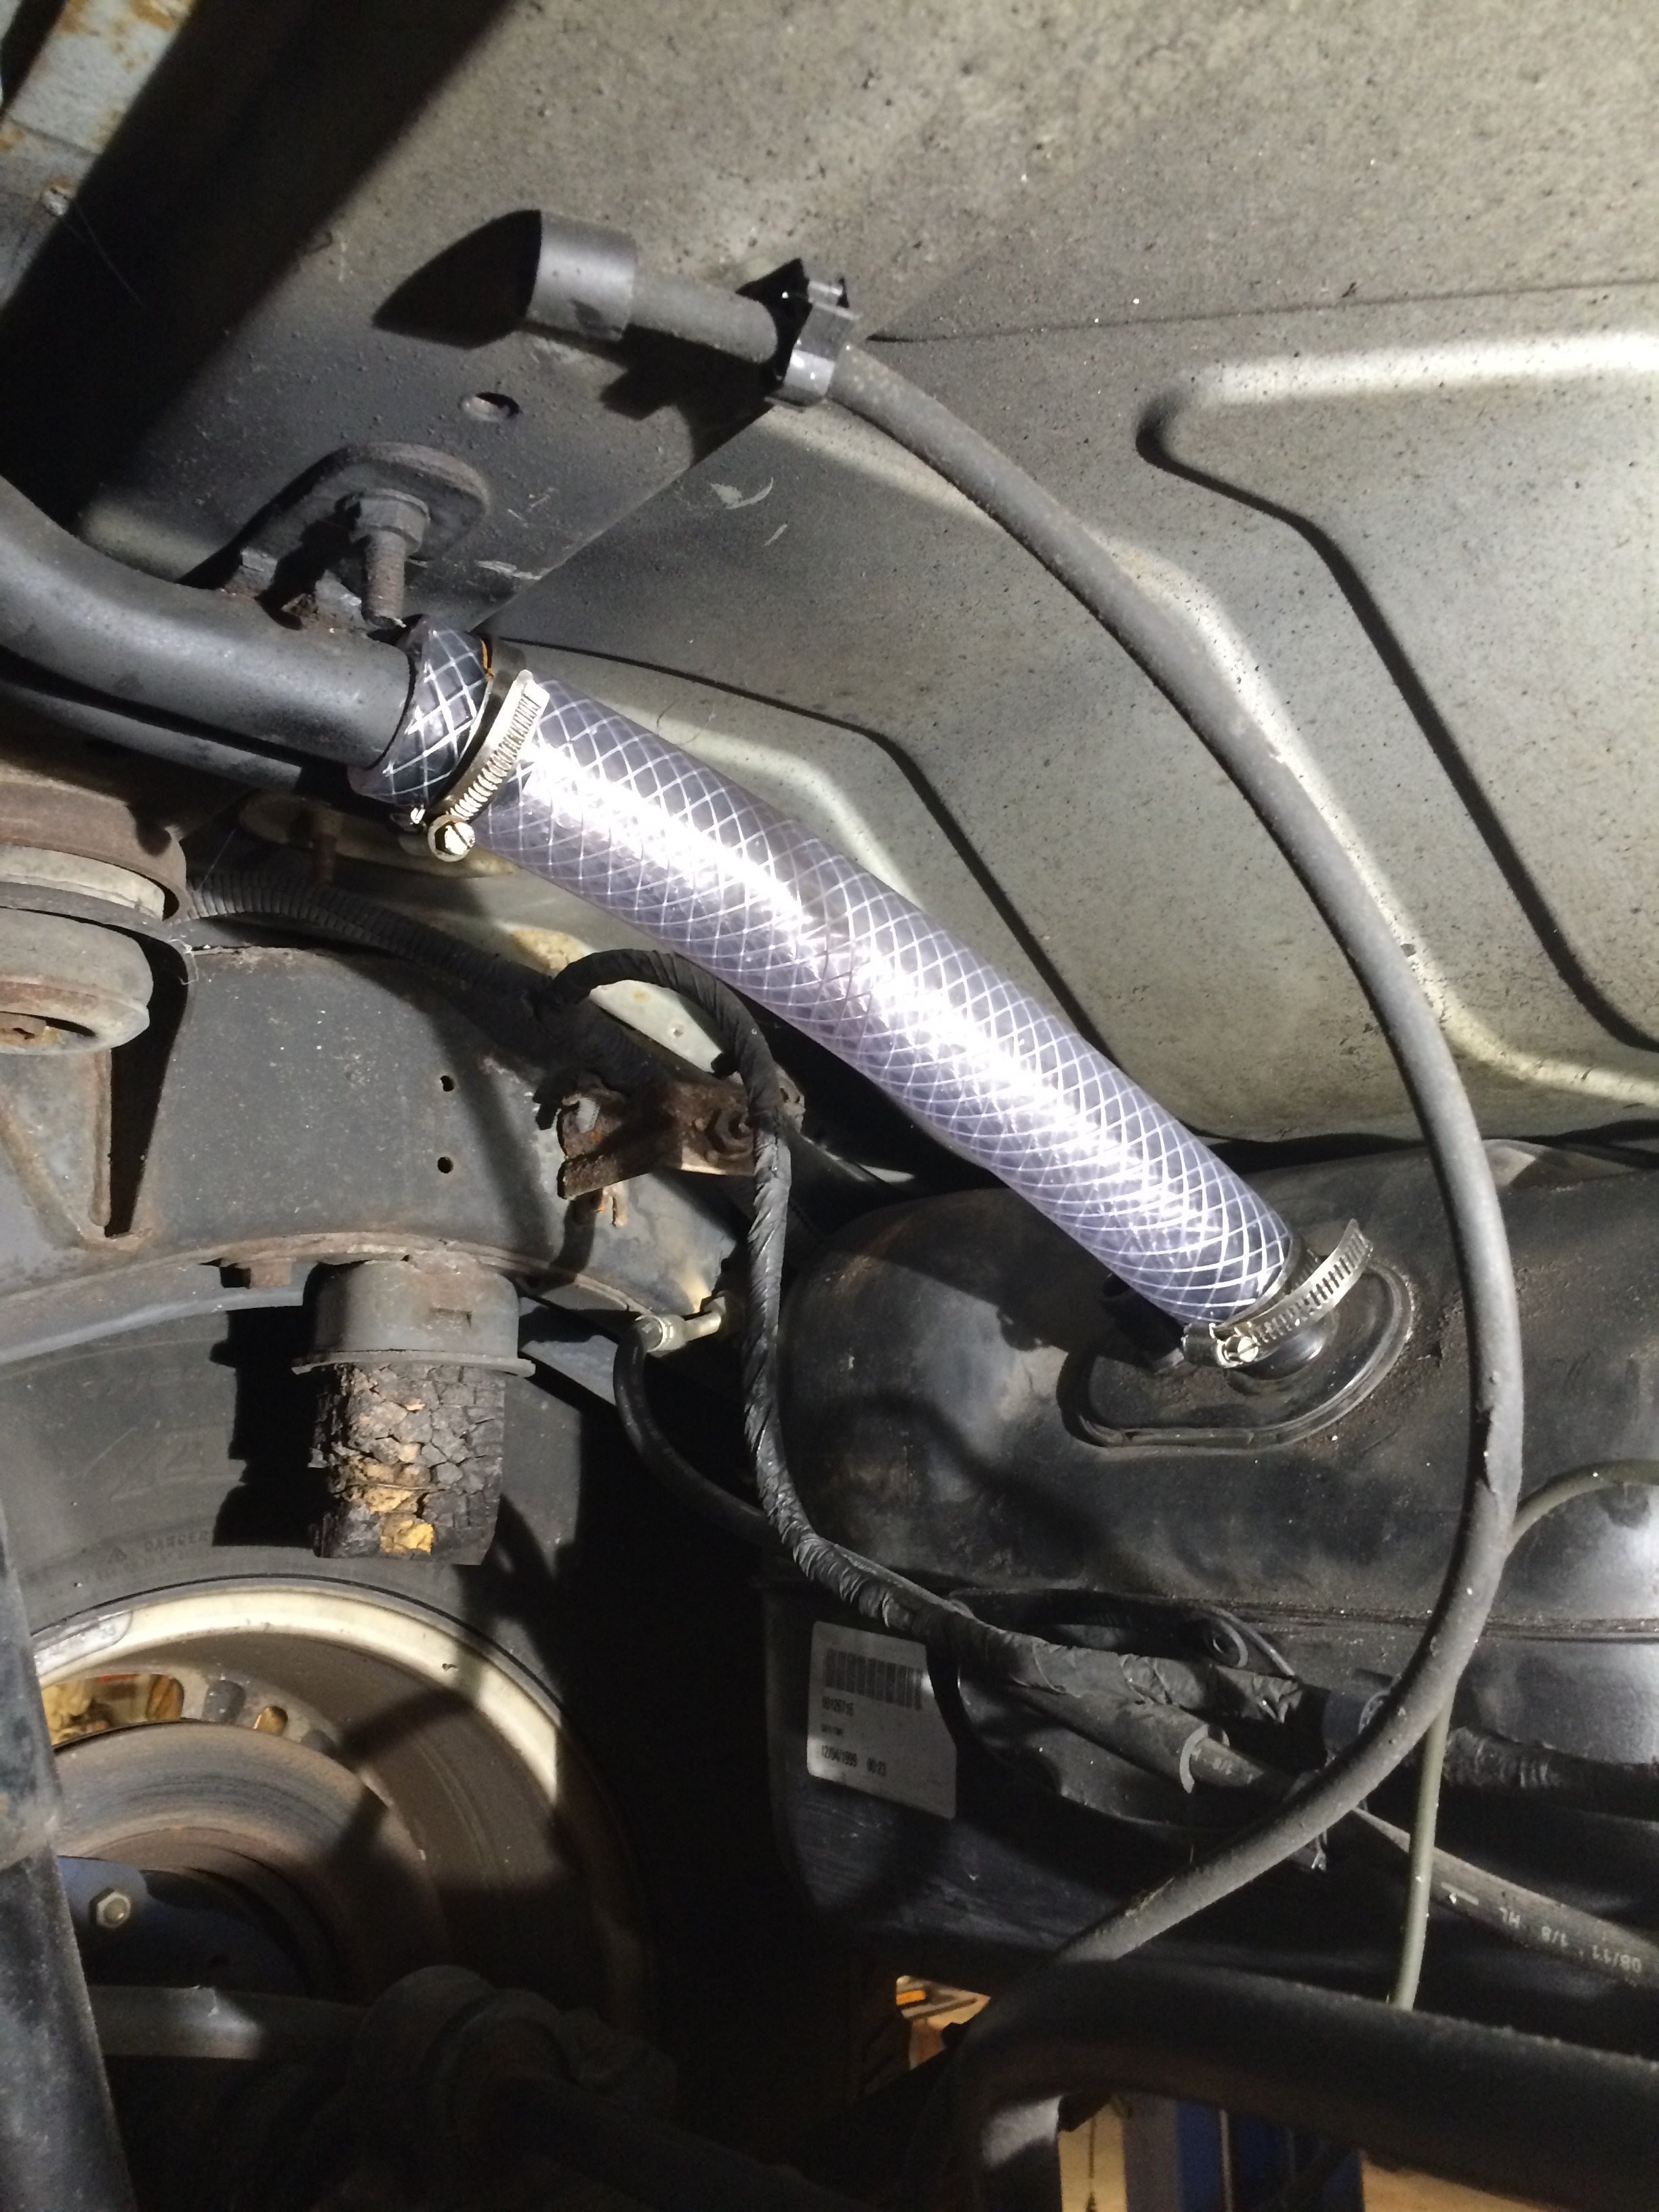
And I also finished the fuel system by adding a new filler neck hose. It was impossible to find the right size at NAPA, autozone or advanced, so I bought vinyl at Home Depot. That is not a kink in the picture, it is a grease smudge.
I wanted to use the original bracket for the combo valve, but get rid of the ABS electronics. Plasma cutter made quick work of the excess.


Tear out the rusted line to the distribution blocks.


I don't know about you, but I can't stand wrestling a flaring tool around the table. So I drilled a 3/4 inch hole in the table, and stuck the end in it. That way, it stays where I want it while I flare line.


I had to make a new bracket for one of the distribution blocks. The rusted bracket broke when I tried to loosen the fitting.


New line bent into place.

New fittings

Done. The combo valve is probably one of the most misunderstood components of the braking system. I know people remove them, and replace them with adjustable proportioning valves. In this case, I kept it for 3 reasons. 1) It proportions the front/rear bias pretty well with the addition of the rear disc swap. The braking on this truck has been very well-balanced since we did the swap a couple of years ago. 2) It causes the rear brakes to apply a fraction of a second before the front brakes. Something a proportioning valve doesn't do, but handy to help maintain stability. 3) It sets the brake warning light in the dash if one half of the circuit loses pressure. This will still activate even after the LS swap.

And I also finished the fuel system by adding a new filler neck hose. It was impossible to find the right size at NAPA, autozone or advanced, so I bought vinyl at Home Depot. That is not a kink in the picture, it is a grease smudge.
 10-31-2015, 10:14 AM
#25
Well, the build is in a rain-delay.
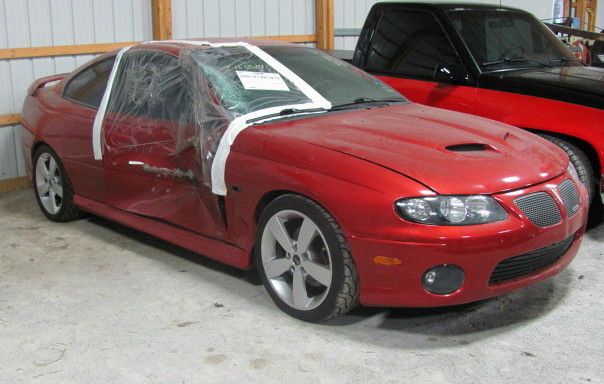
Just when you think you have two nice cars to drive while you work on a project, something happens to change that. I guess if the damage is worse than it looks, I will have an LS2 to use in the Durango.
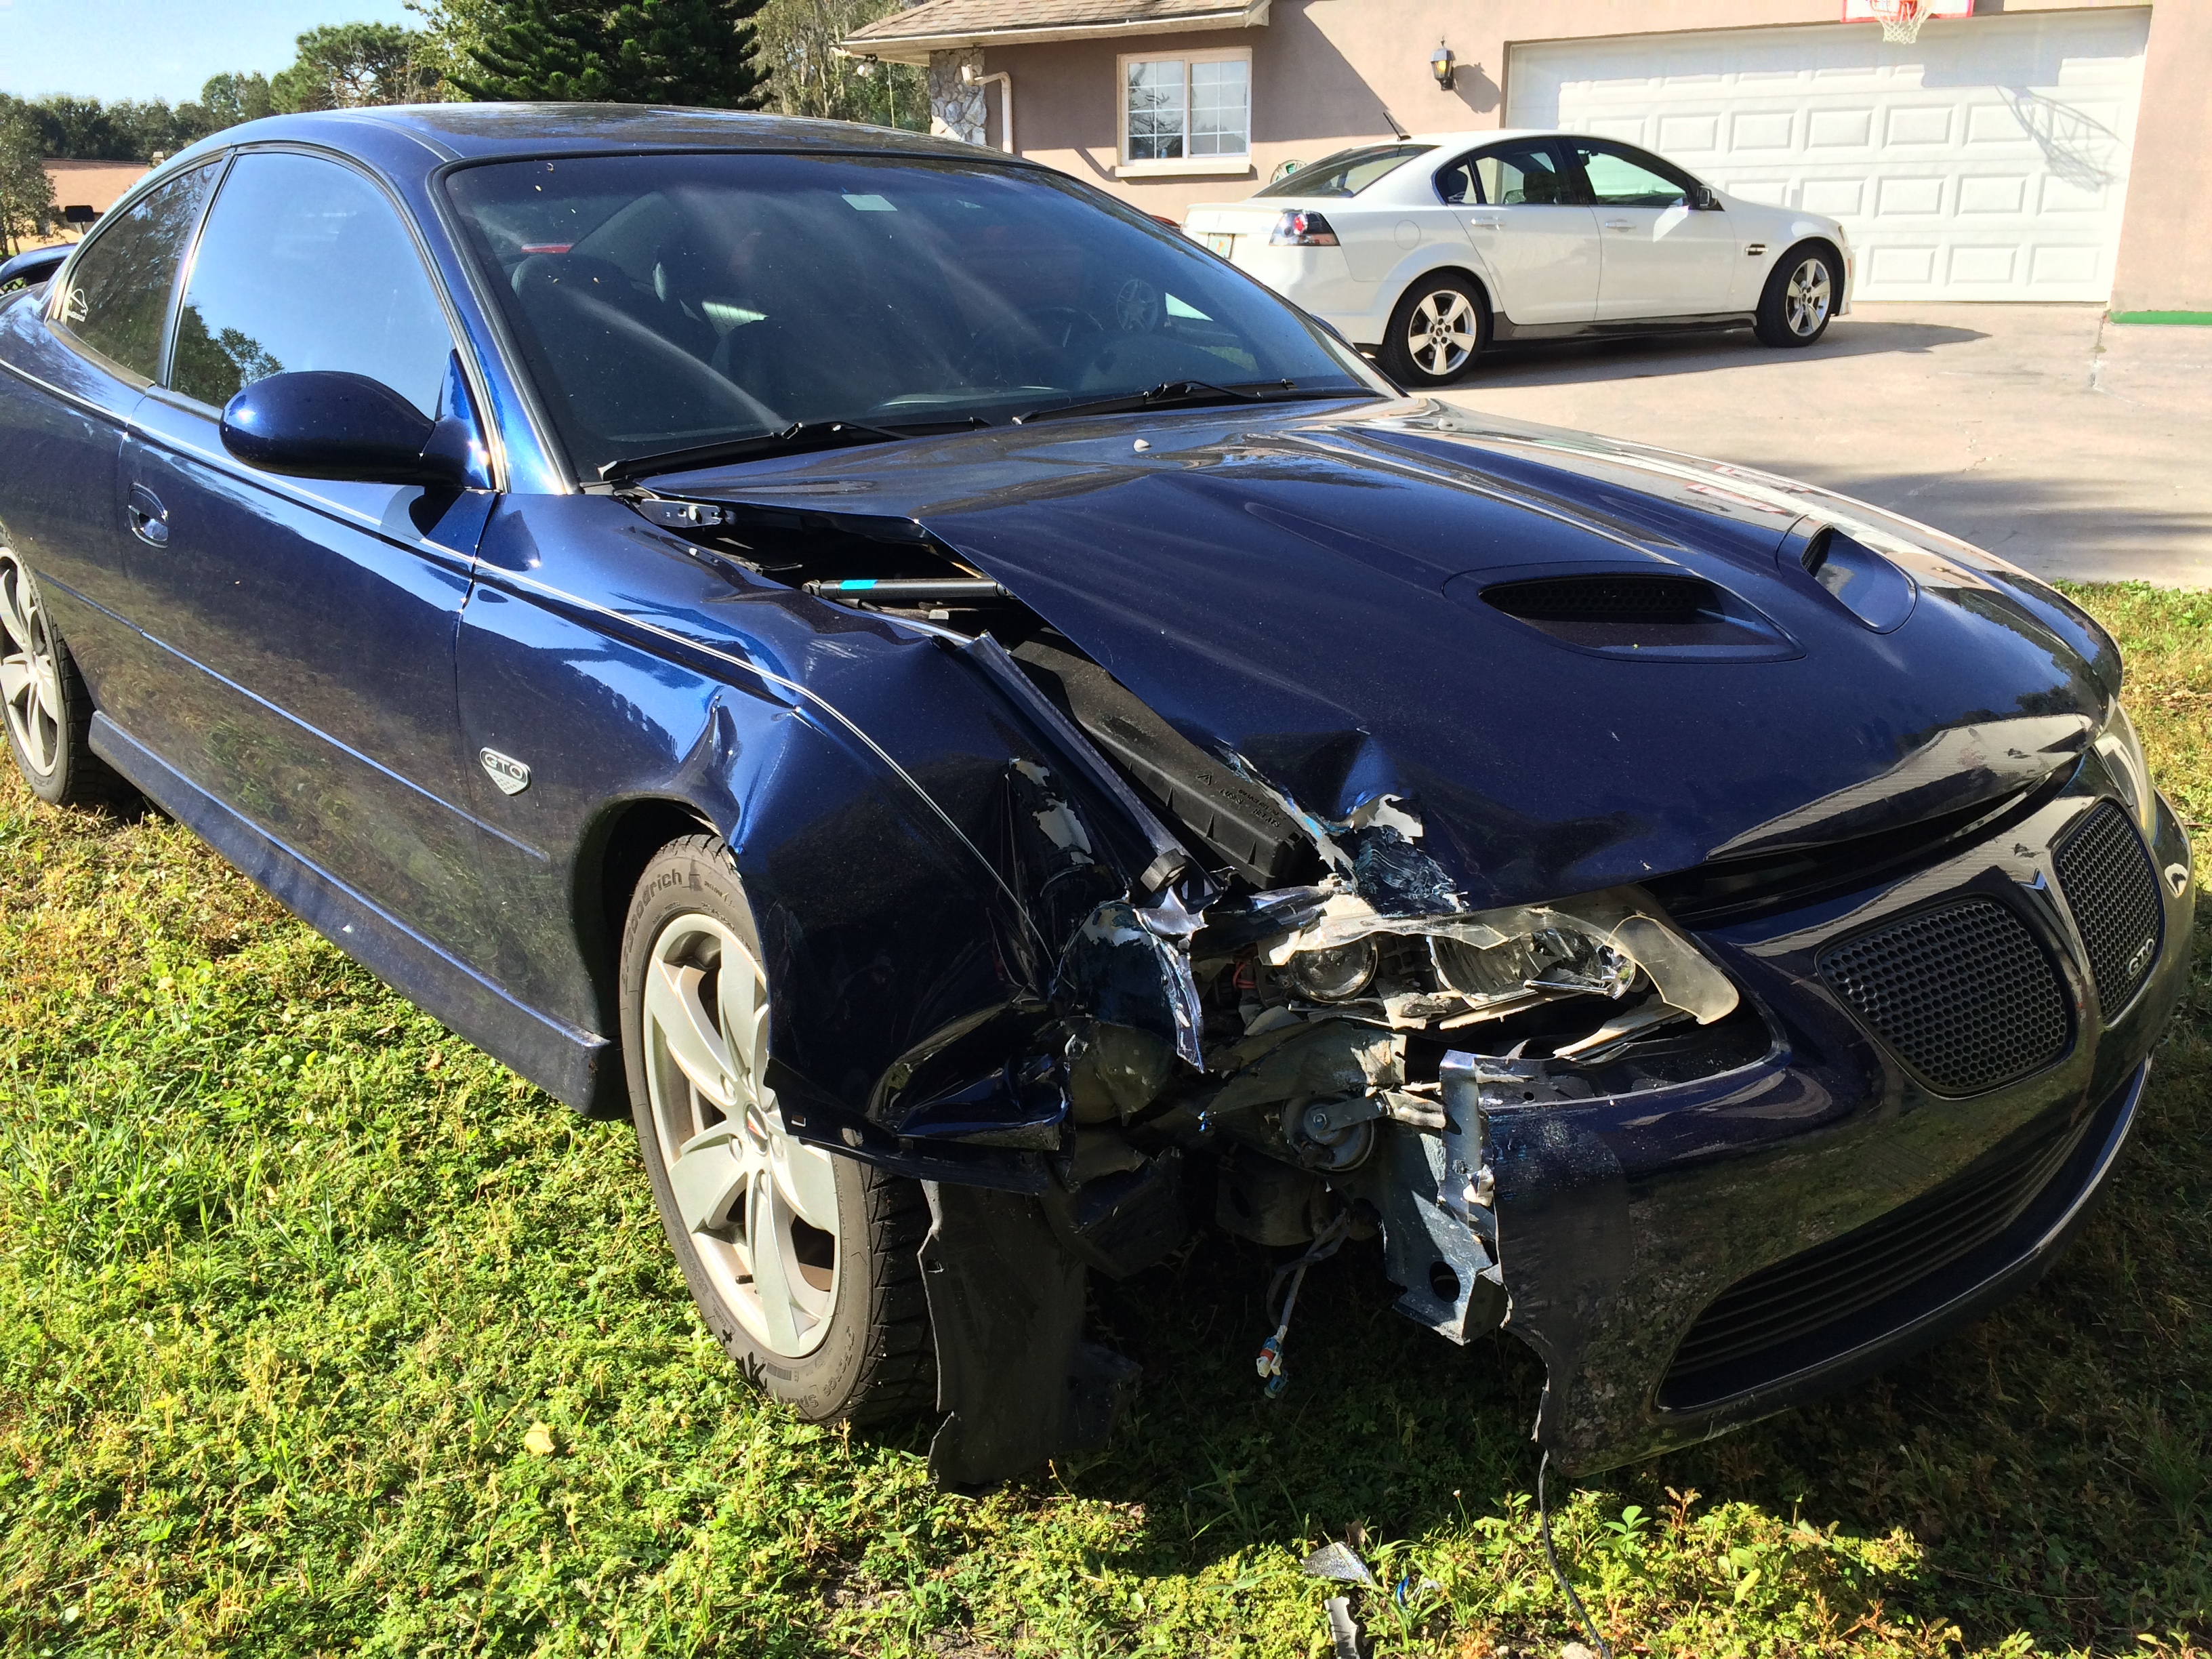

Just when you think you have two nice cars to drive while you work on a project, something happens to change that. I guess if the damage is worse than it looks, I will have an LS2 to use in the Durango.


 11-08-2015, 05:54 PM
#26
Sunday was a pretty productive day for moving forward. On Friday, I was told for the second time that the Escalade drivetrain I wanted to buy was "no longer available". I getting pretty tired of waiting for these to be sold out from under me. So...hit craigslist.
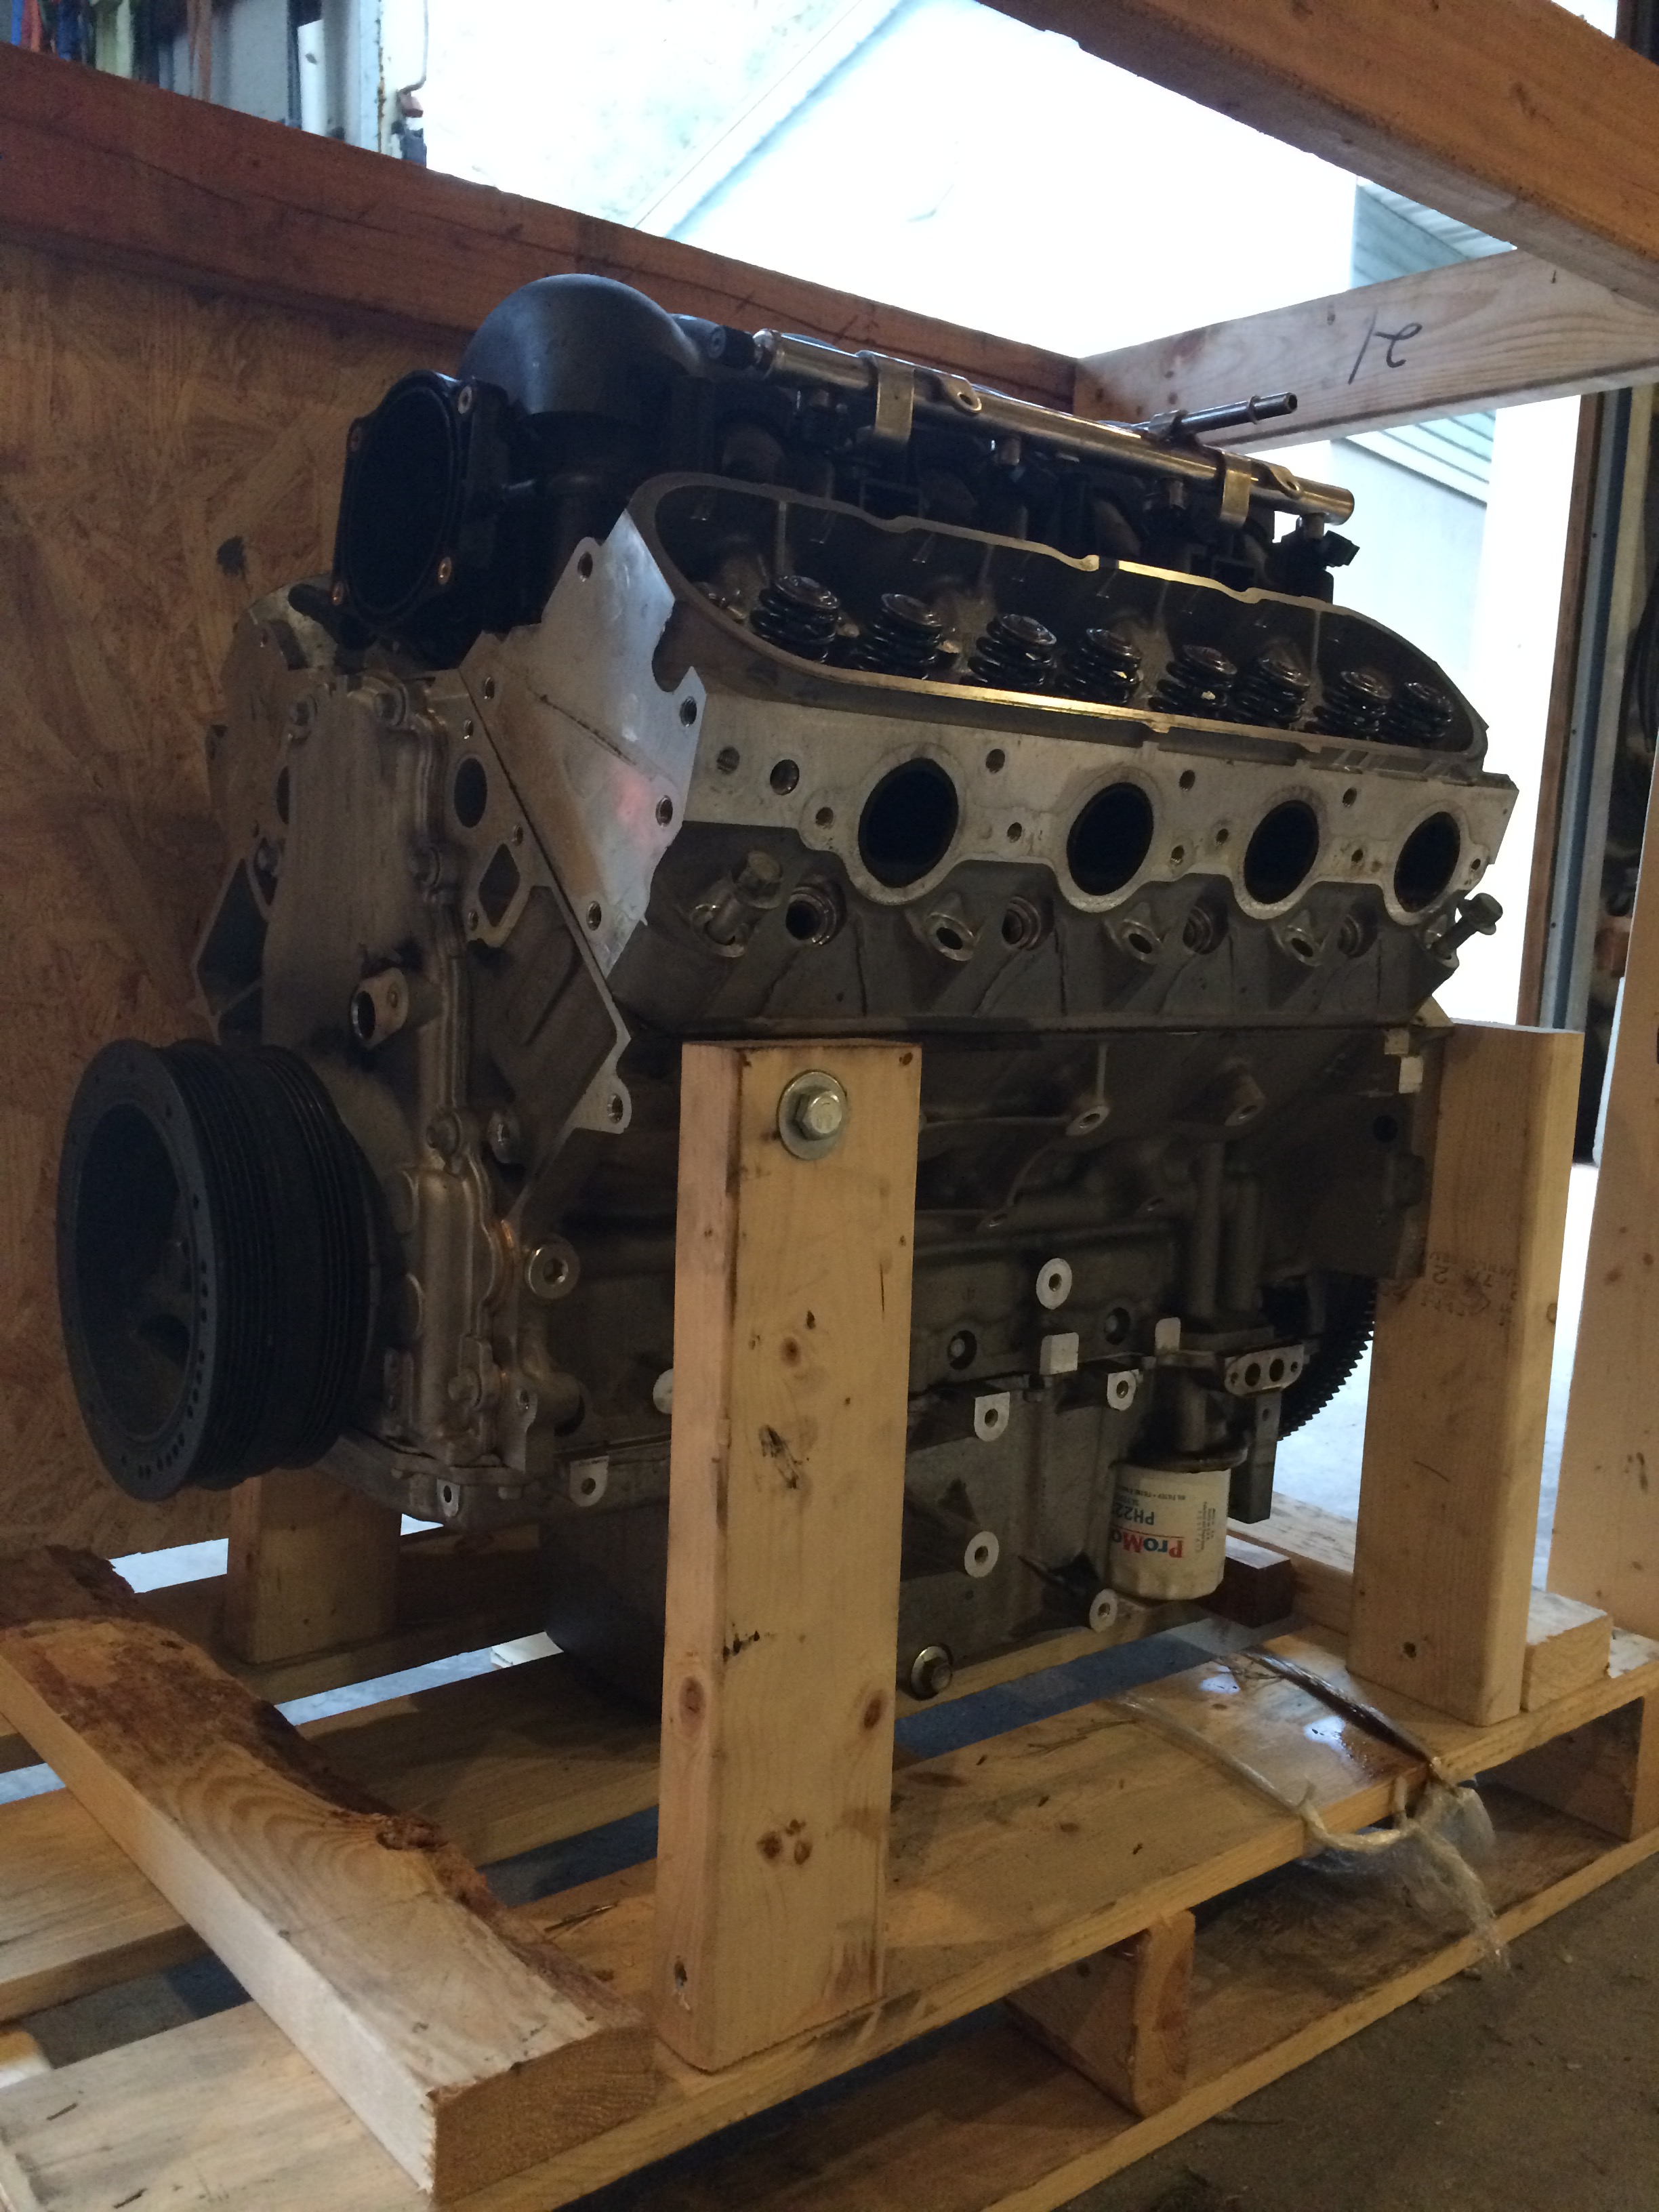
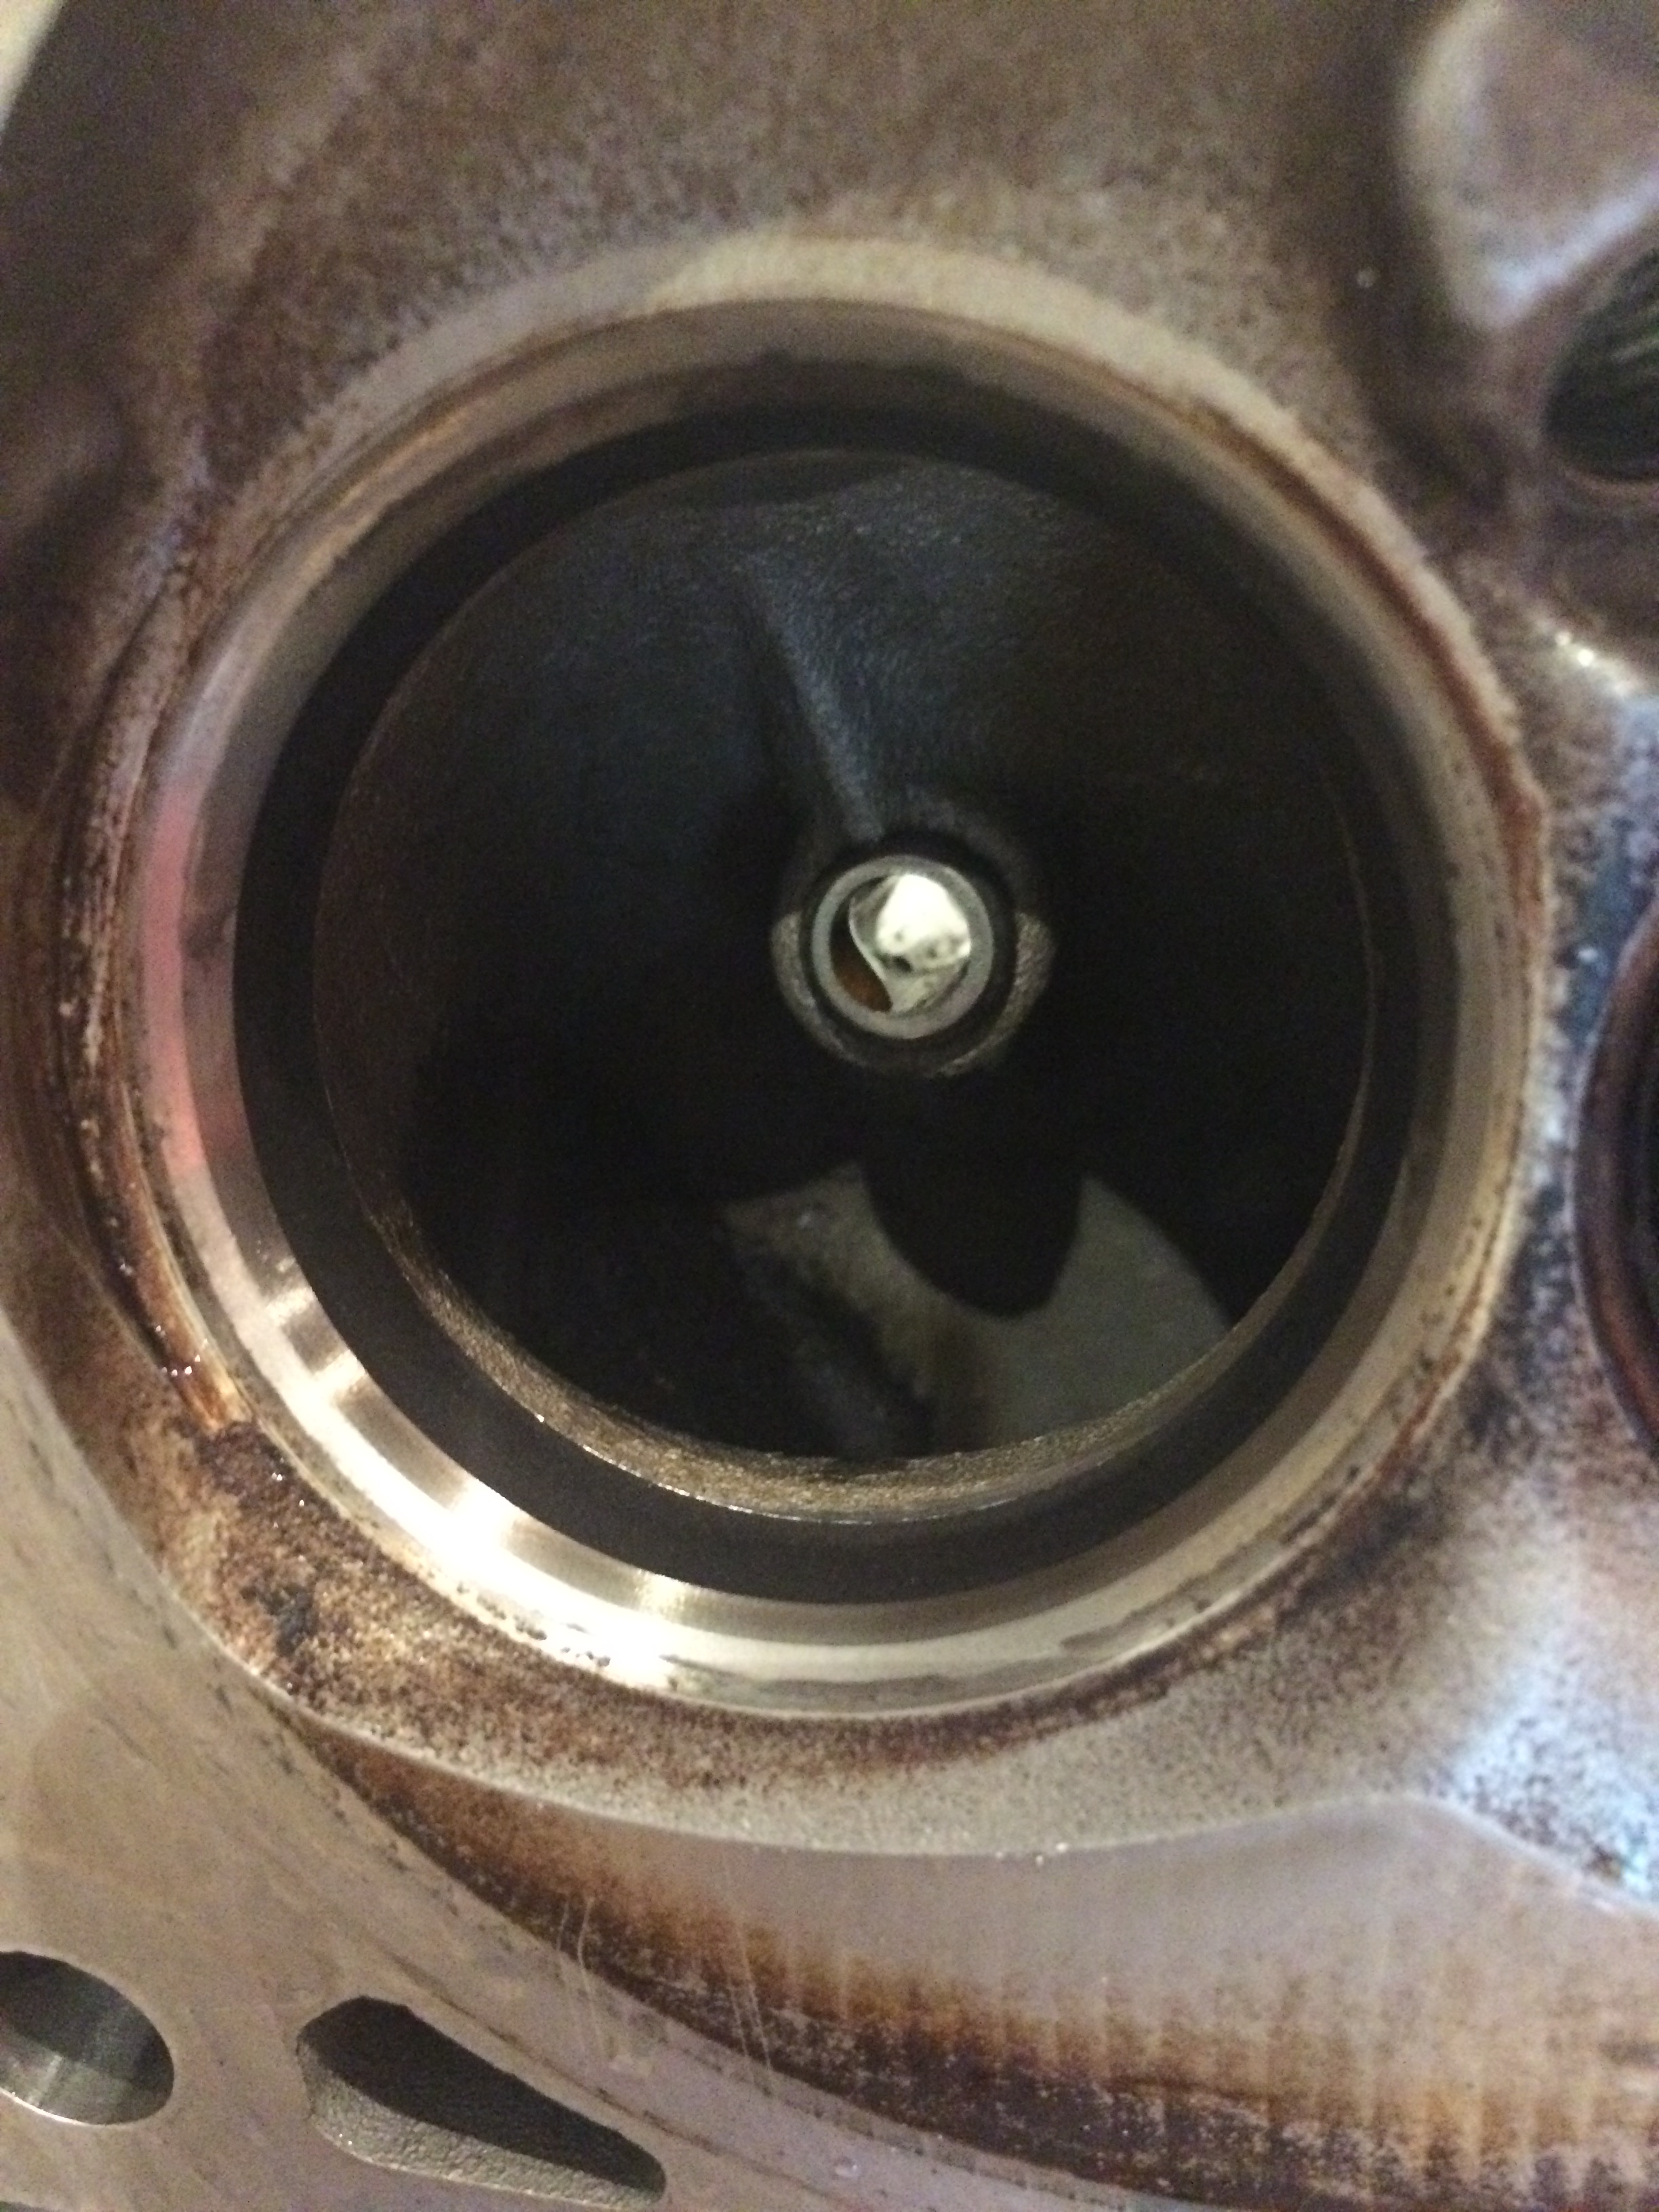
I came across this LS3 from a 2014 SS with 14k miles "hydrolocked", that happened to be about 10 miles from my house. And, I knew the guy selling it. He thought it had bent valves, and at least one or two bend connecting rods, but all of the piston sleeves were undamaged. It does not turn over 360 degrees. He decided to take the insurance money, and replace it with a new, take-out ZL1.
When I picked it up, it had all 16 pushrods perfectly straight, so it didn't seem that bent valves was possible.
Get it home, whip of the heads, and Yay! Valves are all ok, and there are no dings on the piston heads. I am pretty sure it was bent conecting rod(s), and may need a new crank. I will get to the shortblock teardown this week.
And...a bonus. He gave me a brand-new LSA cam and springs, and the LS3 intake, rail and injectors. Very nice.
Here are some pics.


 11-10-2015, 08:58 AM
#27
On The Tree

Join Date: May 2014
Posts: 123
Likes: 0
Received 0 Likes
on
0 Posts
Thats got to be frustrating with the escalade drivetrains. I was looking forward to seeing how that package was going to work out. Nice score on the LS3. Are you still planning on AWD?
11-11-2015, 06:46 AM
#30
But, to be sure, (Not knowing what kind of stuff you get from China these days) I cut a small section and left it soaking in gasoline for a week. It was discolored, but did not soften, craze or crack. Low buck engineering at it's best.
At worst, if it starts to deteriorate, it's about $5 and 5 minutes to fix.
 11-21-2015, 11:42 AM
#35
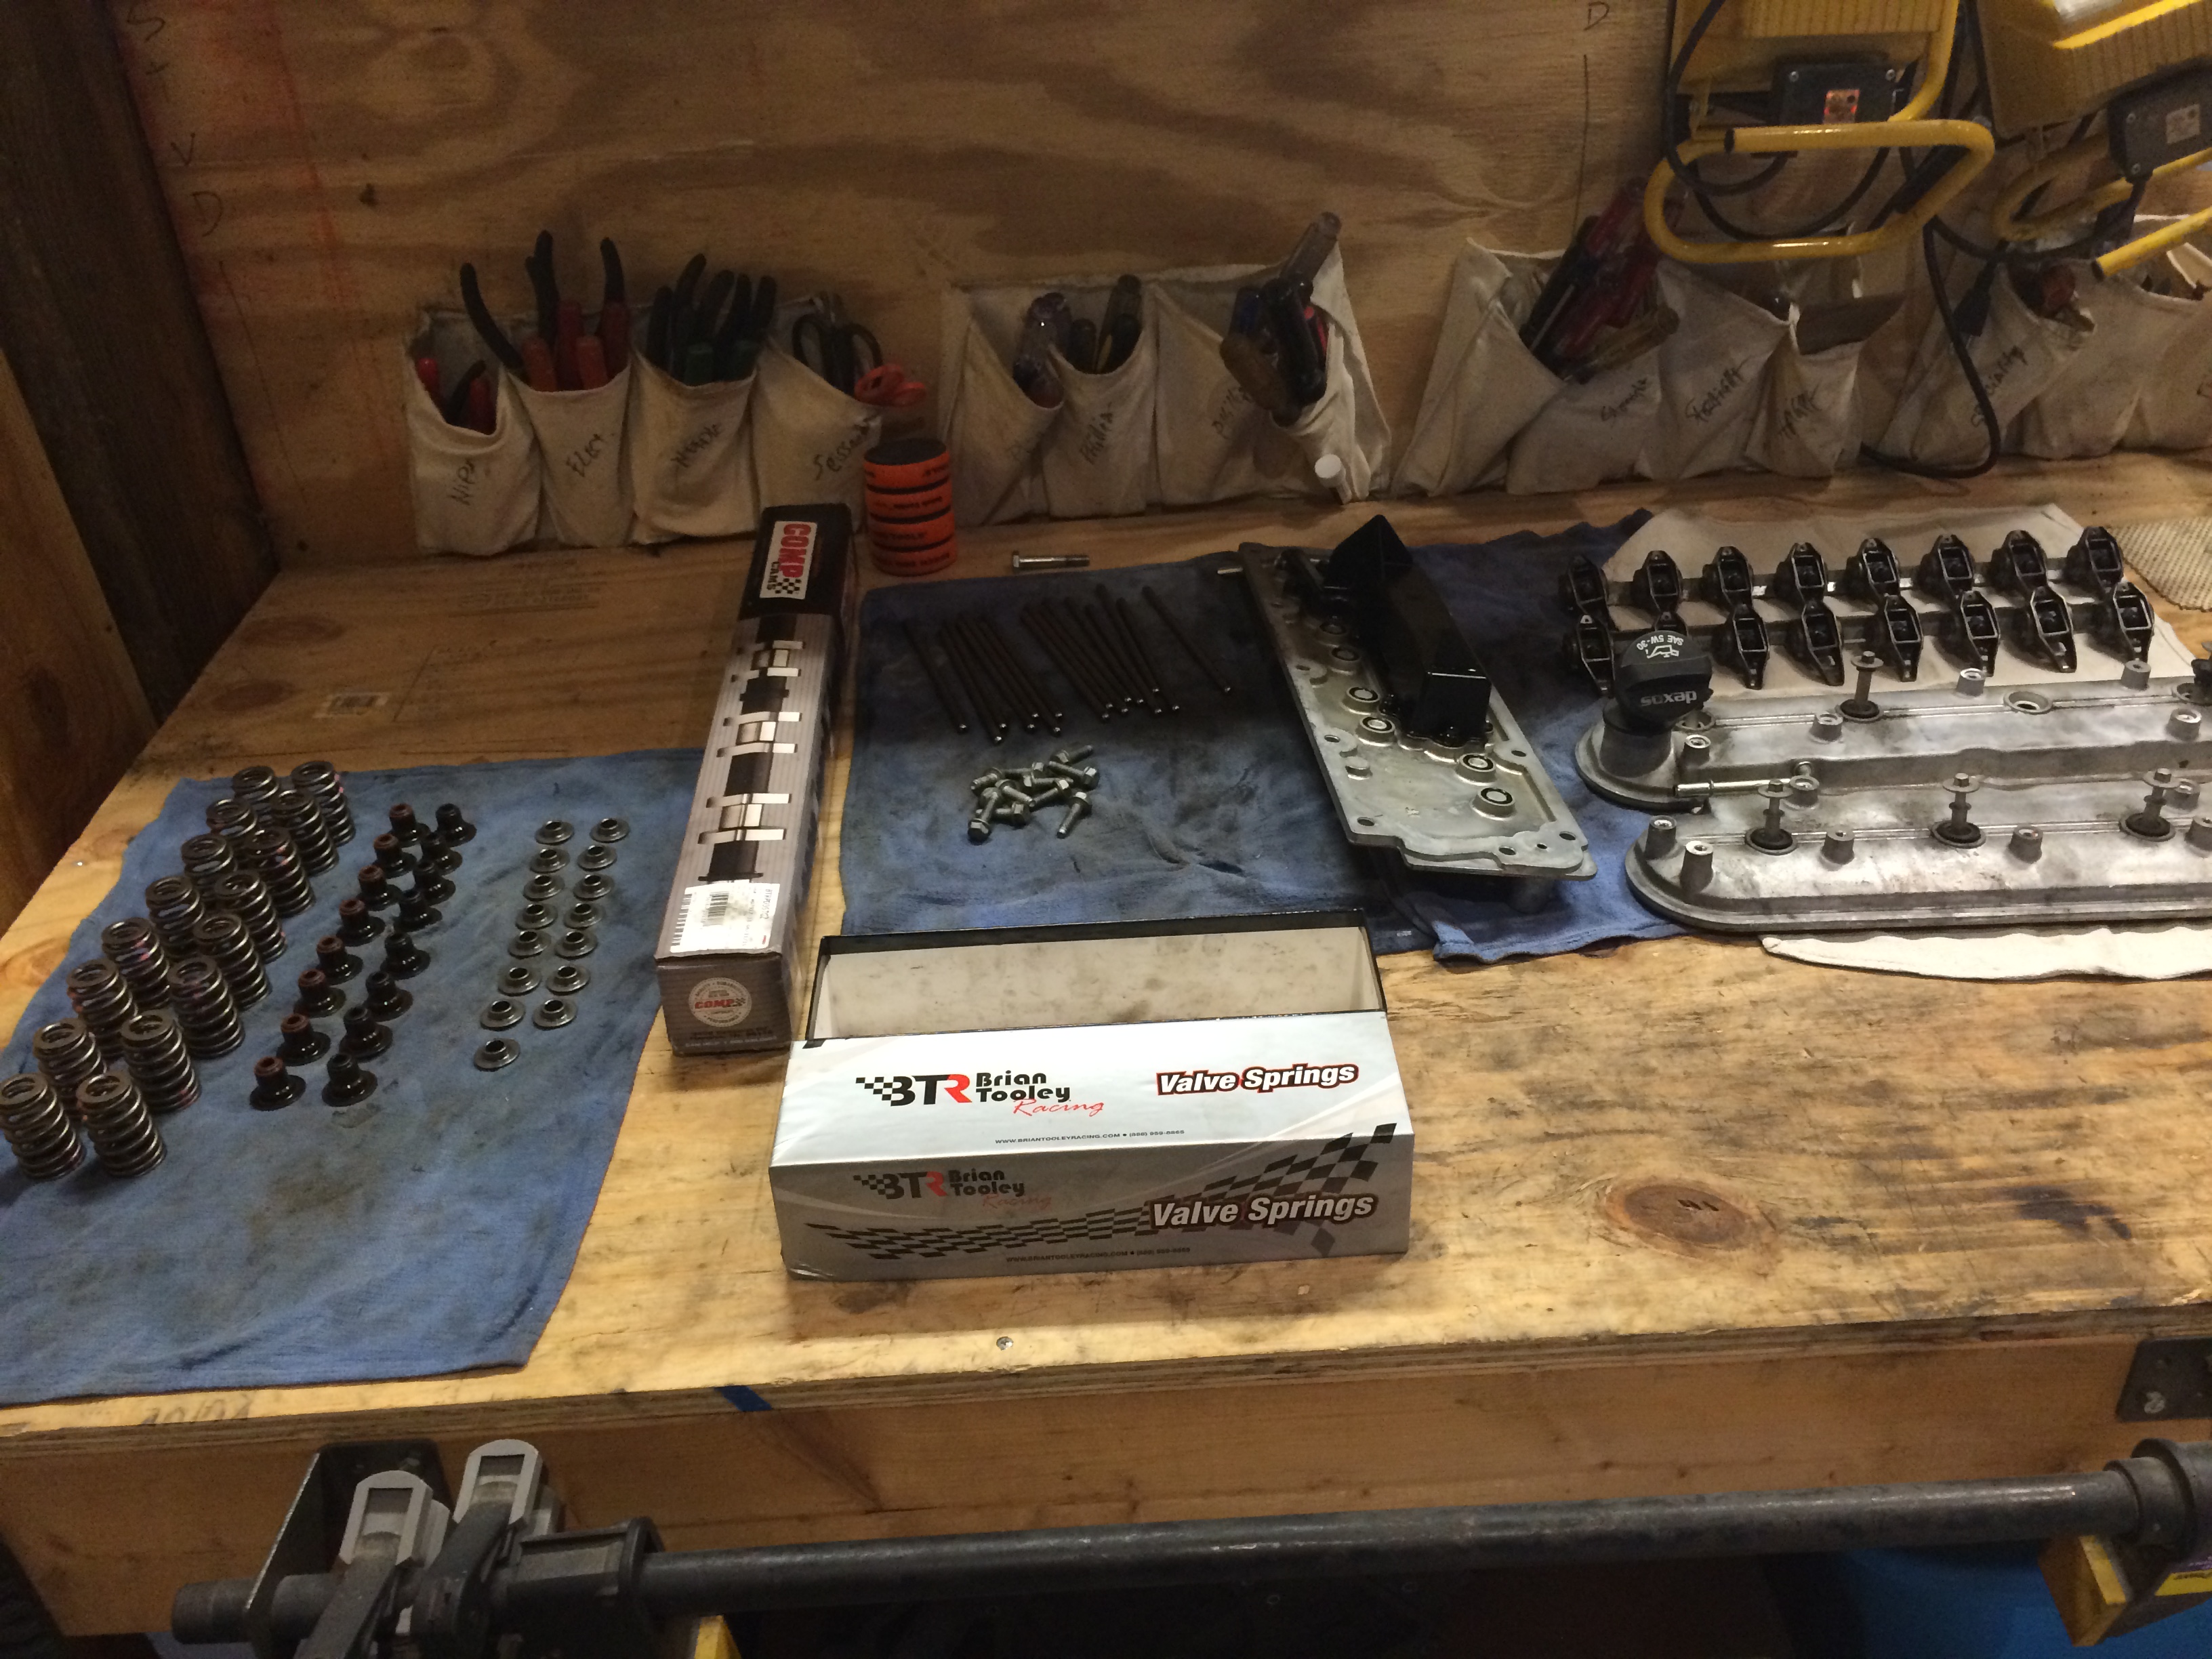
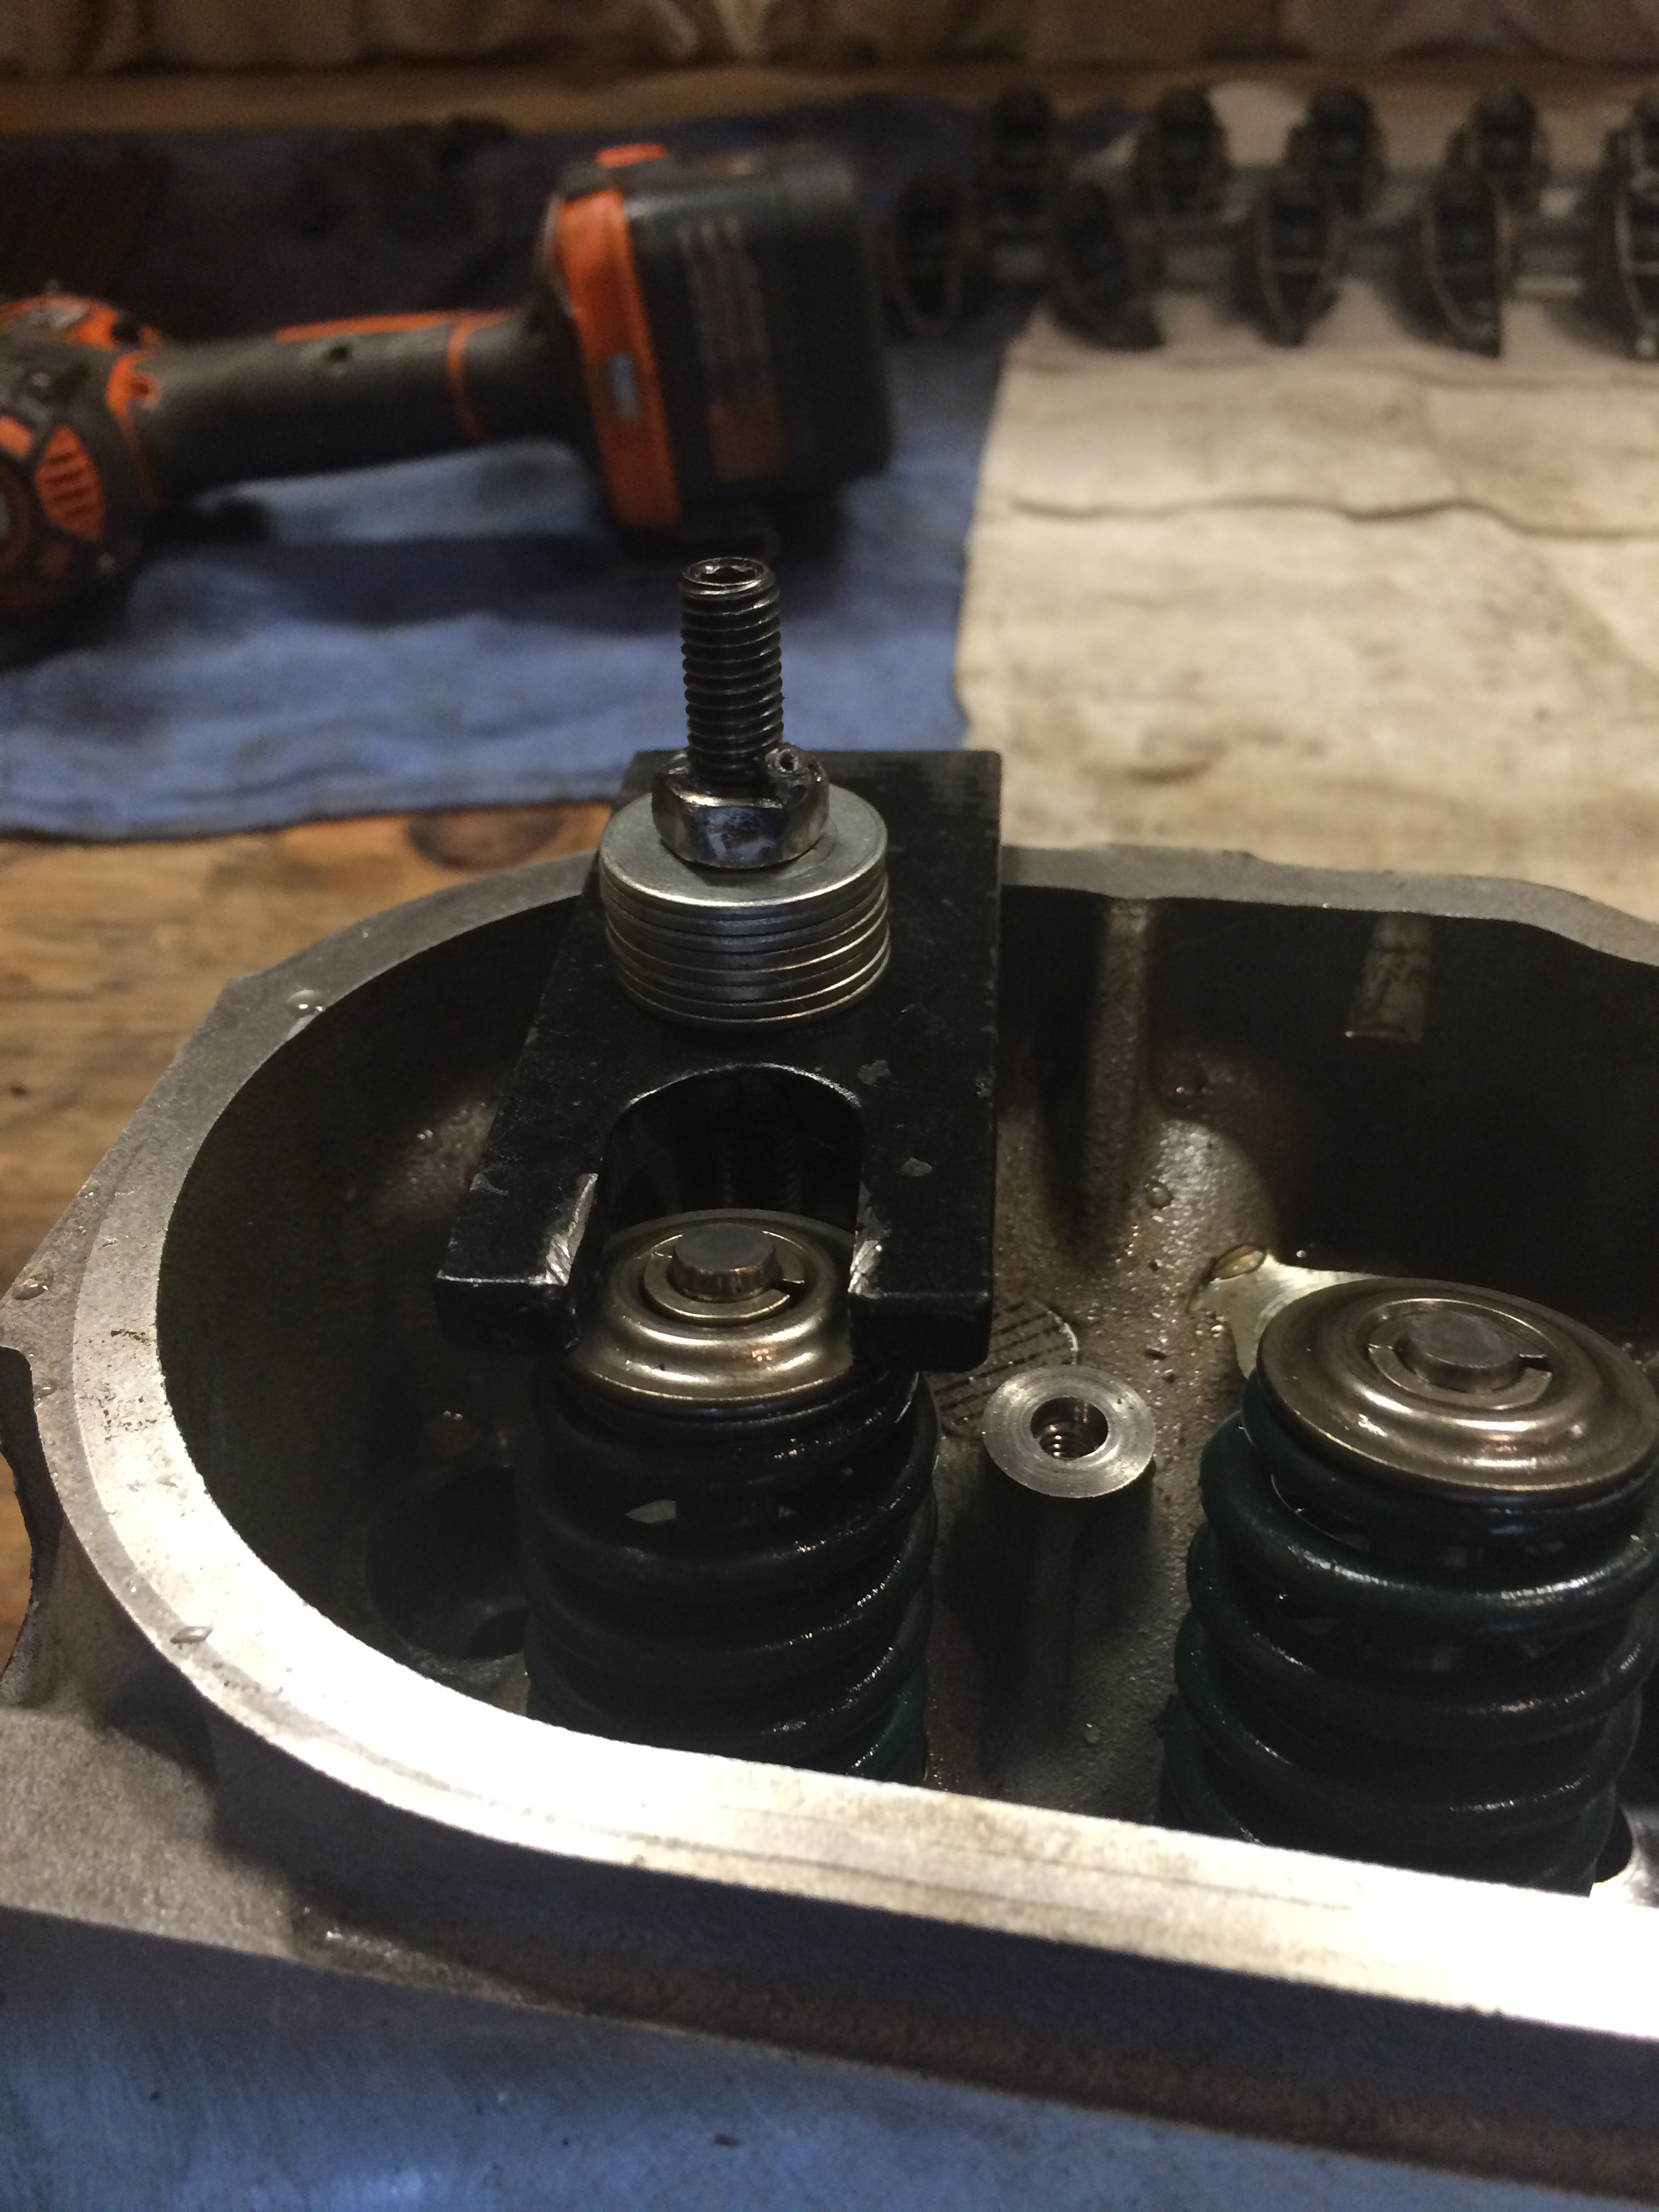
Today it was time to clean up these heads, check for bent valves, and lap the seats.
I had help from my son.
Pulling the springs
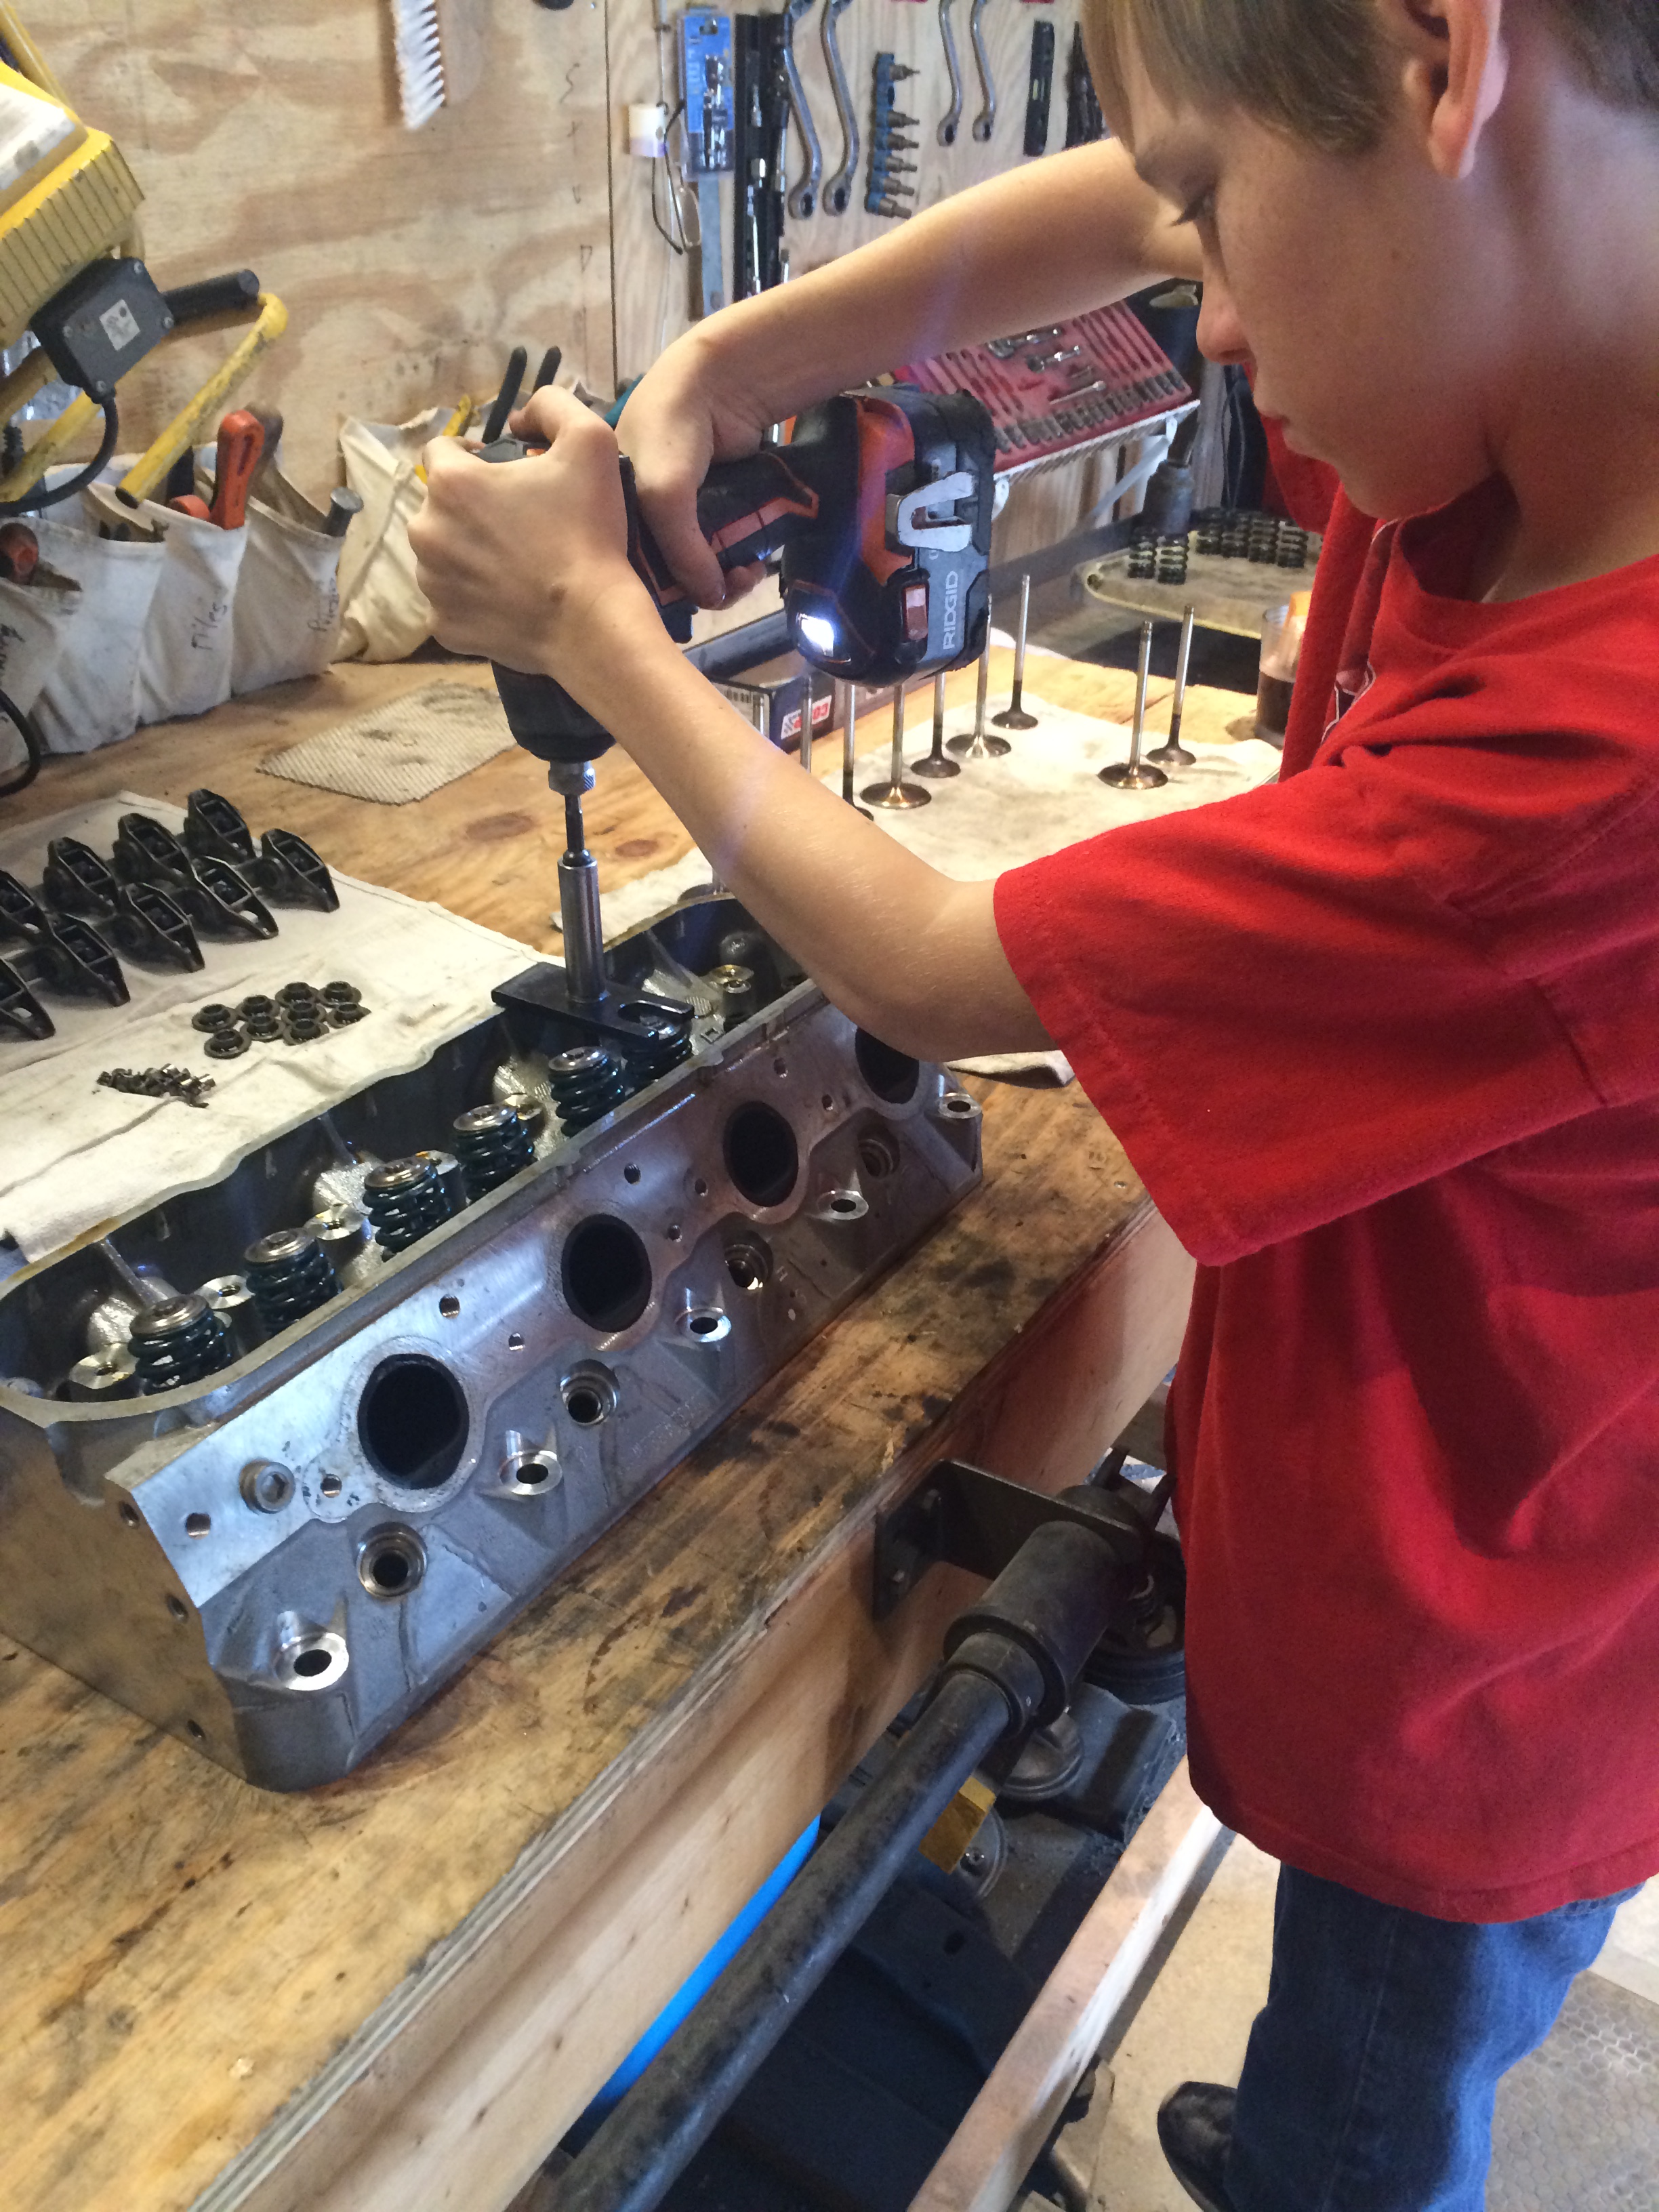
Lapping the valves. I didn't buy lapping compound, because I will use about a tablespoon out of the $12 jar, and then leave it on a shelf until it dries out. How about some Turtle Wax rubbing compound?
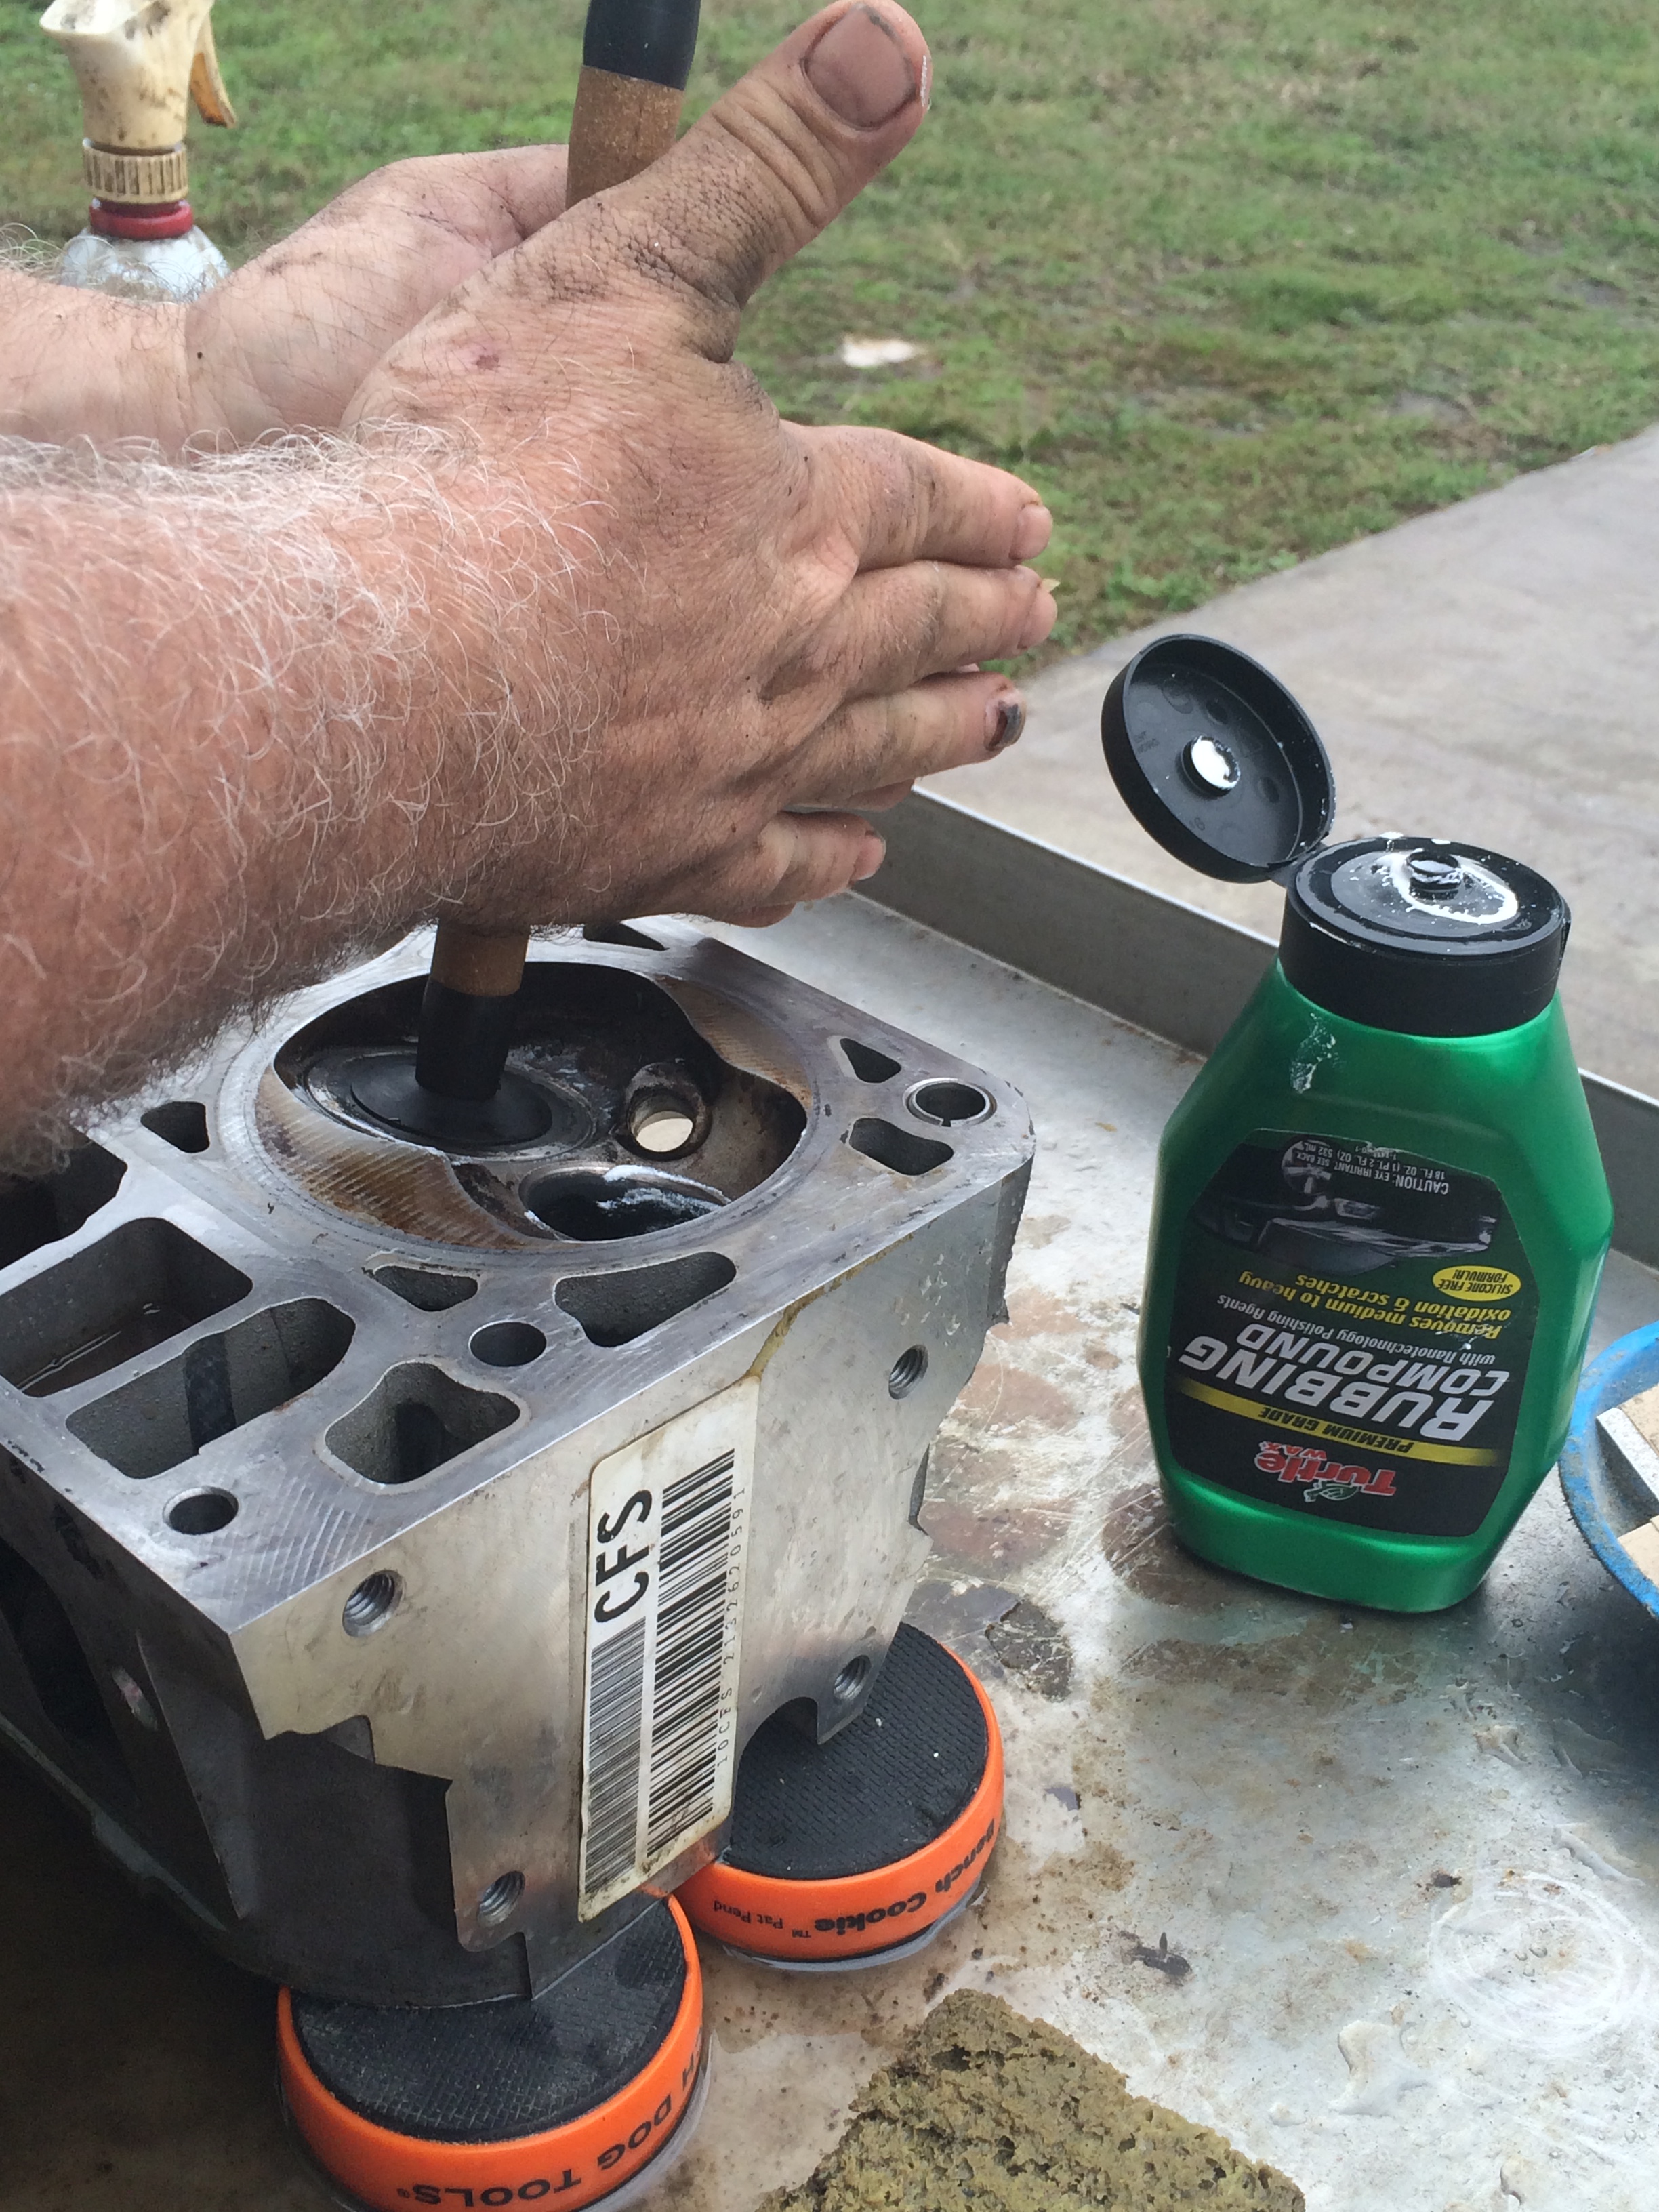
And Garrett's turn.
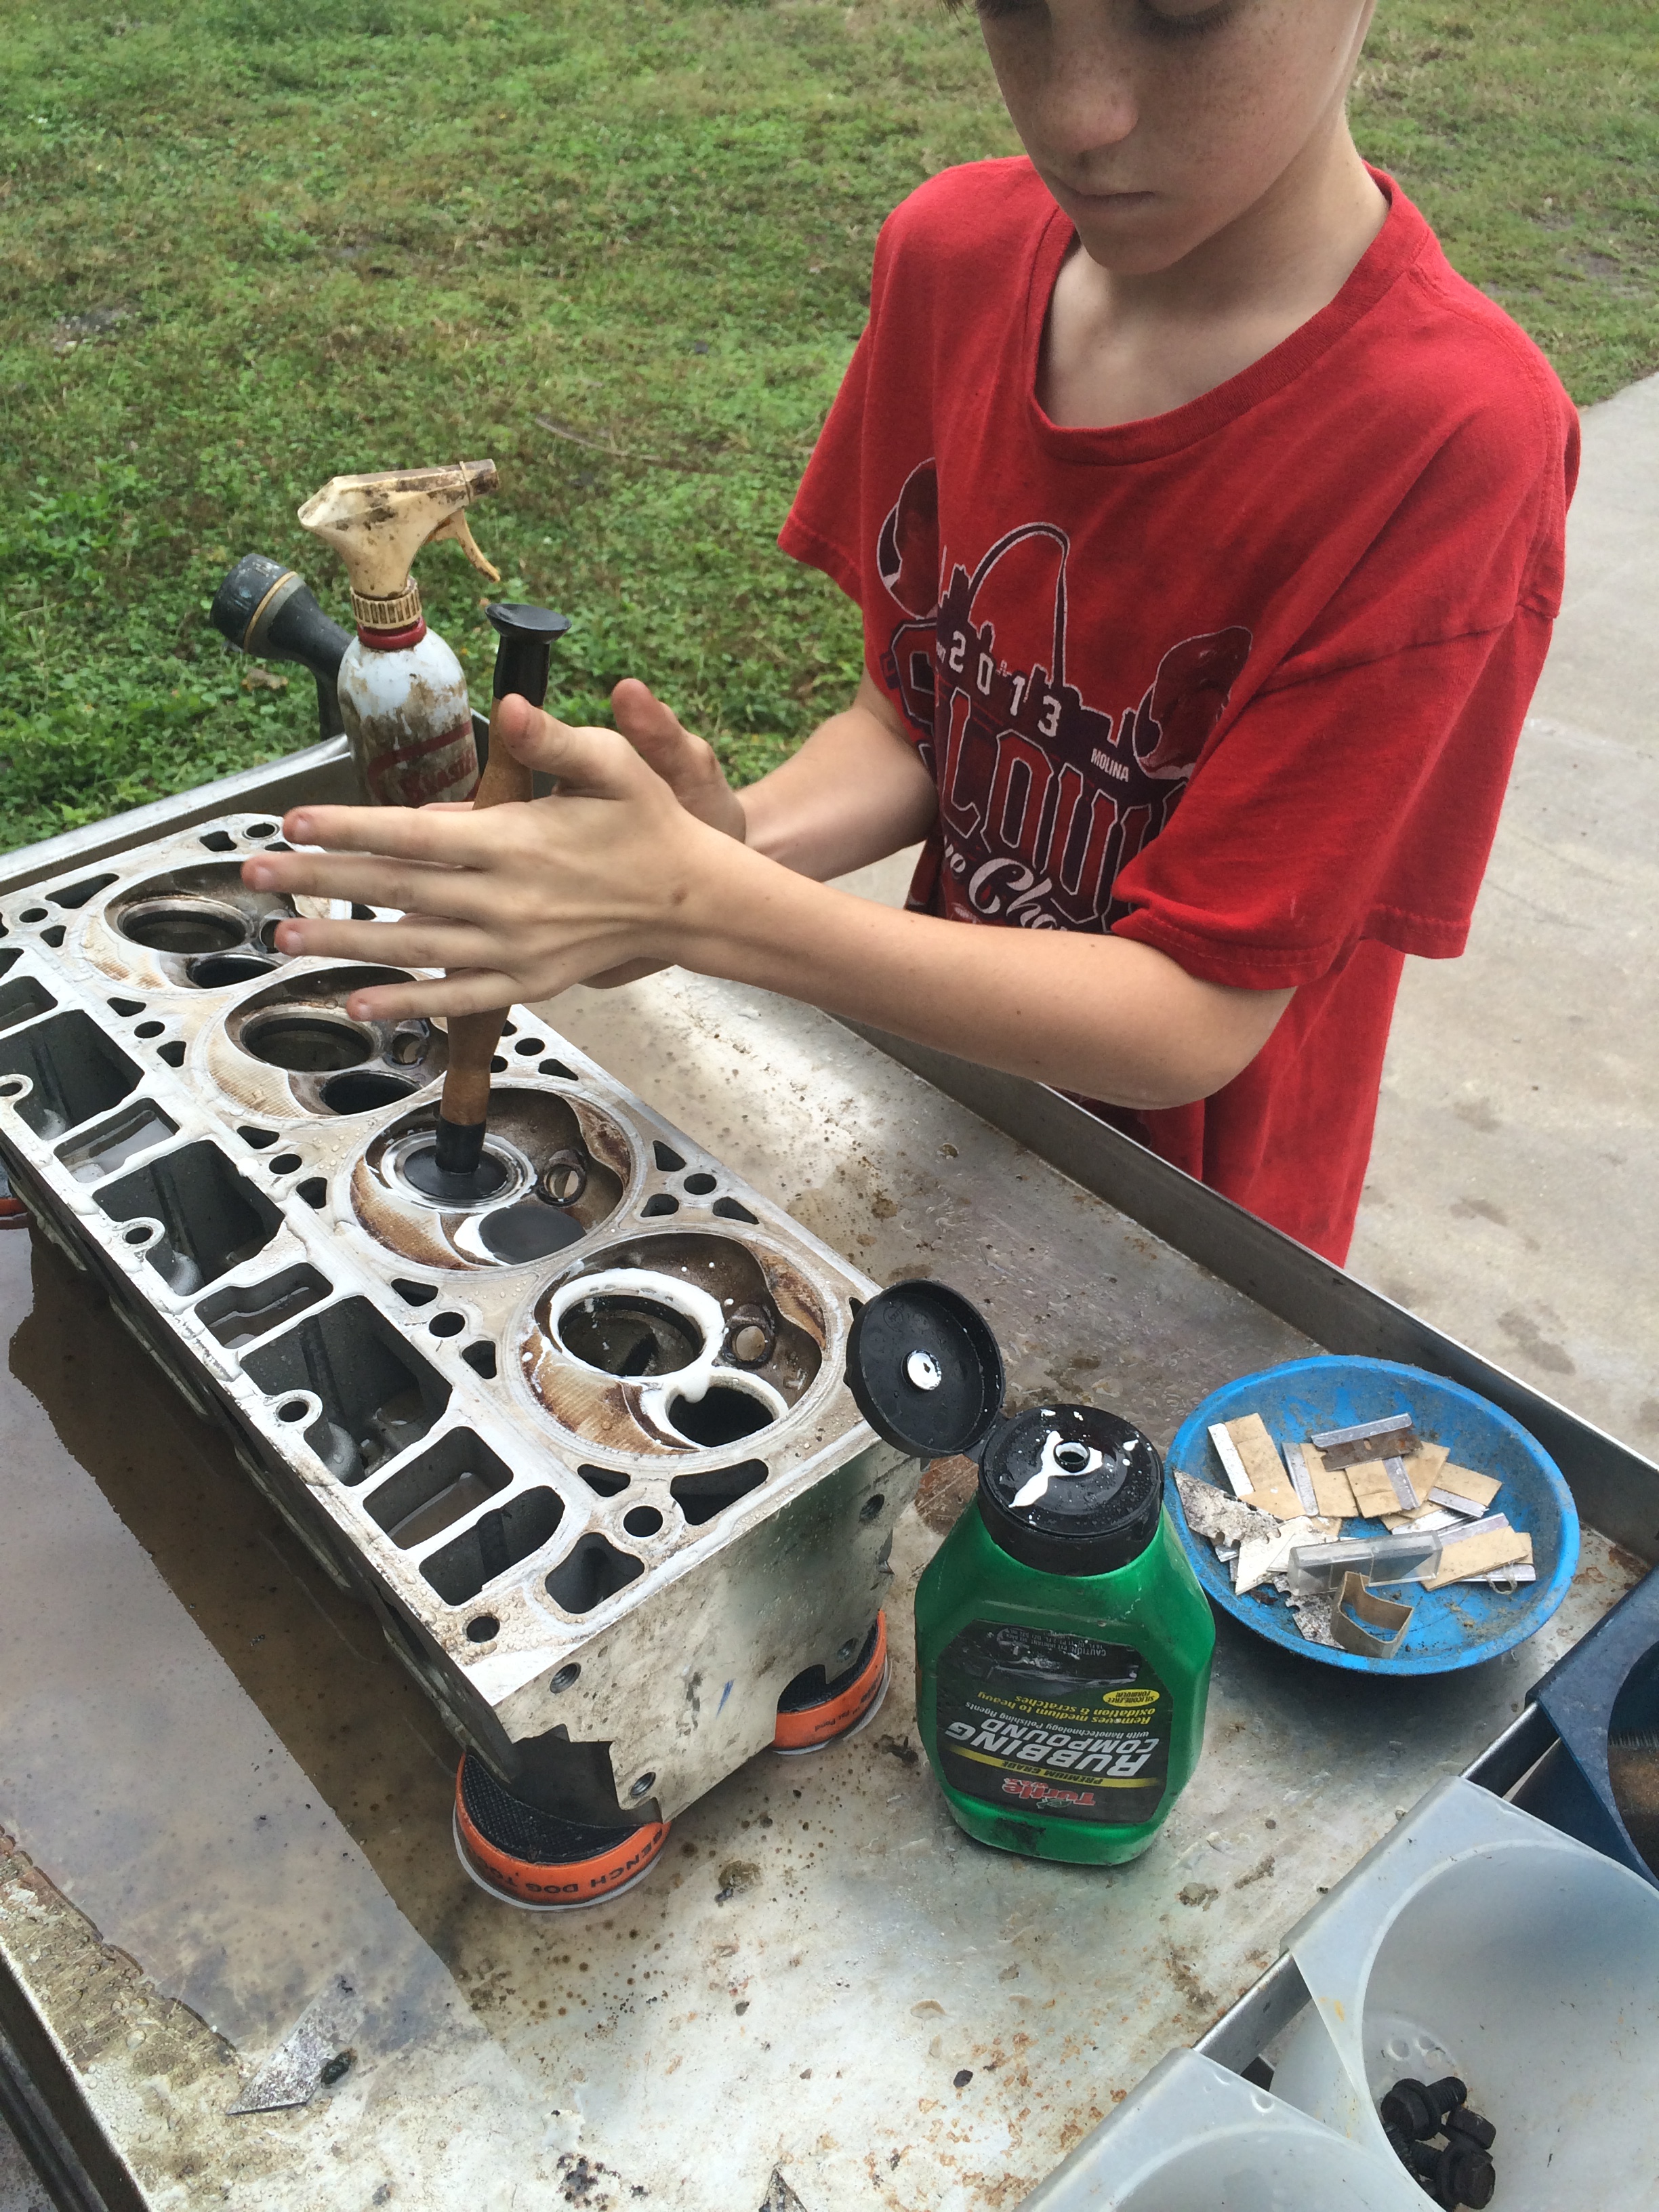
Nice Turtle Wax shine on the valve seat.
By the time I was done, the stud had stripped on my puller tool, so I welded the nut in place, and added a stack of washers.
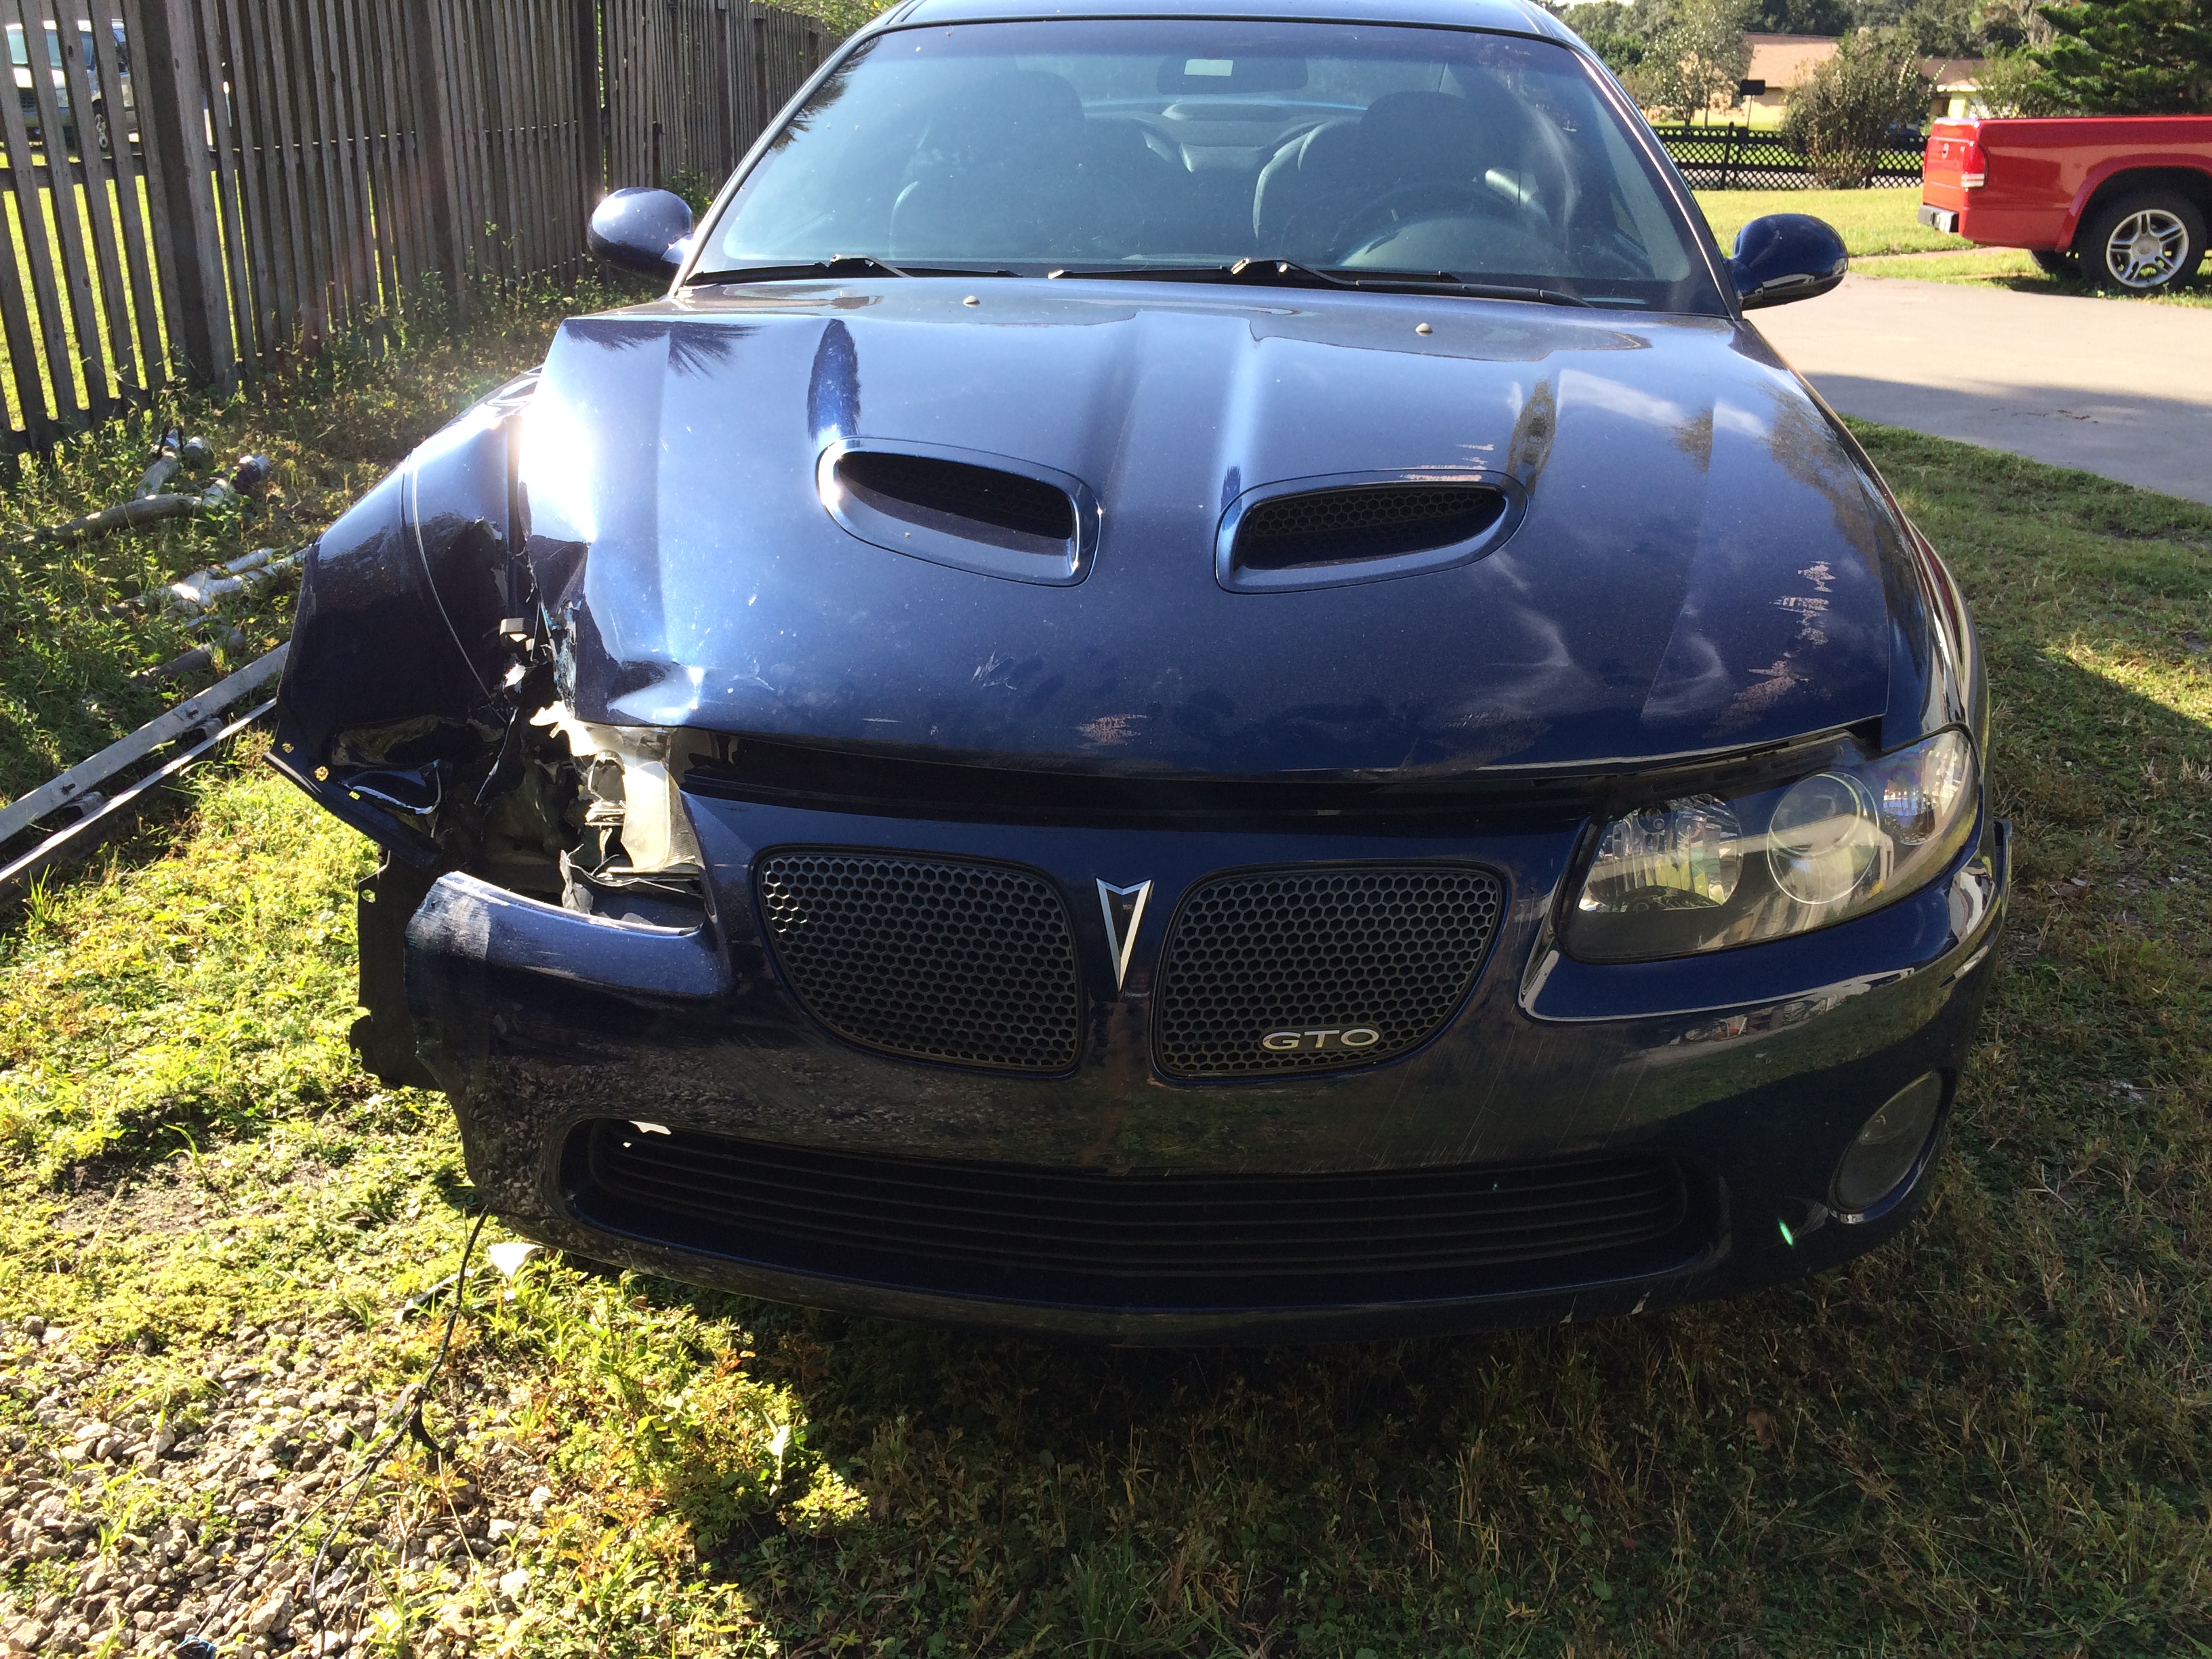
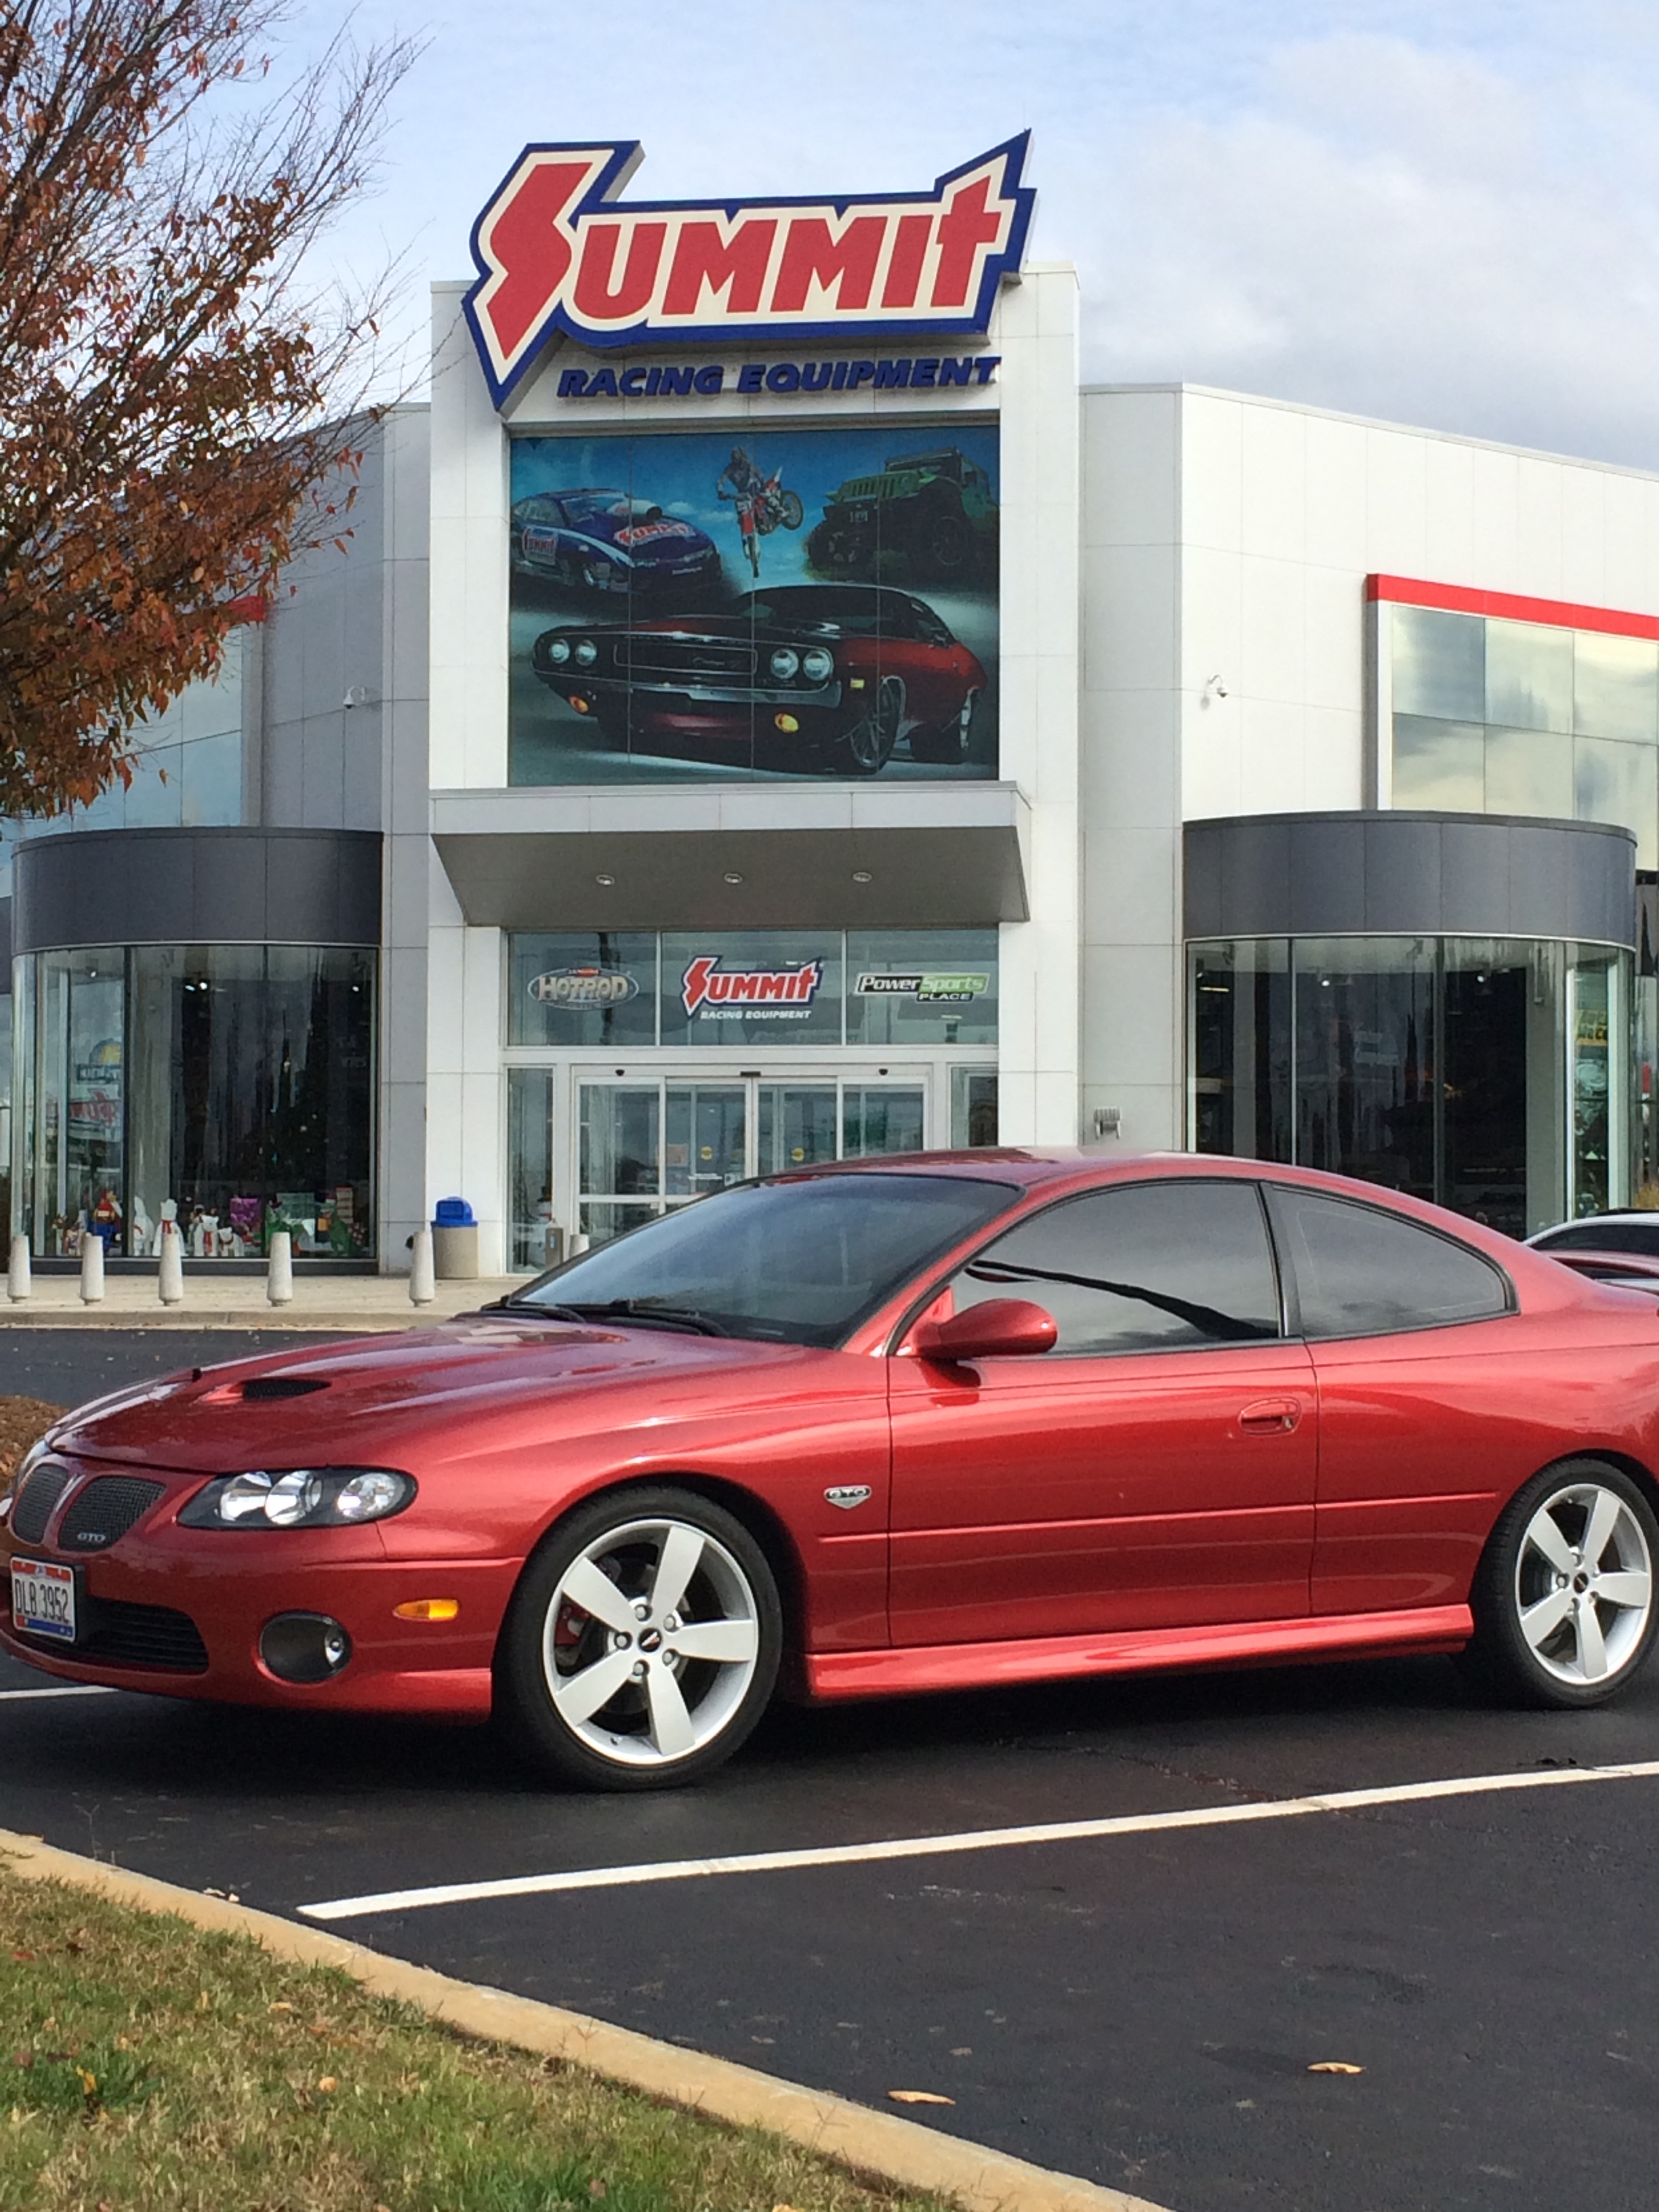
And we picked up a new daily driver to replace the wrecked one. 2006 GTO with manual trans this time. Ported heads, cam, exhaust and Fedders (?) springs.
It was also a salvage. Beautiful work done by a shop in Texas to put it back on the road. Now I can start on the blue one when I have time.
I had help from my son.
Pulling the springs

Lapping the valves. I didn't buy lapping compound, because I will use about a tablespoon out of the $12 jar, and then leave it on a shelf until it dries out. How about some Turtle Wax rubbing compound?

And Garrett's turn.

Nice Turtle Wax shine on the valve seat.

By the time I was done, the stud had stripped on my puller tool, so I welded the nut in place, and added a stack of washers.

And we picked up a new daily driver to replace the wrecked one. 2006 GTO with manual trans this time. Ported heads, cam, exhaust and Fedders (?) springs.
It was also a salvage. Beautiful work done by a shop in Texas to put it back on the road. Now I can start on the blue one when I have time.

 11-27-2015, 07:24 AM
#36
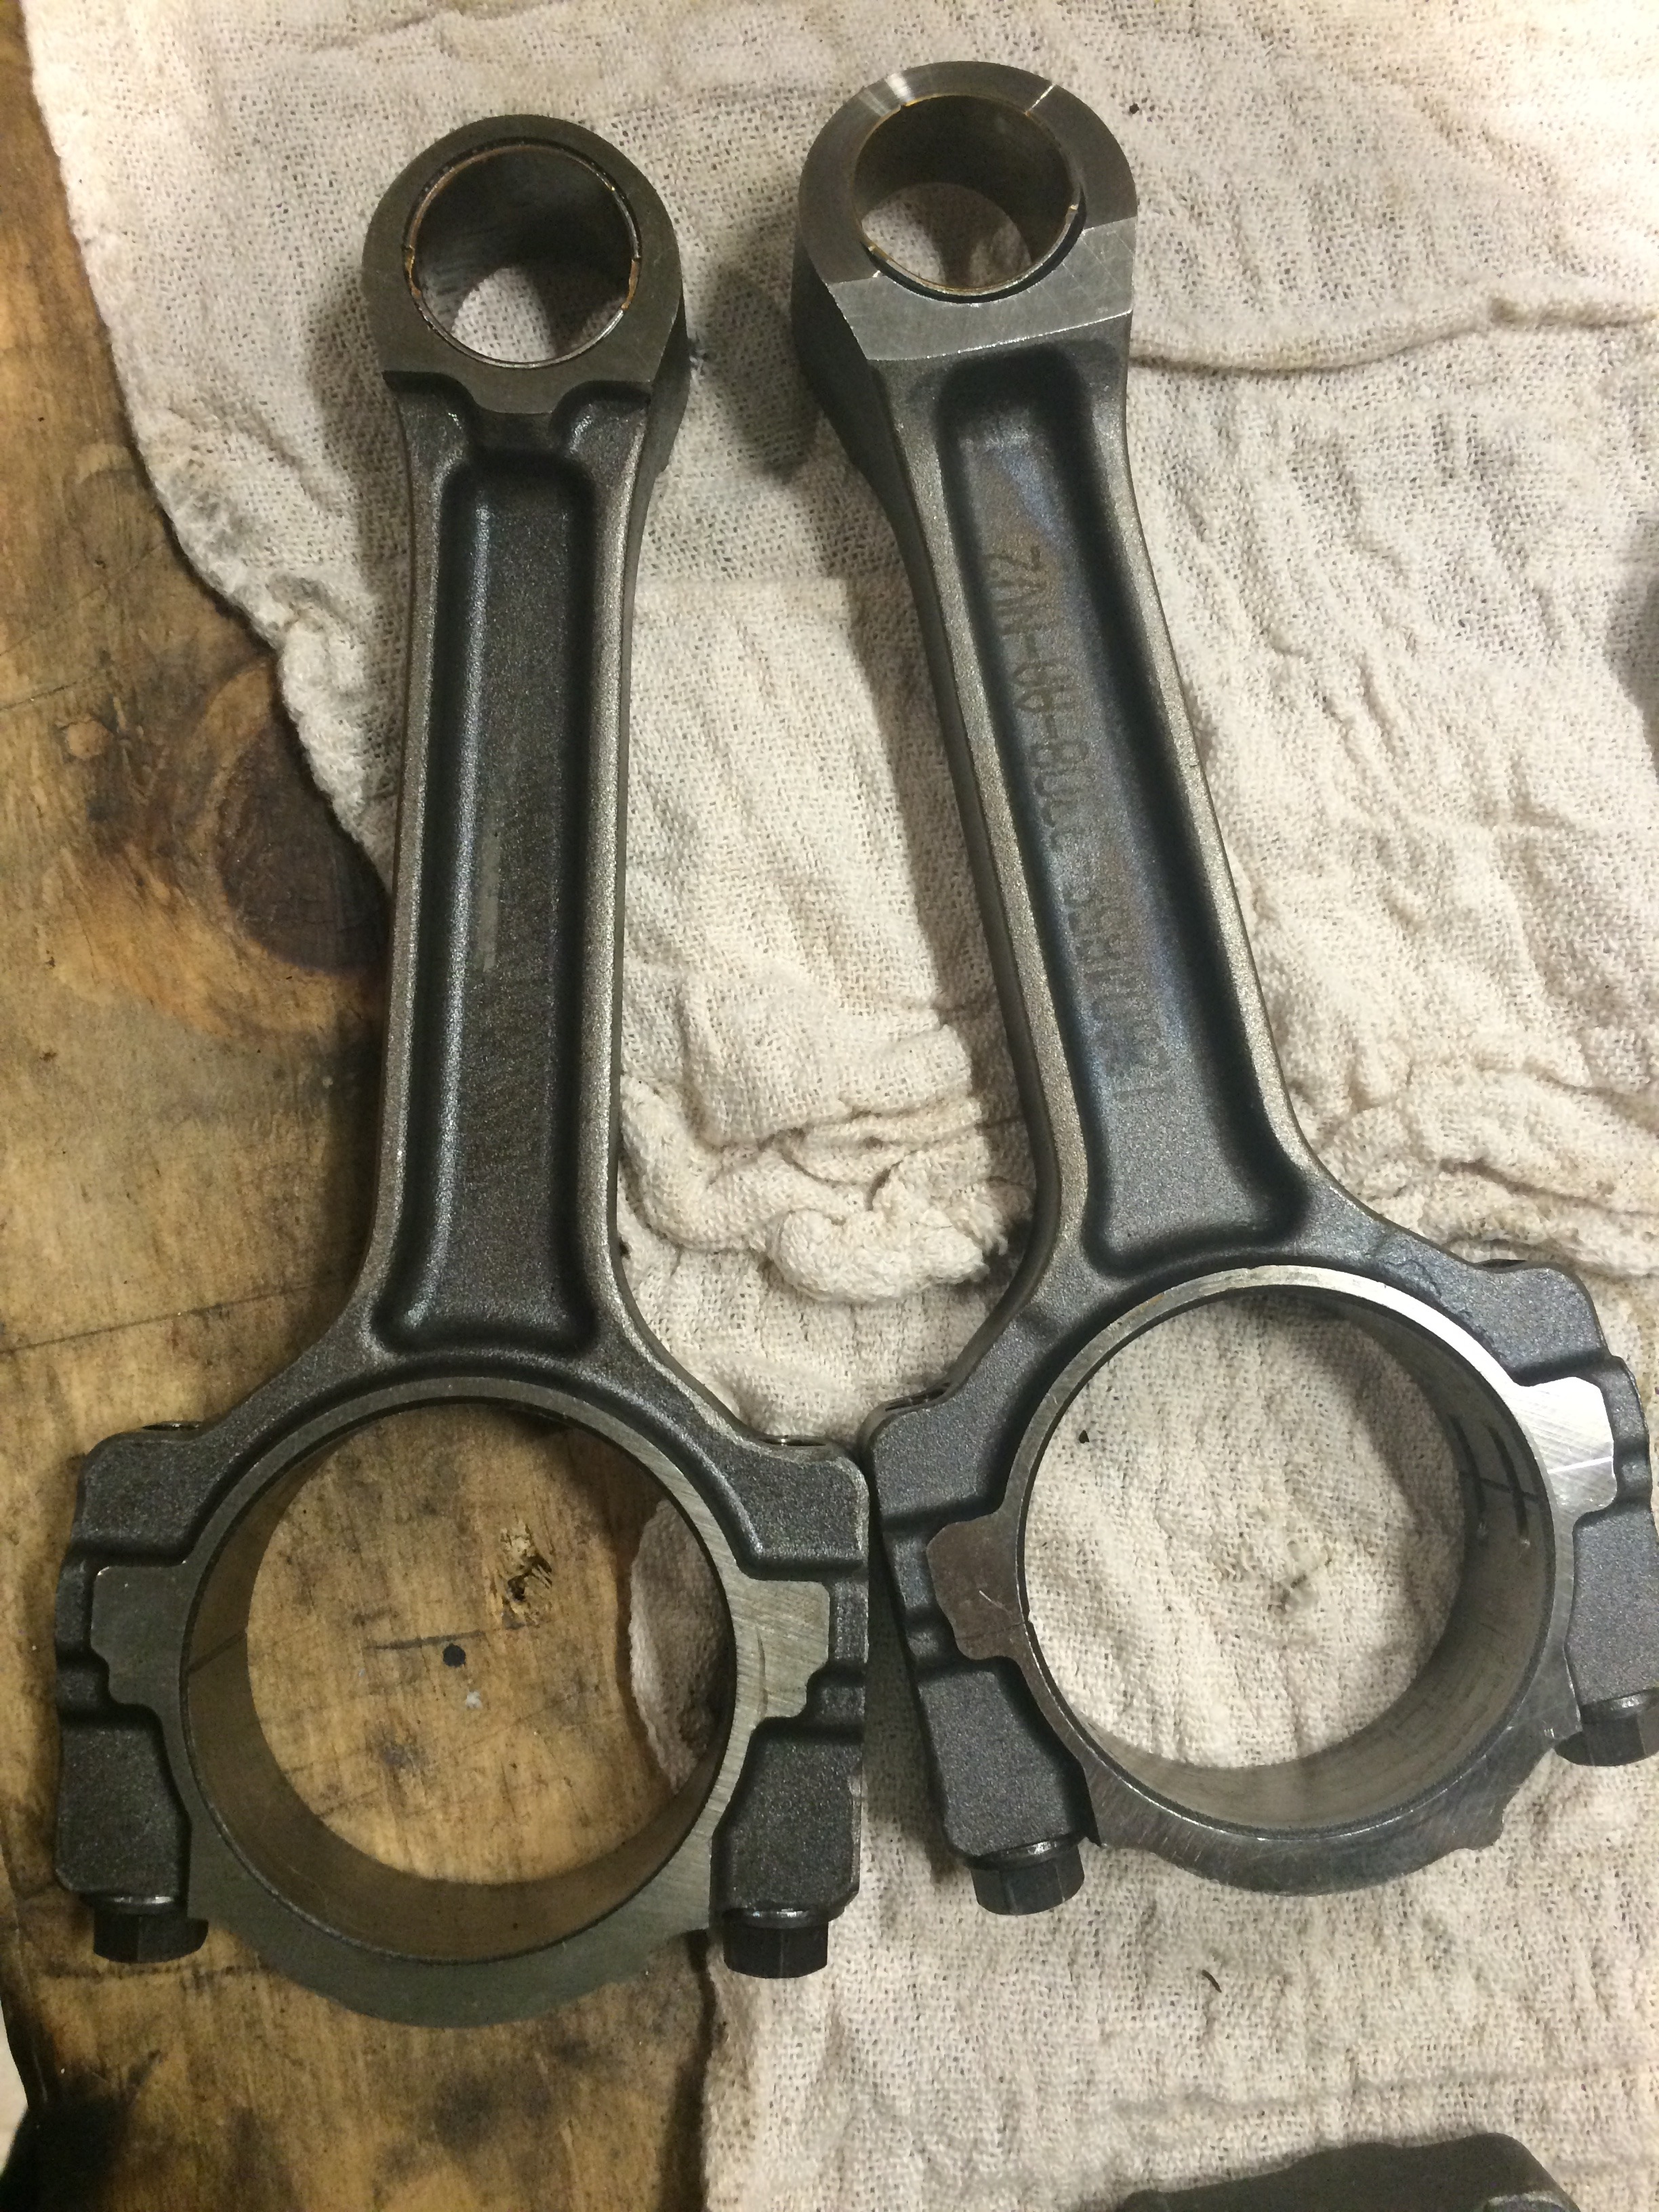
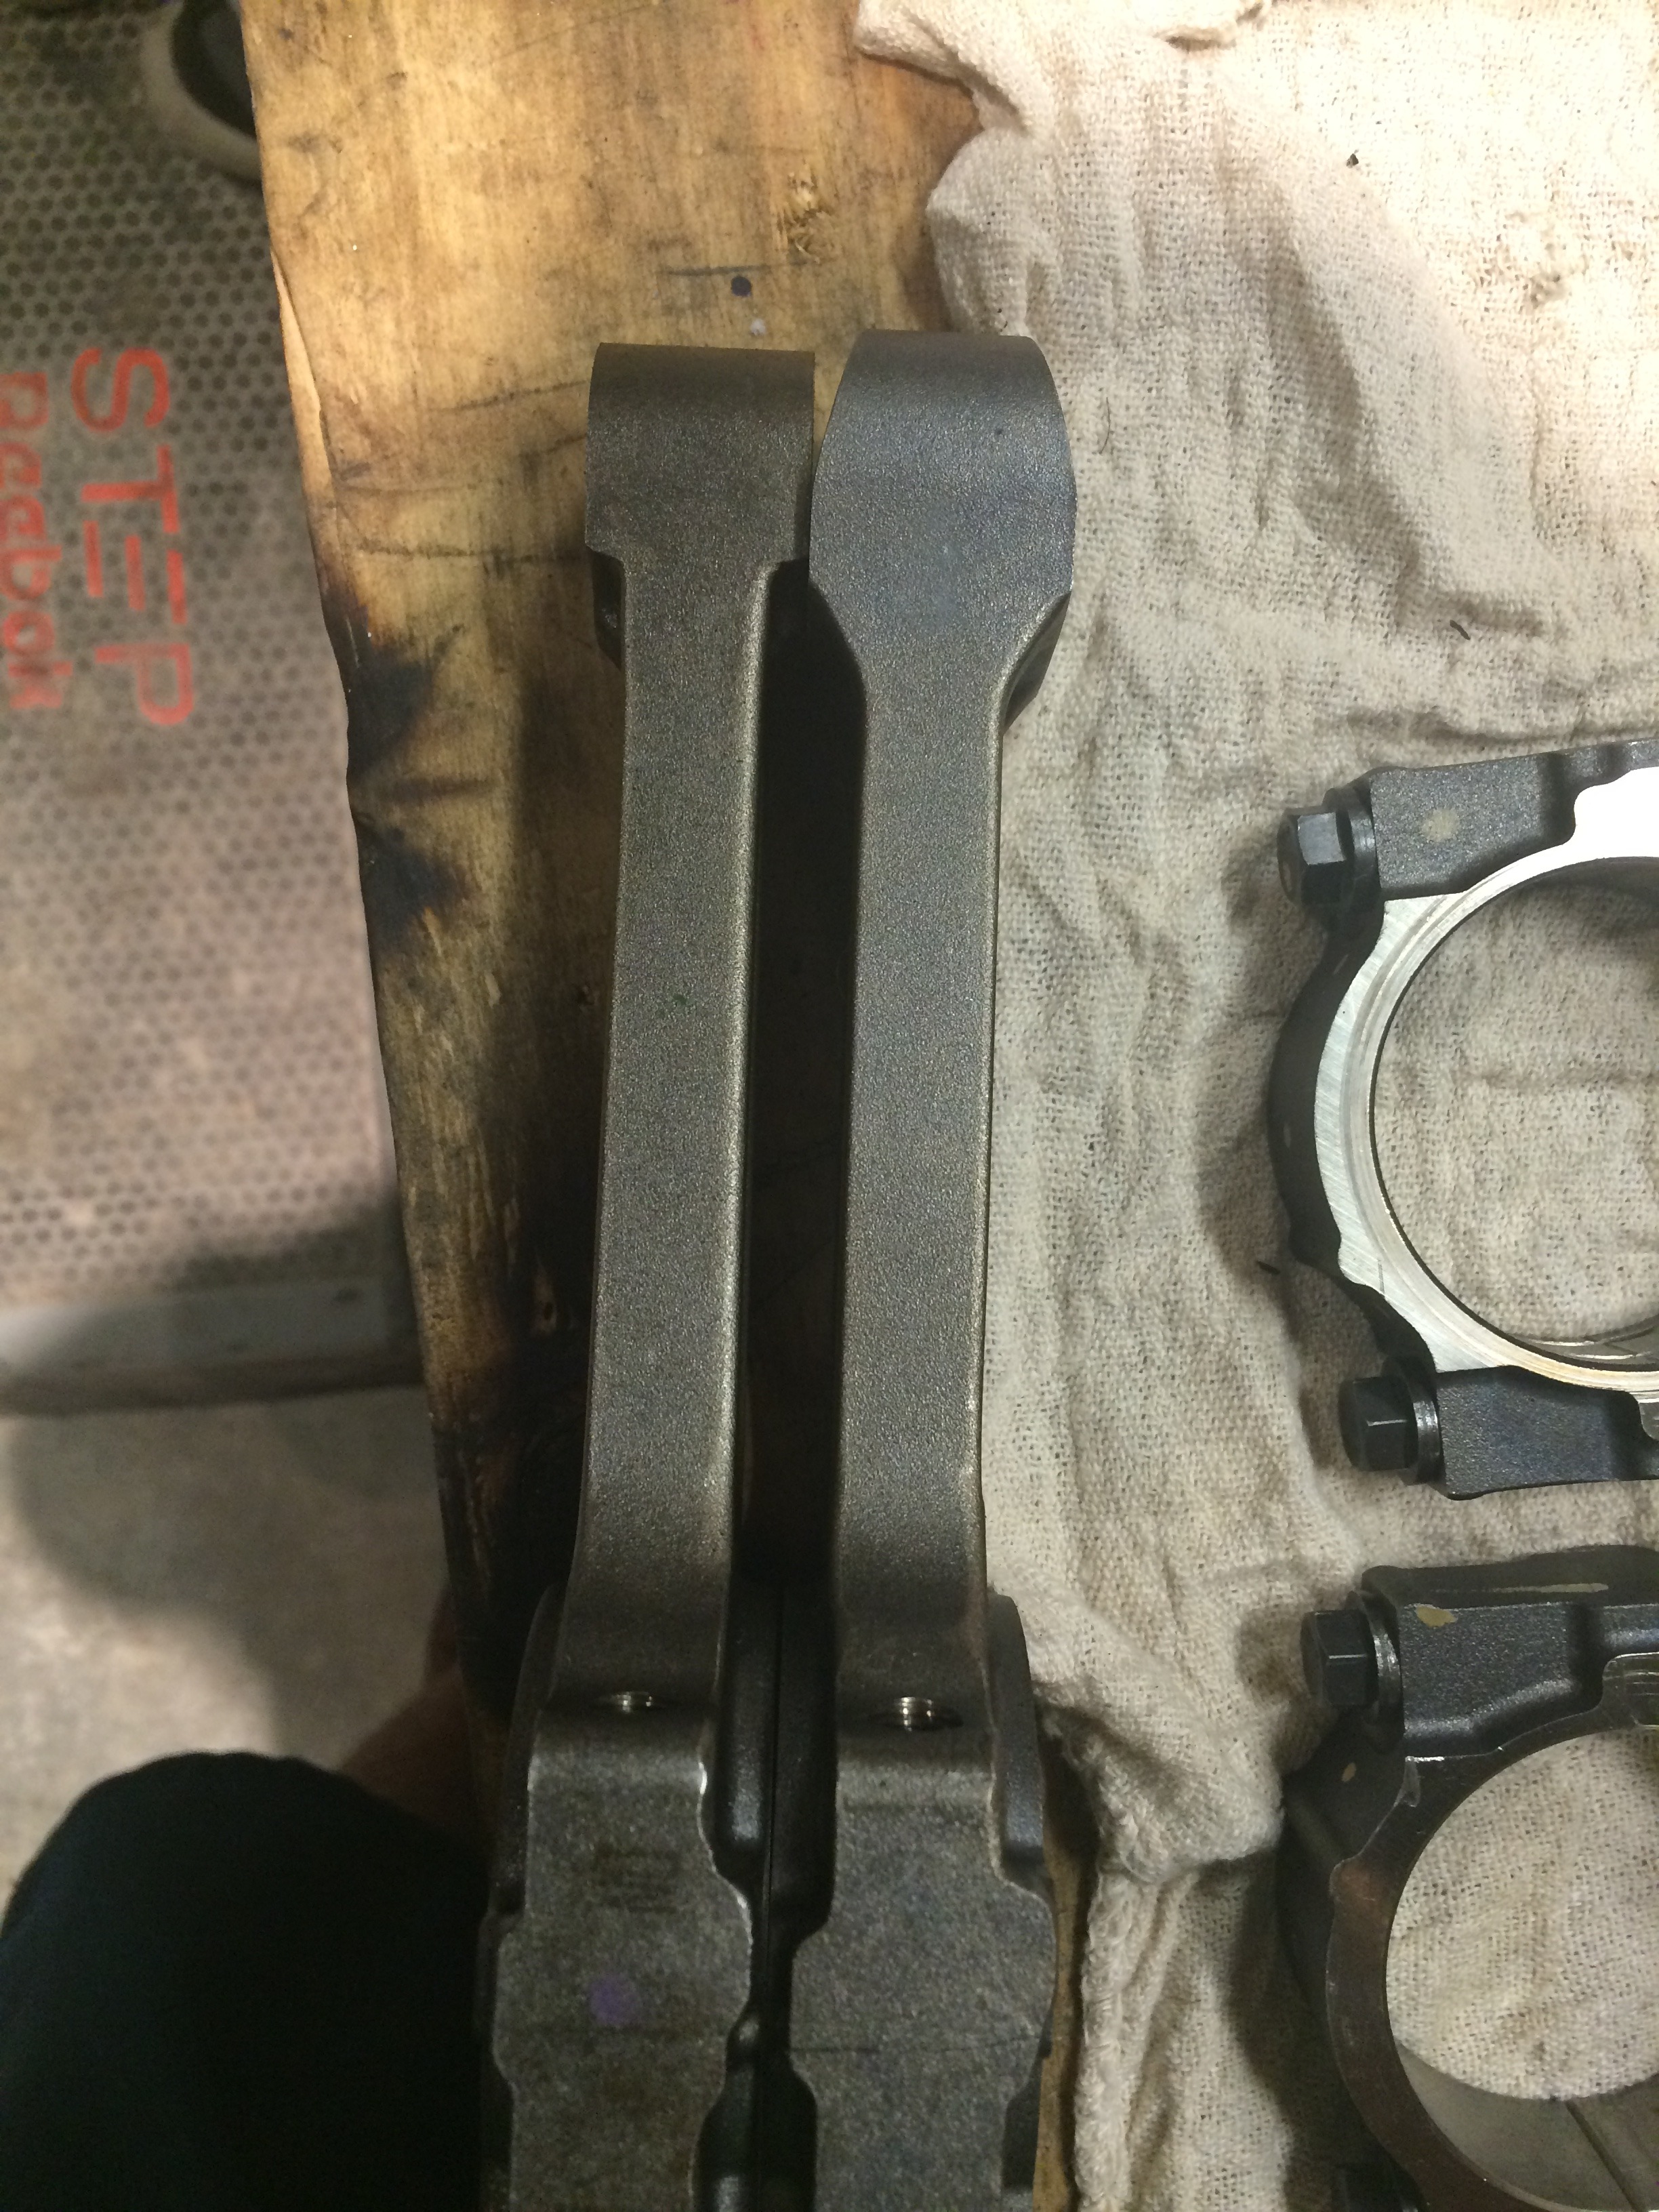
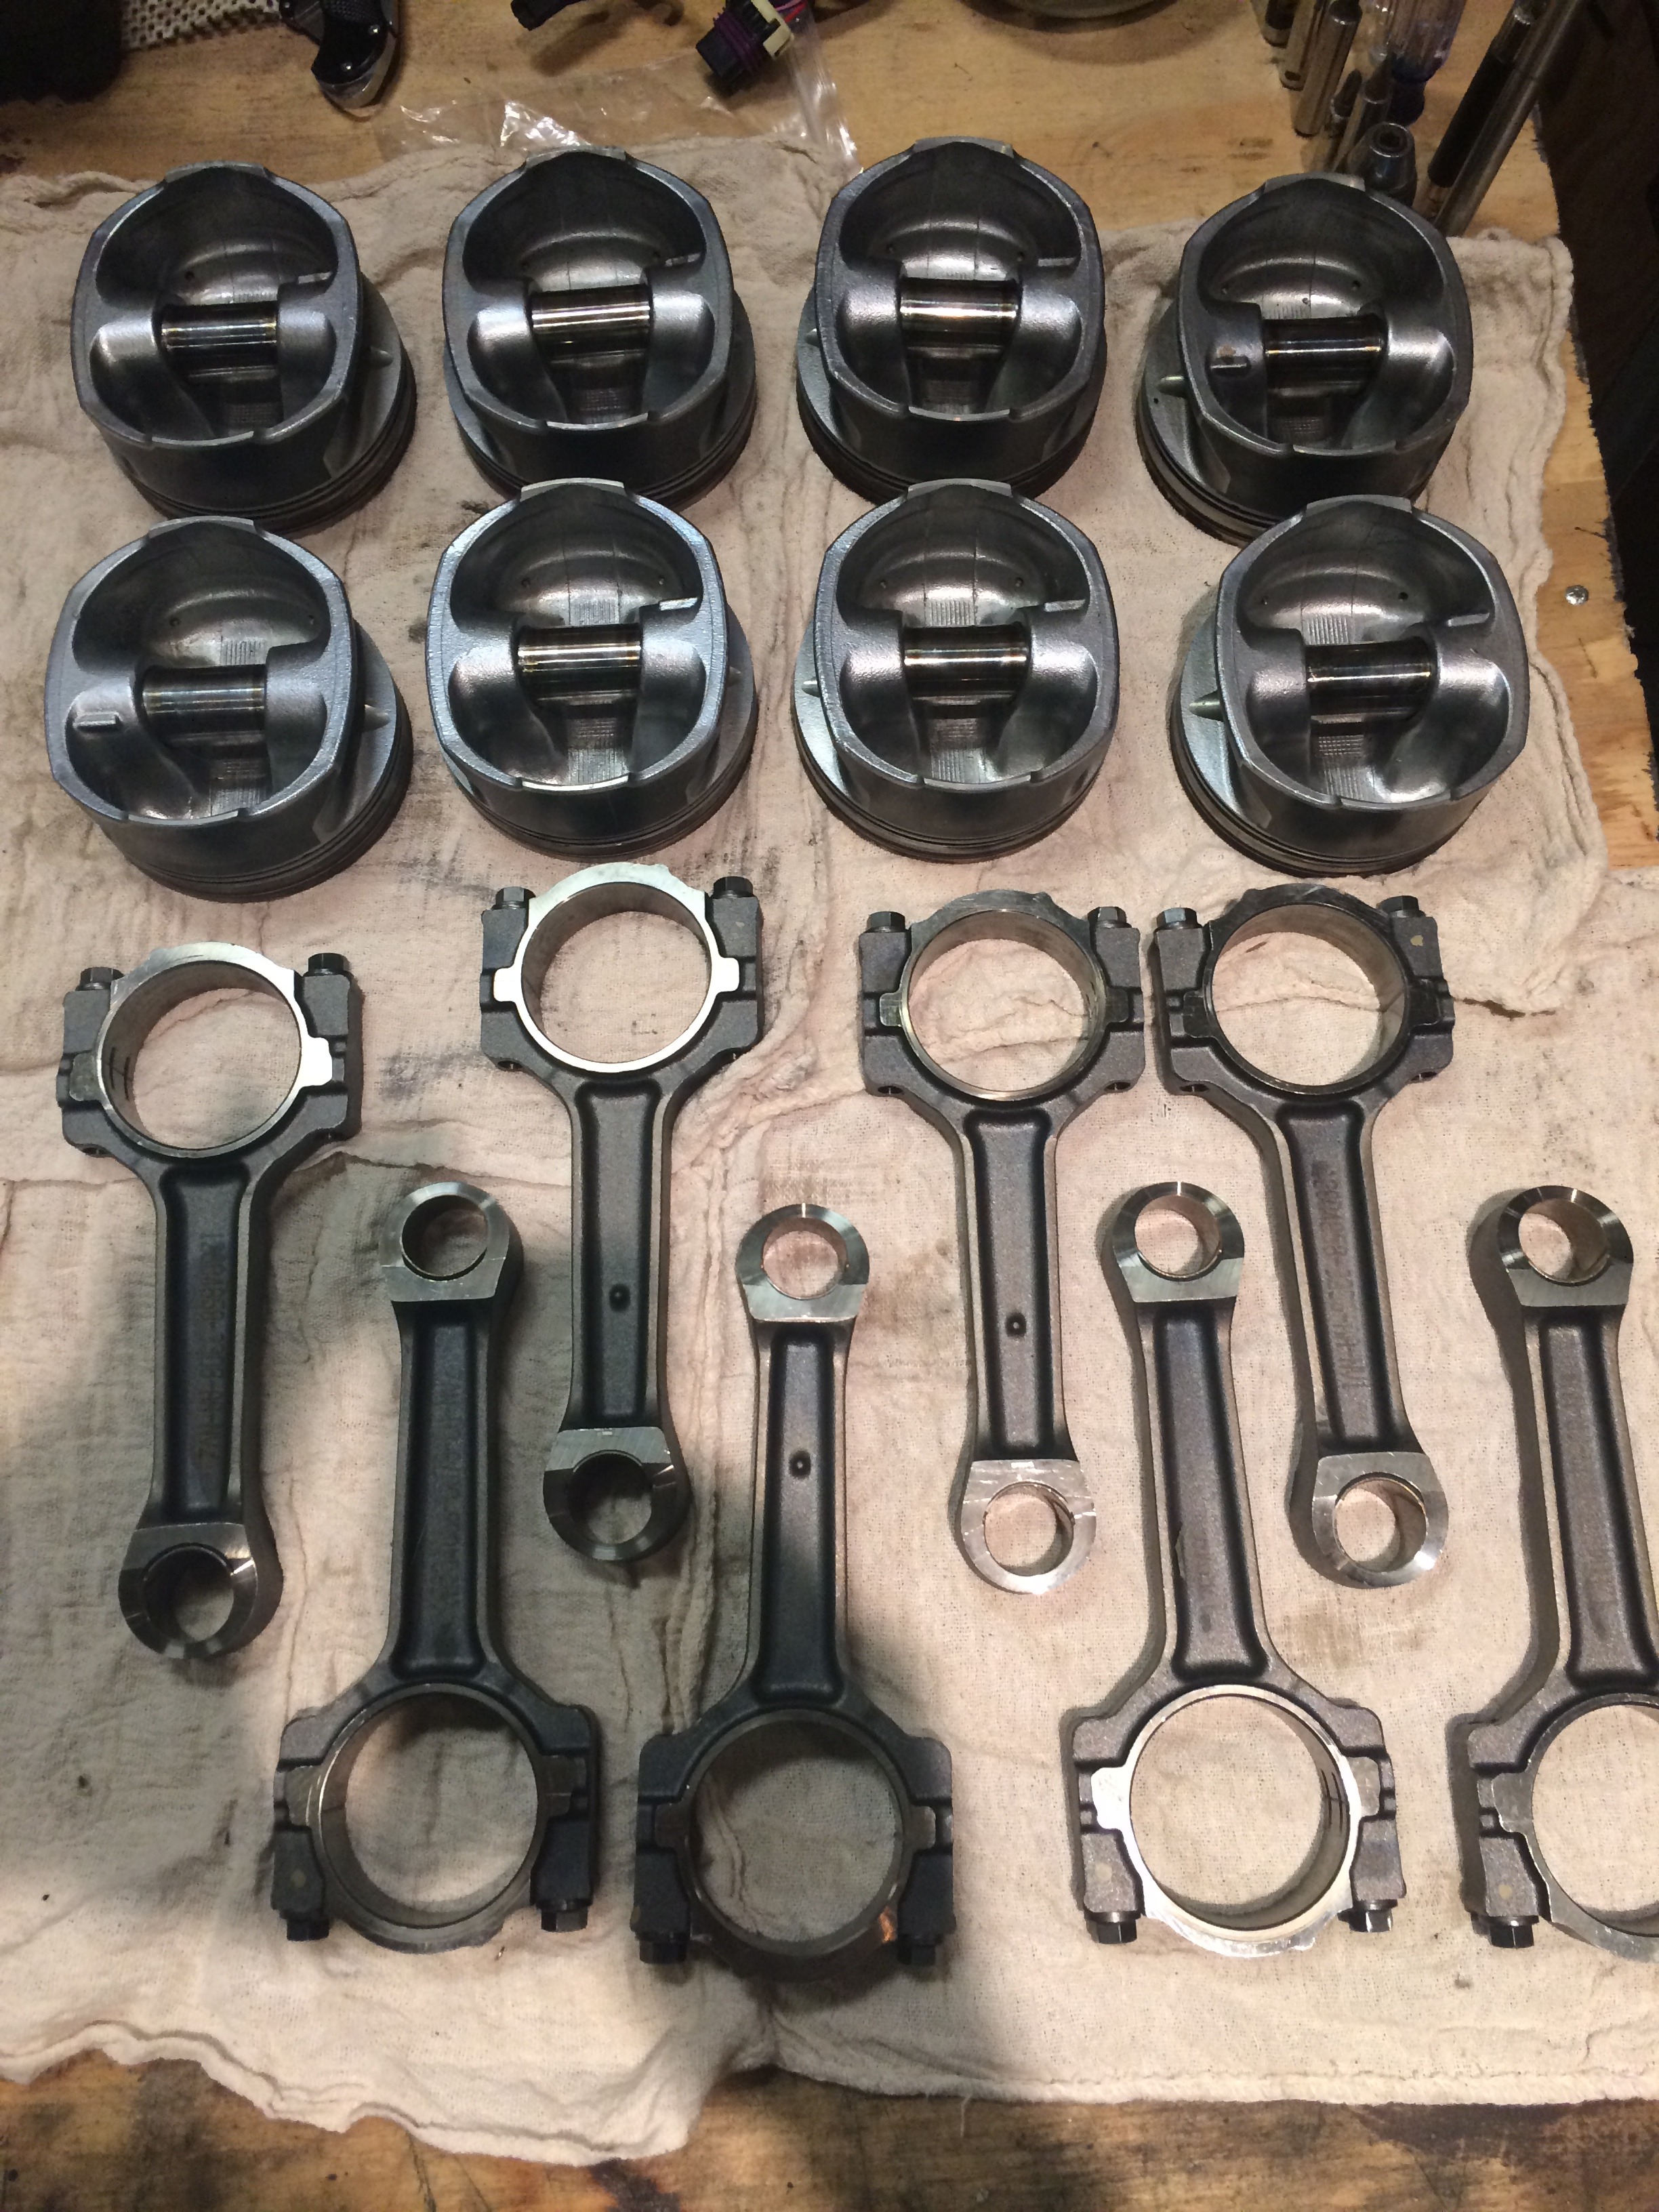
So where am I at on the LS3/LSA engine? I bought a set of LSA connecting rods and pistons. The assembly is quite a bit heavier than the LS3 connecting rod and piston. + 64 gm (2.25 oz), which is heavier than the old "2 ounces" balance for a street engine. Being heavier, it would require a lot of mallory to balance this correctly. So now I am looking for an LSA crankshaft. This would also require a new front pulley (LSA is keyed), and flexplate (LSA is 8 bolt vs 6 bolt). But at $550 or so, the LSA crankshaft is a bargain, forged, and correctly weighted option. The LSA connecting rod is much more robust than the LS3, and so are the pistons.


 11-28-2015, 09:06 PM
#37
Today, it was time to remove the main caps. I have seen a couple of really expensive tools. Powerblock TV showed how to drill the center of each main cap, thread and insert a bolt, and use a slide hammer to pull them. This seemed pretty extreme.
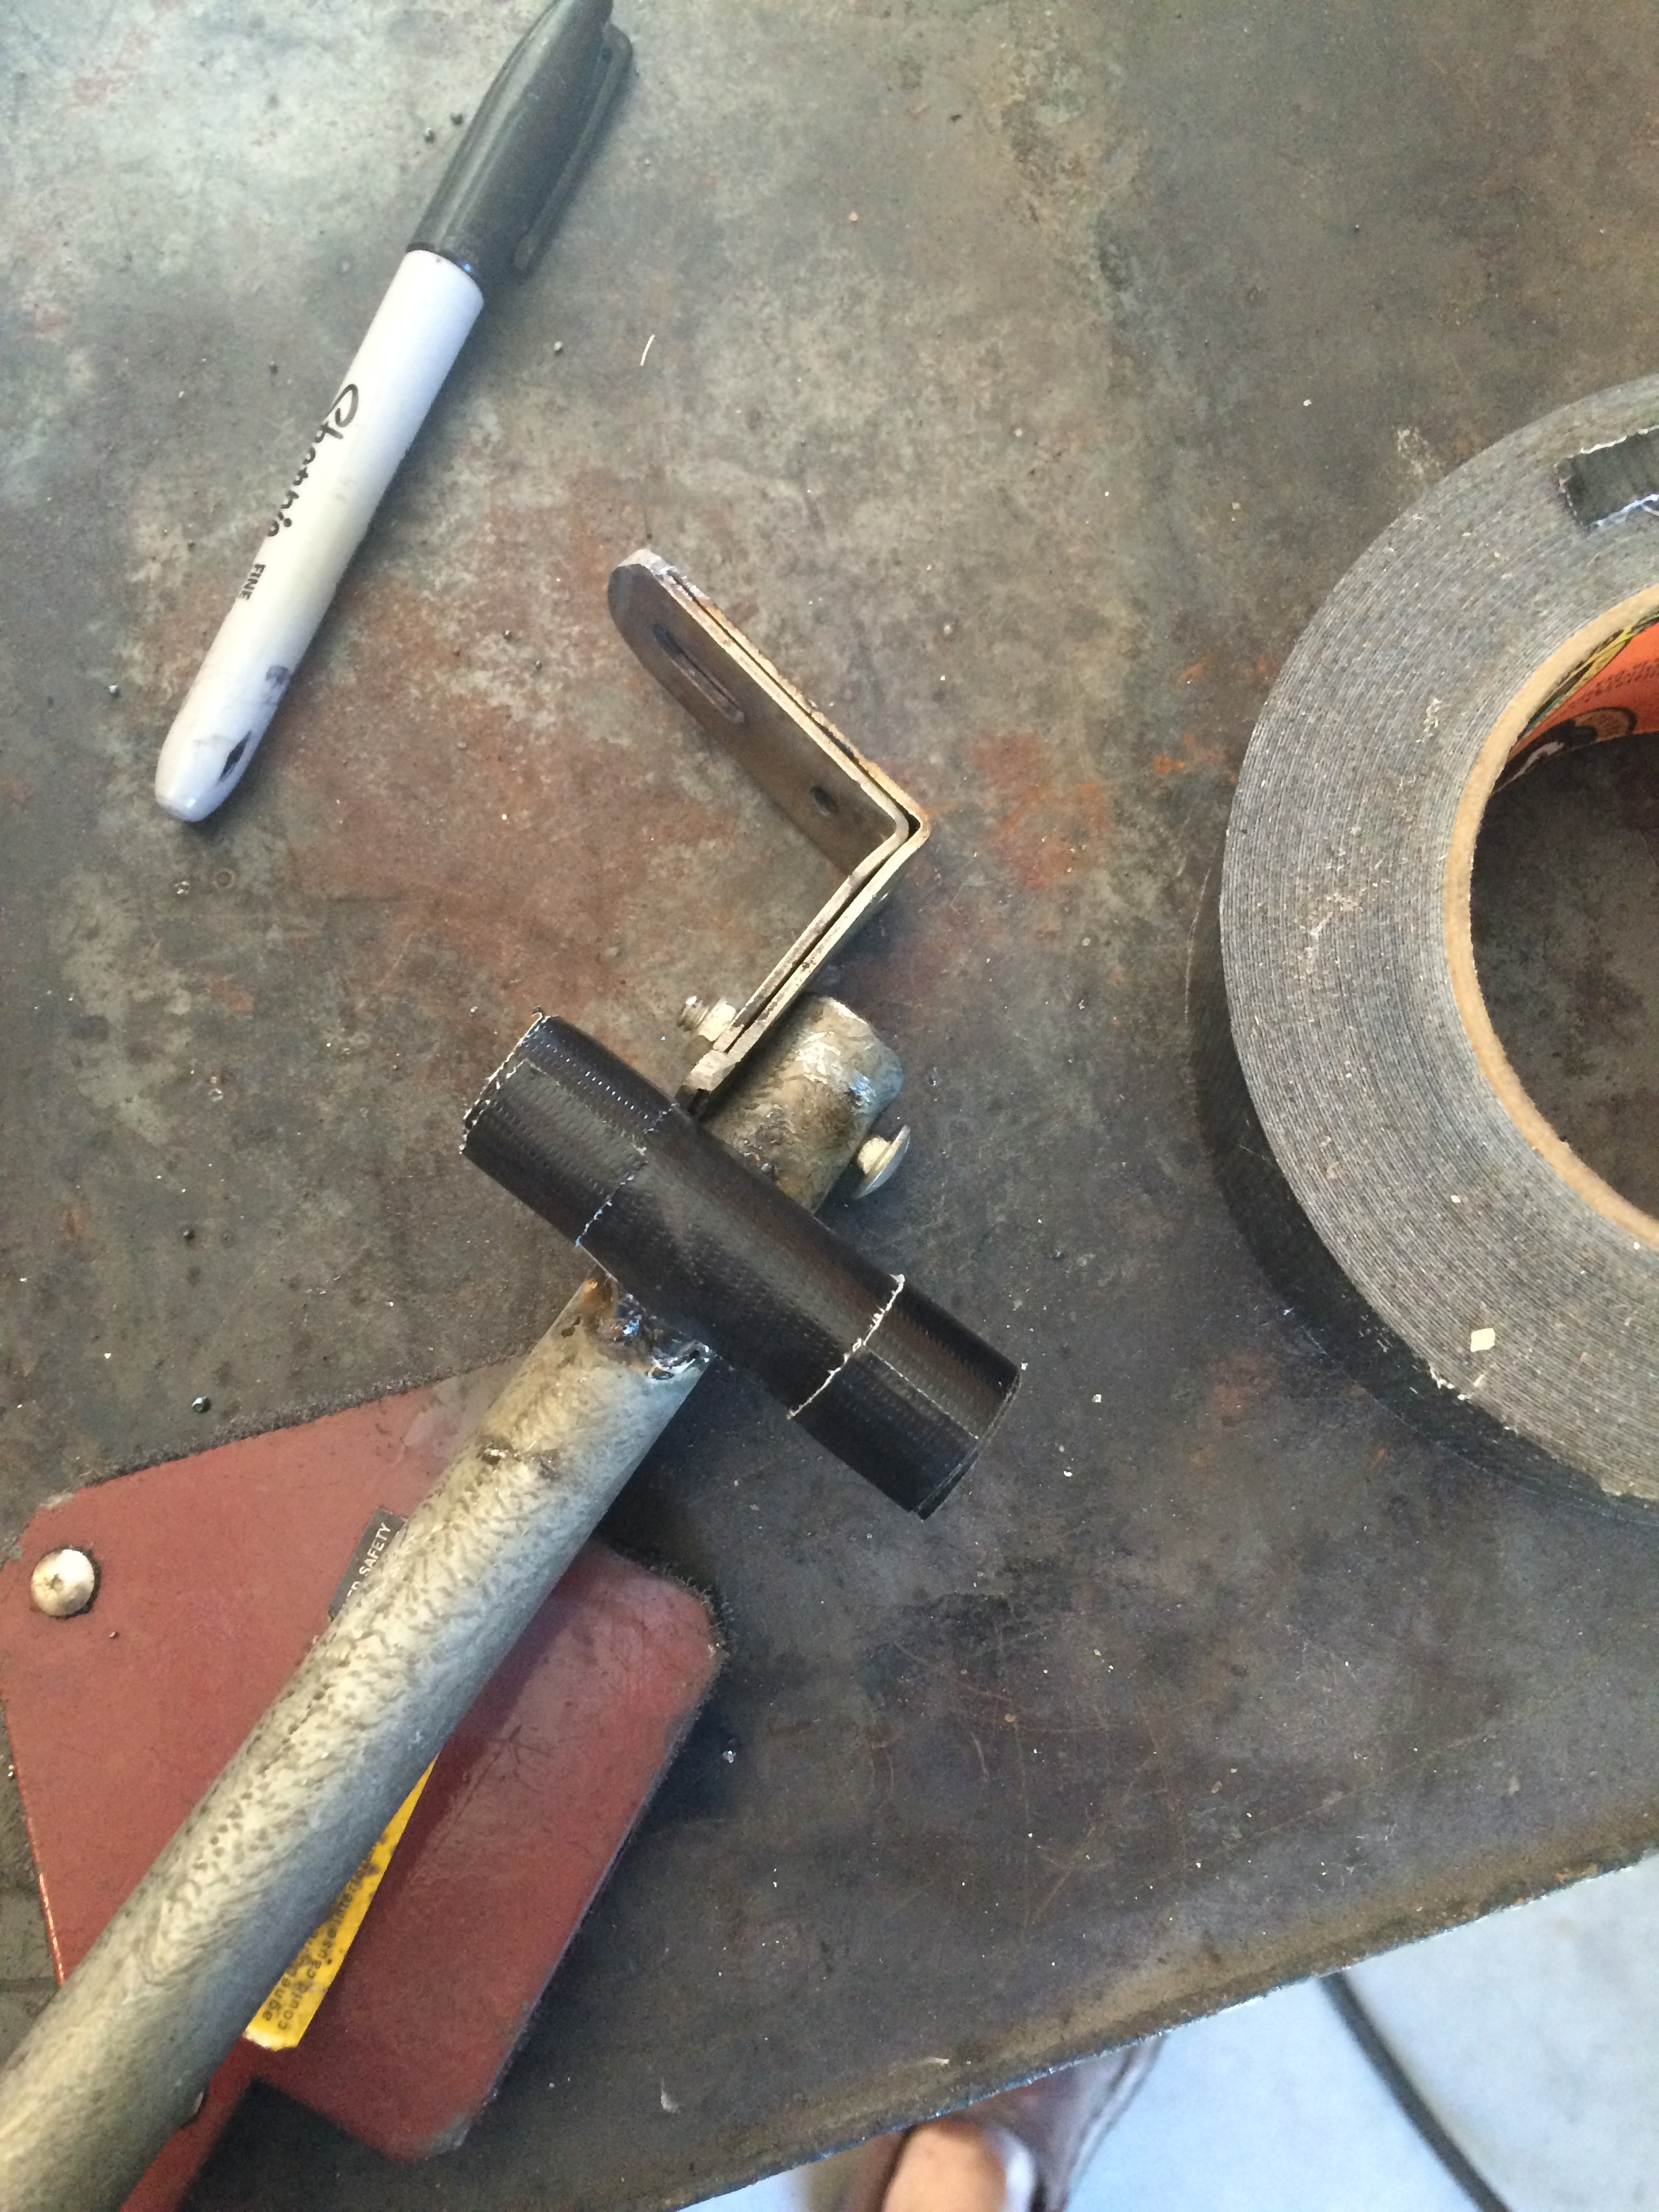
Other videos show people wiggling them out. I was not so lucky. They were tight. So I made this tool from a curtain rod bracket and a piece of emt comduit. Worked nice.
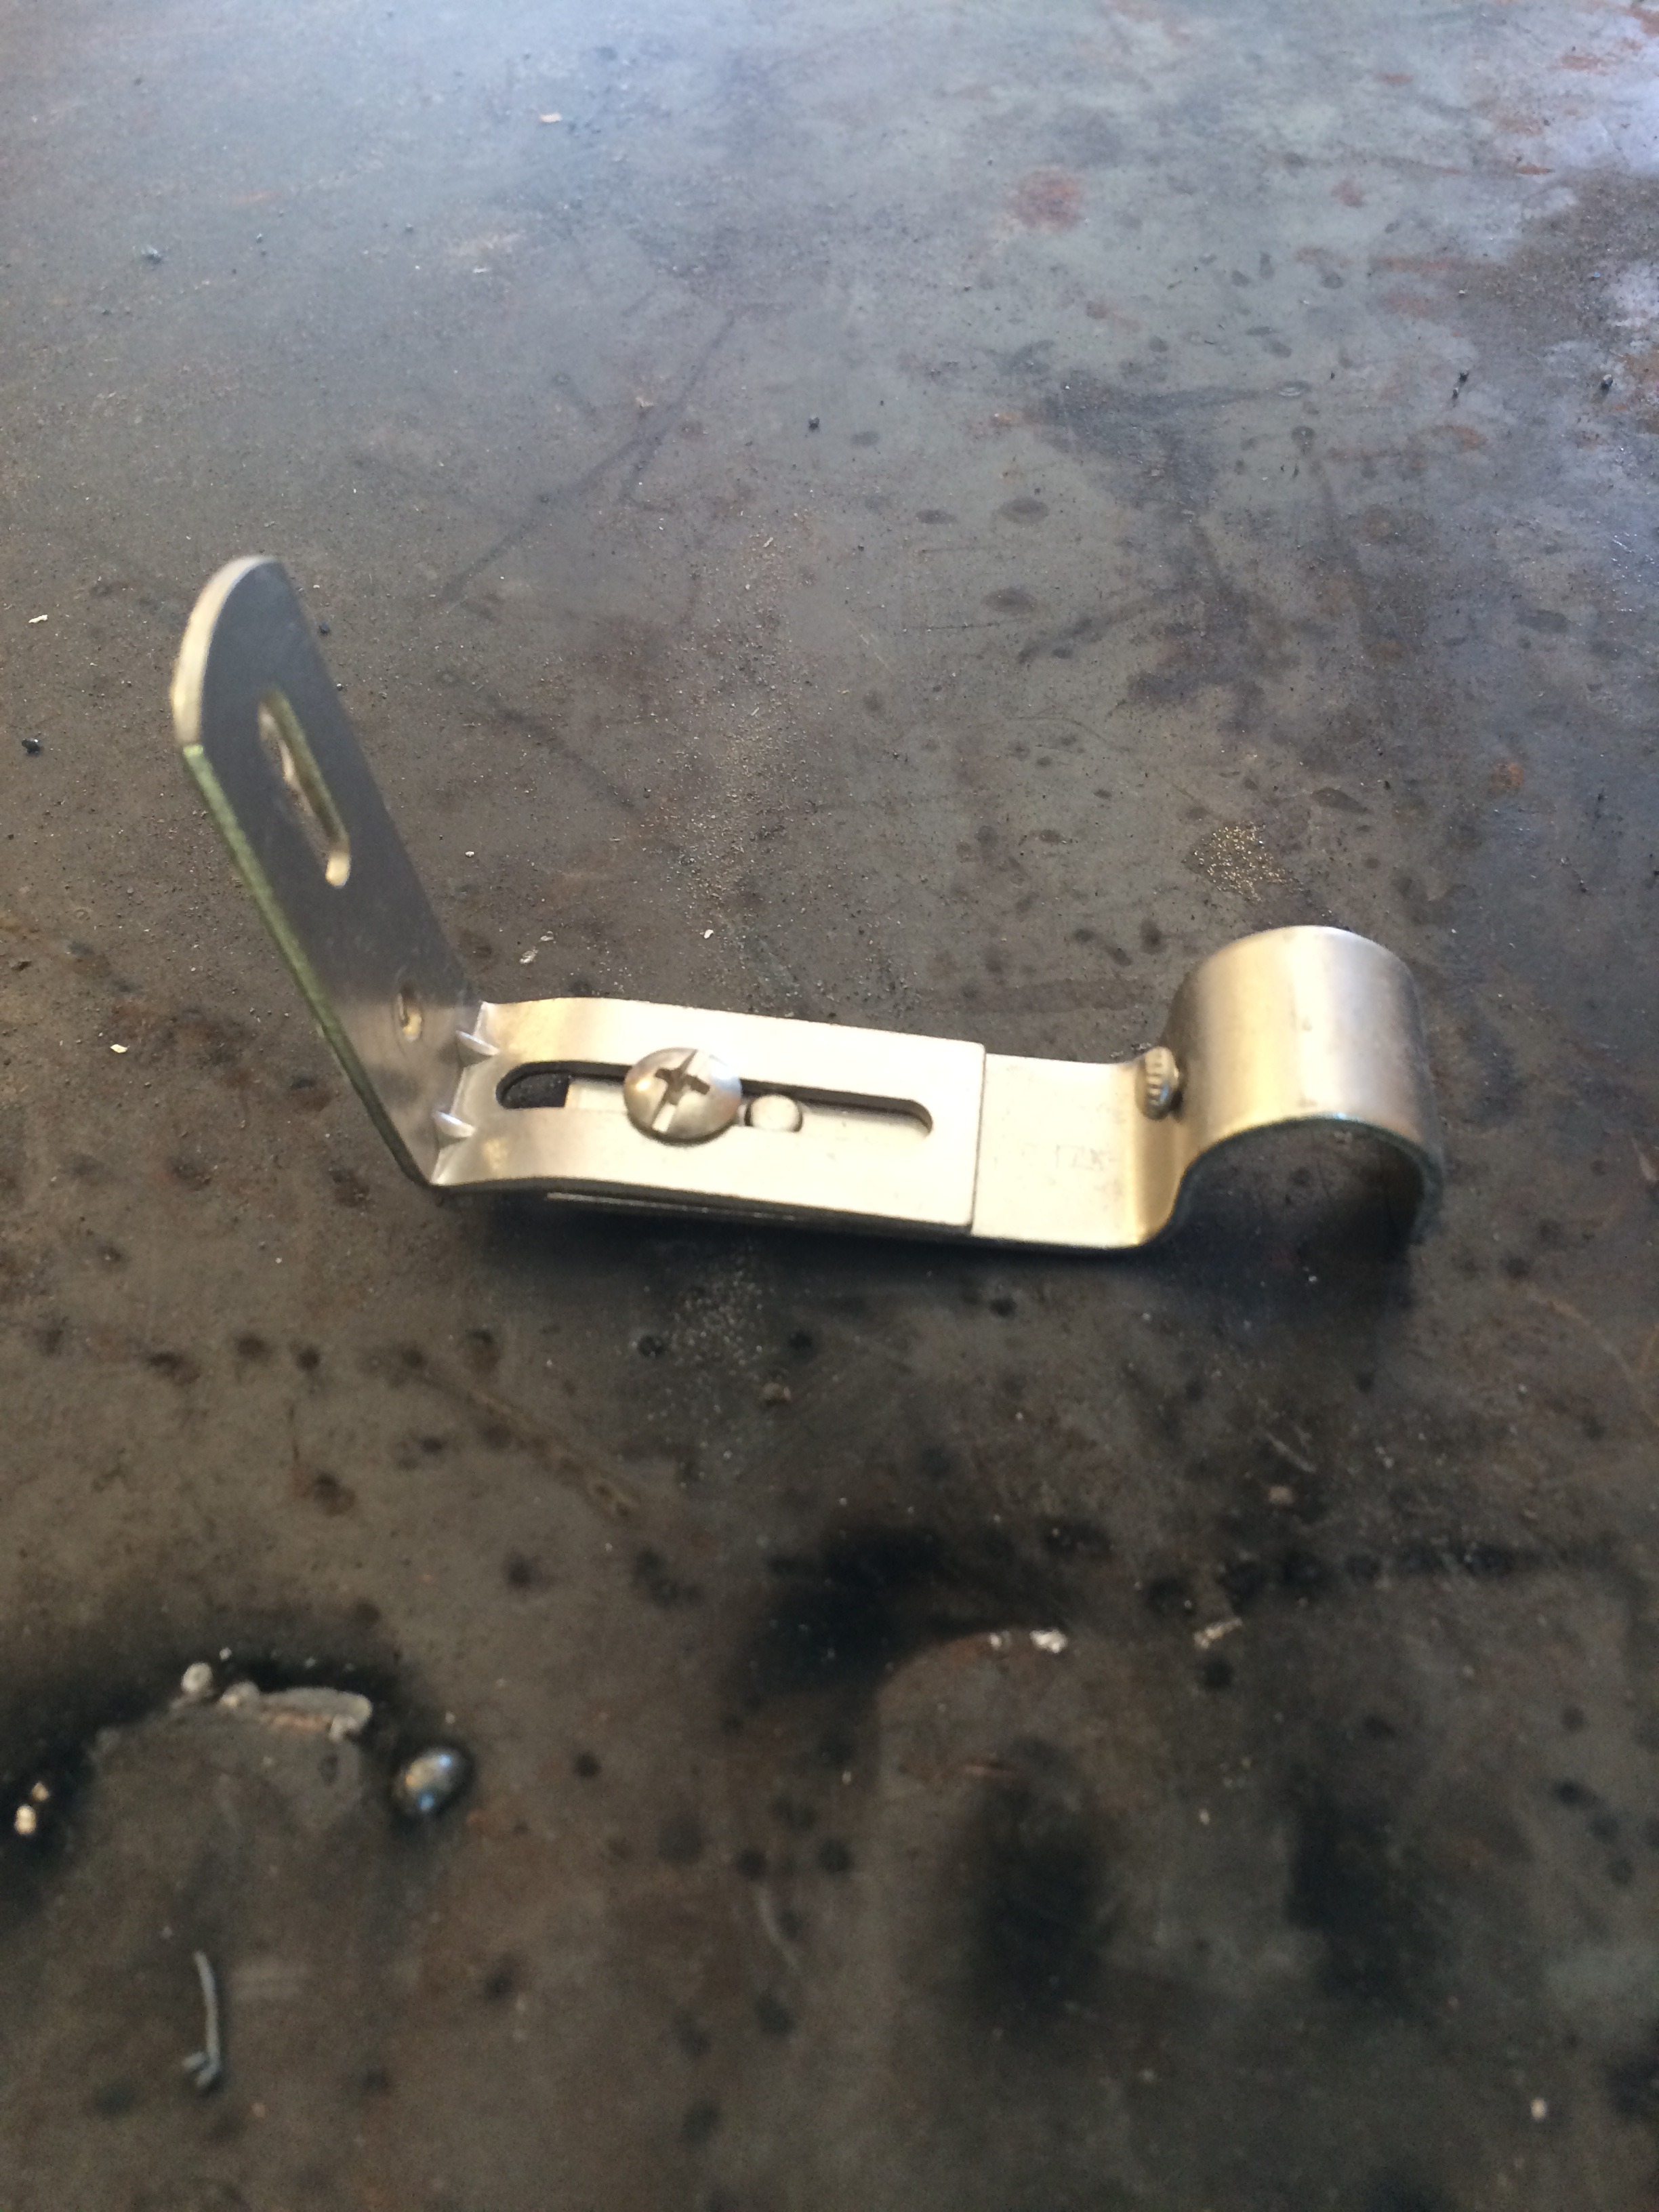
Welded two together to make the bracket more ridgid.

Welded piece of round tube perpendicular, and wrapped in Gorilla Tape
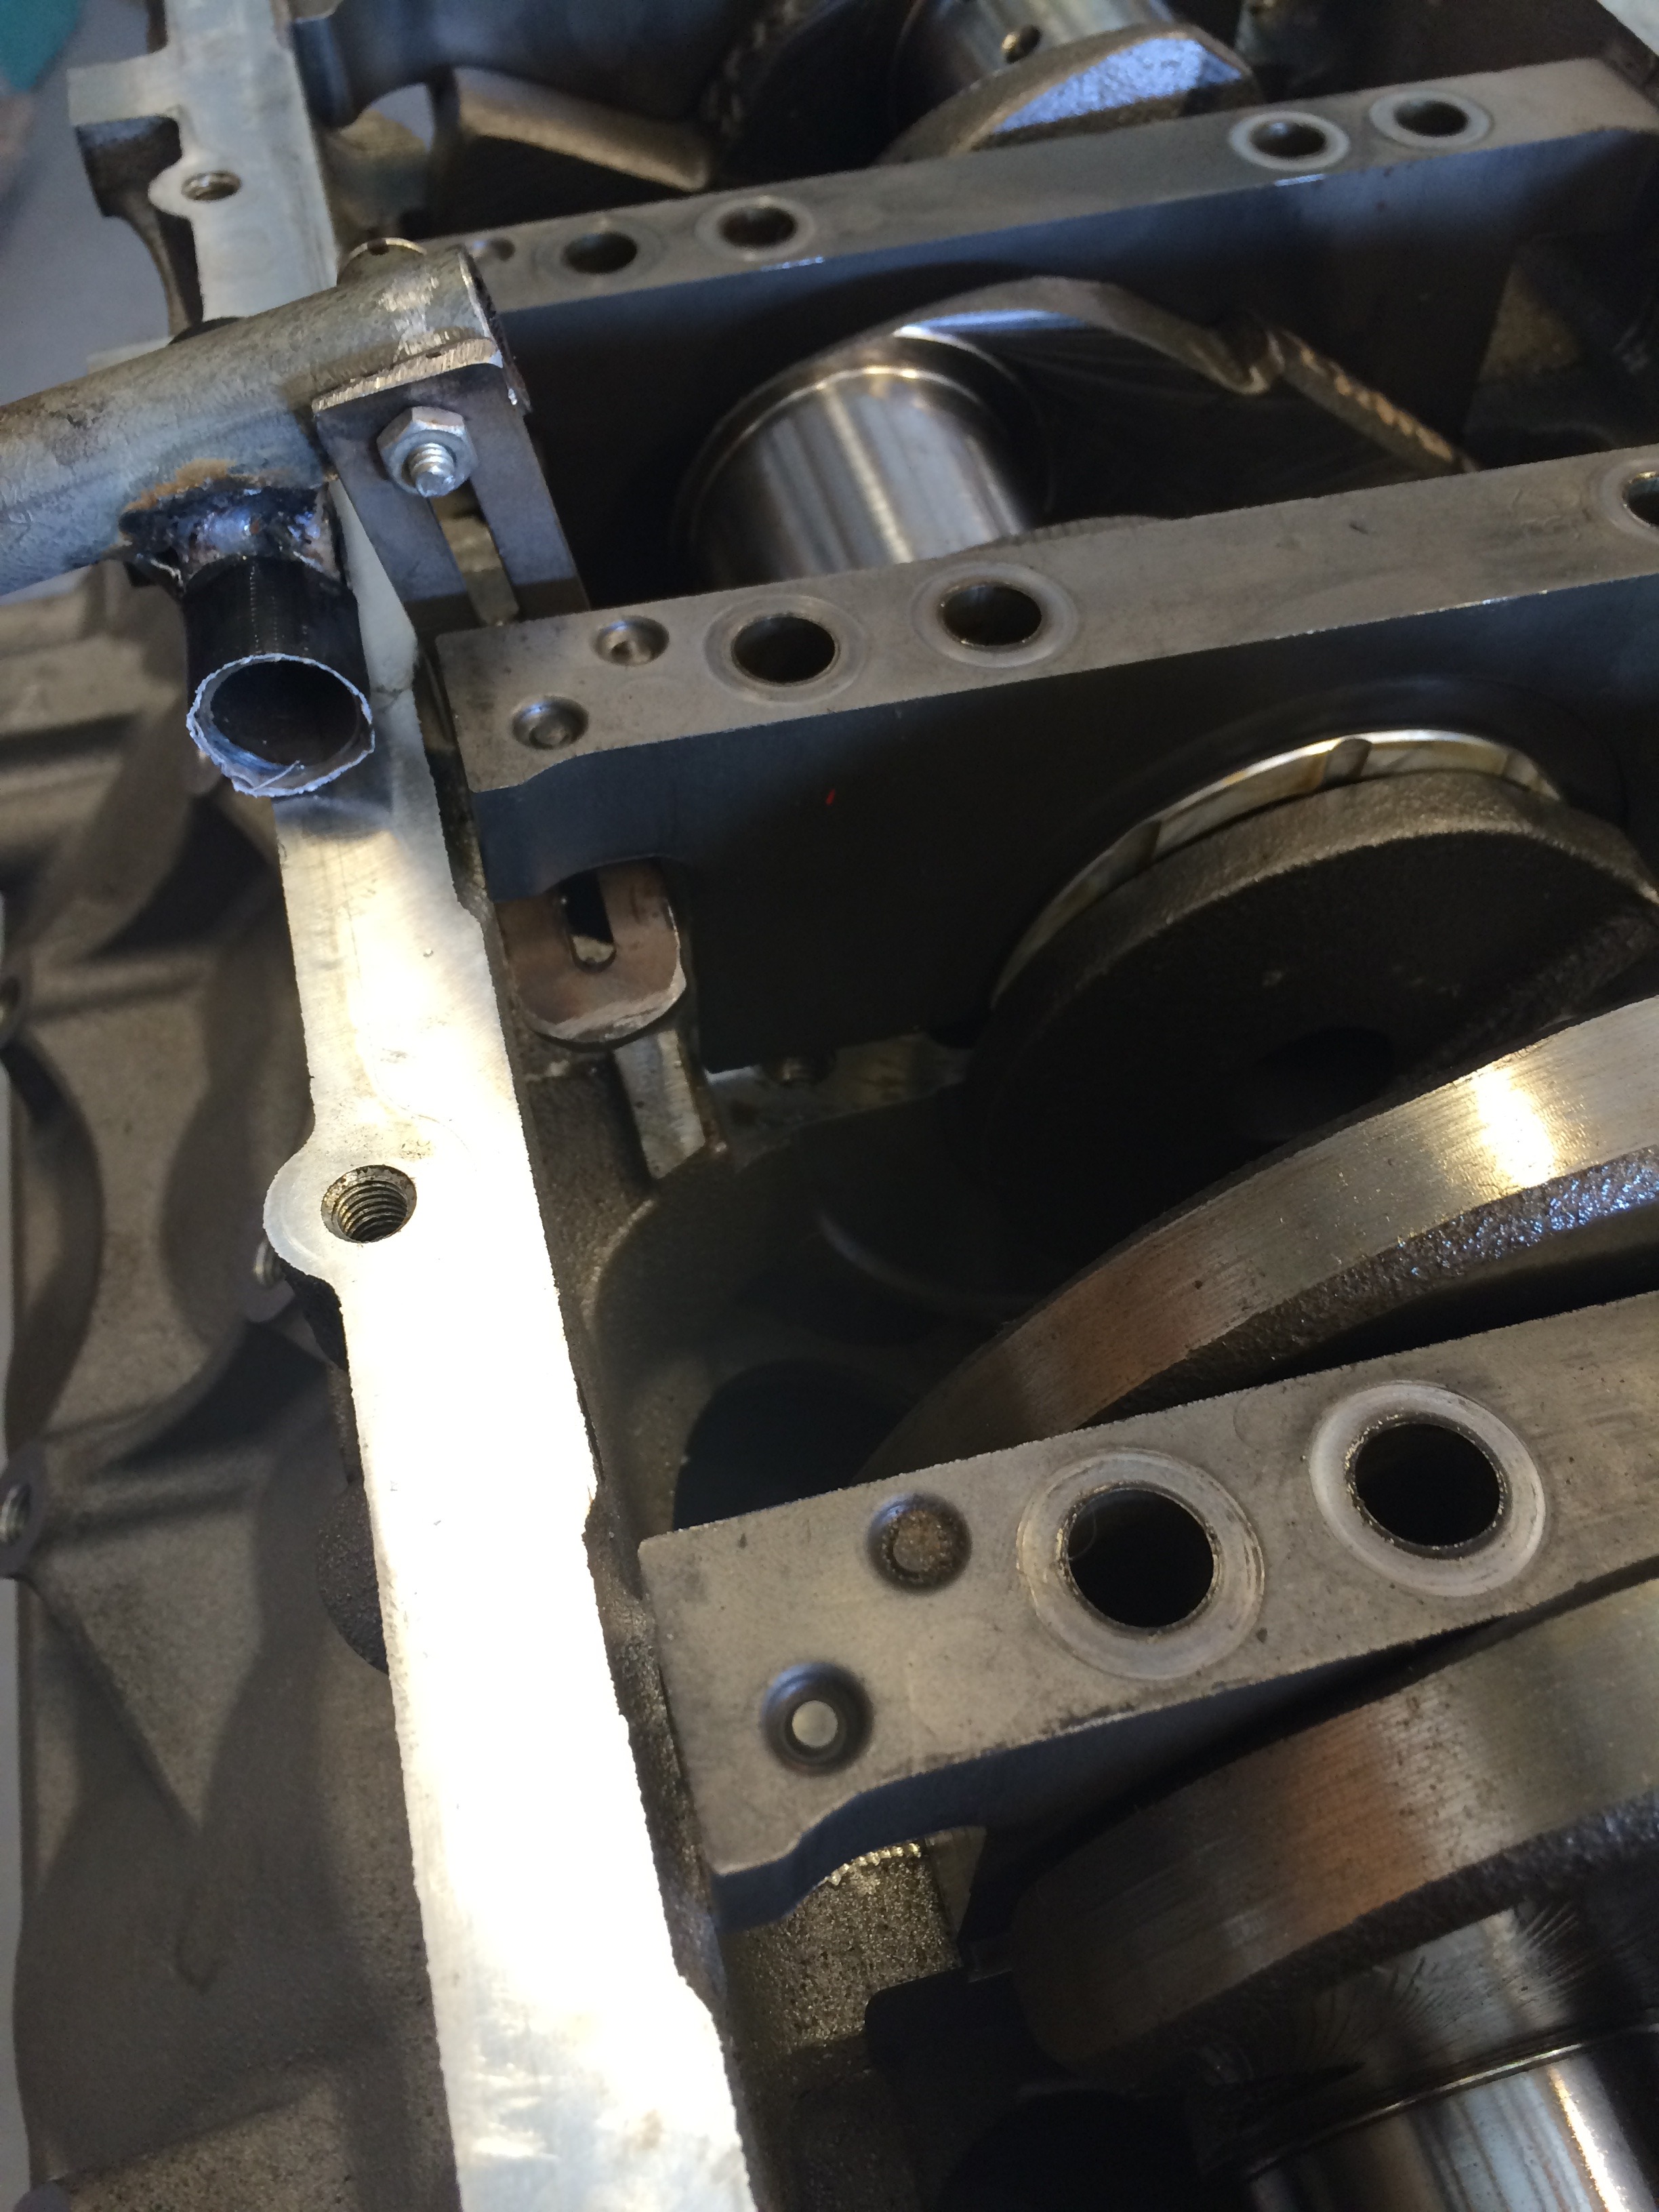
Insert under cap on one side. "pop"
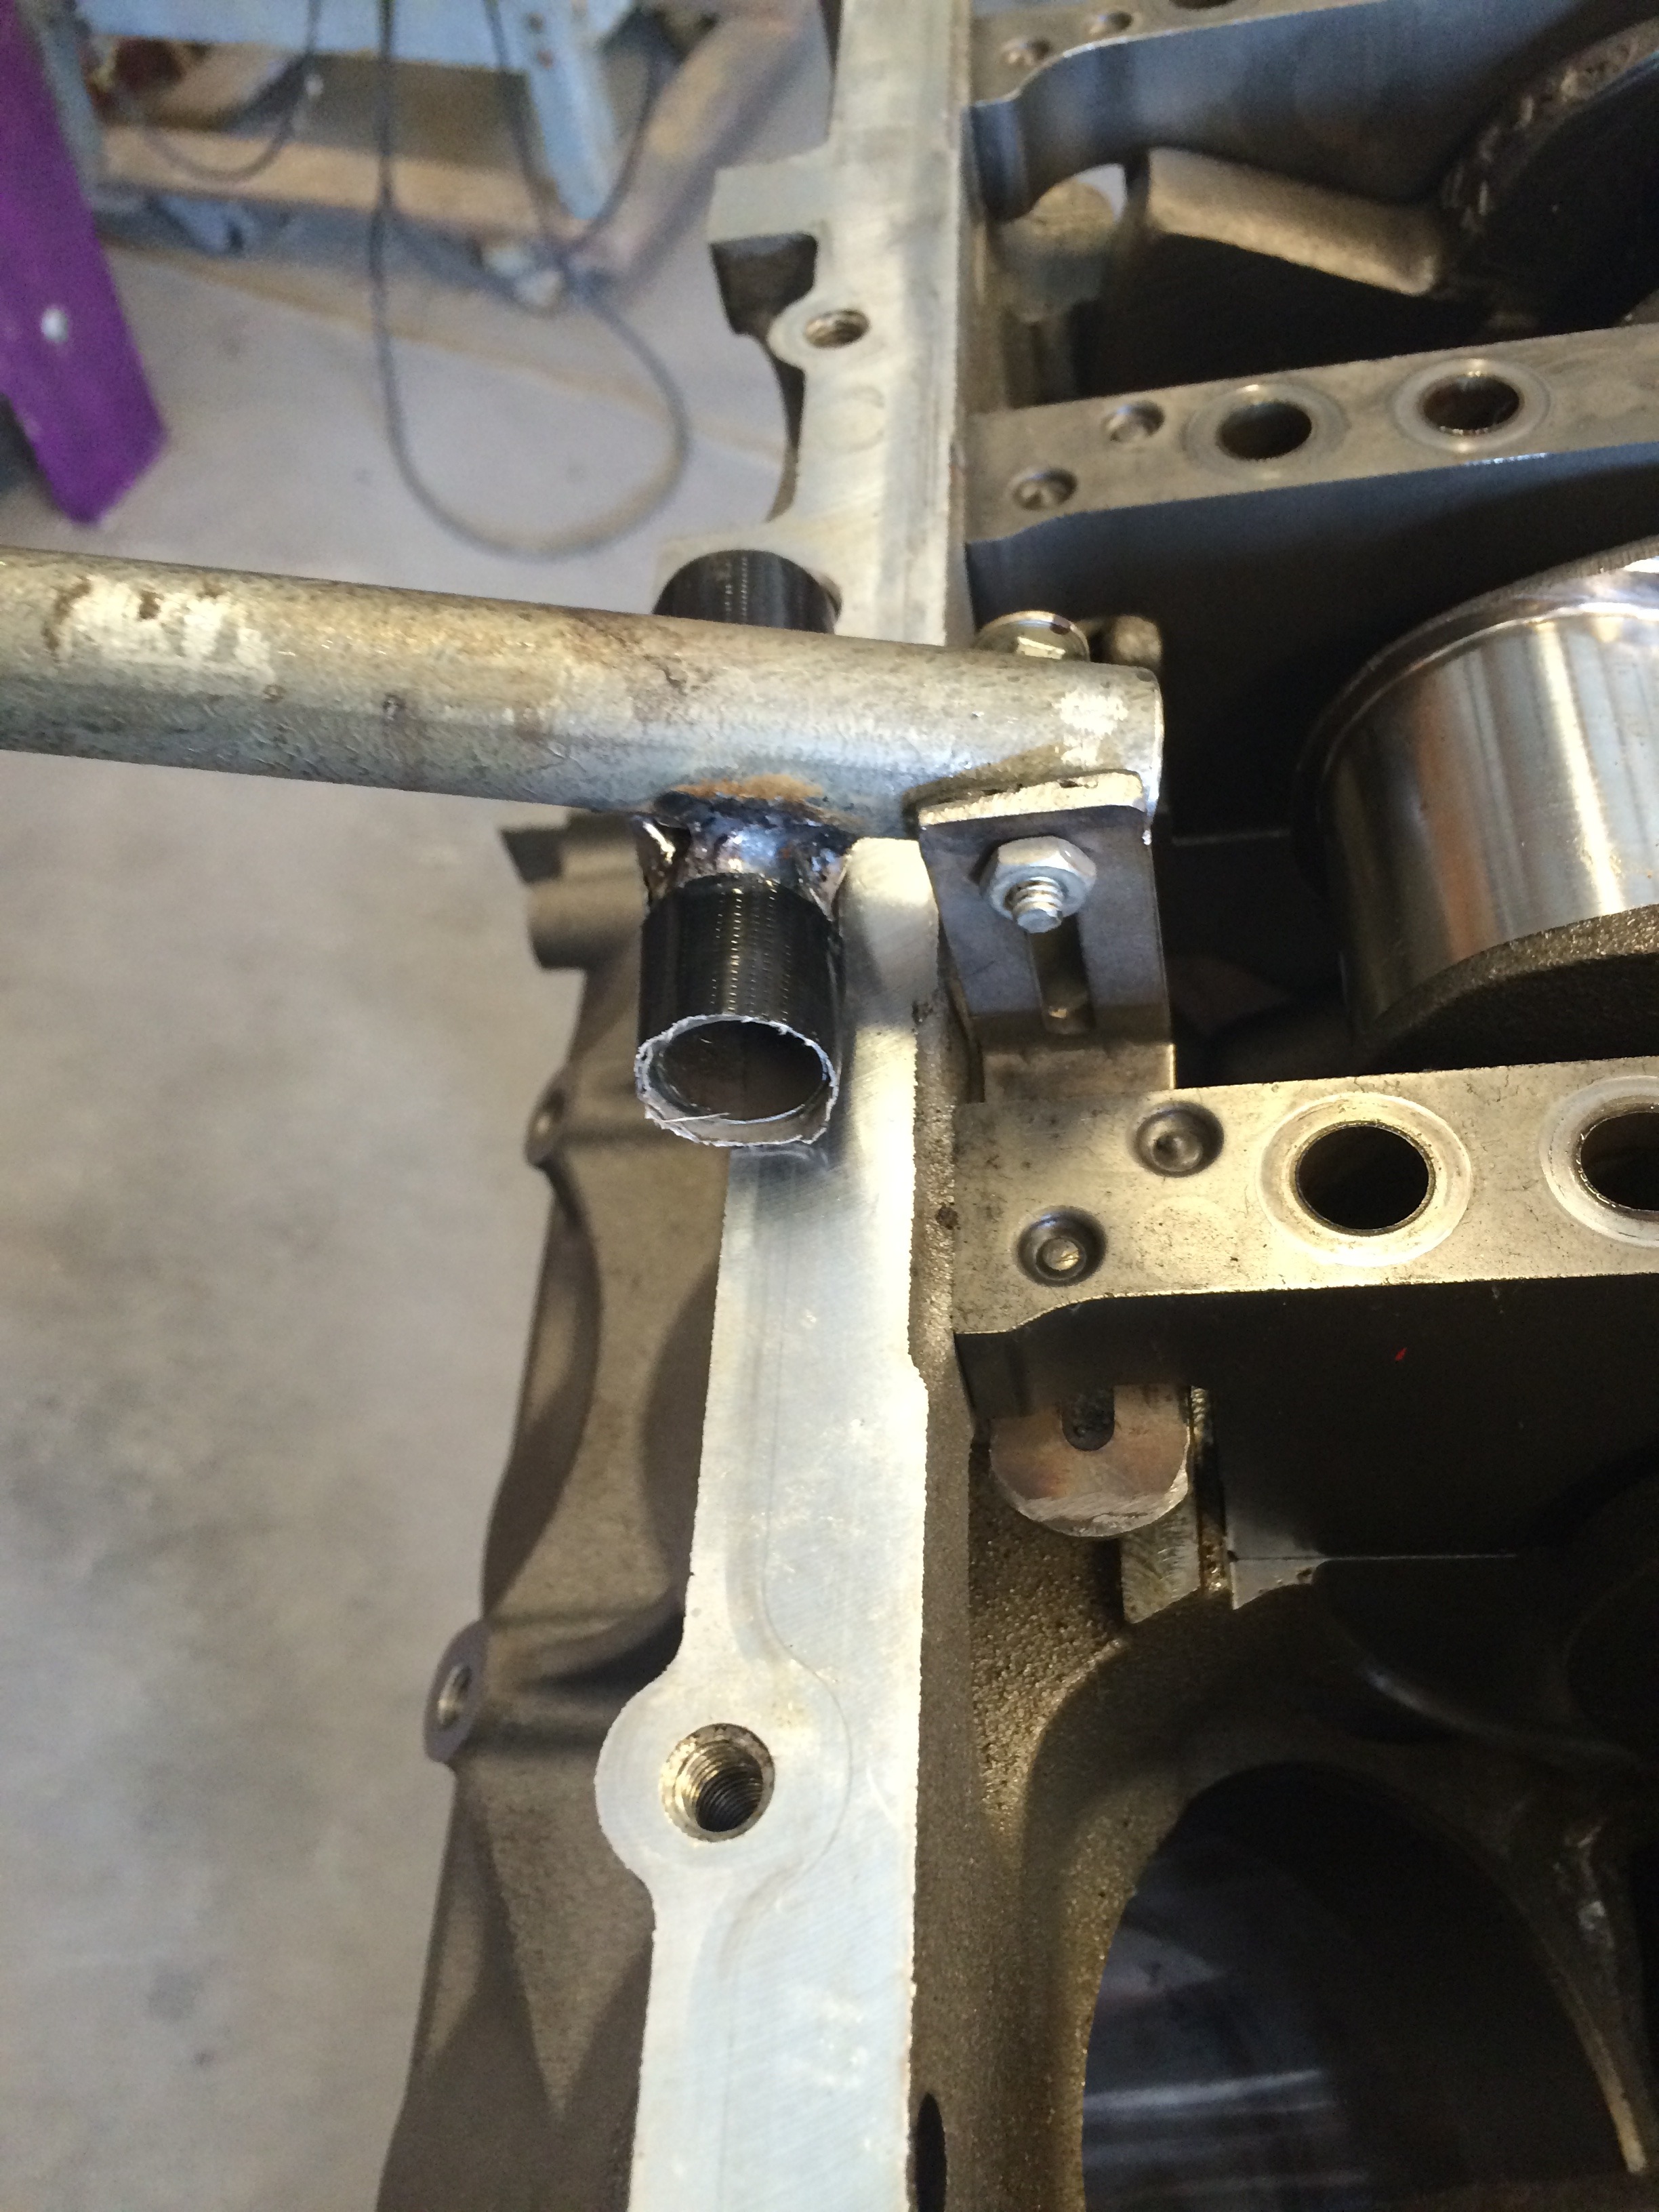
Out it comes.
 12-04-2015, 06:15 PM
#38
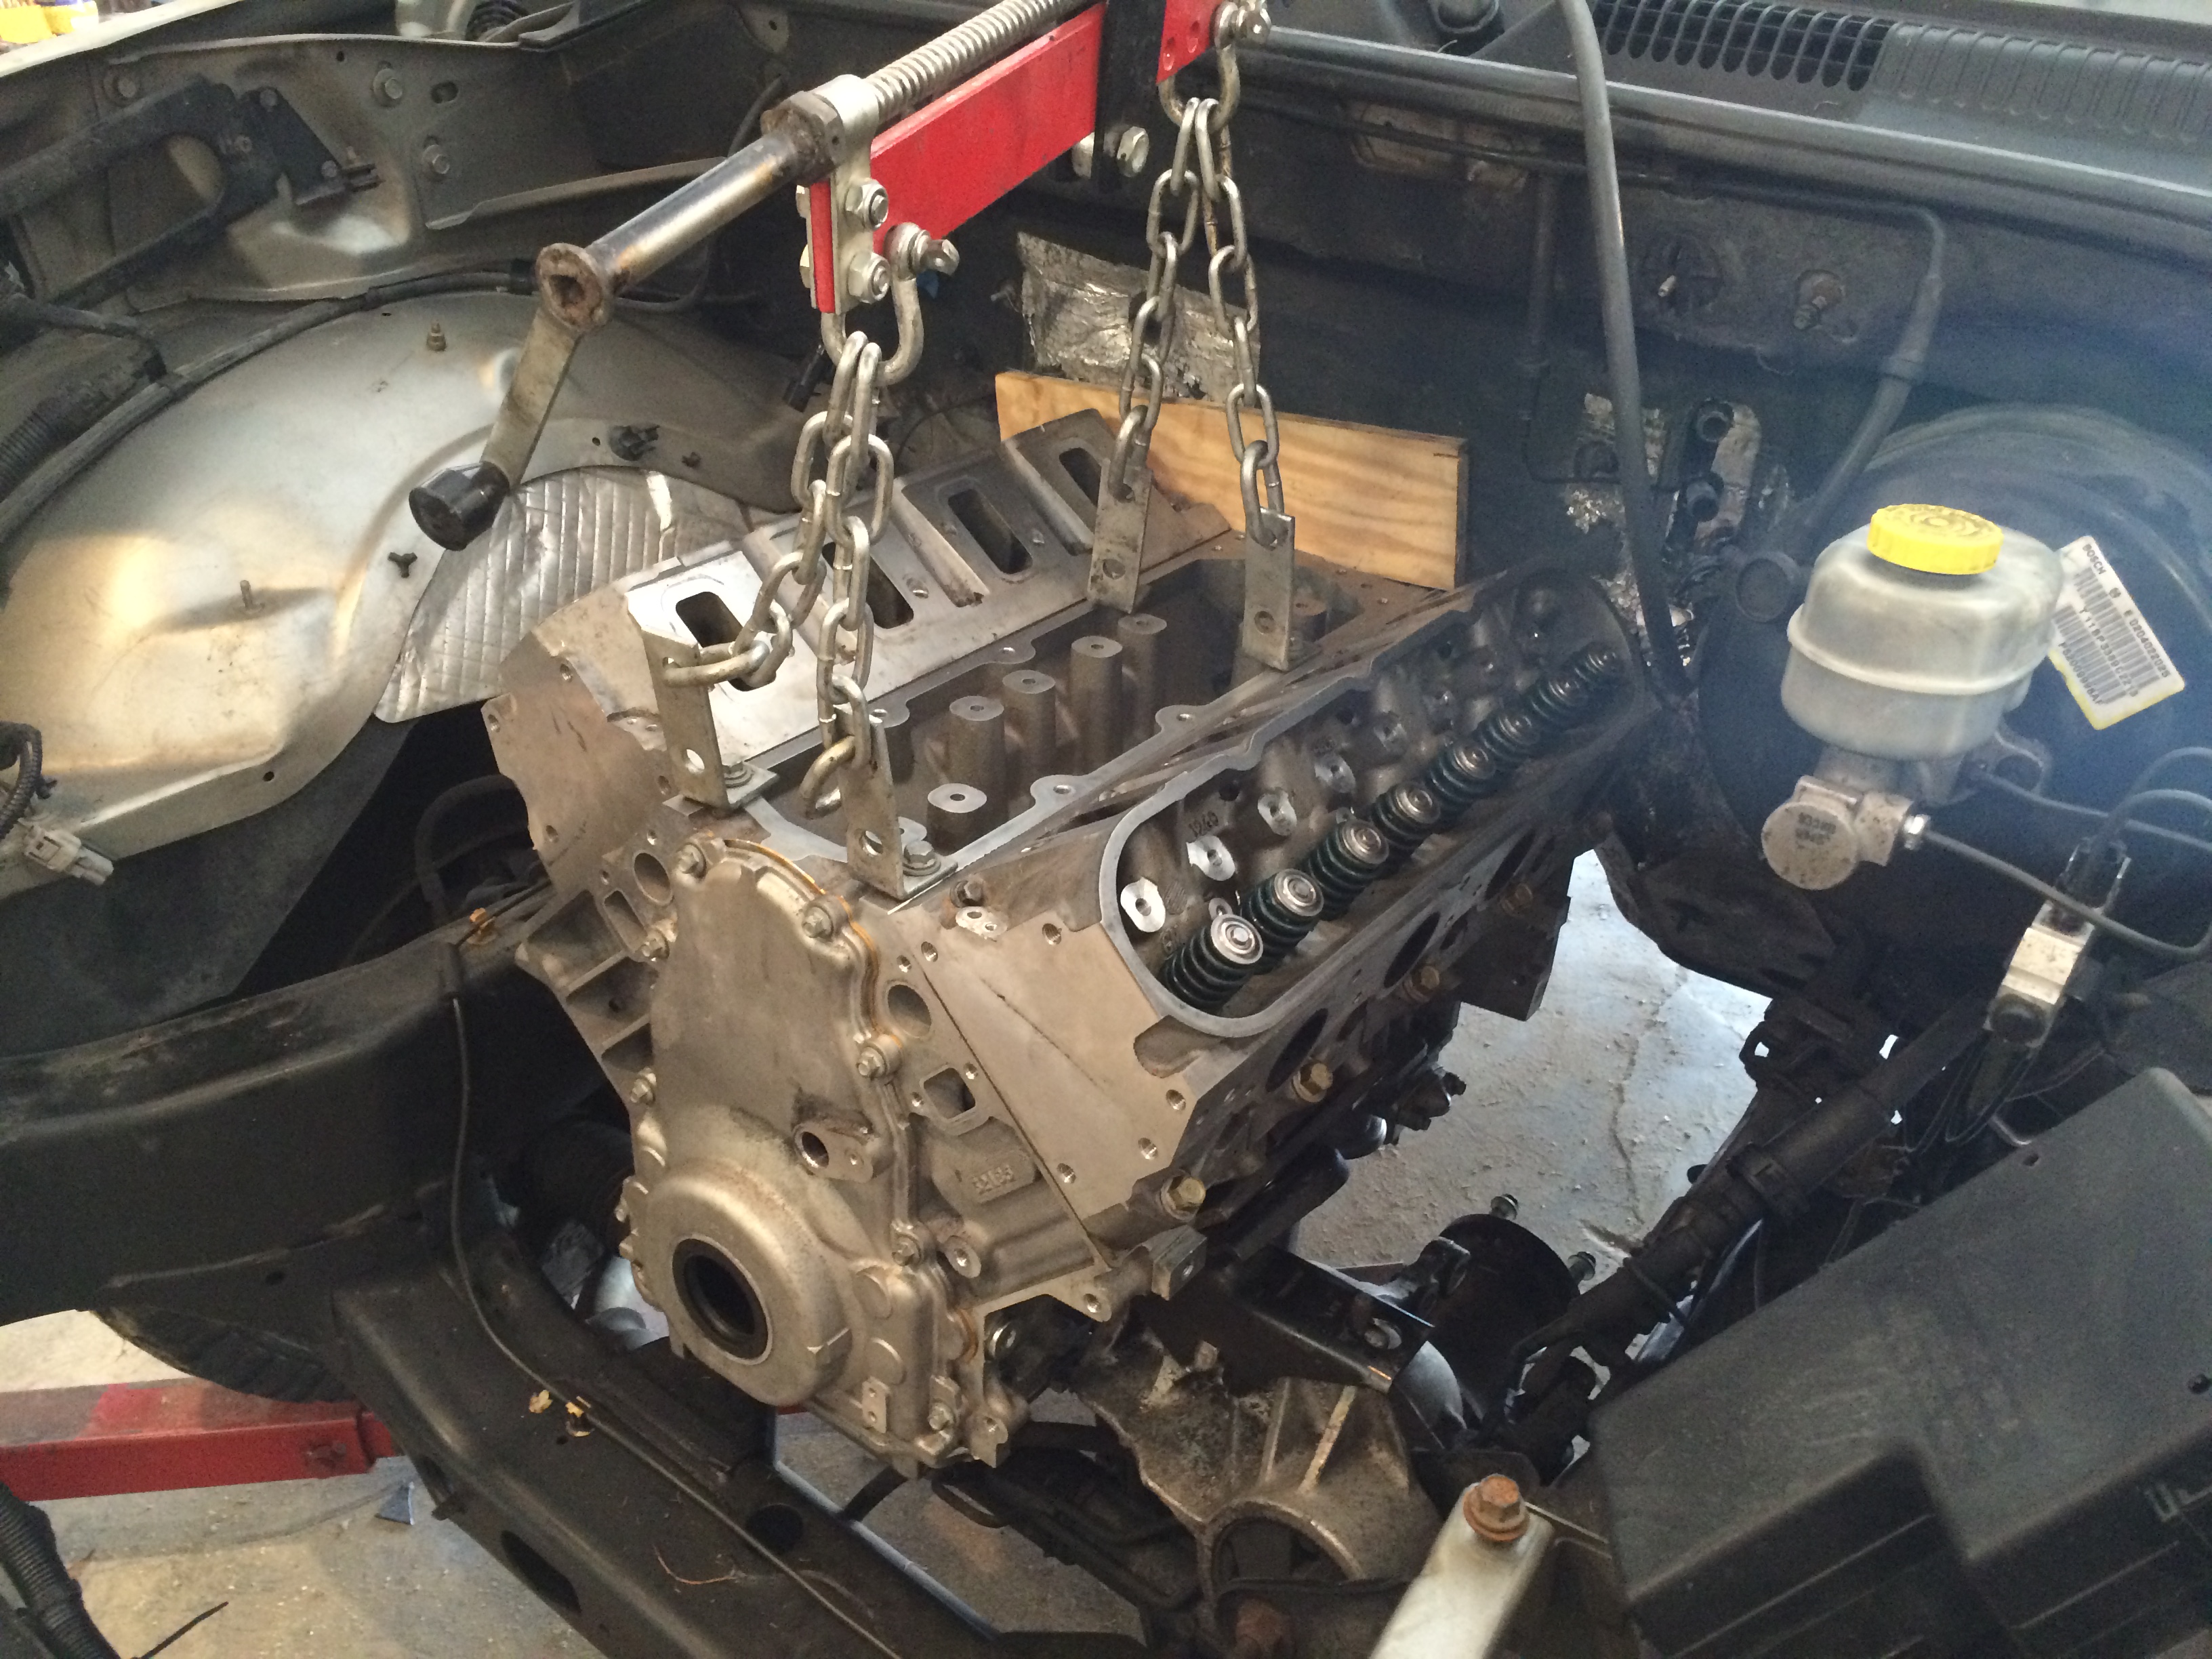
Days like today are fun when you are working on a project like this. I had purchased a truck oil pan, which arrived this week. Putting it on my plastic mock-up block, and BOOM, it hits the front axle. After looking at it for a few minutes, it seemed I could move the engine back towards the firewall about an inch, to clear it. I made a new set of adapter plates, and dropped it in. No problem. So I put in the LS3 engine for final fit. There is ample room on all sides, including room for headers. So far, this is even easier than a 2WD, which was pretty easy. So that's saying something.
The real engine sitting in the engine bay.
Looking up from the bottom, driver's side clearance for headers.....HUGE. Oil filter, no problem.
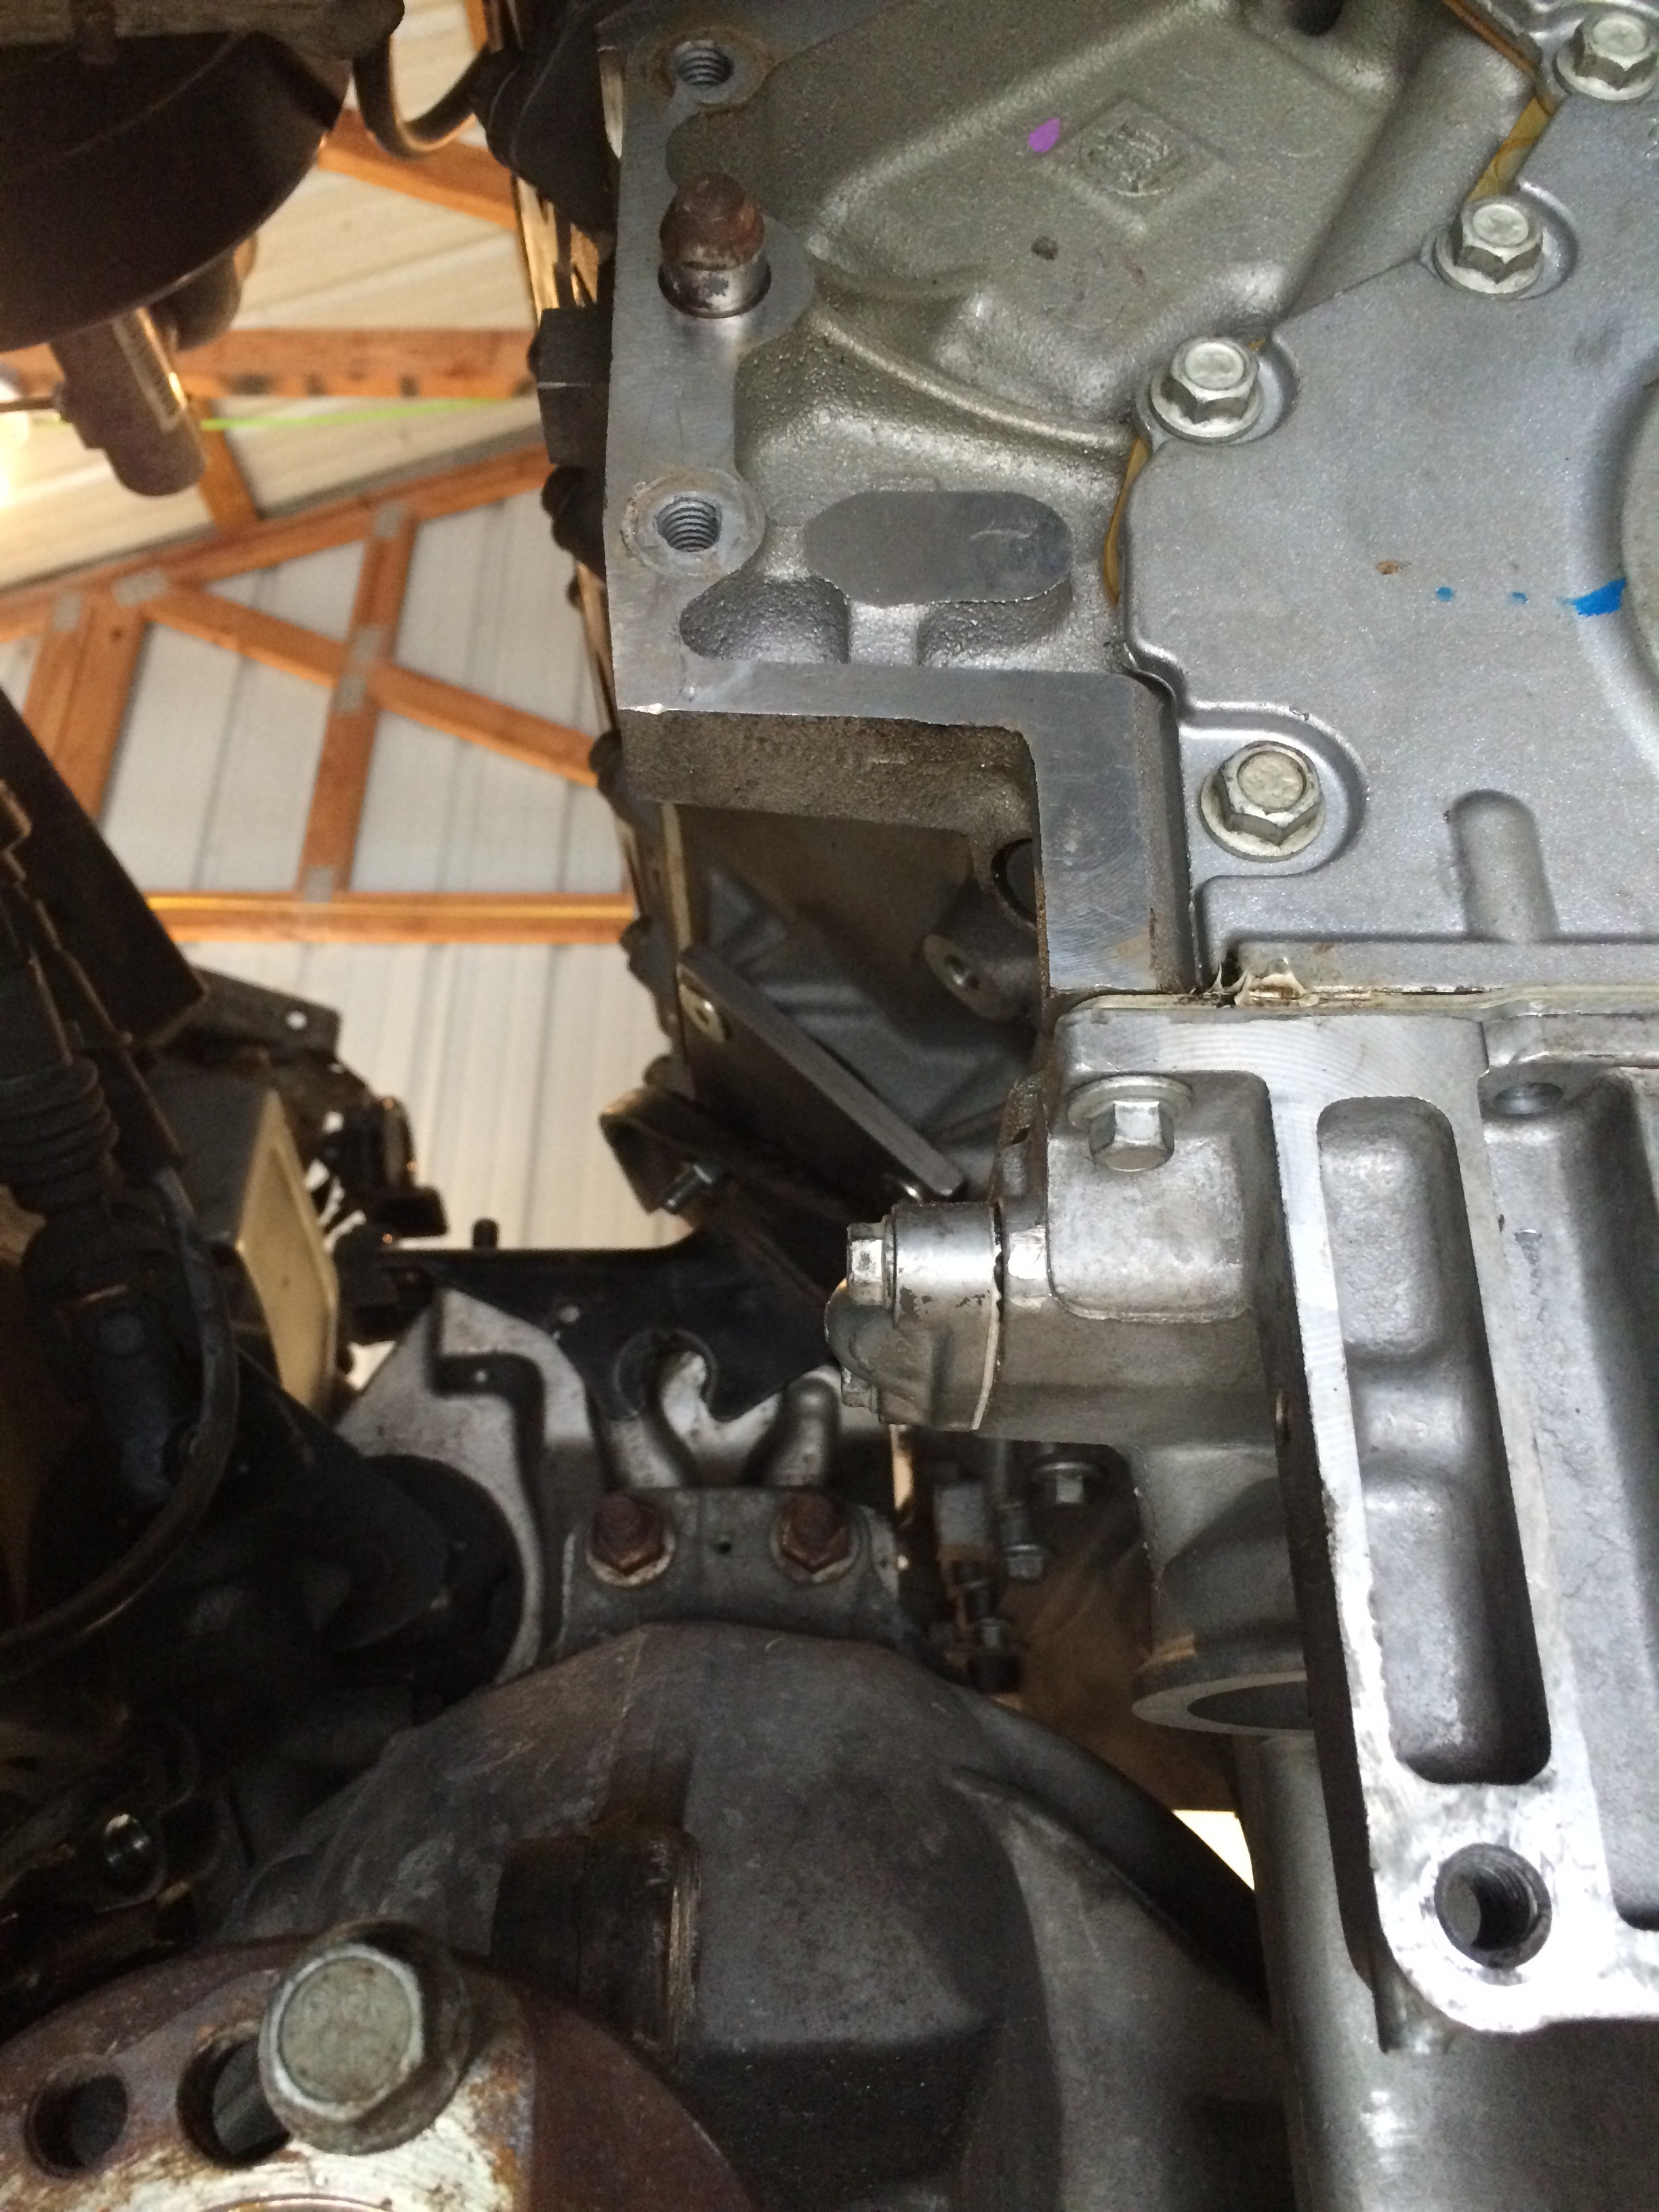
And passenger side. Also plenty of clearance. Check out the room for the starter also !

Front axle clearance.
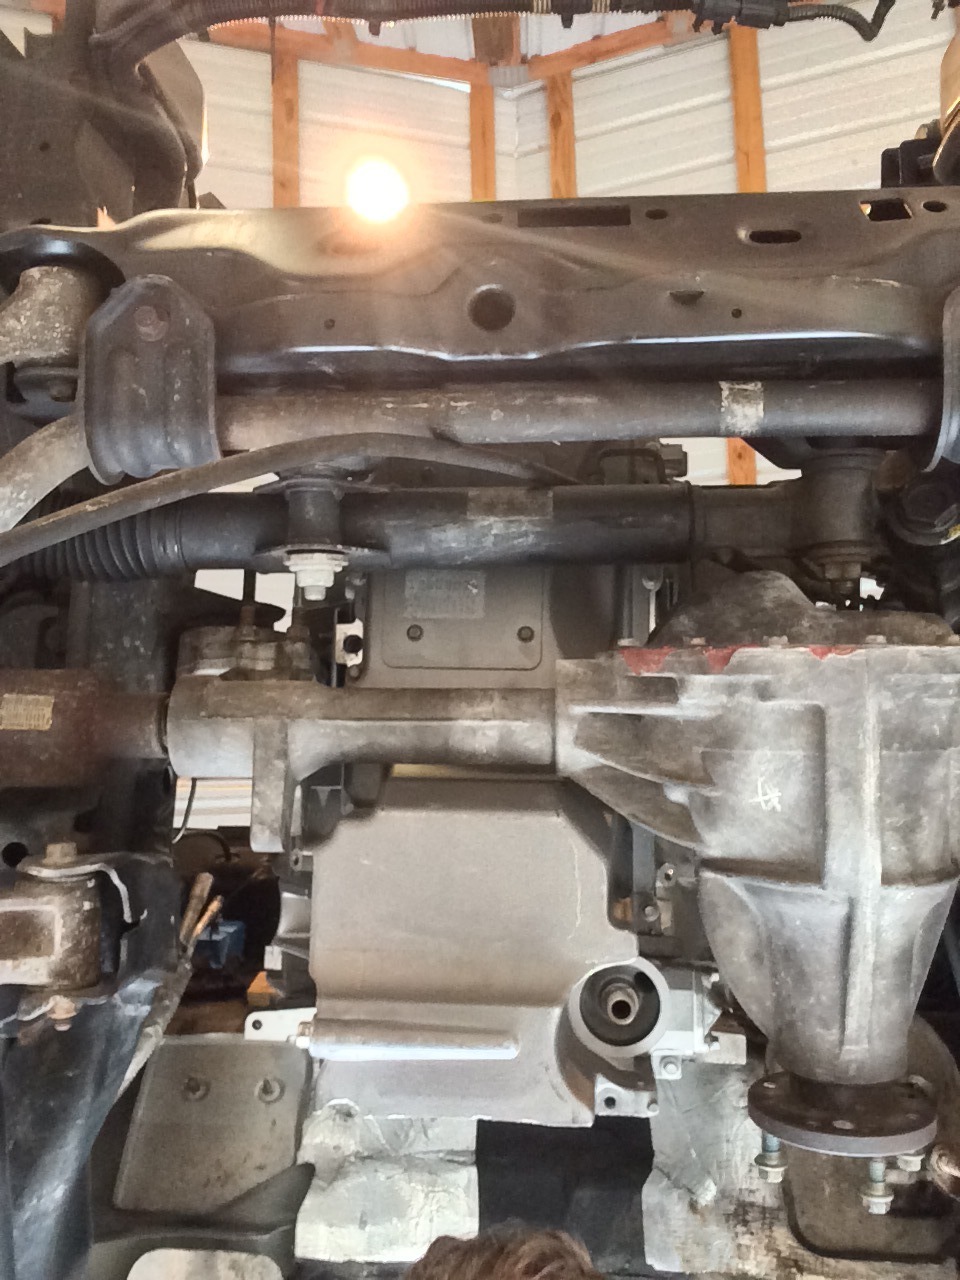
Driveline angle using pvc pipe.
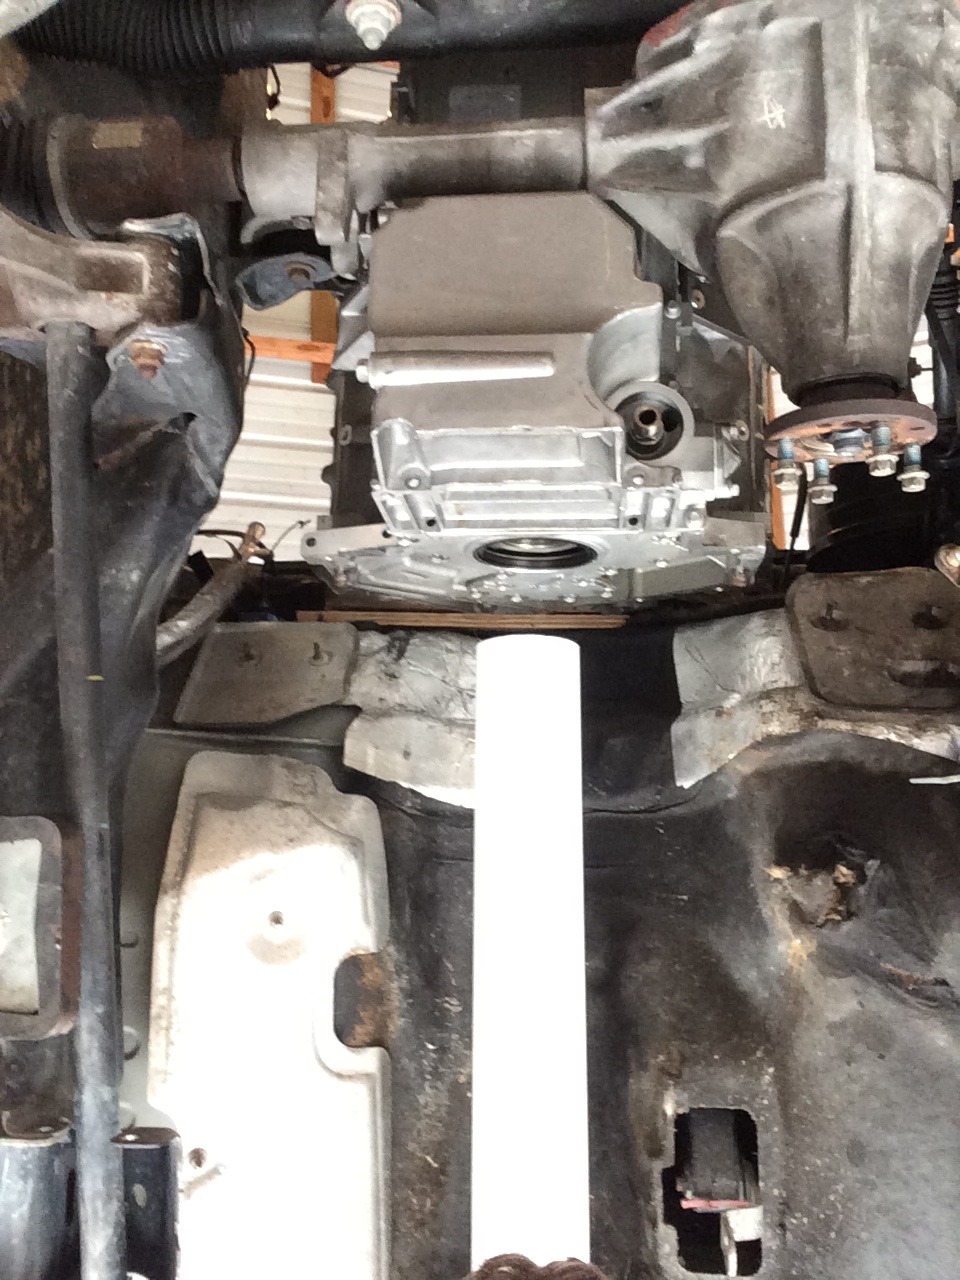
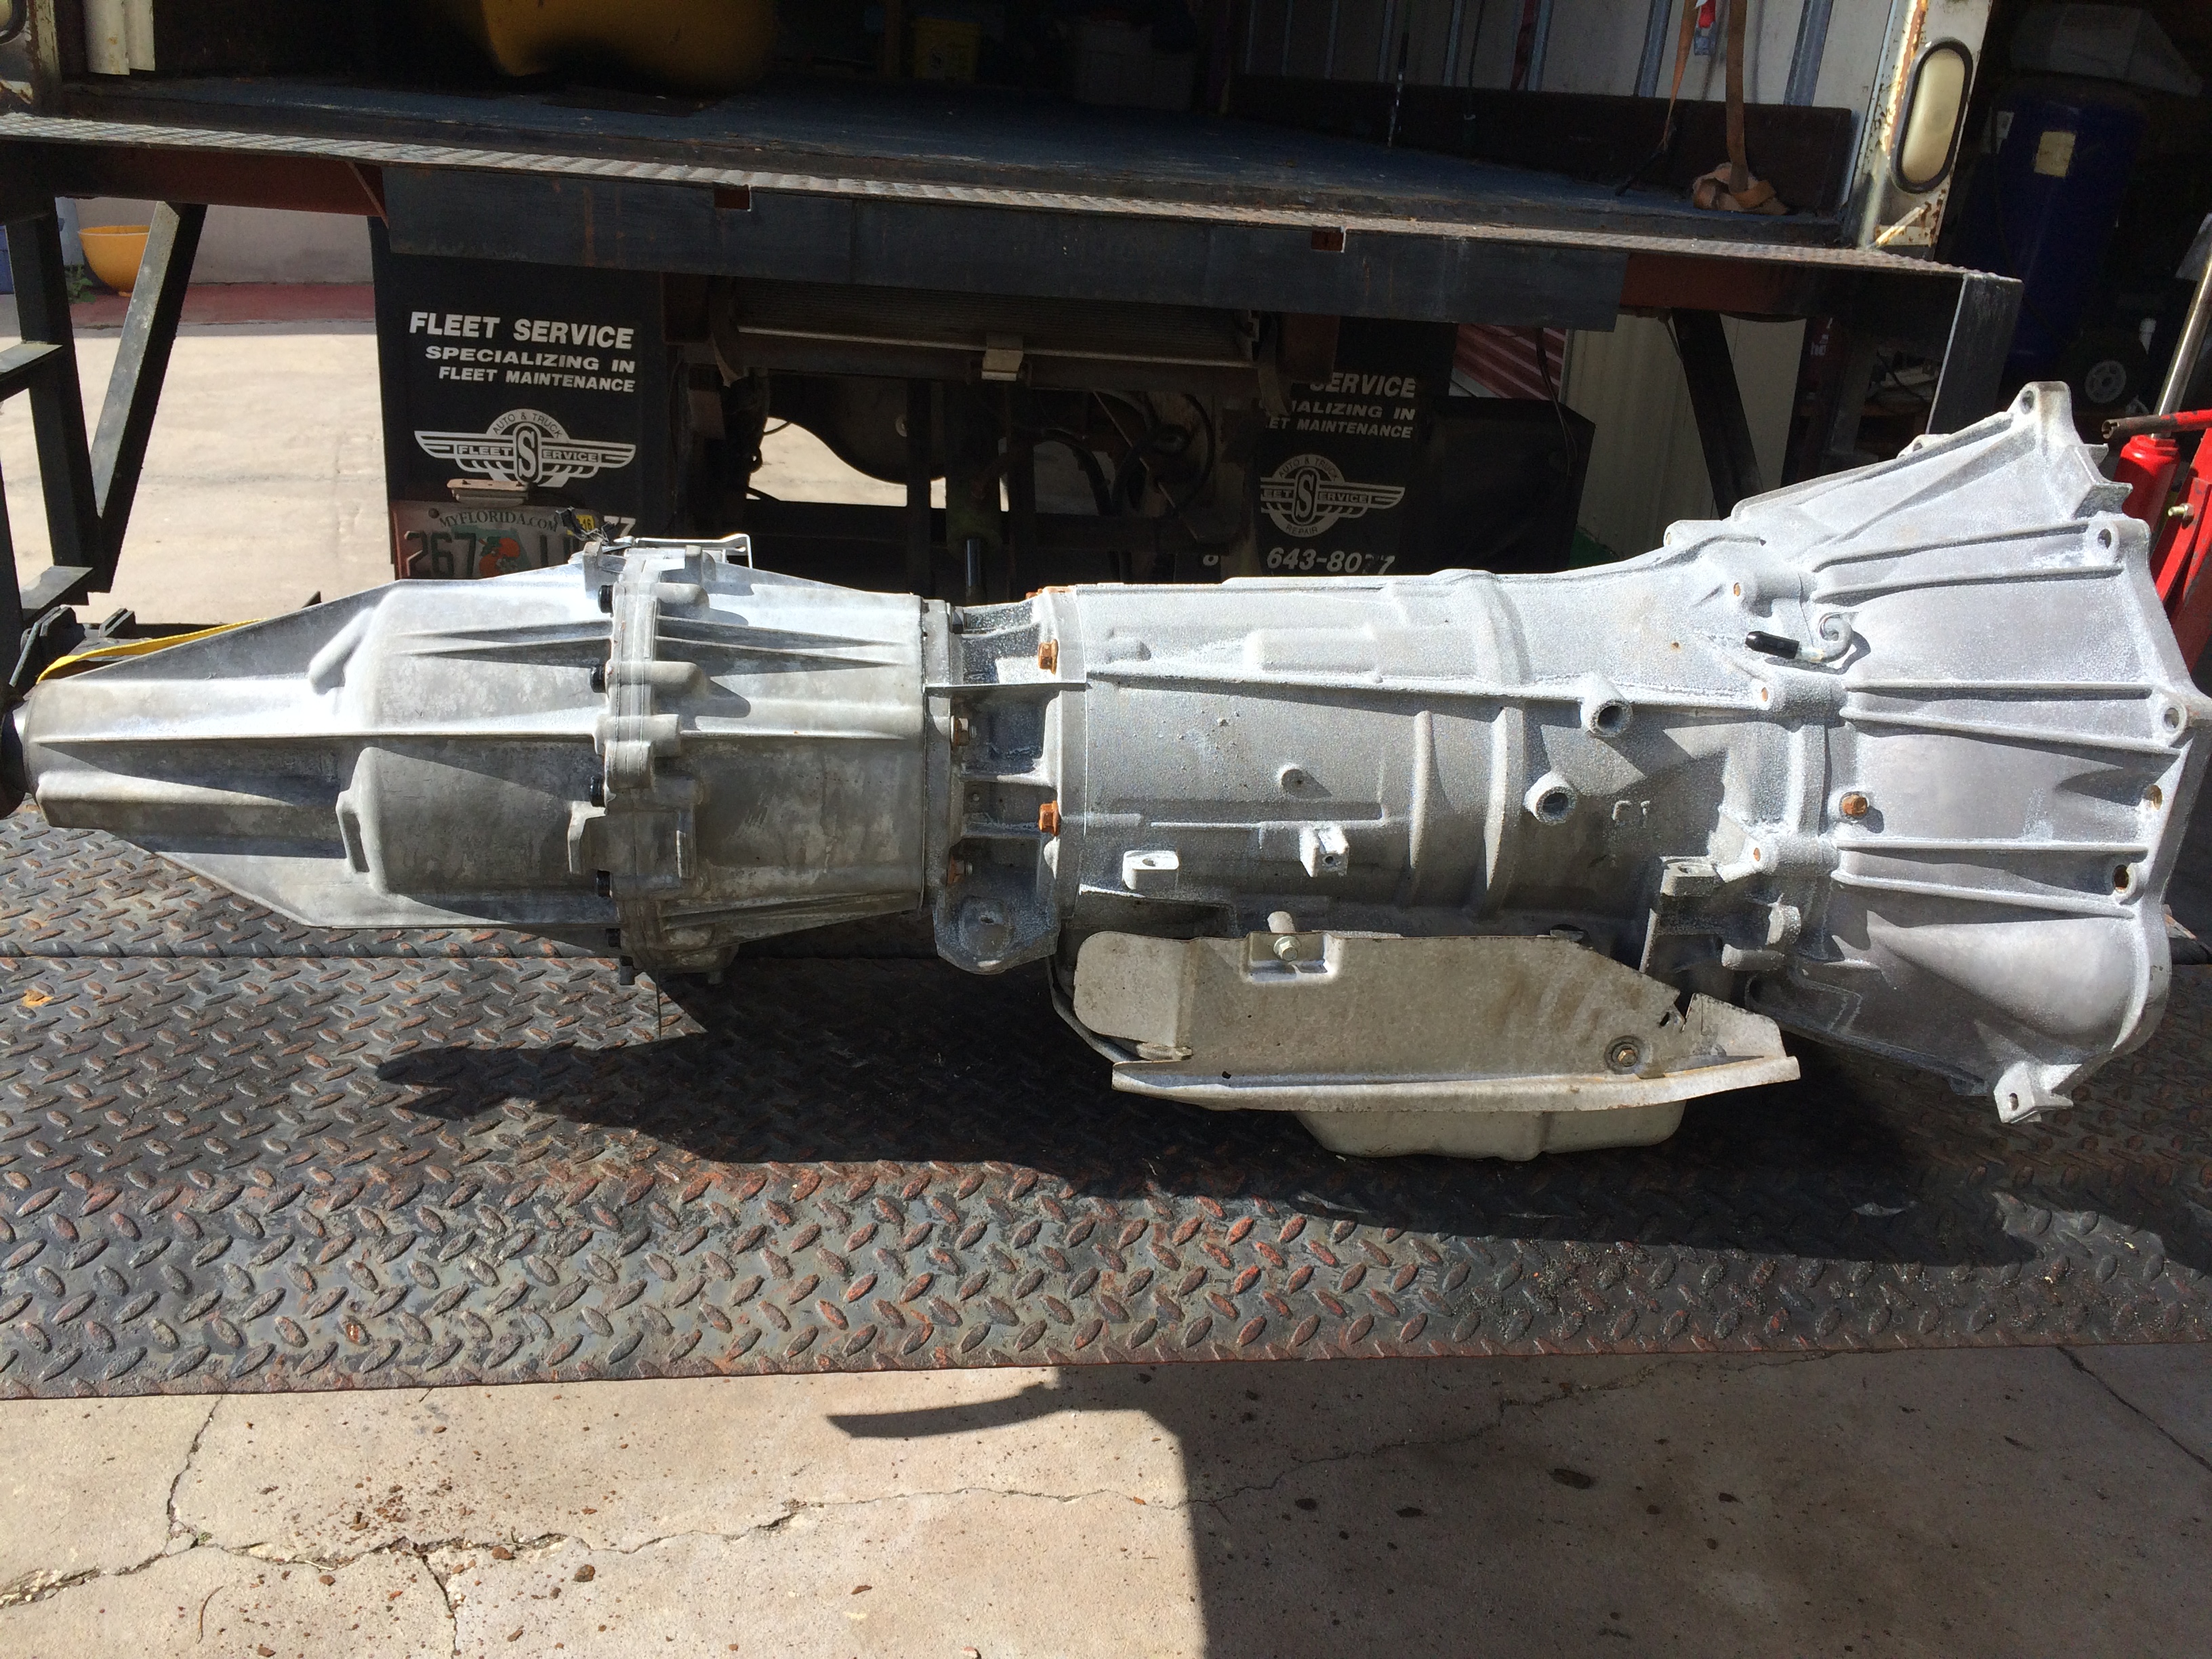
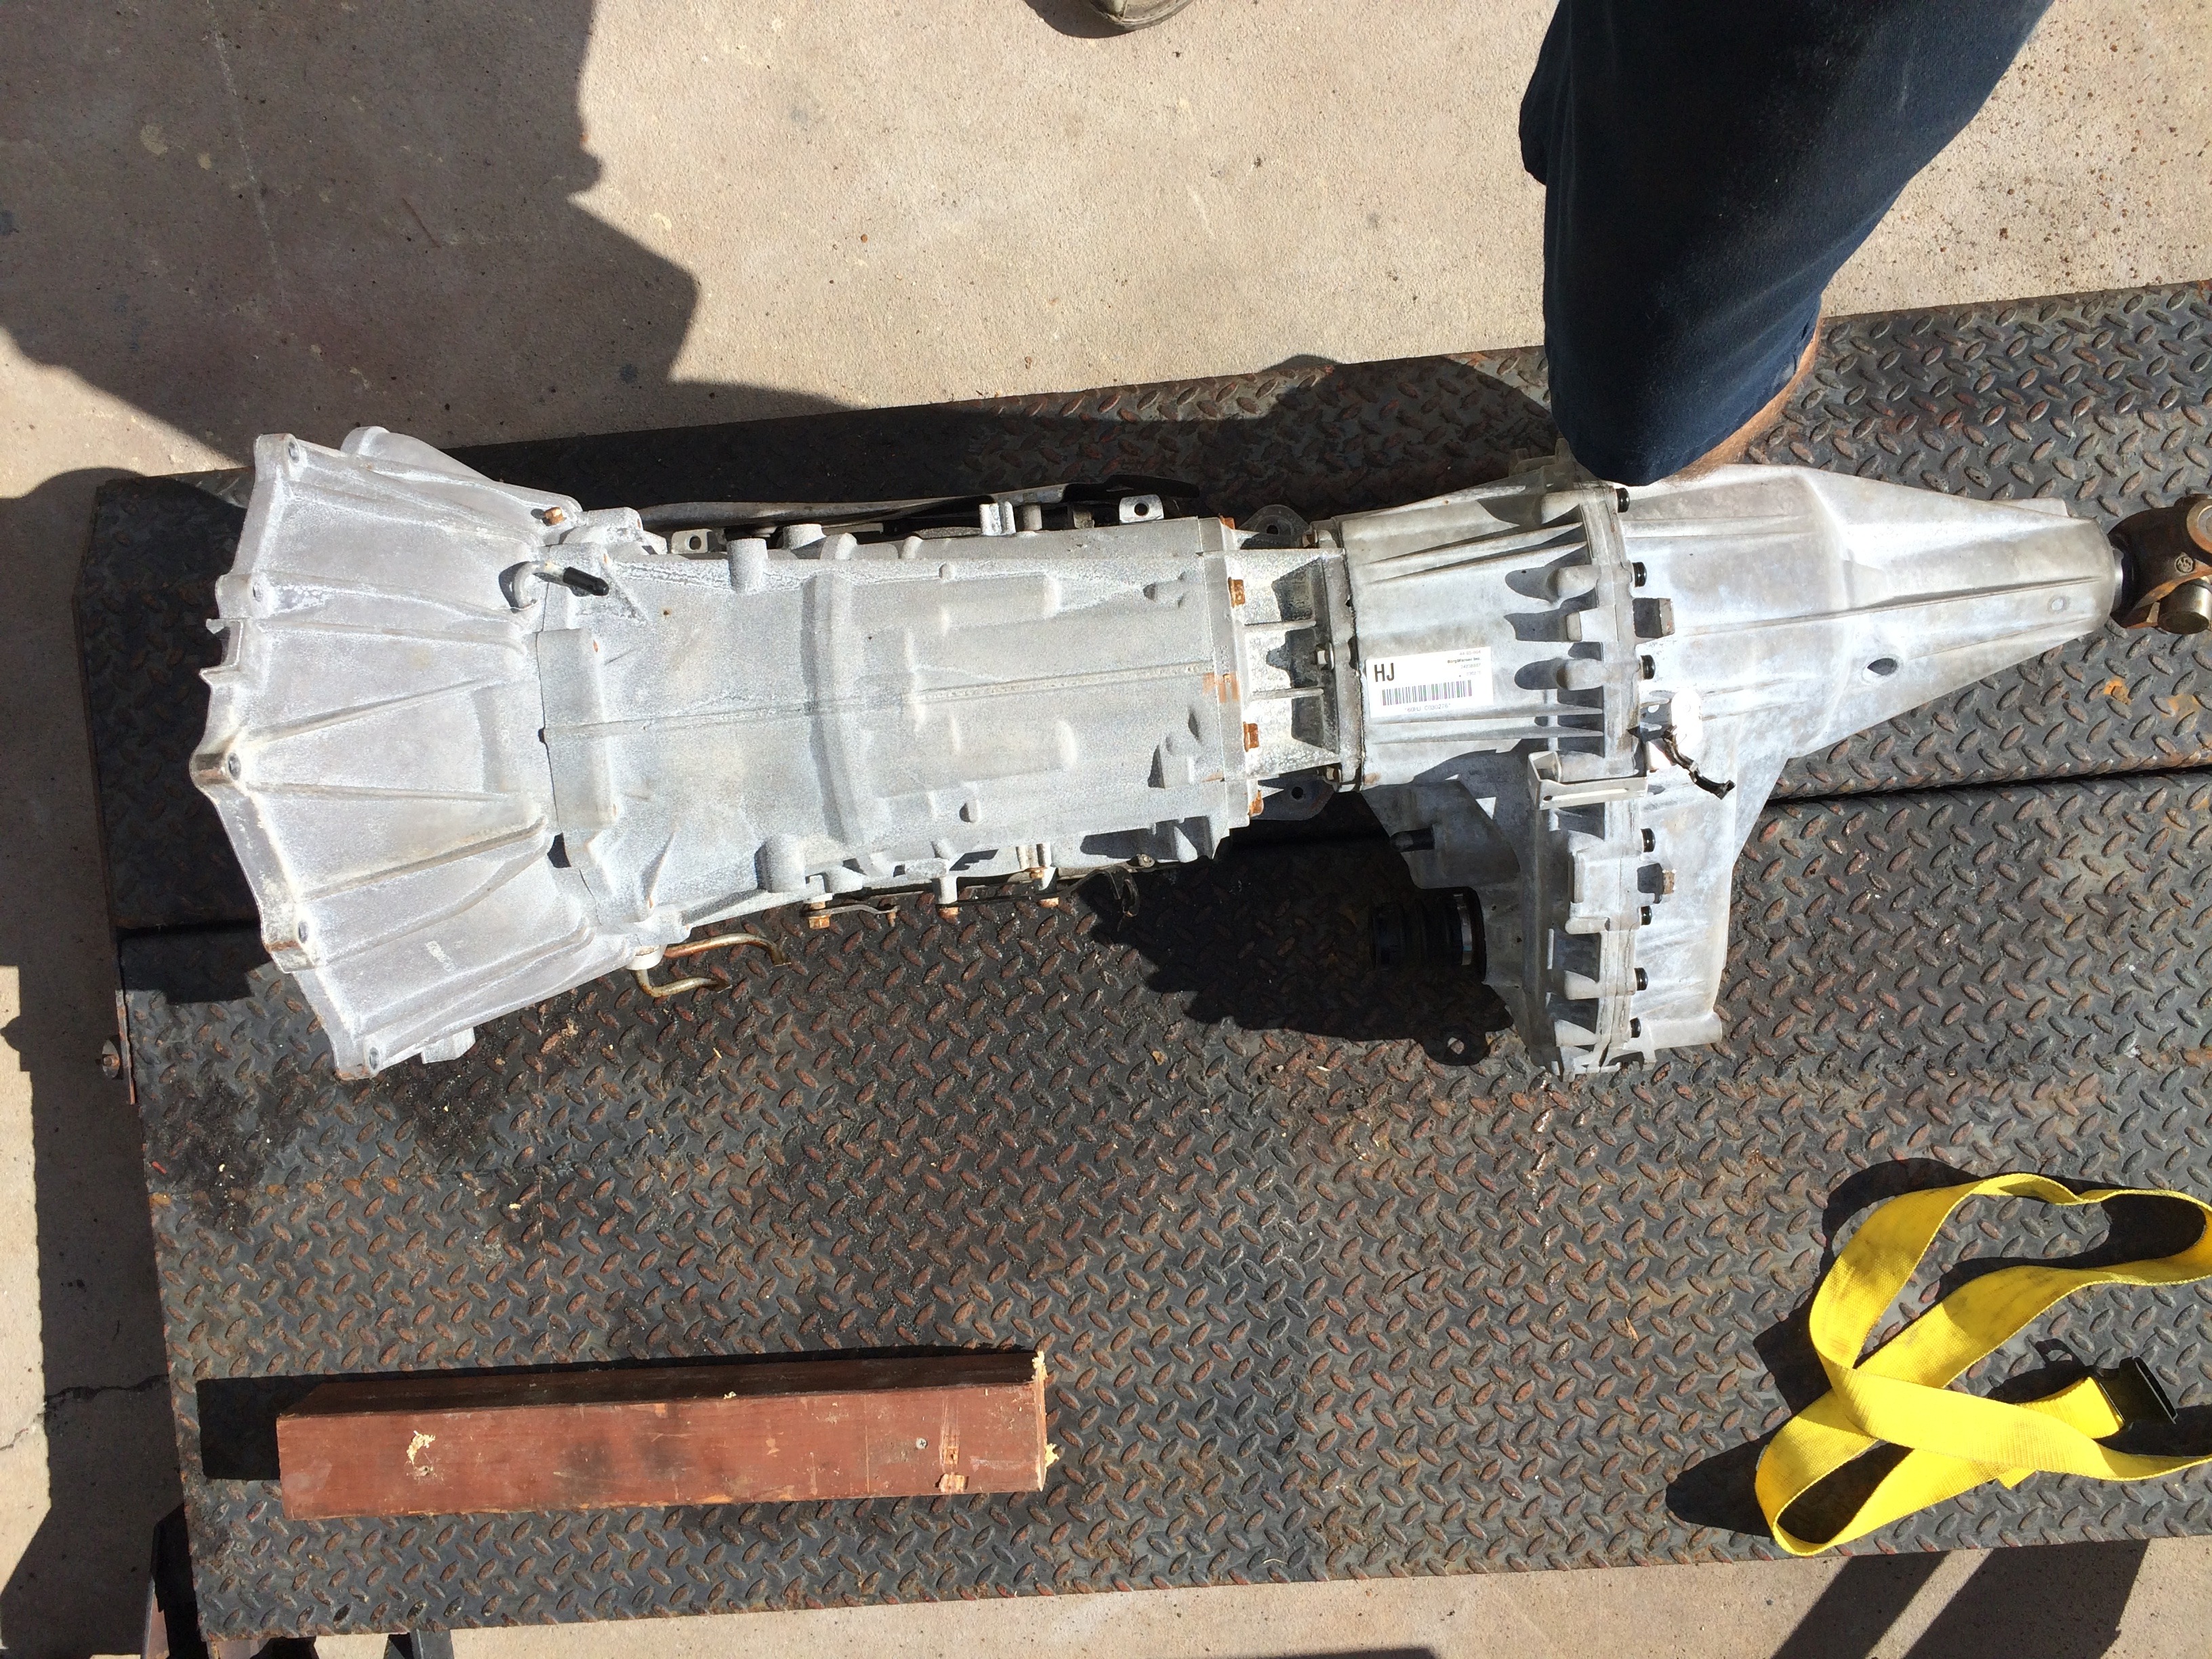
And the 6l80, AWD transmission. This transmission and transfer case is the same length (46 inches) as the 46re that came out. So the crossmembers clear, and I think I may even get away with using a stock transmission mount. For those wanting selectable high and low range trnasfer case, the dimension is the same as this Borg Warner 4485.
Future.....
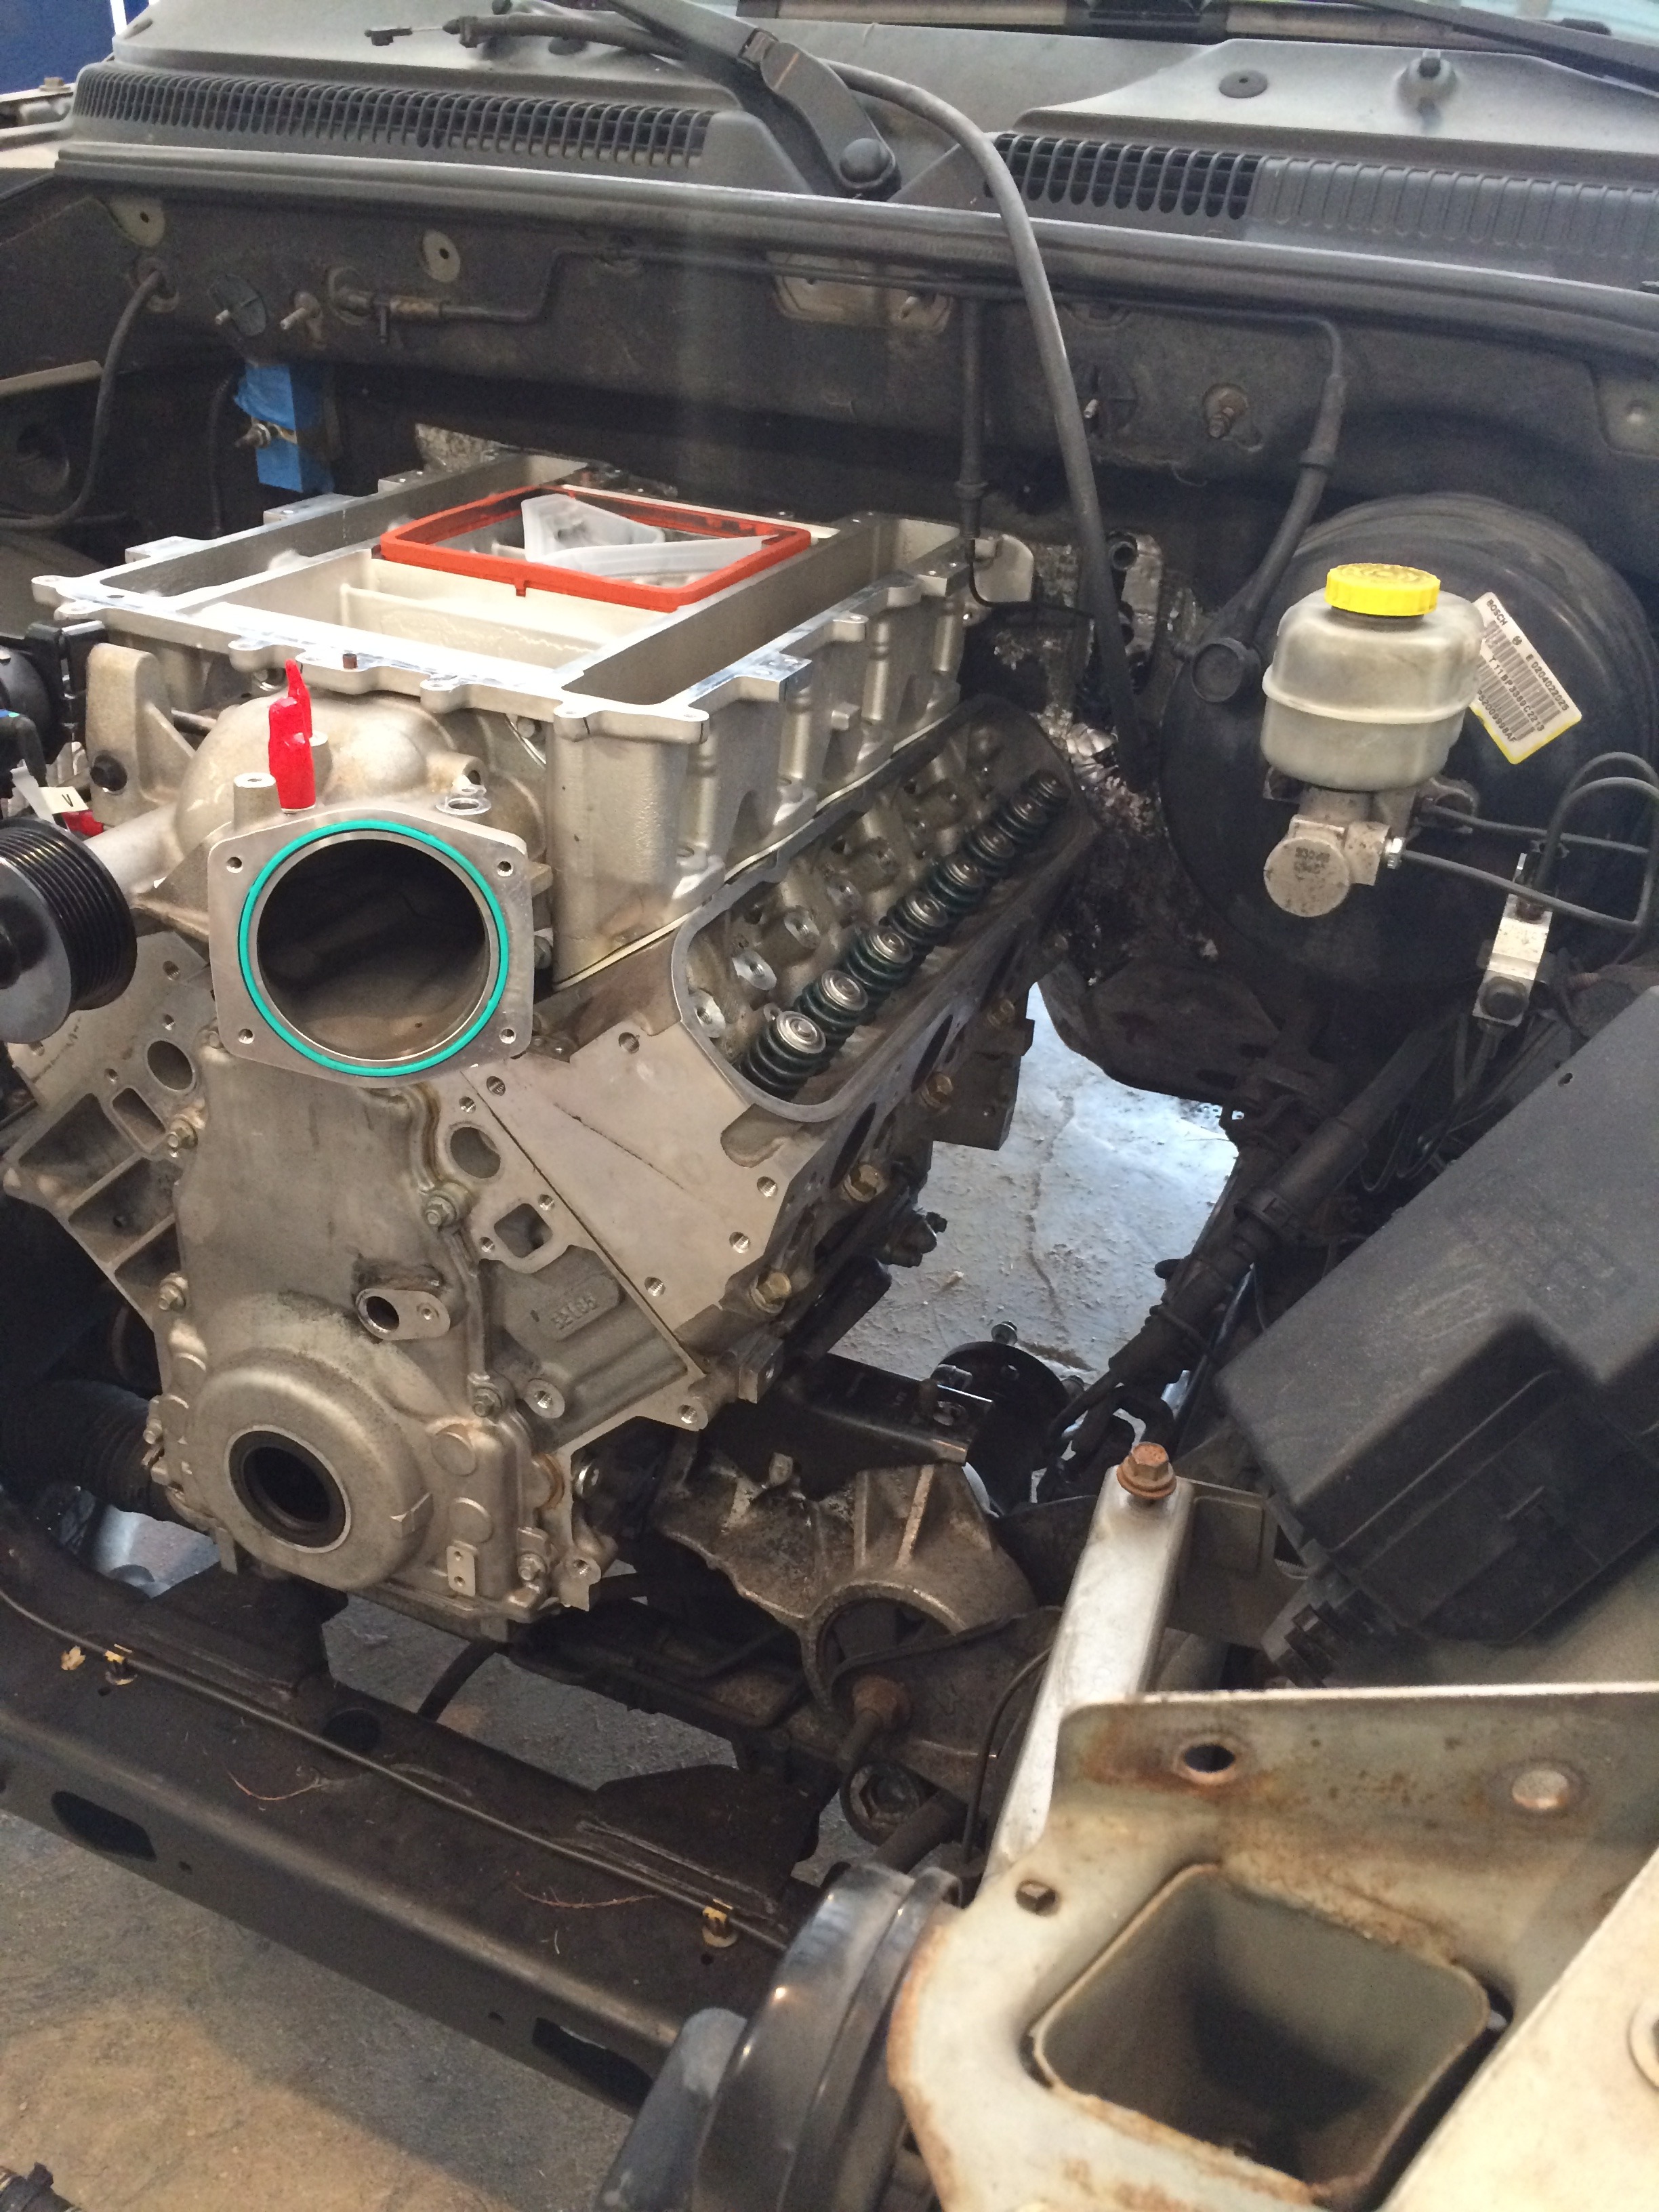
The real engine sitting in the engine bay.

Looking up from the bottom, driver's side clearance for headers.....HUGE. Oil filter, no problem.

And passenger side. Also plenty of clearance. Check out the room for the starter also !

Front axle clearance.

Driveline angle using pvc pipe.

And the 6l80, AWD transmission. This transmission and transfer case is the same length (46 inches) as the 46re that came out. So the crossmembers clear, and I think I may even get away with using a stock transmission mount. For those wanting selectable high and low range trnasfer case, the dimension is the same as this Borg Warner 4485.


Future.....

Last edited by casias; 12-06-2015 at 08:30 AM.
12-05-2015, 07:42 AM
#39

This is gonna be bad ***. Nice score on the LS3. Cheap fix. The one pic showing the block installed from the trannys' view point shows a diaganal line near the starter mount. Its in the corner, but looks like its not near the rear cover, what is it? Just weird lighting?
Thanks,
Jim
Thanks,
Jim
12-05-2015, 08:57 AM
#40
This is gonna be bad ***. Nice score on the LS3. Cheap fix. The one pic showing the block installed from the trannys' view point shows a diaganal line near the starter mount. Its in the corner, but looks like its not near the rear cover, what is it? Just weird lighting?
Thanks,
Jim
Thanks,
Jim