When you click on links to various merchants on this site and make a purchase, this can result in this site earning a commission. Affiliate programs and affiliations include, but are not limited to, the eBay Partner Network.
Anyone wanna help a hero find a Ls swap for my 02 fbody camaro
What are you looking for? Crate engine? Short block? Junk yard pull?
Originally Posted by 6speediroc
Nice build..it's super clean!
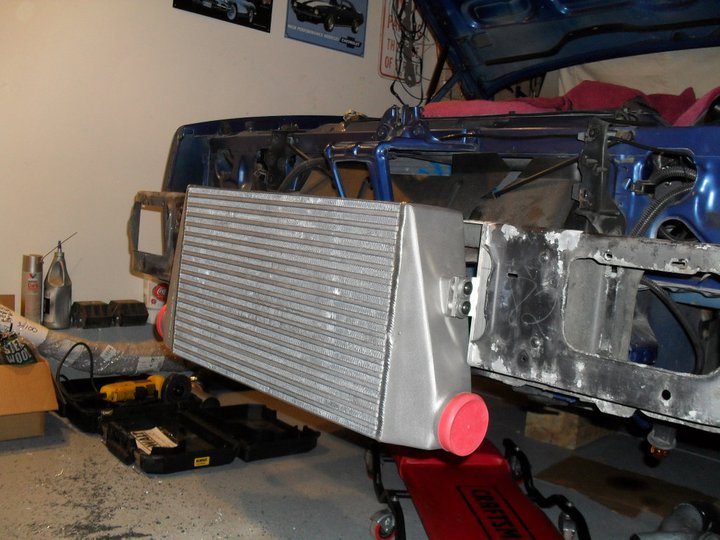
What are you doing for an intercooler?
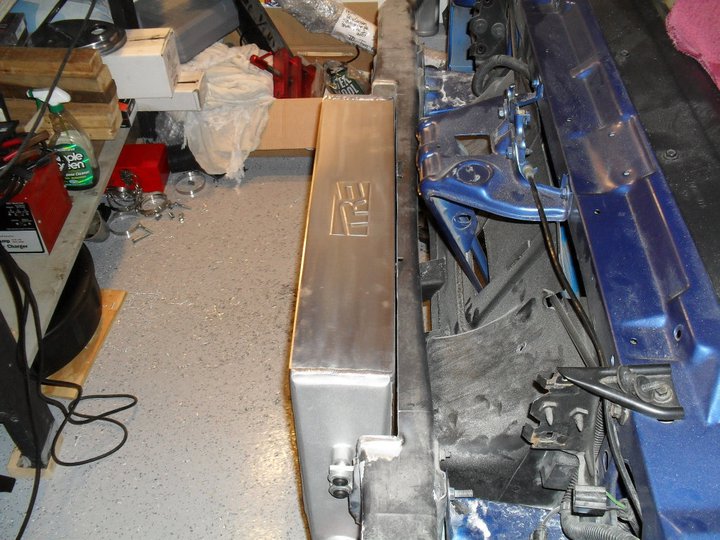
Thanks! I have a 4" thick treadstone that I used with my D1SC 383 sbc. Seemed to work ok. I'll see how it works with this new setup, if I need to change I'll look into that later.
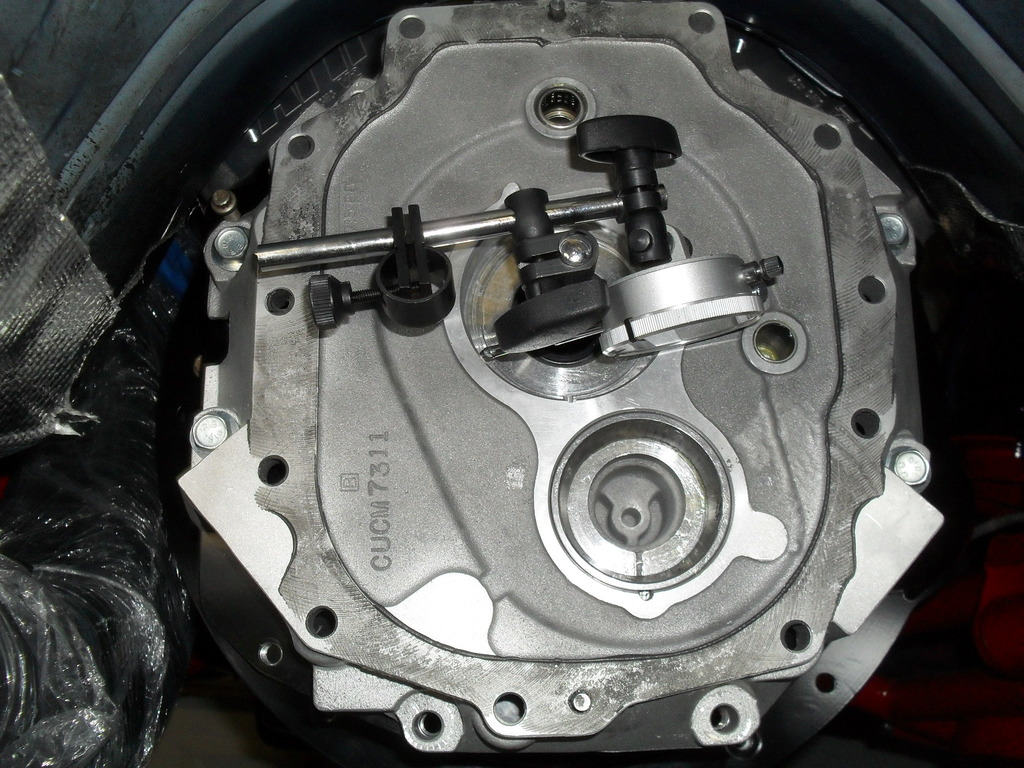
Finally got around to checking the runout on the quicktime bellhousing. These past few weeks have been very busy.
After making 3 passes at it, I'm only .004 out. Within spec, all is good.
I'm glad I mocked the bellhousing up, because I got a some clearance issues with the 2" headers. The driver's side is worst, you can kinda see it in the picture. I'll have to grind off about 1/8 - 1/4 of the bellhousing in that area. Checked the passenger side too. Just have to grind a little off around the starter bump. I hate to grind brand new shiny pieces, but I got to.
Thanks for the pics!
Pretty much exactly what I had in mind. Nice job too.
From what I've seen I'm not going to mess with the Hooker piece.
How much power are you putting out?
I almost want to box-in the cross piece more? Just a tad nervous at my power level.
Thought about a tunnel mount, but 99% sure it would interfere with the driveshaft and I'd rather have a longer torque arm.
I have a UMI K-member.
Thanks! My car made 426whp and 398wtq through the 6 speed and 9 bolt rear so yours will be more. I have had no issues so far with the setup but exhaust clearance is still not perfect on the side with the gusset. I welded it everywhere I could and it still uses two bolts on a poly mount as well. I also had to lose the driveshaft loop when I redid the exhaust for better clearance on the merge collector. Overall the best I could do. I am running a 3in y pipe to the flowmaster merge. I did not want to try a tunnel mount because I thought there would not be enough room for everything in there. Good luck and let me know if you have any other questions. Coming along nicely!
Ricky, Sounds like I have the same idea as you. I'm going to run a 3 inch y-pipe into my flowmaster merge, then a 4" catback.
I think for now I'll just copy your piece almost exactly, then later once everything else is wrapped up I'll make my own.
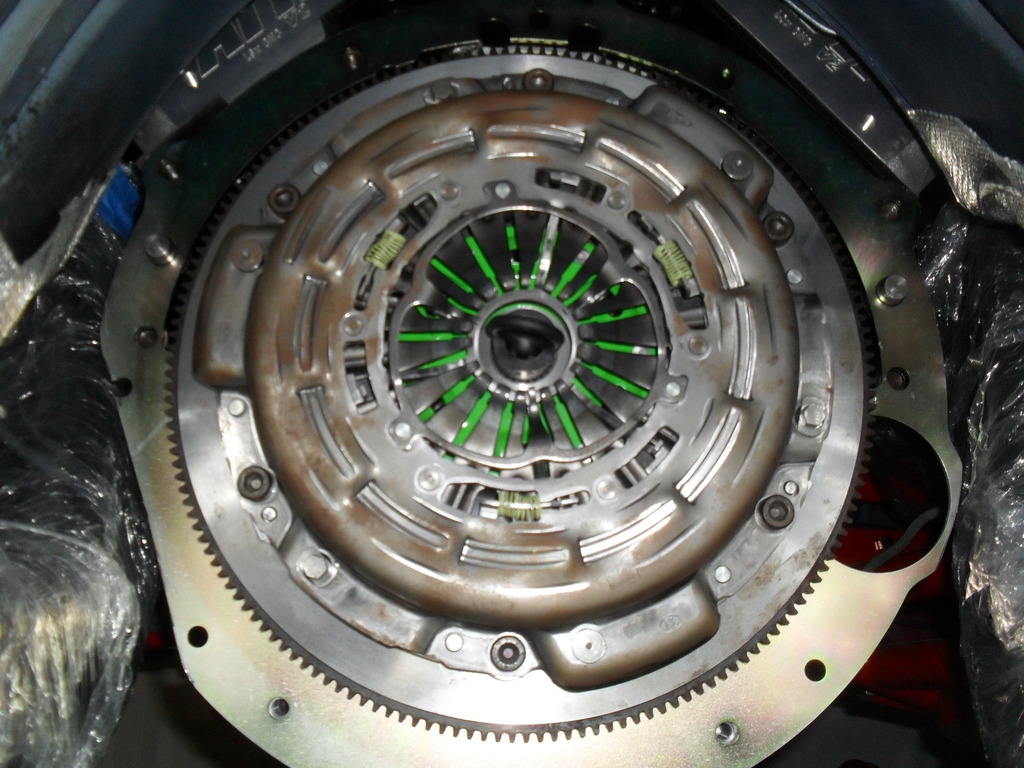
Continuing on this weekend, I was able to install the Monster twin disc clutch. Had a quick question for Steve on the install, and he responded like 5 minutes later, impressed. Clutch went in easy. Can't wait to try it.
You can see where I trimmed the back plate of the bellhousing. I'm sure it's not SFI rated anymore, oh well, at least it fits.
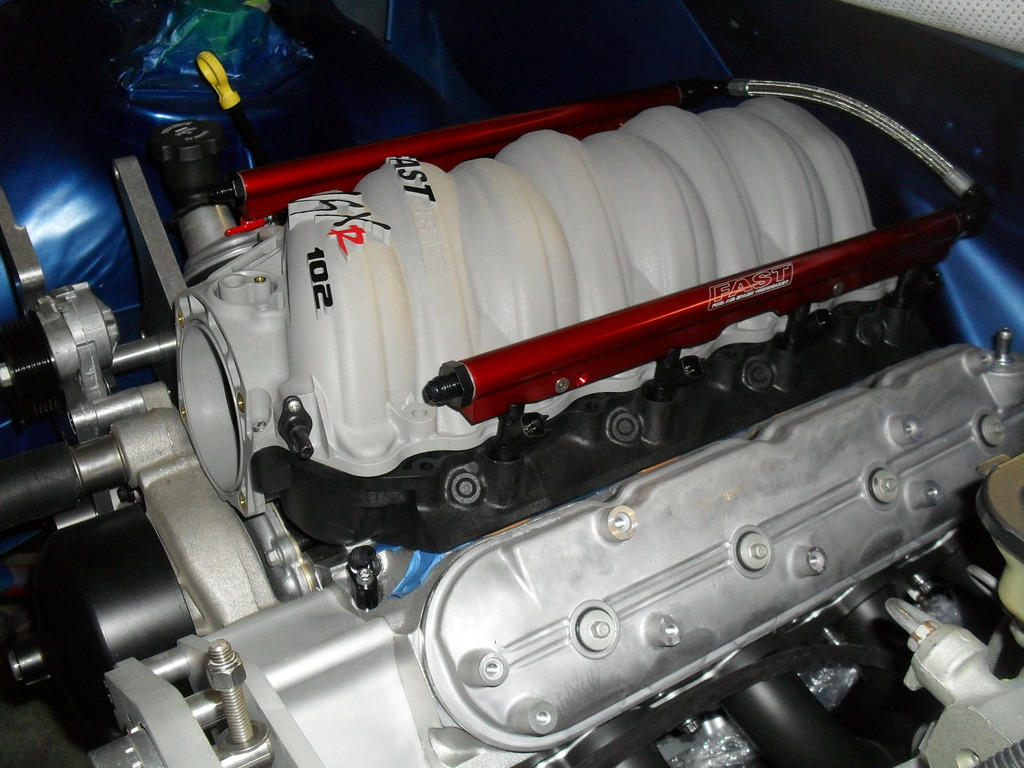
I placed the intake on, just to start see where things are going to route. I'm using Fast fuel rails and 80 lb Bosch injectors from FIC. Jon was a major help and suggested these and at a great price! Sent me data on them as well. Should be plenty for my application.
Got the Bellhousing in. It was definitely tough getting to all the bolts.
Does anyone know a part number or a size for the (2) bolts for the bellhousing to oil pan? Also, are those really needed? Kinda seems like a bad idea to me?
Also, was able to measure for the slave shim. Glad I did, because it was way off. Although Steve from Monster predicted it when I told him I was running the quicktime bell. I ended up using both thicker shims from the (3) pack from Tick. My "B" is less than "A" (See shim thread)by .104" so should be good now. Only pic I had, my hands were full with the straight edge and calipers.
The spring is removed, and I had both shims behind the slave.
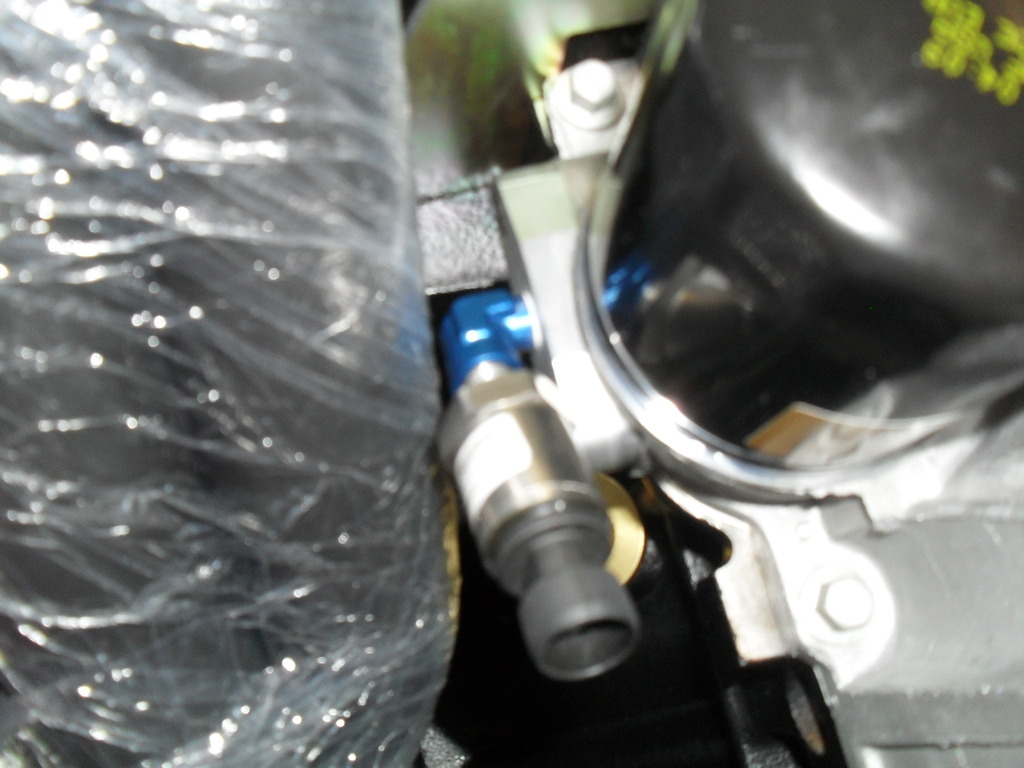
Another small thing was the oil pressure sensor for the Holley EFI. I'm using the stock oil pressure sensor for the dash gauge. My plan was to use the spot above the oil filter for the Holley gauge. It's pretty dang close to the header, only have like 1/8" clearance. However, it's only at a small point. I angled the sensor forward, somewhat perpendicular to the header tube, to try to get it away. Thoughts, opinions? Sorry, for the blurry pic, kind of a tight area. I'll have to get a pic of the side, there's a lot more clearance for the sensor then what the picture shows. The tightest spot is the small 90� fitting.
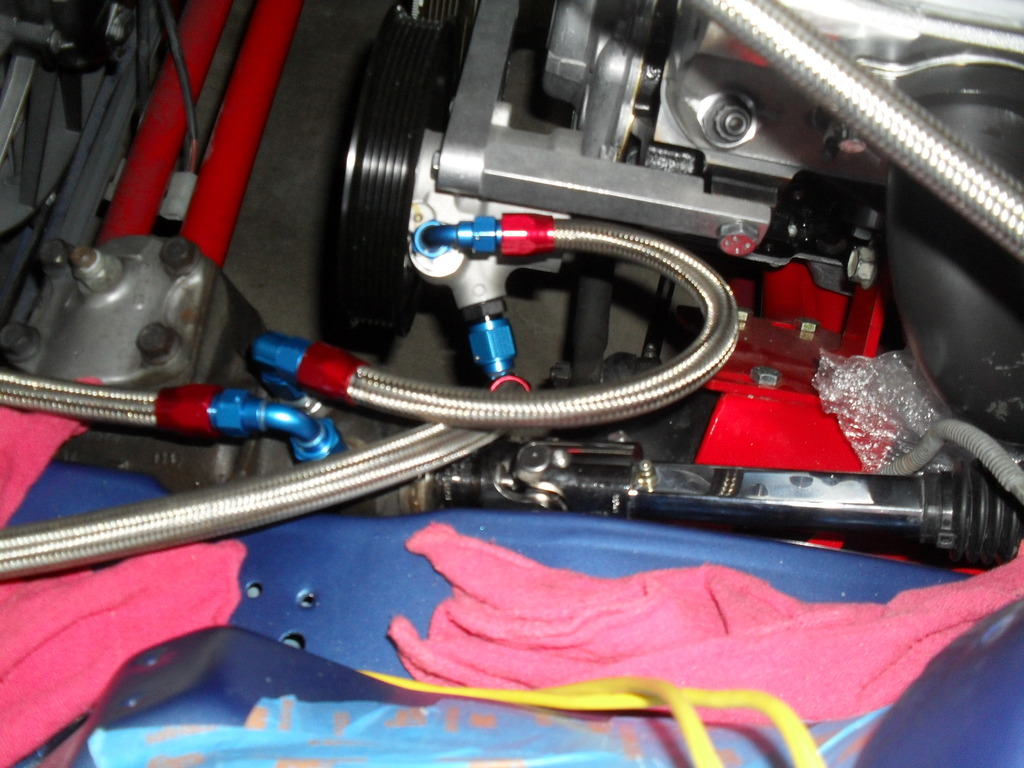
I'm using a C6 P.S. pump. modified with -AN fittings.
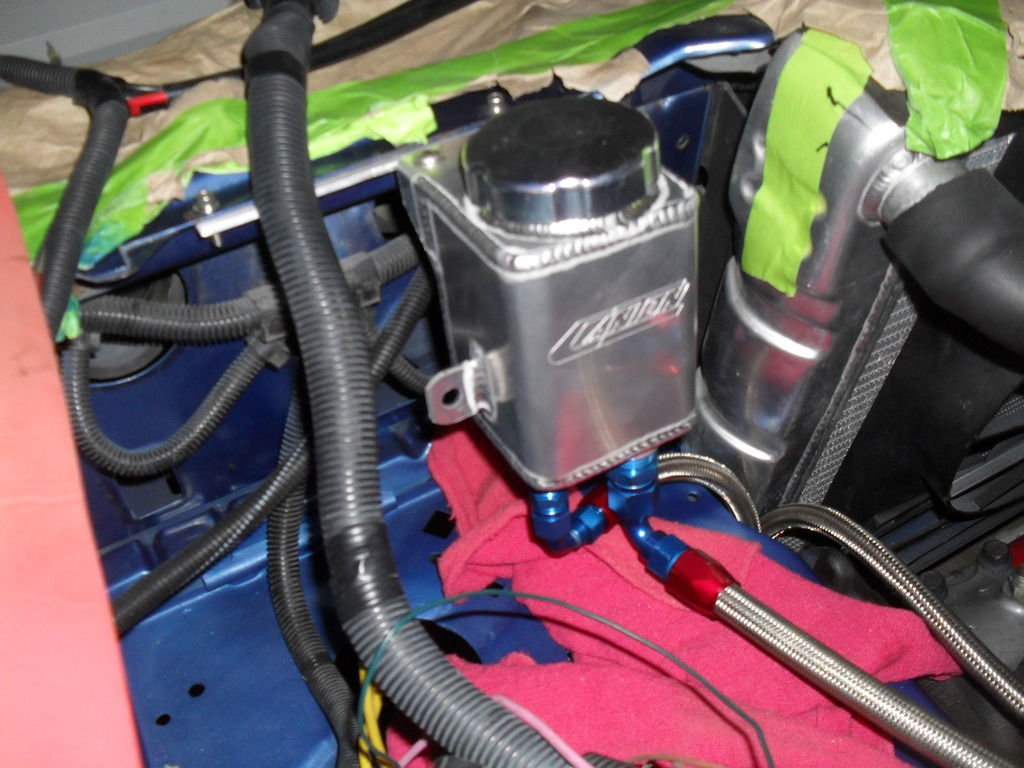
A canton remote reservior.
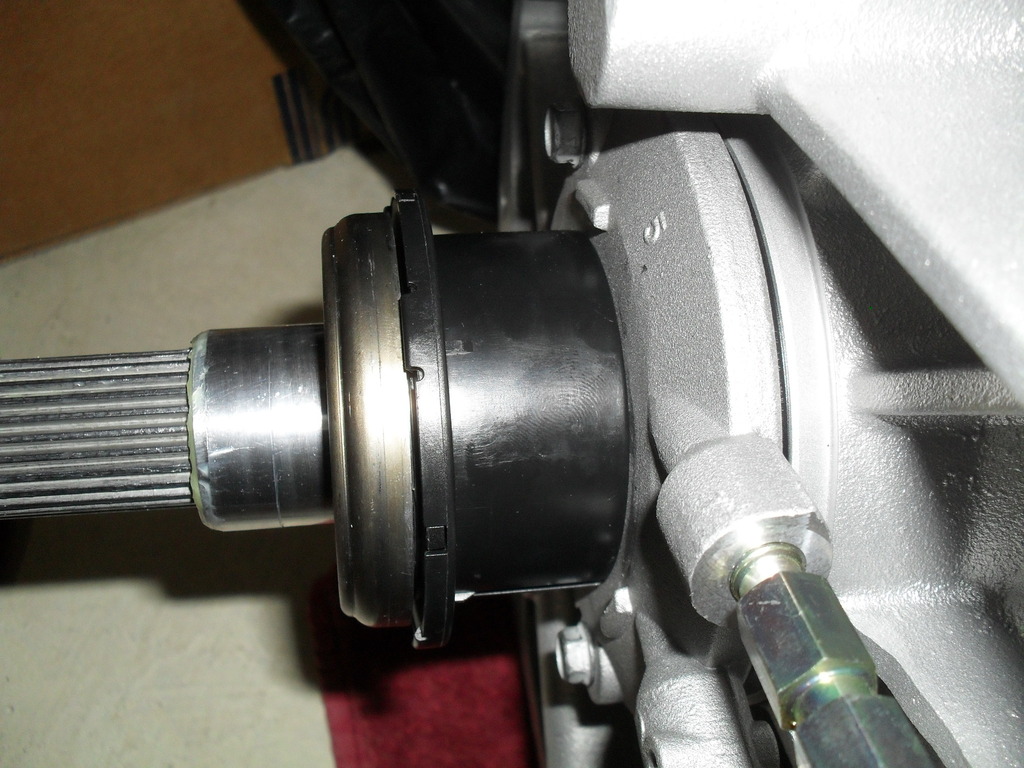
Decided to get rid of the old steering shaft. Bought the parts from flaming river. 2 u-joints and one of there "universal" shafts (it's collapsible). It's shiny and it gets rid of the rag joint, lol.
Pump & lines:
Remote Reservior:
Steering shaft: ( I can dig up the part numbers I used if someone wants, cant' remember them off hand)


 02-09-2016, 09:07 AM