
My S13 240 Build : Ls swap, Corvette transaxle, ITB's, Widebody, Do everything car
 04-22-2016, 12:07 PM
#61
Staging Lane
Thread Starter

Join Date: Oct 2015
Posts: 91
Likes: 0
Received 0 Likes
on
0 Posts
Just put a deposit down so my front bumper can start being made. ALso waiting on a few details to come back so i can put a deposit down on the wing as well.
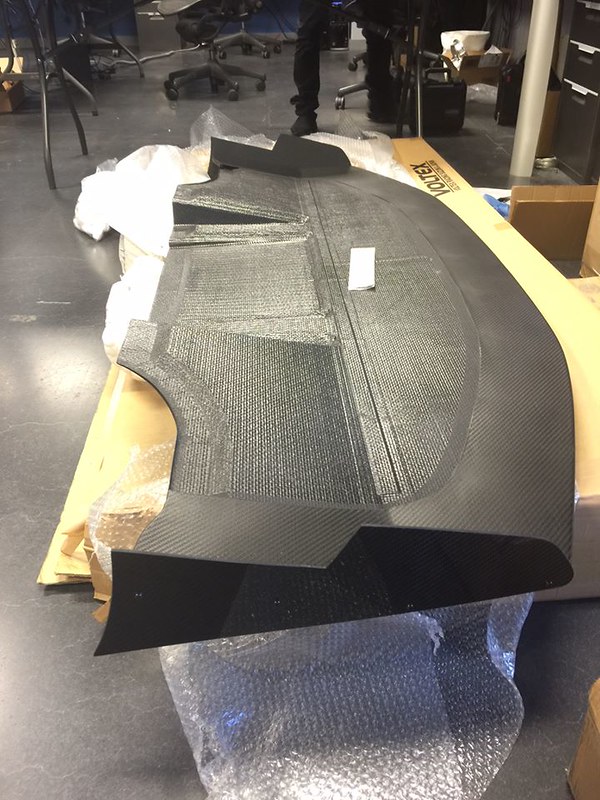
While talking to my guy over at Bulletproof he sent me a few picutres of this sick front splitter/diffuser for the evo8/9 voltex front bumper one of his other clients ordered. We were talking for a few minutes and he said how cool would it be to make this work with your garage mak front bumper?? Well needless to say I am now goign to be saving every little penny to afford this beauty.
SO, if anyone knows anyone with aEvo 8/9 Voltex cyber evo front bumper, and doesnt mind tracing the bottom edge of the bumper and making a template for me, so once i have the garage mak bumper in my hands i can compare and see if it will actually work that would be fantatsic. Ill pay for shipping of the carboard/poster whatever they make the template out of and a little extra for the time they took to do so.
God i hope i can make this **** work.
 voltex diffuser by lawrx, on Flickr
While talking to my guy over at Bulletproof he sent me a few picutres of this sick front splitter/diffuser for the evo8/9 voltex front bumper one of his other clients ordered. We were talking for a few minutes and he said how cool would it be to make this work with your garage mak front bumper?? Well needless to say I am now goign to be saving every little penny to afford this beauty.
SO, if anyone knows anyone with aEvo 8/9 Voltex cyber evo front bumper, and doesnt mind tracing the bottom edge of the bumper and making a template for me, so once i have the garage mak bumper in my hands i can compare and see if it will actually work that would be fantatsic. Ill pay for shipping of the carboard/poster whatever they make the template out of and a little extra for the time they took to do so.
God i hope i can make this **** work.
voltex diffuser by lawrx, on Flickr 

 04-26-2016, 03:11 PM
#63
Staging Lane
Thread Starter
Join Date: Oct 2015
Posts: 91
Likes: 0
Received 0 Likes
on
0 Posts

 04-27-2016, 09:53 PM
#67
Staging Lane
Thread Starter
Join Date: Oct 2015
Posts: 91
Likes: 0
Received 0 Likes
on
0 Posts
For some reason the garage was extremely filthy even after not being worked in for 1.5 months.
 untitled (1 of 16)-2 by lawrx, on Flickr
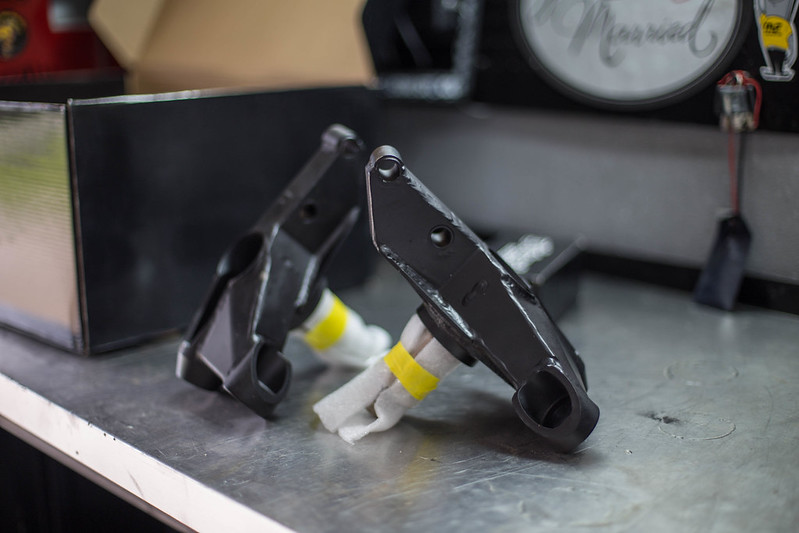
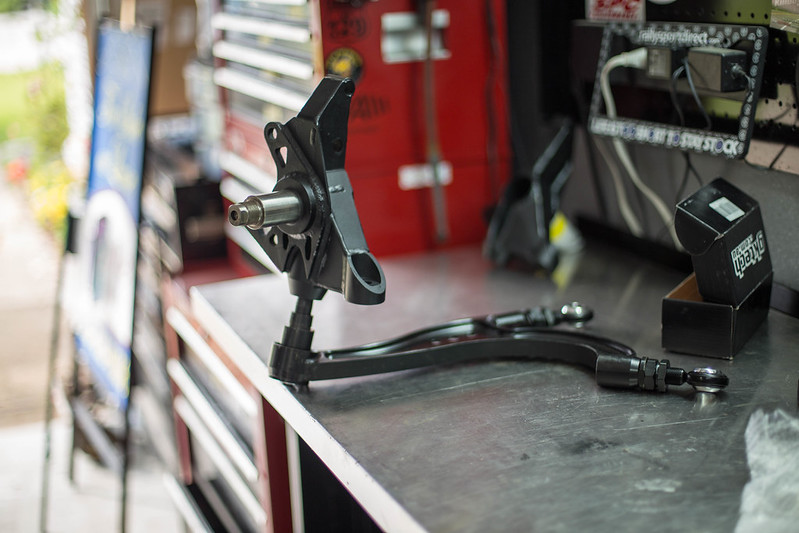
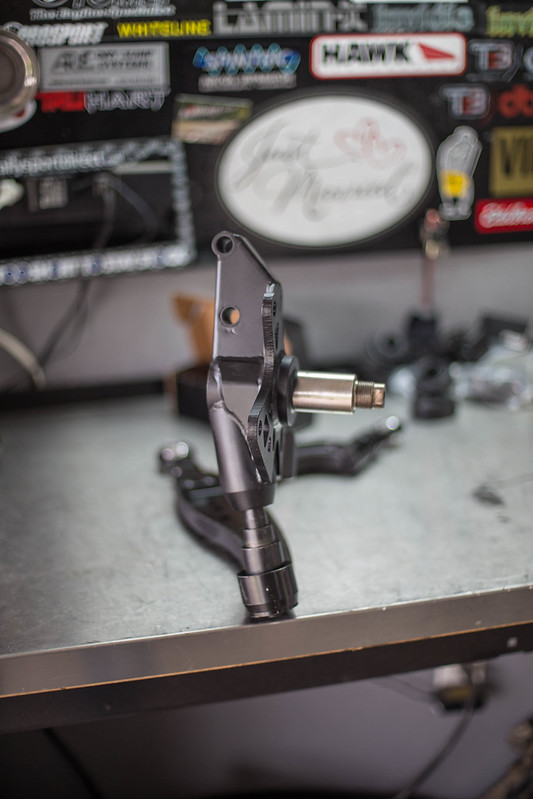
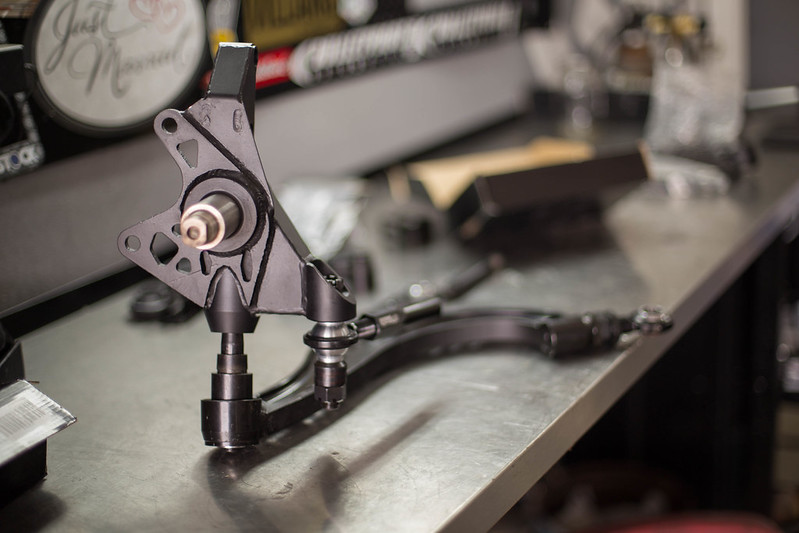
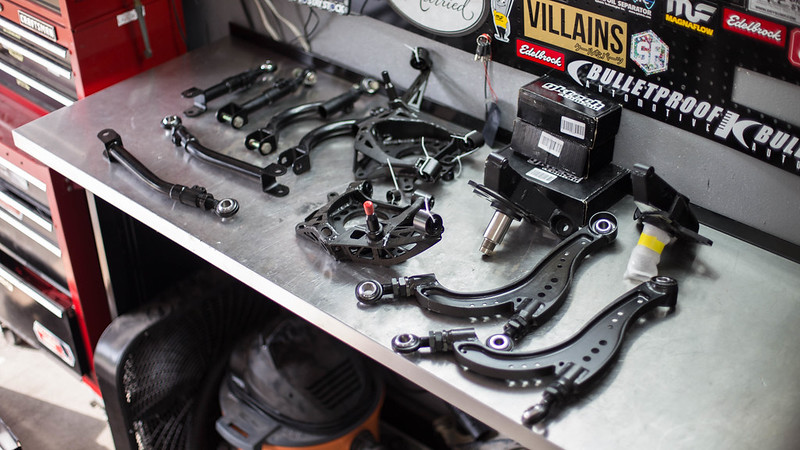
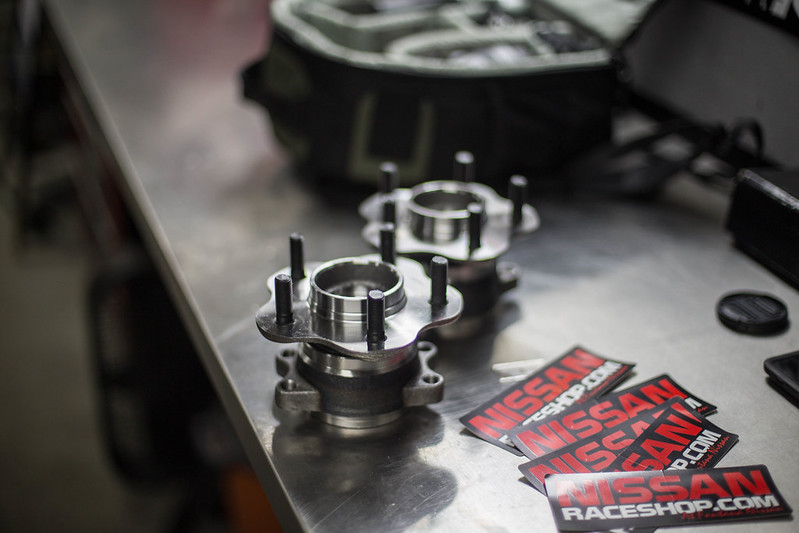
Anywho, had the front knuckles and LCA's come in today. So i mocked them up together along with the dumpster adjustble tie rod ends, all from gktech.
 untitled (2 of 16)-2 by lawrx, on Flickr
 untitled (3 of 16)-2 by lawrx, on Flickr
 untitled (4 of 16)-2 by lawrx, on Flickr
 untitled (5 of 16)-2 by lawrx, on Flickr
 untitled (6 of 16)-2 by lawrx, on Flickr
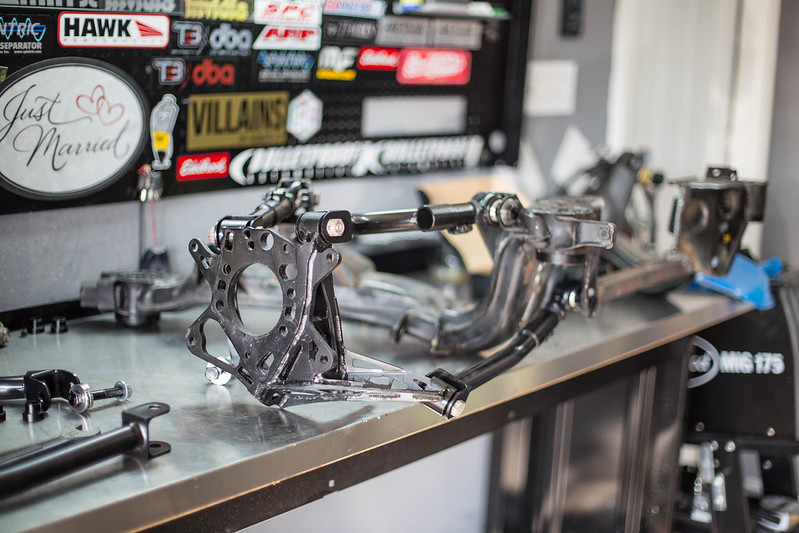
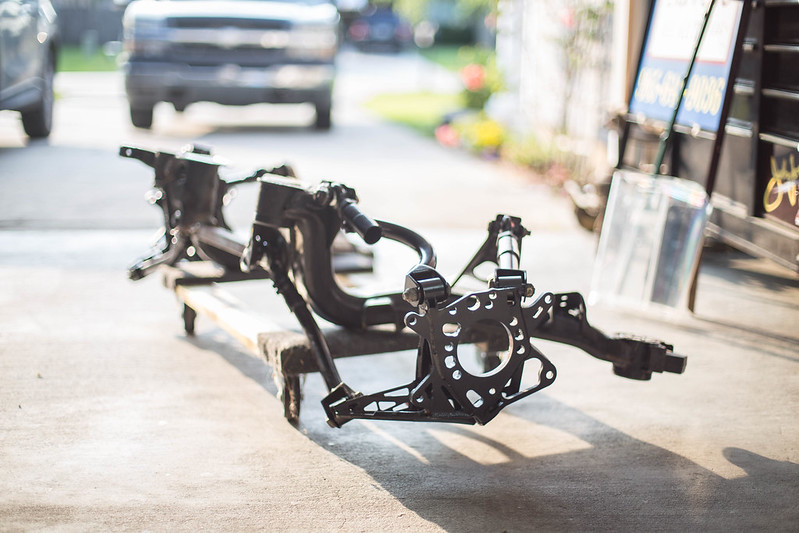
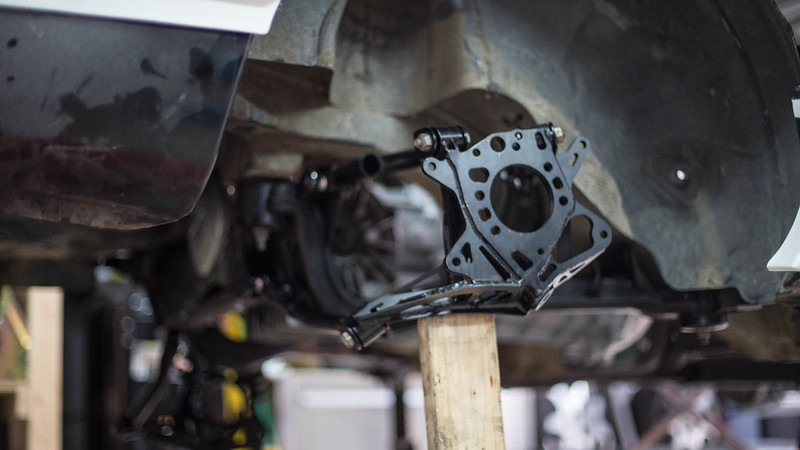
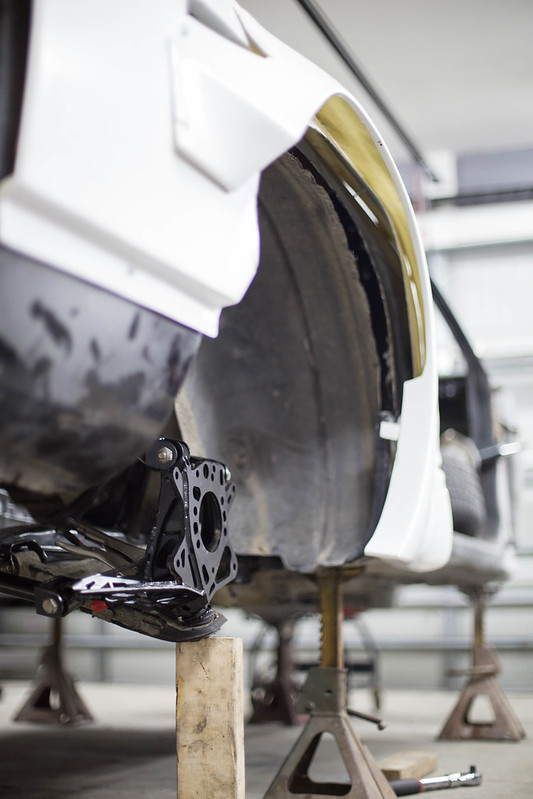
After i made sure everything was there I mounted all the rear suspension linkage and the knuckles to the subframe and then the subframe to the car. Reason being is MY ******* WHEELS HAVE SHIPPED, so clearly you can see i am excited to mock them up. Rear hubs should be here few days before the wheels show up, so till mock up its just a waiting game.
 untitled (7 of 16)-2 by lawrx, on Flickr
 untitled (8 of 16)-2 by lawrx, on Flickr
 untitled (9 of 16)-2 by lawrx, on Flickr
 untitled (10 of 16)-2 by lawrx, on Flickr
 untitled (11 of 16)-2 by lawrx, on Flickr
 untitled (12 of 16)-2 by lawrx, on Flickr
 untitled (13 of 16)-2 by lawrx, on Flickr
 untitled (14 of 16)-2 by lawrx, on Flickr
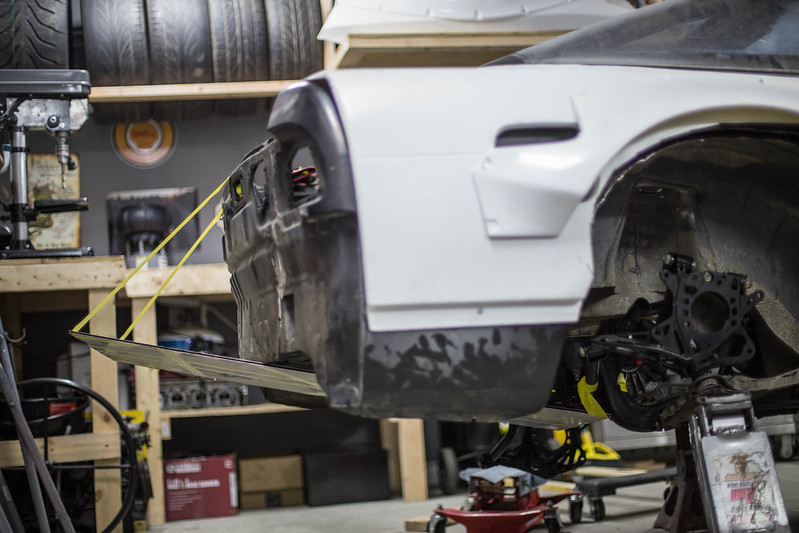
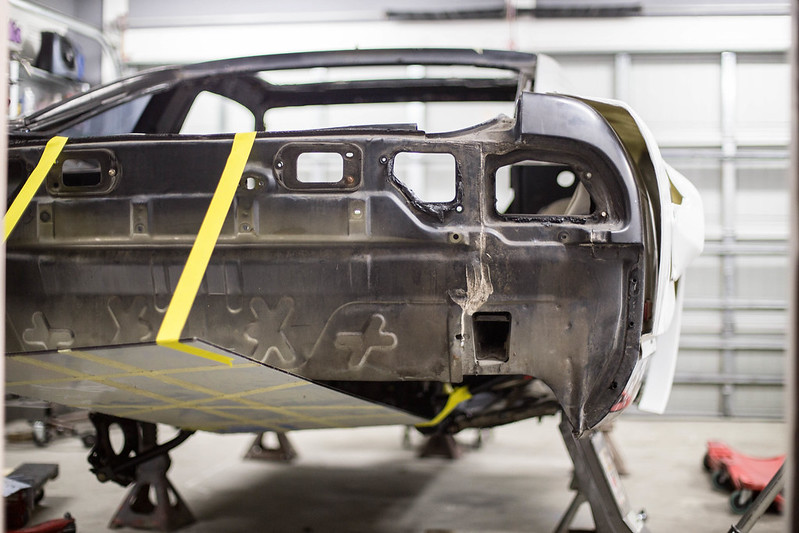
I also had a spare piece of alumilite laying around, so i decided to tape it up crudely to get an idea of how high up into the rear body the diffuser will go at the desired angle i want. For street cars the safe range is 7-10*, however i will have a fairly efficient full underfloor and rear wing so I'm going to go in the 12-14* range. Upon holding it up, from the bottom of the subframe (pretty much where the diffuser will start) up to about 1" into the rear body is a 12-13* angle. Which works out great. AS it leaves me room on either side to run AUX. coolers and the license plate in the center. This also means no rear bumper. However since the rear diffuser comes up so high and the coolers and license plate are right above it, it won't have that naked rear end look like the standard typical rocket bunny s13's have. Functional and better looking IMO, win win for me
 untitled (15 of 16)-2 by lawrx, on Flickr
 untitled (16 of 16)-2 by lawrx, on Flickr
untitled (1 of 16)-2 by lawrx, on FlickrAnywho, had the front knuckles and LCA's come in today. So i mocked them up together along with the dumpster adjustble tie rod ends, all from gktech.
untitled (2 of 16)-2 by lawrx, on Flickruntitled (3 of 16)-2 by lawrx, on Flickruntitled (4 of 16)-2 by lawrx, on Flickruntitled (5 of 16)-2 by lawrx, on Flickruntitled (6 of 16)-2 by lawrx, on FlickrAfter i made sure everything was there I mounted all the rear suspension linkage and the knuckles to the subframe and then the subframe to the car. Reason being is MY ******* WHEELS HAVE SHIPPED, so clearly you can see i am excited to mock them up. Rear hubs should be here few days before the wheels show up, so till mock up its just a waiting game.
untitled (7 of 16)-2 by lawrx, on Flickruntitled (8 of 16)-2 by lawrx, on Flickruntitled (9 of 16)-2 by lawrx, on Flickruntitled (10 of 16)-2 by lawrx, on Flickruntitled (11 of 16)-2 by lawrx, on Flickruntitled (12 of 16)-2 by lawrx, on Flickruntitled (13 of 16)-2 by lawrx, on Flickruntitled (14 of 16)-2 by lawrx, on FlickrI also had a spare piece of alumilite laying around, so i decided to tape it up crudely to get an idea of how high up into the rear body the diffuser will go at the desired angle i want. For street cars the safe range is 7-10*, however i will have a fairly efficient full underfloor and rear wing so I'm going to go in the 12-14* range. Upon holding it up, from the bottom of the subframe (pretty much where the diffuser will start) up to about 1" into the rear body is a 12-13* angle. Which works out great. AS it leaves me room on either side to run AUX. coolers and the license plate in the center. This also means no rear bumper. However since the rear diffuser comes up so high and the coolers and license plate are right above it, it won't have that naked rear end look like the standard typical rocket bunny s13's have. Functional and better looking IMO, win win for me
untitled (15 of 16)-2 by lawrx, on Flickruntitled (16 of 16)-2 by lawrx, on Flickr
04-29-2016, 10:18 PM
#68
Staging Lane
Thread Starter
Join Date: Oct 2015
Posts: 91
Likes: 0
Received 0 Likes
on
0 Posts
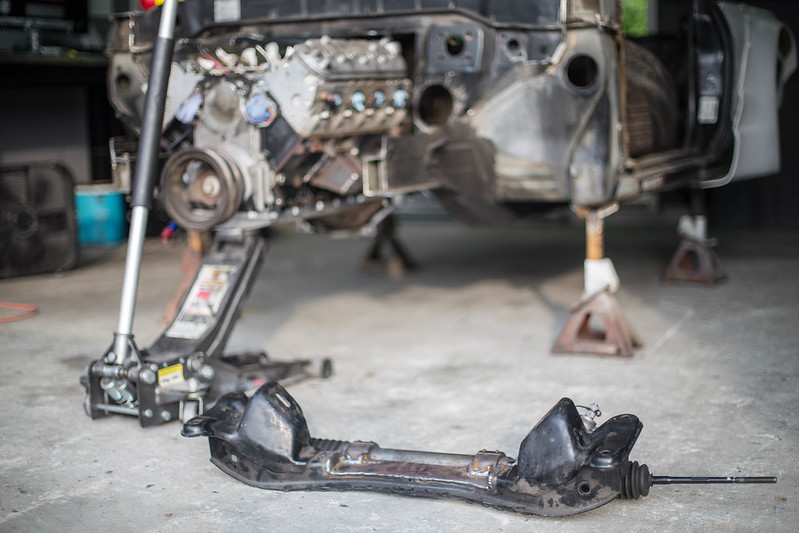
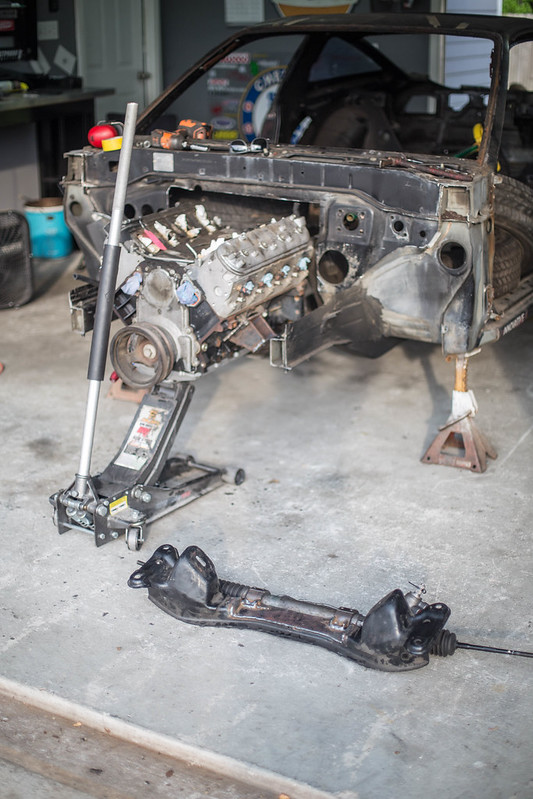
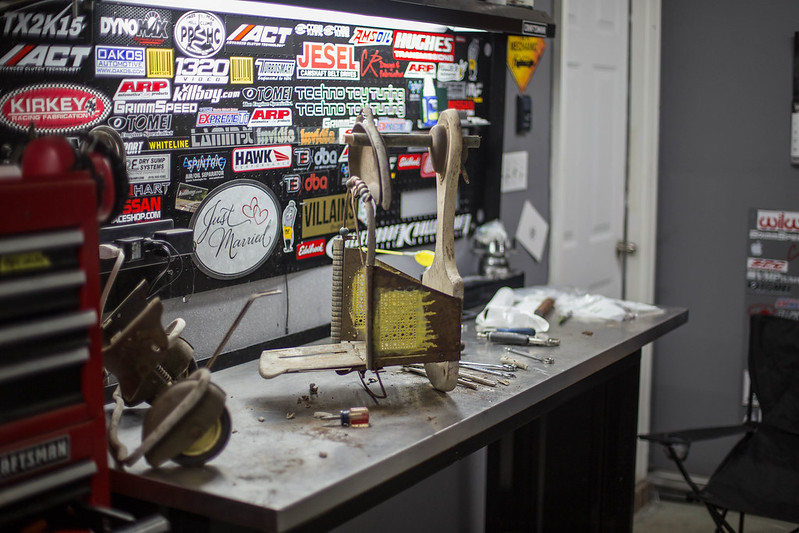
Only had a half day of work today, so i made the best of the nice day and worked out in the garage this afternoon.
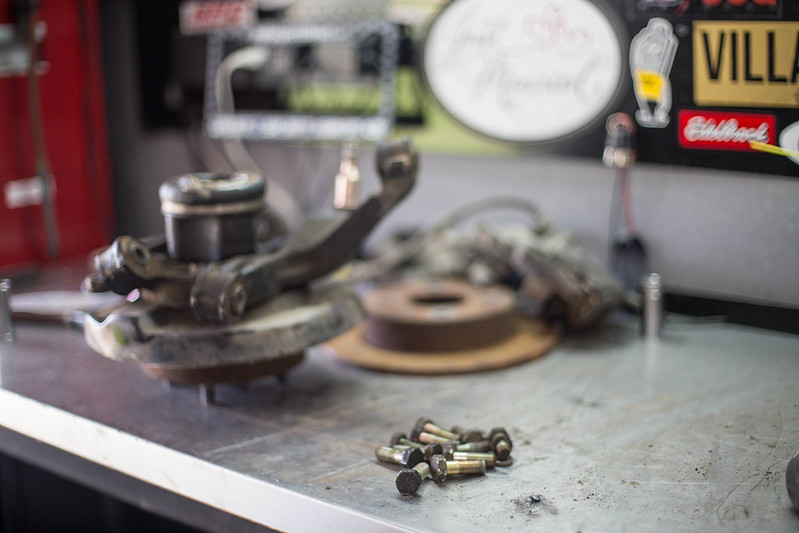
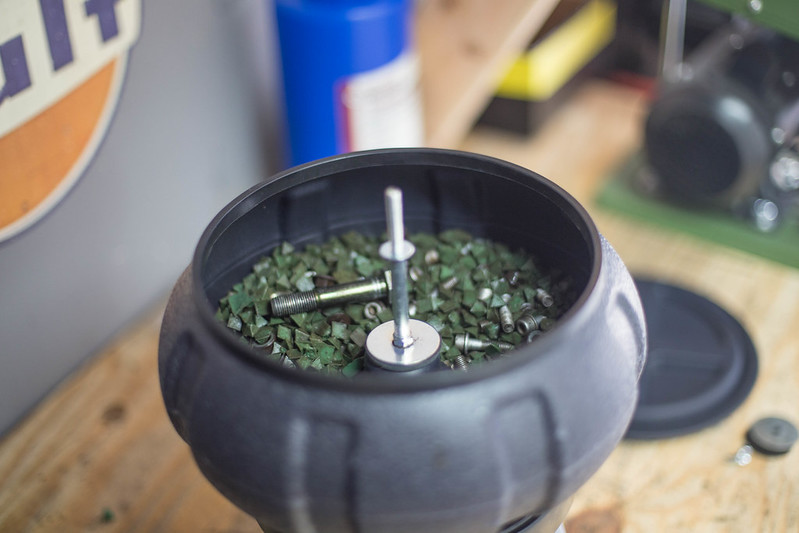
I started out by disassembling the front and rear knuckles so i could use the hardware on the new items once they had all come in. Also decided to throw the hardware along with my wheel bolts in the cleaner shaker thing i can never remember the name of.
 untitled (1 of 14)-2 by lawrx, on Flickr
 untitled (2 of 14)-2 by lawrx, on Flickr
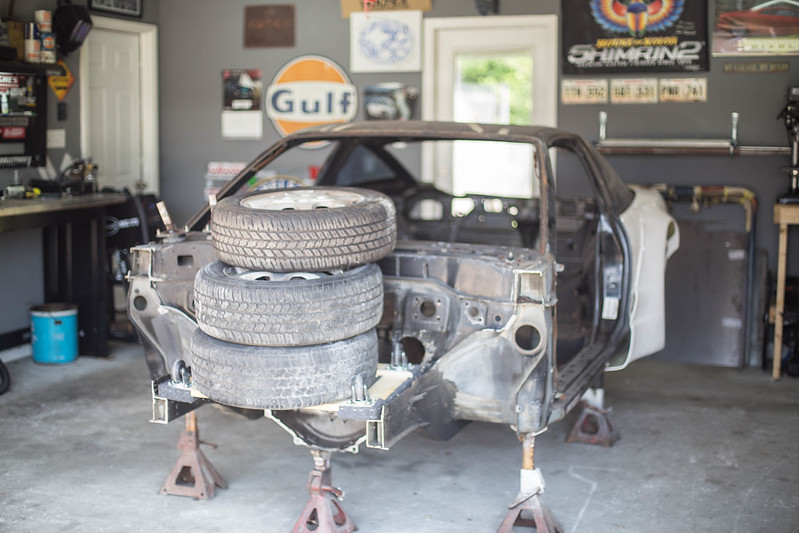
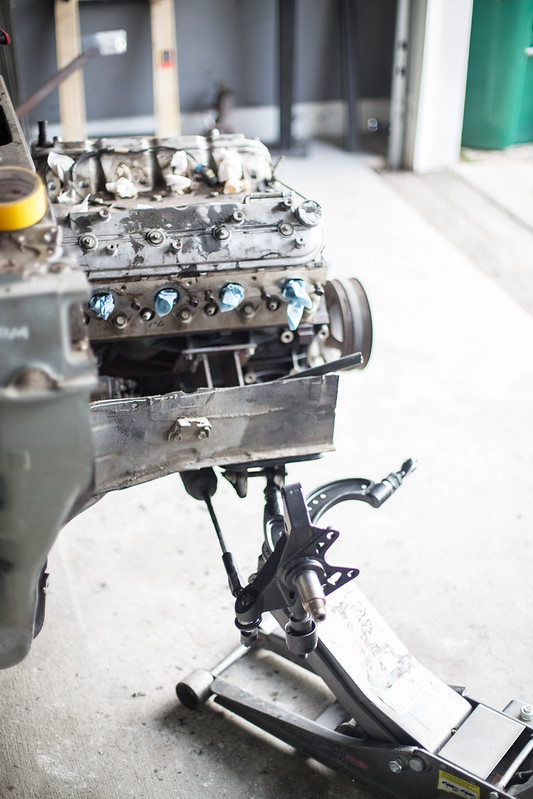
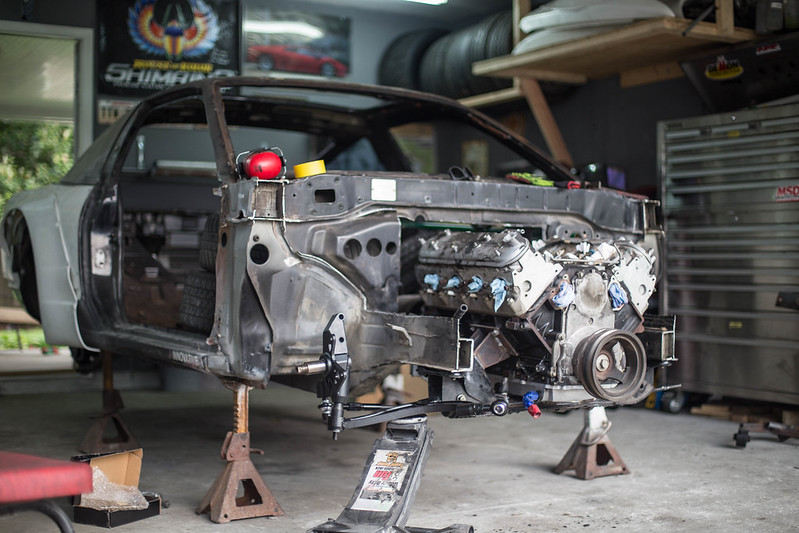
When i removed the front wheels and suspension out of the front floor board, i realized the car wanted to flip off the jack stands, because i had the transaxle and rear suspension all bolted up. It was a good bad thing all the weight is in the rear haha. So i threw the wheels on a dolly set between the frame rails to even out the weight. Once i had finished dissembling the front knuckles, i took the wheels off and mounted the motor back up front.
 untitled (3 of 14)-2 by lawrx, on Flickr
 untitled (4 of 14)-2 by lawrx, on Flickr
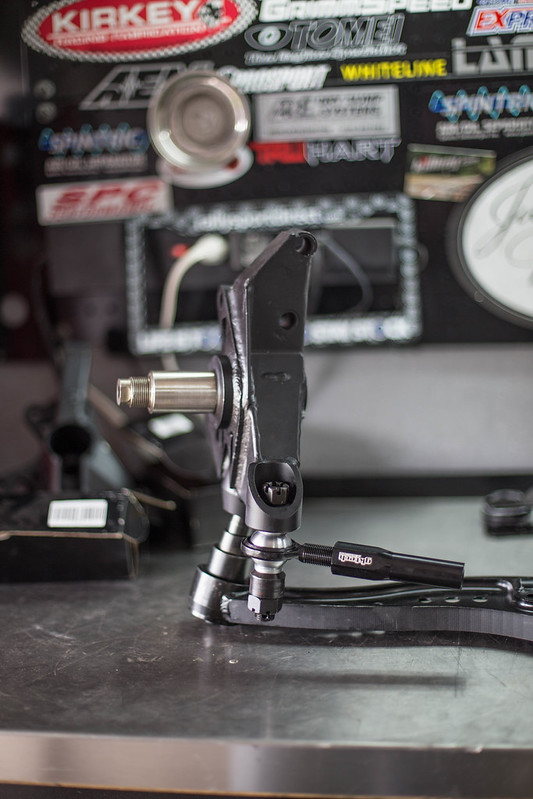
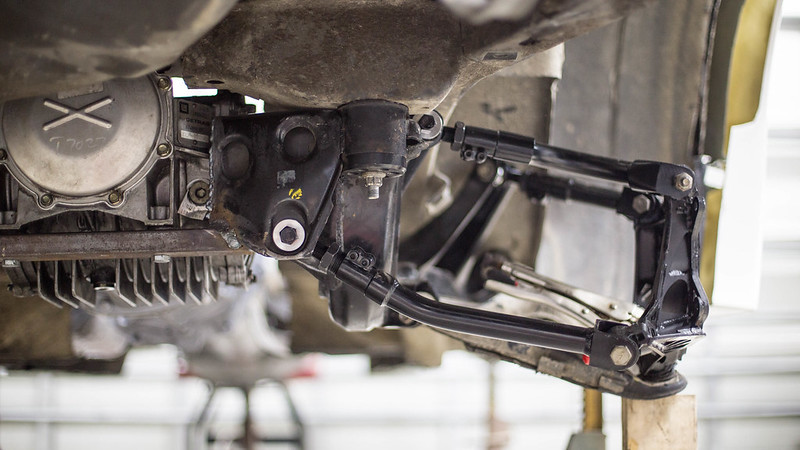
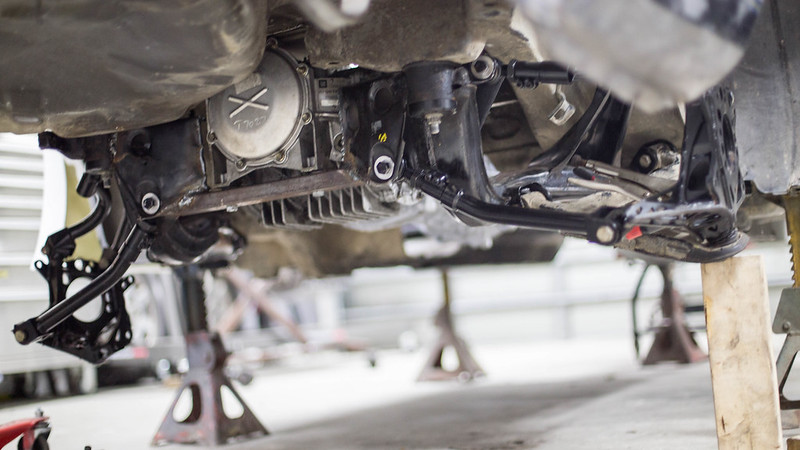
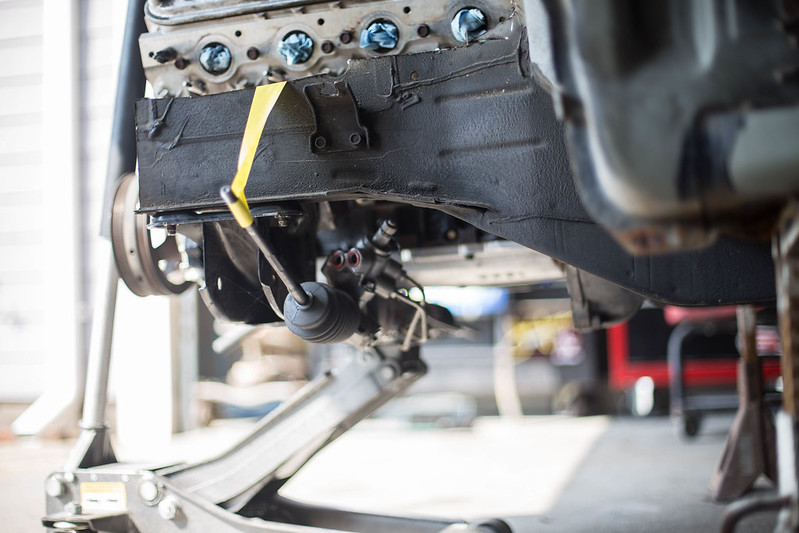
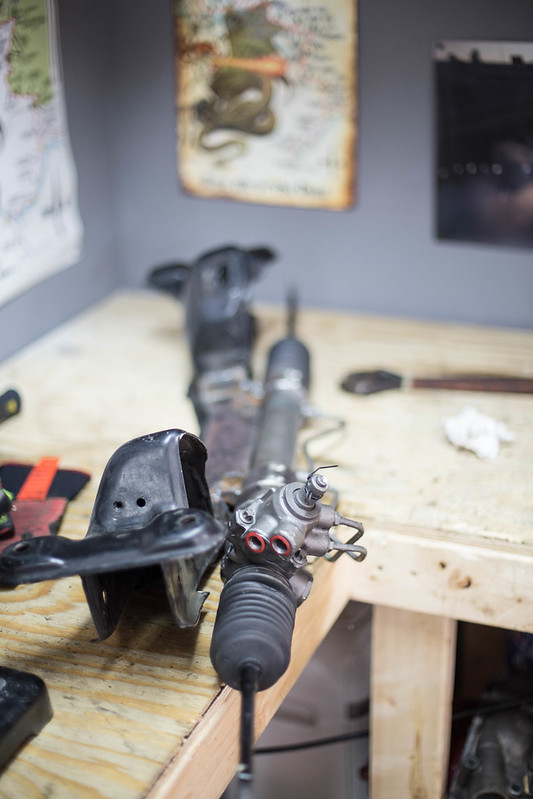
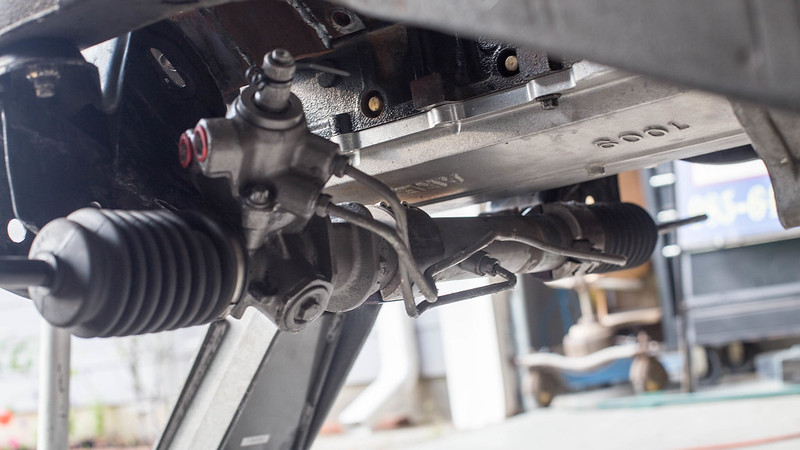
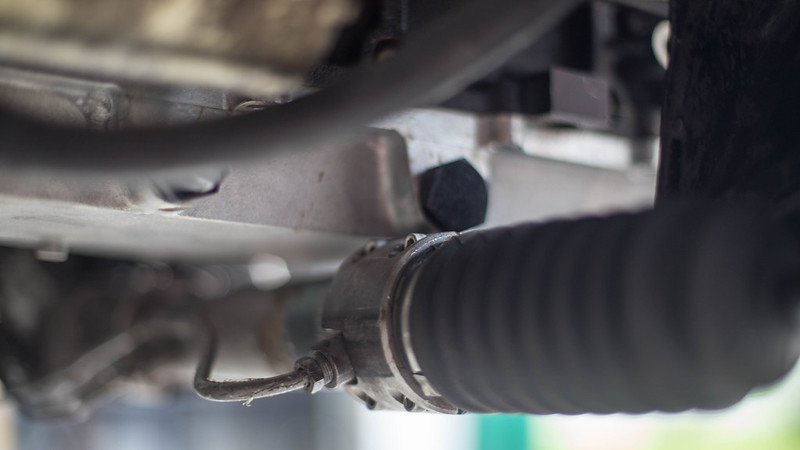
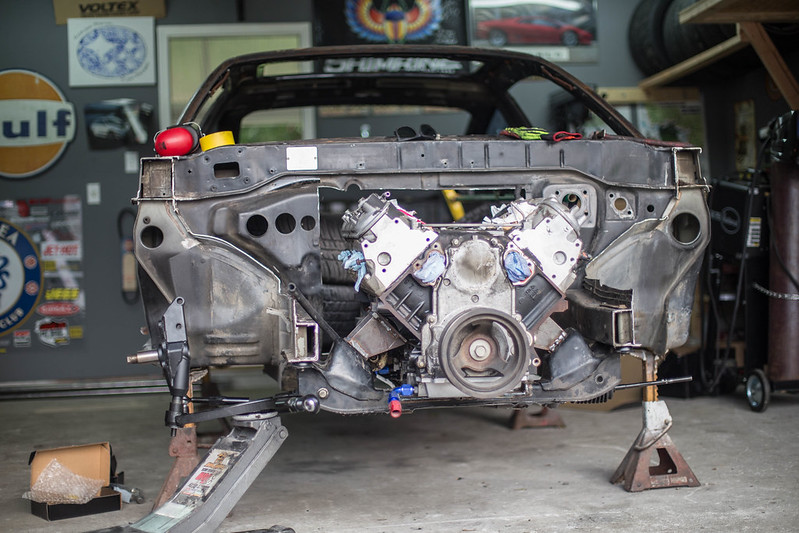
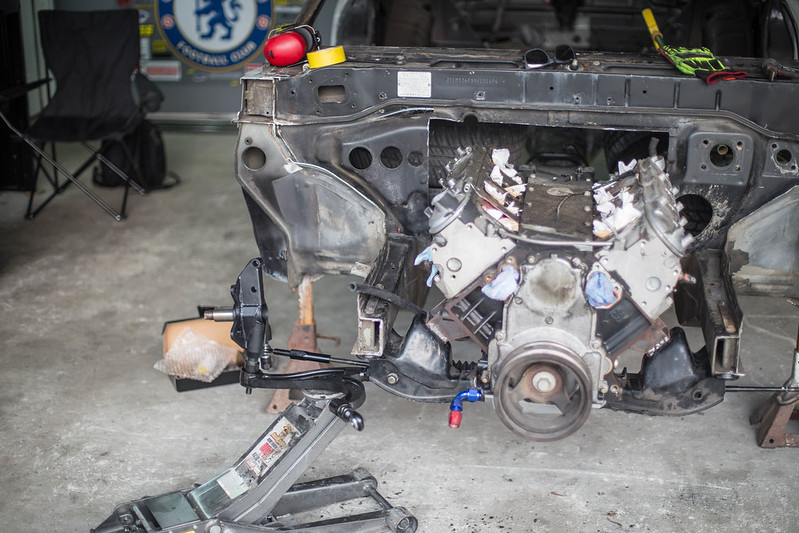
After getting there motor back in, i decided it was about time i got the steering rack mounted up to the front subframe. As i mentioned before i moved the rack over to the driver side so that the steering shaft has a direct path to the steering rack, eliminating one u joint, which will help in the feel department tremendously.
 untitled (5 of 14)-2 by lawrx, on Flickr
 untitled (6 of 14)-2 by lawrx, on Flickr
 untitled (7 of 14)-2 by lawrx, on Flickr
 untitled (8 of 14)-2 by lawrx, on Flickr
 untitled (9 of 14)-2 by lawrx, on Flickr
 untitled (10 of 14)-2 by lawrx, on Flickr
Once i had the steering rack all in place on the front subframe i bolted it back up and decided to halfway mock up the front suspension, because why not right?
 untitled (11 of 14)-2 by lawrx, on Flickr
 untitled (12 of 14)-2 by lawrx, on Flickr
 untitled (13 of 14)-2 by lawrx, on Flickr
 untitled (14 of 14)-2 by lawrx, on Flickr
I started out by disassembling the front and rear knuckles so i could use the hardware on the new items once they had all come in. Also decided to throw the hardware along with my wheel bolts in the cleaner shaker thing i can never remember the name of.
untitled (1 of 14)-2 by lawrx, on Flickruntitled (2 of 14)-2 by lawrx, on FlickrWhen i removed the front wheels and suspension out of the front floor board, i realized the car wanted to flip off the jack stands, because i had the transaxle and rear suspension all bolted up. It was a good bad thing all the weight is in the rear haha. So i threw the wheels on a dolly set between the frame rails to even out the weight. Once i had finished dissembling the front knuckles, i took the wheels off and mounted the motor back up front.
untitled (3 of 14)-2 by lawrx, on Flickruntitled (4 of 14)-2 by lawrx, on FlickrAfter getting there motor back in, i decided it was about time i got the steering rack mounted up to the front subframe. As i mentioned before i moved the rack over to the driver side so that the steering shaft has a direct path to the steering rack, eliminating one u joint, which will help in the feel department tremendously.
untitled (5 of 14)-2 by lawrx, on Flickruntitled (6 of 14)-2 by lawrx, on Flickruntitled (7 of 14)-2 by lawrx, on Flickruntitled (8 of 14)-2 by lawrx, on Flickruntitled (9 of 14)-2 by lawrx, on Flickruntitled (10 of 14)-2 by lawrx, on FlickrOnce i had the steering rack all in place on the front subframe i bolted it back up and decided to halfway mock up the front suspension, because why not right?
untitled (11 of 14)-2 by lawrx, on Flickruntitled (12 of 14)-2 by lawrx, on Flickruntitled (13 of 14)-2 by lawrx, on Flickruntitled (14 of 14)-2 by lawrx, on Flickr
05-01-2016, 08:25 PM
#69
Staging Lane
Thread Starter
Join Date: Oct 2015
Posts: 91
Likes: 0
Received 0 Likes
on
0 Posts
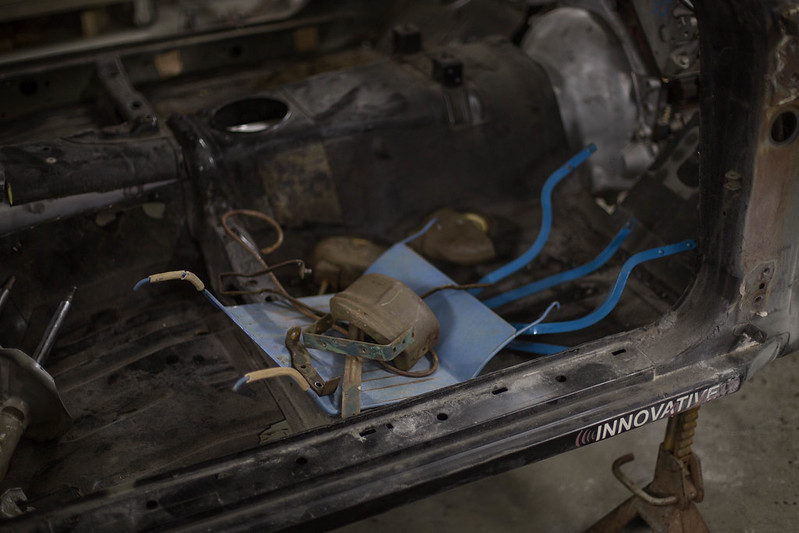
Mini somewhat related/unrelated update.
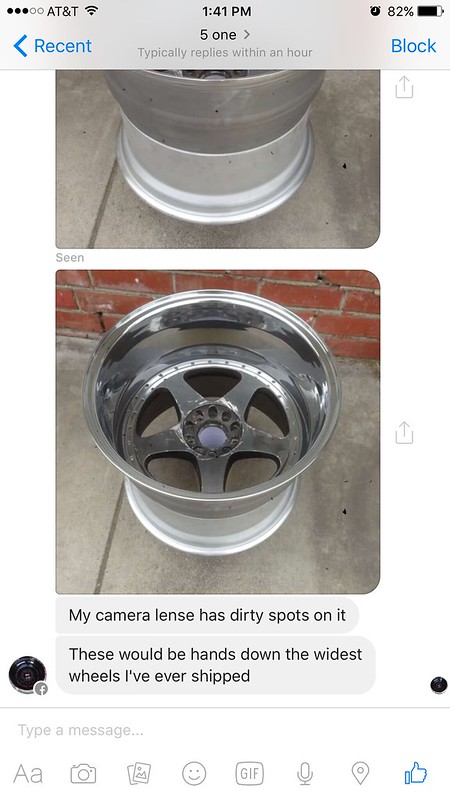
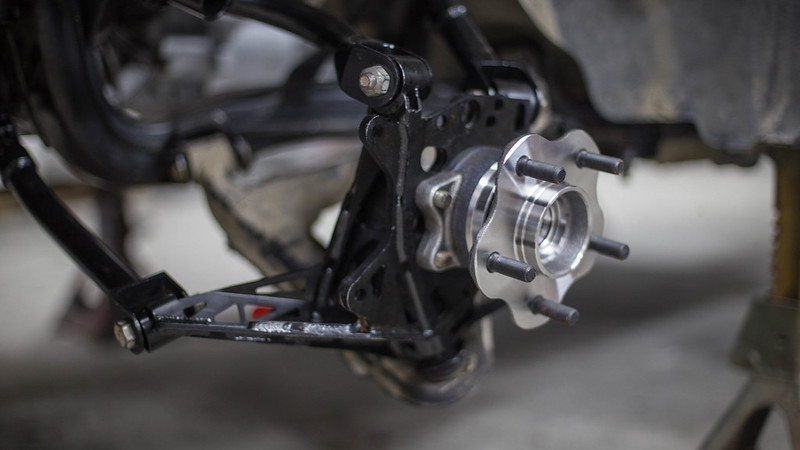
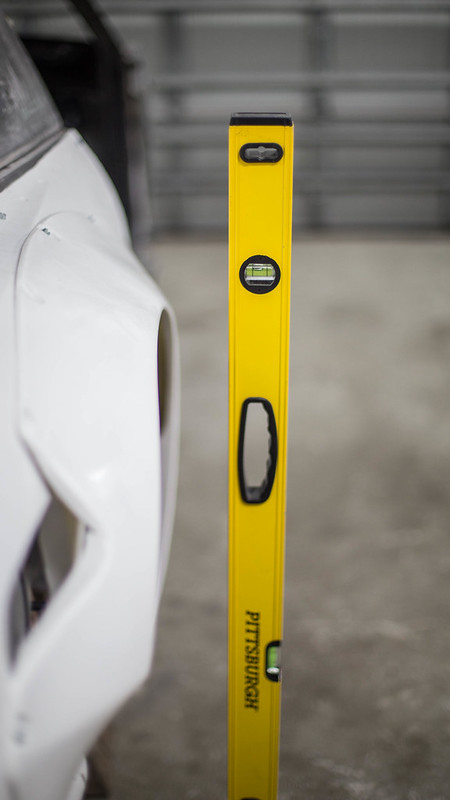
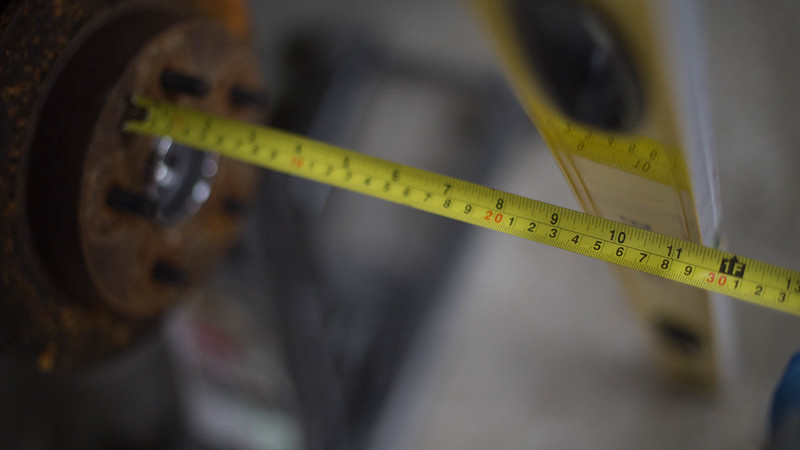
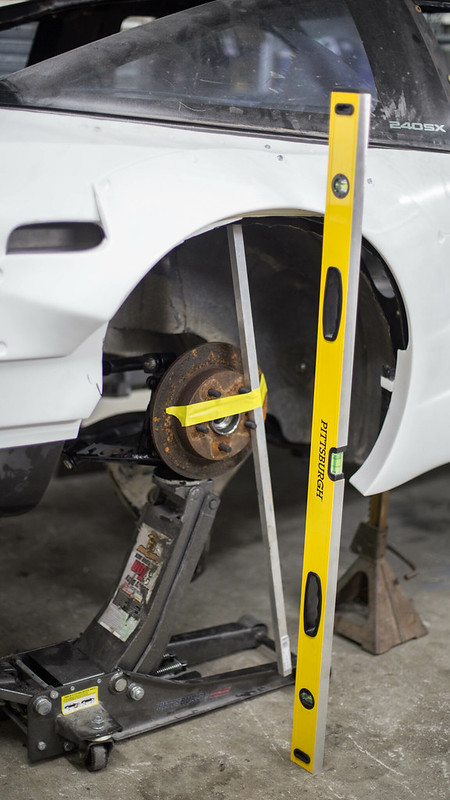
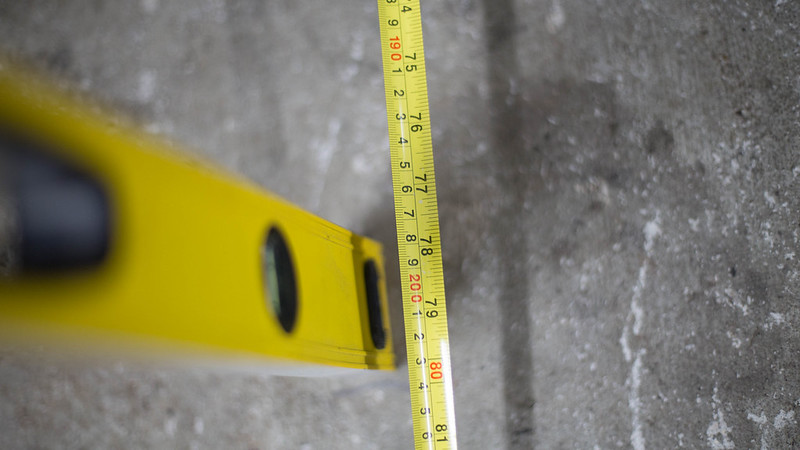
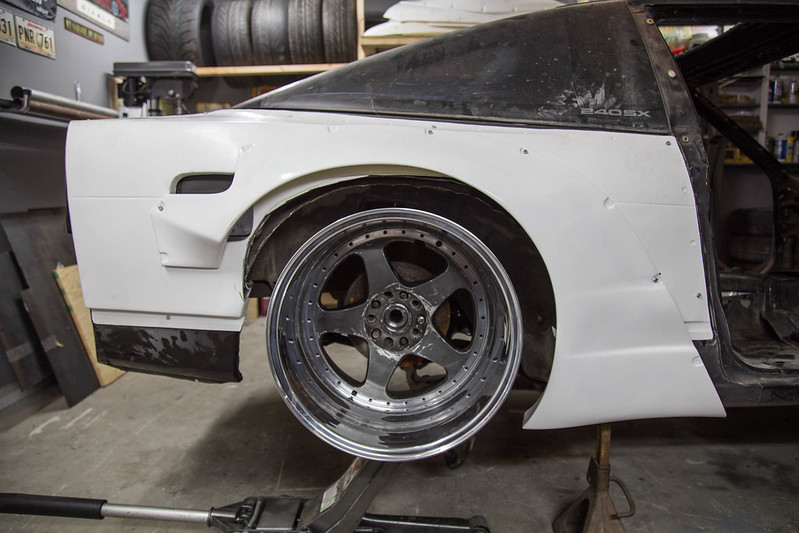
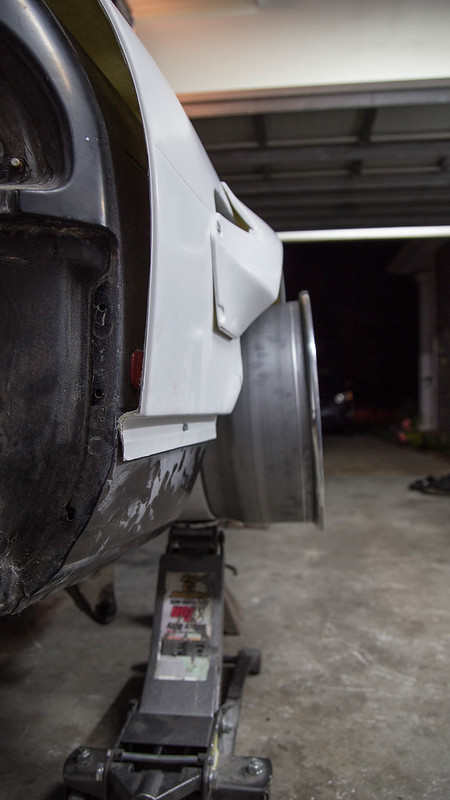
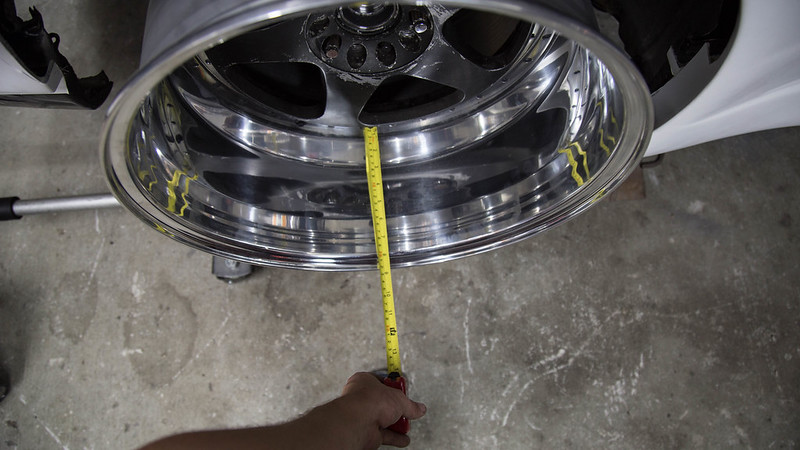
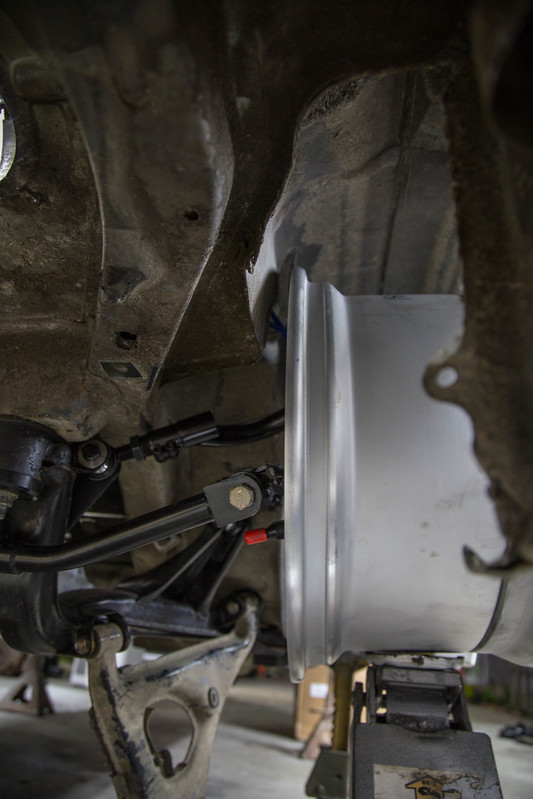
Rear hubs came in so got one bolted up and decided to take some measurements about where i roughly think the wheel edge will sit. It looks like it will poke about 2.75". This was with about the camber i want to run, -1.8 ish. If this is intact about where it sits ill probably widen it another 1' and i should be good, between the slight stretch and a pinch more camber. Also took a measurement and the overall width is about 78-79", aka 18 wheeler wide lololol ridiculous. I love it.
 untitled (1 of 10) by lawrx, on Flickr
 untitled (2 of 10) by lawrx, on Flickr
 untitled (3 of 10) by lawrx, on Flickr
 untitled (4 of 10) by lawrx, on Flickr
 untitled (5 of 10) by lawrx, on Flickr
 untitled (6 of 10) by lawrx, on Flickr
 untitled (8 of 10) by lawrx, on Flickr
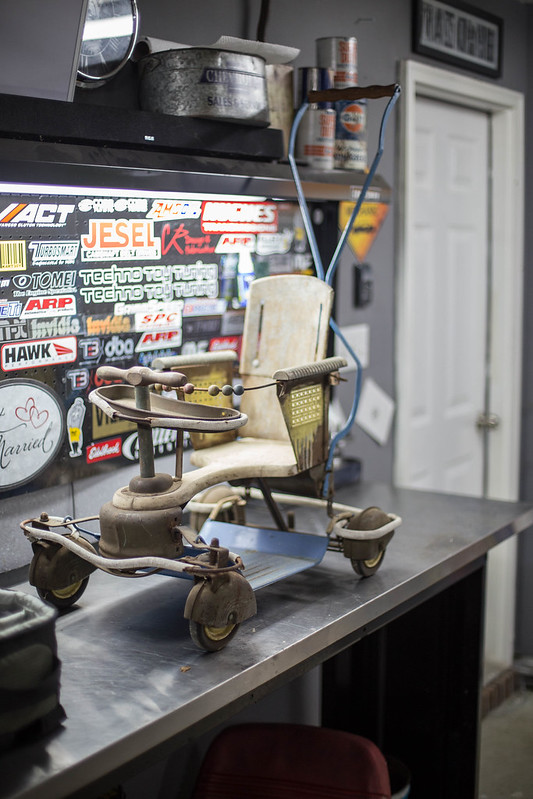
I also started tear down on our old 50s stroller for our soon to be here son Oliver (holy **** he is only 4-6 weeks away from being here). EVERYTHING on this thing is frozen and rusted up. Someone has clearly been in here before as there are a bracket here and there but nothing i can't repair and make it look like it came like that from the factory.
 untitled (7 of 10) by lawrx, on Flickr
 untitled (9 of 10) by lawrx, on Flickr
 untitled (10 of 10) by lawrx, on Flickr
Rear hubs came in so got one bolted up and decided to take some measurements about where i roughly think the wheel edge will sit. It looks like it will poke about 2.75". This was with about the camber i want to run, -1.8 ish. If this is intact about where it sits ill probably widen it another 1' and i should be good, between the slight stretch and a pinch more camber. Also took a measurement and the overall width is about 78-79", aka 18 wheeler wide lololol ridiculous. I love it.
untitled (1 of 10) by lawrx, on Flickruntitled (2 of 10) by lawrx, on Flickruntitled (3 of 10) by lawrx, on Flickruntitled (4 of 10) by lawrx, on Flickruntitled (5 of 10) by lawrx, on Flickruntitled (6 of 10) by lawrx, on Flickruntitled (8 of 10) by lawrx, on FlickrI also started tear down on our old 50s stroller for our soon to be here son Oliver (holy **** he is only 4-6 weeks away from being here). EVERYTHING on this thing is frozen and rusted up. Someone has clearly been in here before as there are a bracket here and there but nothing i can't repair and make it look like it came like that from the factory.
untitled (7 of 10) by lawrx, on Flickruntitled (9 of 10) by lawrx, on Flickruntitled (10 of 10) by lawrx, on Flickr  05-03-2016, 09:30 PM
#72
Staging Lane
Thread Starter
Join Date: Oct 2015
Posts: 91
Likes: 0
Received 0 Likes
on
0 Posts
05-03-2016, 10:35 PM
#73
Staging Lane
Thread Starter
Join Date: Oct 2015
Posts: 91
Likes: 0
Received 0 Likes
on
0 Posts
Well this week has been fantastic so far.
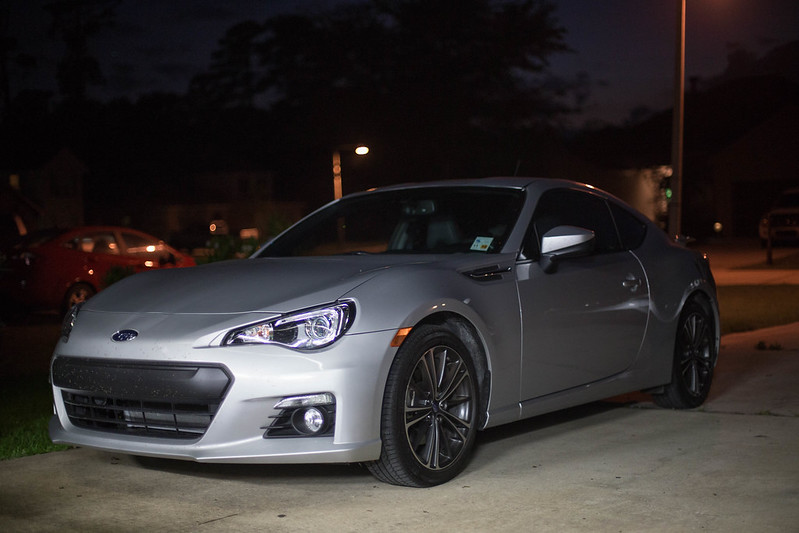
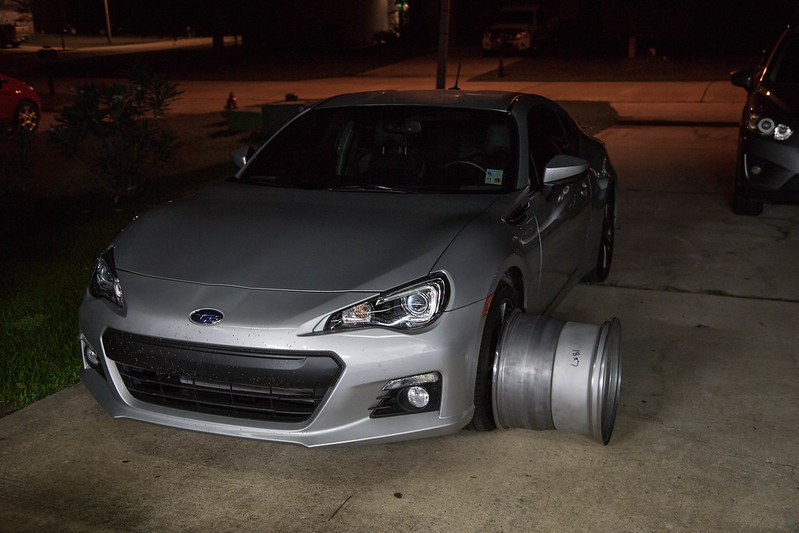
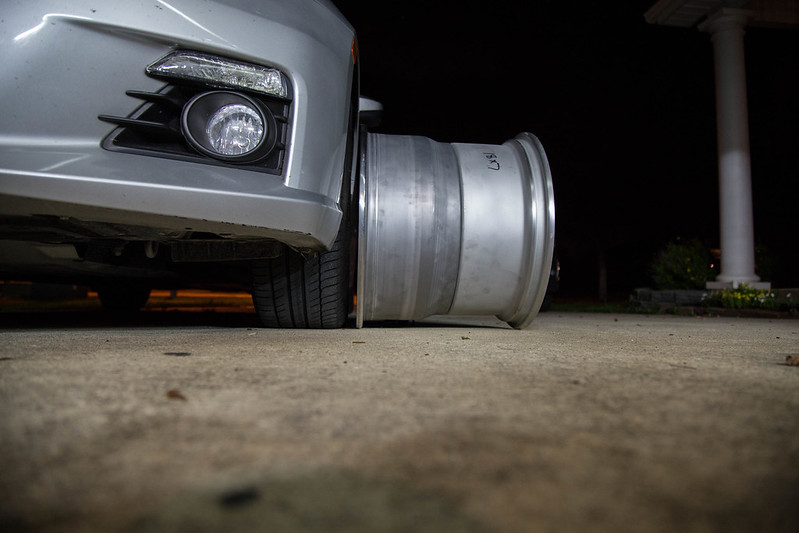
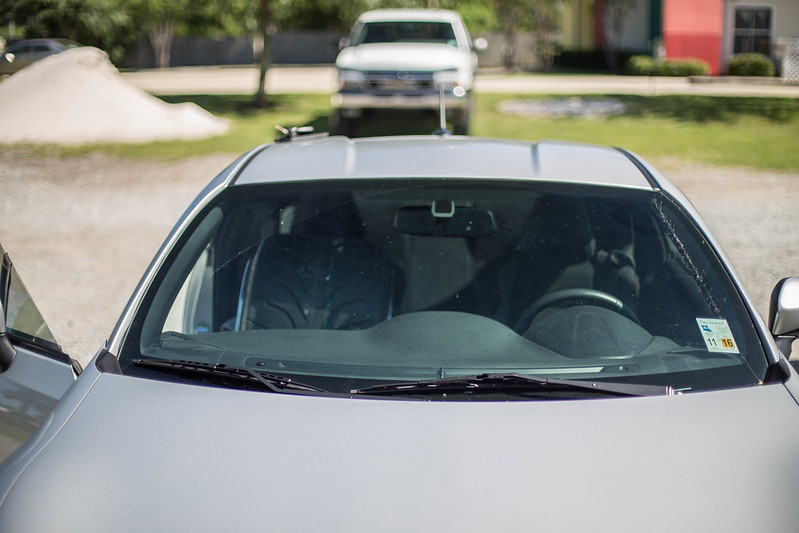
MONDAY. Bought a new daily. Pretty good deal i couldn't pass up, love these cars. 2014 with only 5800 miles. Great condition. Silverado will be getting sold.
Plans for the car. Drive.drive. drive. drive.
Short terms goals
-catback exhaust
-shifter bushings
-possible final drive change
-few knick knack things here and there
Realistic by end of the year goals
-Coilovers
-wheels
-rear lcas
-possibly drop in the recaro thats for the 240
-drive it some more
Long term goals
-2jz swap
- custom wheels
-few rare ext. pieces
-drive drive drive
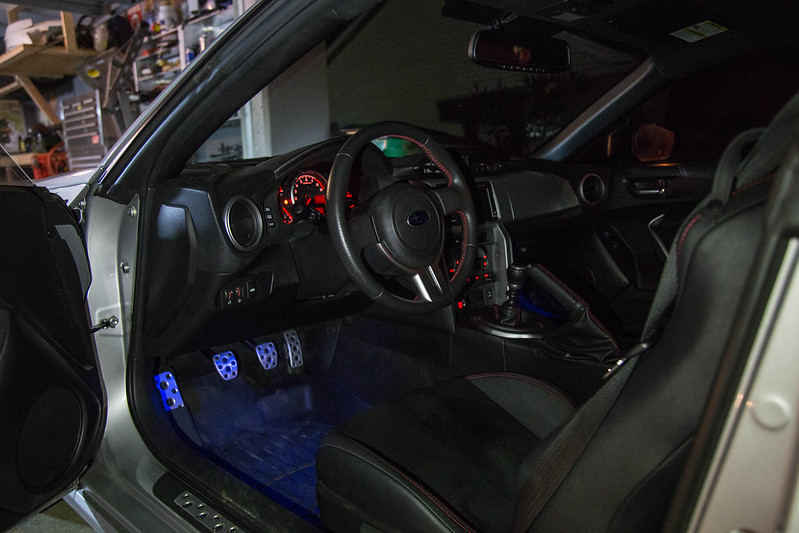
As you can well this car will be very modest. It will be my daily and i plan to keep it that way. Its a great fun car and i dont want to ruin that by going mod crazy. Also, only thing i dont like about the car is the all clear taillights, and the stupid blue footwell lights. They come on while you are driving at night and i hate it. So i def need to fix those things.
 untitled (1 of 25) by lawrx, on Flickr
 untitled (2 of 25) by lawrx, on Flickr
 untitled (24 of 25) by lawrx, on Flickr
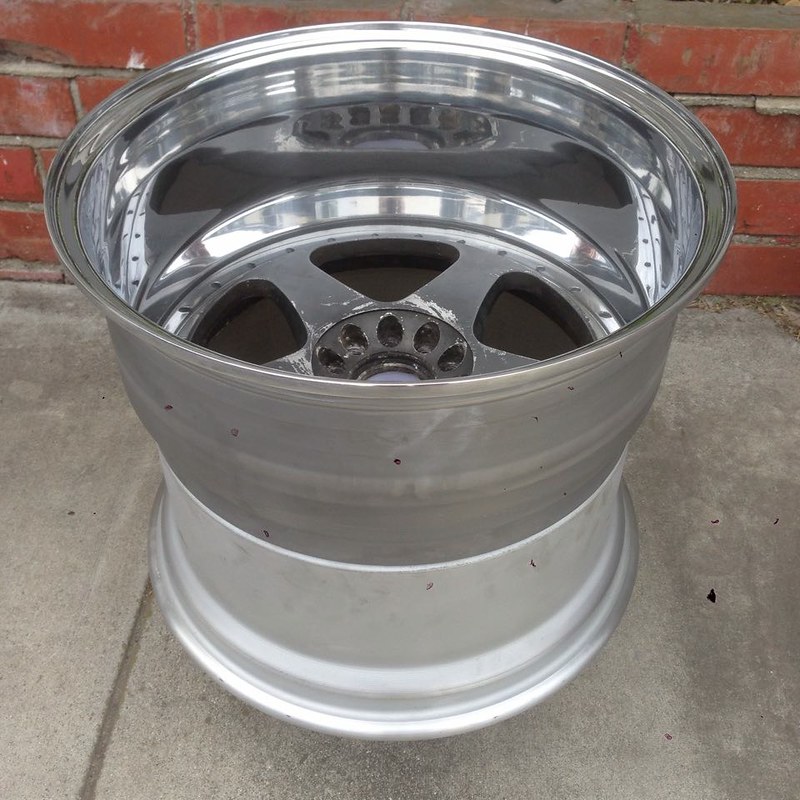
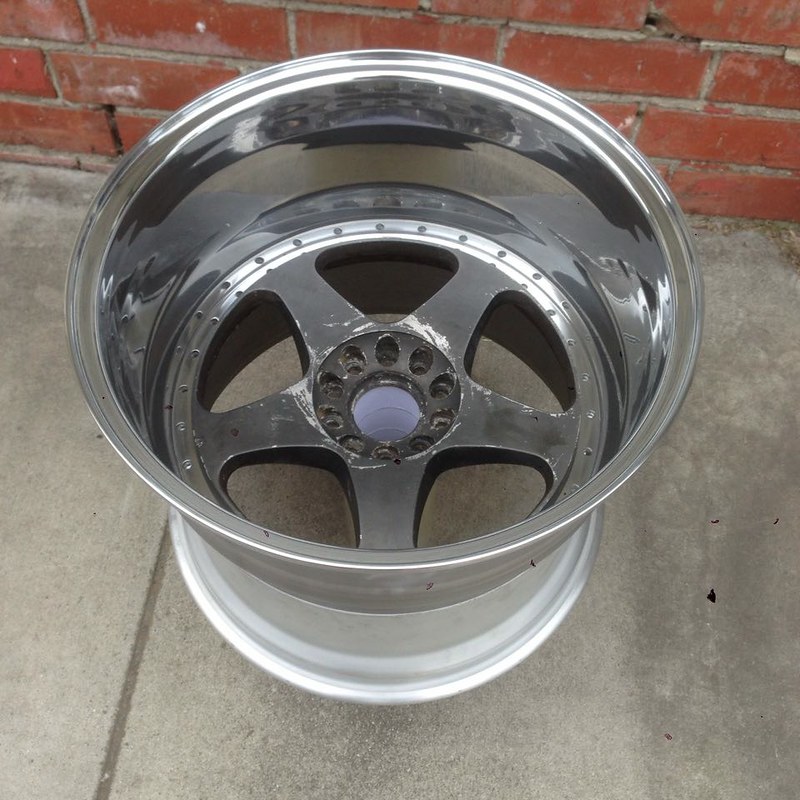
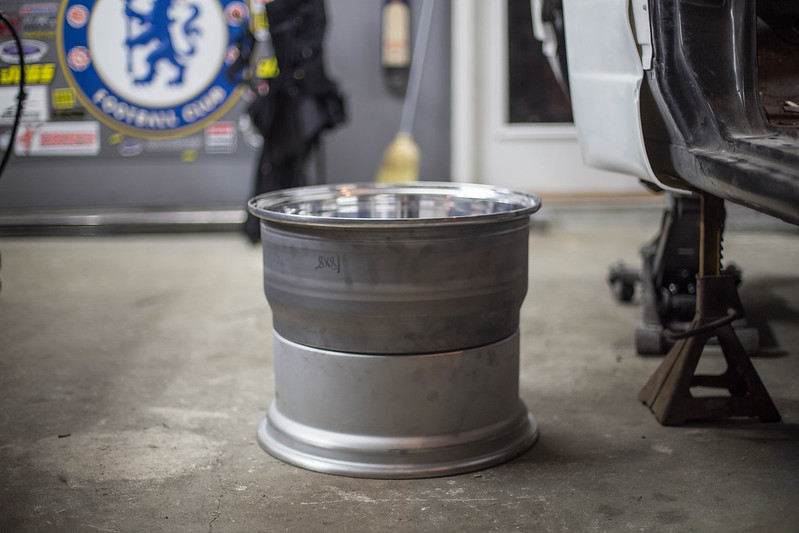
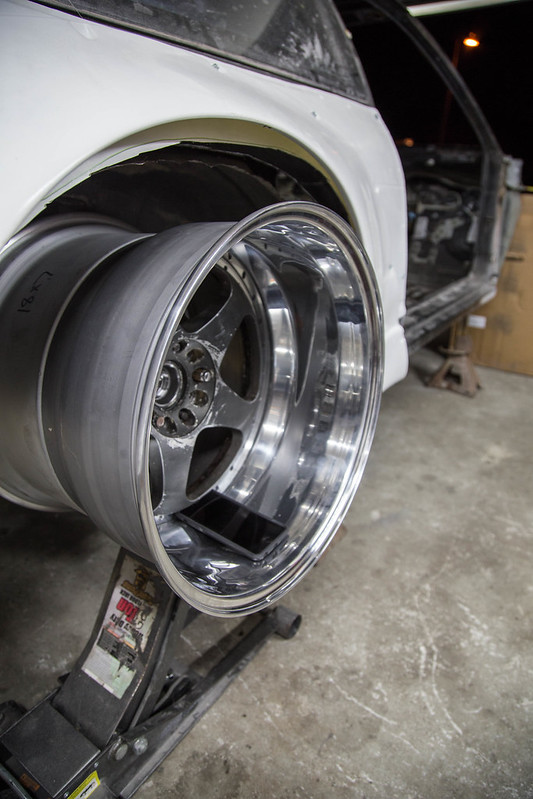
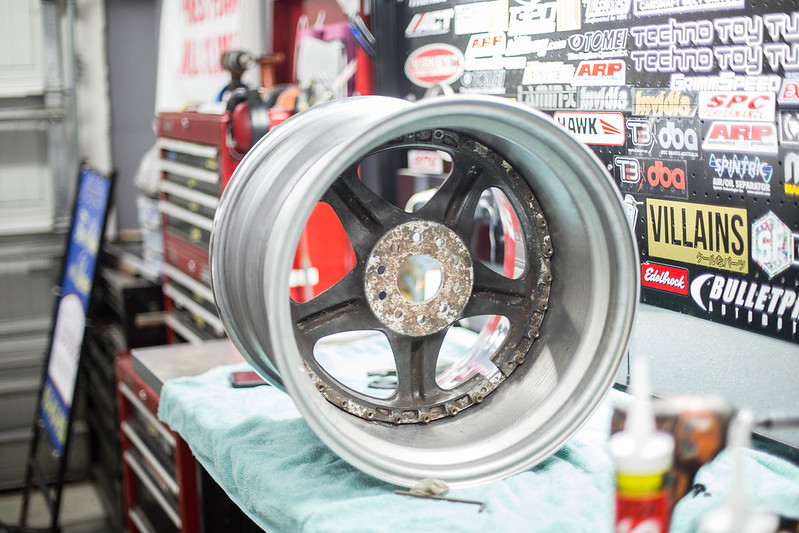
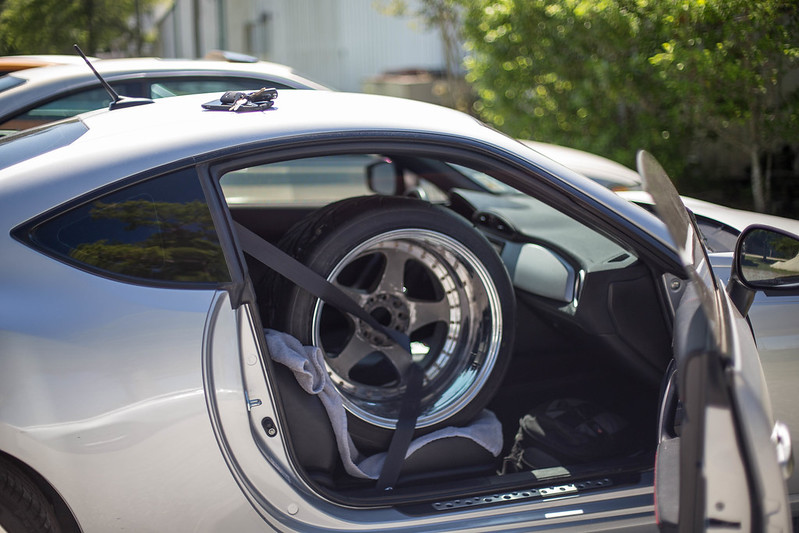
ON TO TUESDAY. This day was equally as epic as monday. THE WHEELS ARRIVED. THE WHEELS ARRIVED.
And holy **** are they amazing. Steeb aka 5one did a awesome job on the machine work and lips. Will def be going back to him in the future.
After all the mockups i realized it was one the shallow faces that i used. So all of the clearances will be about .5" further out. Not huge or drastic, but makes a difference, for inner and outer haha. As i was expecting i will need to widen the rear about another full 1''. Nothing major, original plan was to make the car fit the wheels anyway.
 untitled (4 of 25) by lawrx, on Flickr
 untitled (3 of 25) by lawrx, on Flickr
 untitled (5 of 25) by lawrx, on Flickr
 untitled (6 of 25) by lawrx, on Flickr
 untitled (7 of 25) by lawrx, on Flickr
 untitled (8 of 25) by lawrx, on Flickr
 untitled (9 of 25) by lawrx, on Flickr
 untitled (10 of 25) by lawrx, on Flickr
 untitled (11 of 25) by lawrx, on Flickr
 untitled (12 of 25) by lawrx, on Flickr
 untitled (13 of 25) by lawrx, on Flickr
 untitled (14 of 25) by lawrx, on Flickr
For reference thats an iPhone 6+........8.5" lips.
 untitled (15 of 25) by lawrx, on Flickr
 untitled (17 of 25) by lawrx, on Flickr
 untitled (18 of 25) by lawrx, on Flickr
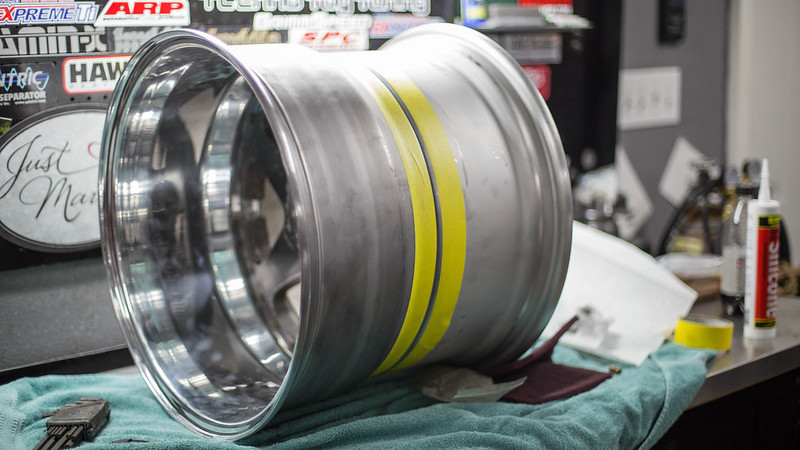
There really won't be much stretch, less than i was expecting which was good. Hoping to have the tire mounted sometime this week.
 untitled (19 of 25) by lawrx, on Flickr
 untitled (20 of 25) by lawrx, on Flickr
 untitled (21 of 25) by lawrx, on Flickr
 untitled (22 of 25) by lawrx, on Flickr
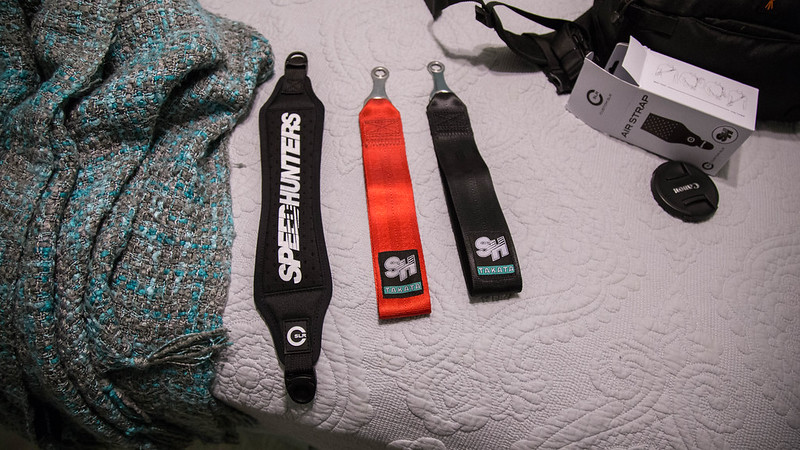
Also got some tow straps in from Speedhunters, along with a new camera strap. I have had the red tow strap for a while as i had planned on using it on the 12 wry, but just never got to it. And on their site the red is no longer available. So ill just use in color up front and other in the rear, no biggie.
 untitled (25 of 25) by lawrx, on Flickr
MONDAY. Bought a new daily. Pretty good deal i couldn't pass up, love these cars. 2014 with only 5800 miles. Great condition. Silverado will be getting sold.
Plans for the car. Drive.drive. drive. drive.
Short terms goals
-catback exhaust
-shifter bushings
-possible final drive change
-few knick knack things here and there
Realistic by end of the year goals
-Coilovers
-wheels
-rear lcas
-possibly drop in the recaro thats for the 240
-drive it some more
Long term goals
-2jz swap
- custom wheels
-few rare ext. pieces
-drive drive drive
As you can well this car will be very modest. It will be my daily and i plan to keep it that way. Its a great fun car and i dont want to ruin that by going mod crazy. Also, only thing i dont like about the car is the all clear taillights, and the stupid blue footwell lights. They come on while you are driving at night and i hate it. So i def need to fix those things.
untitled (1 of 25) by lawrx, on Flickruntitled (2 of 25) by lawrx, on Flickruntitled (24 of 25) by lawrx, on FlickrON TO TUESDAY. This day was equally as epic as monday. THE WHEELS ARRIVED. THE WHEELS ARRIVED.
And holy **** are they amazing. Steeb aka 5one did a awesome job on the machine work and lips. Will def be going back to him in the future.
After all the mockups i realized it was one the shallow faces that i used. So all of the clearances will be about .5" further out. Not huge or drastic, but makes a difference, for inner and outer haha. As i was expecting i will need to widen the rear about another full 1''. Nothing major, original plan was to make the car fit the wheels anyway.
untitled (4 of 25) by lawrx, on Flickruntitled (3 of 25) by lawrx, on Flickruntitled (5 of 25) by lawrx, on Flickruntitled (6 of 25) by lawrx, on Flickruntitled (7 of 25) by lawrx, on Flickruntitled (8 of 25) by lawrx, on Flickruntitled (9 of 25) by lawrx, on Flickruntitled (10 of 25) by lawrx, on Flickruntitled (11 of 25) by lawrx, on Flickruntitled (12 of 25) by lawrx, on Flickruntitled (13 of 25) by lawrx, on Flickruntitled (14 of 25) by lawrx, on FlickrFor reference thats an iPhone 6+........8.5" lips.
untitled (15 of 25) by lawrx, on Flickruntitled (17 of 25) by lawrx, on Flickruntitled (18 of 25) by lawrx, on FlickrThere really won't be much stretch, less than i was expecting which was good. Hoping to have the tire mounted sometime this week.
untitled (19 of 25) by lawrx, on Flickruntitled (20 of 25) by lawrx, on Flickruntitled (21 of 25) by lawrx, on Flickruntitled (22 of 25) by lawrx, on FlickrAlso got some tow straps in from Speedhunters, along with a new camera strap. I have had the red tow strap for a while as i had planned on using it on the 12 wry, but just never got to it. And on their site the red is no longer available. So ill just use in color up front and other in the rear, no biggie.
untitled (25 of 25) by lawrx, on Flickr
05-04-2016, 06:44 AM
#74
TECH Apprentice
Join Date: May 2012
Location: Danbury, Ct
Posts: 372
Likes: 0
Received 0 Likes
on
0 Posts
05-05-2016, 03:36 PM
#75
Staging Lane
Thread Starter
Join Date: Oct 2015
Posts: 91
Likes: 0
Received 0 Likes
on
0 Posts
If you can afford it, go full frame. Better glass selection and you can invest in good last that will last your lifetime. Bodys are constantly being upgraded where as lens stay current for 8-10 years easy
05-05-2016, 11:24 PM
#76
Staging Lane
Thread Starter
Join Date: Oct 2015
Posts: 91
Likes: 0
Received 0 Likes
on
0 Posts
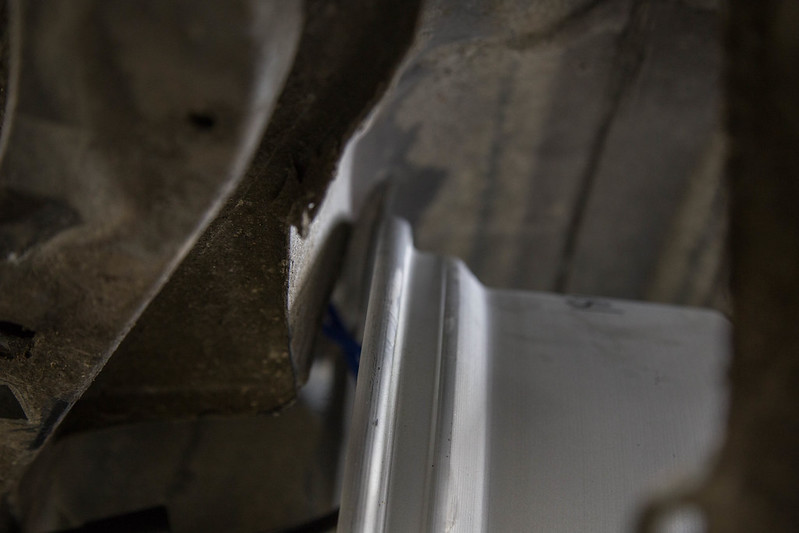
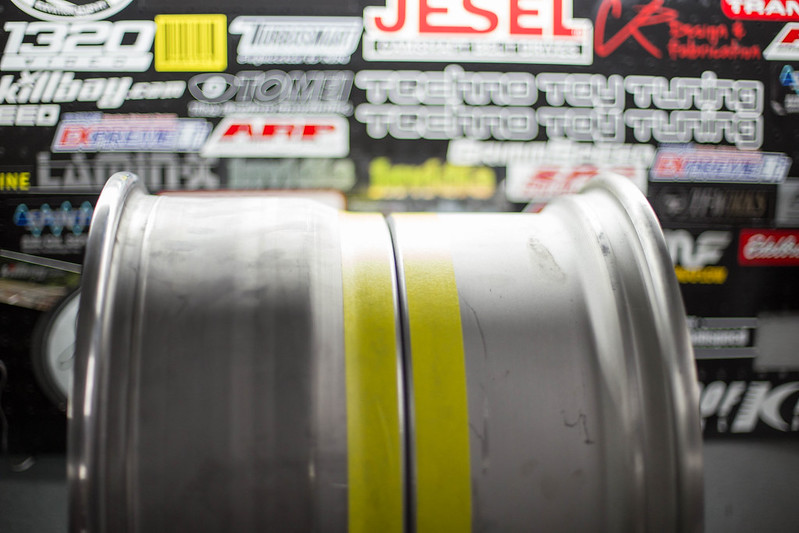
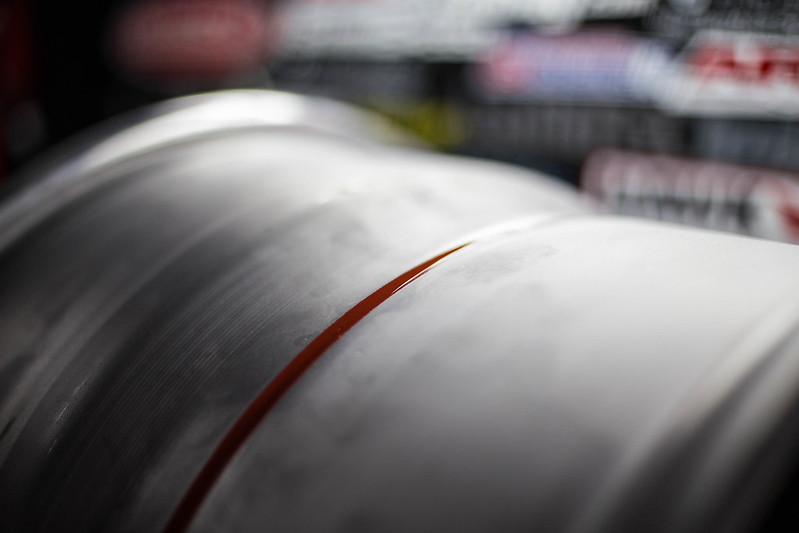
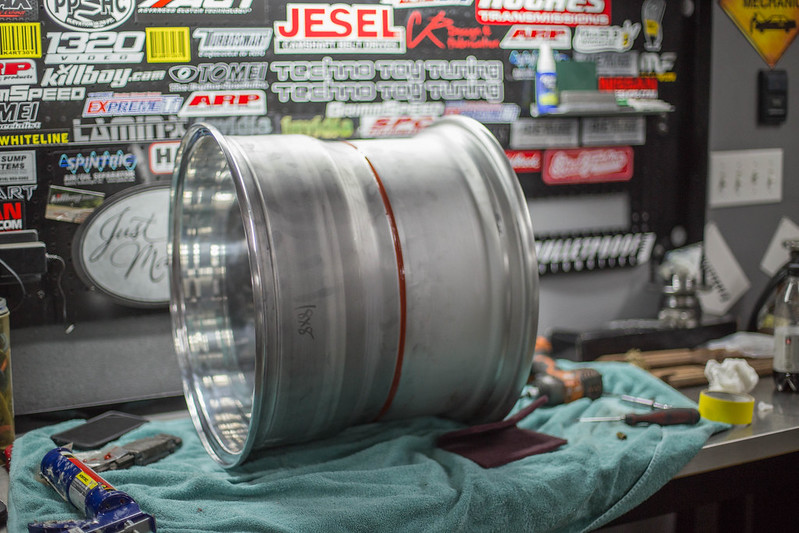
Made some time tonight to bolt the one wheel all together and seal it up so that i can mount the tire in the next day or so. Still need to drill a hole in the inner barrel for the valve stem. But other than waiting for the silicone to dry she's ready for tire mounting. Not quite sure if I'm going to be able to do it or not. Our machines arm isn't tall enough for these wheels but i can still put it in the clamps and try to man handle it by hand on their. Still going to need a cheetah to seat it all the way because of the slight stretch. We shall see what happens
 untitled (1 of 10)-2 by lawrx, on Flickr
 untitled (2 of 10)-2 by lawrx, on Flickr
 untitled (3 of 10)-2 by lawrx, on Flickr
 untitled (4 of 10)-2 by lawrx, on Flickr
 untitled (5 of 10)-2 by lawrx, on Flickr
 untitled (6 of 10)-2 by lawrx, on Flickr
 untitled (7 of 10)-2 by lawrx, on Flickr
 untitled (9 of 10)-2 by lawrx, on Flickr
 untitled (8 of 10)-2 by lawrx, on Flickr
 untitled (10 of 10)-2 by lawrx, on Flickr
untitled (1 of 10)-2 by lawrx, on Flickruntitled (2 of 10)-2 by lawrx, on Flickruntitled (3 of 10)-2 by lawrx, on Flickruntitled (4 of 10)-2 by lawrx, on Flickruntitled (5 of 10)-2 by lawrx, on Flickruntitled (6 of 10)-2 by lawrx, on Flickruntitled (7 of 10)-2 by lawrx, on Flickruntitled (9 of 10)-2 by lawrx, on Flickruntitled (8 of 10)-2 by lawrx, on Flickruntitled (10 of 10)-2 by lawrx, on Flickr
05-06-2016, 10:32 PM
#79
Staging Lane
Thread Starter
Join Date: Oct 2015
Posts: 91
Likes: 0
Received 0 Likes
on
0 Posts
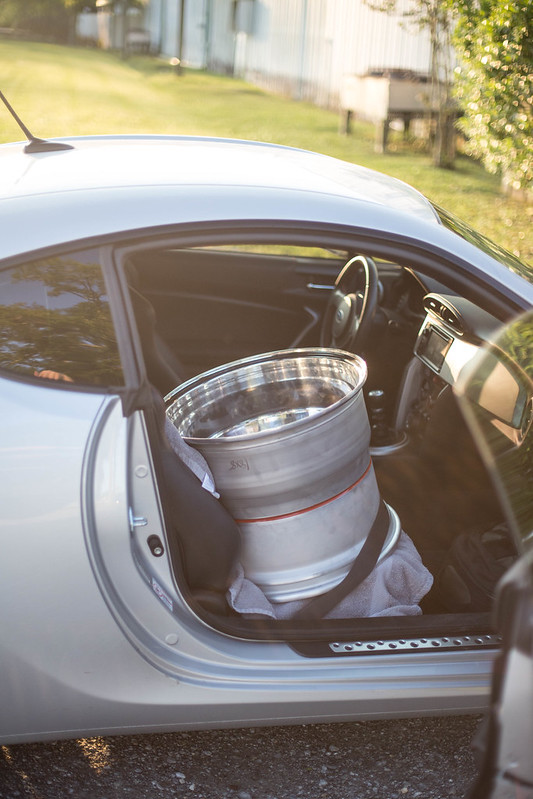
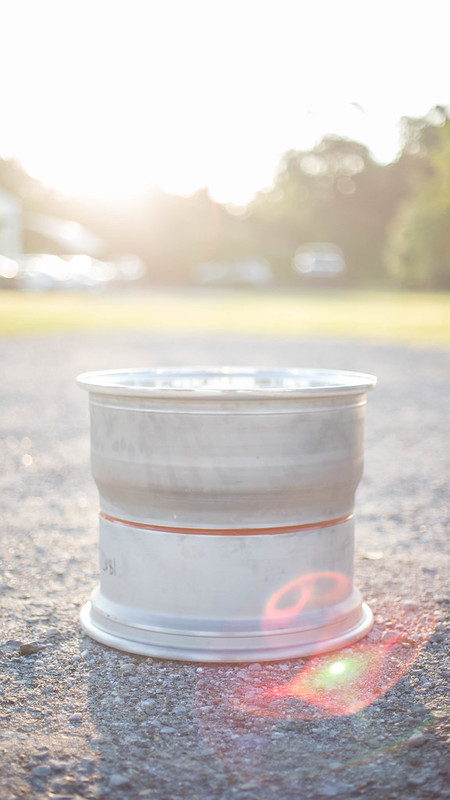
Took the wheel and tire to work today to get it mounted. I knew the mounting machine wouldn't be abe to do it because of the width (arm was too short) BUT i figured id try my luck at doing it by hand.
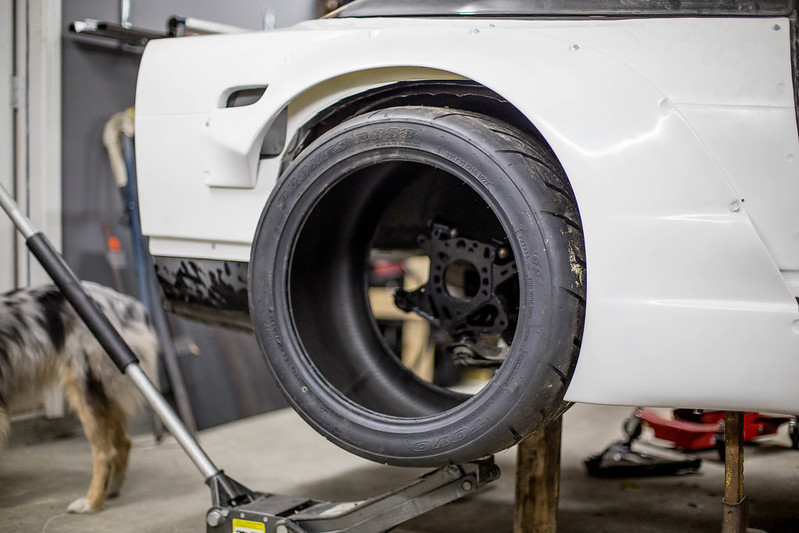
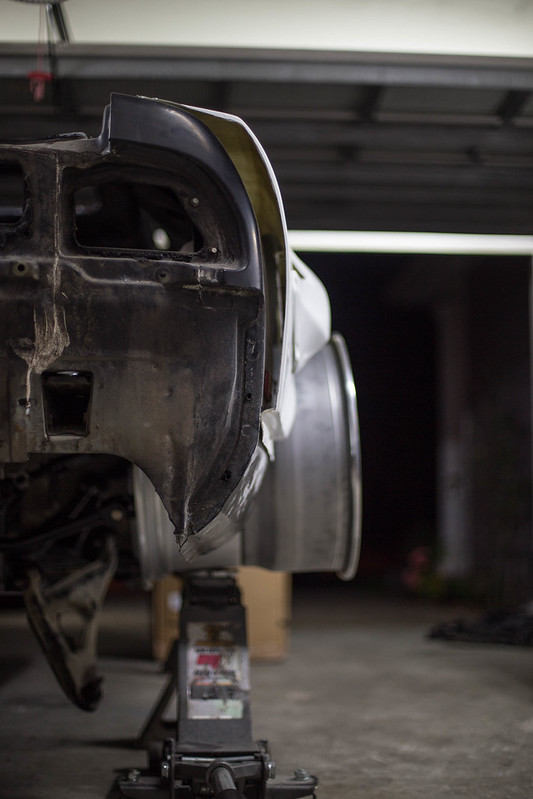
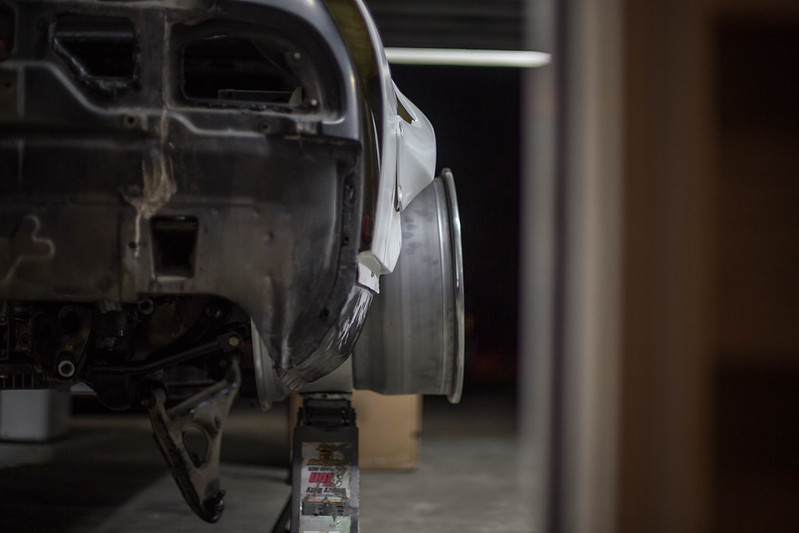
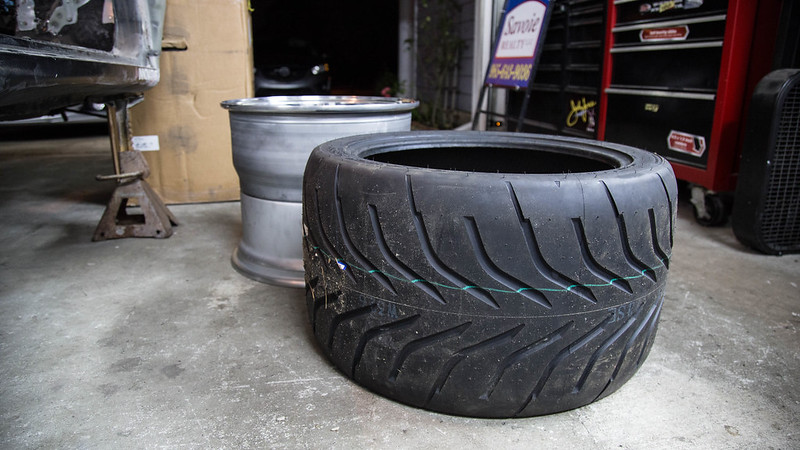
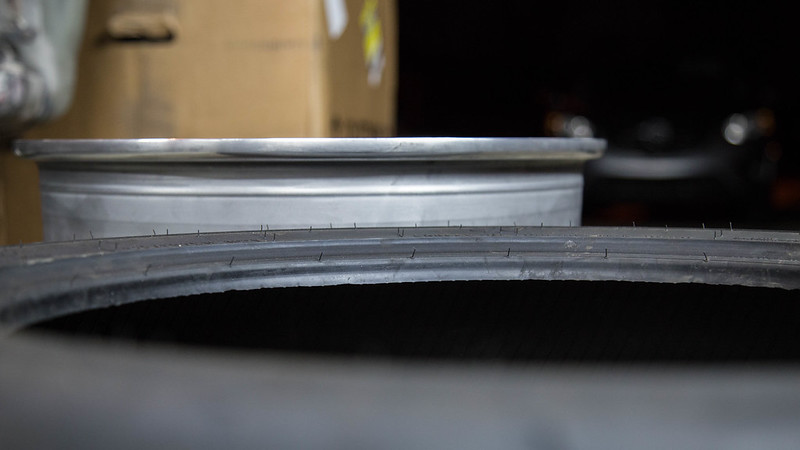
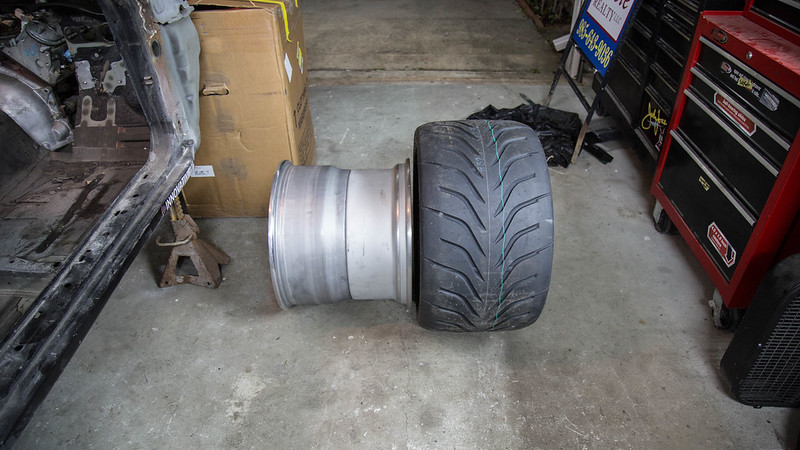
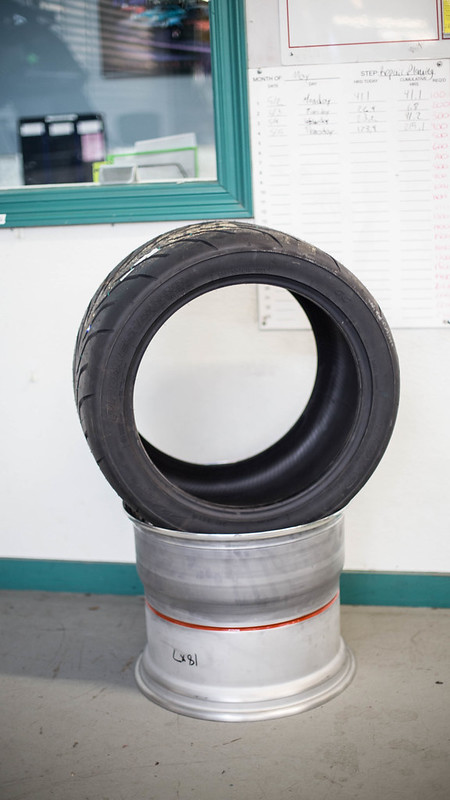
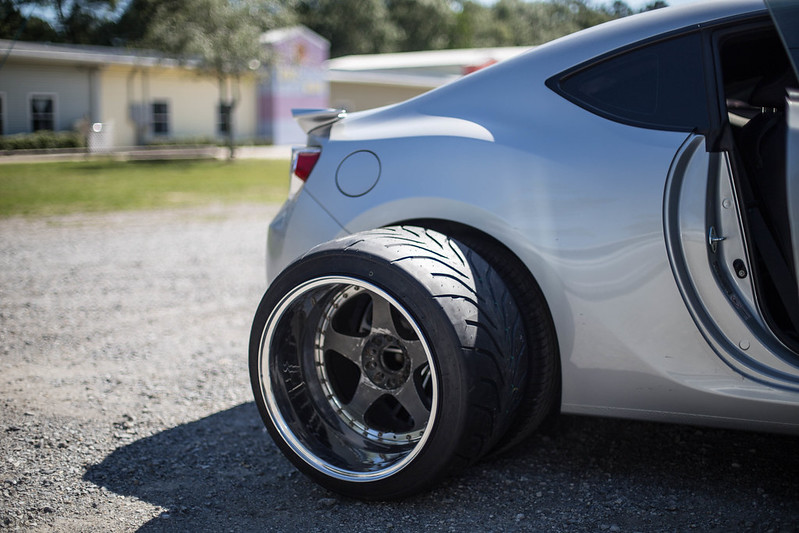
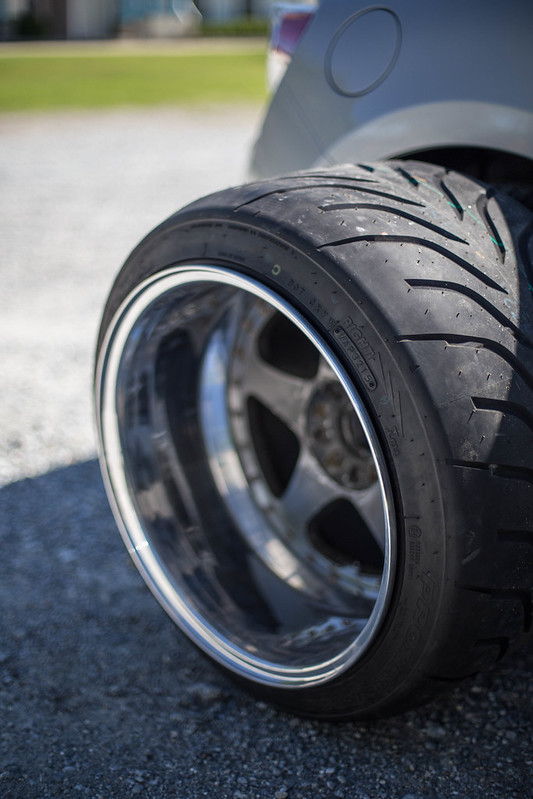
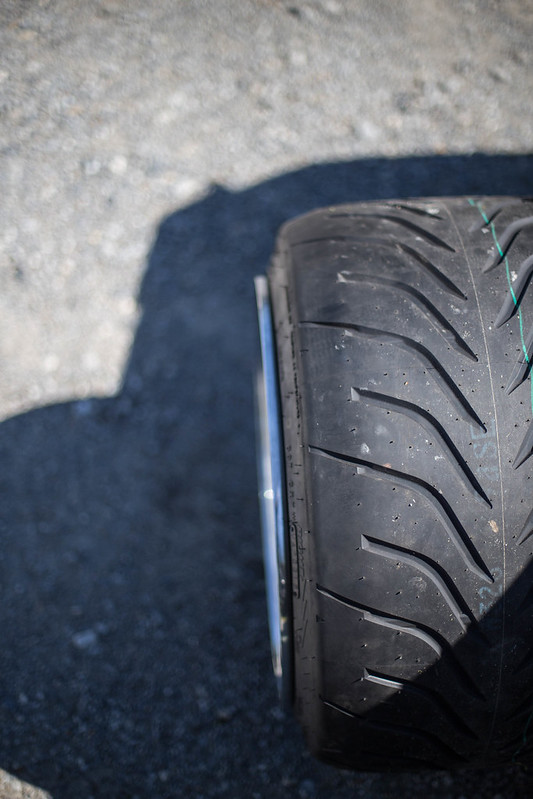
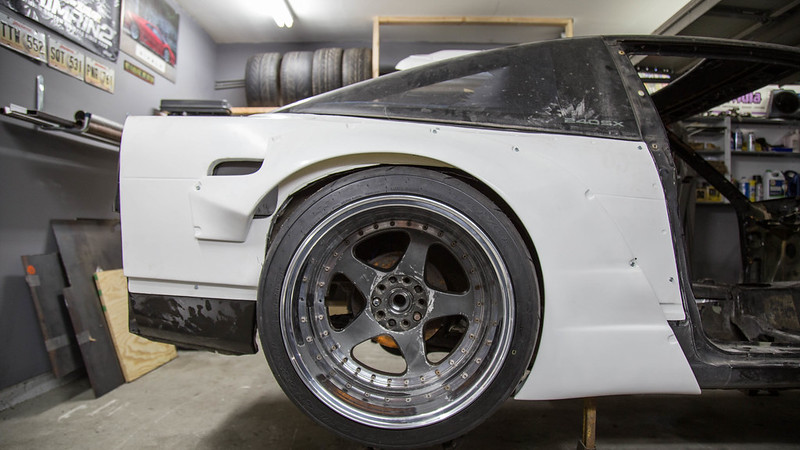
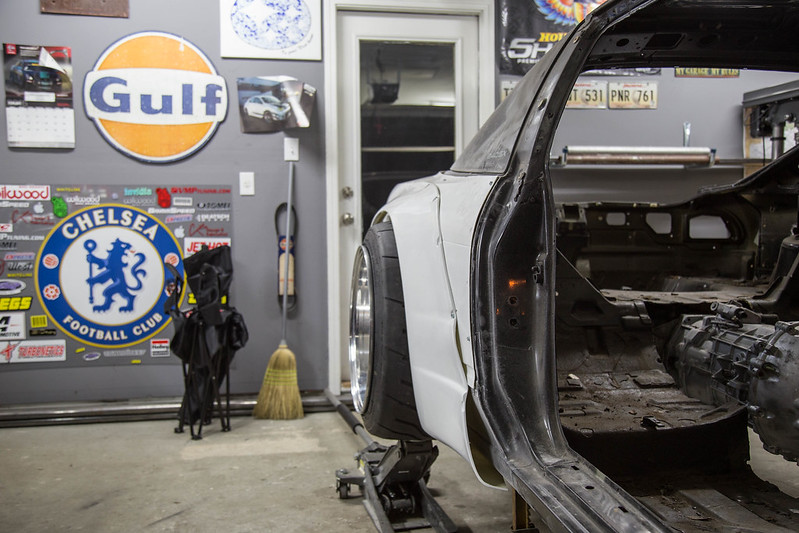
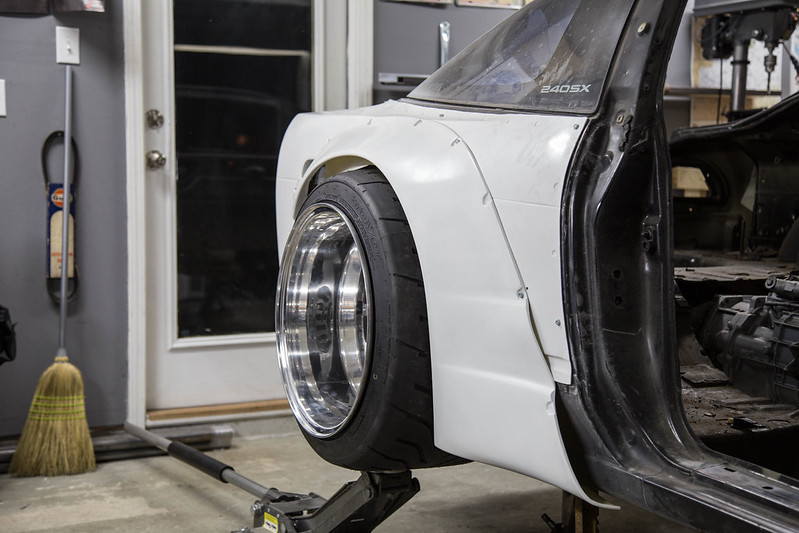
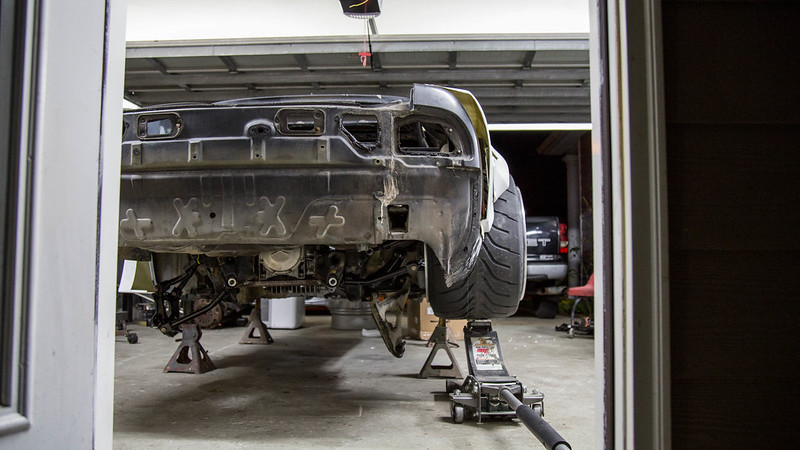
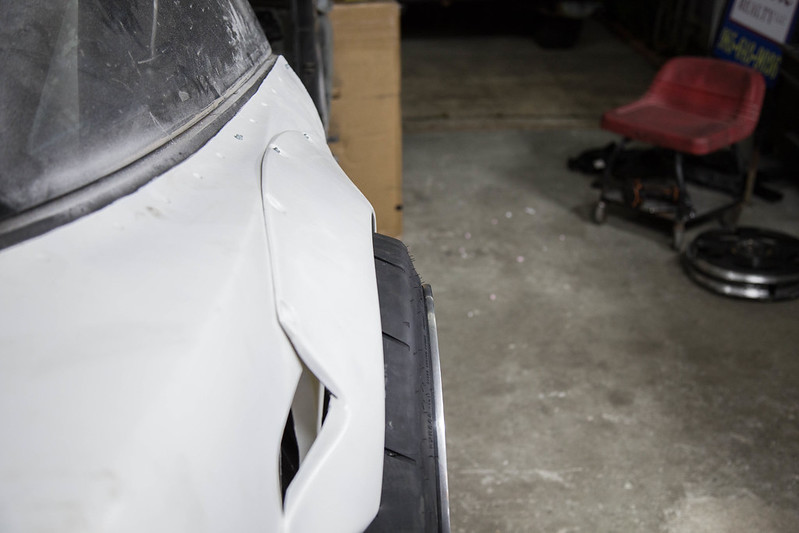
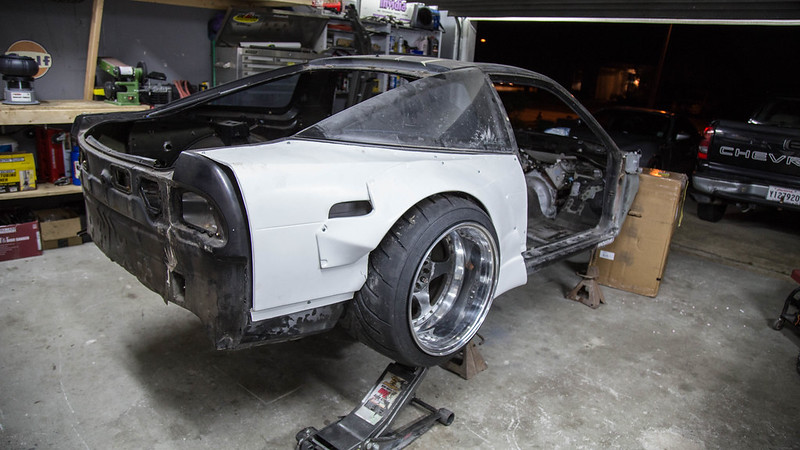
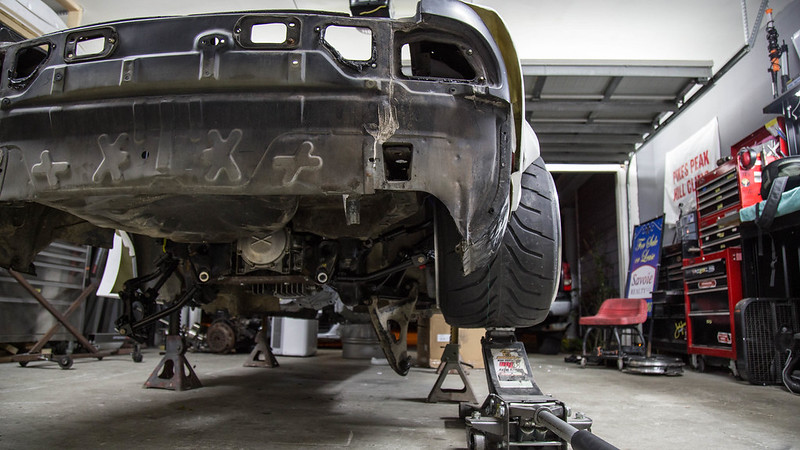
It took 4 of us to get that ******* tire on, but we got that son bitch on. So, I'm going to come right out and say that. theres more stretch than i wanted. together with the r888 having zero additional rubber around the seating bead it exaggerates it even more, but the look is growing on me. Still not 100% satisfied. But I'm not paying for new inner barrels and three are no larger tires i want to run. SO is what it is.
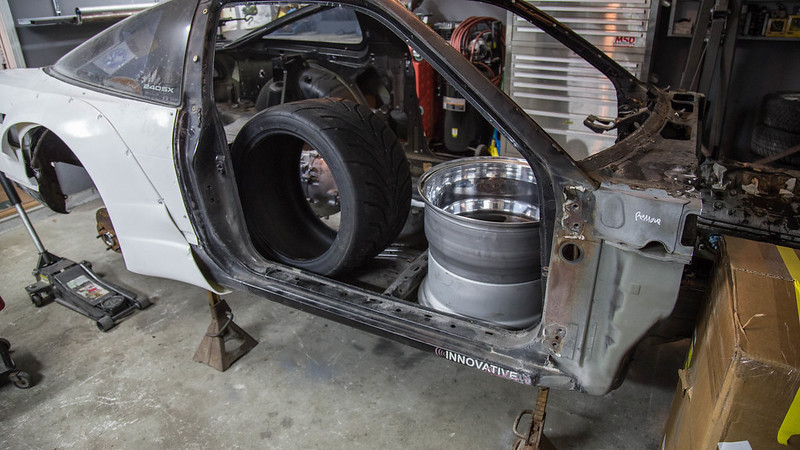
After work i came home and had yet again another mock up session. Tire still isn't at the height i want it to be at, still more metal to be cut away for it to reach where i want. But so far it looks fantastic!
 untitled (1 of 16)-3 by lawrx, on Flickr
 untitled (2 of 16)-3 by lawrx, on Flickr
 untitled (3 of 16)-3 by lawrx, on Flickr
 untitled (4 of 16)-3 by lawrx, on Flickr
 untitled (5 of 16)-3 by lawrx, on Flickr
 untitled (6 of 16)-3 by lawrx, on Flickr
 untitled (7 of 16)-3 by lawrx, on Flickr
 untitled (8 of 16)-3 by lawrx, on Flickr
 untitled (9 of 16)-3 by lawrx, on Flickr
 untitled (10 of 16)-3 by lawrx, on Flickr
 untitled (11 of 16)-3 by lawrx, on Flickr
 untitled (12 of 16)-3 by lawrx, on Flickr
 untitled (13 of 16)-3 by lawrx, on Flickr
 untitled (14 of 16)-3 by lawrx, on Flickr
 untitled (15 of 16)-3 by lawrx, on Flickr
 untitled (16 of 16)-3 by lawrx, on Flickr
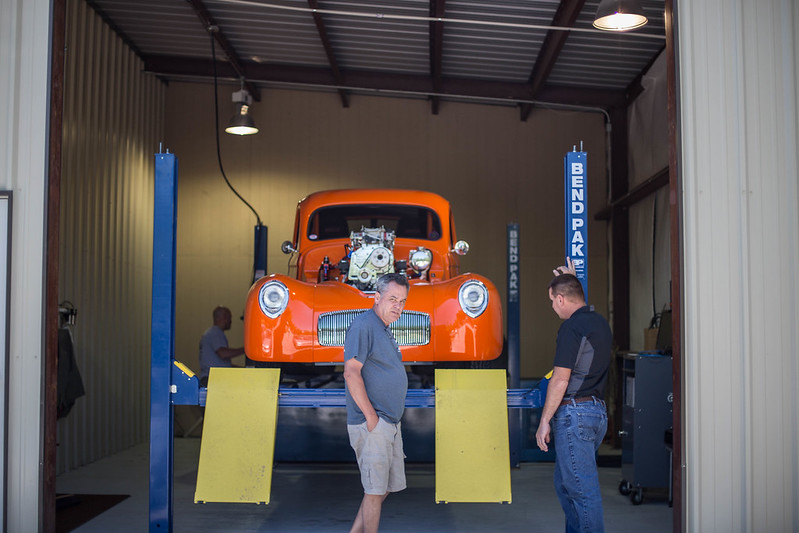
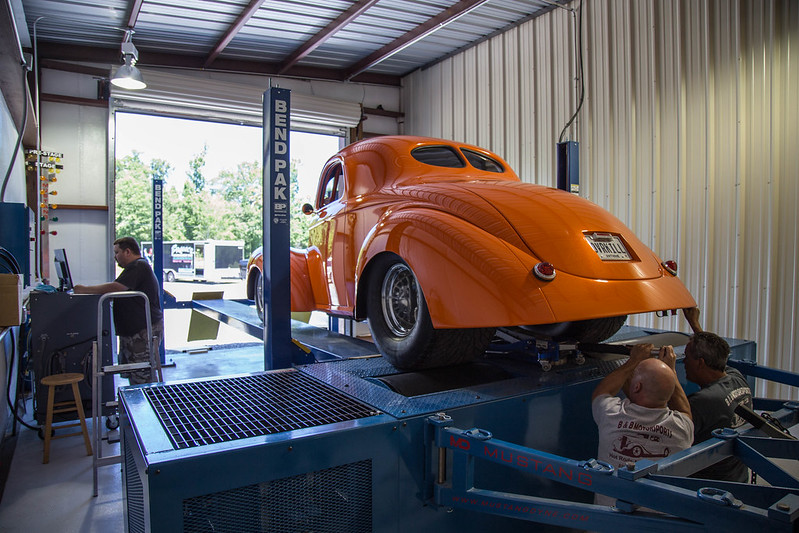
We also after mounting my tire took my dads project to get it dynode at a local shop.... good god this car is ridiculous. 900hp and 1100 ft lbs of torque. Enough torque to tow a god damn cruise ship. ******* insane.
 untitled (1 of 10) by lawrx, on Flickr
 untitled (7 of 10) by lawrx, on Flickr
 untitled (10 of 10) by lawrx, on Flickr
It took 4 of us to get that ******* tire on, but we got that son bitch on. So, I'm going to come right out and say that. theres more stretch than i wanted. together with the r888 having zero additional rubber around the seating bead it exaggerates it even more, but the look is growing on me. Still not 100% satisfied. But I'm not paying for new inner barrels and three are no larger tires i want to run. SO is what it is.
After work i came home and had yet again another mock up session. Tire still isn't at the height i want it to be at, still more metal to be cut away for it to reach where i want. But so far it looks fantastic!
untitled (1 of 16)-3 by lawrx, on Flickruntitled (2 of 16)-3 by lawrx, on Flickruntitled (3 of 16)-3 by lawrx, on Flickruntitled (4 of 16)-3 by lawrx, on Flickruntitled (5 of 16)-3 by lawrx, on Flickruntitled (6 of 16)-3 by lawrx, on Flickruntitled (7 of 16)-3 by lawrx, on Flickruntitled (8 of 16)-3 by lawrx, on Flickruntitled (9 of 16)-3 by lawrx, on Flickruntitled (10 of 16)-3 by lawrx, on Flickruntitled (11 of 16)-3 by lawrx, on Flickruntitled (12 of 16)-3 by lawrx, on Flickruntitled (13 of 16)-3 by lawrx, on Flickruntitled (14 of 16)-3 by lawrx, on Flickruntitled (15 of 16)-3 by lawrx, on Flickruntitled (16 of 16)-3 by lawrx, on FlickrWe also after mounting my tire took my dads project to get it dynode at a local shop.... good god this car is ridiculous. 900hp and 1100 ft lbs of torque. Enough torque to tow a god damn cruise ship. ******* insane.
untitled (1 of 10) by lawrx, on Flickruntitled (7 of 10) by lawrx, on Flickruntitled (10 of 10) by lawrx, on Flickr