When you click on links to various merchants on this site and make a purchase, this can result in this site earning a commission. Affiliate programs and affiliations include, but are not limited to, the eBay Partner Network.
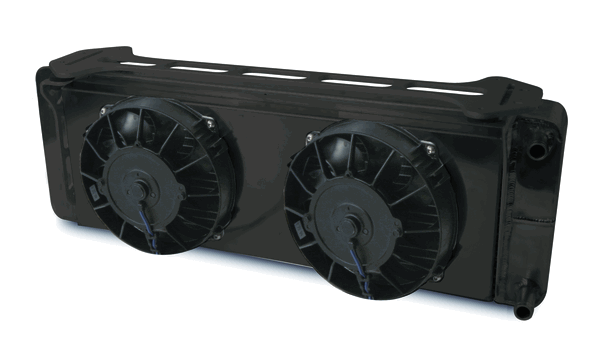
This Afco Pro Series Heat Exchanger is for a Ford Lightning. I have to take some measurements to see how it will fit. I'm hopeful that it'll go in like a glove behind the bumper cover.
AFCO PRO SERIES Features:
•All new double pass design utilizes a 360 degree welded baffle preventing any internal coolant bypass.
•Forces coolant through the top half of the heat exchanger and then the bottom half dissipating the heat twice.
•Provides a cooler, more stable coolant temperature
•Benefit either on the track or the street by running your engine at cooler temps allowing more power to be made and not lost due to heat soak.
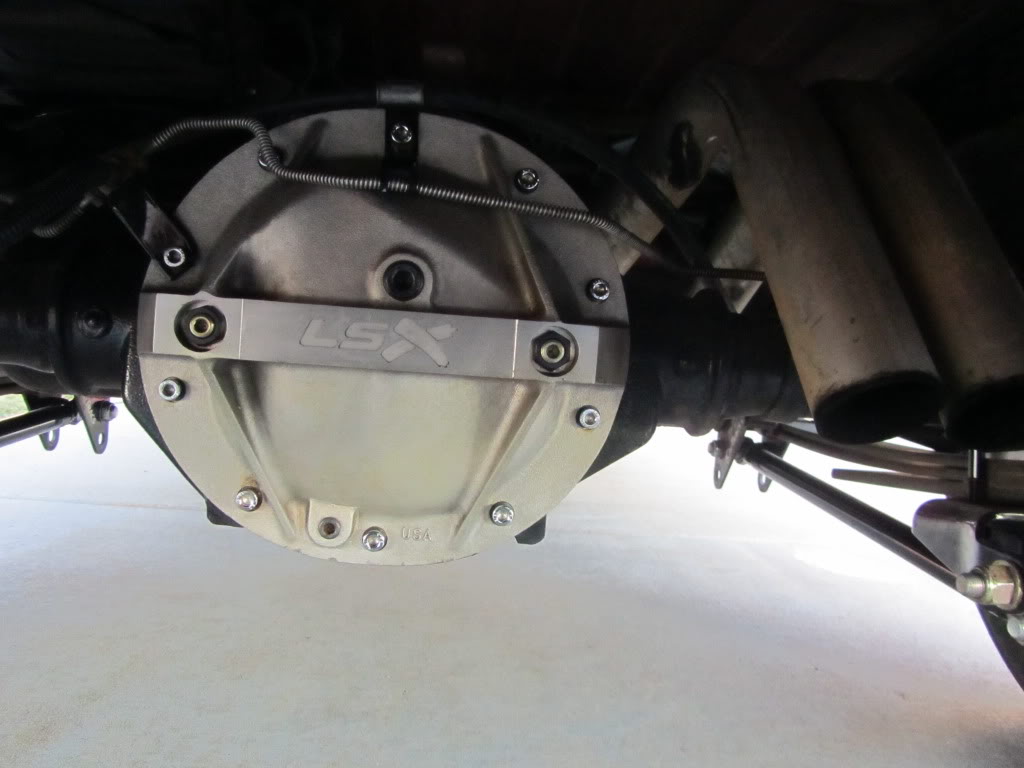
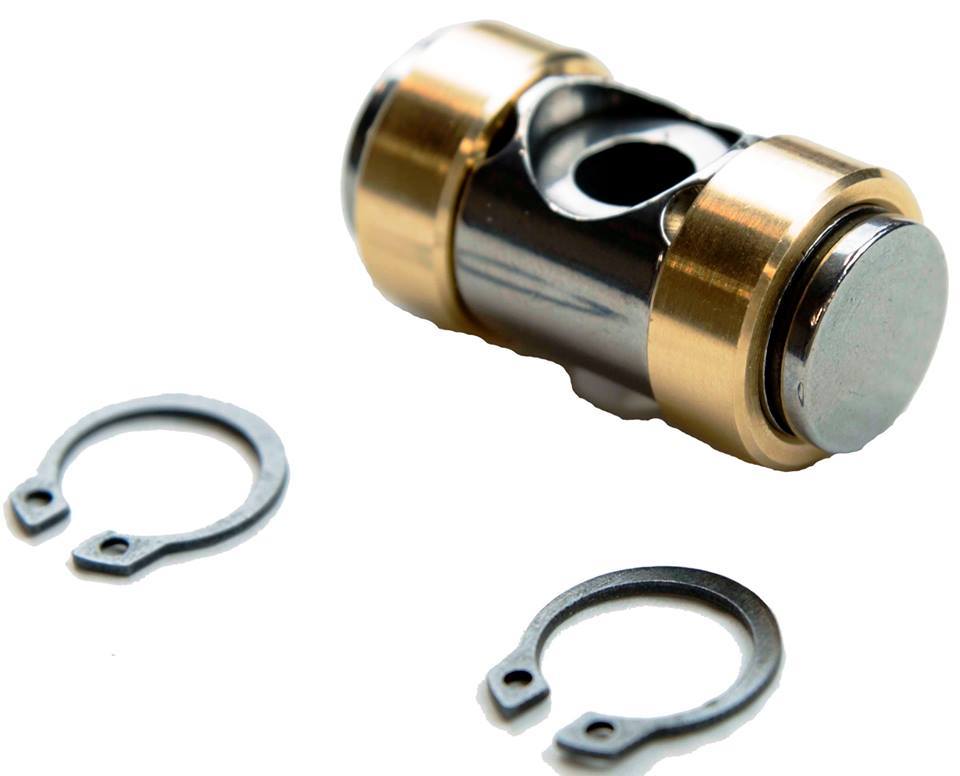
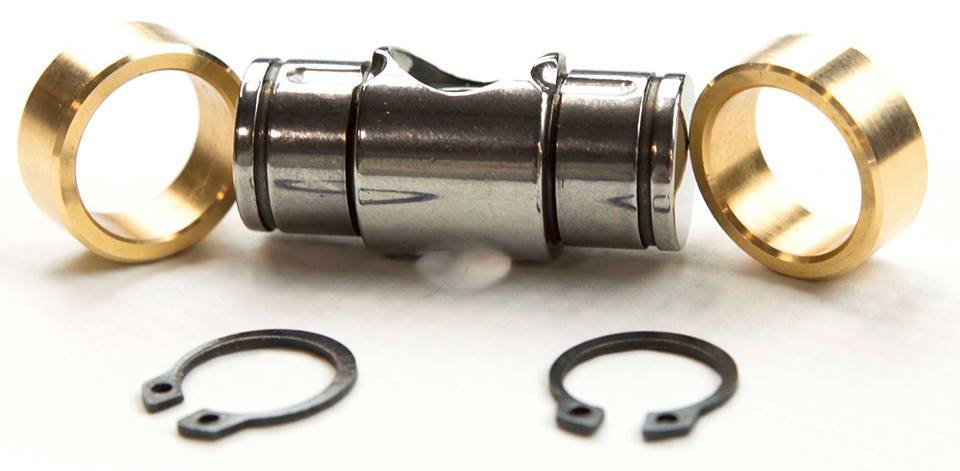
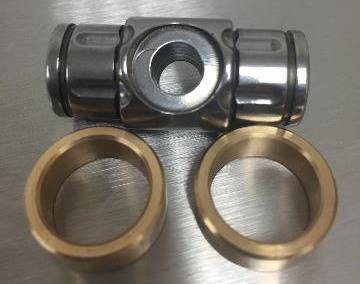
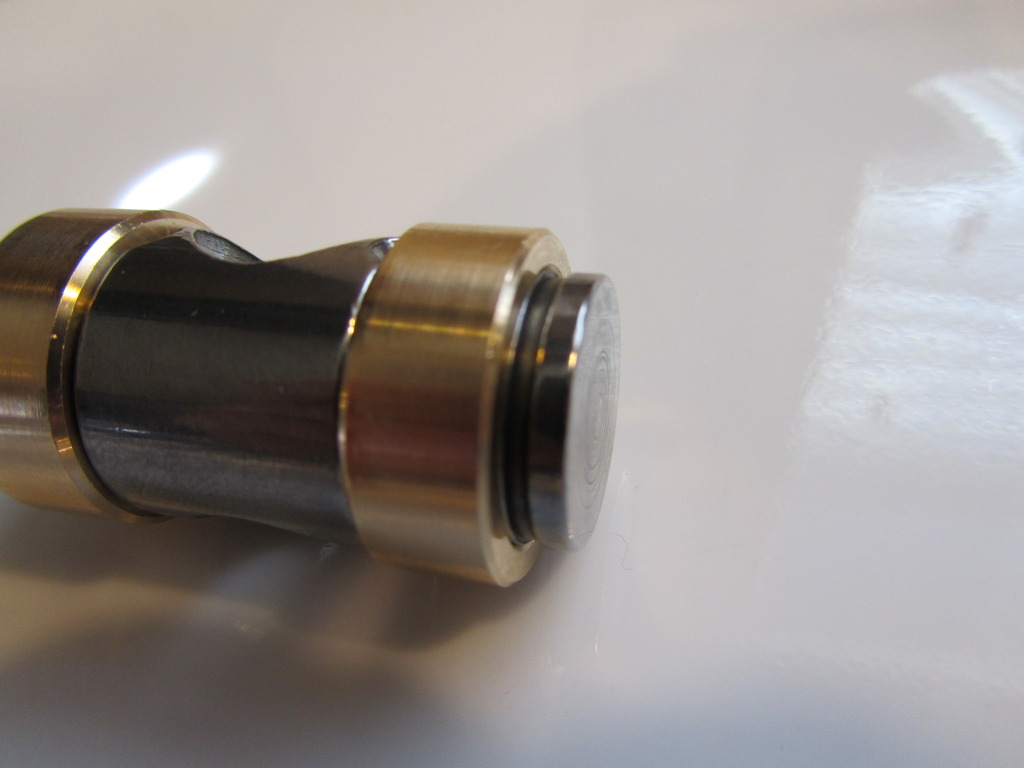
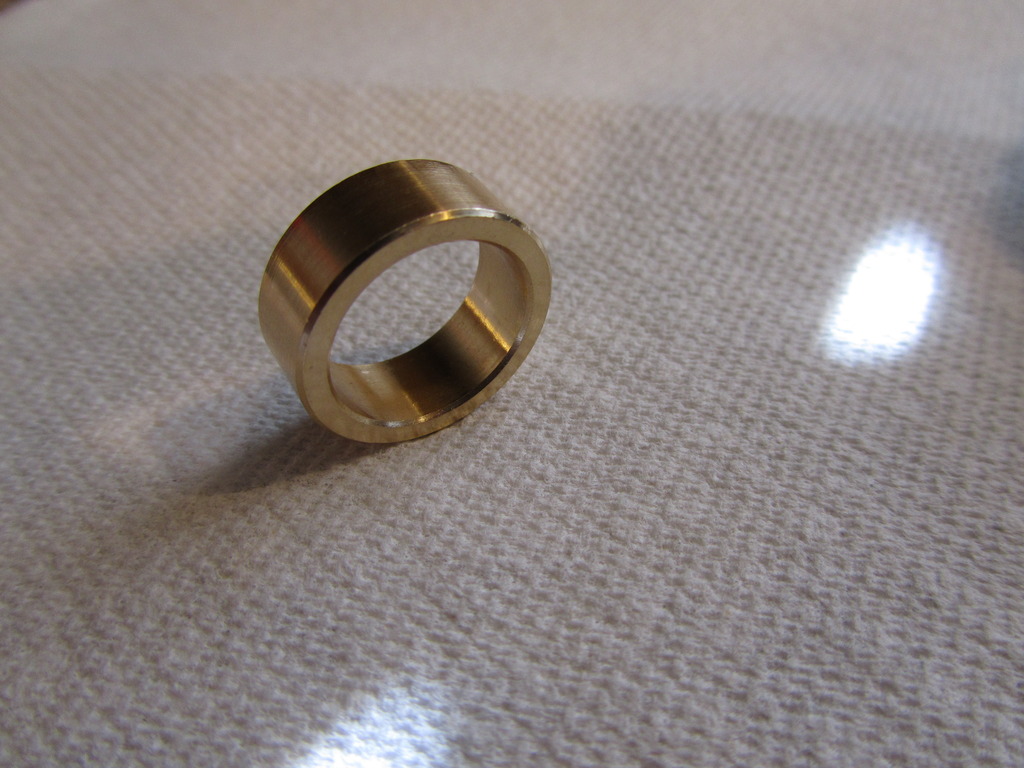
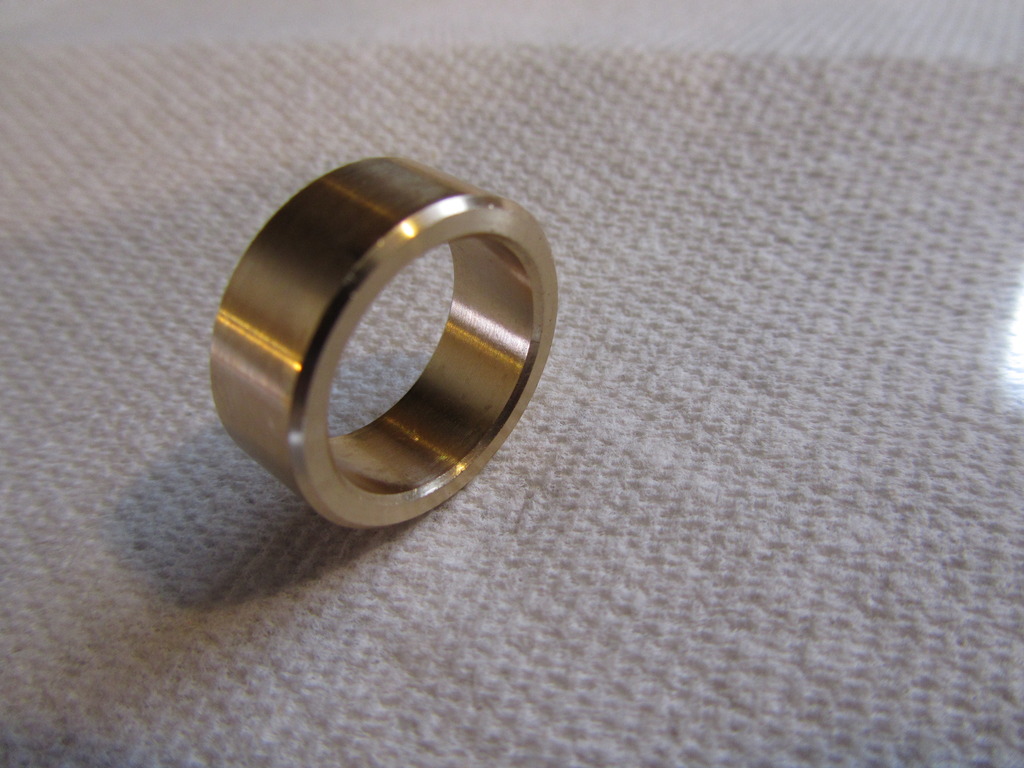
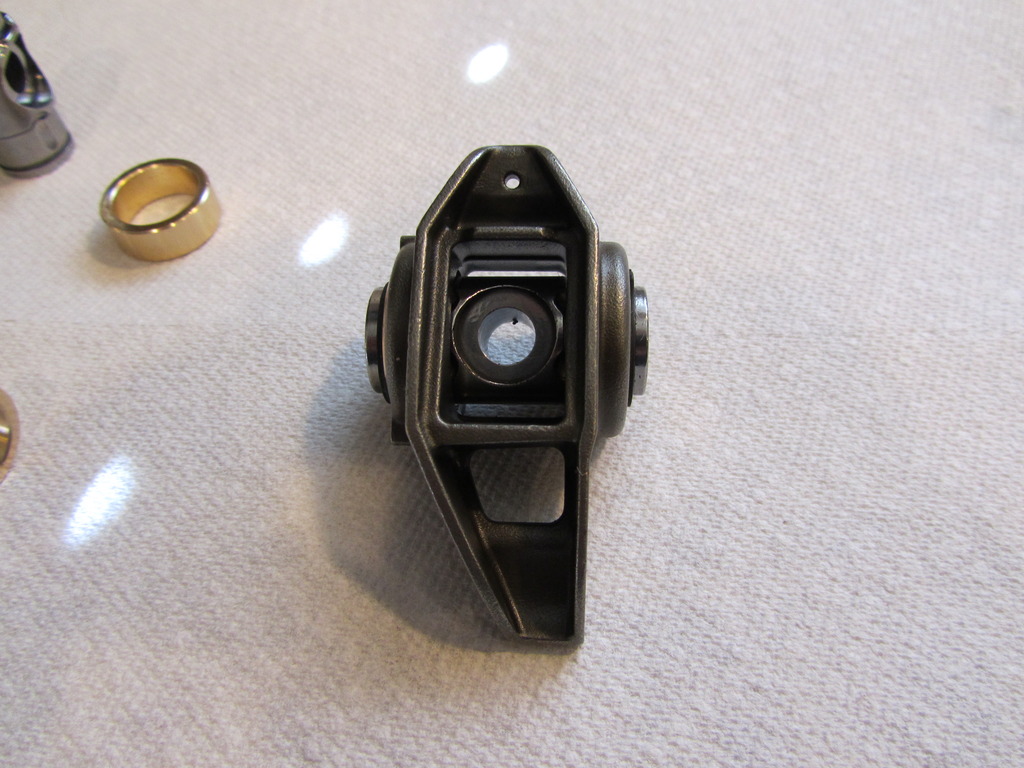
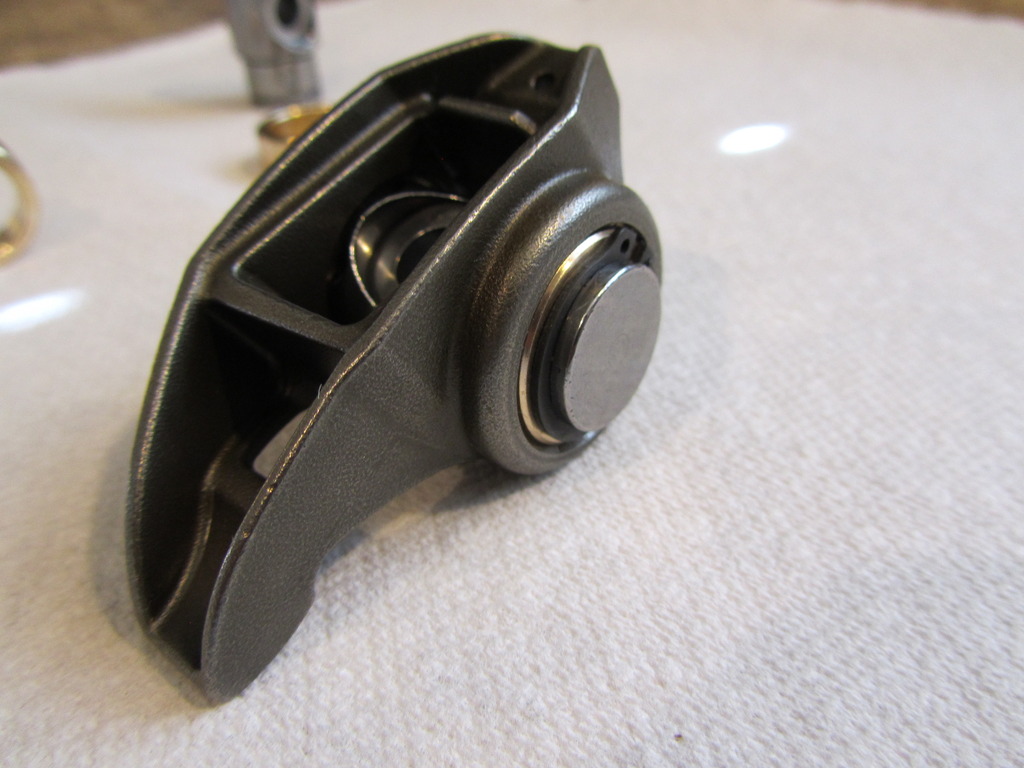
These new bushing LS trunnion kits for factory LS rocker arms are designed to increase durability and load capacity without the failure prone to the OEM needle bearings. Engineered to provide maximum lubrication to the trunnion while also providing maximum load capabilities, the bushing LS trunnion upgrade kits give the LS world peace of mind.
Each trunnion is micro-finished to a specific RMA finish. The bushings are centerless ground and then micro-polished to clearance specs. Oil from the rocker is fed directly to the axle area of the trunnion and does not interfere with load capacity. The proprietary bushing material is fed with an oil channel at the 11 and 1 o'clock positions of the trunnion. This channel constantly feeds oil to the bushing surface ensuring proper lubrication unlike needle bearing trunnions that have to rely on oil finding it's way to the needles. The greater surface area of the bushing will support 300 times the load of what a needle will due to the fact on a needle bearing upgrade, your load is dependent on 3 or 4 needles to carry the load. The needle with the largest diameter will carry most of the load. Also there is no chance of needle bearings destroying the engine when using much more aggressive cam profiles and a rocker arm fails.
Just got the new trunnion/bushing kit...I was checking them out closely and noticed on side had slightly more chamfer to it than the other. Since the kit didn't come with any install instructions I figured it was best to just call Straub Technologies directly. He informed me that the straighter edge goes to the outside and the chamfered side goes to the inside. I applied some assembly lube very lightly on the inside of the rocker arm and the inside of the bushings. They pressed right in with no issue. They look to be a nice piece. Hopefully they do well in the engine.
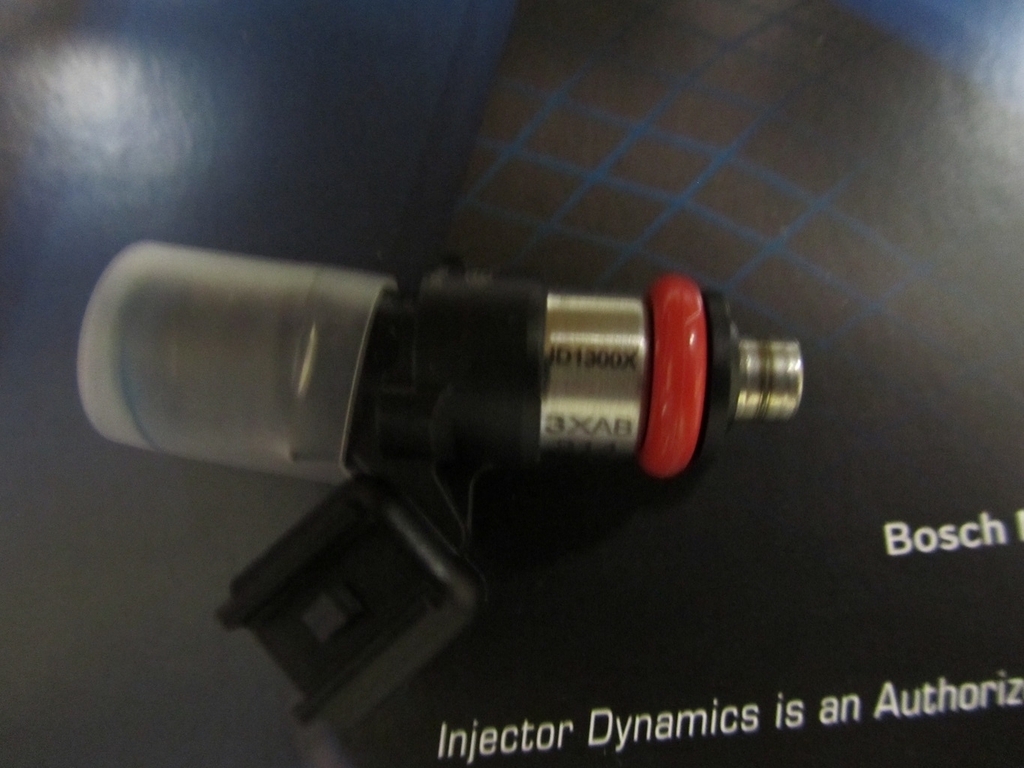
It's Tax Time so lots of companies are offering discounts. I figured I would shop around to see what kind of deals were out there with no particular part in mind. So I put some time into comparing prices from various stores on various parts and Maryland Speed got me a extremely awesome deal on some Injector Dynamics 1300cc injectors that are designed for use with E85. Anywho just throwing it out there that deals are good right now.
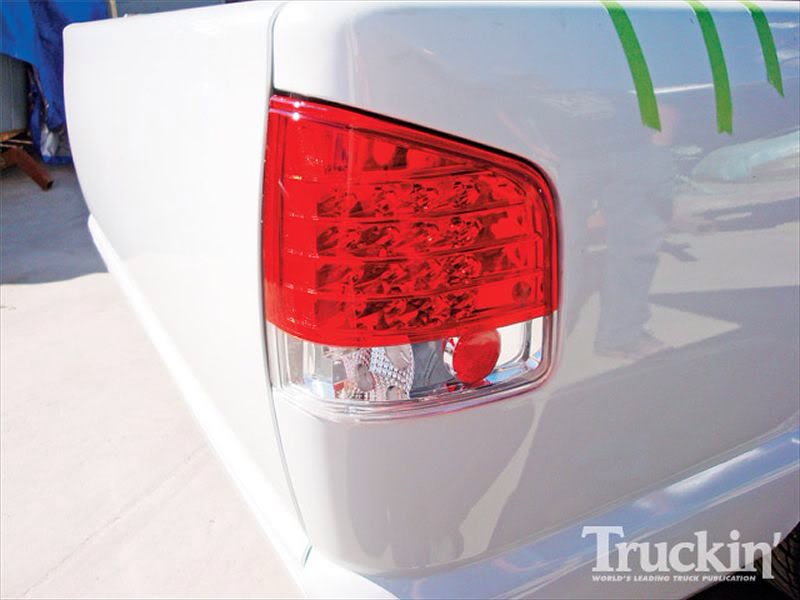
Just a few little cosmetic things I'm looking at. Opinions on this stuff?
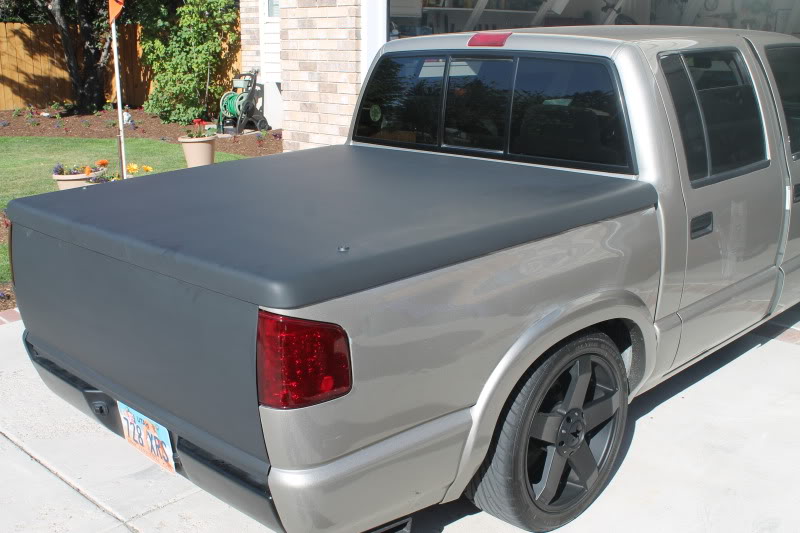
Aftermarket LED taillights (A Little too ricey for my taste)
After VHS Shades paint
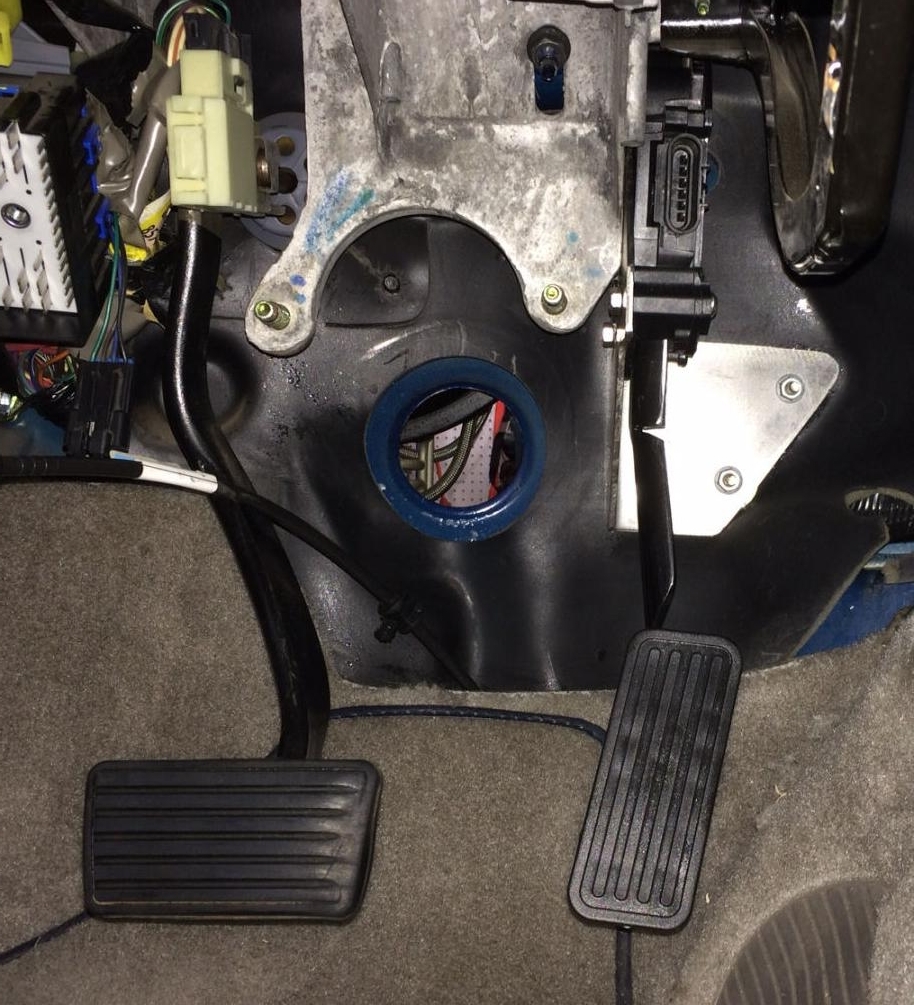
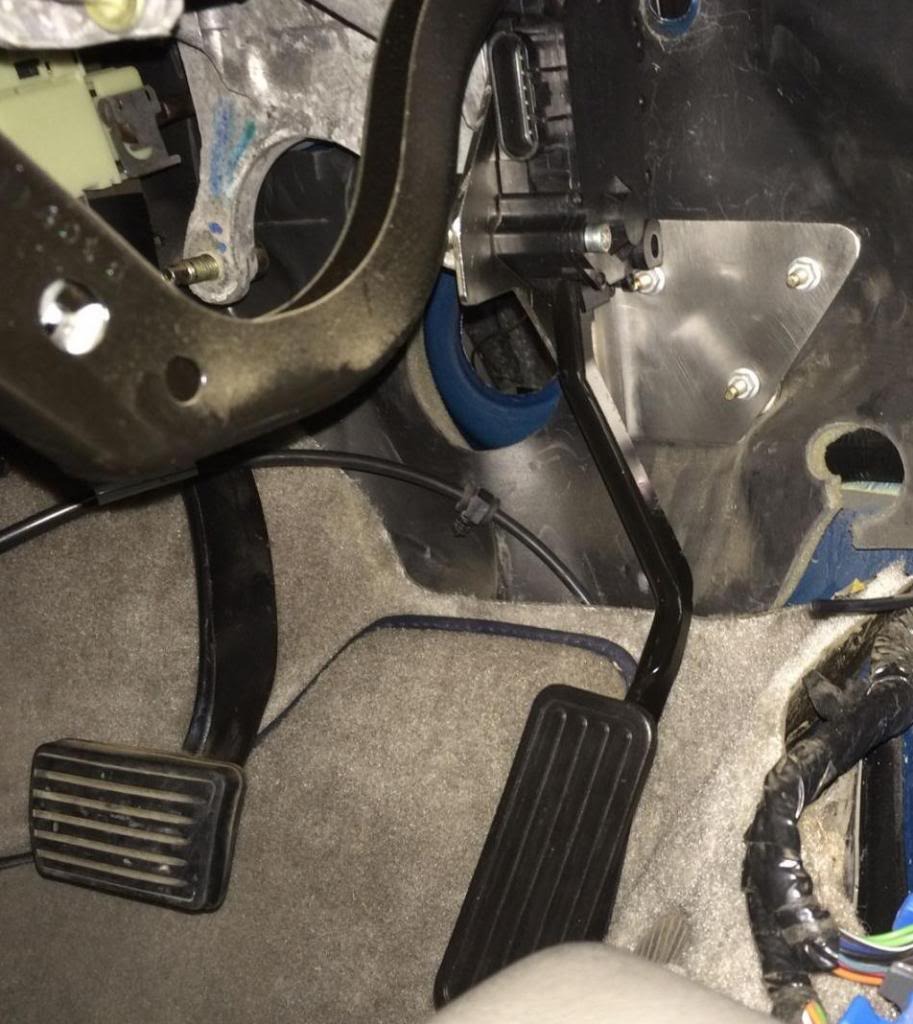
Current Pedals (Trailblazer,SSR,etc DBW Gas Pedal)
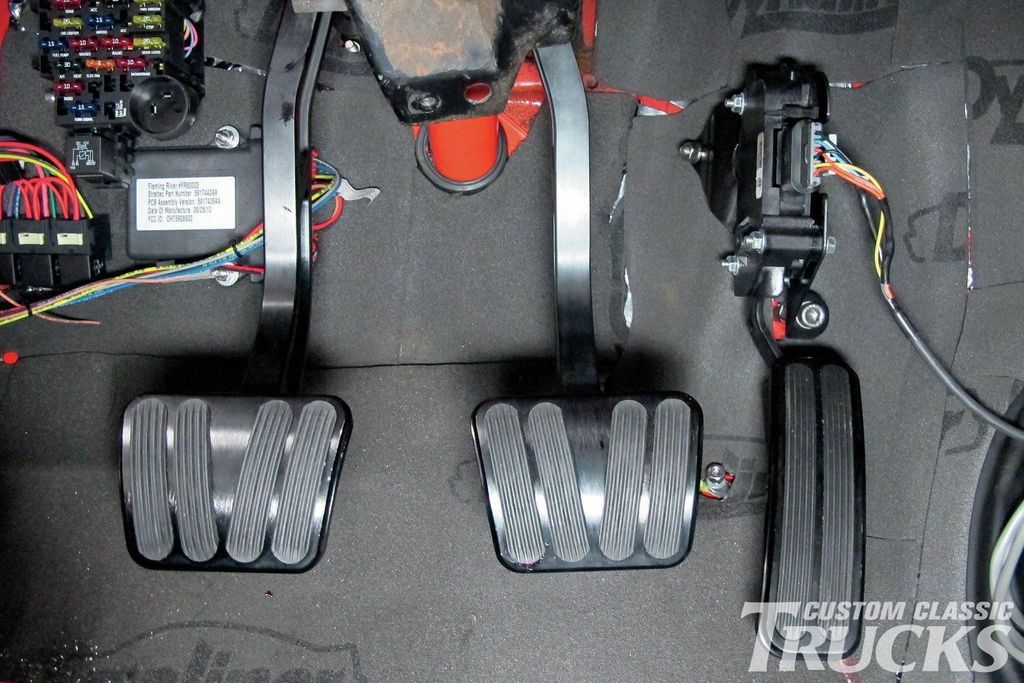
Lokar Midnight Pedals
This gas pedal is made for the CTSV DBW pedal. Both the CTSV and Trailblazer have identical looking modules but the pedal arm is slightly different between the two. I think the pedal will fit on my Trailblazer pedal arm with slight modification.
And of course a matching brake and e-brake pedals that'll look like this minus the clutch pedal.
Just a few little cosmetic things I'm looking at. Opinions on this stuff?
Aftermarket LED taillights (A Little too ricey for my taste)
[Pics and pedal stuff removed from quote]
You might go to your local body shop and ask if they can paint the taillights for you. Basically, they clear over the taillights, but mix in a little black depending on how dark you want to go. I did this on my CTSV and I LOVE the way it looks
Originally Posted by Petraszewsky
Car lift finally arrived!!!
[Pic removed]
I love the MaxJax. It is my most used tool in my garage. If I might make a suggestion...use epoxy anchors in the floor instead of the twist in ones. Depending on the thickness of your slab, you might not get the twist in ones to bite. I used the epoxy ones from the start and they work great. A little pricey, but definitely worth it in my opinion.
Hmmm now you have me reading about the epoxy bolts. I have the wedge anchors that came with it currently. It also came with flat round lift pads so I ordered the "frame cradle pads" to use with the S10 which should be here today. At what width did you install your lift? I'm thinking the 120" may be what I use or should I go wider?
Hmmm now you have me reading about the epoxy bolts. I have the wedge anchors that came with it currently. It also came with flat round lift pads so I ordered the "frame cradle pads" to use with the S10 which should be here today. At what width did you install your lift? I'm thinking the 120" may be what I use or should I go wider?
Wedge anchors...I couldn't remember what they were called. They work for quite a few people, but i've read stories of them not working, or just spinning when installed. Since I bought my MaxJax used, I just went with the epoxy as I read they were better.
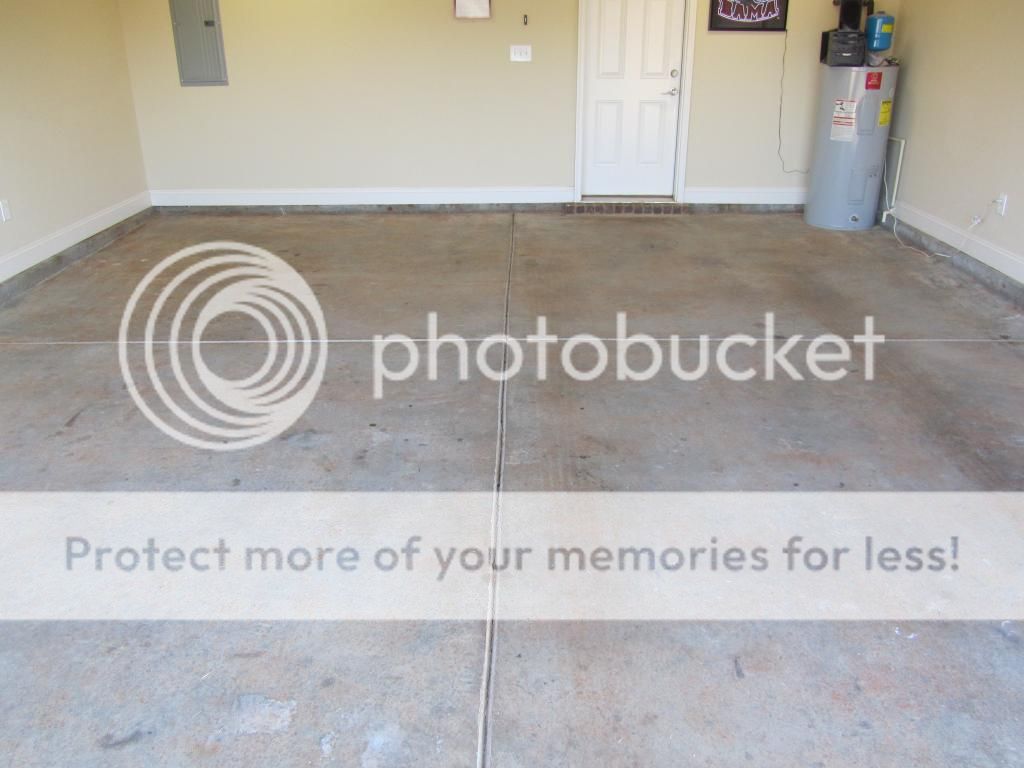
At any rate, I did install the lift at 120" measured at the outside of the lift's baseplate. This gives me plenty of room on each side of my 2 car garage to walk around and work. I have a workbench on one side and the other side is storage for parts yet to go into the Chevelle (too many ) I thought I had more pictures of the lift, but here is an older one showing one side and where the Chevelle sits in relation to the lift. Both sides are wide enough for me to open the door and climb in. Not open all the way mind you, but enough for me to squeeze through. The car is up on the lift now, so I'll try to get a shot of it up.
One other note - depending on how tall your garage is, don't forget to close the hood of your truck if it's backed in and up on the lift. If you don't (like me one time), the bar that attached the garage to the chain or belt of the garage door opener will hit the hood and make a nice little mark
Found this article and it's promising for what I'm trying to achieve. I will be running a Flex Fuel OS and sensor. This way if I do the Power Tour or something I don't have to worry about always having access to E85 and can put 93 octane in it as well.
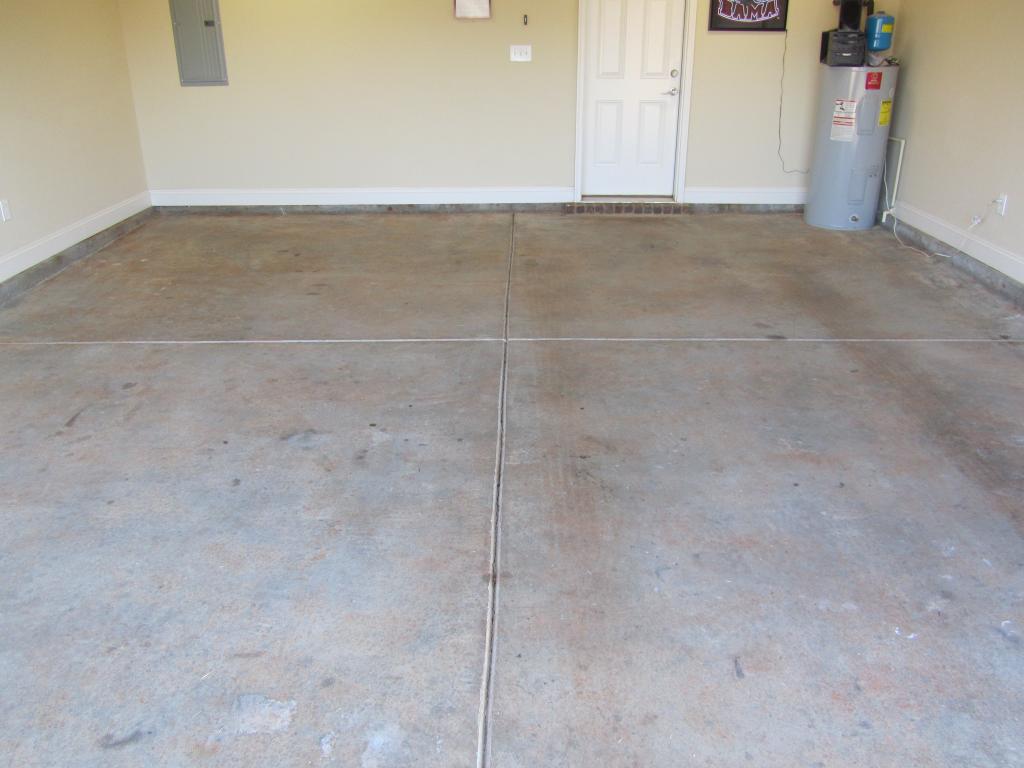
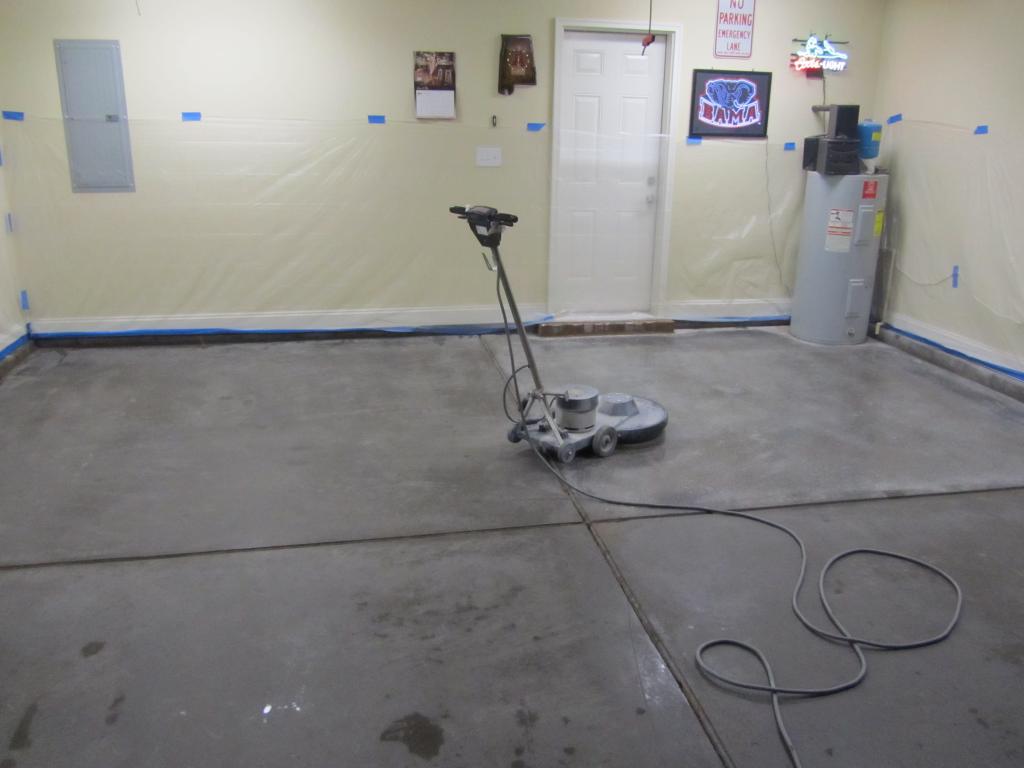
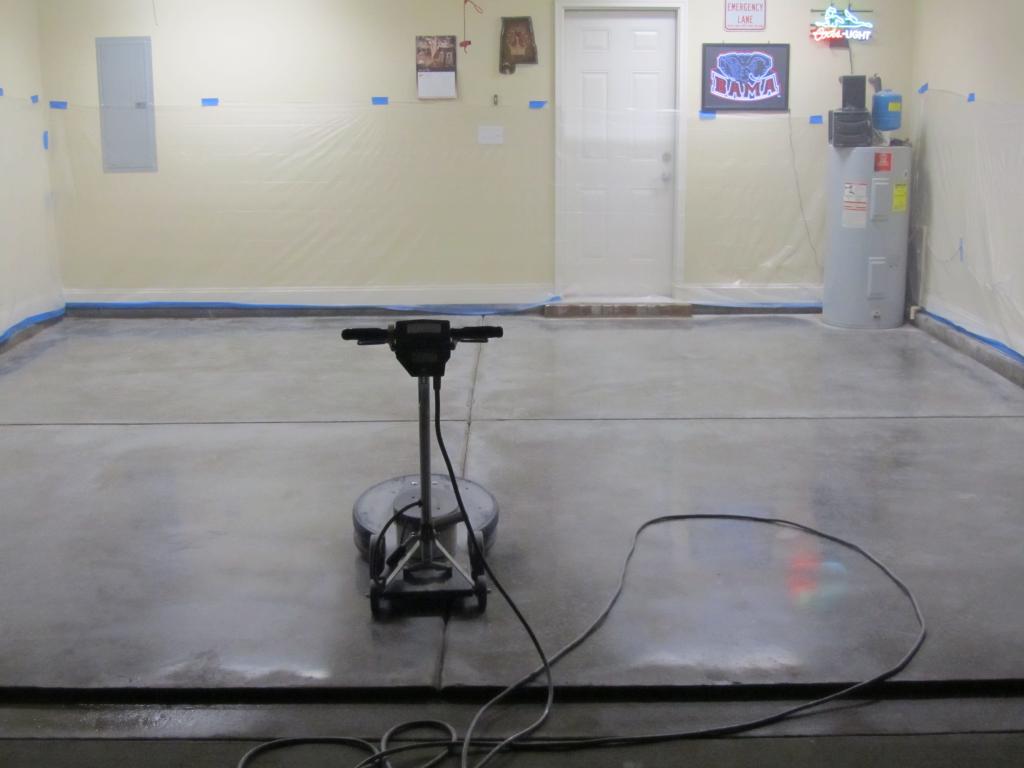
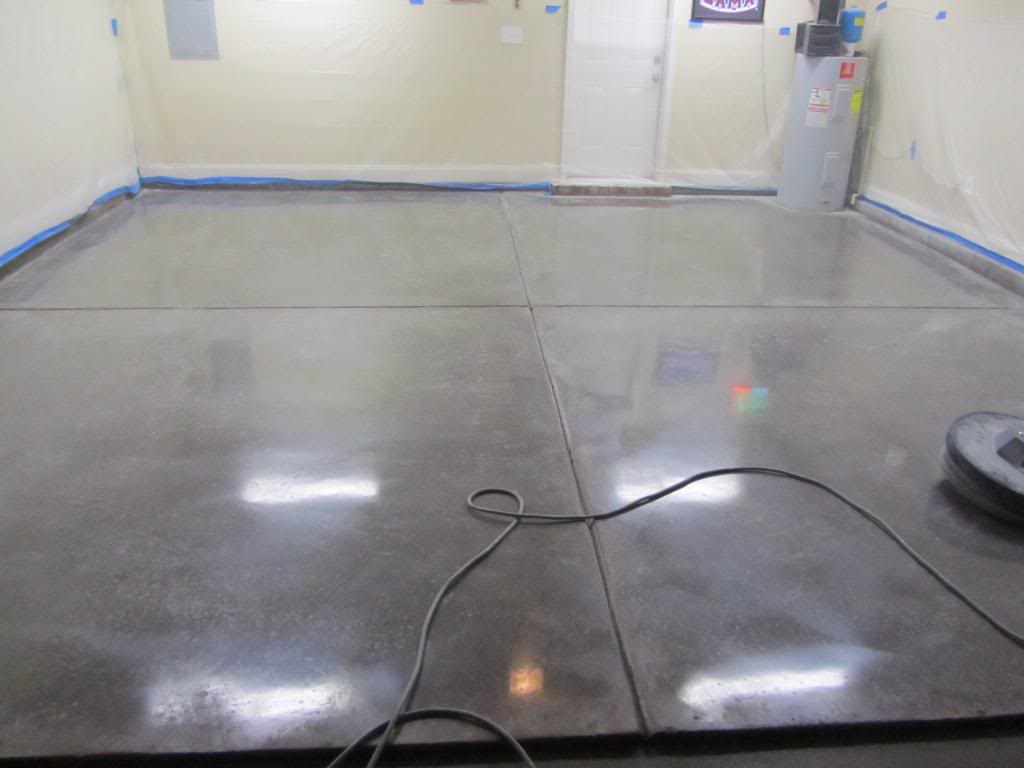
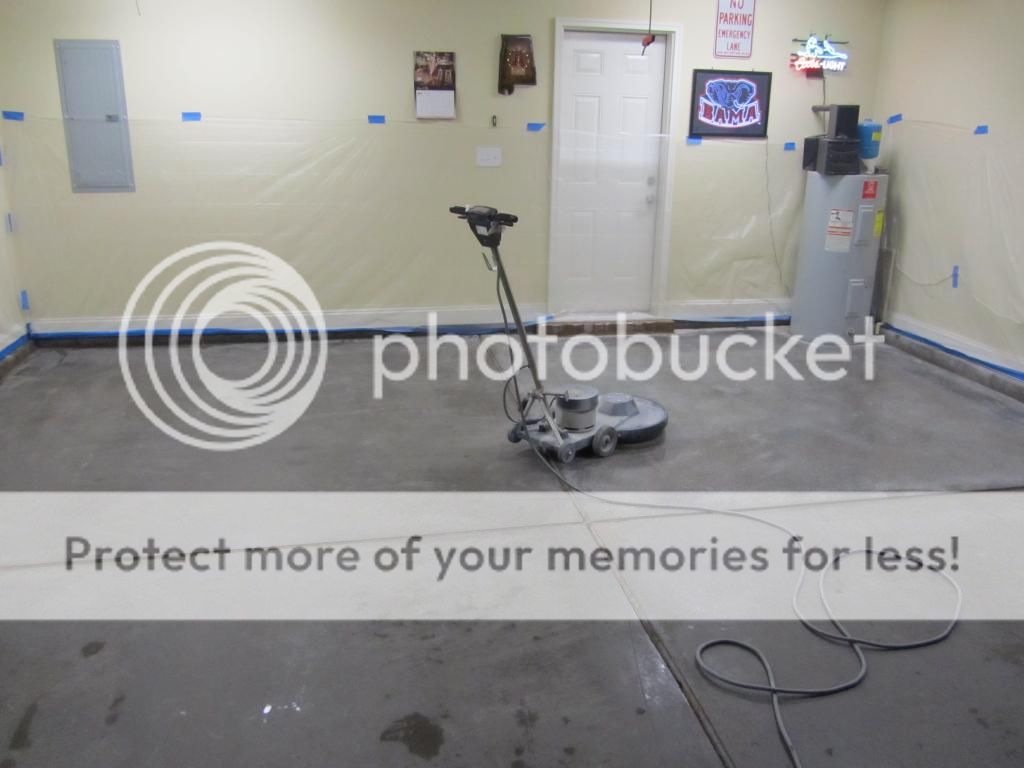
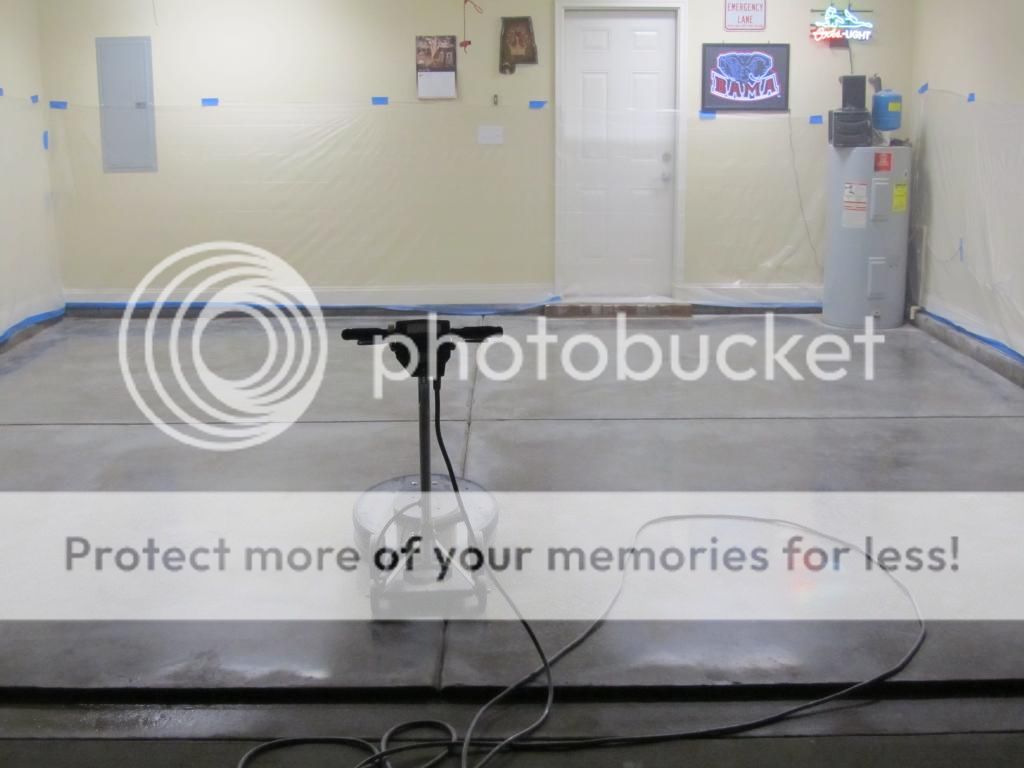
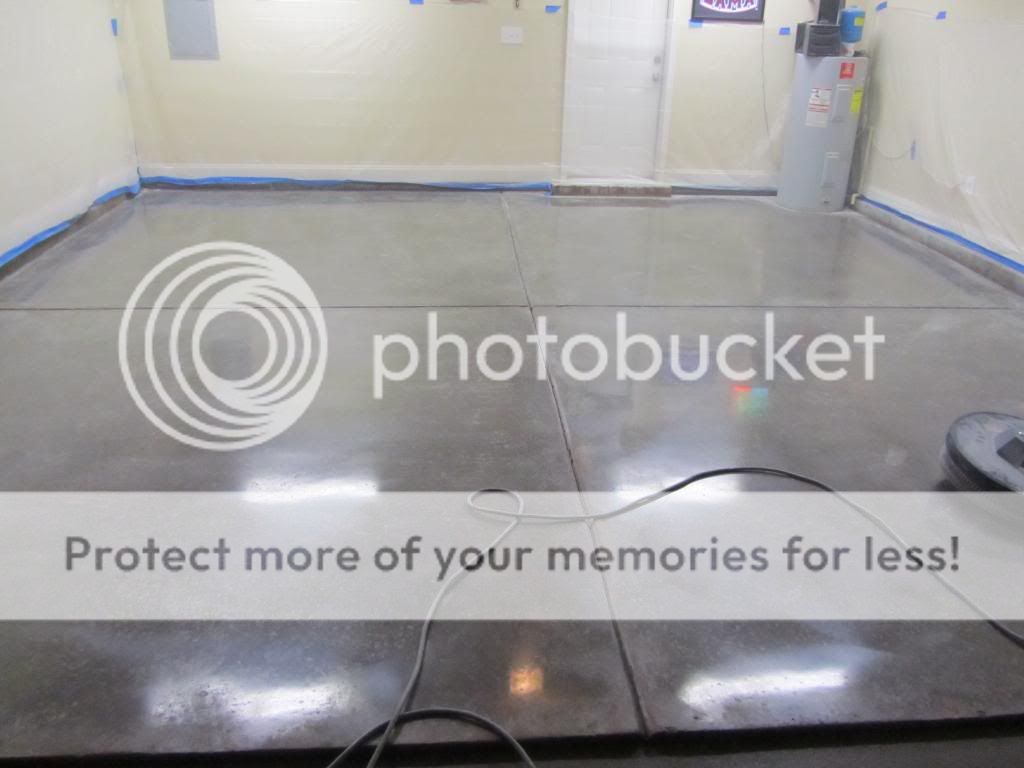
Roughly a day which includes prep and everything...rented the buffer and bought the pads. Finished off with 3000grit and sealed. It will never lift of peel since its polished concrete and not a epoxy or paint. If have to look at my notes and see what grits I used.
That garage looks awesome! Thanks for the pics. I was thinking of trying to set mine off to the side but I may center it more like how you have yours.
I would use the Holley ECU but it won't allow for the use of my stock guage cluster which makes it a no go for me. My goal is to have a OEM looking finish with a few custom touches that don't really jump out at you. So the stock gauge cluster is a must for me.
That is correct from my understanding they are ran off CAN Bus and the Holley won't allow for it. It's just 1000-1100 crank HP. I don't think the E40ecm will be any issues. Everything I've read is that the Holley won't support the factory gauge cluster. All of my current wiring is PnP as well which I like as well. Not a single wire is spliced and everything functions like OEM. The Holley would just be a standalone harness.
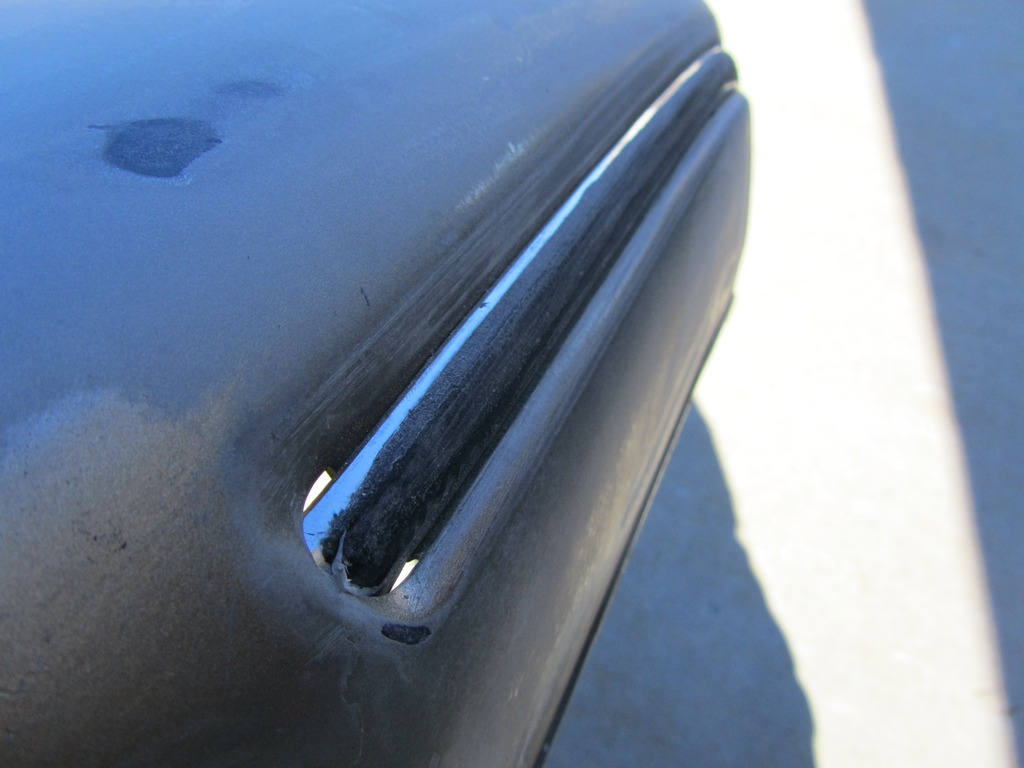
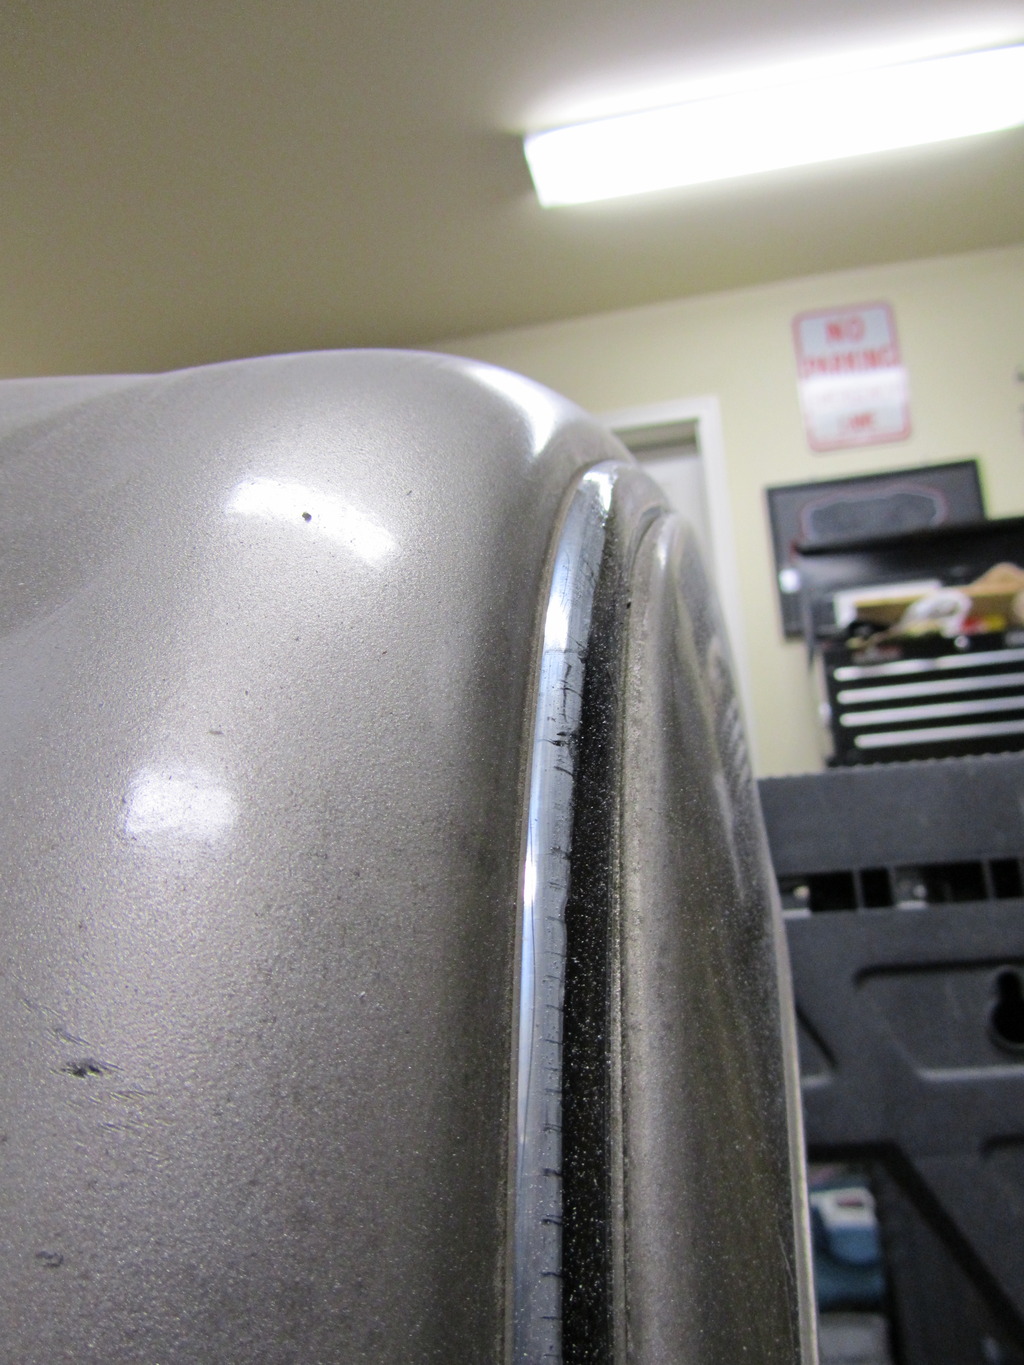
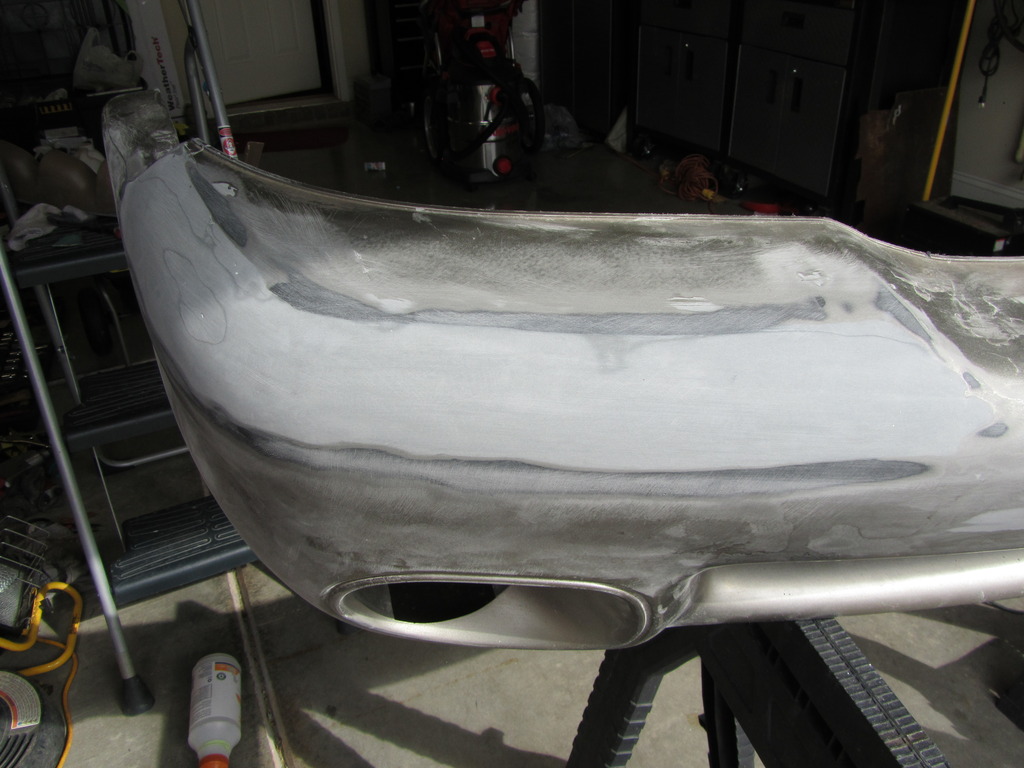
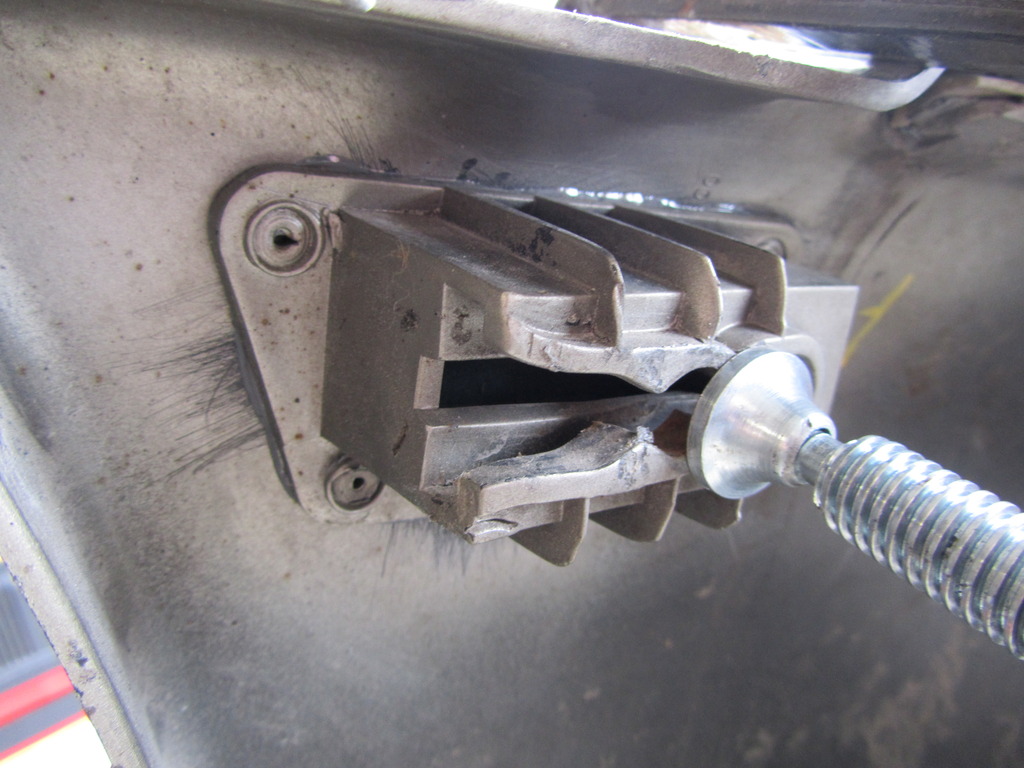
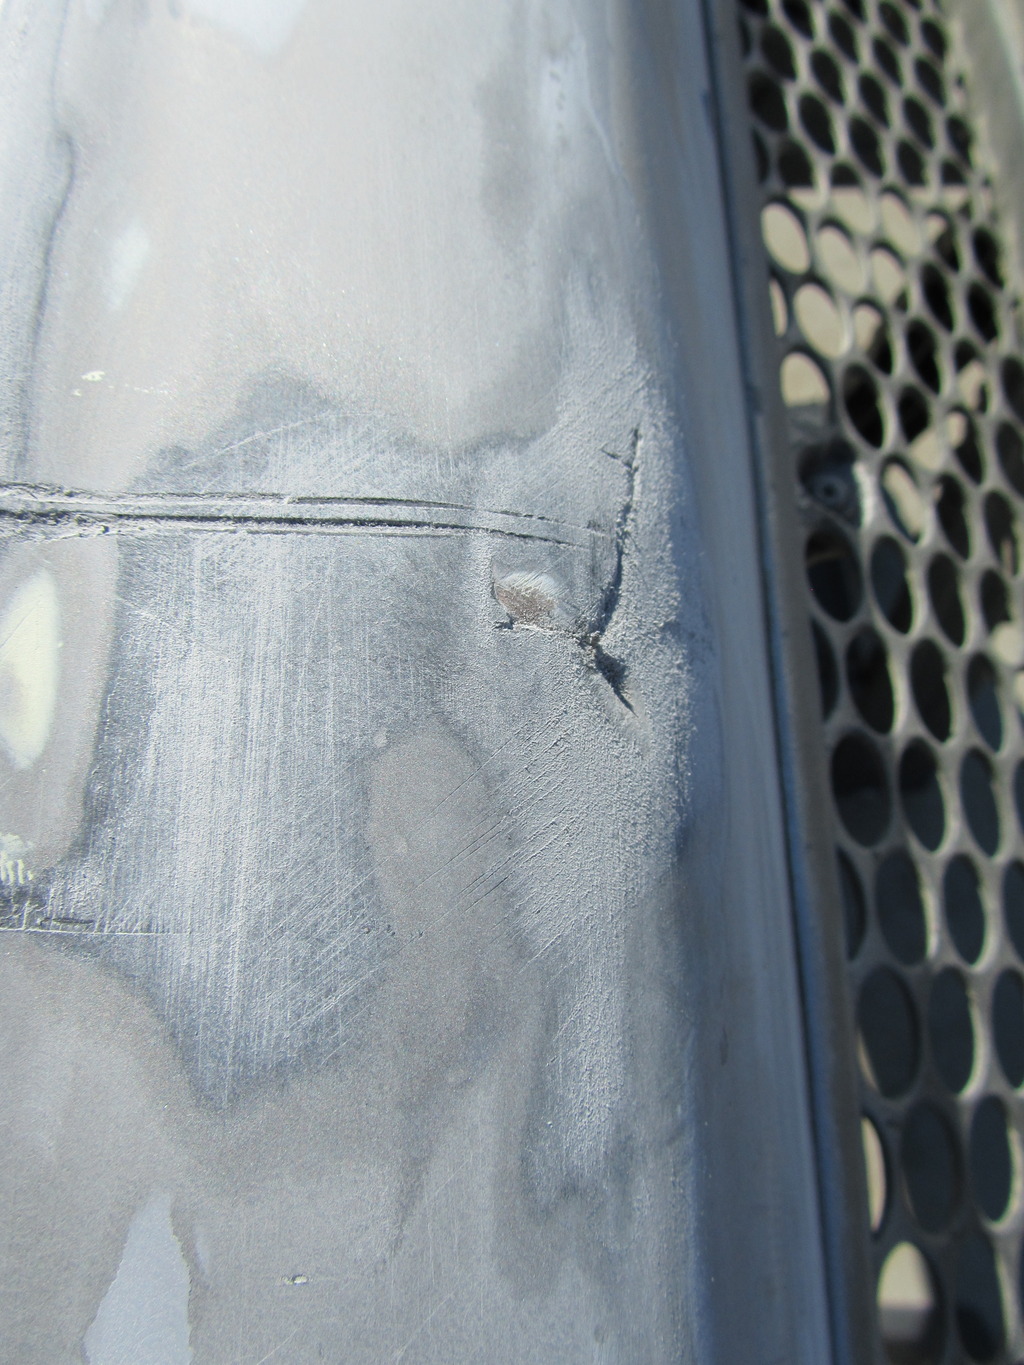
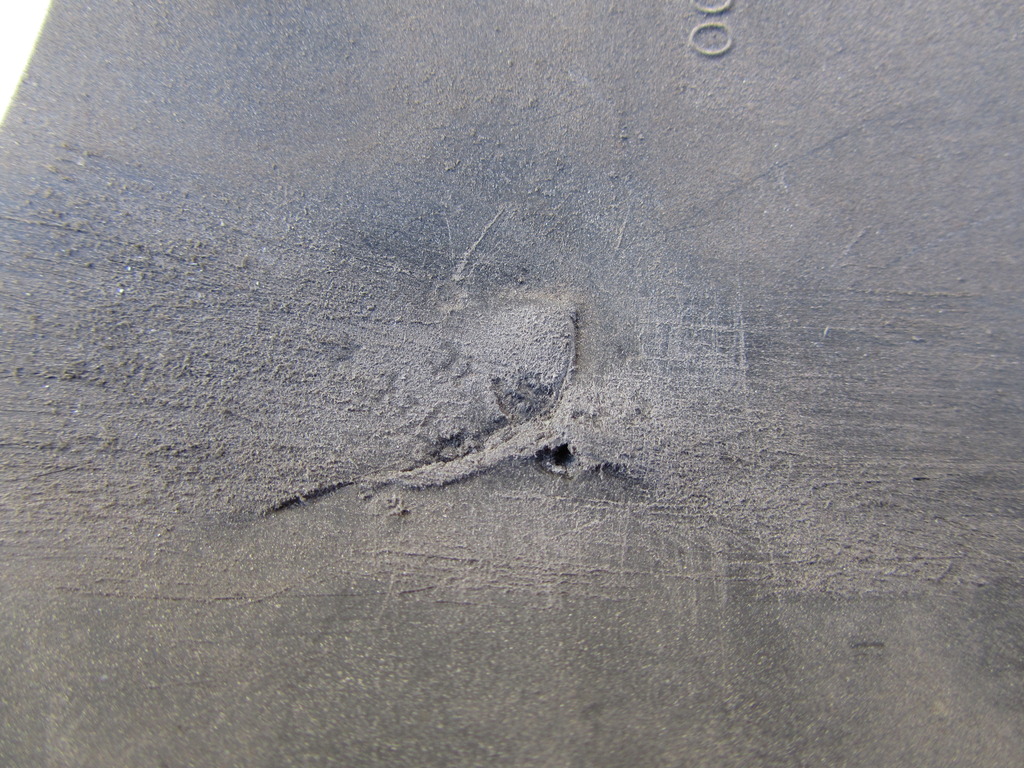
Working on deleting the chrome strips on the Envoy Bumper and repaired a gaint gash in the center of it along with one of the mounting tabs. I used 3M 05887 Flexible/Semi Rigid Plastic Repair.
Before:
After:
Mounting tab being fixed
Reinforced the tabs in the center of the bumper cover
I cut the rough edges so I could fit them back together as tight as possible then I plastic welded the edge together front and back before sanding and applying the 3M Repair.
Nice work Petro! BTW, it's Rick from the S10 forum (Iroc-10). I haven't forgot about the tail light pics, just been super sick, and finally getting better.


 03-16-2016, 11:05 PM
 [/
[/ 


 ) I thought I had more pictures of the lift, but here is an older one showing one side and where the Chevelle sits in relation to the lift. Both sides are wide enough for me to open the door and climb in. Not open all the way mind you, but enough for me to squeeze through. The car is up on the lift now, so I'll try to get a shot of it up.