
Petro's ERL Superdeck 427 w/ Whipple 2.9L
 10-21-2016, 05:20 PM
#101


That UltraPro hose is slick as chit. LOL> I'll be reding my fuel hose with that eventually. Let us know if it's as easy to assemble (threading the olive on) as they say.
thanks,
Jim
thanks,
Jim
Last edited by Jimbo1367; 01-13-2017 at 09:26 PM.
 10-21-2016, 07:03 PM
#102

The Russell hose (both stainless and poly braided) with Russell fittings were fairly easy to install. This Earl's Ultra Pro is even easier!!! Watched the video and then knocked it out in under a minute. I got the gold end because everything in the engine bay is basically going to be blacked out so I thought it might add some pop in there. Should I go with black or gold? They also have a pewter and clear anodized finishes for the end.

 12-01-2016, 05:30 PM
#104
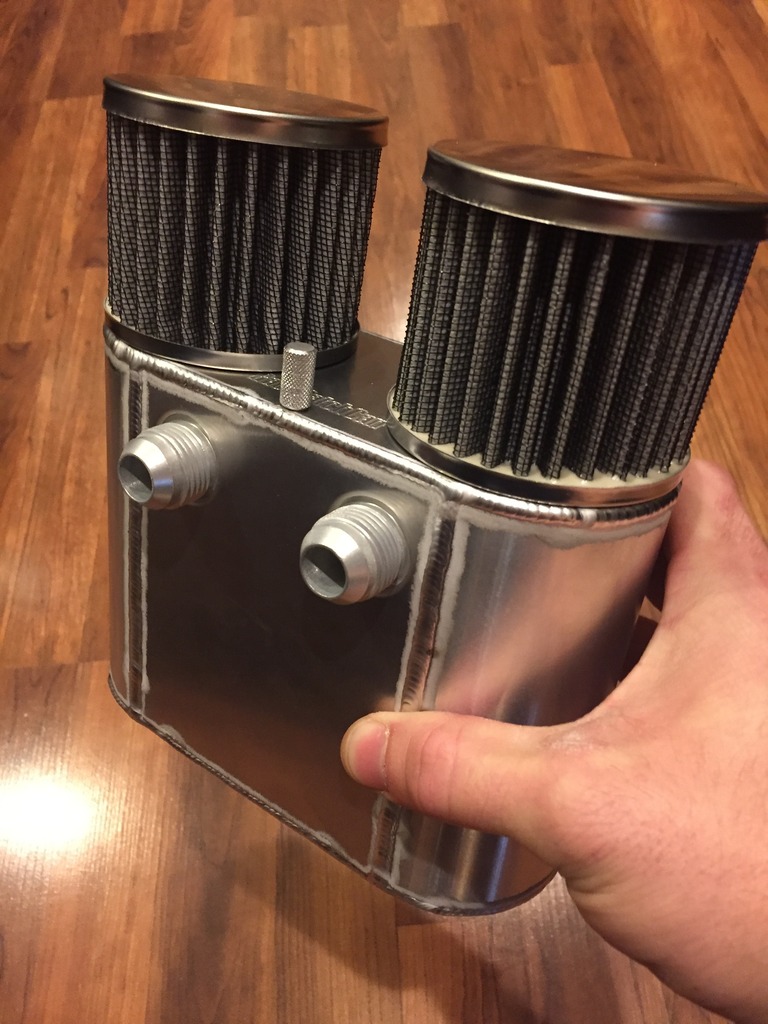
The internet has consumed me for the last 2 weeks looking for deals. Saved about $40 on this catch can and another $200 on tons of miscellaneous parts. It has screw on filters, dipstick, drain plug, and -10 inlets. The internal baffle is a piece of aluminum that angles in front of the inlets so the oil should in theory hit it and fall down. I plan on packing it with steel wool and placing a check valve on the lines so it can't be sucked back into the engine.
 12-19-2016, 04:04 PM
#105
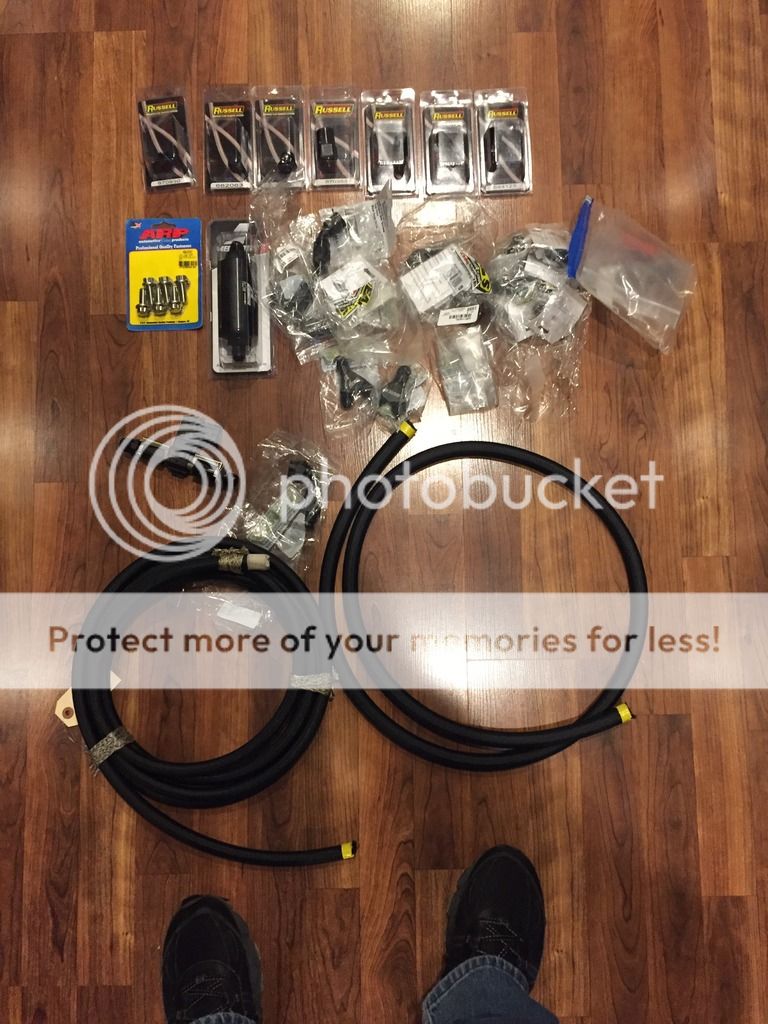
I have all my fuel lines and fittings. It paid to keep a eye out on holiday sales as I saved a ton. It took a bit of work comparing prices and shuffling around stuff to get free shipping though as the places that sold this stuff dont offer any additional discounts for these parts. Worked it out to get a free Adjustable AN Wrench from Russell with rebate because I like free stuff.
Ultra Pro Hose
Misc fittings with some speciality ones like the 3/8" quick connect to -8 fitting
(I went with the black hose ends instead of the gold)
Aeromotive 10 micron glass media filter for E85/methanol use and flows 1260 ltr/hr vs 660 ltr/hr that most others flow.
Check valve for the twin fuel sender setup
Etc etc

 12-22-2016, 11:24 AM
#107
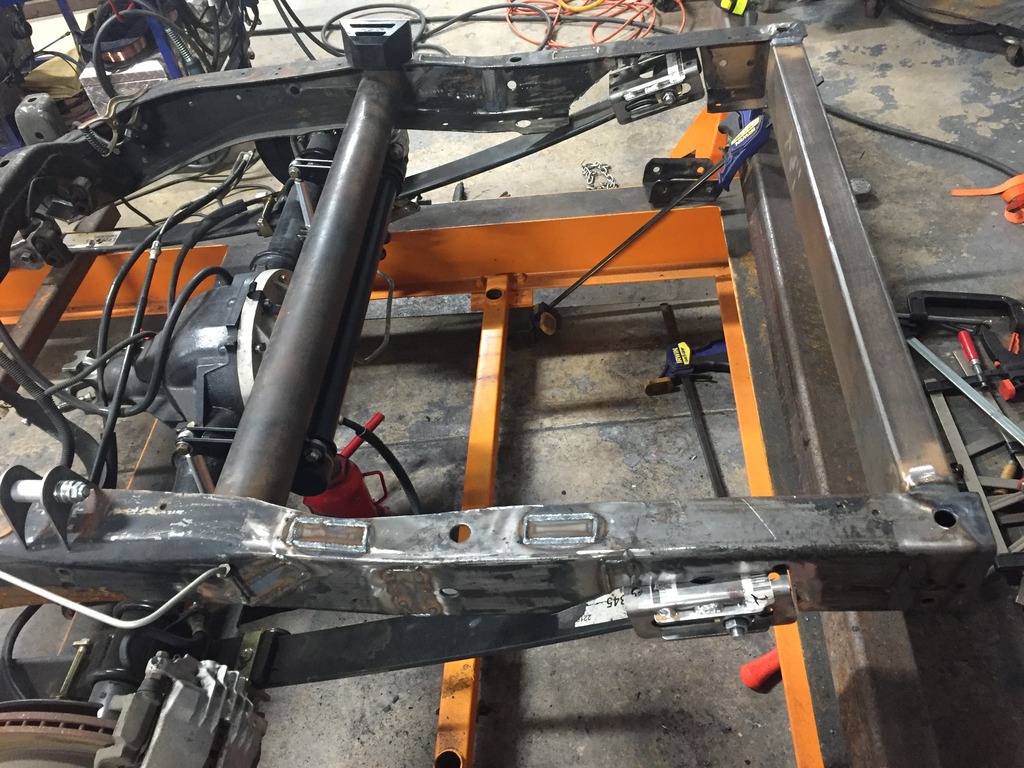
Front leaf mount raised 1.5" , rear crossmember welded in, new shock bar crossmember welded in, and Anti Roll Bar welded in. A few more tidbits to wrap up and I'll be bringing the frame home and start putting the truck back to together to check for clearances on everything.


 01-13-2017, 07:58 PM
#108
I have working OEM Ballasts and Bulbs for the Envoy headlight (I even bought another set headlight for just in case one gets busted and they're so hard to find.) But this mod is clean, simple, and just plain works. Found it on the forum and decided to do it as well.
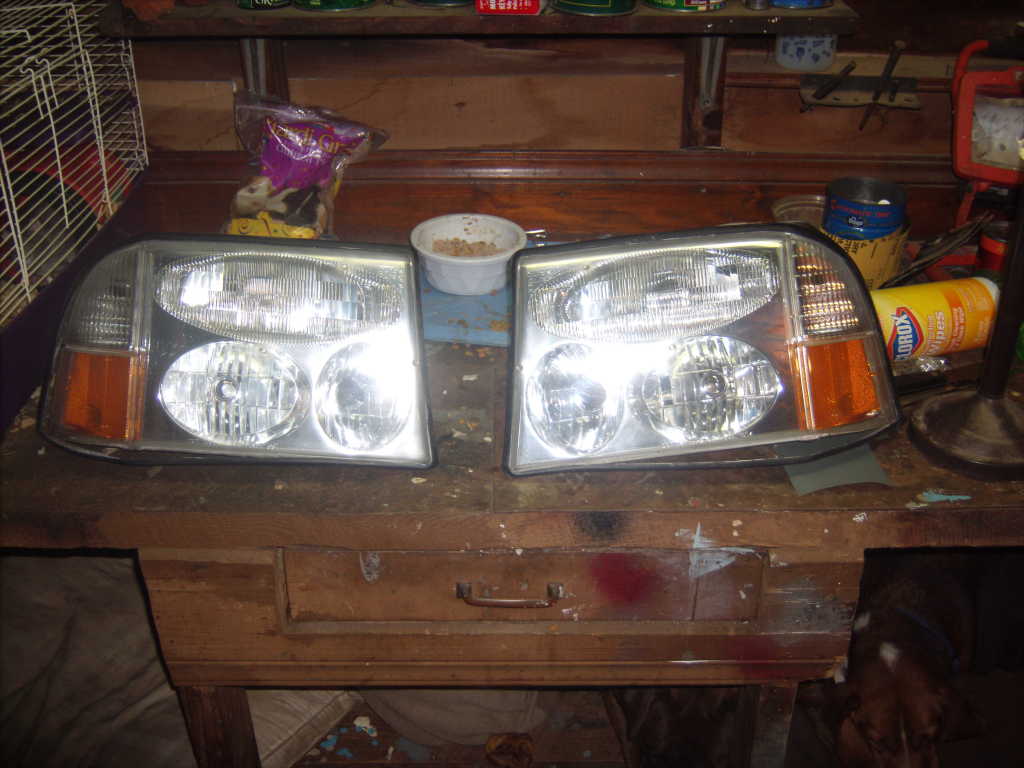
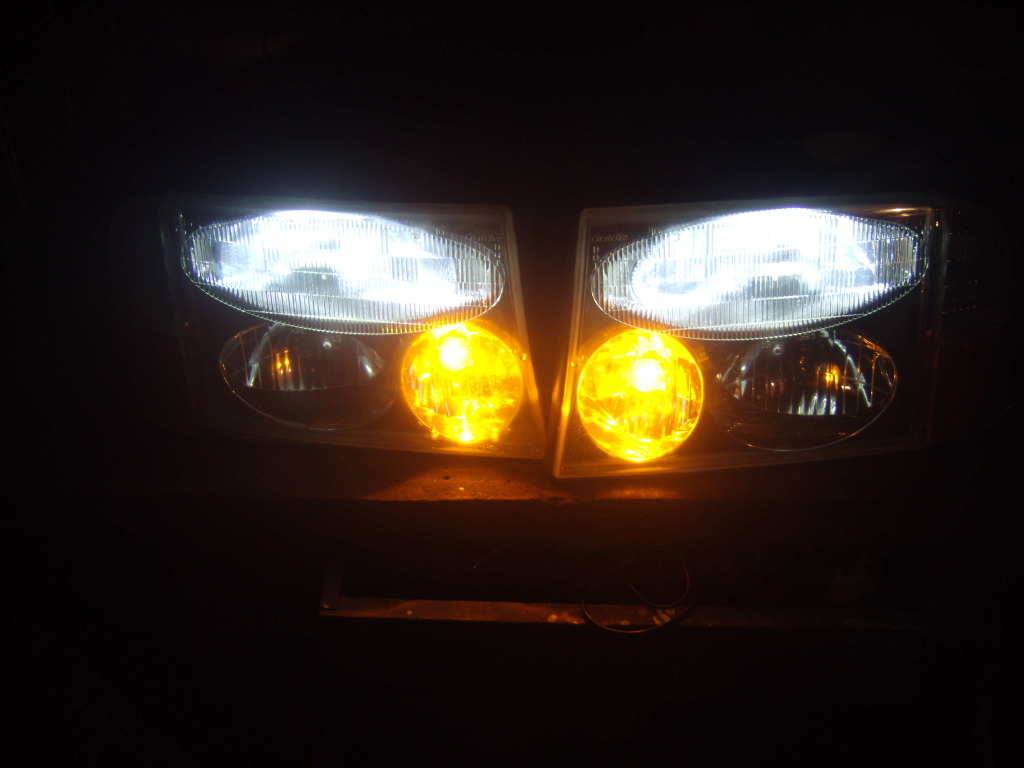
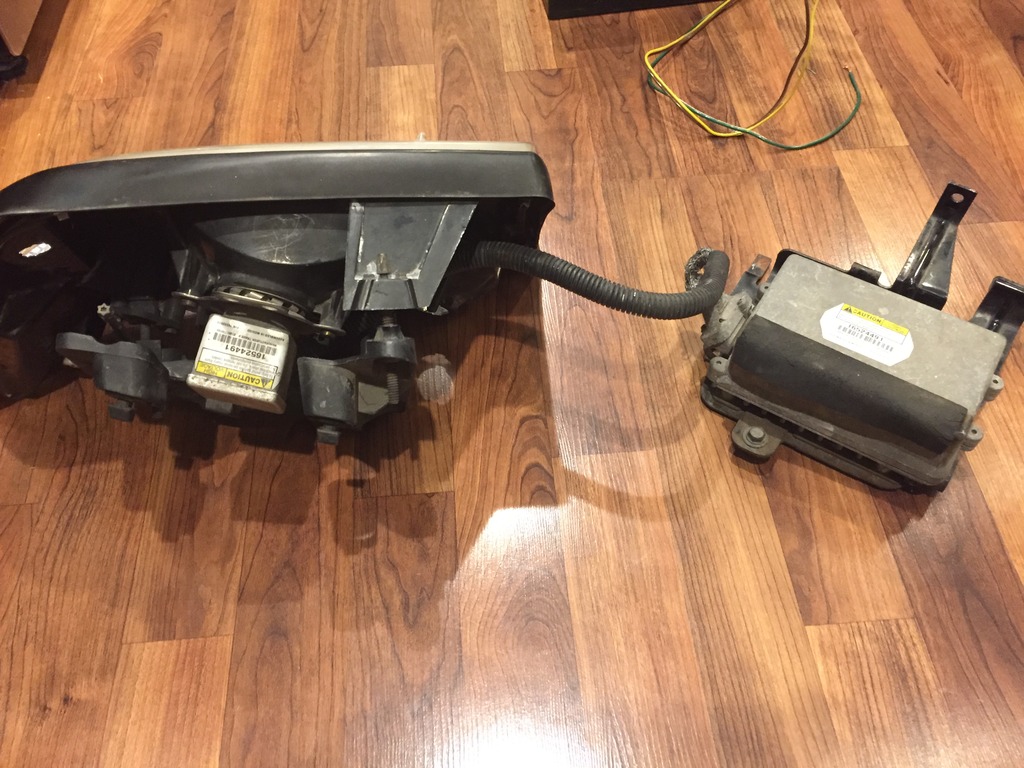
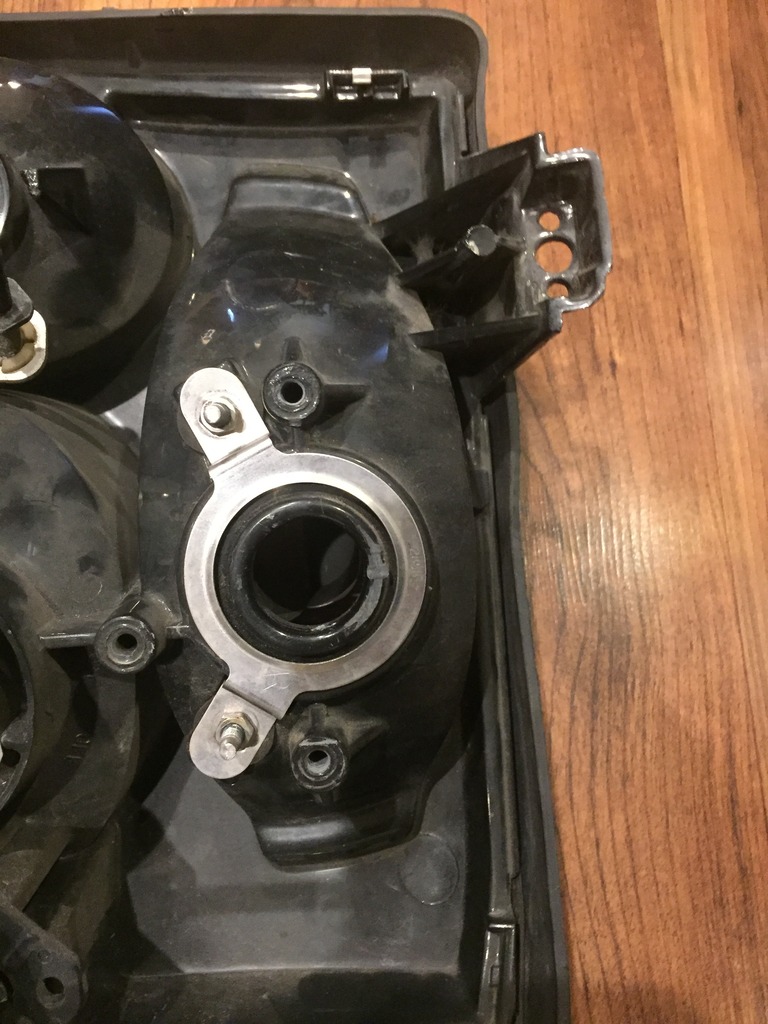
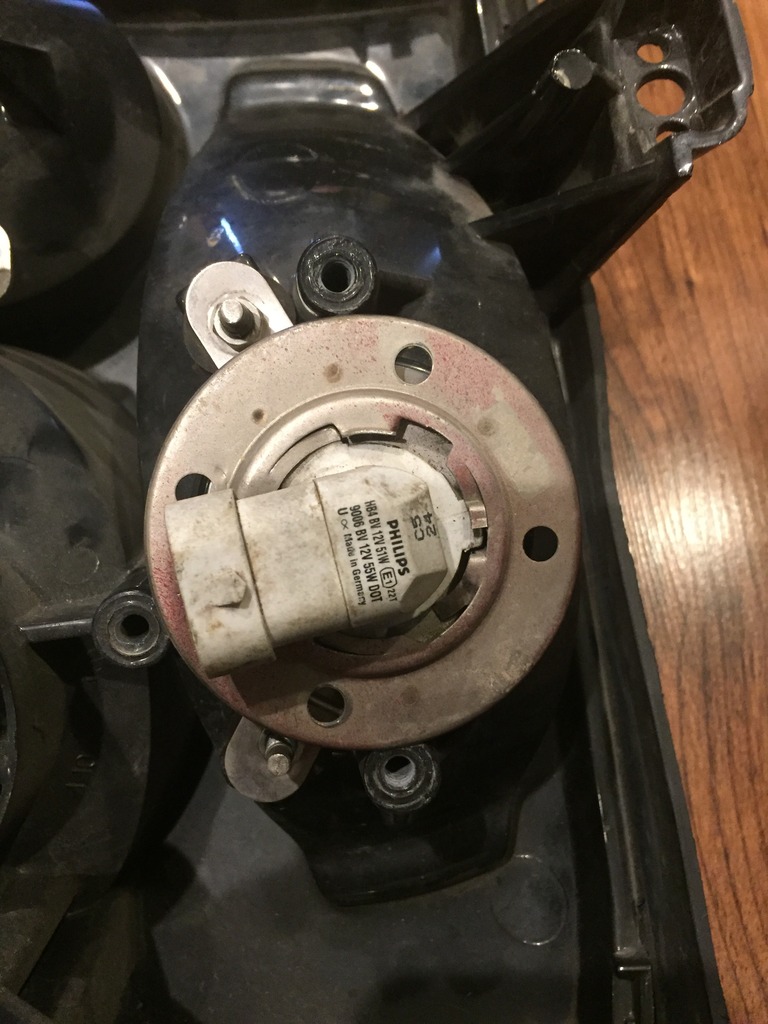
Any S10 fanatic will know how these are the rarest of the rare. Gen /Mk 1 GMC Jimmy Envoy and Black Diamond edition headlights with factory Xenon HID bulb and ballast. Circa 99-01. Problem is they don't make these headlight, bulbs w/igniters, or ballasts anymore. When they did make them they were dealership only parts and costed about $1,200 just to replace the bulb/igniter and ballast. I dont know what the headlight themselves costed from the dealer. When you remove the bulb/igniter (they aren't like D1S bulbs that can be seperated from the igniter) there is no way to secure a regular 9006 low beam bulb into place as you can see in the pic once the bulb/igniter is removed. Well there's a perfect answer thanks to those that have come before! ( I plan to keep and use the factory stuff until it eventually wears out which will happen as they are known for it)
OEM bulb/igniter and ballast
Bulb that is not removable from the igniter with non removable mounting bracket. (Later version 2000 to 2001 had a removable mounting bracket but the bulb was still non removable)
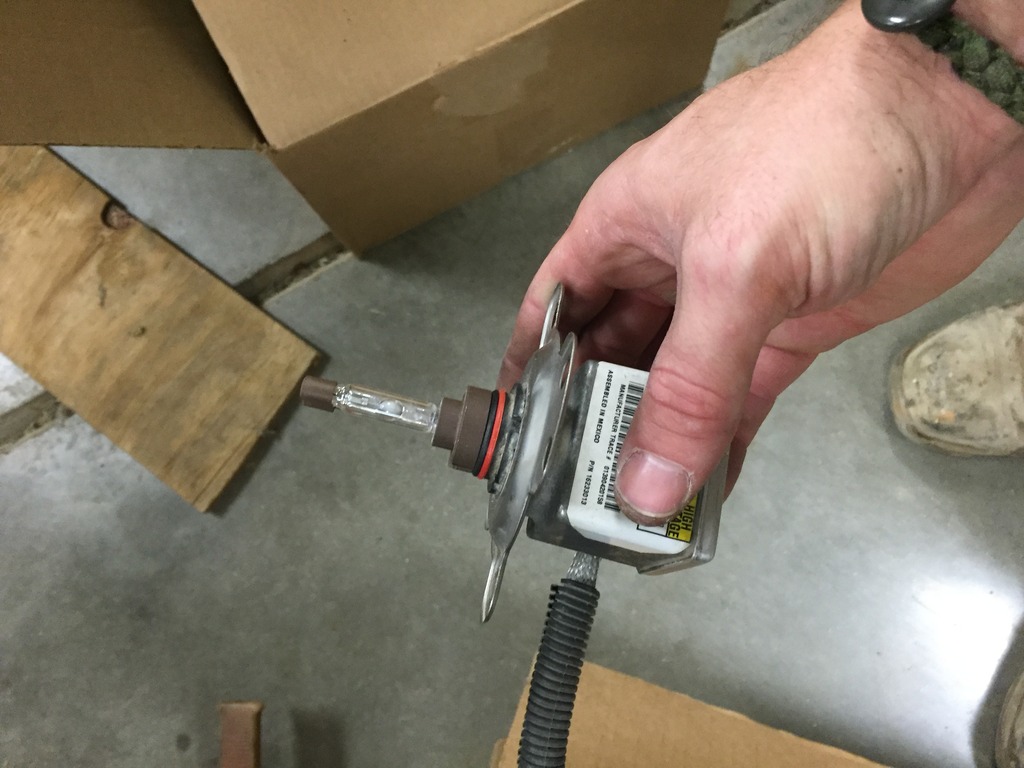
Bulb/igniter and mounting bracket removed
Any S10 fanatic will know how these are the rarest of the rare. Gen /Mk 1 GMC Jimmy Envoy and Black Diamond edition headlights with factory Xenon HID bulb and ballast. Circa 99-01. Problem is they don't make these headlight, bulbs w/igniters, or ballasts anymore. When they did make them they were dealership only parts and costed about $1,200 just to replace the bulb/igniter and ballast. I dont know what the headlight themselves costed from the dealer. When you remove the bulb/igniter (they aren't like D1S bulbs that can be seperated from the igniter) there is no way to secure a regular 9006 low beam bulb into place as you can see in the pic once the bulb/igniter is removed. Well there's a perfect answer thanks to those that have come before! ( I plan to keep and use the factory stuff until it eventually wears out which will happen as they are known for it)
OEM bulb/igniter and ballast

Bulb that is not removable from the igniter with non removable mounting bracket. (Later version 2000 to 2001 had a removable mounting bracket but the bulb was still non removable)

Bulb/igniter and mounting bracket removed

Last edited by Petraszewsky; 01-13-2017 at 08:23 PM.
01-13-2017, 07:59 PM
#109
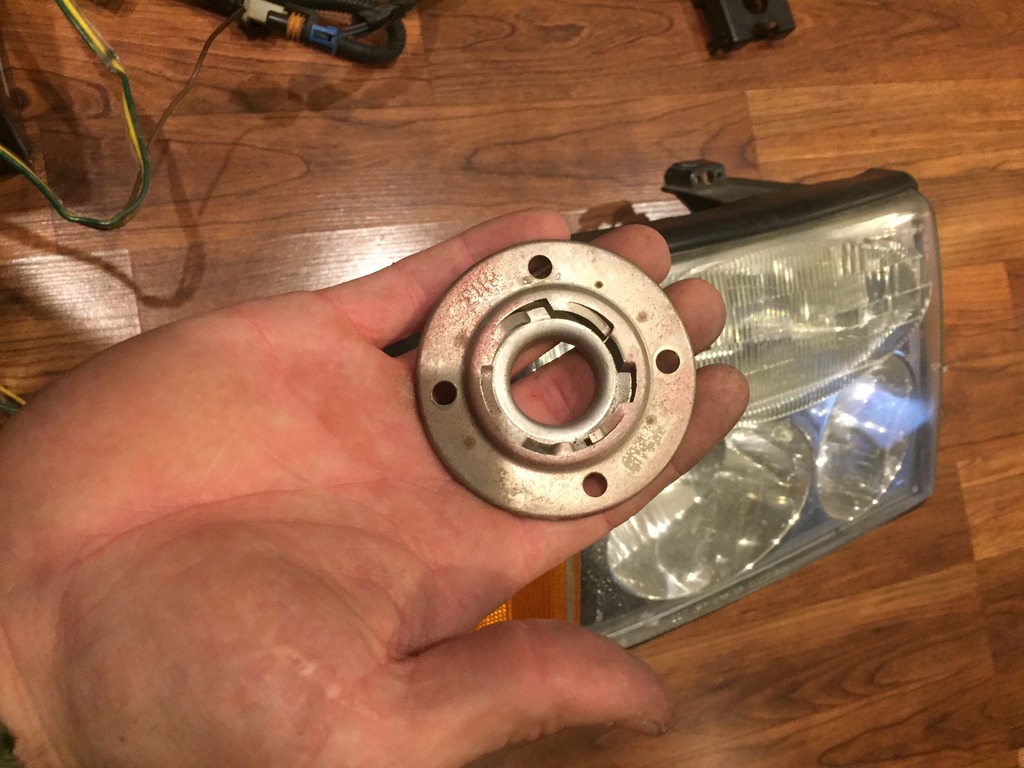
Hotrodding at its finest...You go find a early 90s Lincoln or Buick and take the 9006 bulb holder off it. The bulb holder is self contained in that it isn't just a top plate to sandwich the bulb. It has a inside lip that holds the bulb into place. Factory type caulk seals the front portion to the headlight assembly keeping out moisture and dirt. Now to make a top plate to keep the bulb holder in place. And now I can have super bright LED headlights in a factory projector housing.
Side that faces out...notice the lip that makes the holder self contained
Side that faces the headlight with the caulk that seals out moisture and dirt from the housing.

Only thing left to do is to make a bracket to sandwich the metal bulb holder onto the housing. Screw that into the two factory mounting holes and then secure that to the Regal 9006 bulb holder.
Side that faces out...notice the lip that makes the holder self contained

Side that faces the headlight with the caulk that seals out moisture and dirt from the housing.

Only thing left to do is to make a bracket to sandwich the metal bulb holder onto the housing. Screw that into the two factory mounting holes and then secure that to the Regal 9006 bulb holder.

Last edited by Petraszewsky; 01-13-2017 at 09:42 PM.
01-13-2017, 09:31 PM
#110
Very informative. Thanks for sharing.
01-13-2017, 09:50 PM
#111
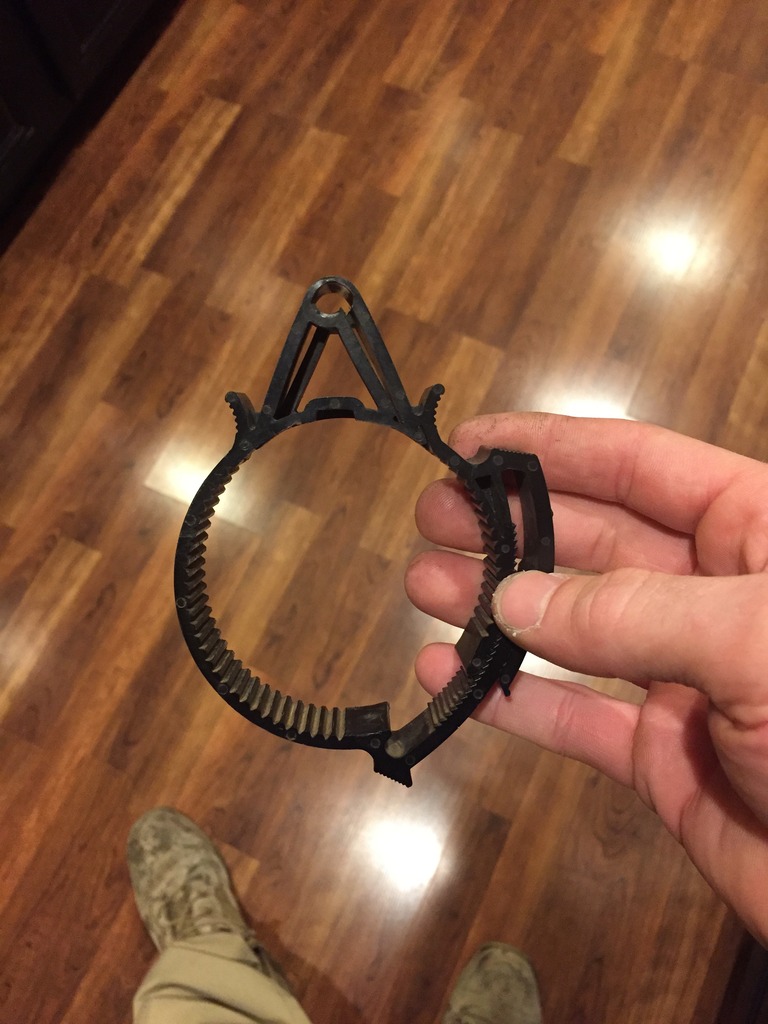
I also grabbed another one of these axle tube brake line holders today. They came on Blazers and not S10s. On S10s they just zip tied the hardline to the rearend. Moser makes these for $10 a piece. A nice easy, simple, and clean install to hold your hardline on your rearend. Of course with disc brake rears you would still need a weld on or clamp on tab for the the adapter to flex line.

 02-04-2017, 04:14 PM
#113
I have some room where I wasn't expecting it and the no room where I wasn't expecting it. But it's looking decent. The fans/shroud need to be recessed into the core support some more somehow or get thinner fans that flow same/more cfm to clear the accessory drive. And heat exchanger fitment will be tight as well.


 02-27-2017, 01:29 PM
#118
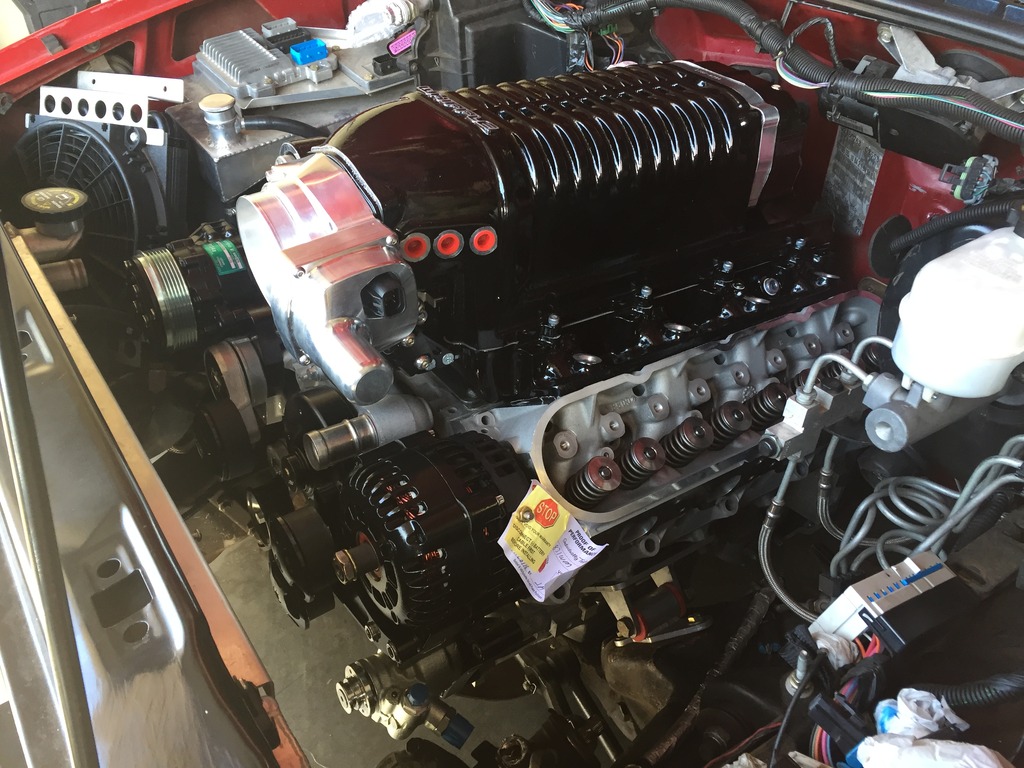
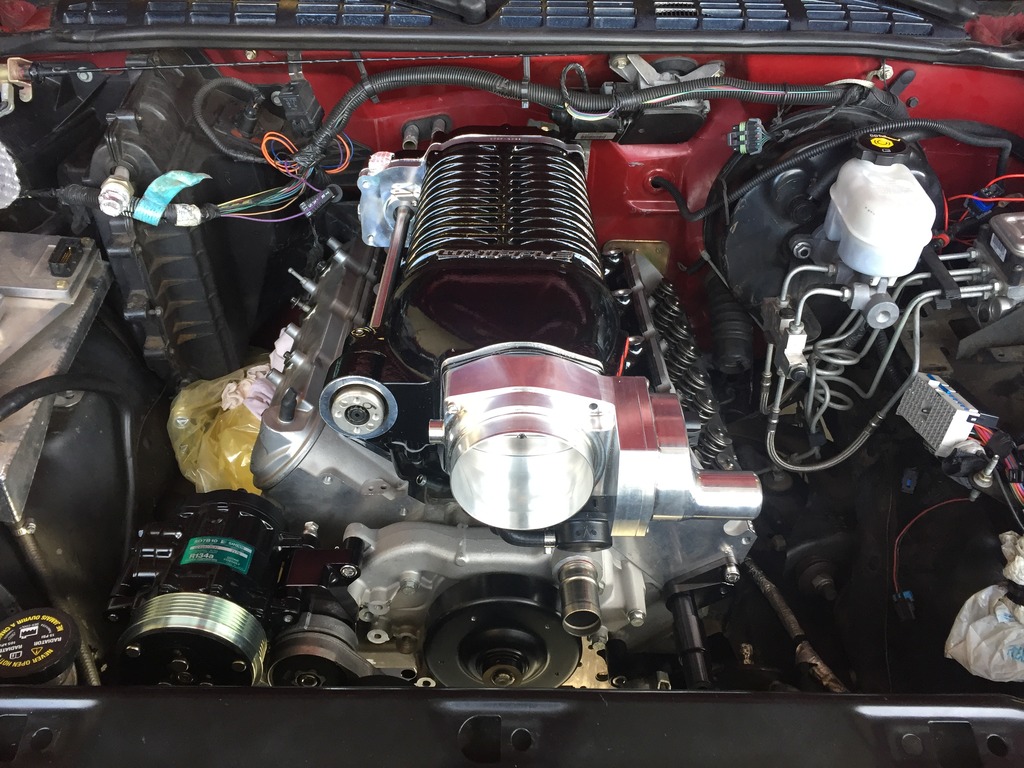
I sent the supercharger off to have a blower plate made for it...you never know when you might need a little extra go power.
Thanks to Atomic for linking the OEM style 304 stainless filler neck for me. Some background....I came up with the idea to have a 1/2" thick flange with a 1/4" deep inner recess cut into it so a fuel door would sit flush to the top of the flange and the flange would sit level with all raised ribs in the bed floor. I was reviewing my idea and looking at pictures where people had put fuel doors in their beds. I starting thinking the look didn't go with what I was shooting for so I brainstormed something new. There's no way to directly connect the pop up style cap/neck to the tank and have the neck welded to the bed floor as there's only 2.5" between the bottom of the bed and where the top of the tank will be. So to keep the bed and the flush mount cap independent of the fuel cell and still be able to fill it I thought of using a push through style cap on the tank. I liked the flush mount pop up motorcycle/hotrod fuel caps. The problem with those is that they are only about 1 5/8" diameter (going back to not having room to connect the two with hose) nowhere near big enough to get your hand through to unscrew a cap on the tank filler neck. (I know those are typically used as the actual fuel cap) So again thanks to Atomic who linked the filler neck to me ( I wanted stainless since my tank is being made in stainless) The filler cap has a o-ring seal and the push through flapper has a rubber gasket seal. It's very airtight and the setup vents while filling the tank. I'll position the filler neck and flush mount cap so that's it's centered side to side in the bed. Should blend right in and be easy to fill hopefully that is.
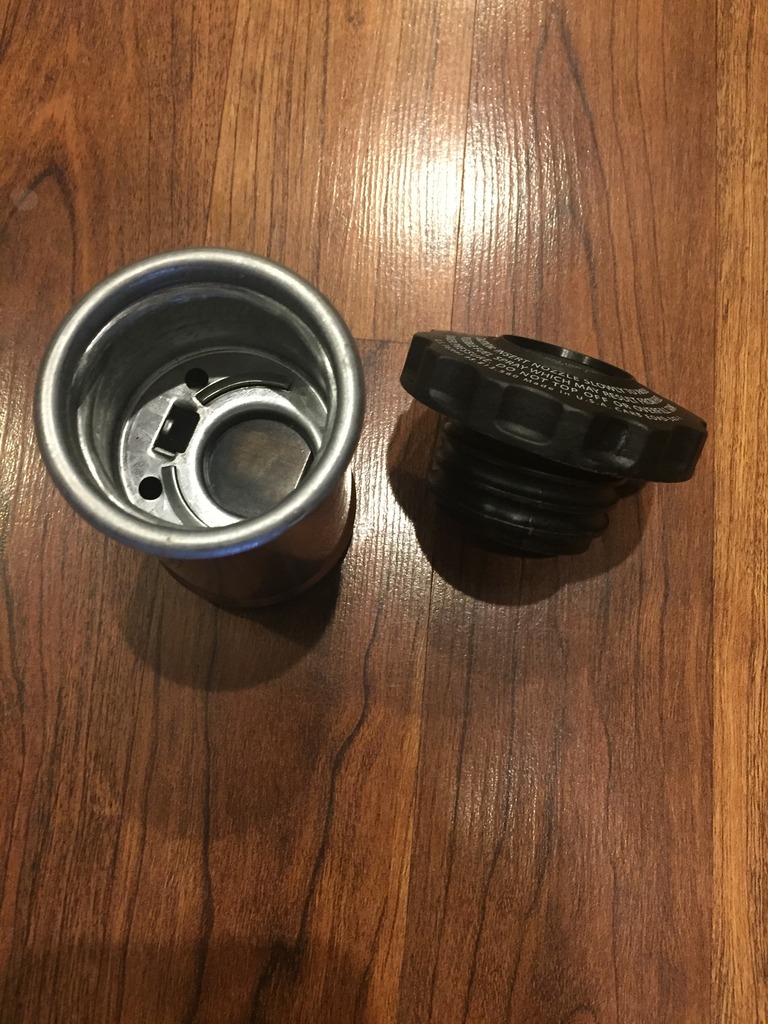

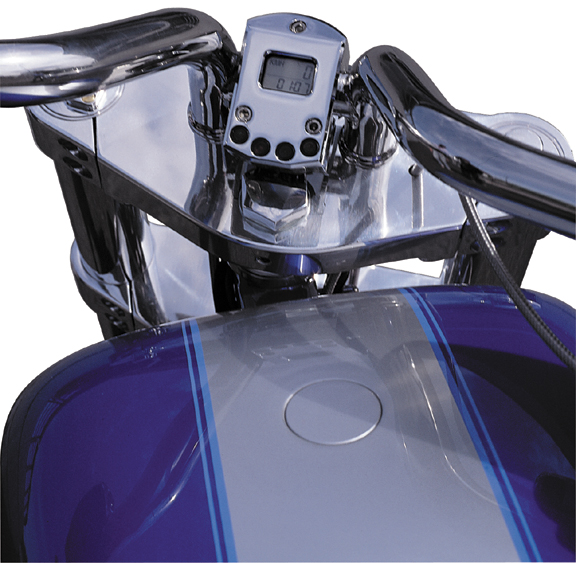
Thanks to Atomic for linking the OEM style 304 stainless filler neck for me. Some background....I came up with the idea to have a 1/2" thick flange with a 1/4" deep inner recess cut into it so a fuel door would sit flush to the top of the flange and the flange would sit level with all raised ribs in the bed floor. I was reviewing my idea and looking at pictures where people had put fuel doors in their beds. I starting thinking the look didn't go with what I was shooting for so I brainstormed something new. There's no way to directly connect the pop up style cap/neck to the tank and have the neck welded to the bed floor as there's only 2.5" between the bottom of the bed and where the top of the tank will be. So to keep the bed and the flush mount cap independent of the fuel cell and still be able to fill it I thought of using a push through style cap on the tank. I liked the flush mount pop up motorcycle/hotrod fuel caps. The problem with those is that they are only about 1 5/8" diameter (going back to not having room to connect the two with hose) nowhere near big enough to get your hand through to unscrew a cap on the tank filler neck. (I know those are typically used as the actual fuel cap) So again thanks to Atomic who linked the filler neck to me ( I wanted stainless since my tank is being made in stainless) The filler cap has a o-ring seal and the push through flapper has a rubber gasket seal. It's very airtight and the setup vents while filling the tank. I'll position the filler neck and flush mount cap so that's it's centered side to side in the bed. Should blend right in and be easy to fill hopefully that is.


 02-27-2017, 03:02 PM
#119
I wanted to see if double wall tips really did run cooler than signal wall so I took my Silverado on a lunch trip and made some spirited blasts back home and measured the tubing temp. The double wall tips were only 100*F while the tubing right behind the tip was 260*F and the exhaust gases were 350-400*F. It's cool that the double wall tip runs 150* lower. Maybe the double wall tip with the bezel will keep the abs plastic from melting
I knew I wanted the exhaust tip to exit down low through the body panel in front of the rear tire but didn't want a tip just poking through a hole. I brainstormed and came up with using a 64-66 Corvette exhaust bezel that 3.5" in diameter and 3" double wall tips. I plan to coat the bezel matte black with something like Cerakote to keep the abs plastic panel from melting. Which version looks better?
#1
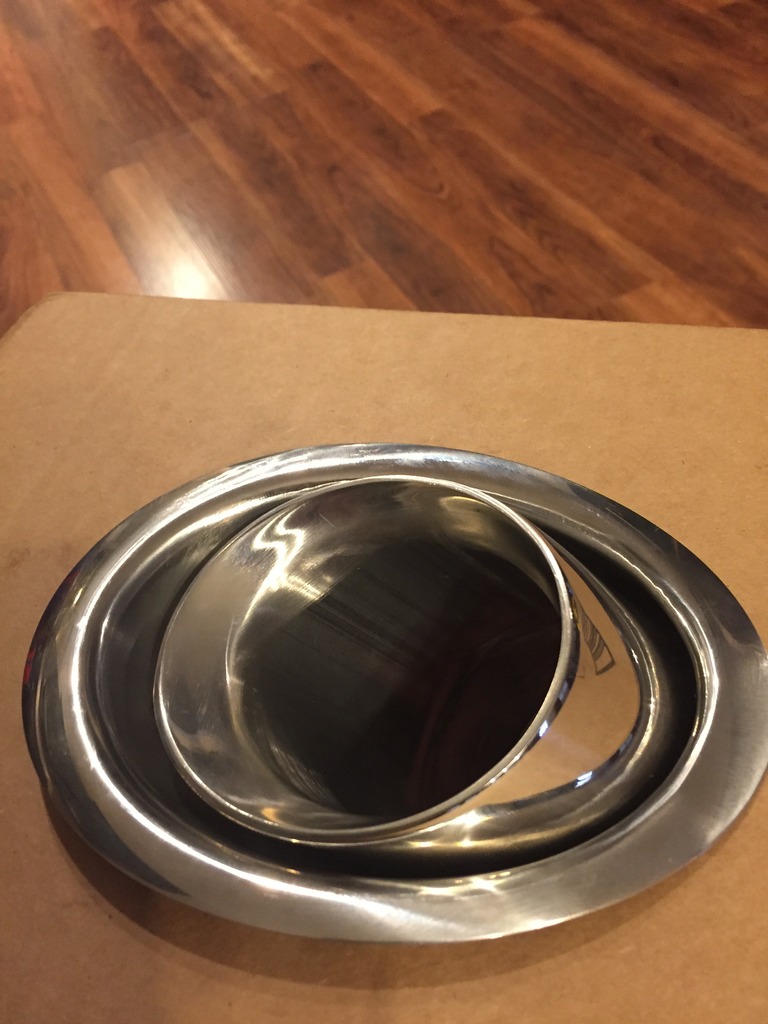
#2 I can weld the screw hole up and smooth it out so don't worry about that.
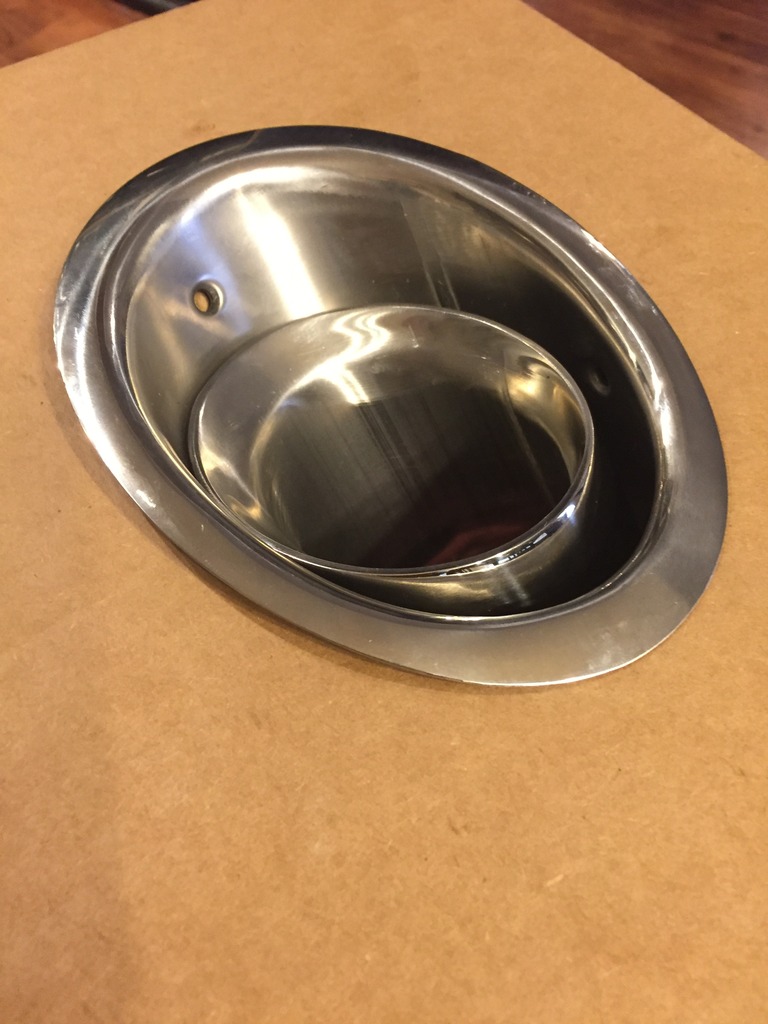

