
2000 Blazer LS1 Swap
 08-07-2016, 04:16 PM
#1
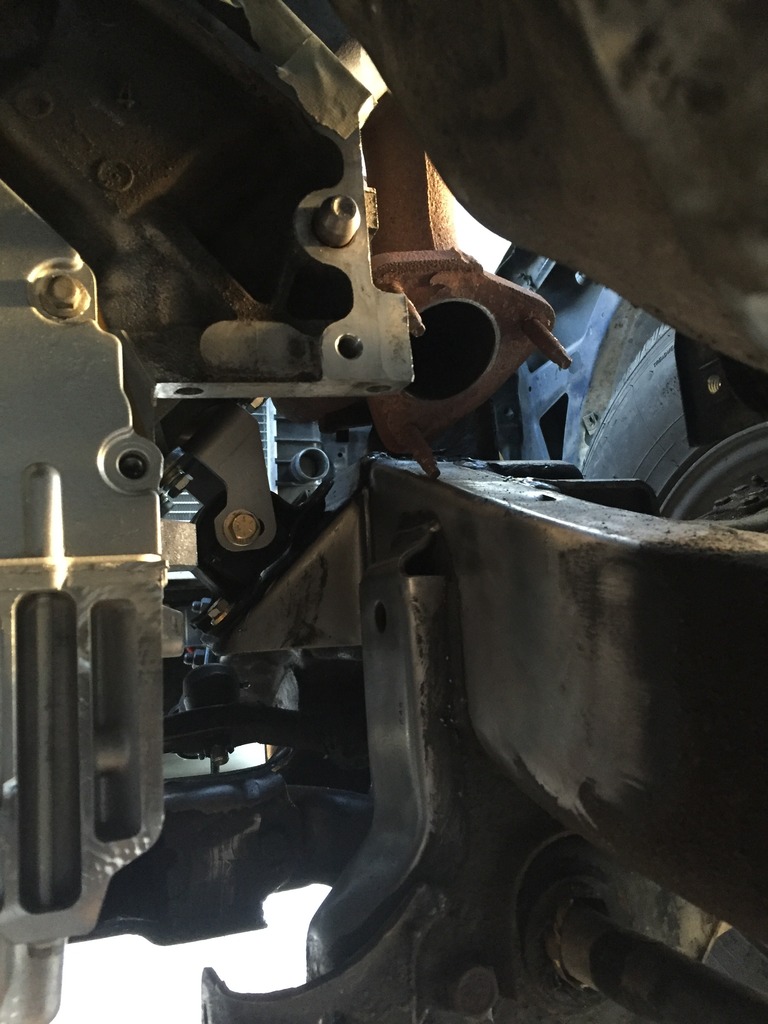
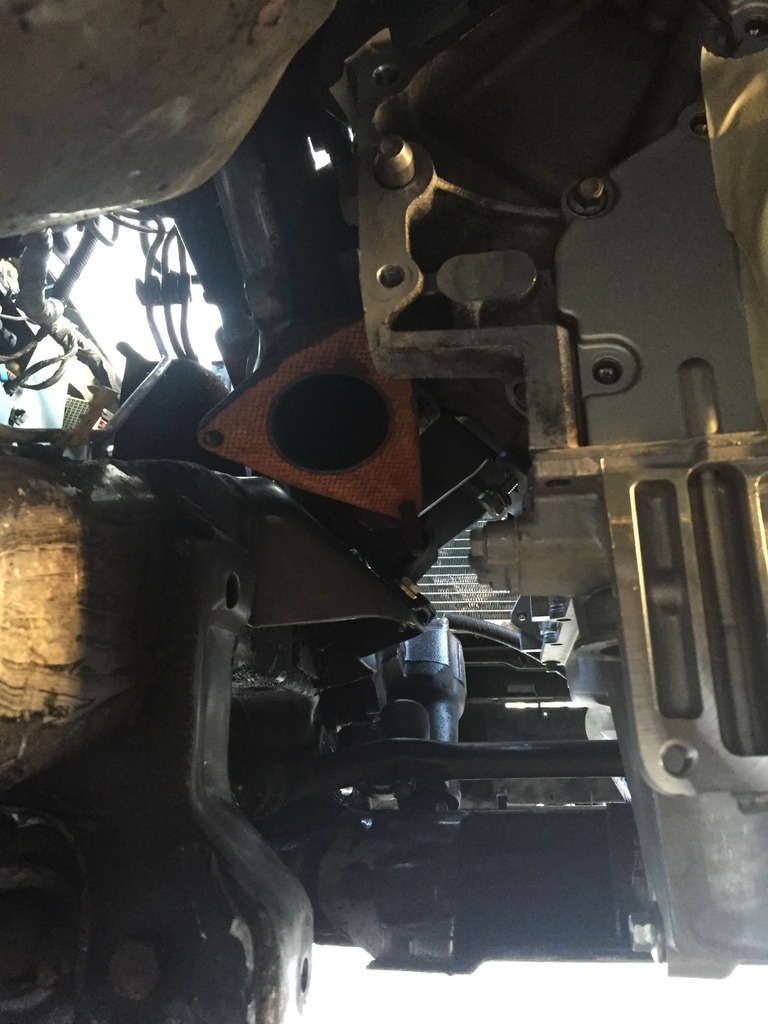
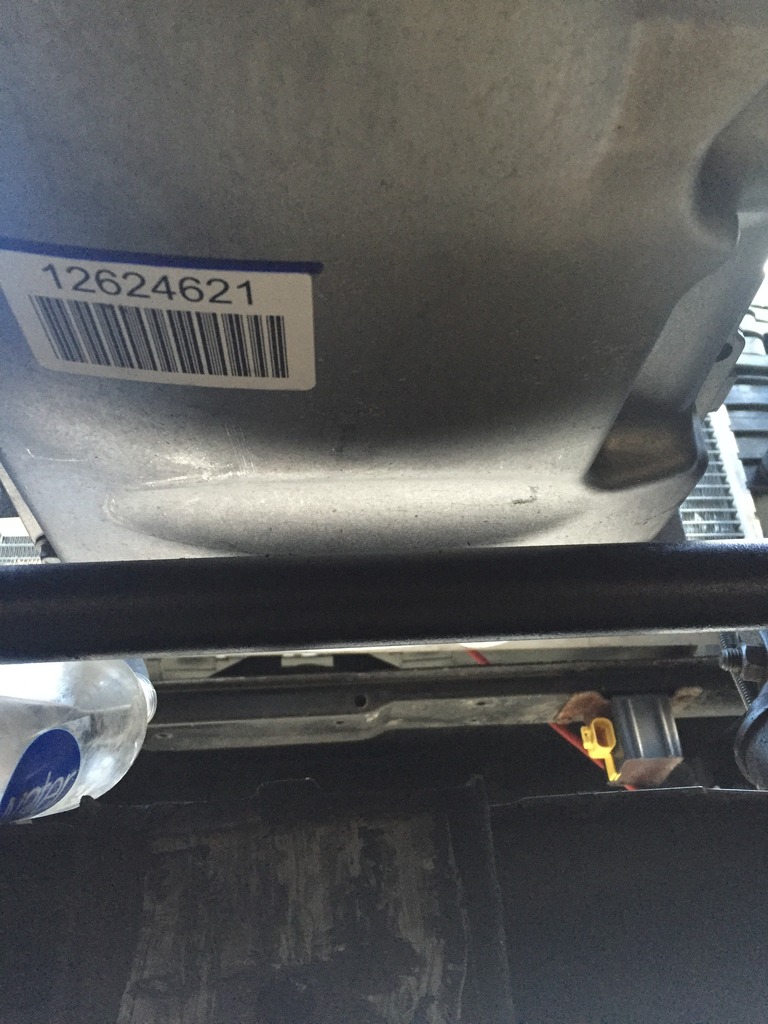
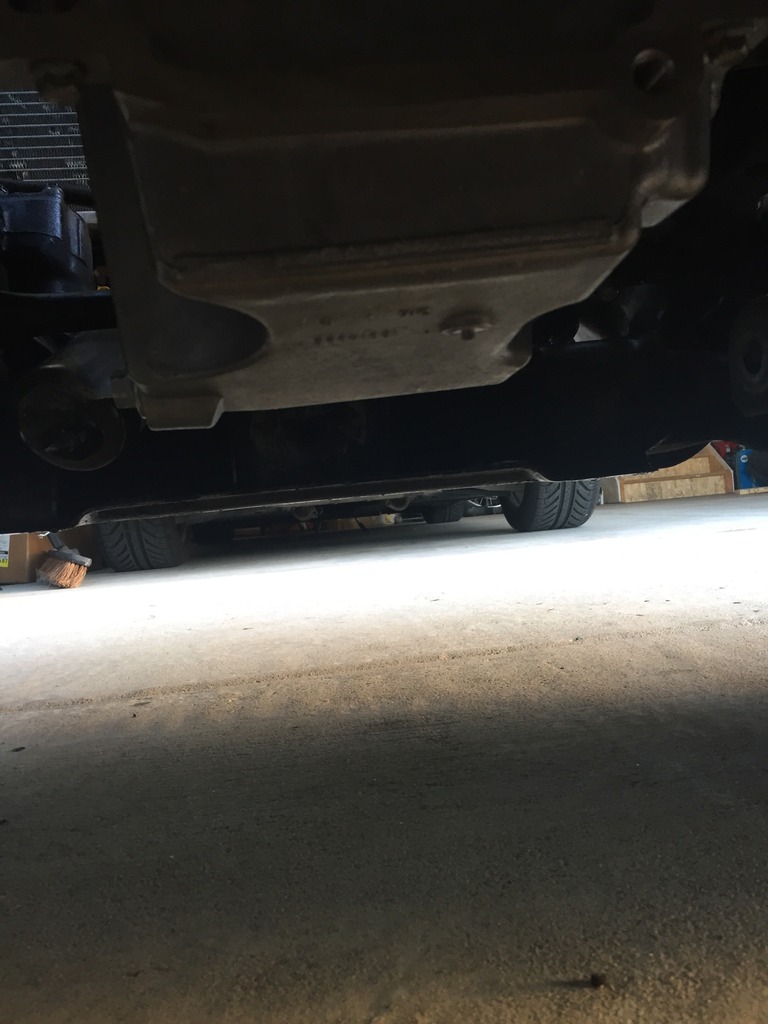
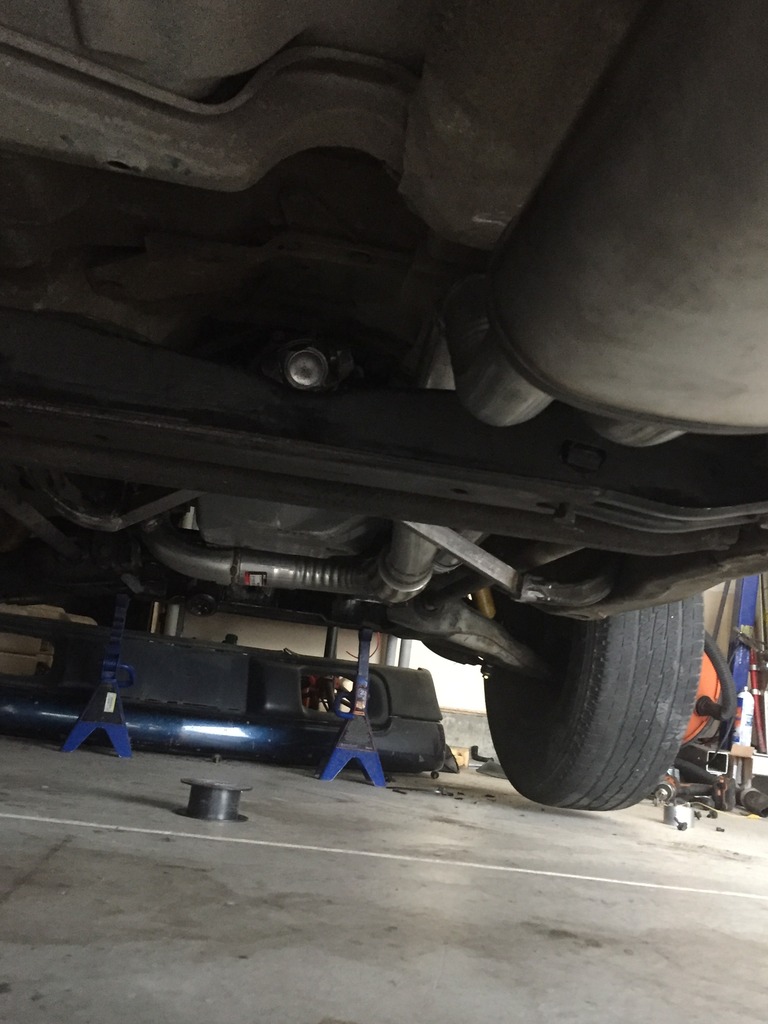
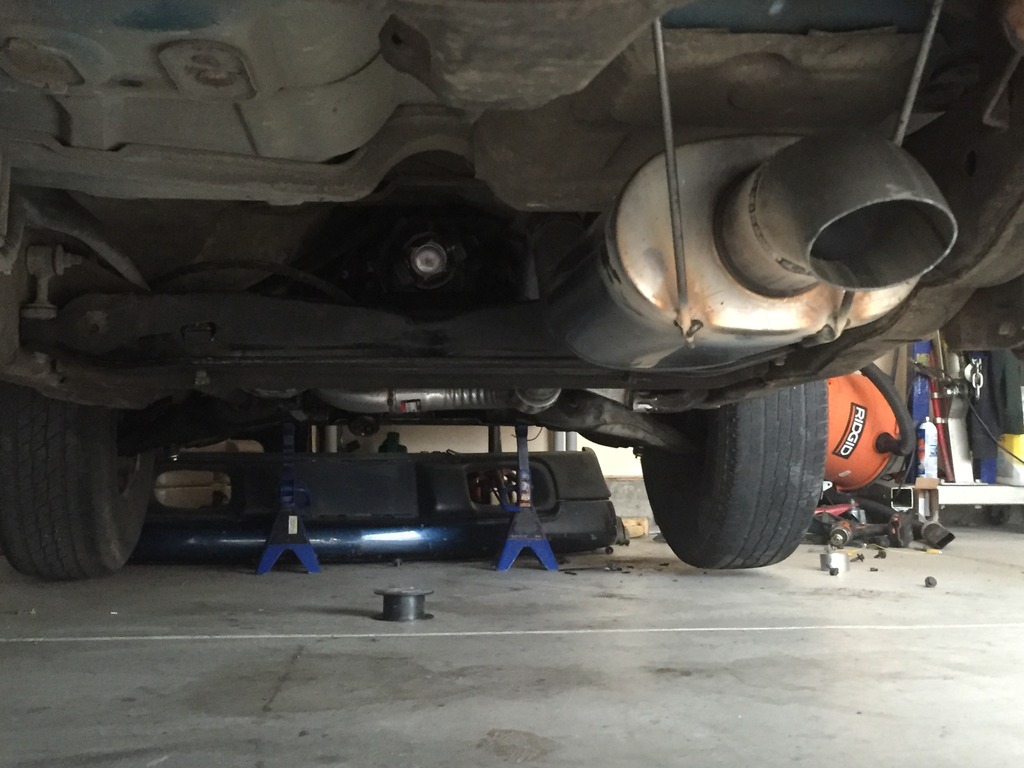
I'm looking to do another swap on a 4wd 2 door blazer I picked up dirt cheap because of a rotor and lower intake manifold gasket. I wanted a 2 door 2wd so I took the front cv's and drive shaft out and getting ready to remove the front diff. I have read a few threads saying the front diff is structural but it seems to me that the cross member was just moved forward a little. Also, the diff has the rubber mounts on the drivers side. My question is has anyone modified the torsion bar cross member to accommodate the shorter engine/trans combo and longer driveshaft? It is lowered 2'' at the moment and it doesn't look like the driveshaft angle would clear.
Here are some pictures so no one gets bored!

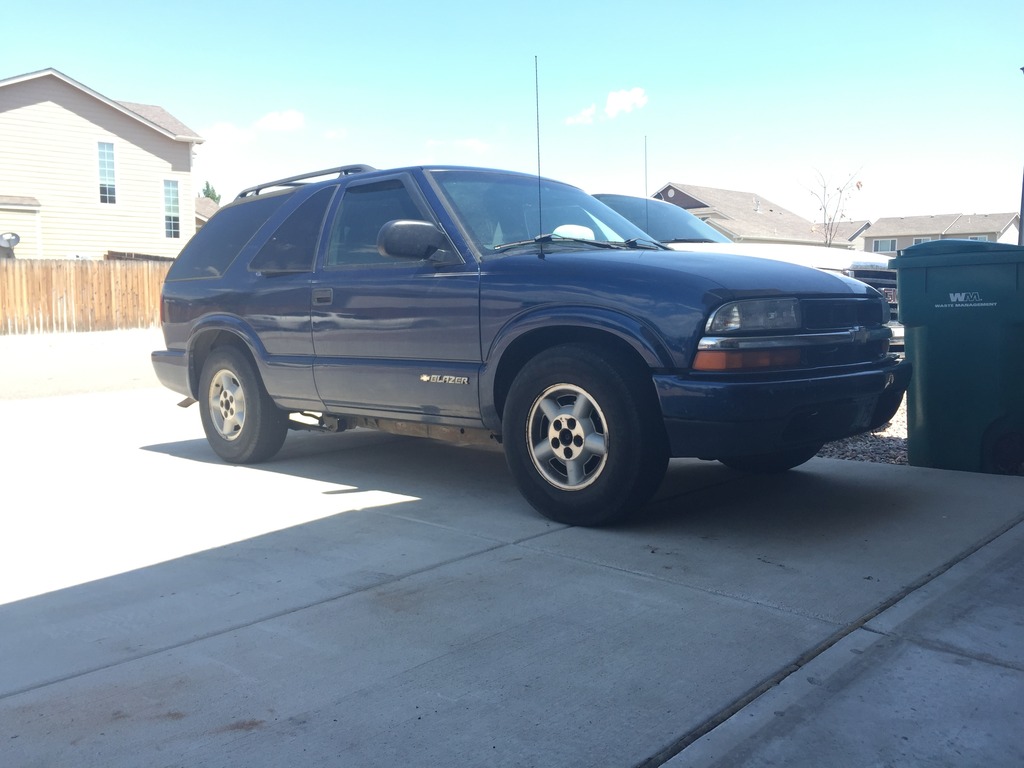
Here are some pictures so no one gets bored!


 08-11-2016, 05:39 AM
#2

I was wondering if you could help me out I have a03 blazer and just acquired a5.3 out of a Silverado how much of the harness am i going to need the blazer has the same computer in it im hoping to be able to just get the engine compartment part and just plug and play the bcm and other electronics sorry I'm new to sight and first time trying to jam a 5.3 into a blazer
The following users liked this post:
Madden420 (12-03-2021)
08-11-2016, 06:58 AM
#3
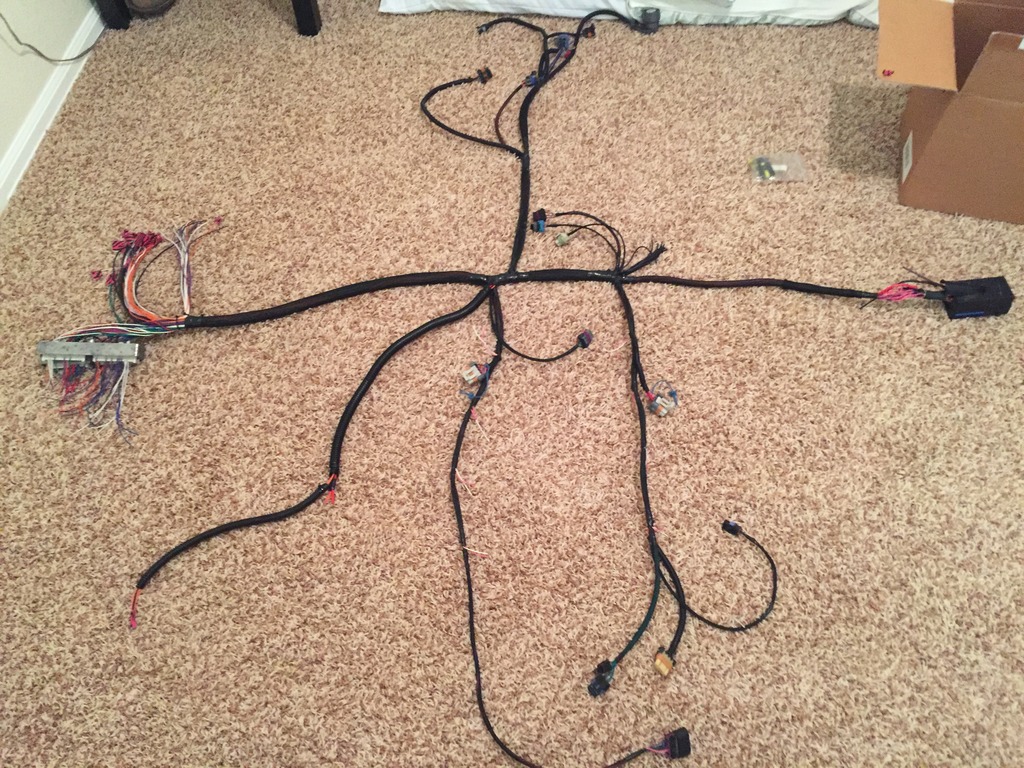
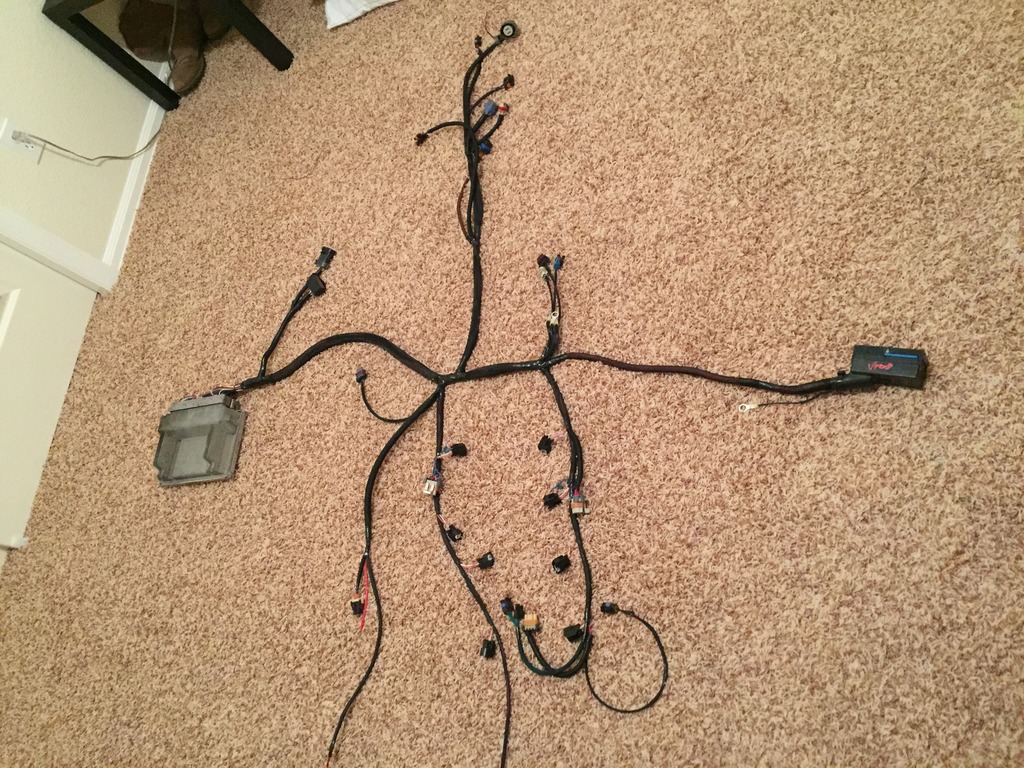
Welcome to the site! The engine harness from the Silverado is the one that needs to be modified. The biggest difference in the s10 and Silverado harnesses (other than engine of course) is the PCM and c101 plugs are located on the passenger side on the s10 colored to the drivers side Silverado. I'm not sure how comfortable you are diving into a wiring harness but you can modify the harness to fit the s10 location OR modify the s10 body harness to move the c101 and c104 plugs over to the drivers side. I prefer the first method because it looks clean. The harness in the picture is one that I ran every single wire and crimped the ends on myself.
09-02-2016, 01:12 PM
#4
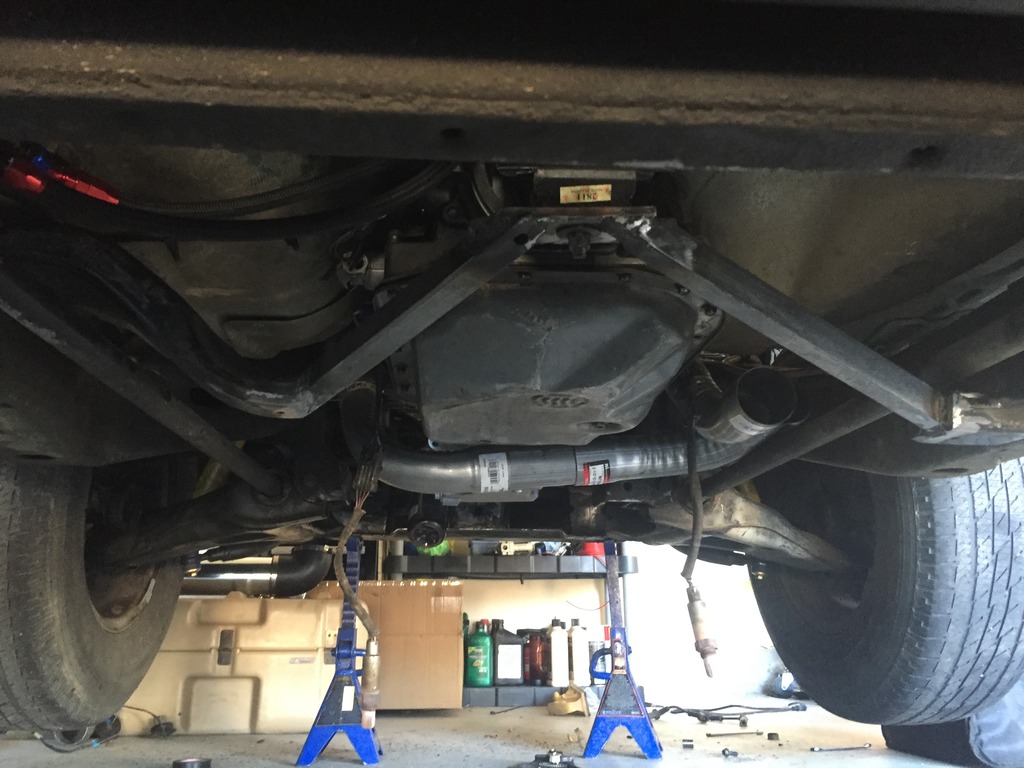
The crossmember isn't in the way at all. I also found out that the passenger side diff mount is rubber mounted at the frame so I don't believe it was too structural. I took some random measurements that I couldn't find before I took it all apart so I figured I'd post them here for anyone doing a swap and stumbles across this thread.
These are all for a 4.3/4l60e/NP233 and are +\- 1"
Front of accessory belt to tip of transfer case: 69.25"
Middle of engine mount to tip of transfer case: 57"
Tip of fan clutch to tip of transfer case: 74"
Transmission and transfer case: 45.5"
Middle of engine mount to tip of throttle body: 18"
These are all for a 4.3/4l60e/NP233 and are +\- 1"
Front of accessory belt to tip of transfer case: 69.25"
Middle of engine mount to tip of transfer case: 57"
Tip of fan clutch to tip of transfer case: 74"
Transmission and transfer case: 45.5"
Middle of engine mount to tip of throttle body: 18"
Last edited by simman22; 09-09-2016 at 08:18 PM.
09-02-2016, 03:45 PM
#5
Staging Lane
iTrader: (3)

Join Date: Apr 2009
Location: Richmond VA
Posts: 51
Likes: 0
Received 0 Likes
on
0 Posts
Mine is a 4x4 also. I currently have the front diff and shafts out (still has the 4.3 in it and driven daily)
I cut the bracket that hold the left side of the diff in and pulled the diff out. I'm putting it all back in when the LS1 goes in. I found a 3.73 front diff and I have a 3.73 Explorer 8.8. I'm using a first gen Bravada transfer case for AWD.
I cut the bracket that hold the left side of the diff in and pulled the diff out. I'm putting it all back in when the LS1 goes in. I found a 3.73 front diff and I have a 3.73 Explorer 8.8. I'm using a first gen Bravada transfer case for AWD.
Trending Topics
09-03-2016, 07:34 PM
#8
I was wondering if you could help me out I have a03 blazer and just acquired a5.3 out of a Silverado how much of the harness am i going to need the blazer has the same computer in it im hoping to be able to just get the engine compartment part and just plug and play the bcm and other electronics sorry I'm new to sight and first time trying to jam a 5.3 into a blazer
09-03-2016, 10:28 PM
#9

By the time you hack the old harness for the individual injectors then add knock sensors and coil harness and so on It's easier just to get rid of the original ecu and use the one that came with the engine, Then either make a harness or go the easy route and order one from Current performance. ($795) Making the old harness and ecu work would be more trouble then it's worth.
09-03-2016, 11:09 PM
#10
I've never went the route of modifying the 4.3 harness but I bet it would be a pain getting the injectors and knock sensors laid out correctly as LLLosingit said, but you'd have to move the crank sensor wires and by that point you pretty much unloomed everything but the trans section. The CPW ones are super nice but that money could be put in other places with some patience and time. That is the main area I keep my swap prices down and to date I've had no issues, not even on my very first "learning experience" one. Once you make the modifications, Ohm every single wore out before you install the harness.


 09-09-2016, 08:16 PM
#12
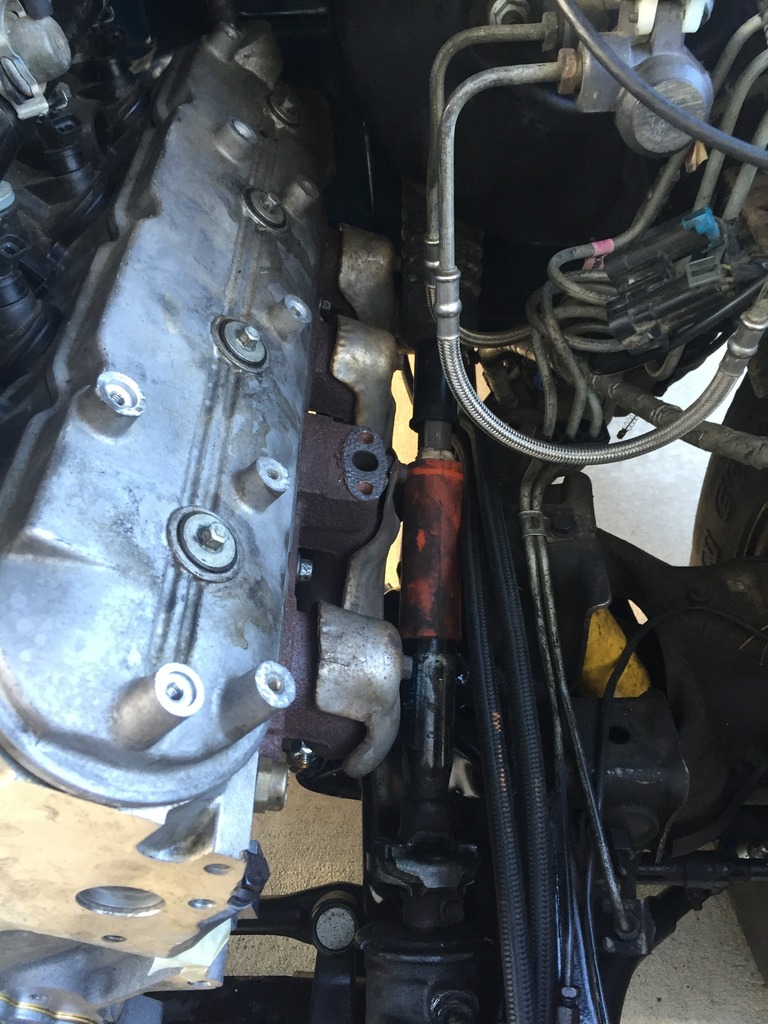
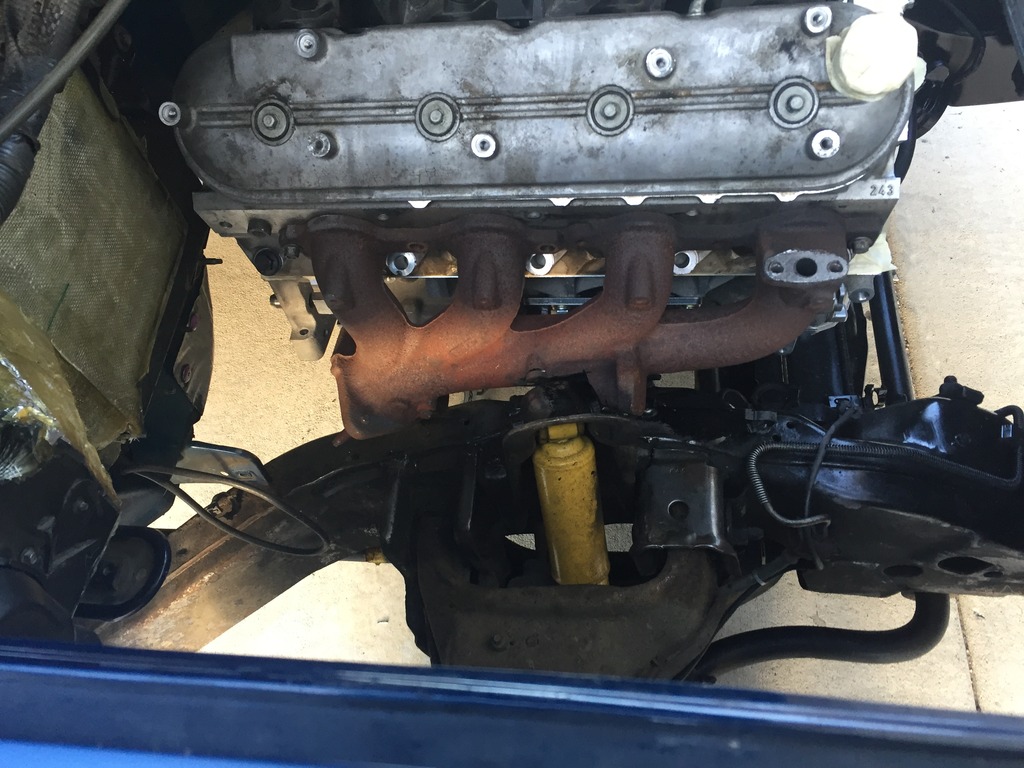
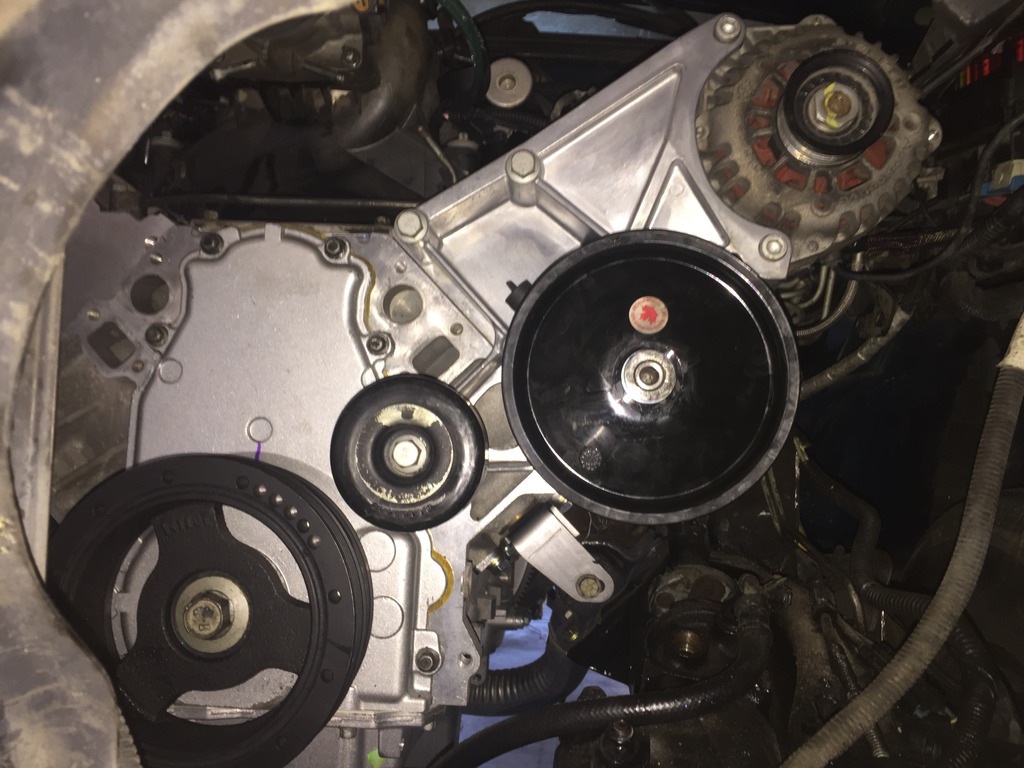
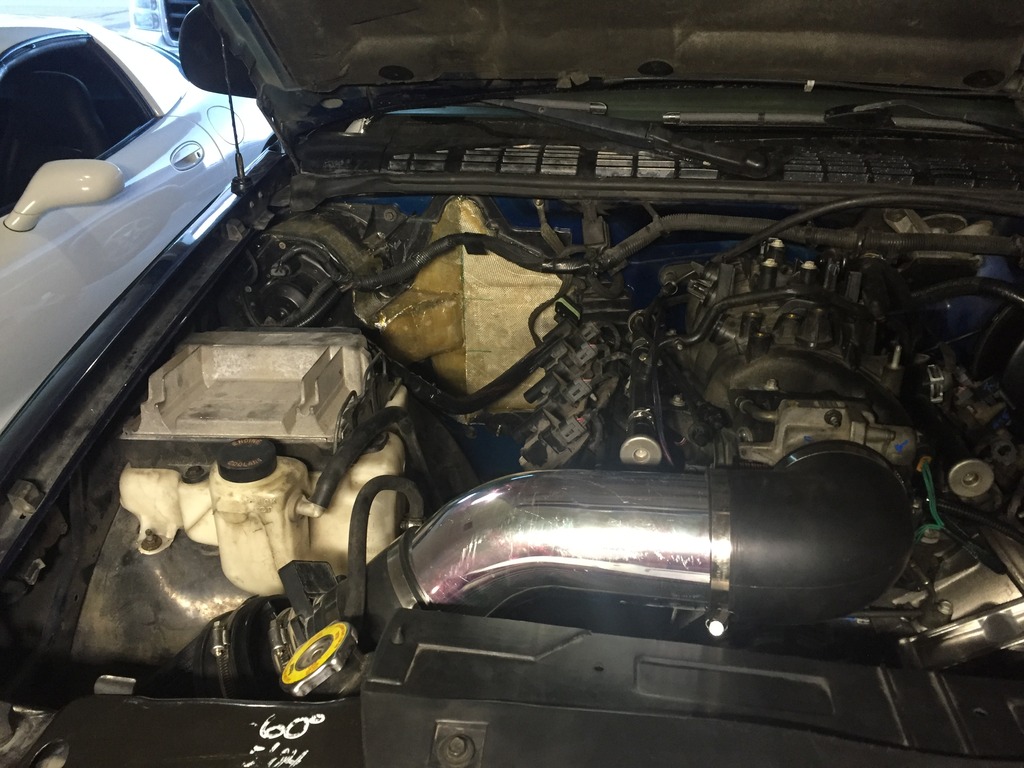
I was not going to do a build thread but seeing how there aren't many threads that give the ins and outs of 4wd swaps, 4wd to 2wd swap, and all of the above with turbo I'll keep it going. I got some mocking up done and here are how the Fbody manifolds fit. I'm going to modify the passenger side to fit really well and then sell it off to do a log manifold on that side. The driver side fit beautifully even with the shield on and no grinding what so ever. The passenger side needs the flange modified and the EGR casting removed. The GM Muscle car pan fits perfect and the little indent on the bottom lines up with the steering link perfectly and sits way above the front crossmember as expected in a 4wd chassis. The dirty dingo mounts are great as well but I'm going to upgrade to Polly mounts. And now some pictures.


 09-29-2016, 08:22 PM
#13
Few progress pics and updates. I'm going to run it N/A while I parts collect for the turbo build to make sure all of the trans and wiring is good to go. The 4l80e fits in perfect and so far all of the wiring is jiving with the VCM scanner as far as sensor feedback. The trans crossmember was was tricky to build and came out a little ugly but it's strong and clears everything.


 10-01-2016, 02:41 AM
#14

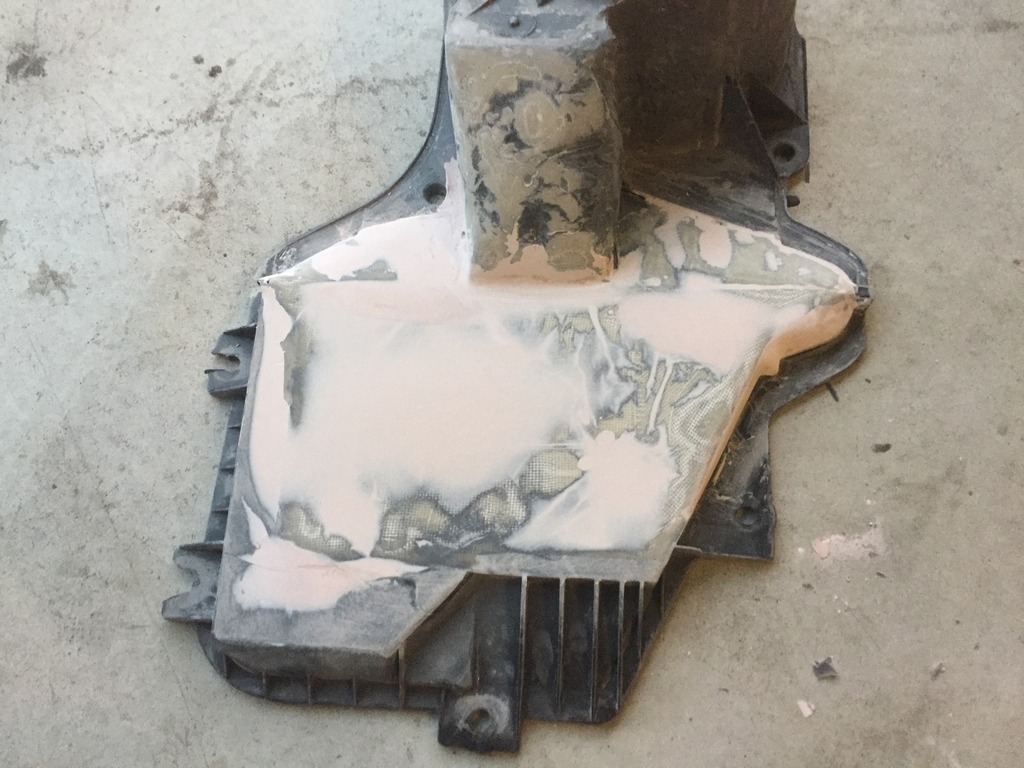
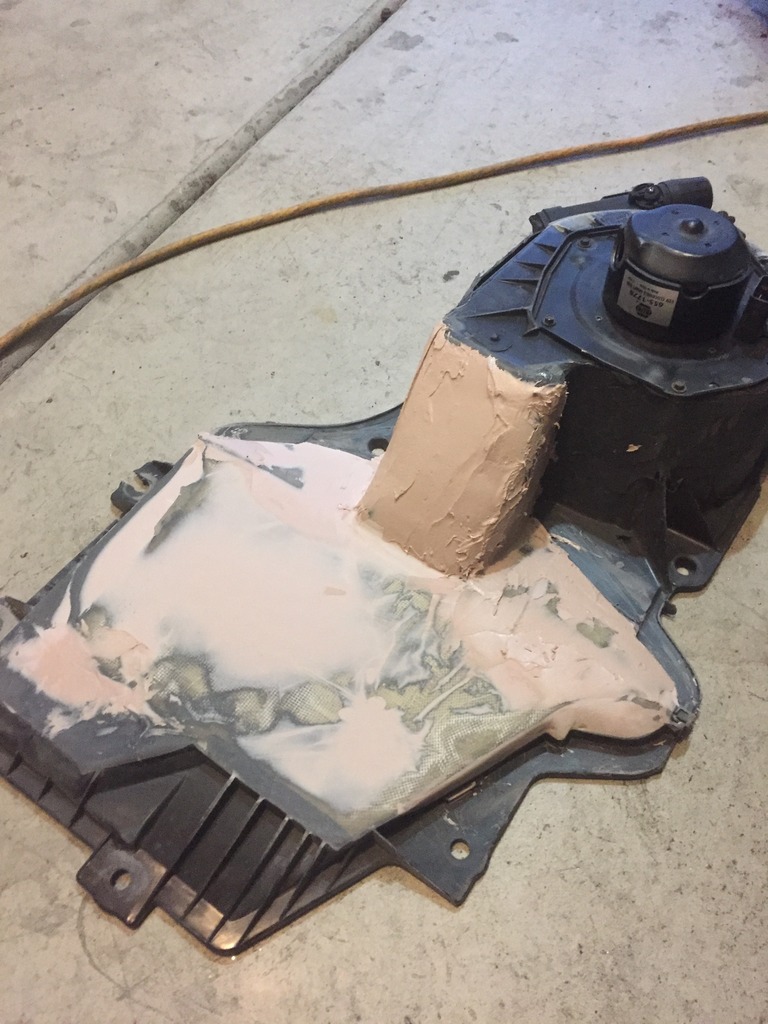
Good job !!! I really like the A/C suitcase mod you did. Just needs some black paint.
10-01-2016, 08:05 PM
#15
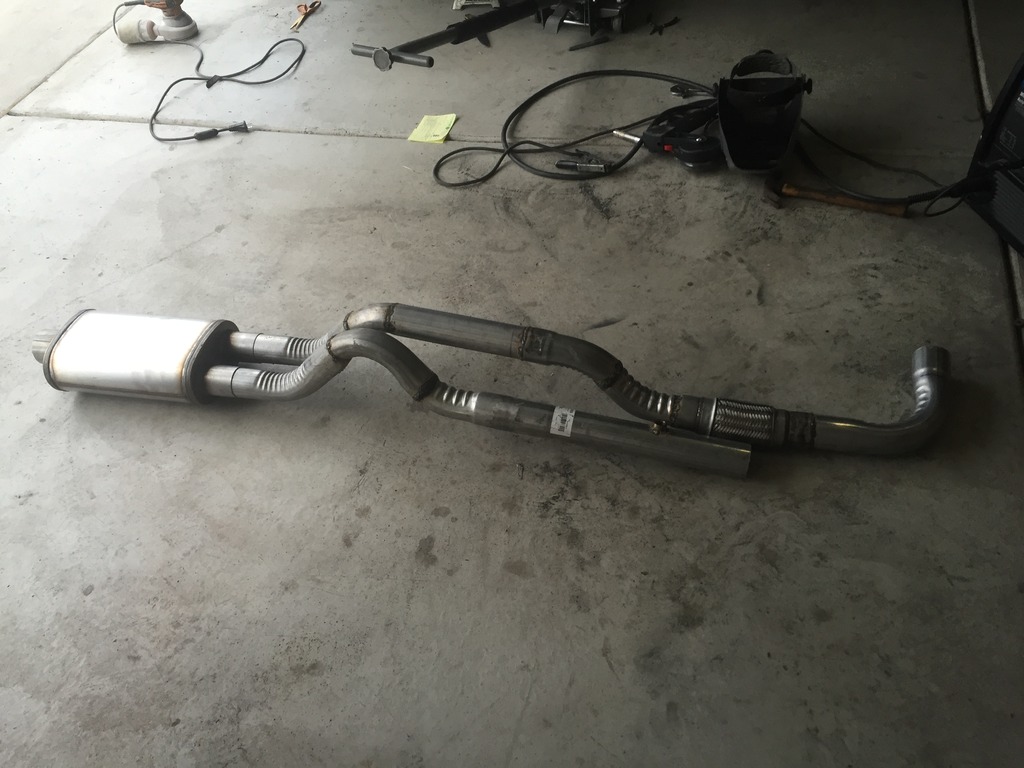
I've actually been working on smoothing the whole thing to paint Jimbo. I also built the n/a exhaust today but no one in town would sell me mandrel bends without them making everything for me so I auto part stored it up.
And the Silverado cold air looks massive in there
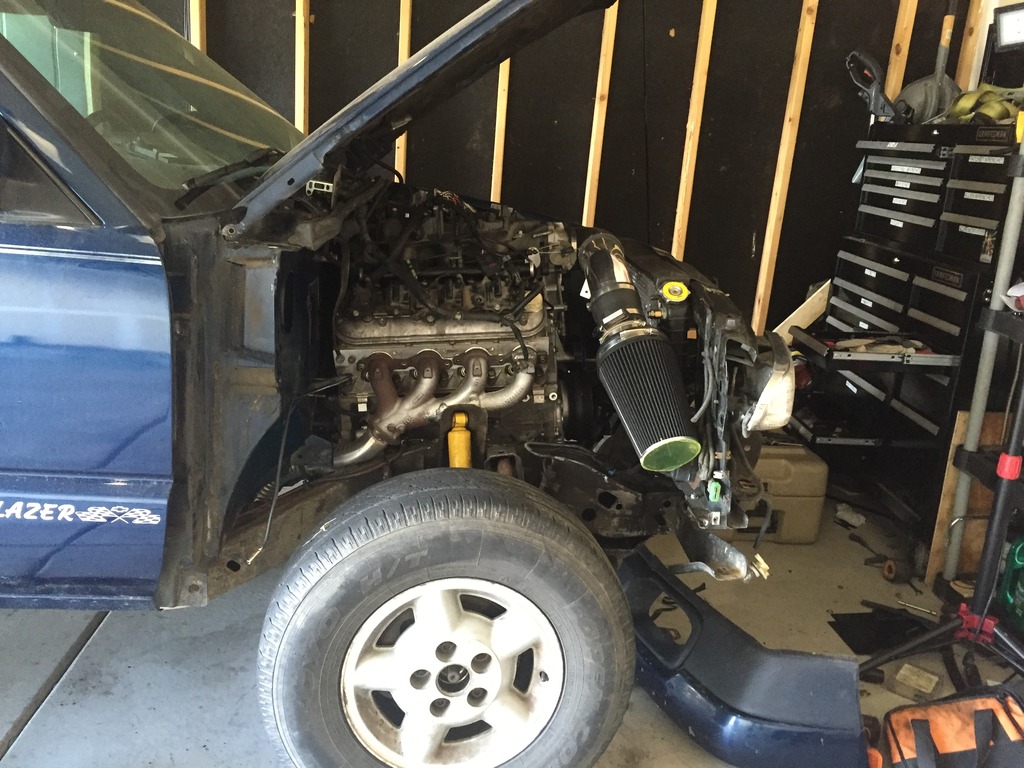


And the Silverado cold air looks massive in there
 10-02-2016, 07:56 AM
#16
Looking good. You should surprise a few people once finished. LOL
10-04-2016, 09:21 AM
#17
Teching In

Join Date: Feb 2007
Posts: 5
Likes: 0
Received 0 Likes
on
0 Posts

Looks great so far, im doing an ls1 into an 03 s10 at the moment. Havent gotten to wiring yet, looks Like its going to be a pain or expensive. Both my motor and truck came with blue/green harness so hoping it will be simple.
 10-04-2016, 10:49 PM
#19
If you keep the blue/green PCM you might have to switch out to DBW which isn't a big deal and the TAC module bolts right in where the cruise control was.
I took the front diff out because I REALLY wanted a 2wd but couldn't find one. And the turbo is coming in a few months. I wanted to get everything with the swap perfect and then tack on the turbo with its quirks. I actually fired it today which was pretty reassuring.
I took the front diff out because I REALLY wanted a 2wd but couldn't find one. And the turbo is coming in a few months. I wanted to get everything with the swap perfect and then tack on the turbo with its quirks. I actually fired it today which was pretty reassuring.
10-05-2016, 05:27 PM
#20
It's great to hear them fire up for the first time. Yours went better than mine as I got hosed on a Pulled engine. I never pulled it apart & after getting everything done I went to start it & it turned over & locked up... Pulled it back out & found it had a broken rod! Bought another 5.3 & it fired right up.
I kept the front diff when I first did mine. Had to chop the pan up pretty good to get it to fit. Ended up just removing it a year or so later & bolted up another truck pan. I feel it's actually easier to do this swap in a 4wd vs 2wd. Once the diff is out of the way you have lots of room that a 2wd chassis doesn't afford.
You mounting the turbo on the pass side? That's what I did. I made a log manifold & it fit quite nicely. Had to get creative with the DP & run it out the fender-well. Even after modifying the heater box similar to what you did I still didn't have room but I didn't remove all the AC portion... Should have. I also set the motor mounts up so it moved the motor back a few inches. That allowed me to run the truck accessory drive & have room to fit an electric fan between the rad & motor. If you remove the inner fender you would have more room, but it was a DD so I didn't want water & slush all over the engine compartment when it rained or snowed.
Really surprised that manifold fit past the steering shaft. Is it a truck or car manifold? I made my own header for the drivers side but that would have been way easier...
Last edited by gtfoxy; 10-05-2016 at 05:45 PM.