
Andy's 66 Caprice LS Conversion
 10-20-2016, 08:54 PM
#41

Very nice work.
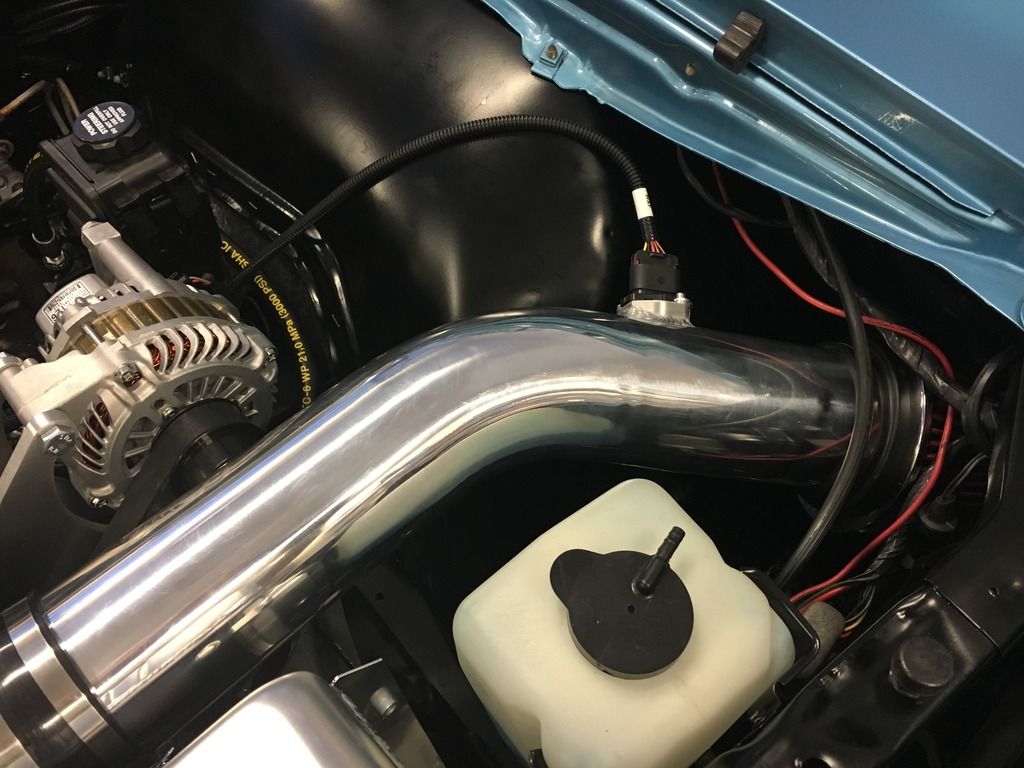
Sorry to be a bother, but I do have a follow-up question regarding the air intake tubing.
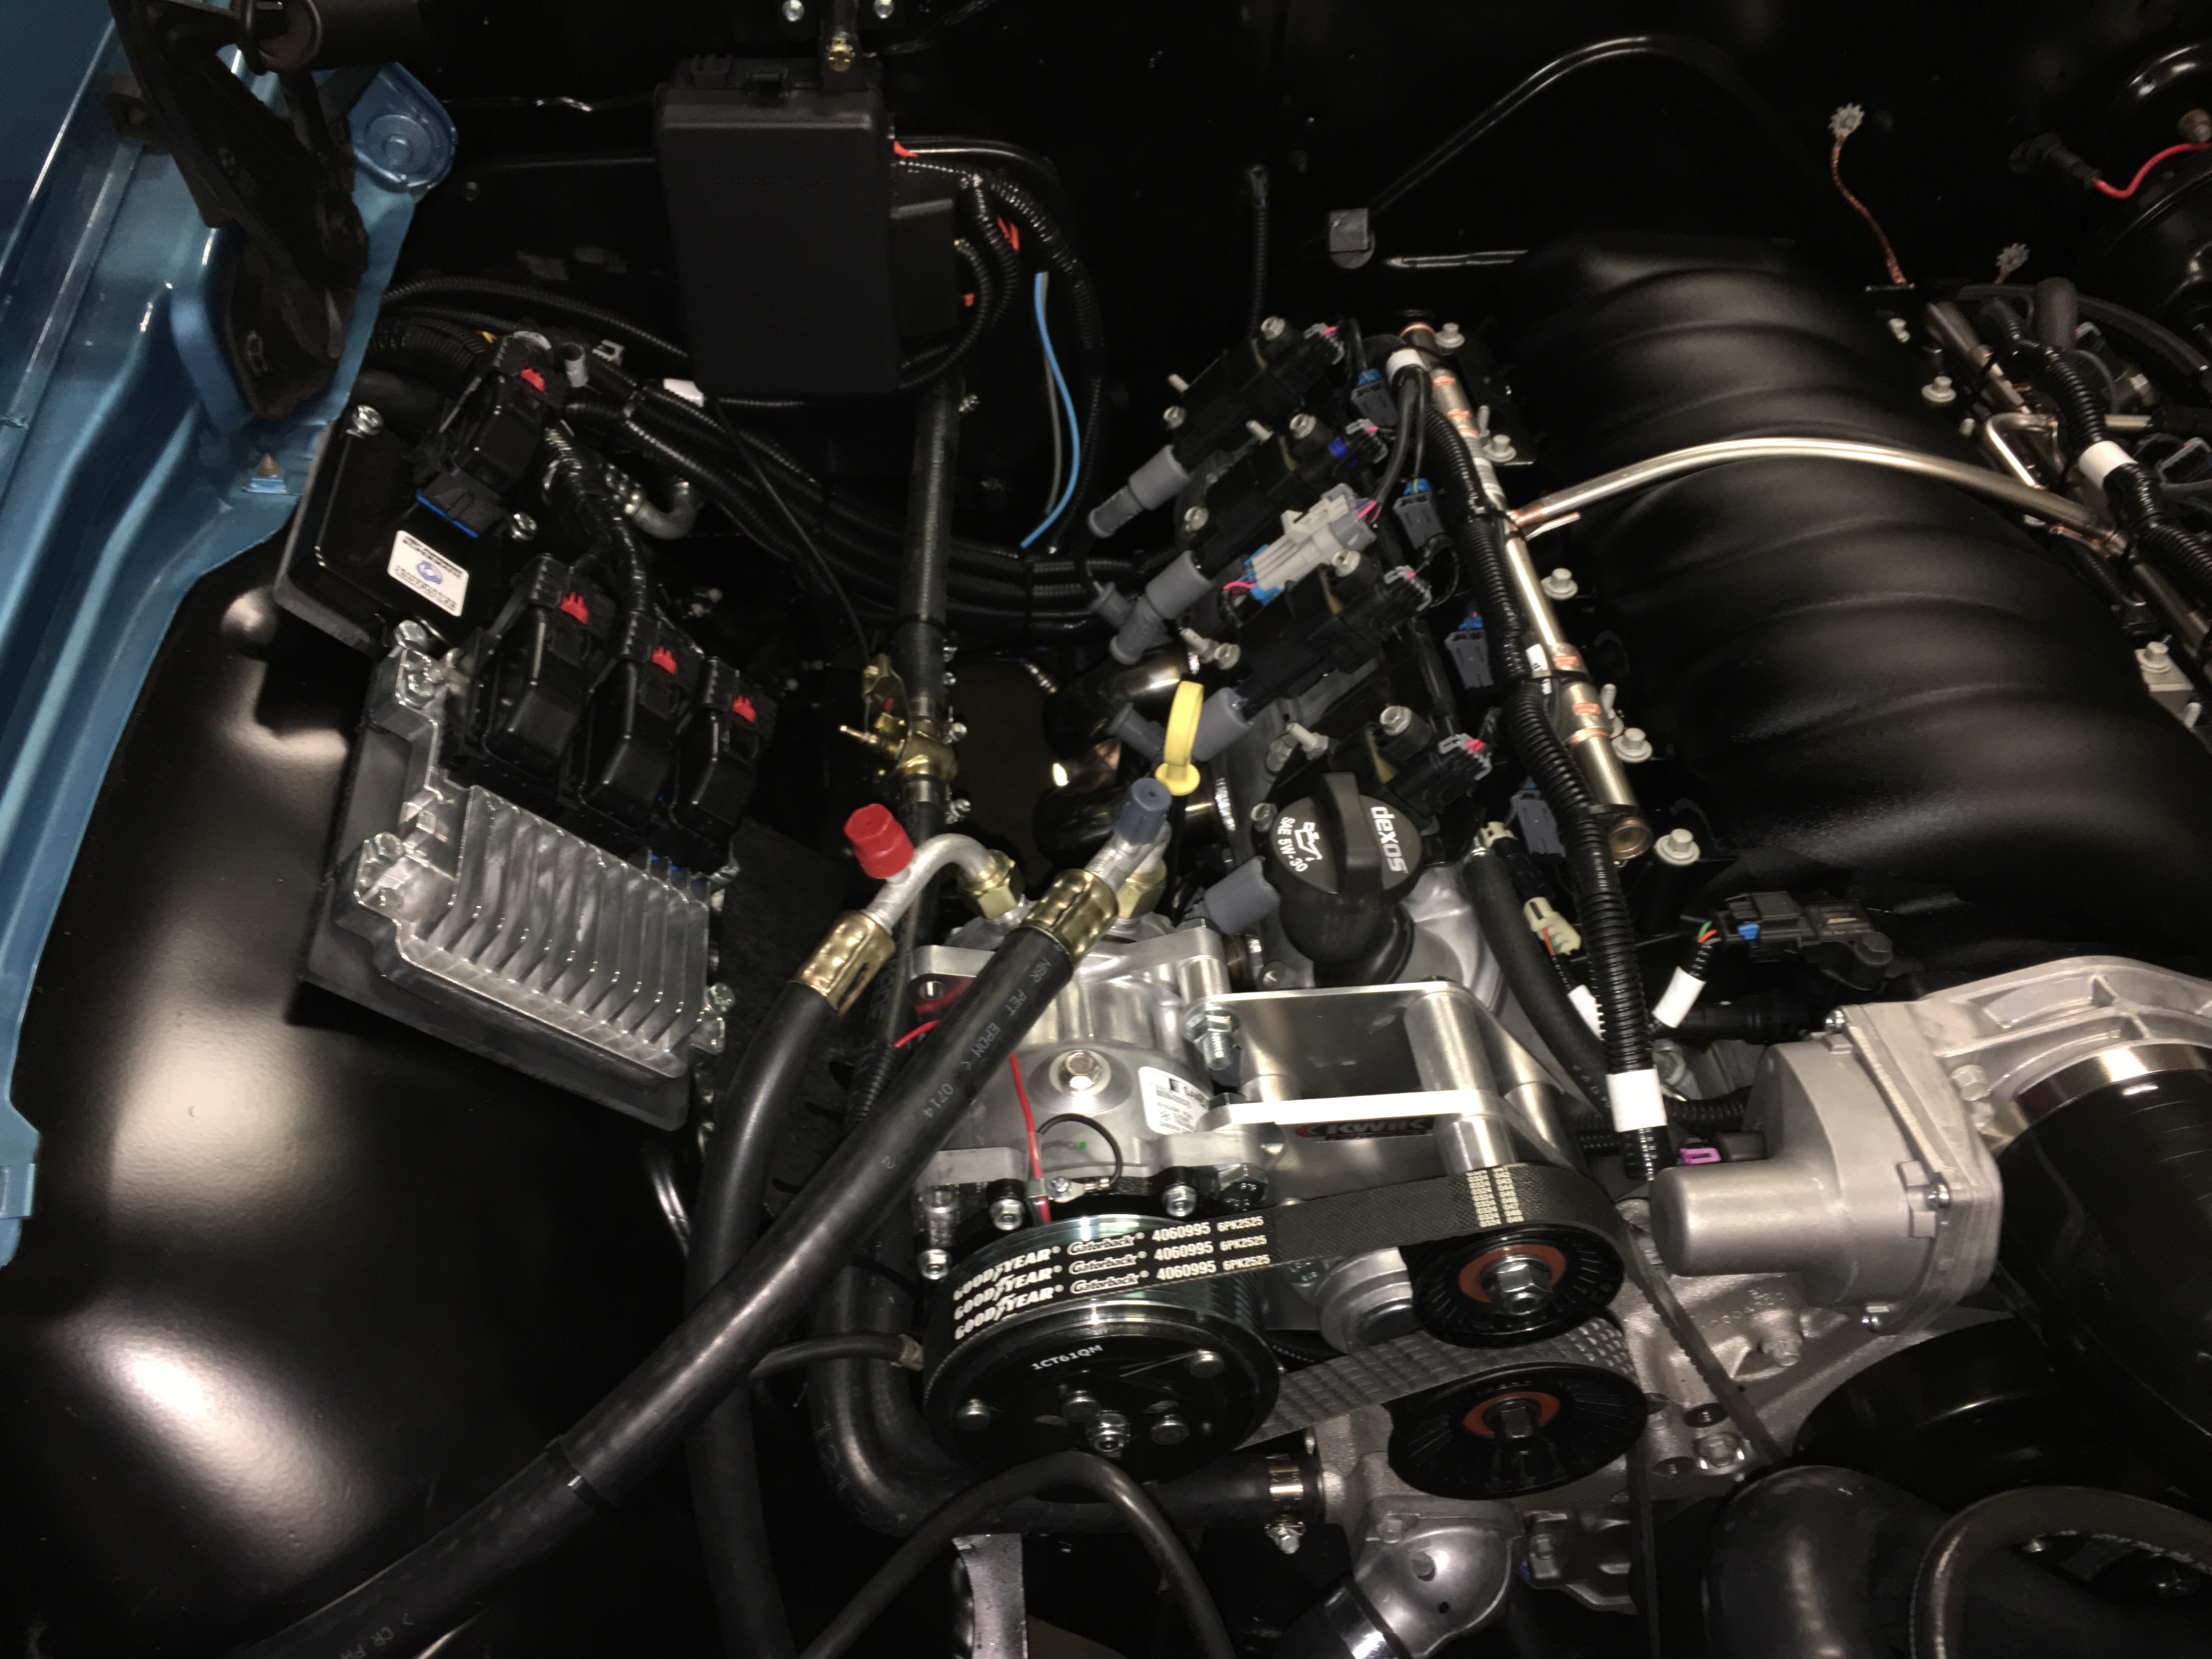
What are you doing at the filter end to stabilize that length of a pipe? Do you have the pipe/filter mounted/braced to the body anywhere (inner fender, etc) ? or is it all free-hanging balanced solely from where it's mounted at the throttle body?
Sorry to be a bother, but I do have a follow-up question regarding the air intake tubing.
What are you doing at the filter end to stabilize that length of a pipe? Do you have the pipe/filter mounted/braced to the body anywhere (inner fender, etc) ? or is it all free-hanging balanced solely from where it's mounted at the throttle body?
 10-21-2016, 05:36 AM
#42
TECH Fanatic
Thread Starter

A mounting bracket will be made to hold it in position at the Filter.................
 10-21-2016, 03:03 PM
#43
 10-21-2016, 07:12 PM
#44
TECH Fanatic
Thread Starter
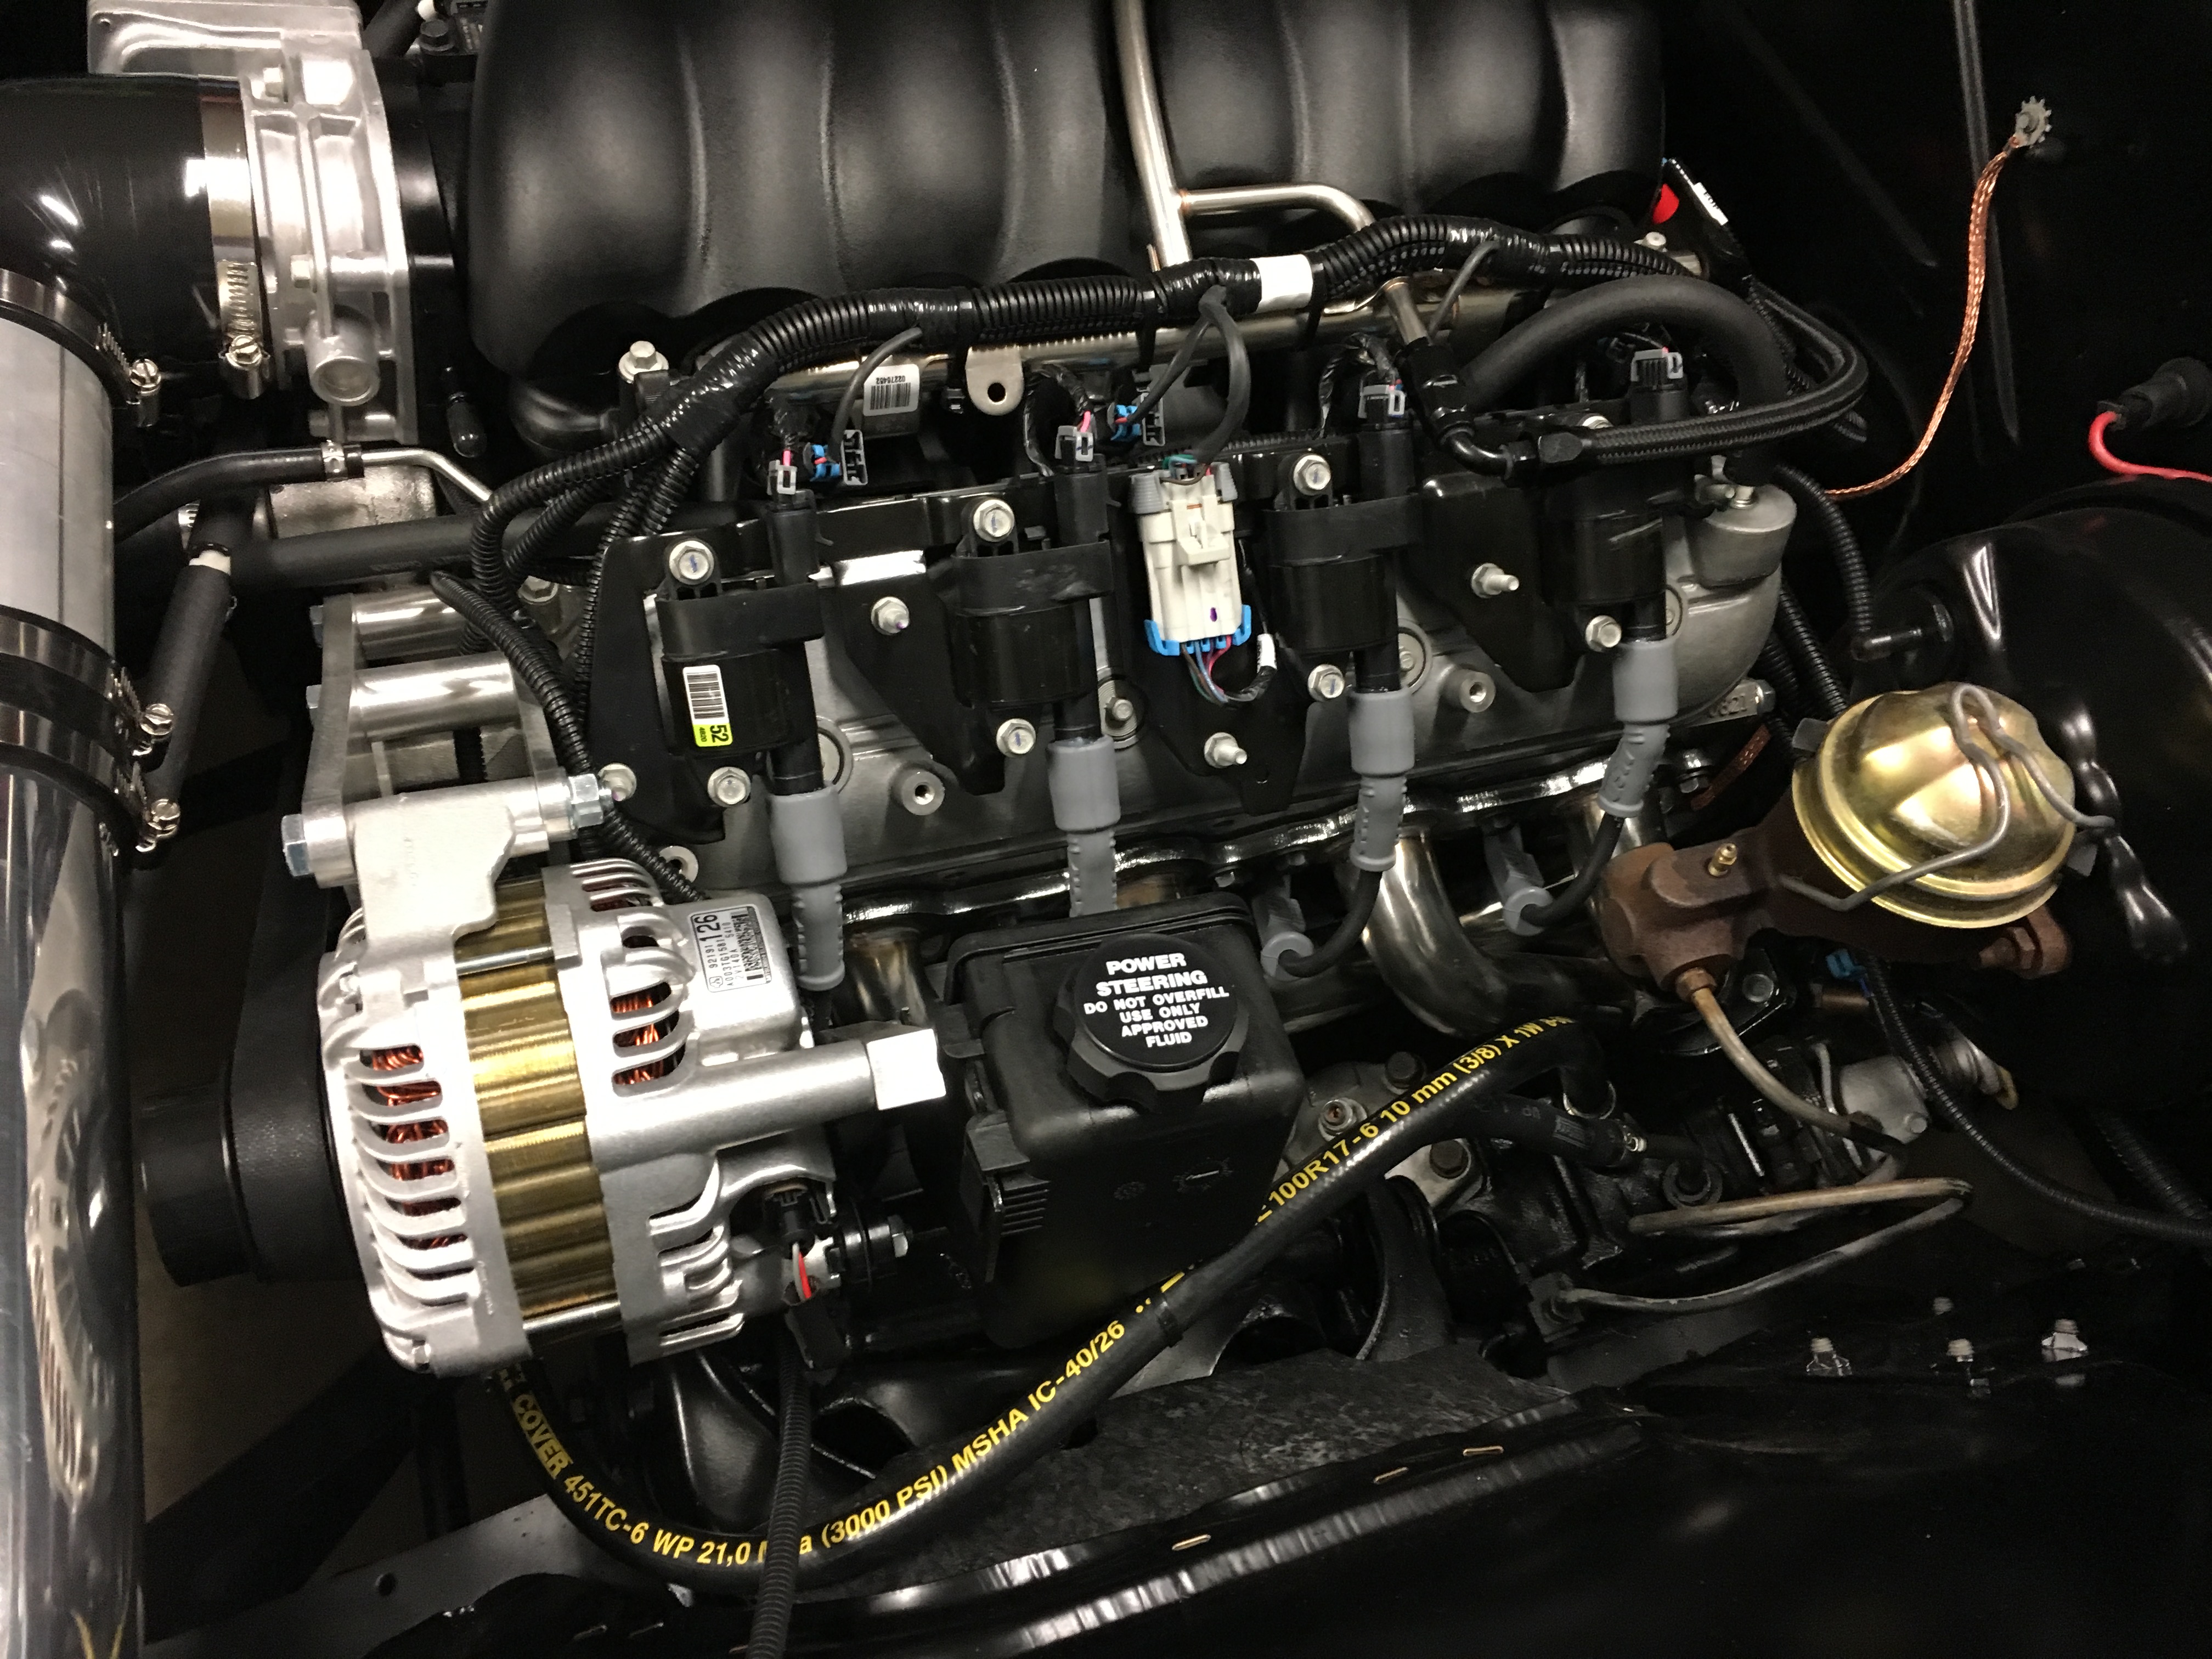
Bob...........I ran hose from the barbed fitting on the intake tube.......to each fitting on each valve cover.......providing filtered air to the engines existing PCV system......I didn't touch the factory set-up..........
Ken
Ken
10-22-2016, 07:29 PM
#45
TECH Fanatic
Thread Starter
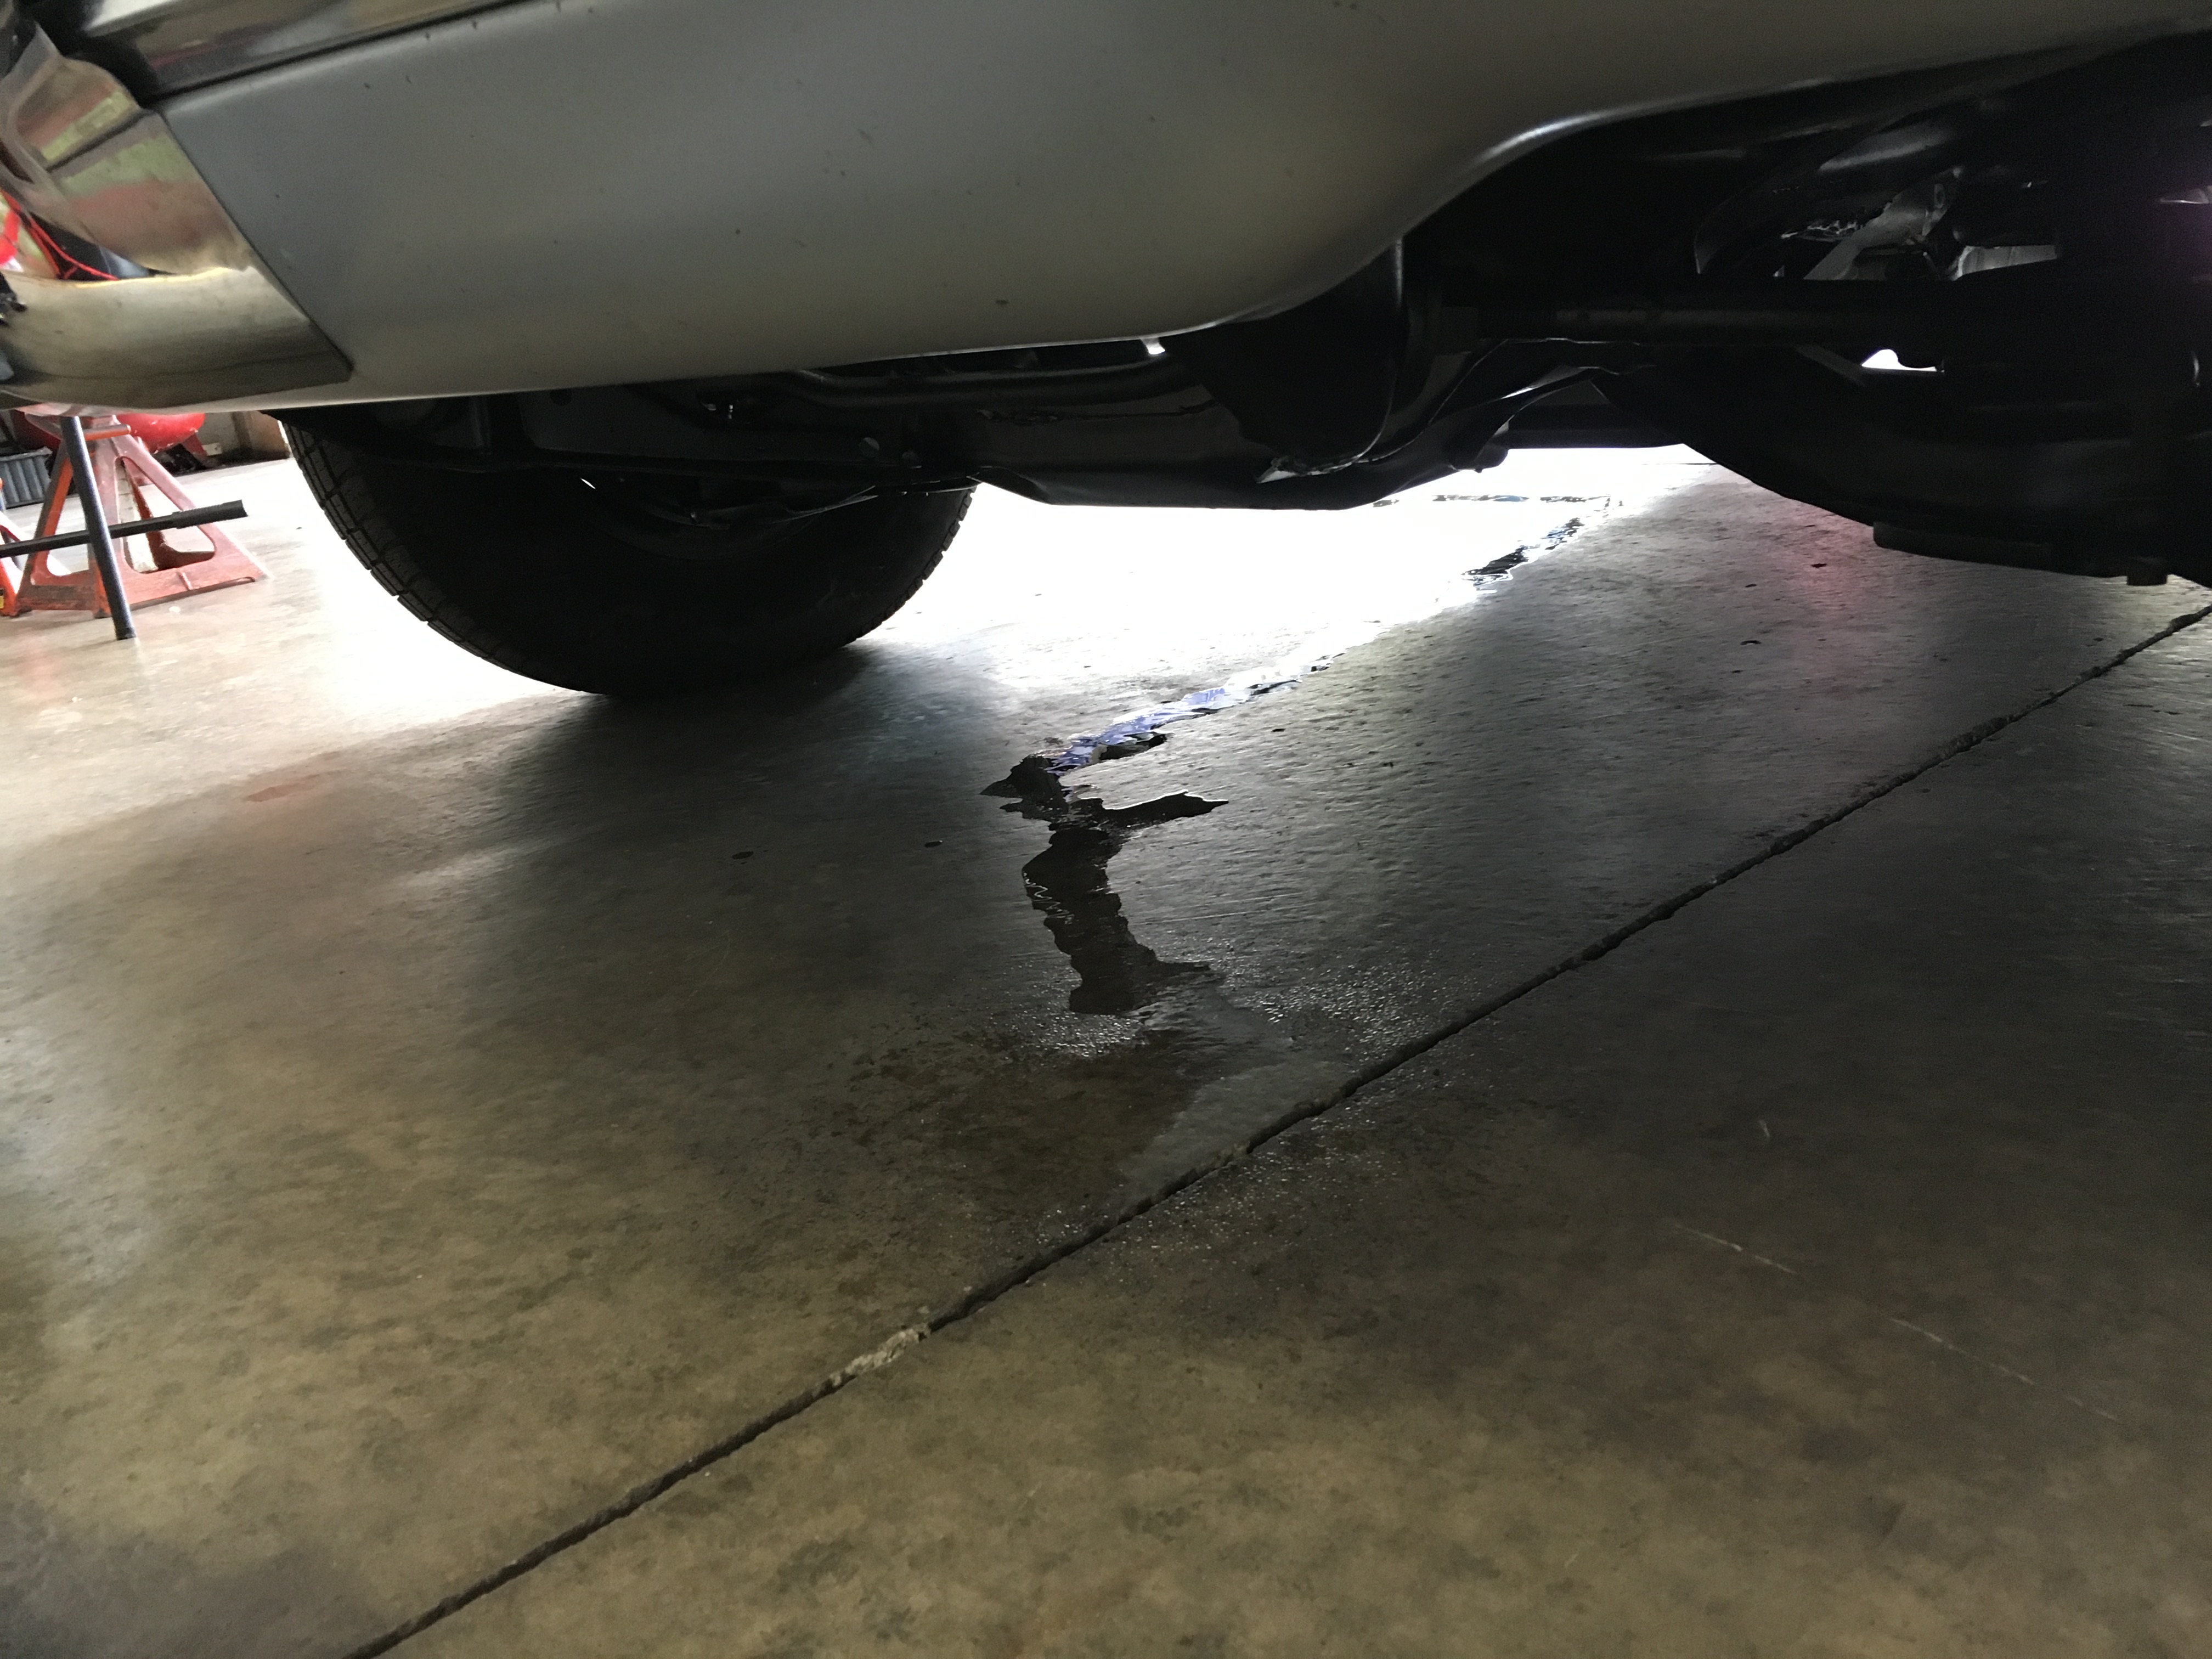
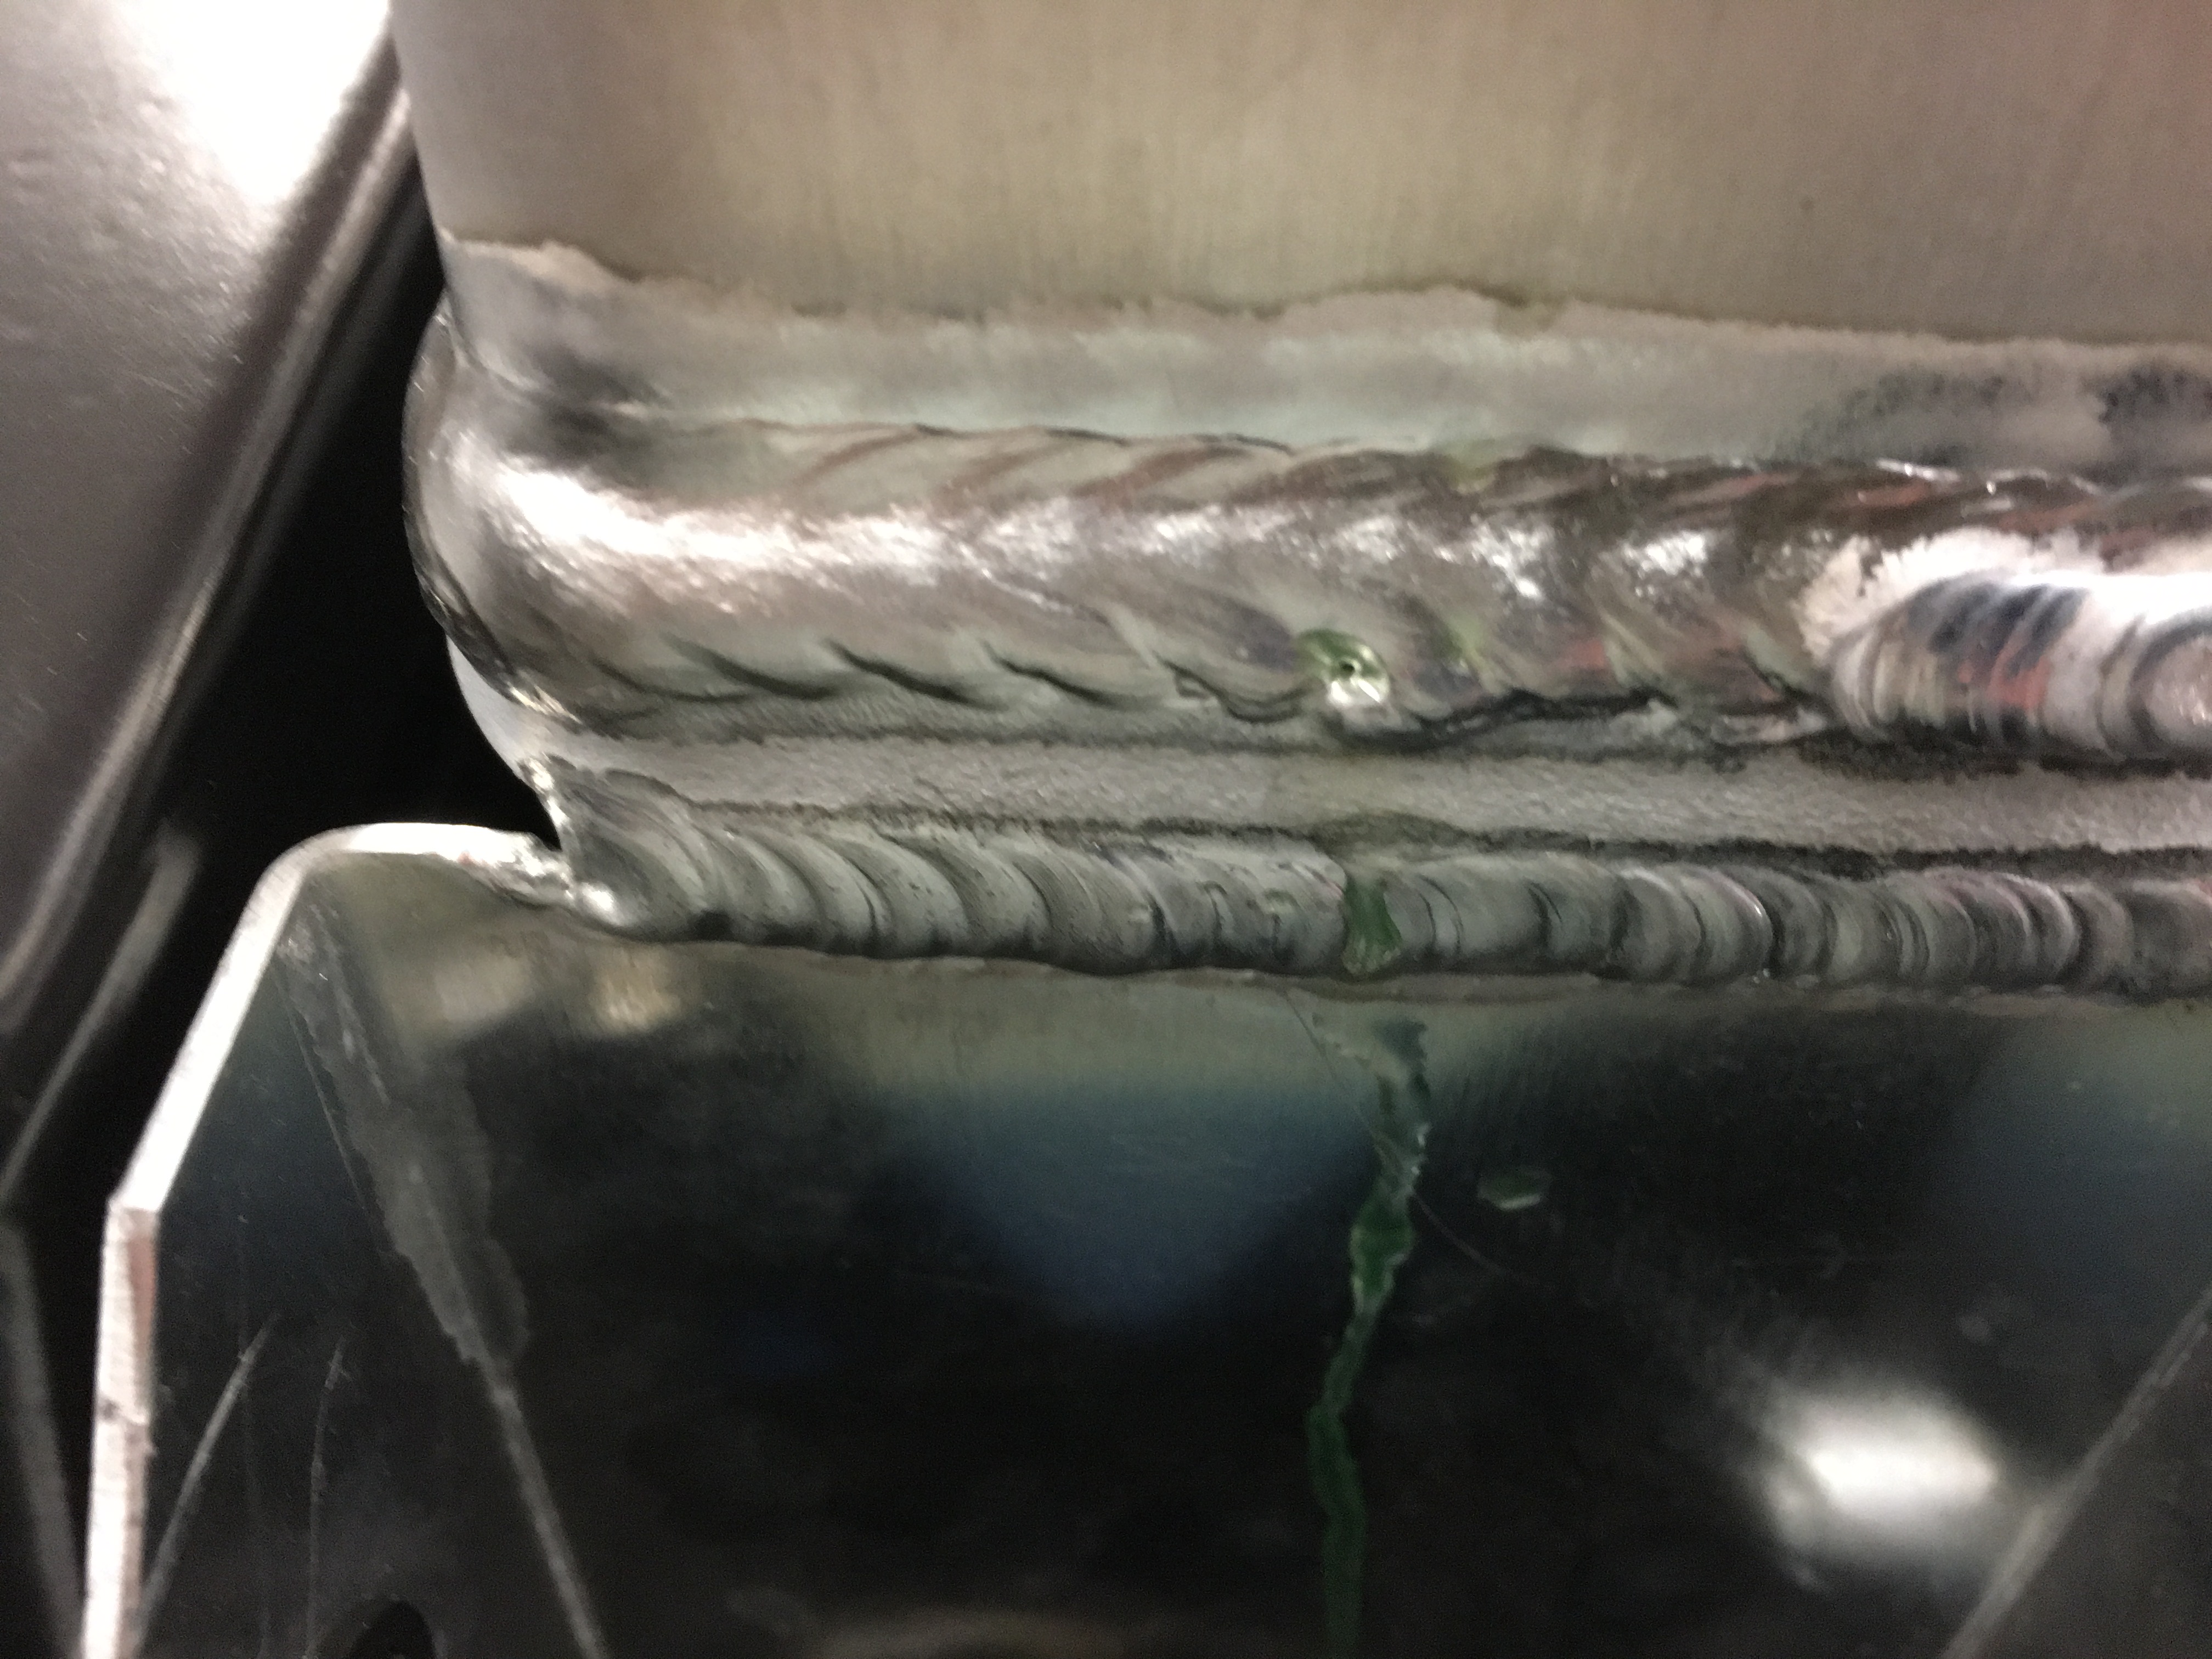
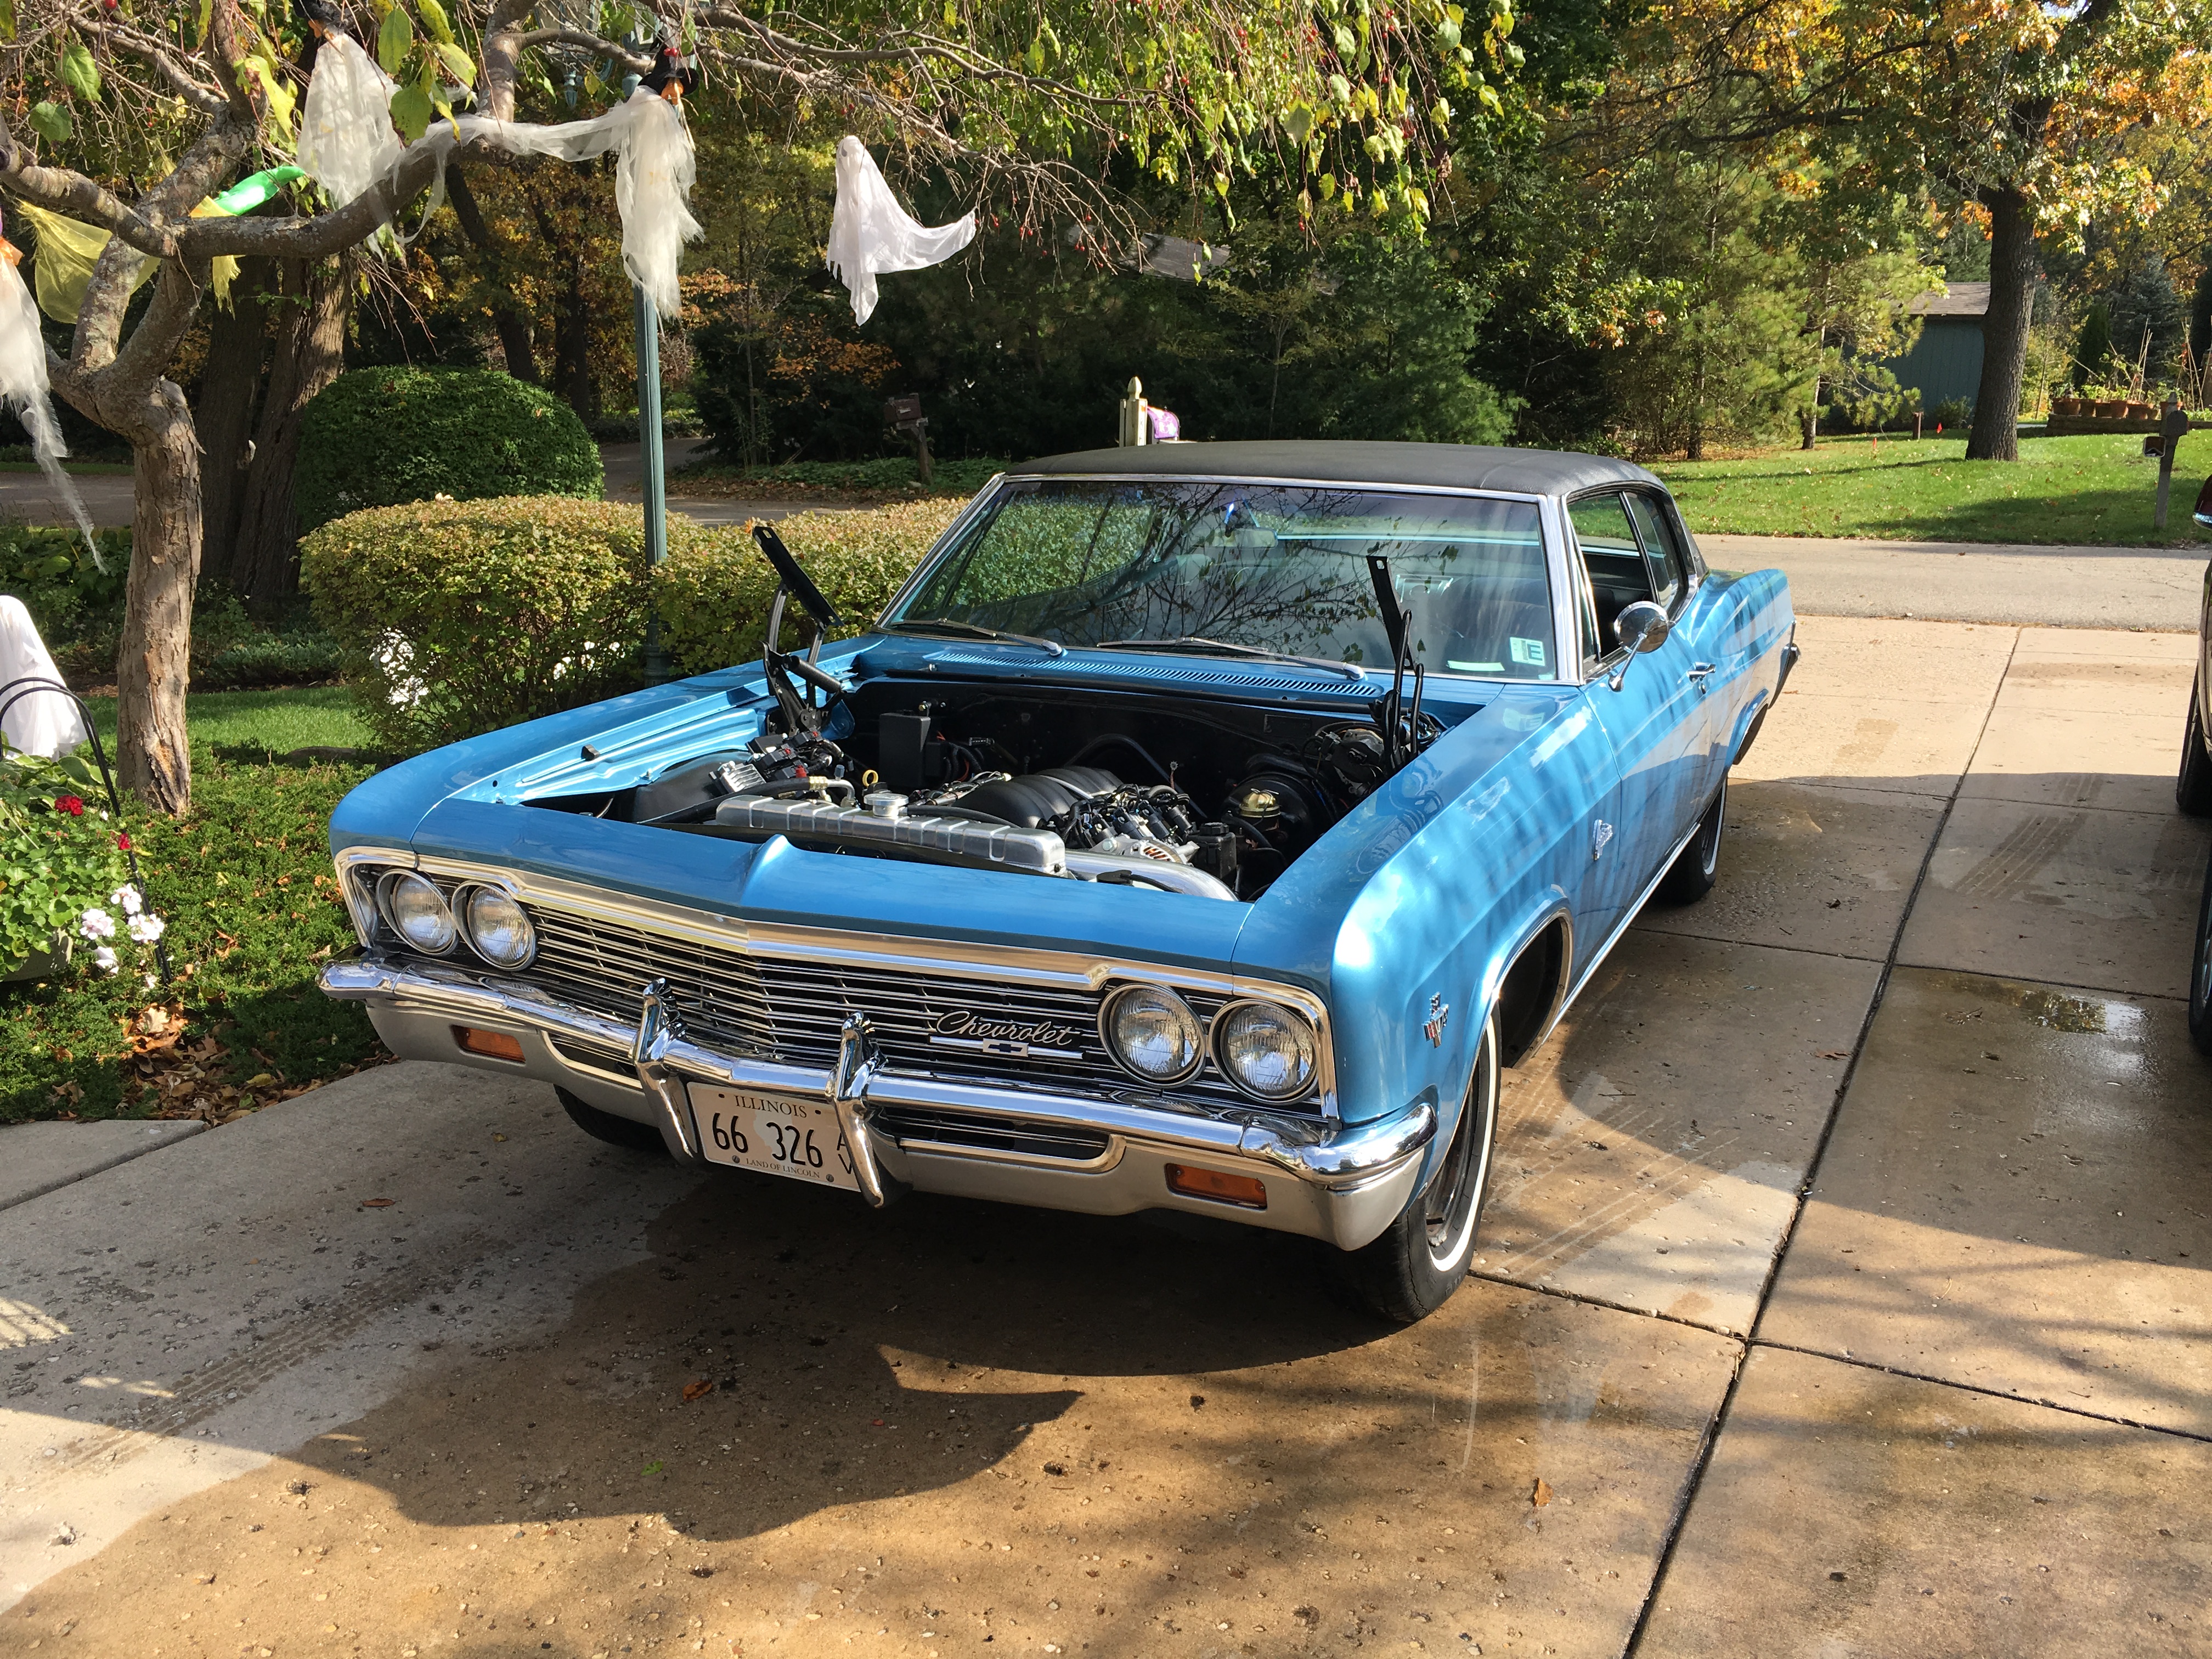
Got pretty much all the under hood wiring completed today......went to spin the engine over and found out the neutral safety switch is toast......Andy ordered a new one and that will be his winter project to install it.......LOL....Then we had a major disaster.......added coolant to the Radiator to top it off and come out the next morning and a puddle of coolant under the car......Humm !!!!.......Ended up being a pin hole in the Radiator weld seam..........Sheesh !!!!.......First we had Keith's car dropping dirt all over the place, now we have Andy's "Leakasourus" dumping coolant all over the place.........Time to call the Hazmat team again ............Time to get this "Beater" out of the garage......Andy is coming to drive it home next Saturday...........Put a self tapping screw with a rubber grommet thru the Radiator hole and tightened the screw squishing the rubber grommet to seal the leak till the new Radiator shows up and Andy can replace it at his place.......LOL
Need to hook up the Vacuum line to the Brake Booster and everything else left to do is get all the Dakota Digital gauges and modules installed....Almost done.....Then off to SEMA to Relax.......
Need to hook up the Vacuum line to the Brake Booster and everything else left to do is get all the Dakota Digital gauges and modules installed....Almost done.....Then off to SEMA to Relax.......
10-23-2016, 09:46 AM
#46
TECH Fanatic
Thread Starter
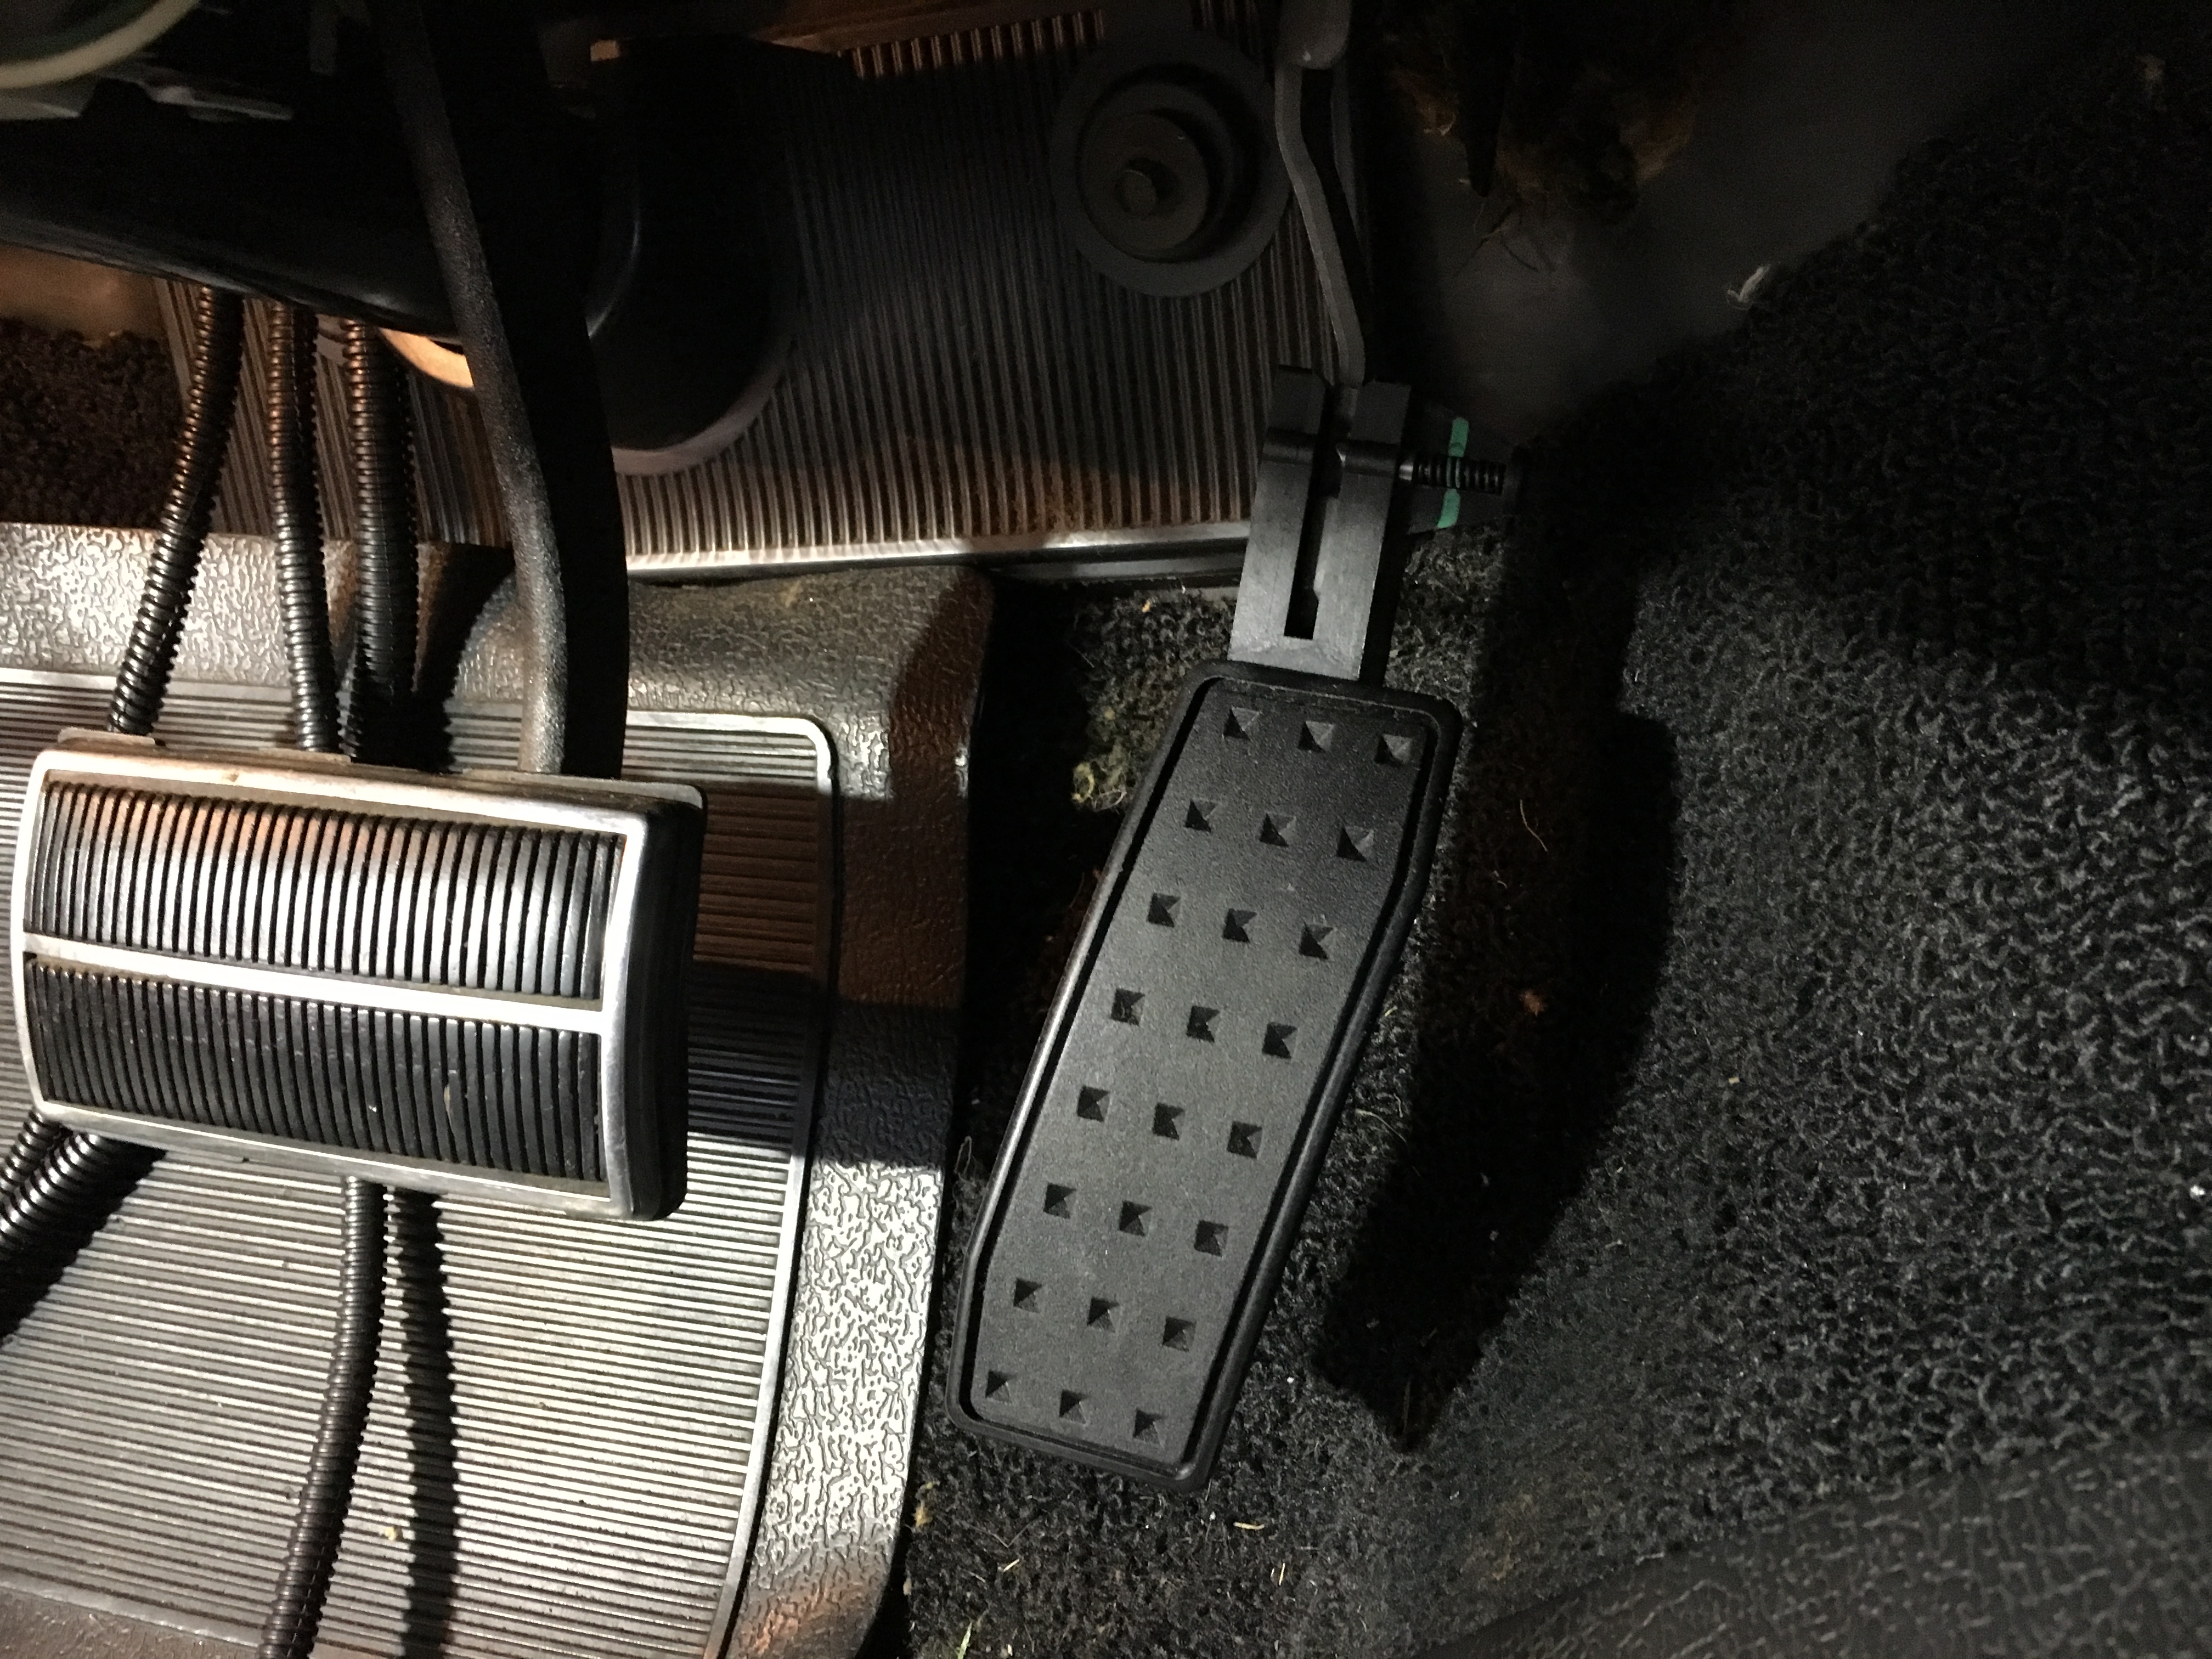
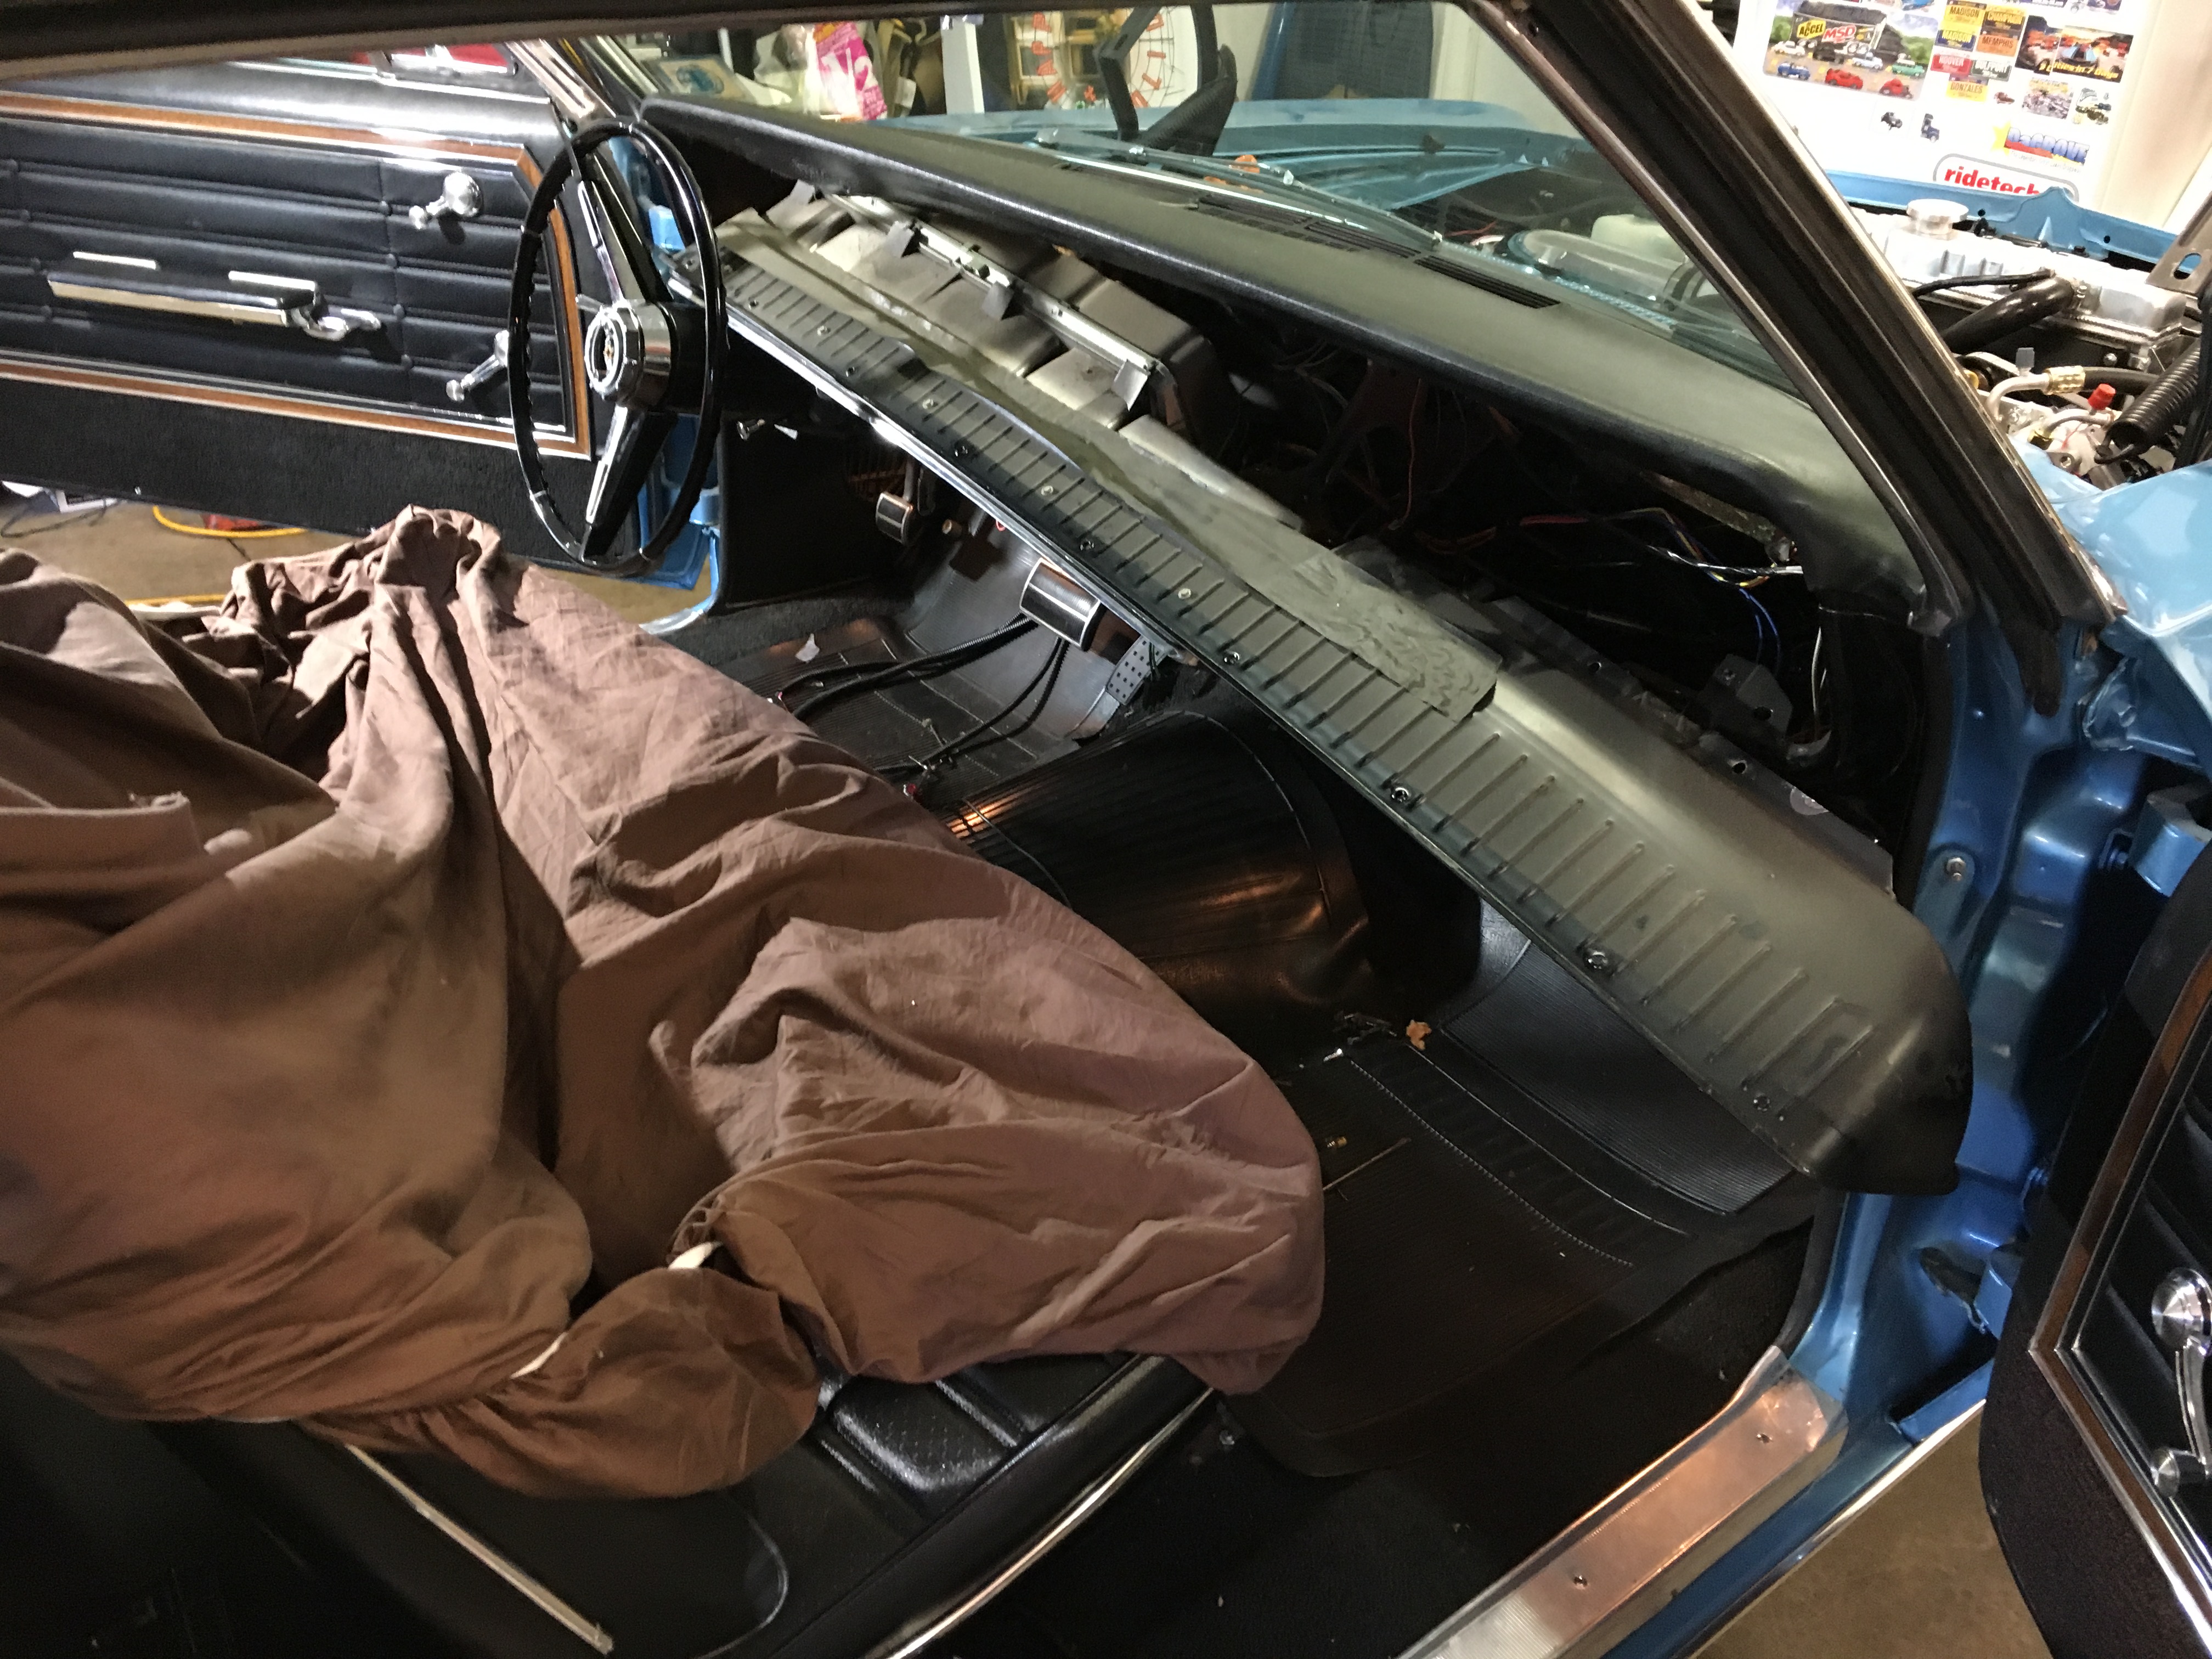
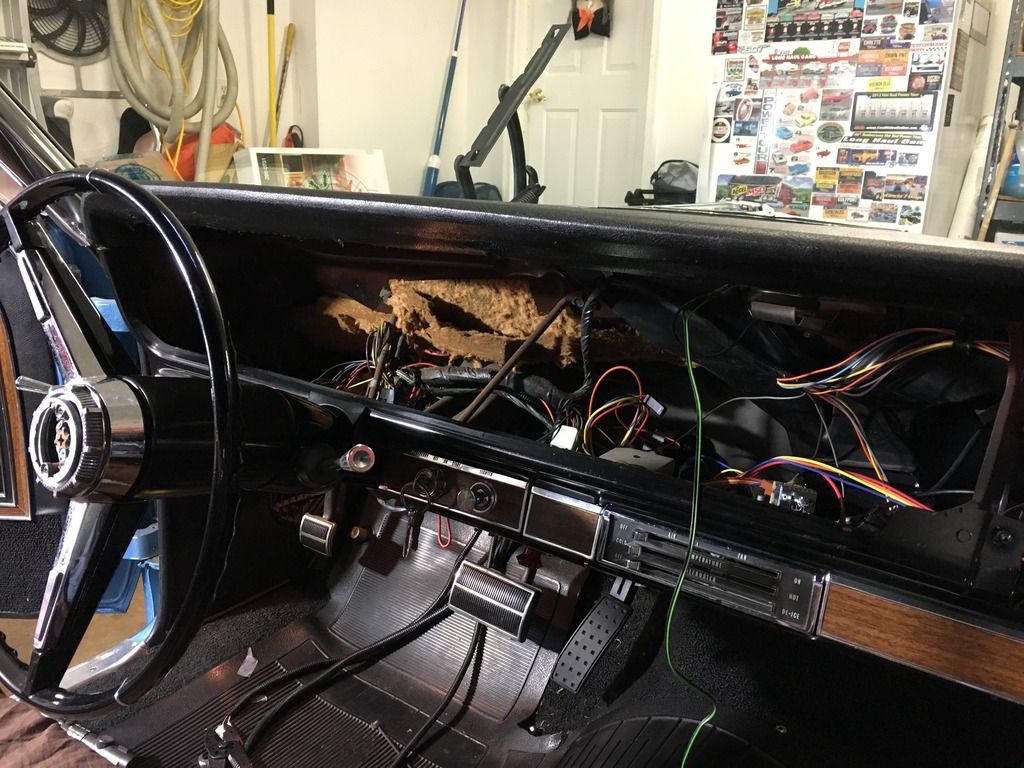
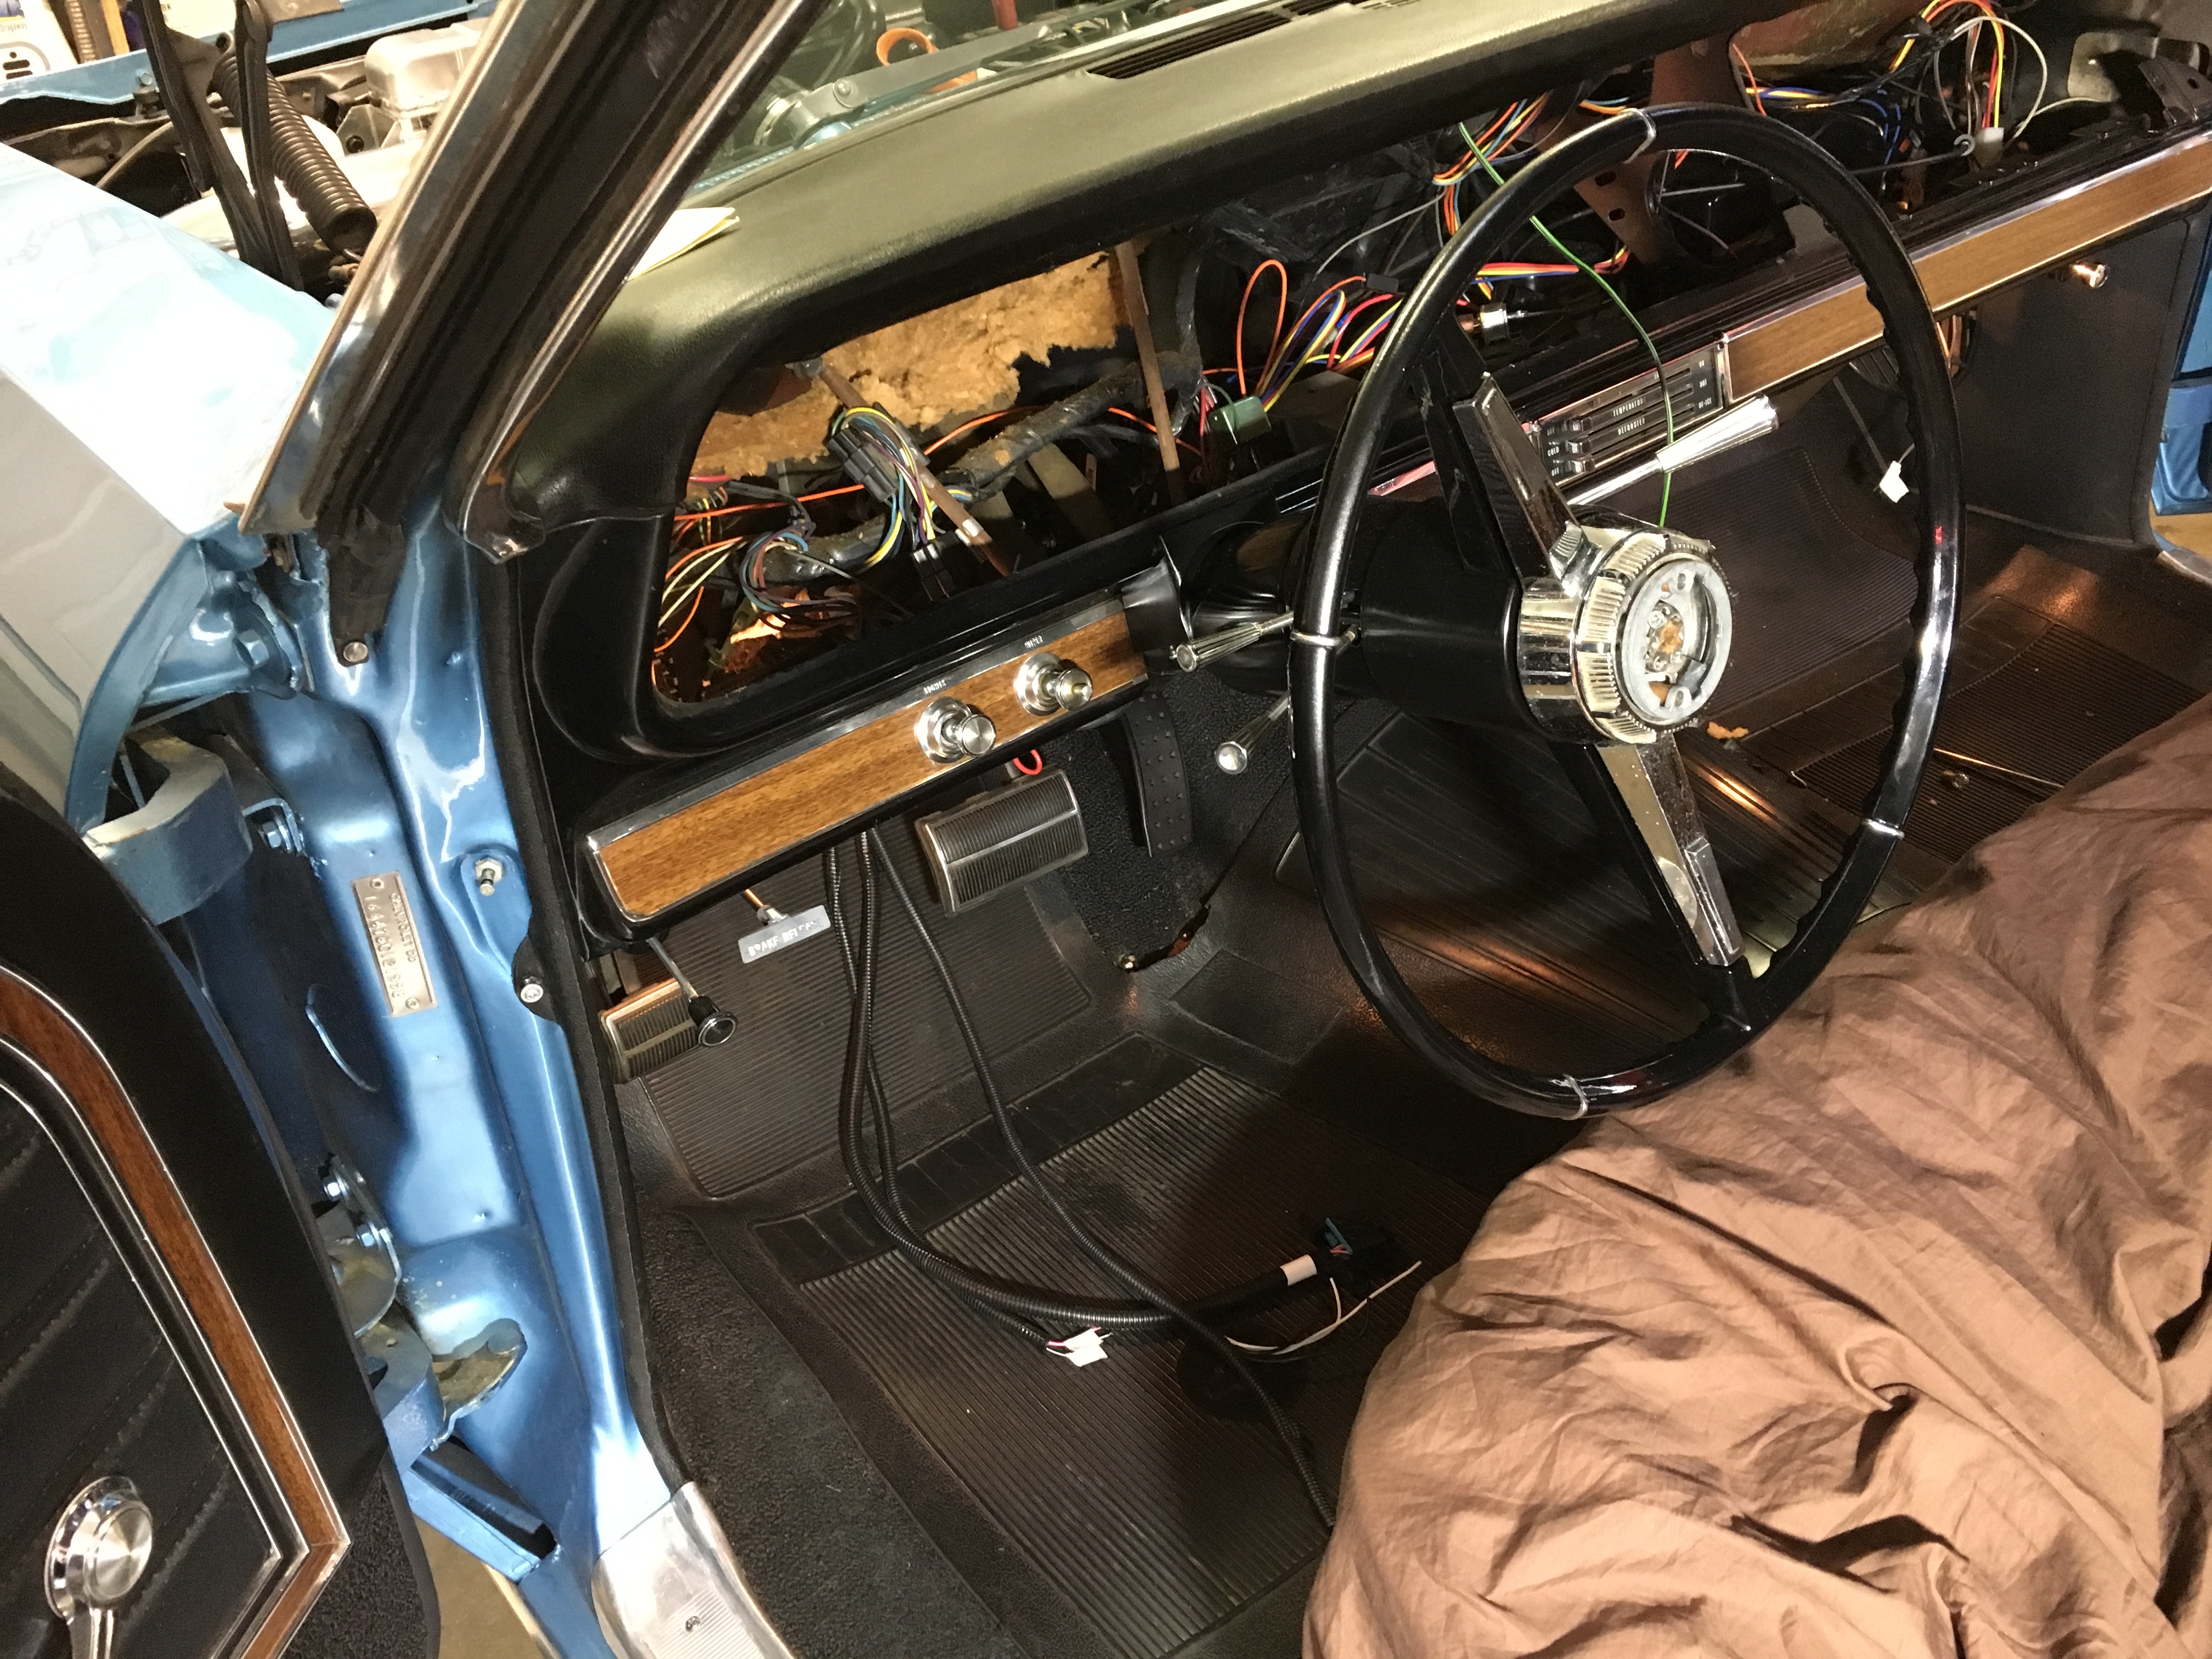
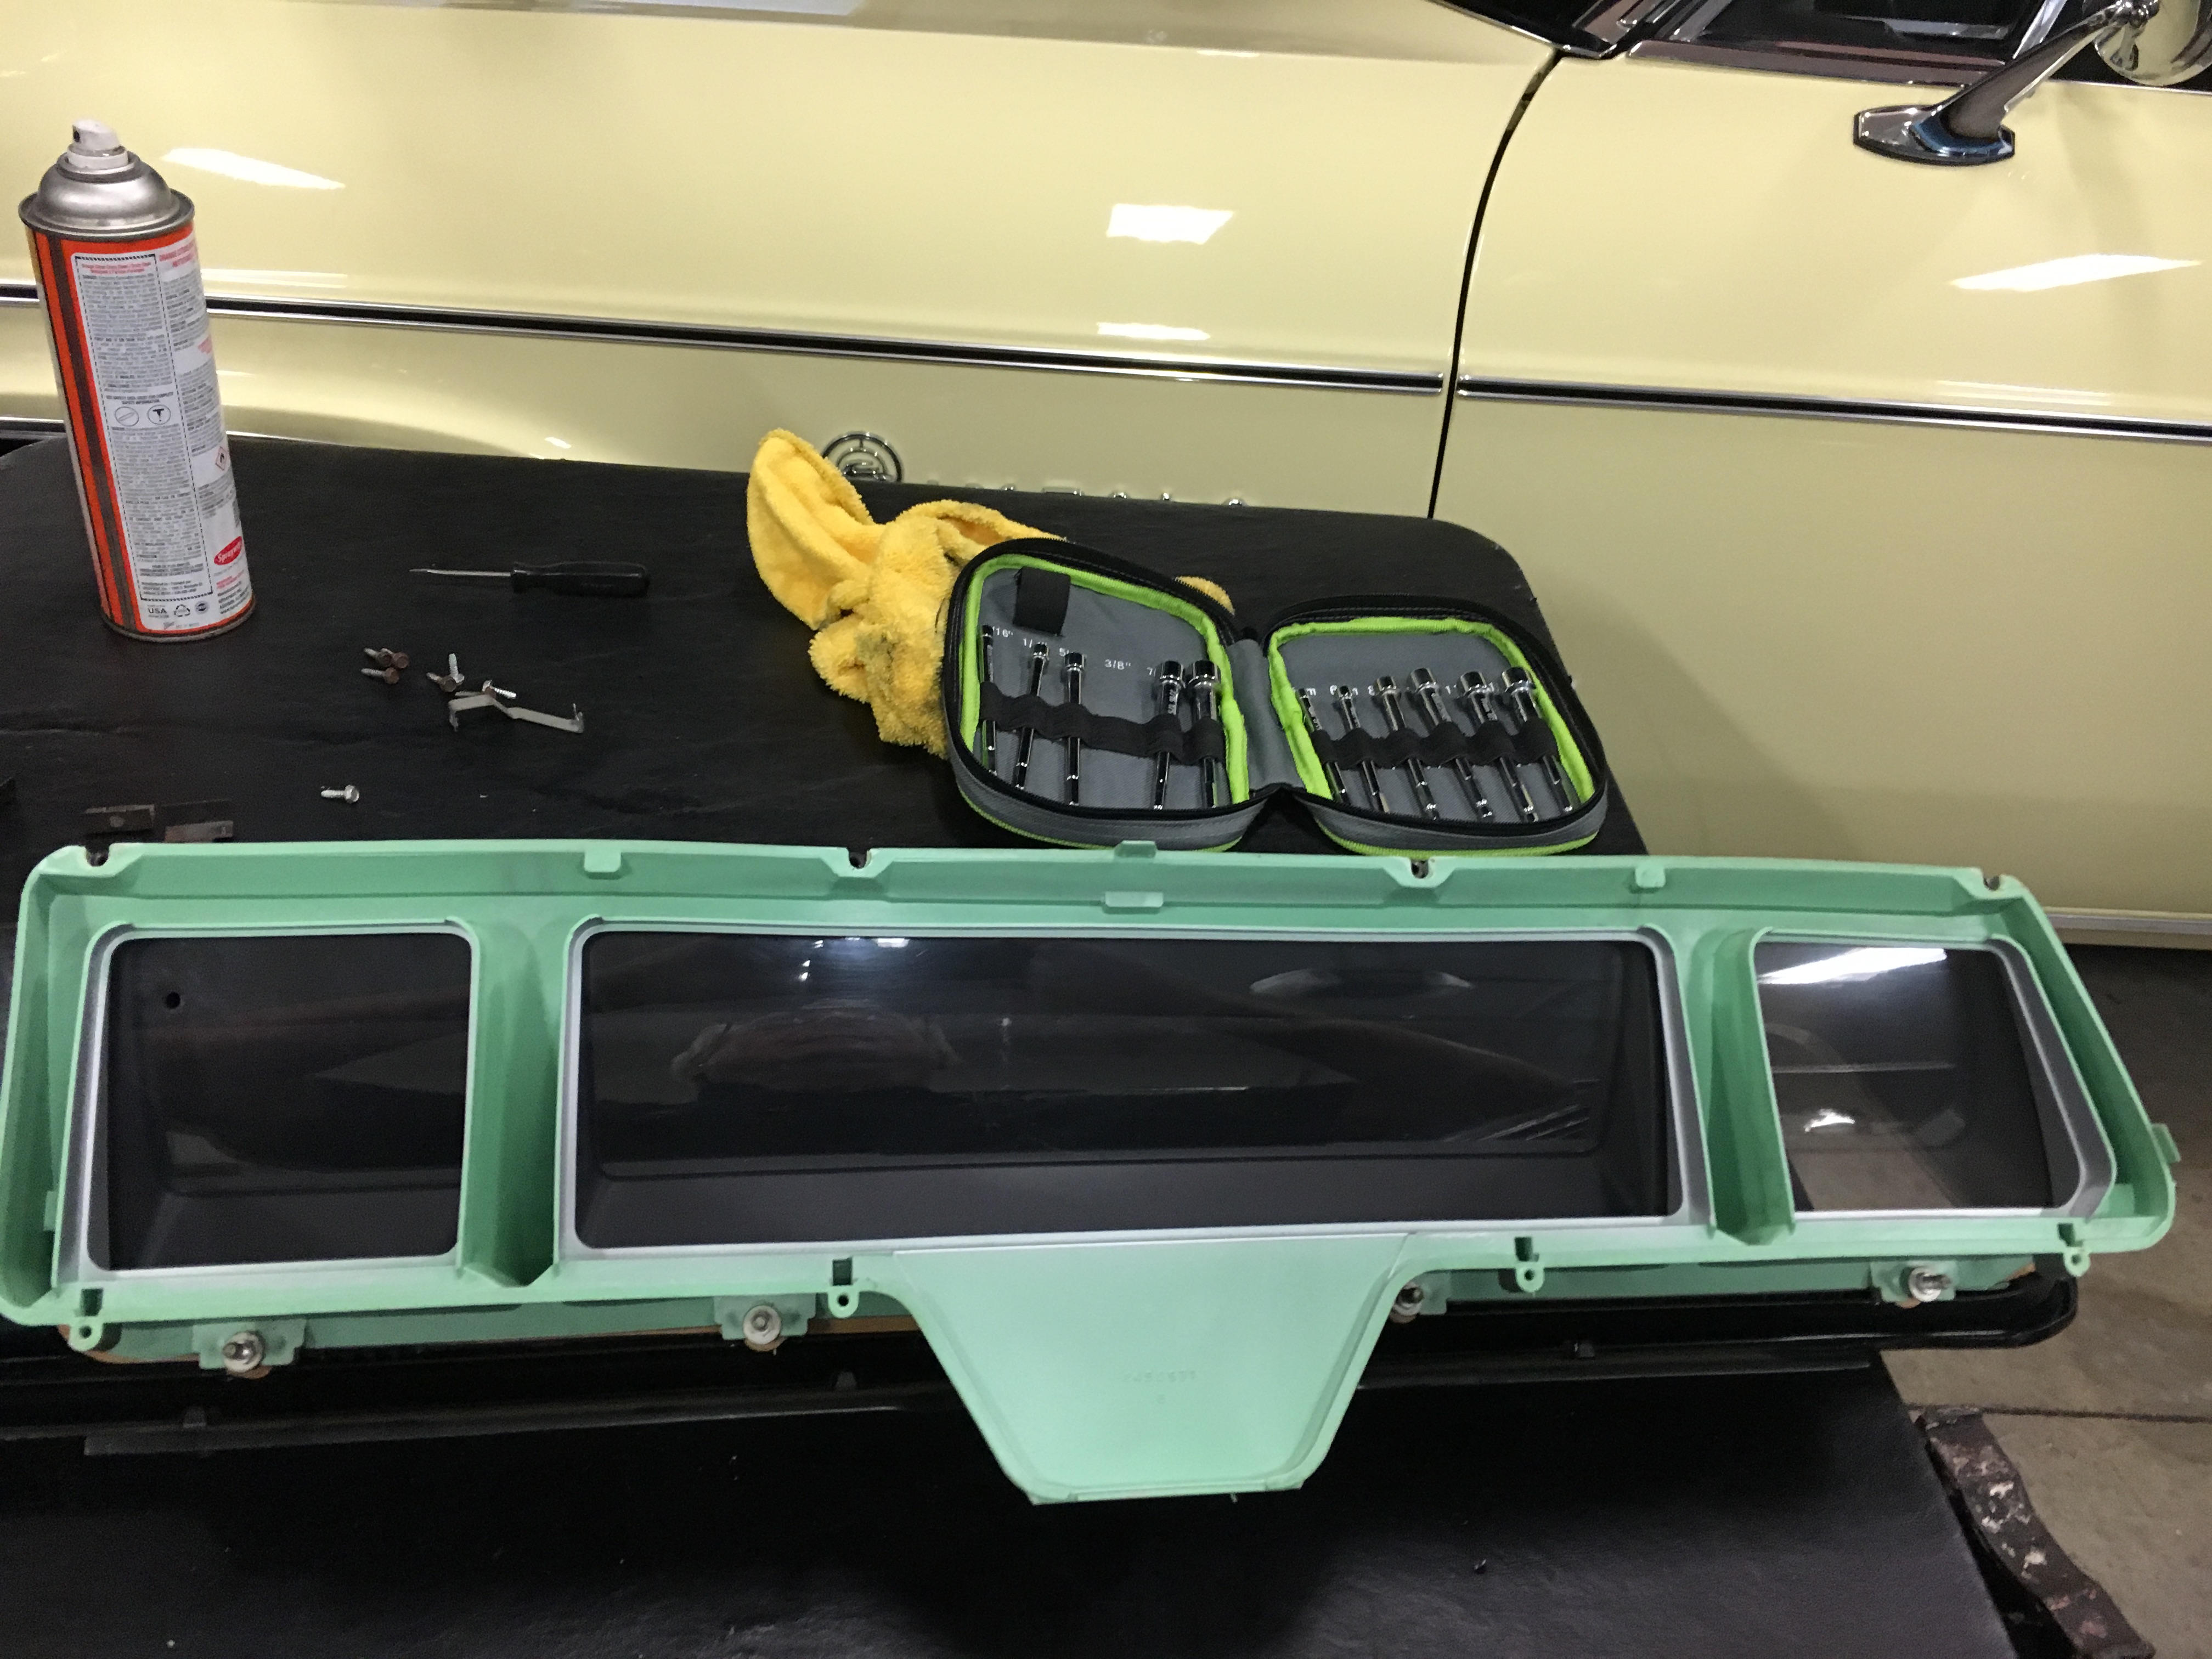
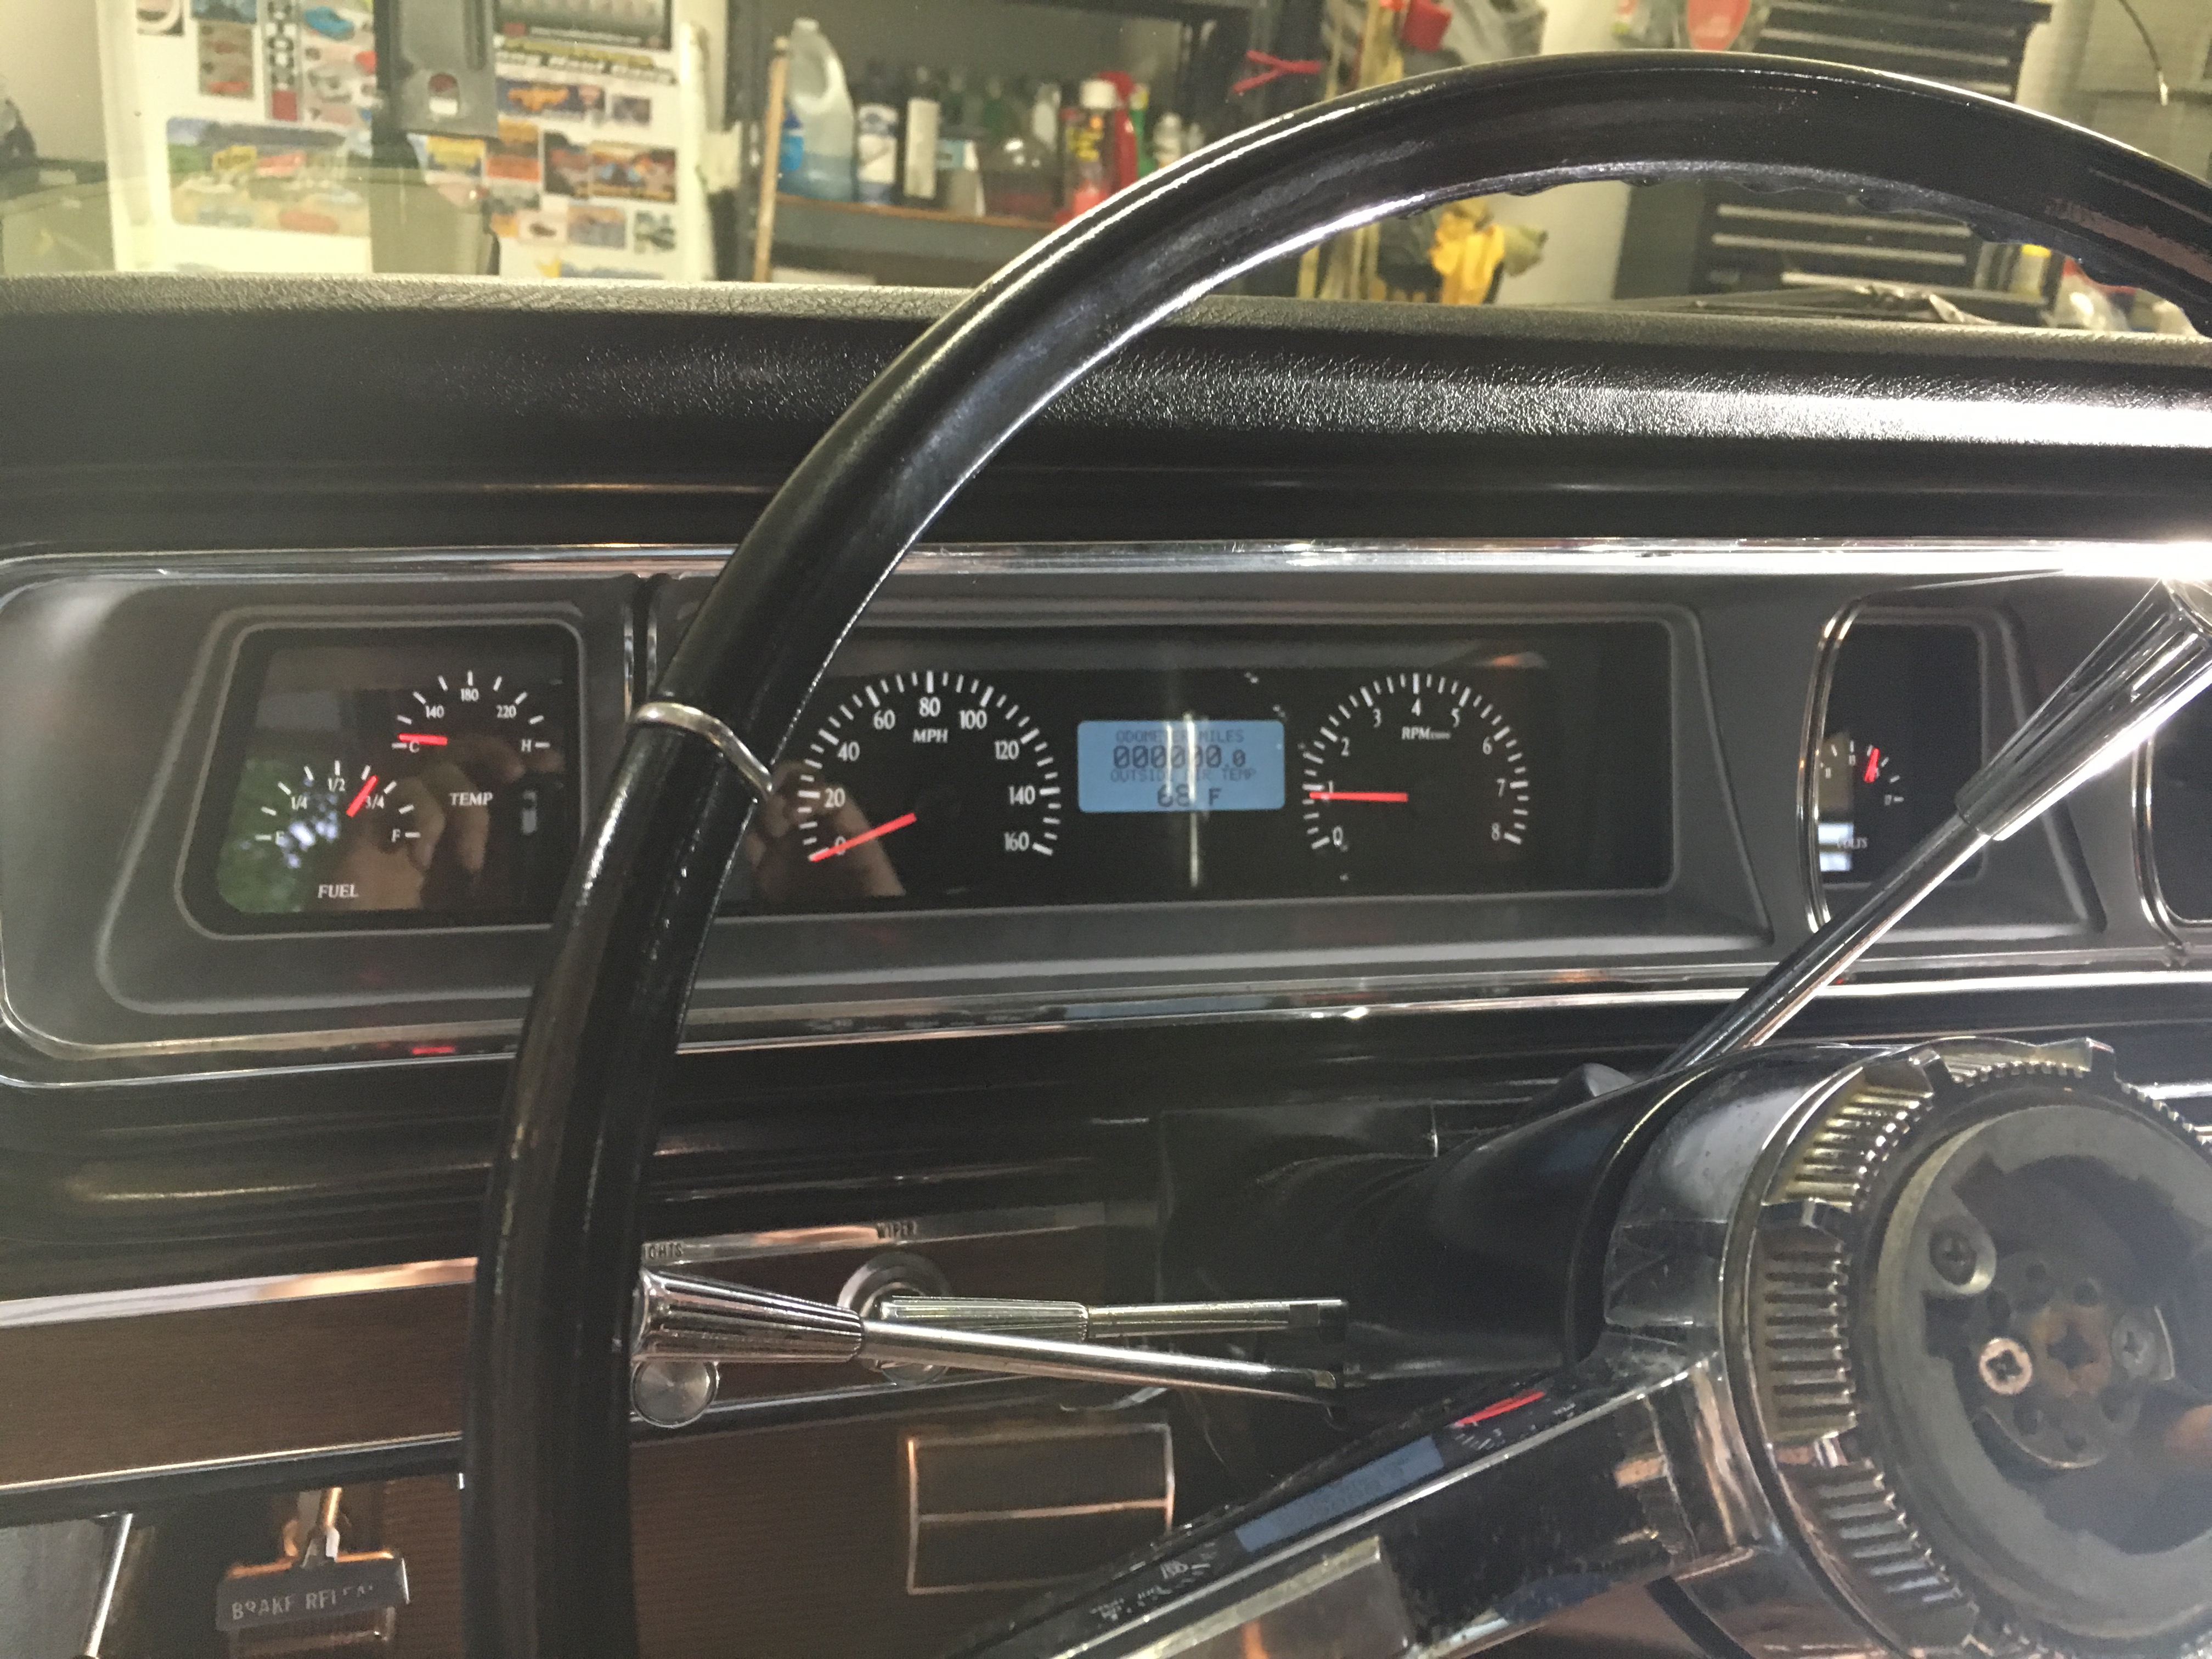
Getting started on the "Inside" car stuff this morning.........Got the Gas pedal installed and plugged in.....also took the Dash out to get the Dakota Digital install going......Again.....Look at the Dust on the dash assy.........Sheesh !!!......at least the dust fell inside the car and not on the floor.......
10-25-2016, 08:31 AM
#47
Thanks...makes me feel good that I did the same...whew!!!
10-26-2016, 09:44 PM
#48
TECH Fanatic
Thread Starter
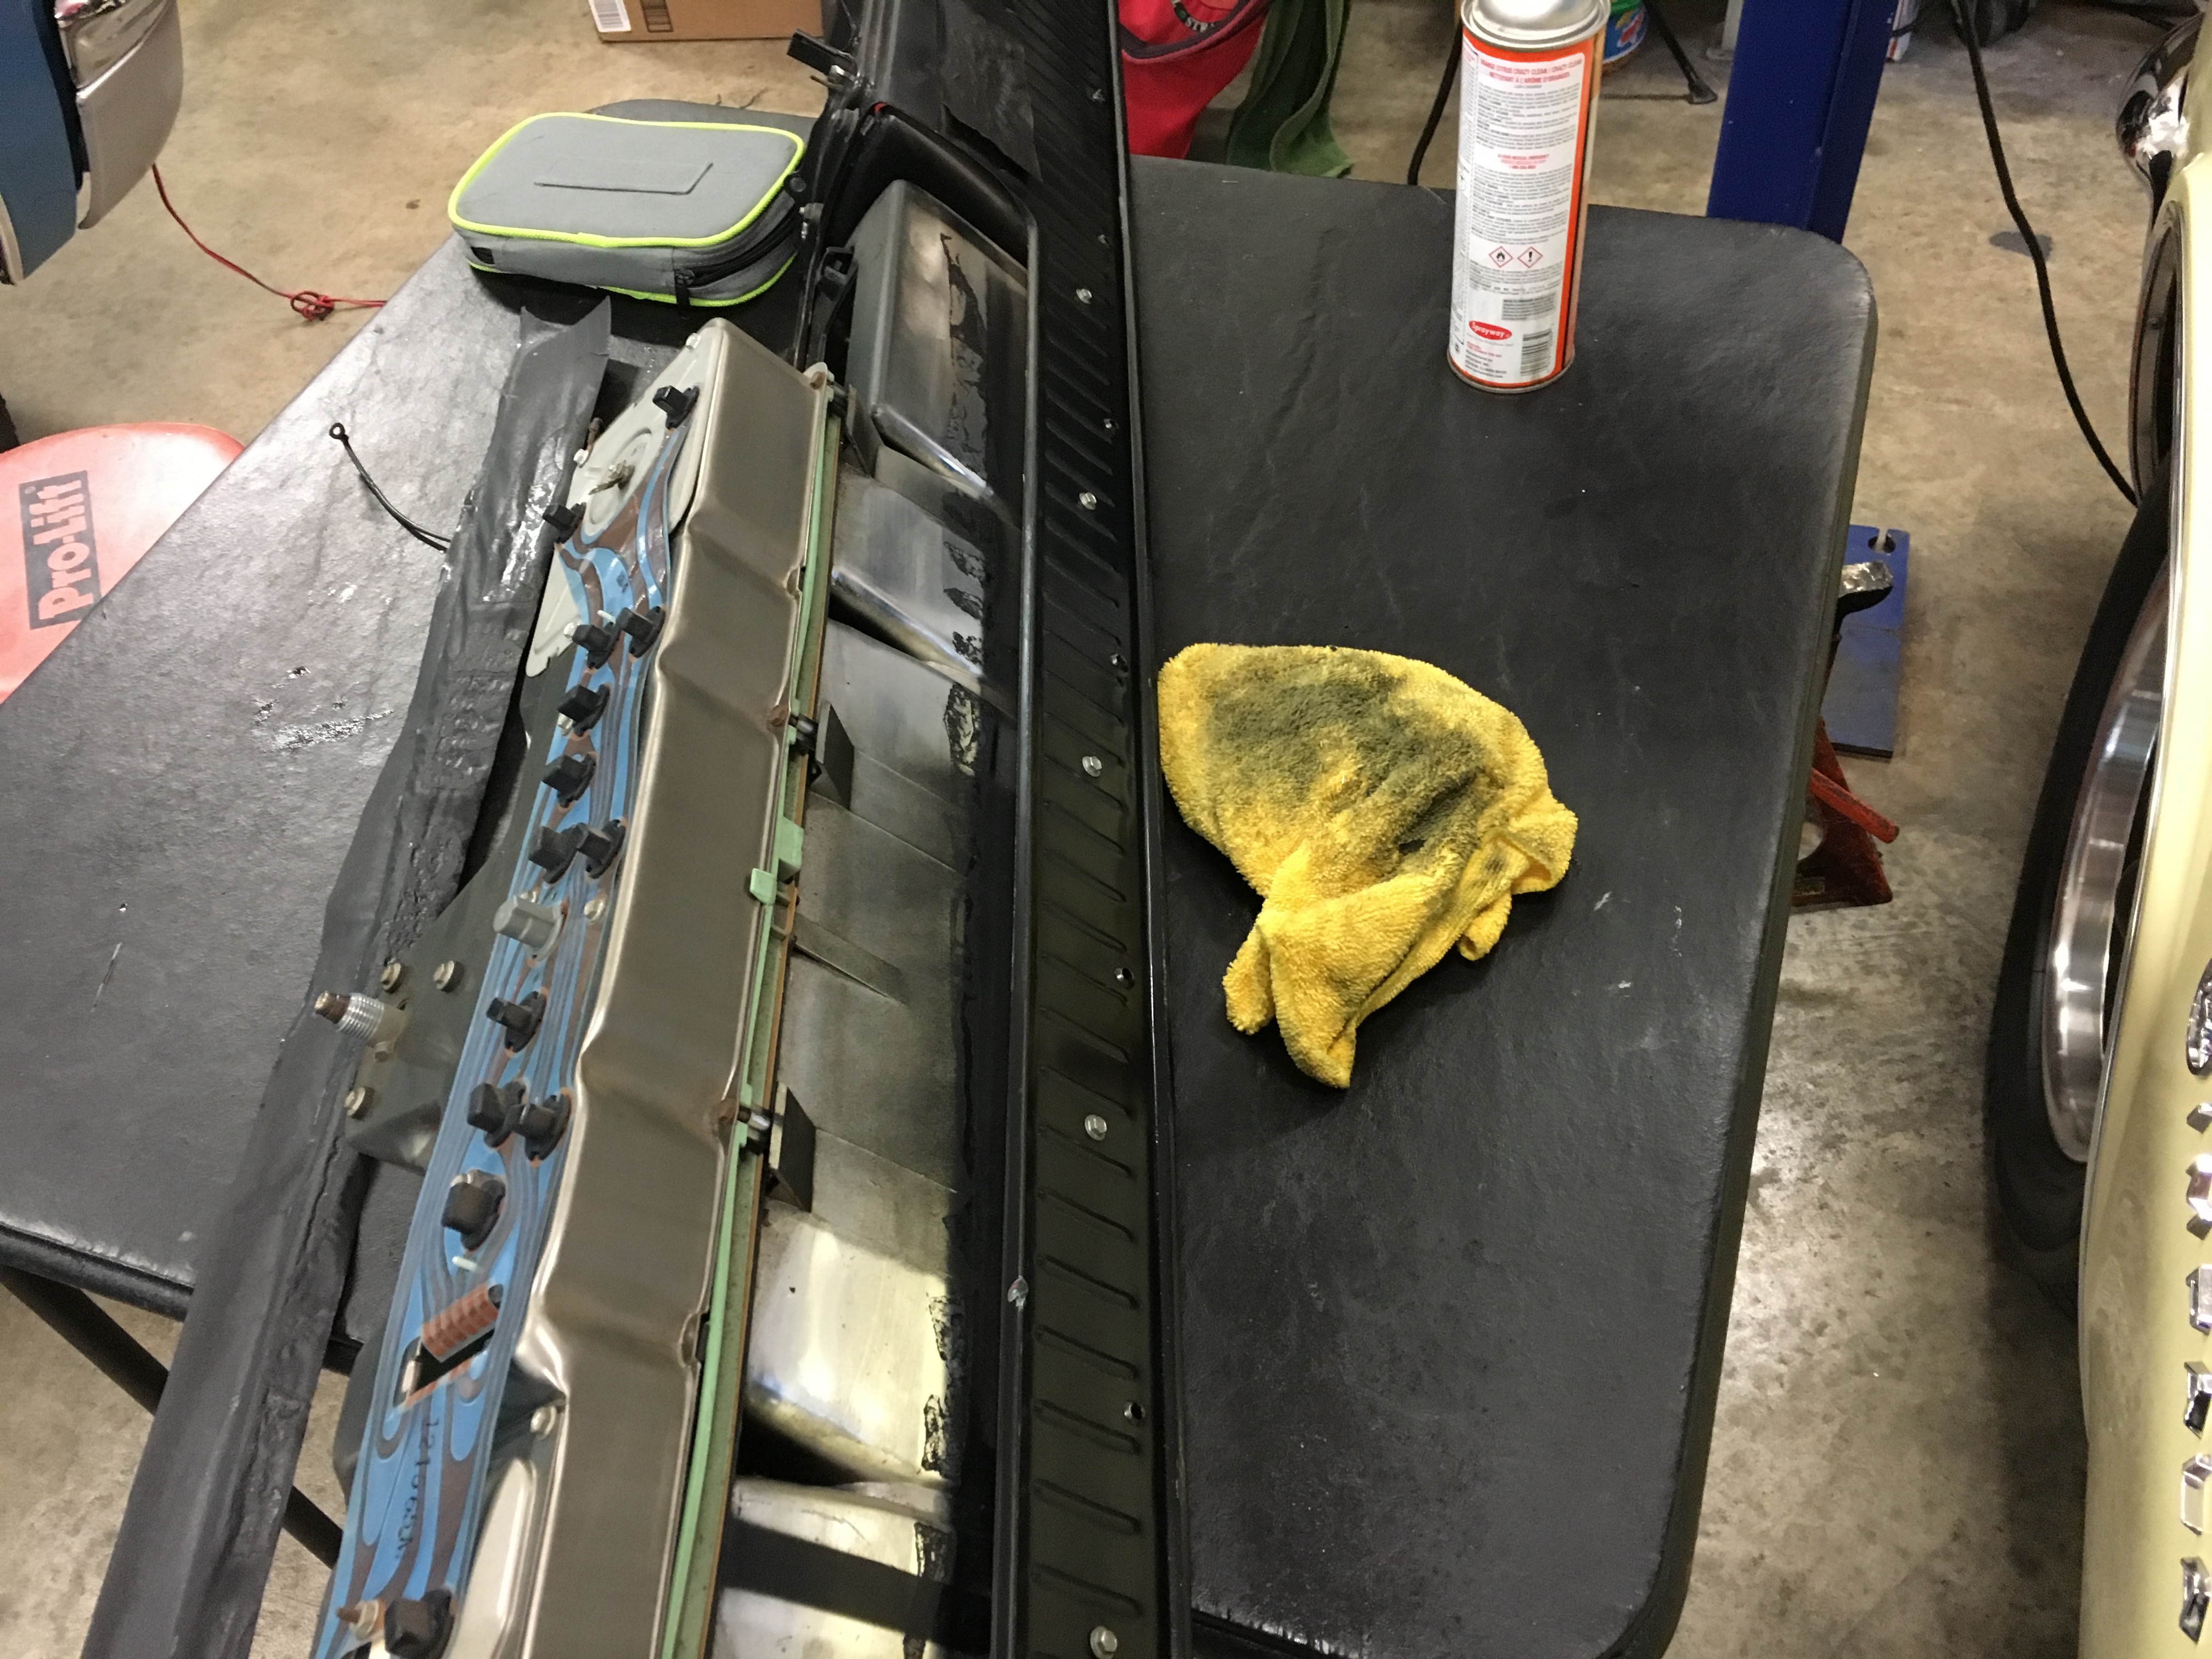
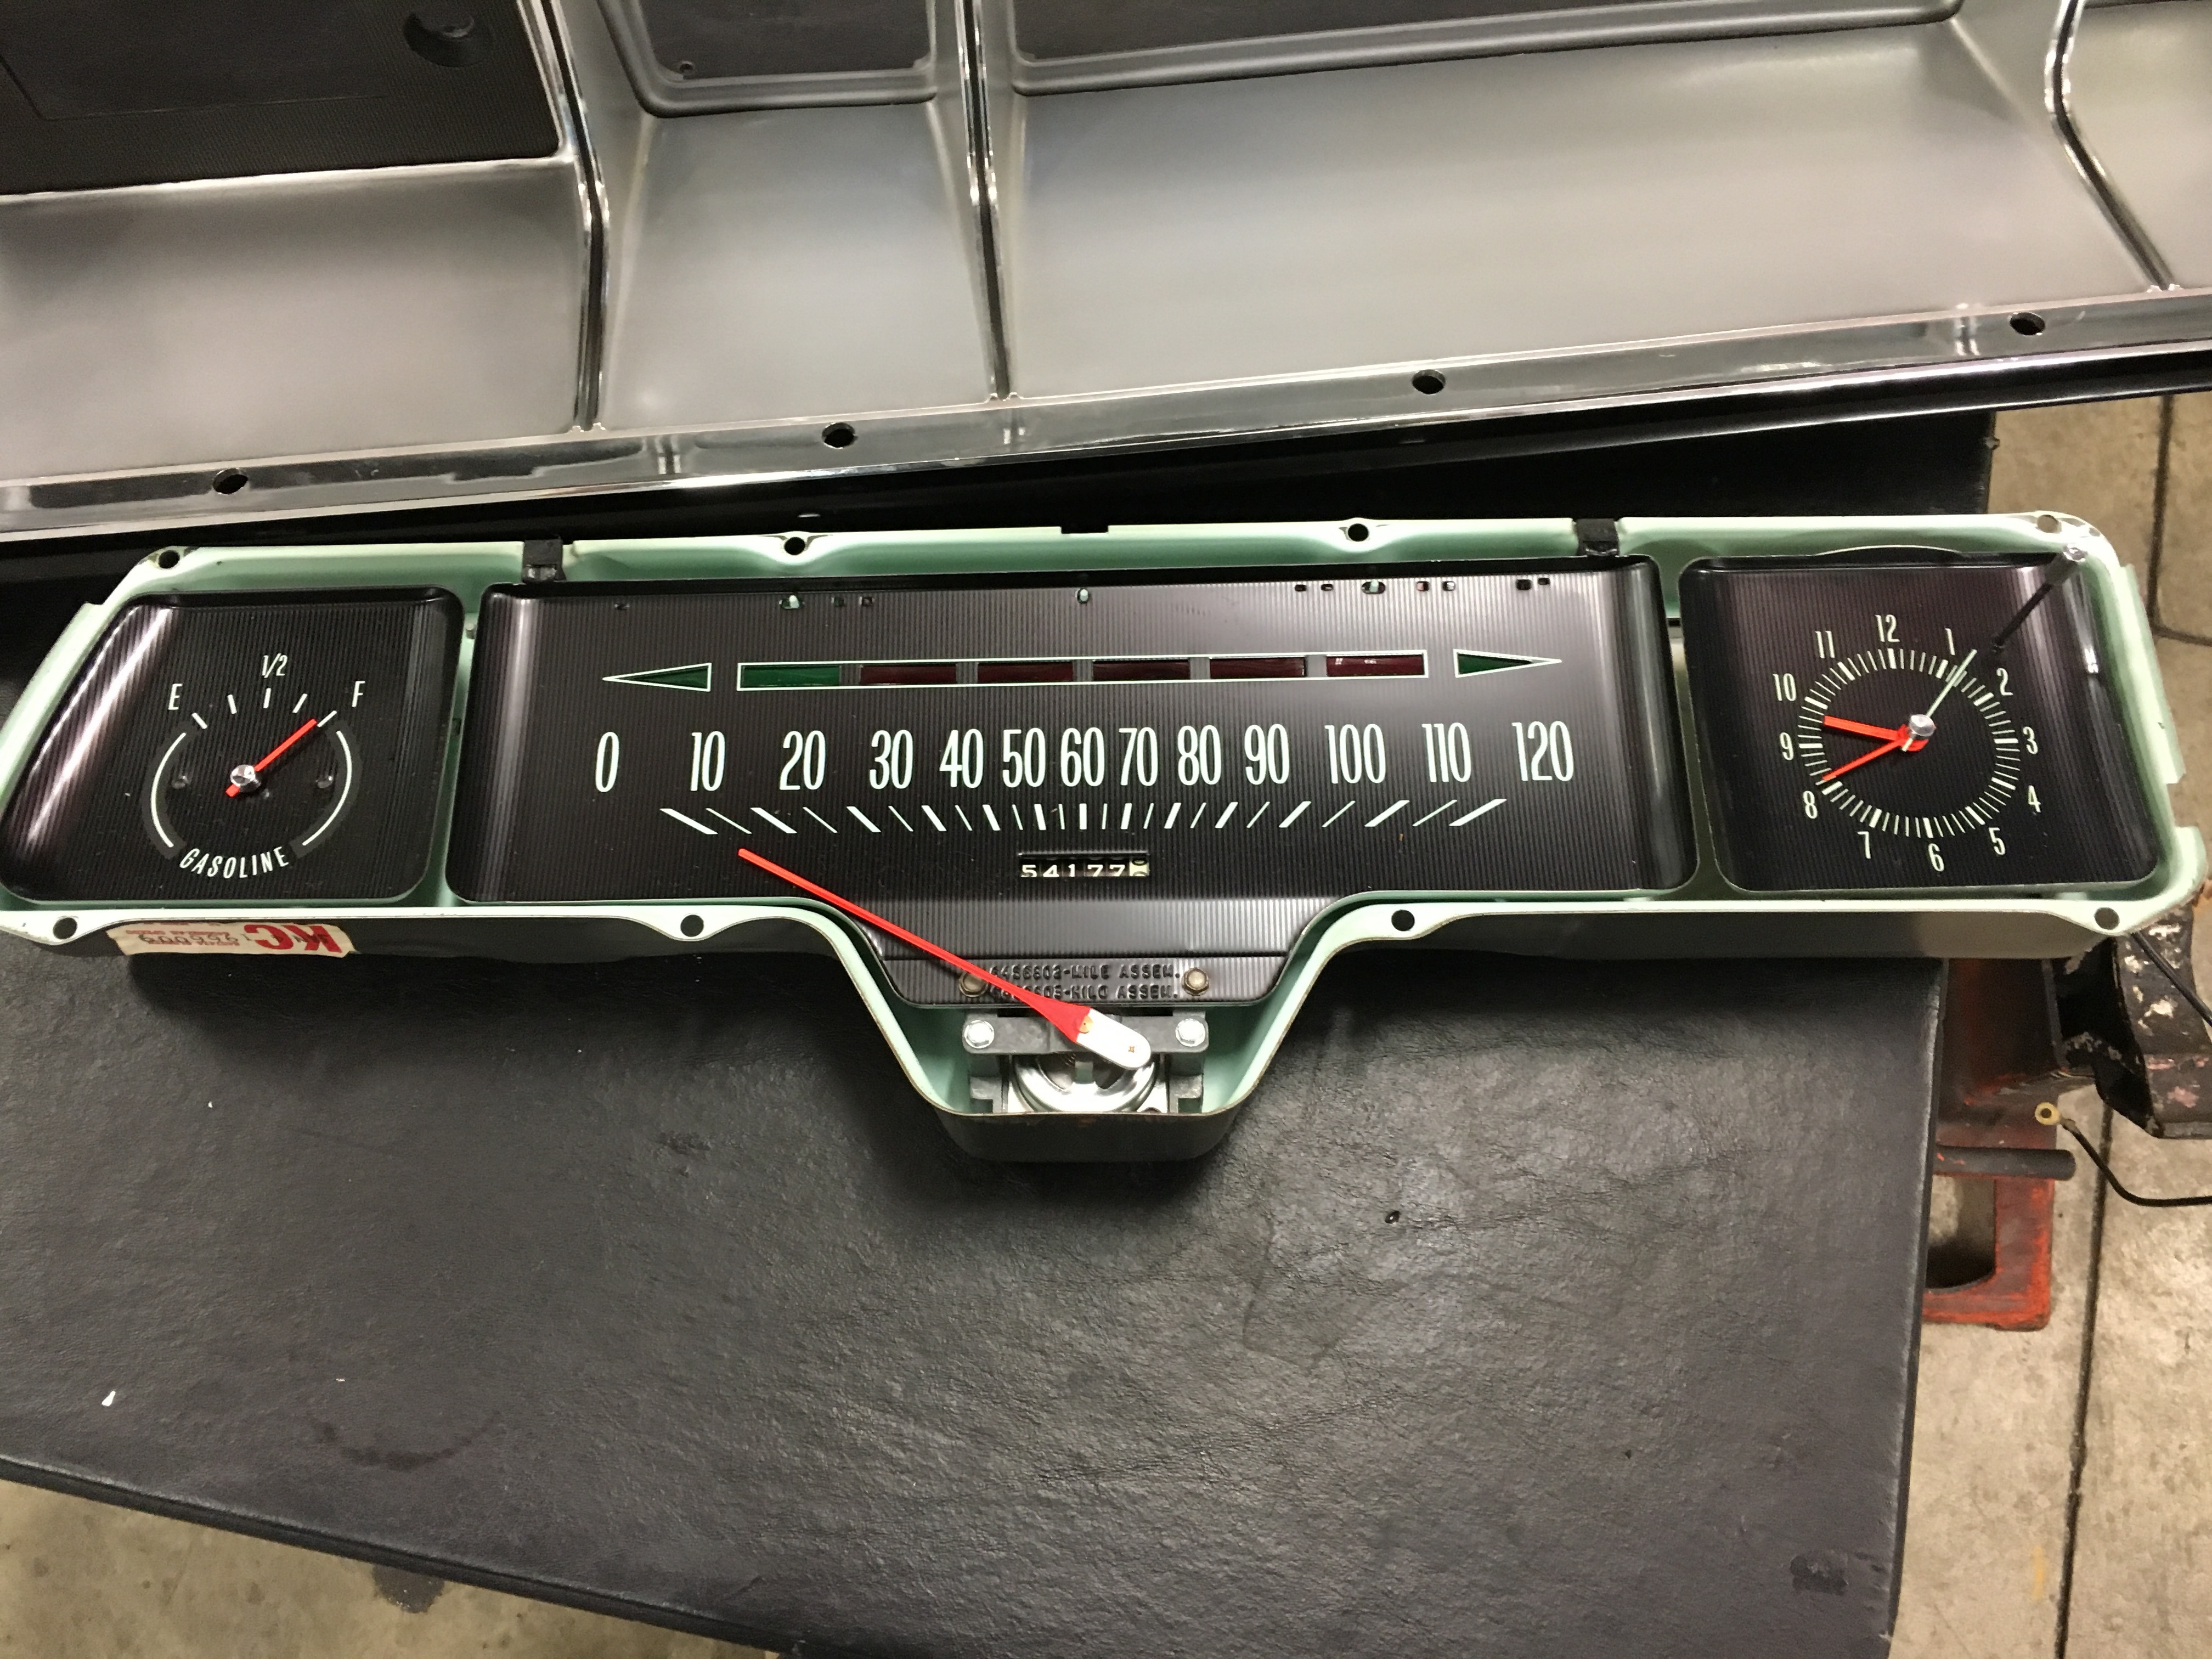
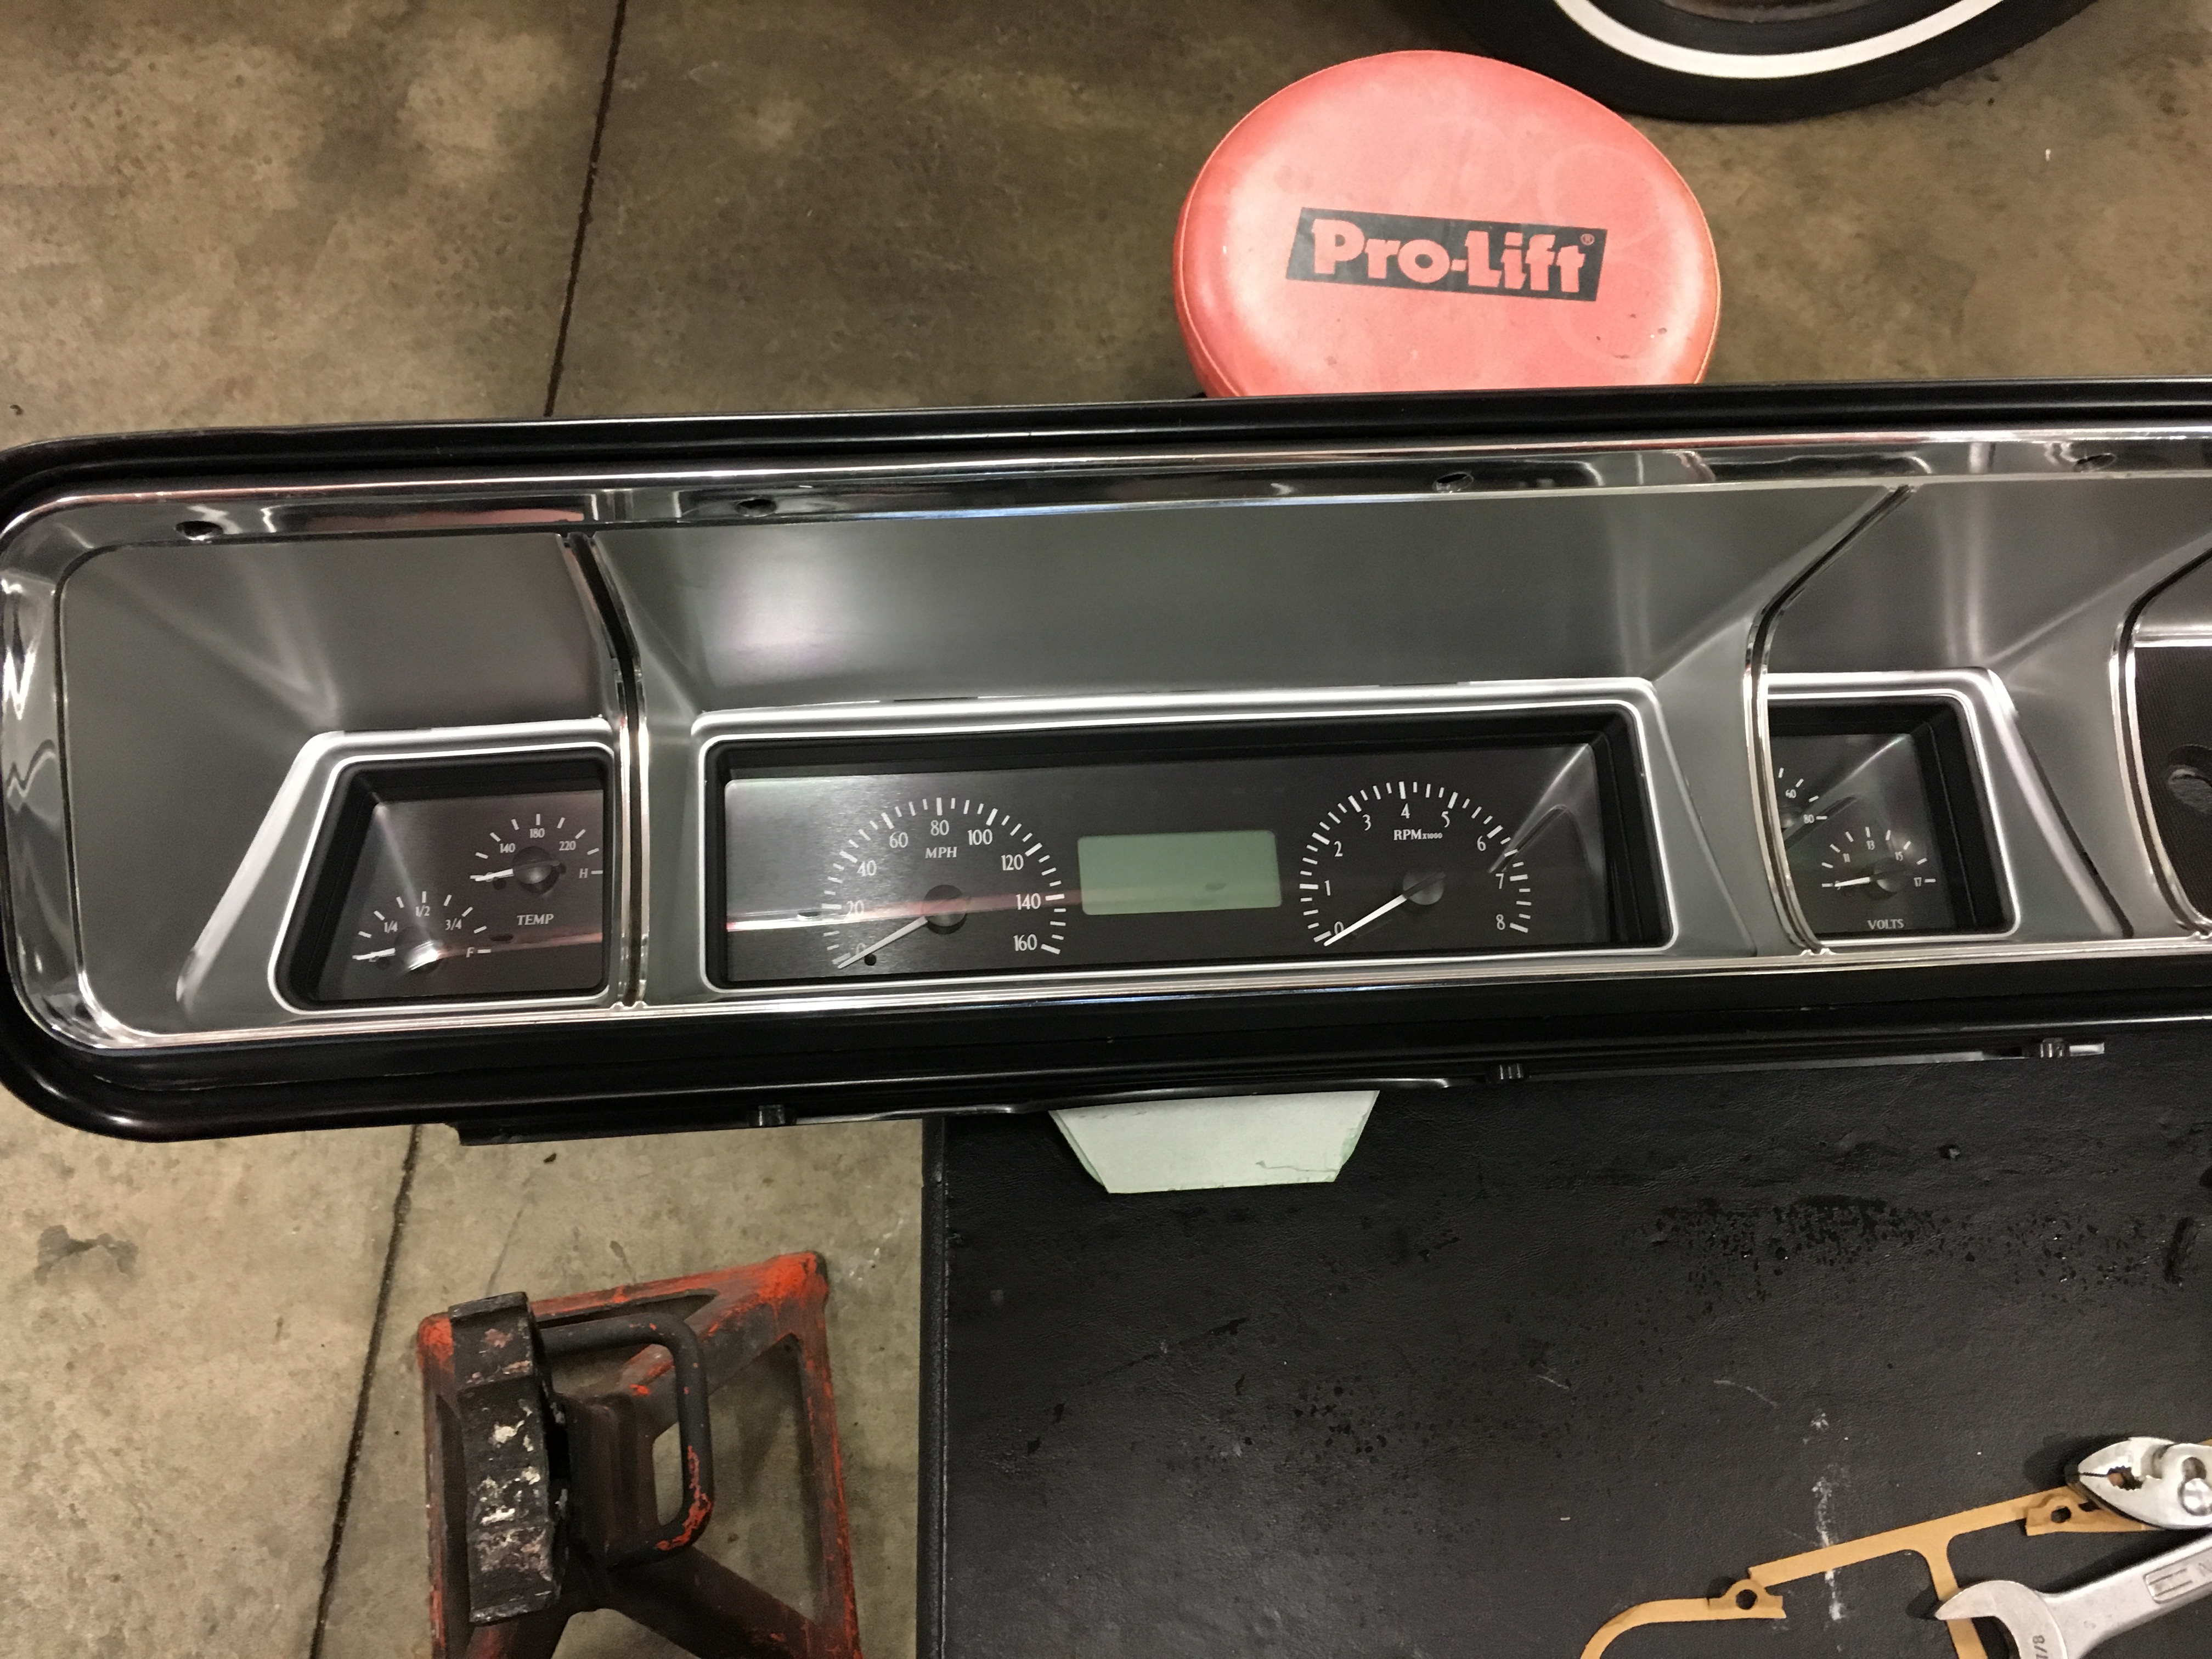
Time to get Andy's car cleaned up and finished.........Spent the day yesterday getting the Dakota Digital modules installed and wired ..............Todays project was to get the Dash cleaned, disassembled, and get the new Gauge assy installed, programmed and installed.......After getting that finished, I started the car and let it run and get up to temperature......Fan Relays kicked the fans on just like they are supposed to.....One of the little issues that pop up every now and then was the neutral safety switch.......This one was broken and going from the early trans to the overdrive created a safety issue........So......I informed Andy the switch was bad and I installed jumper wires to by-pass the old switch...After thinking about it and reading the instructions for the Dakota gear shift position sensor module, I installed a relay and wired it per the instructions..........LOL......Don't need no stinking mechanical switch...... ...Andy is coming to pick it up and drive it home on Saturday....
10-28-2016, 07:00 AM
#49
TECH Fanatic
Thread Starter
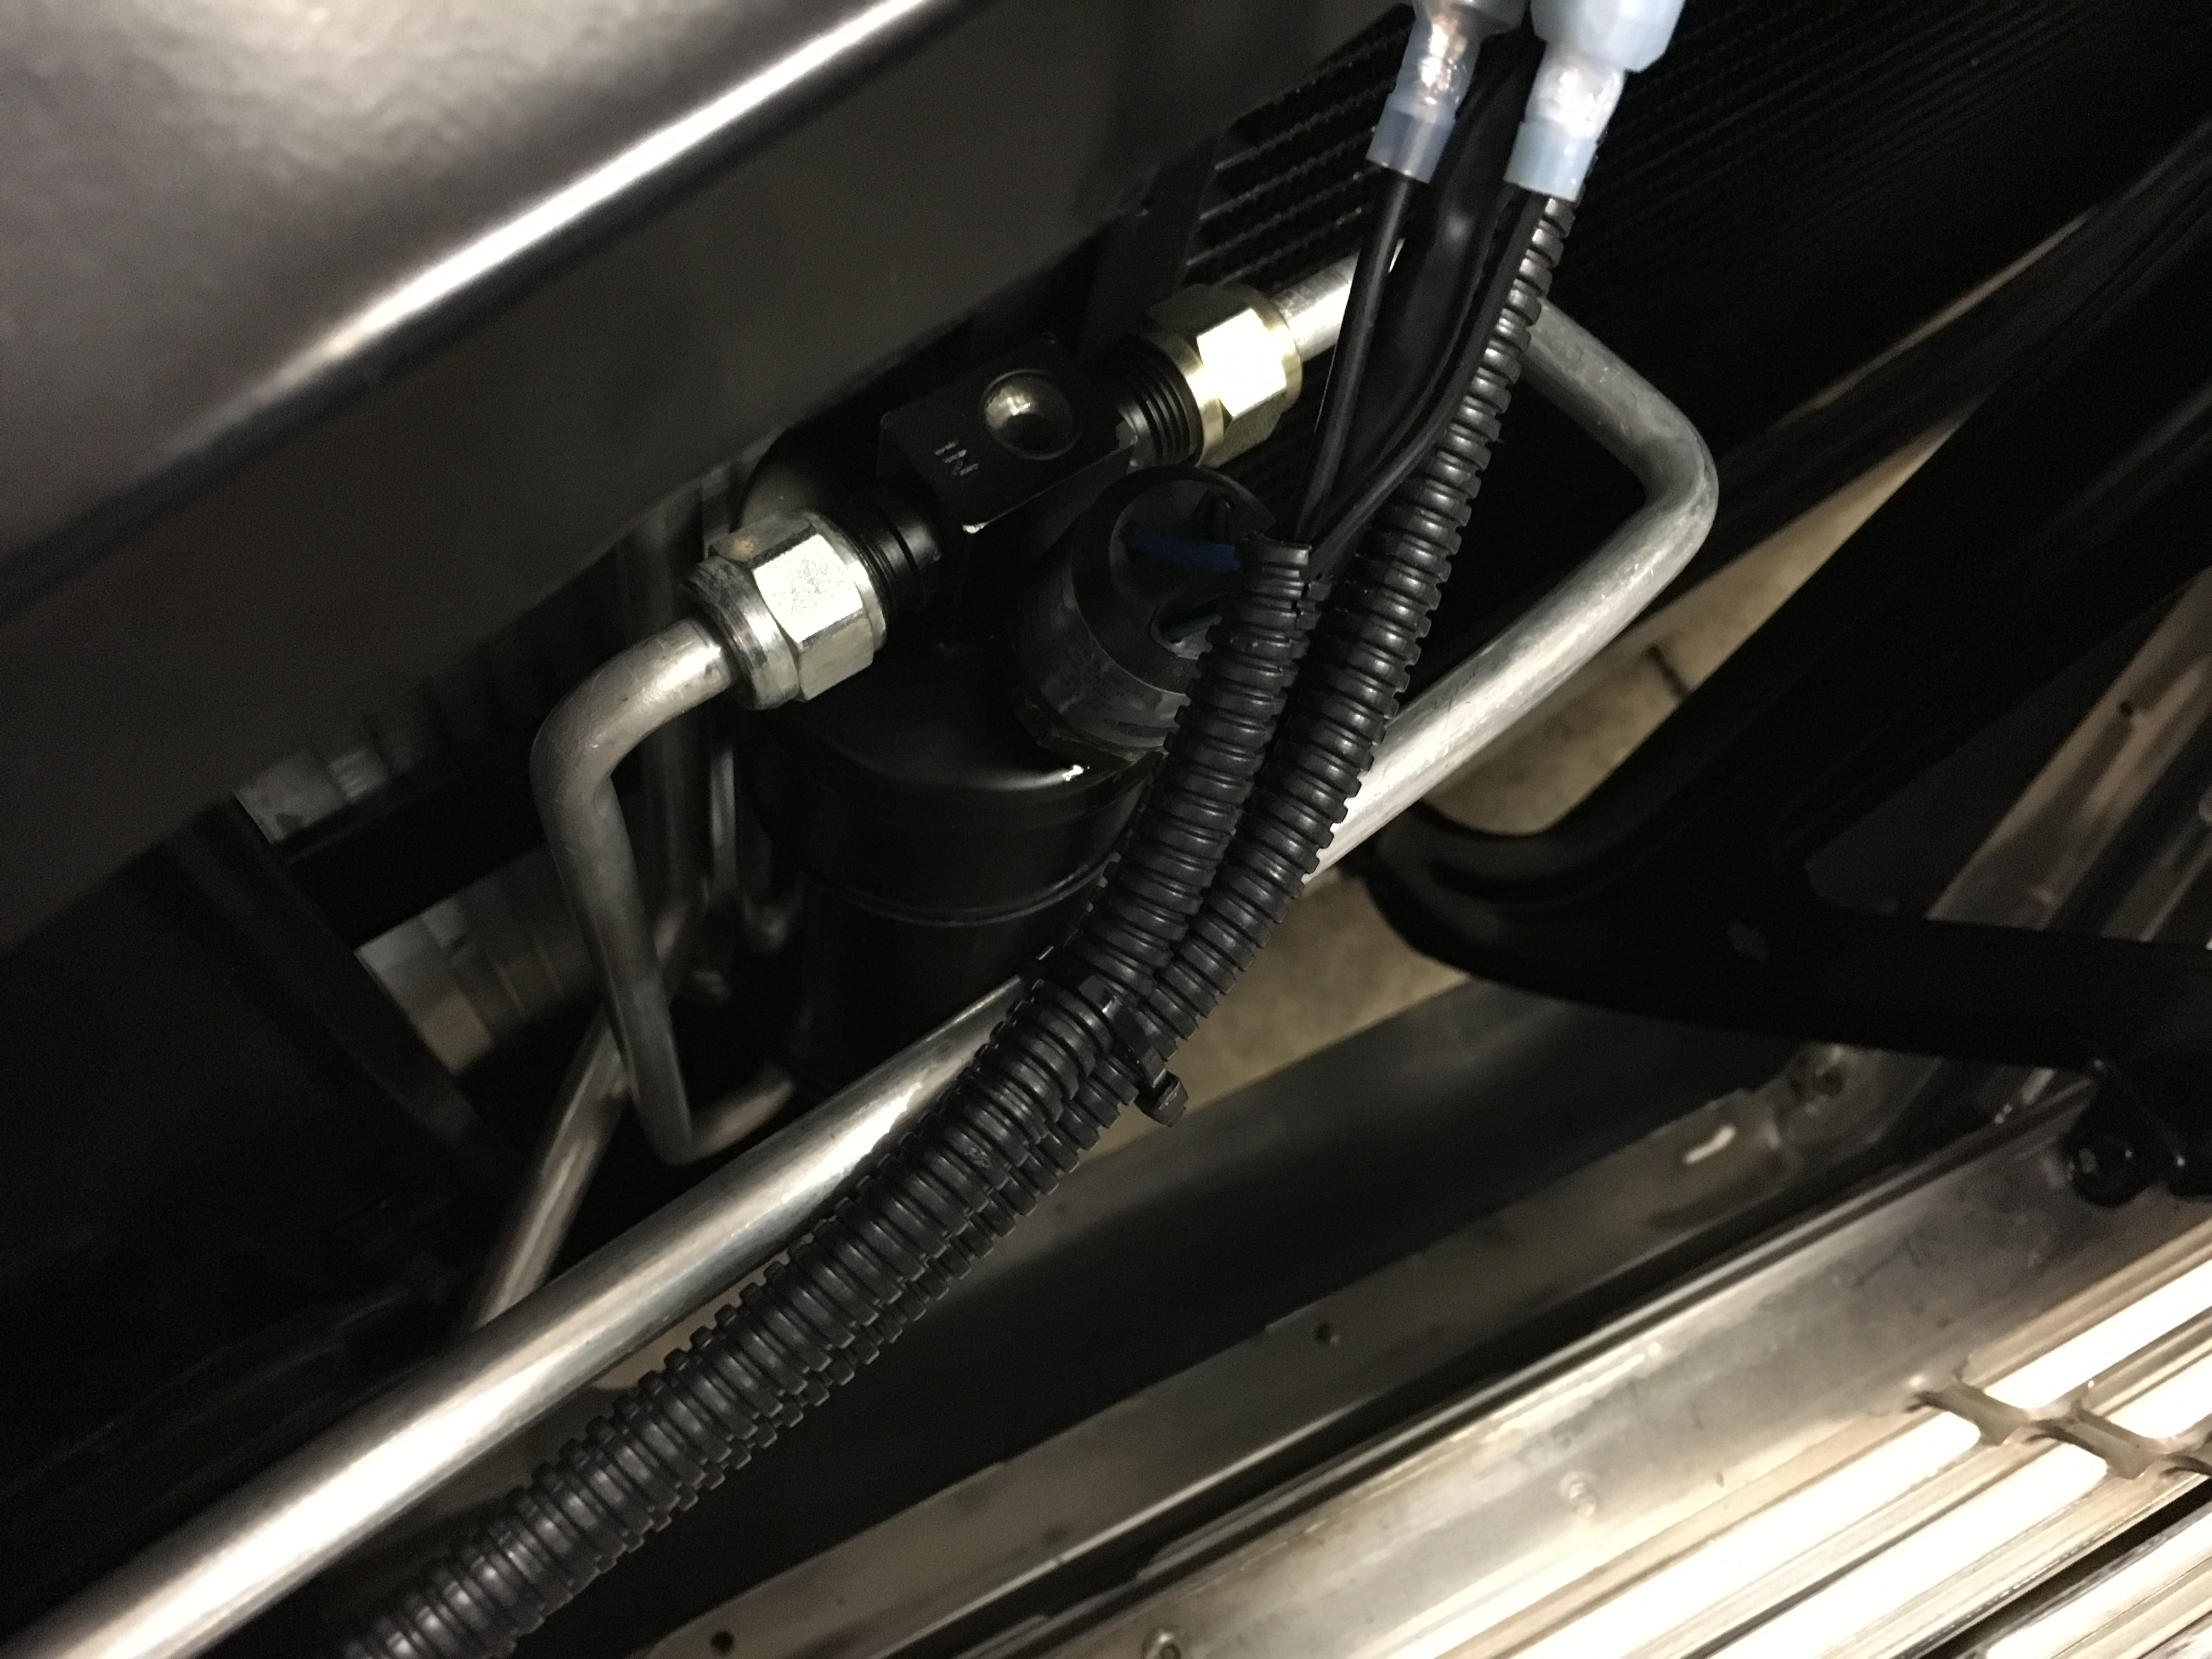
Drove it for the first time to get the A/C system charged yesterday..........the car rode beautify, But....now I remember why God invented Disc Brakes and quick ratio steering boxes.....LOL.....Andy already changed the steering linkage in car over to the 67 revision so there wasn't any Ackermann issues.....Maybe I'm just used to driving my wife's cars so I am a little spoiled.........Andy is coming tomorrow to pick up this "Heap"........He still has some tweaking to do over the winter, I know he will be upgrading the brakes etc............Hopefully he will continue the thread with the future mod's............
http://vid13.photobucket.com/albums/...81C64DEA2F.mp4
http://vid13.photobucket.com/albums/...81C64DEA2F.mp4
10-28-2016, 08:55 AM
#50
Drove it for the first time to get the A/C system charged yesterday..........the car rode beautify, But....now I remember why God invented Disc Brakes and quick ratio steering boxes.....LOL.....Andy already changed the steering linkage in car over to the 67 revision so there wasn't any Ackermann issues.....Maybe I'm just used to driving my wife's cars so I am a little spoiled.........Andy is coming tomorrow to pick up this "Heap"........He still has some tweaking to do over the winter, I know he will be upgrading the brakes etc............Hopefully he will continue the thread with the future mod's............
http://vid13.photobucket.com/albums/...81C64DEA2F.mp4
http://vid13.photobucket.com/albums/...81C64DEA2F.mp4
10-28-2016, 06:50 PM
#52
TECH Enthusiast

Join Date: Dec 2006
Location: Grafton MA
Posts: 514
Likes: 0
Received 0 Likes
on
0 Posts

Wow, under a month...great work. You would need more than 1 project to get you through winter at that rate.
Thinking maybe you should start a little LS Swap Consulting business to take up your winter down time. :-)
Thinking maybe you should start a little LS Swap Consulting business to take up your winter down time. :-)
10-29-2016, 06:56 PM
#53
TECH Fanatic
Thread Starter
Well..........Andy and his wife came up to pick up their car today.........And........He made it all the way home without any parts falling off........LOL.......
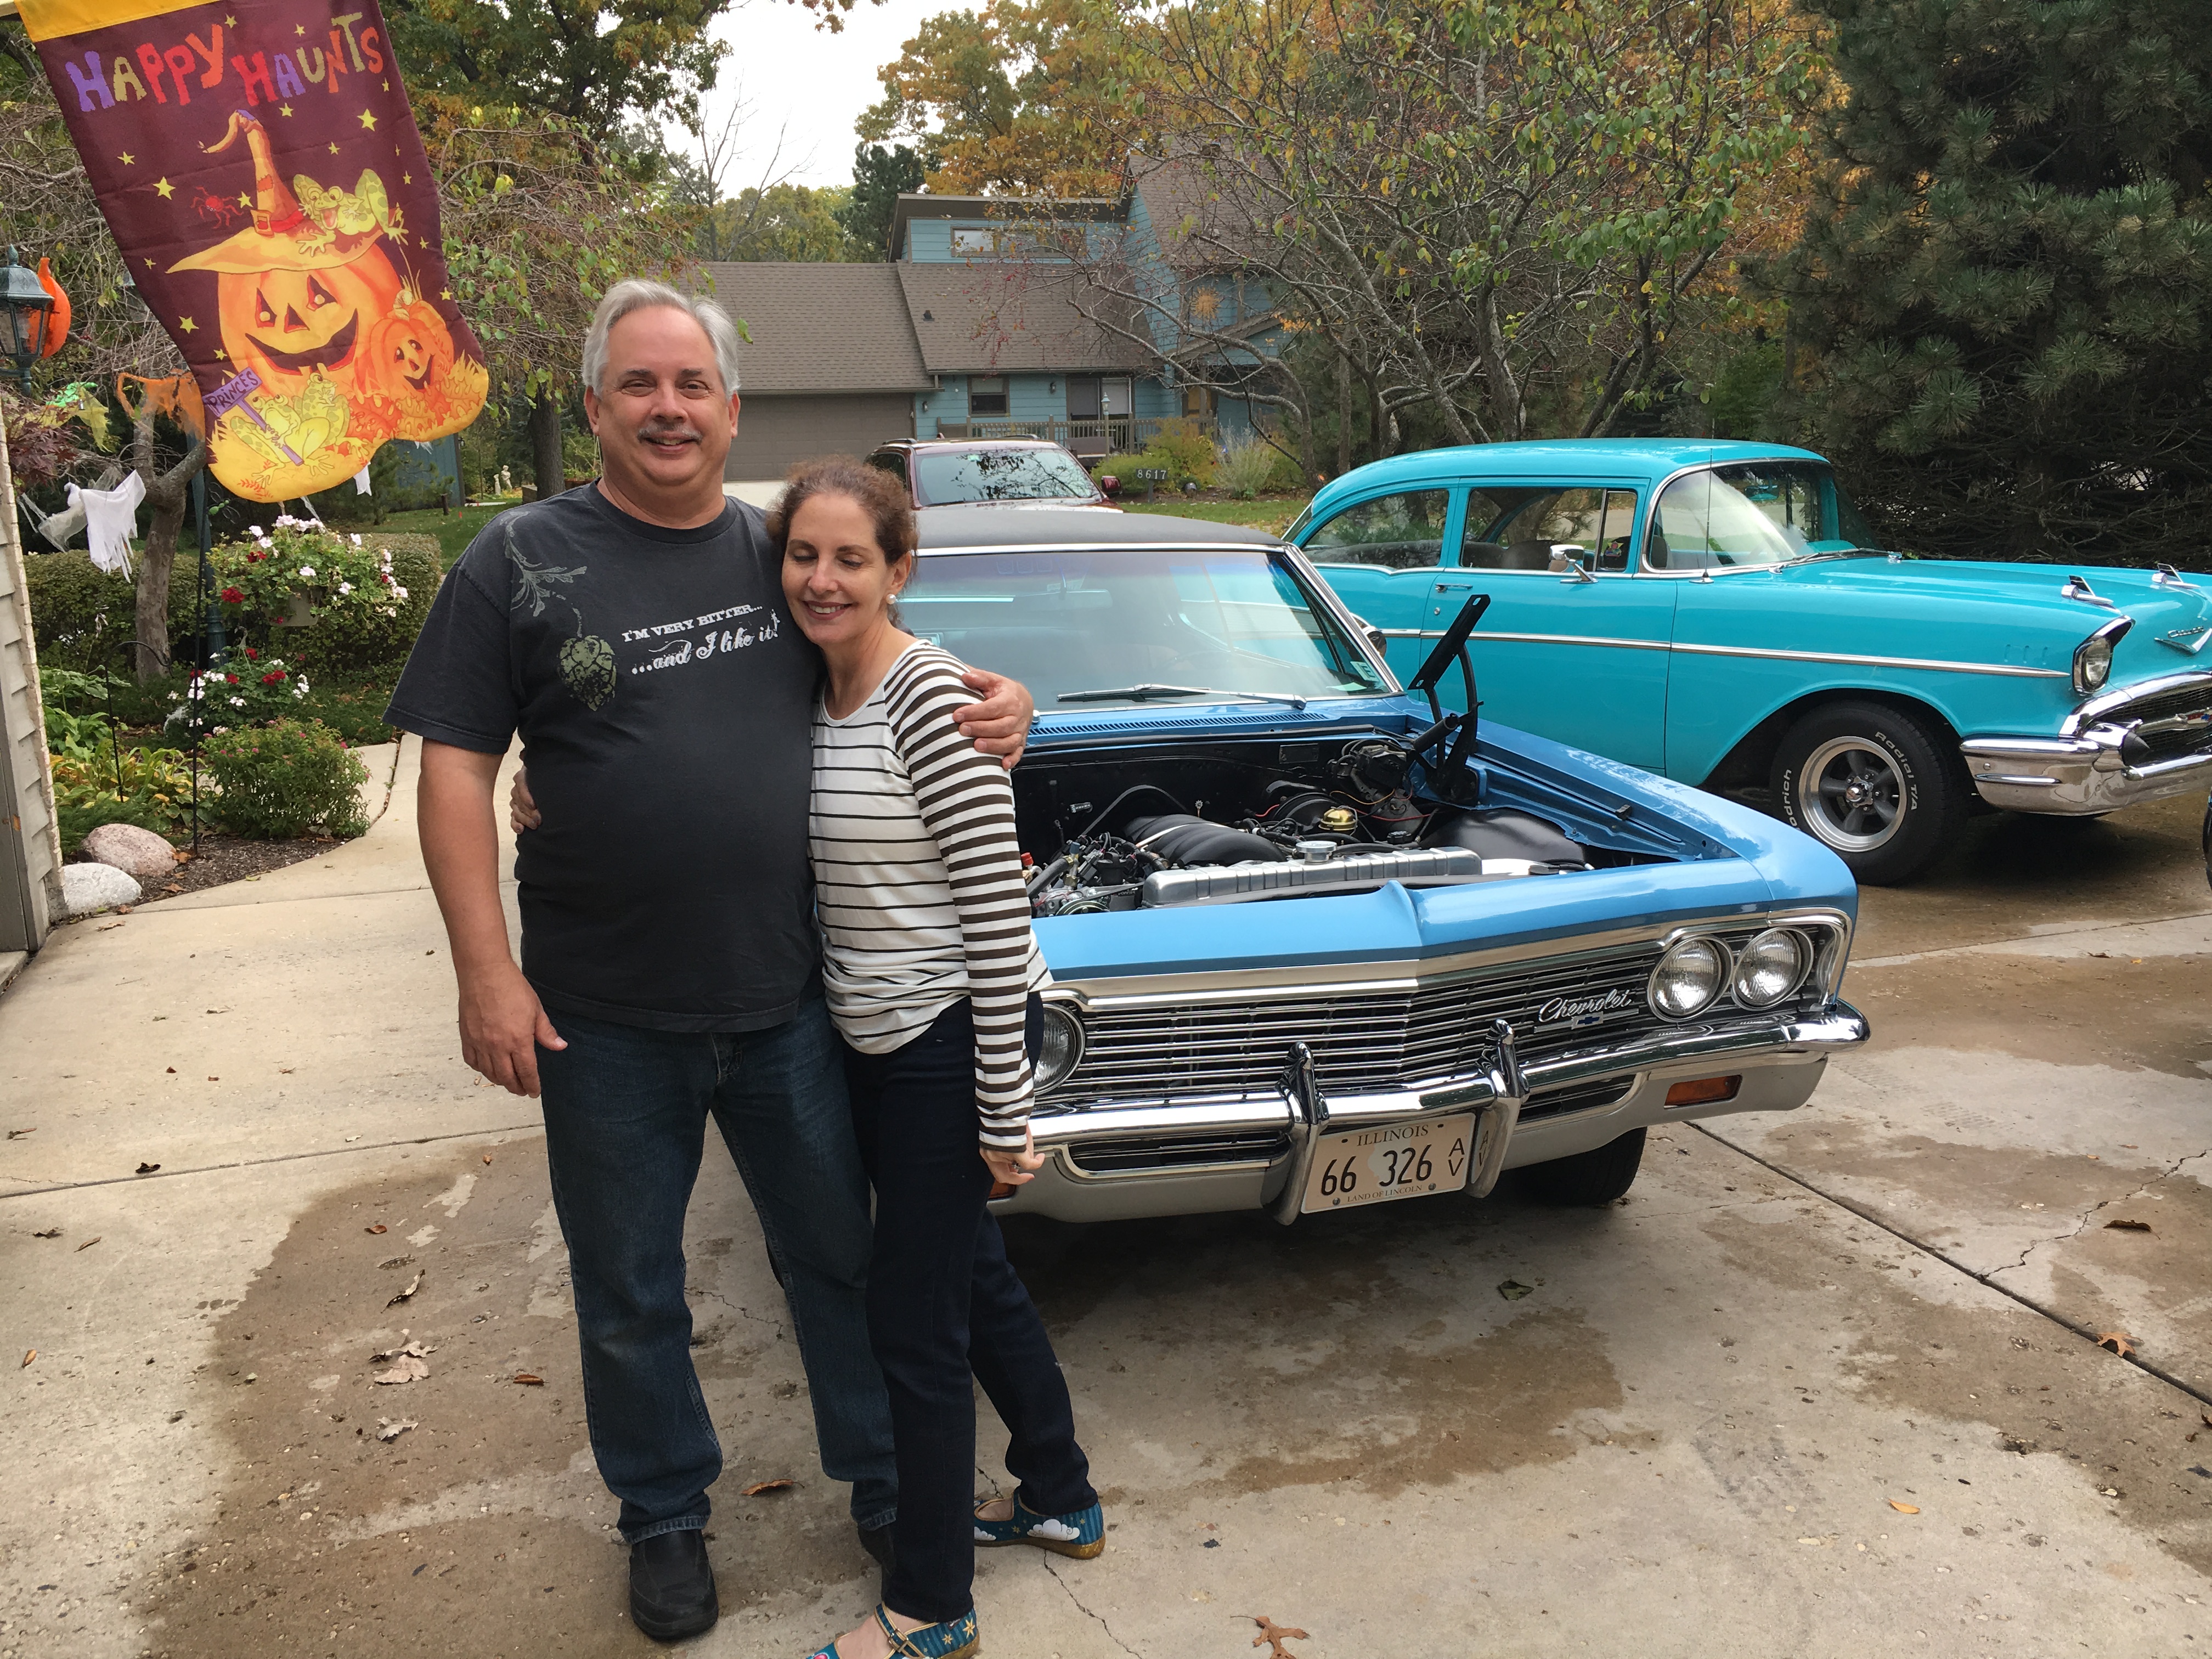
Another page off the Calendar............I hope Andy keeps this thread going with future upgrades as he completes them............Great car Andy........Enjoy !!!!!!
Another page off the Calendar............I hope Andy keeps this thread going with future upgrades as he completes them............Great car Andy........Enjoy !!!!!!
12-30-2016, 07:59 PM
#55
TECH Enthusiast
iTrader: (9)
Join Date: Mar 2008
Location: IL
Posts: 698
Likes: 0
Received 0 Likes
on
0 Posts
Another great build. What radiator is that? I looked on Dewitts website and they only list 59-62 and in manual trans only.
Also, any reason why you use the Kwik brackets vs the GM or Holley set up that looks more factory?
Also, any reason why you use the Kwik brackets vs the GM or Holley set up that looks more factory?
12-30-2016, 09:24 PM
#56
Jegs have them listed. That's where I got mine from.
Part numbers:
Auto Trans
Polished: 6339016A
Natural Aluminium: 6139016A
Black Ice finish: 6239016A
Manual Trans
Polished: 6339016M
Natural Aluminium: 6139016M
Black Ice: 6239016M
Add a -C to the end of those part numbers if you want chrome fans.
I posted some pics of mine in my build thread.
02-26-2017, 07:41 PM
#58
02-27-2017, 06:19 AM
#60
TECH Fanatic
Thread Starter
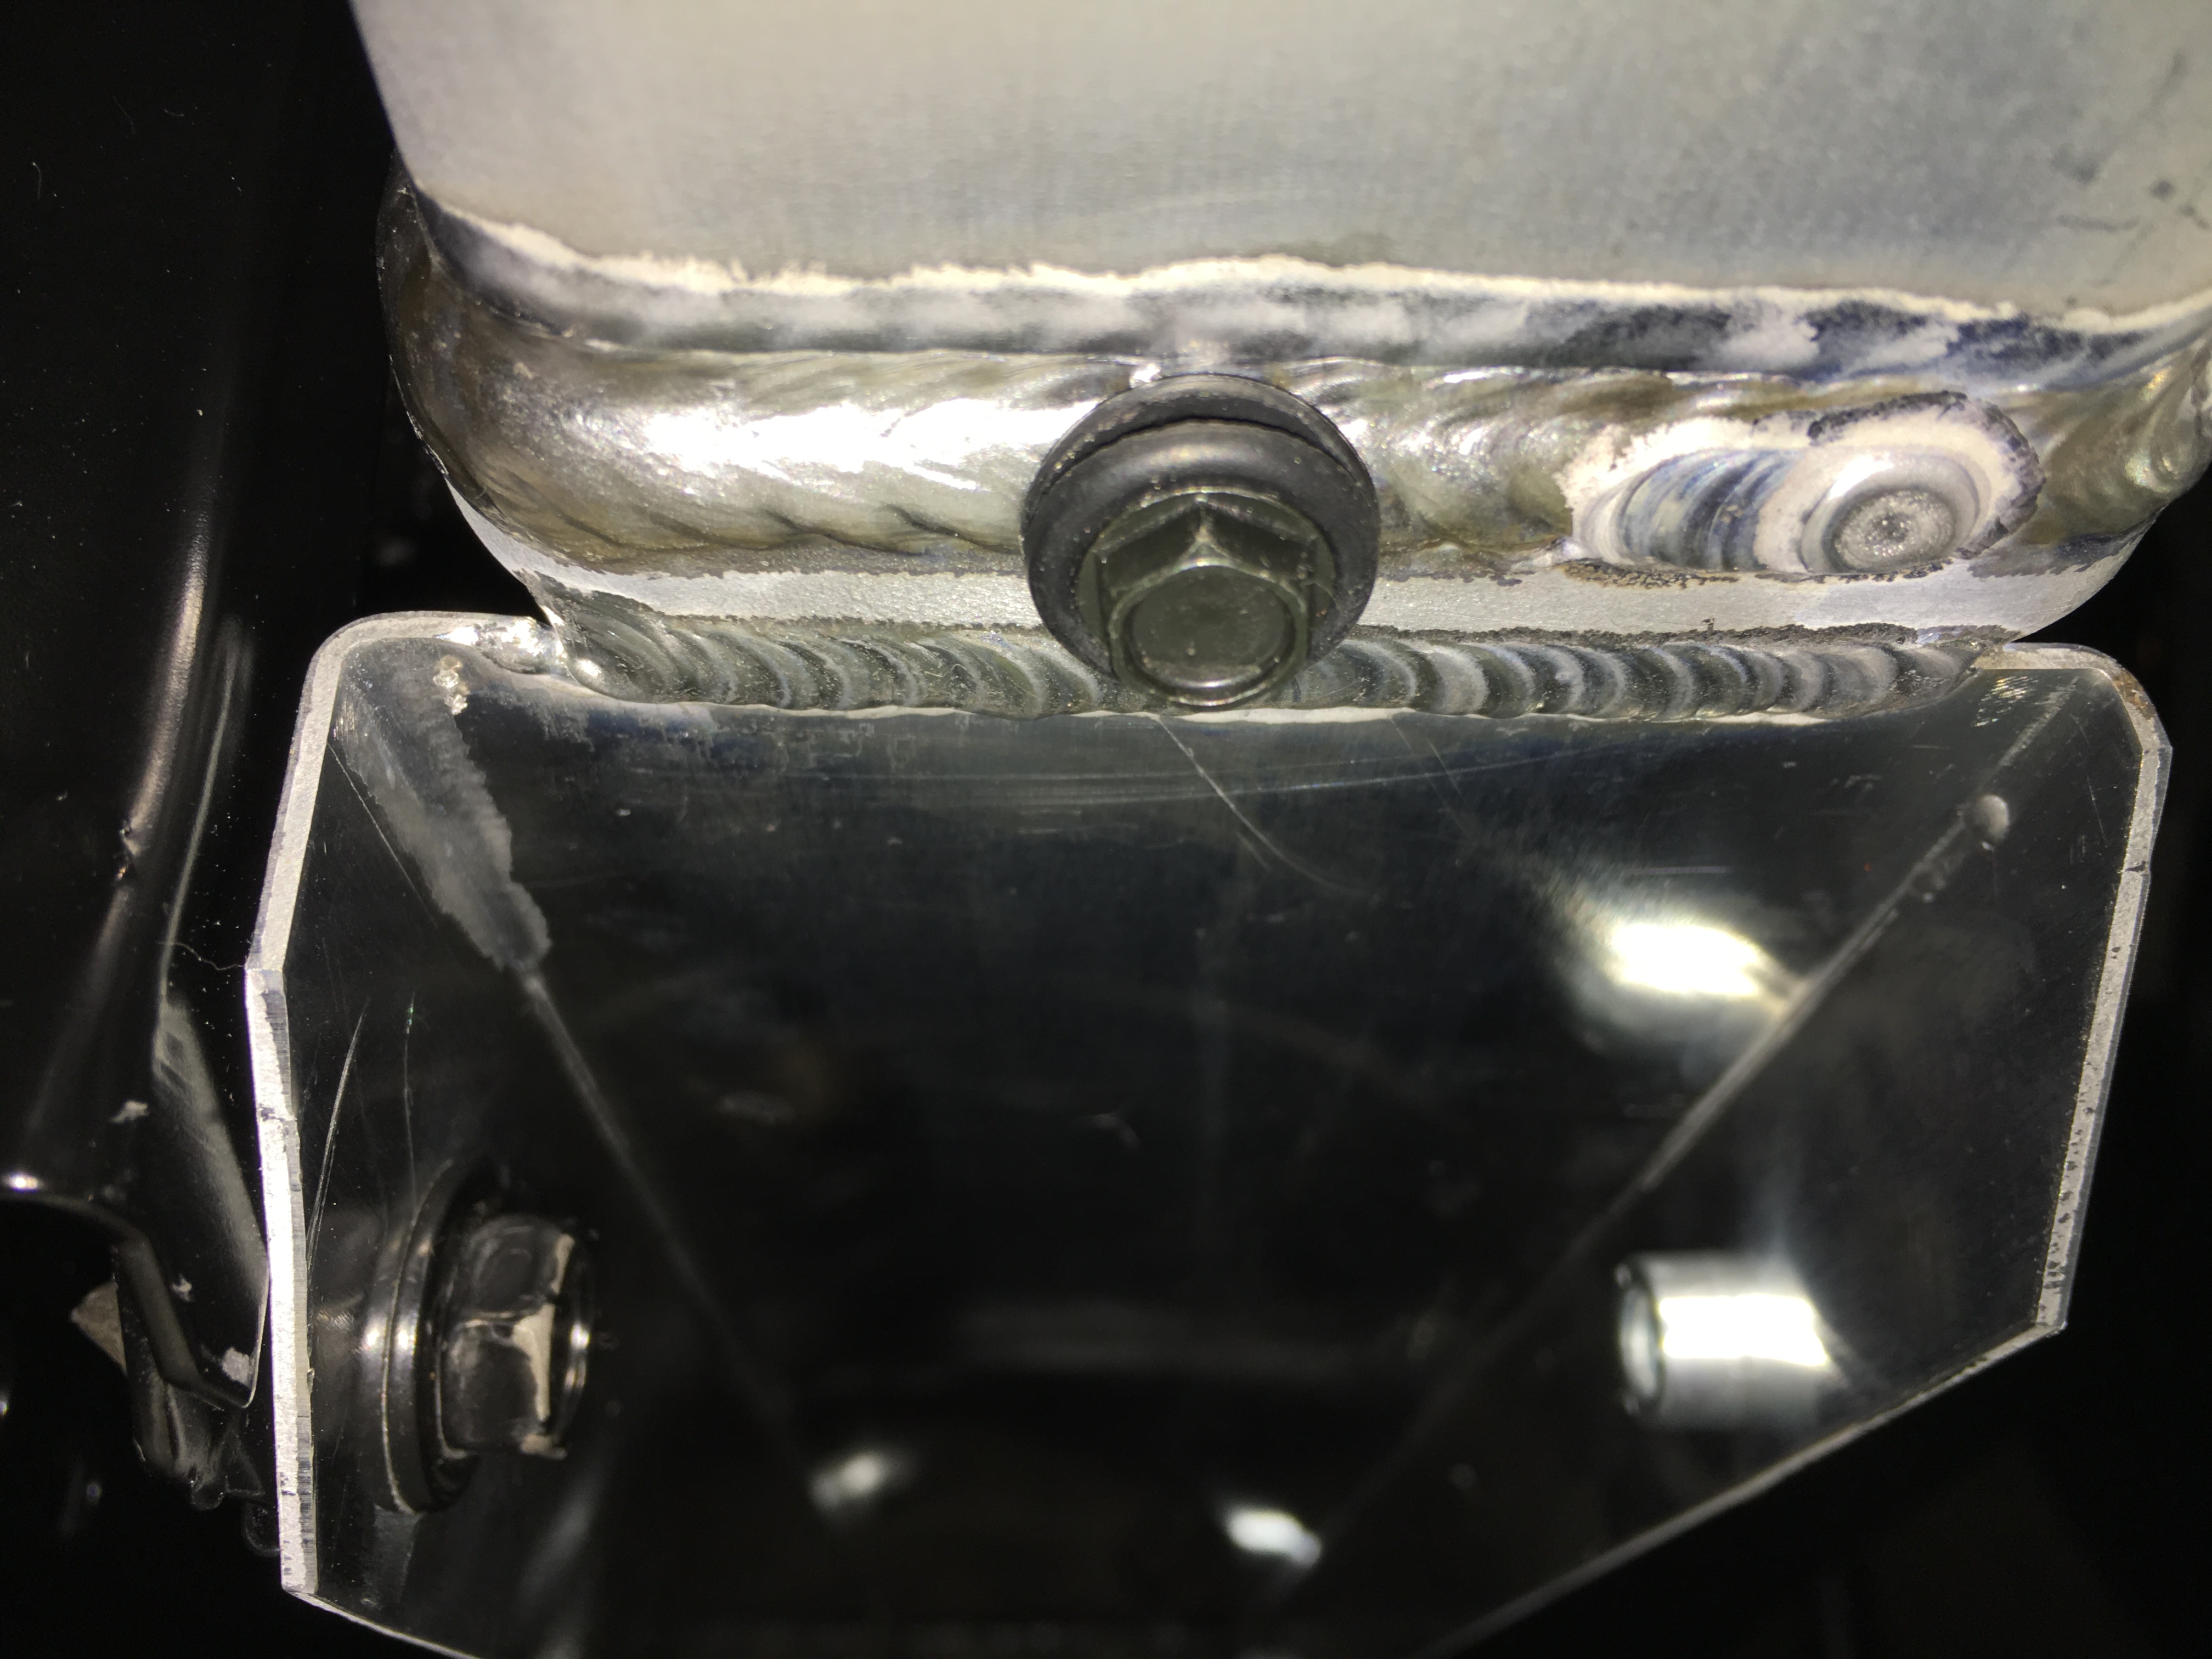
Made a plate with three holes in it......welded it to the pedal assy .........drilled the holes to match in the firewall......then I used 1/4" threaded rod and nuts to lock the rods to the firewall.......then used 6 more nuts (12 total) to jack screw the pedal into position.......when I got it positioned where I wanted it........I tightened everything up......
