
1969 Cutlass LQ4 GT45 turbo build
 01-16-2017, 10:04 AM
#21
Teching In
Thread Starter

Join Date: Dec 2013
Posts: 39
Likes: 0
Received 0 Likes
on
0 Posts
flux core can weld great if you take some steps to make sure it's up to the task
biggest problem I see is people have to polarity set up to run hardwire/gas shield so you need to make sure the leads are hooked up DCEN....there should be instructions on that inside the wire spool door.
practice on some scrap first, flux core runs hot so you'll wanna turn it down. and I have the best success removing the shield gas nozzle so I can see right at the wire where its beading up. also a slightl tilt towards dragging rather than pushing seems to help too.
nice clean (acetoned) bare shiny metal and tight gaps between butts and it'll be just fine.
the best welders i know started out doing stick and flux core. it makes you really think about prep and technique.
also heavy is good in a turbo car. you wanna make that motor WORK and create lots of exhaust heat and velocity to spool the snail. my 3800lb truck was an absolute beast with the 69mm GT45 and a small cam in a 5.3. NO traction in any gear with 255 street tires.
 01-24-2017, 03:54 PM
#23
Teching In
Thread Starter
Join Date: Dec 2013
Posts: 39
Likes: 0
Received 0 Likes
on
0 Posts
 . So, I'm just gonna cut and drill some plate to bolt to the crossmember, and another to bolt to the engine, and then weld some square tube in between and just put the motor where I want it.
 So, I've been a lazy sack of crap lately plus I'm having welder issues so not a lot has gotten done. I mocked up the hotside, decided to run it ***** out thru the hood, and started on the hotside until the welded decided not to feed properly. I also bought all my fuel system stuff.
Mock up and hotside started.


Then I ripped the rest of the HVAC stuff out

Then I had a big hole to fill

So I got creative


Heres my fuel system. 95 Caprice gas tank, Aeromotive 340lph pump, Summit Twist Tite push lock style hose, and then 4 quick disconnect to AN fittings to slam on the fuel rails and fuel sender.
Tank got here yesterday


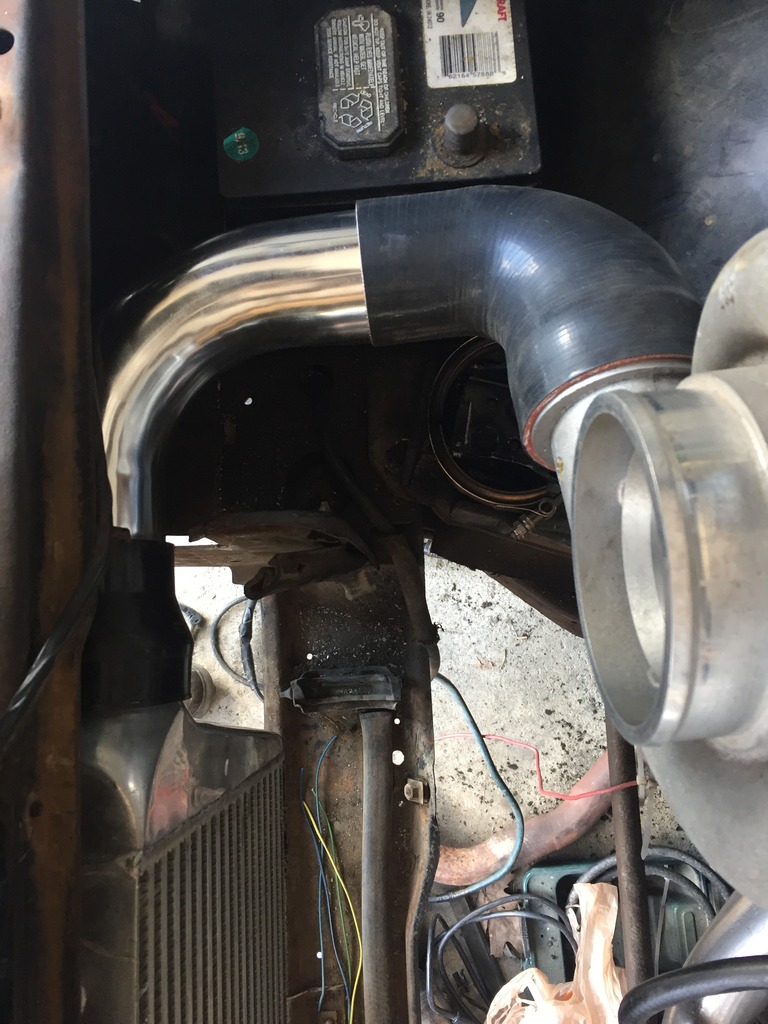
I also figured out my intercooler routing. Should be fairly simple. Hopefully I can borrow a welder soon and make some progress on the mounts and hotside. Until then I'll throw the fuel system together.
01-25-2017, 10:50 PM
#24
Teching In
Thread Starter
Join Date: Dec 2013
Posts: 39
Likes: 0
Received 0 Likes
on
0 Posts
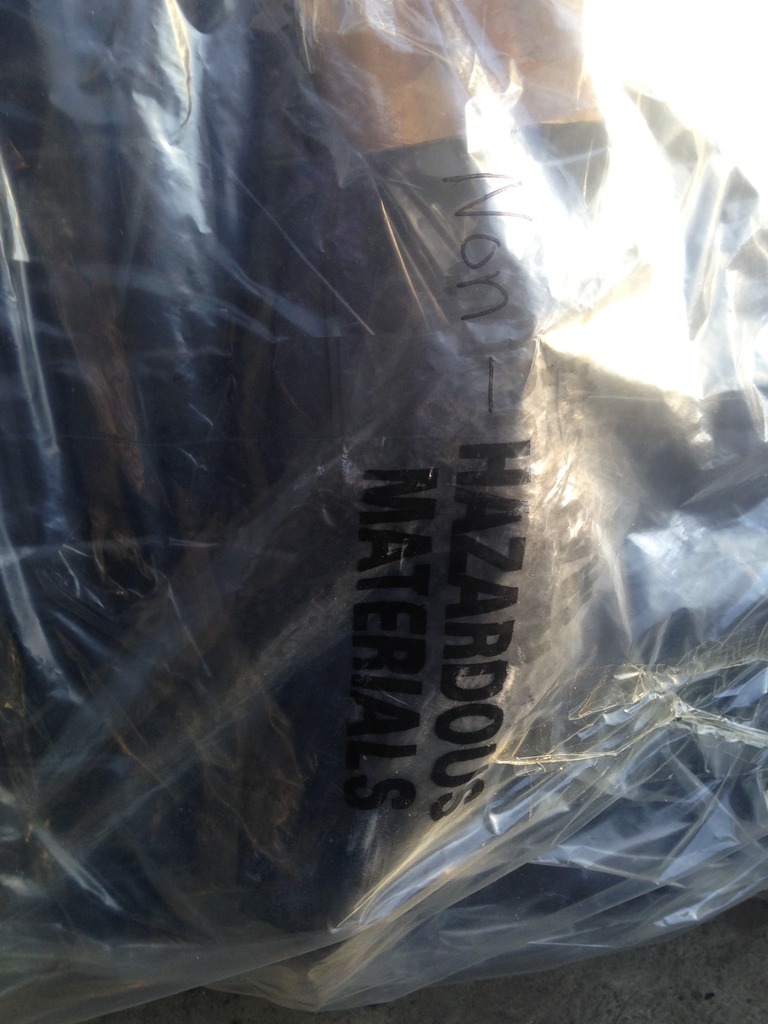
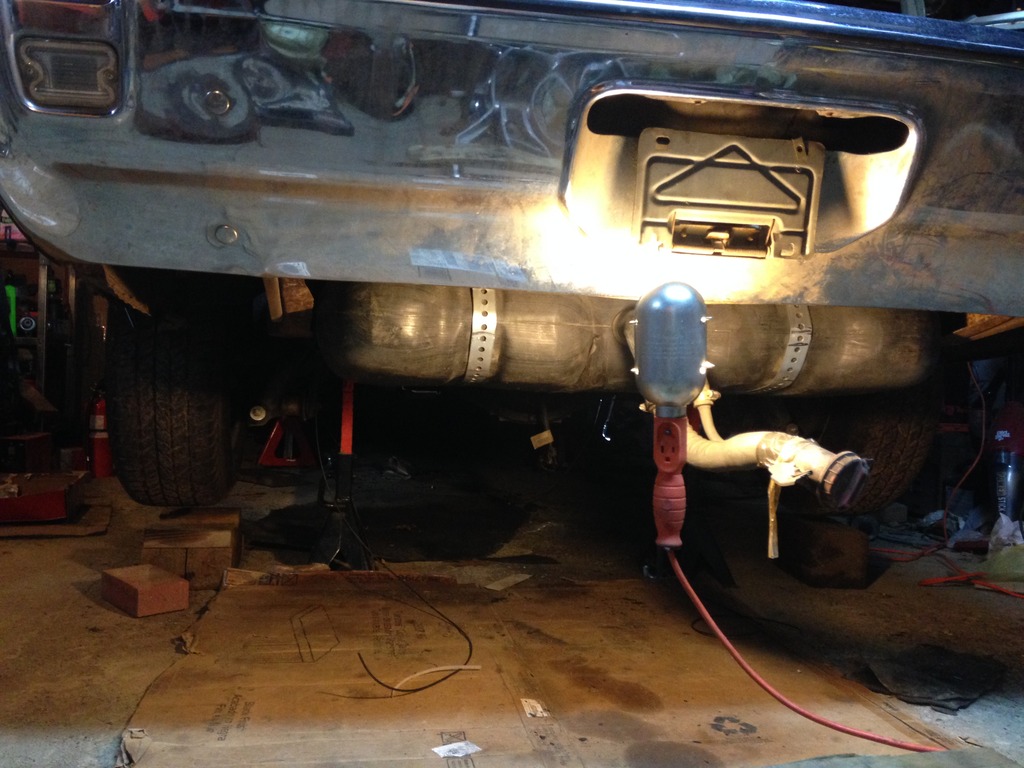
Still don't have a good welder, nor am I a good welder, so! fuel system. Unpacked the Caprice tank
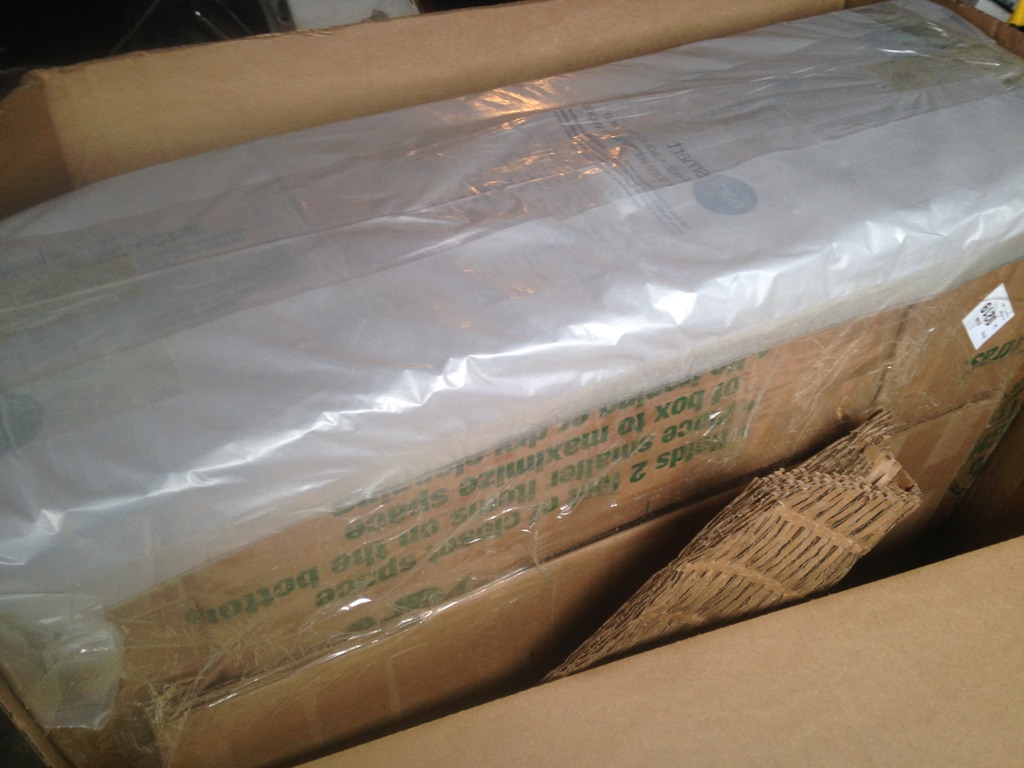
This was a goddamn lie, that tank was not empty lol
20 gallon capacity, EFI, won't rust, all for $160 to my door. Awesome.
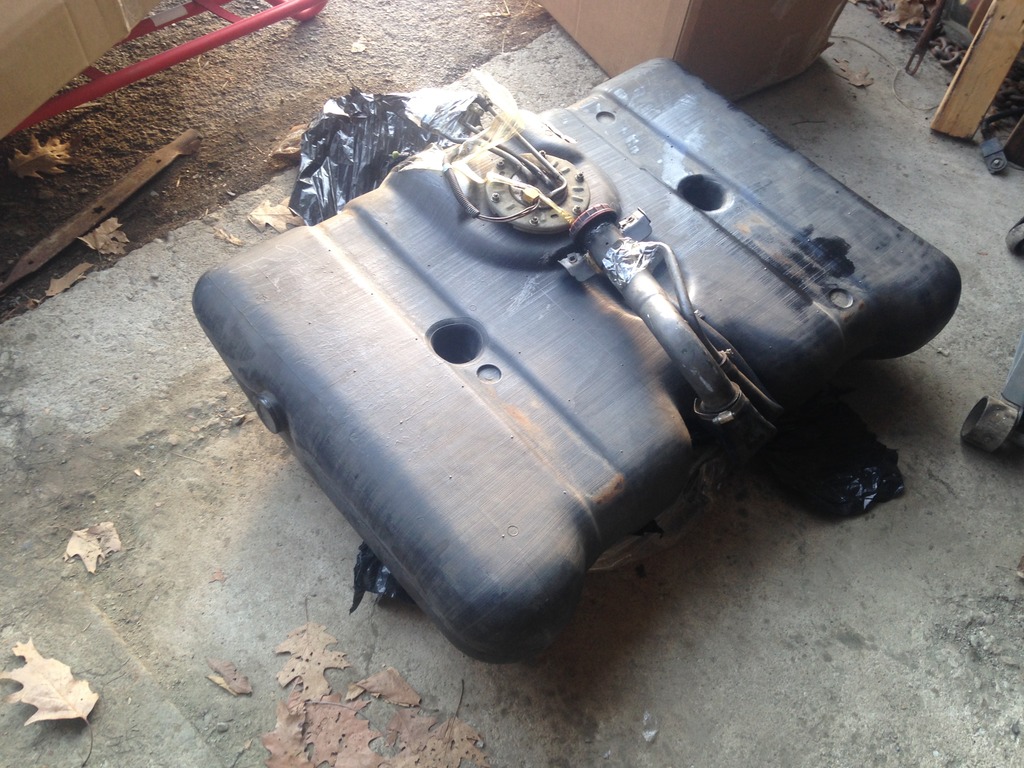
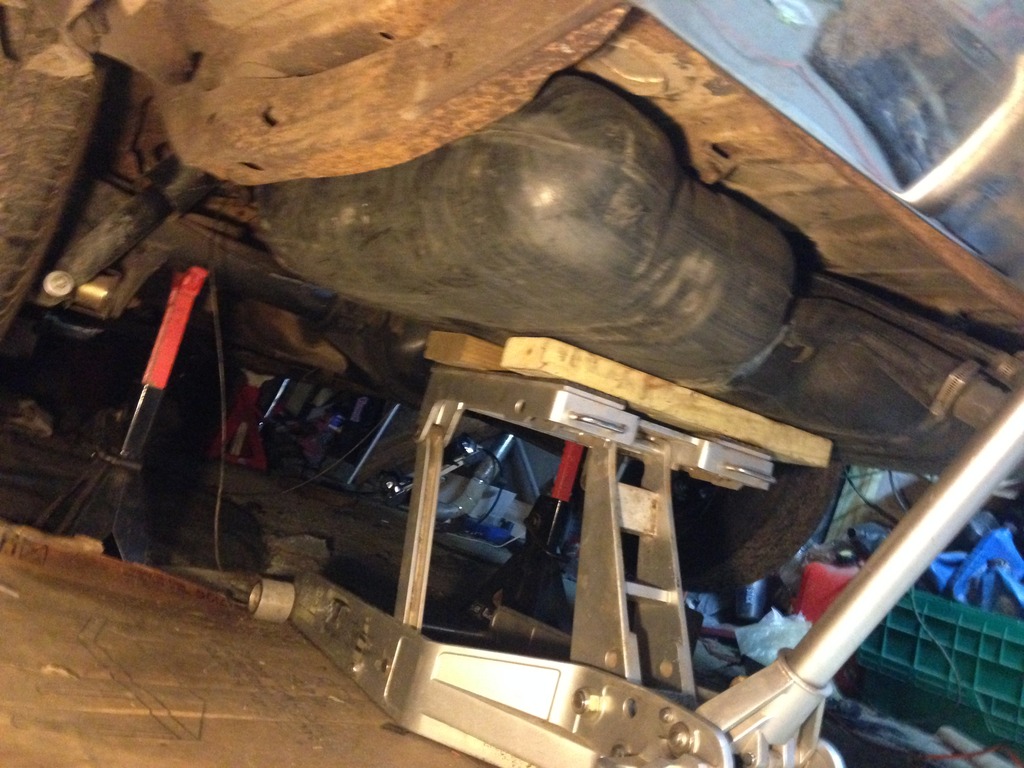
Old tank out.

Gotta cut the trunk floor for the sending unit of the tank. Gonna start on that if my janky jigsaw decides to work. Then gonna run down to home depot and get some steel strap and make new tank straps. I also realized I needed some 90 degree push lock fittings for the sending unit because straight fittings would put the hose right into the diff, so I ordered those tonight. Hopefully they'll be in around the time I get the tank mounted and hoses ran

This was a goddamn lie, that tank was not empty lol

20 gallon capacity, EFI, won't rust, all for $160 to my door. Awesome.

Old tank out.

Gotta cut the trunk floor for the sending unit of the tank. Gonna start on that if my janky jigsaw decides to work. Then gonna run down to home depot and get some steel strap and make new tank straps. I also realized I needed some 90 degree push lock fittings for the sending unit because straight fittings would put the hose right into the diff, so I ordered those tonight. Hopefully they'll be in around the time I get the tank mounted and hoses ran

 02-26-2017, 08:20 PM
#26
Teching In
Thread Starter
Join Date: Dec 2013
Posts: 39
Likes: 0
Received 0 Likes
on
0 Posts
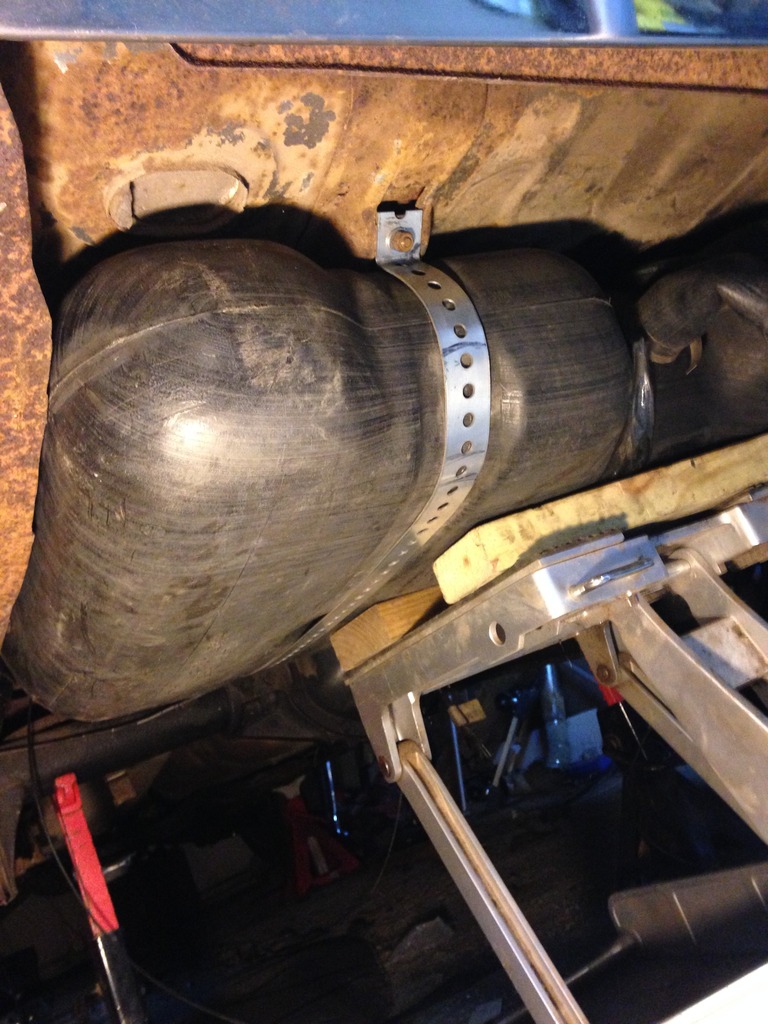
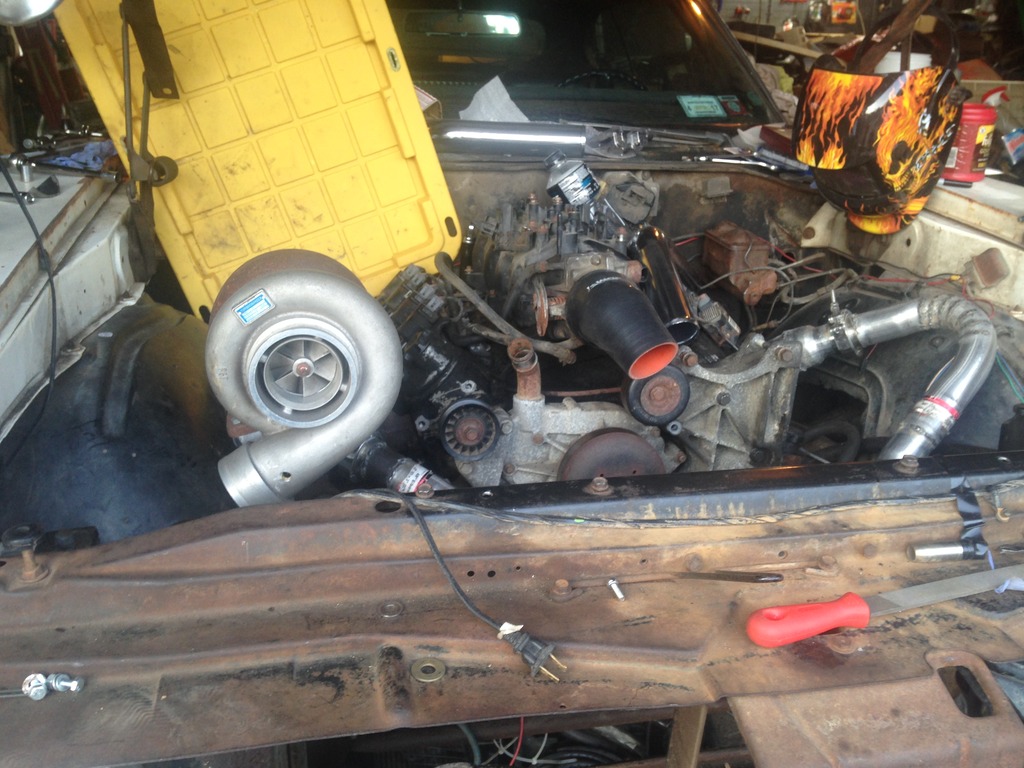
Wow I've been super lacking in updates. Since I last posted I've gotten the caprice tank in with the AEM pump in it, hoses ran, tank straps made, engine mounts made, and the hotside is most of the way done. So hold on to your hats, heres a shitload of pics. Fair warning, if you haven't caught on yet this is a sloppy inspired build so I'm not going for beauty here. If it works and is cheap, its done.
This hurt a little. 50 years his trunk pan made it without some idiot blowing a hole in it. yet here we are
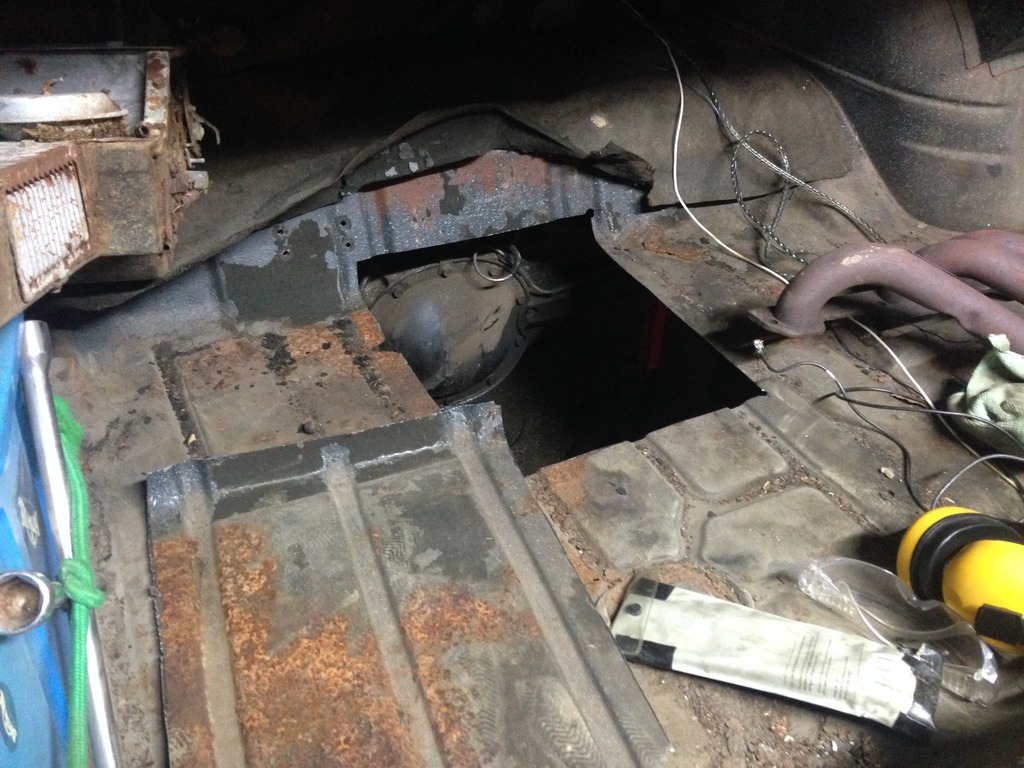
Clearance, Clarence.
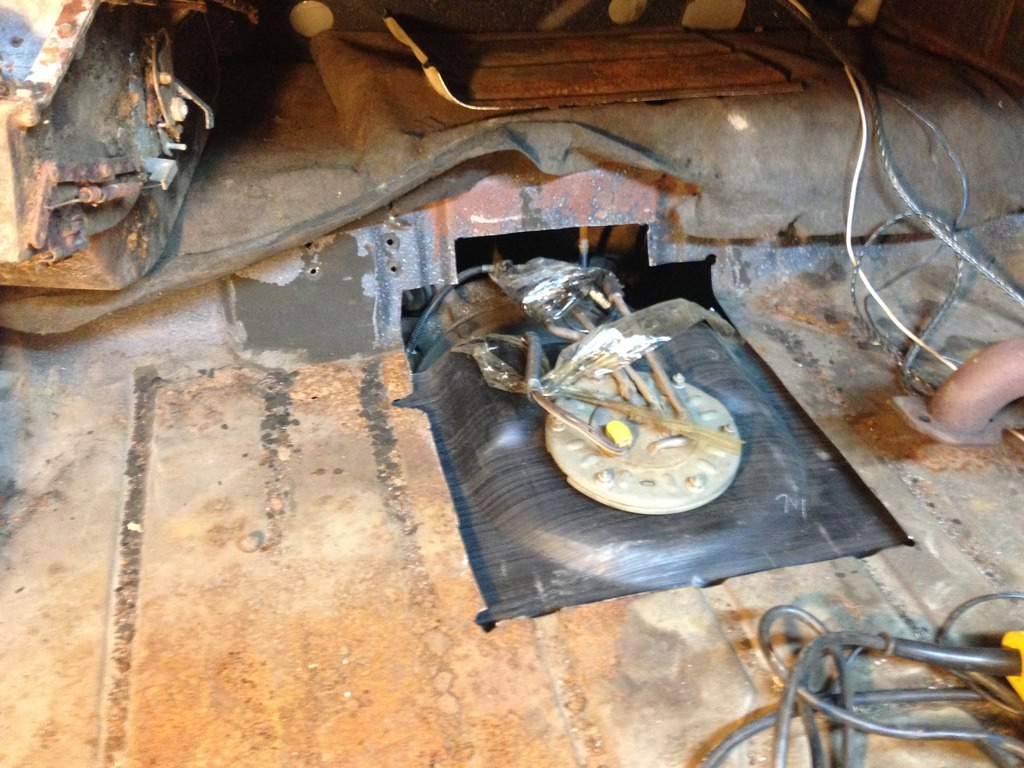
It slides up there once you trim the bottom inside lower edge of the frame rail where it juts out for no good reason
Home Depot drilled flat stock. Same thickness as the stock tank straps but wider so I figure its solid.
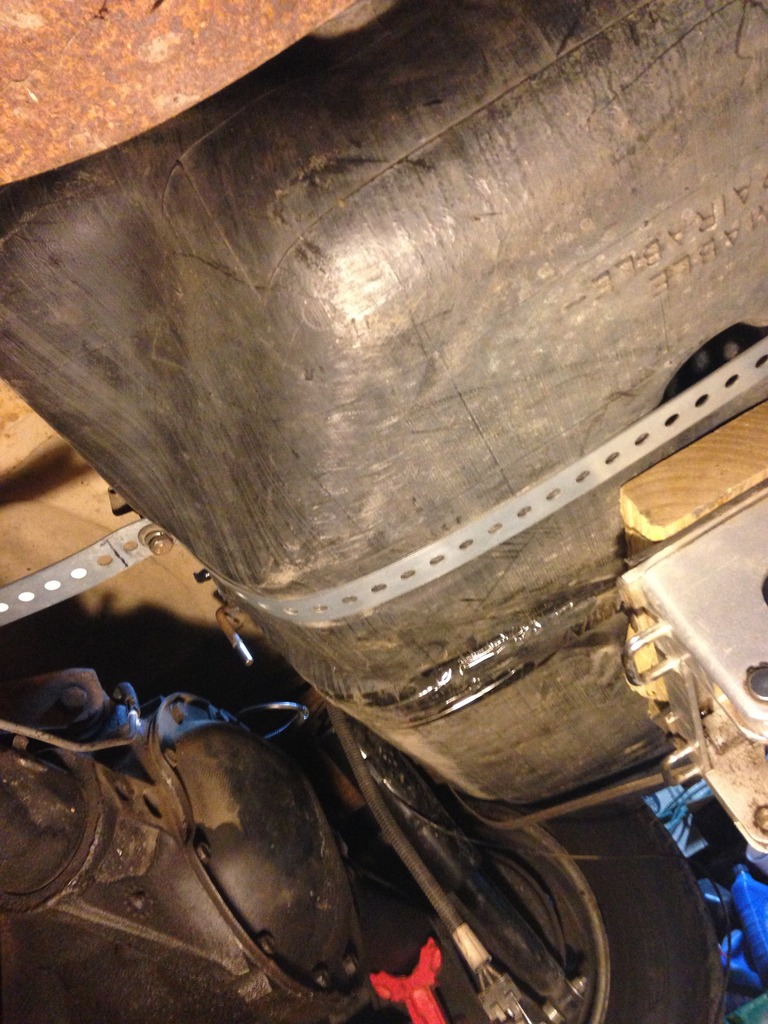
Other one went together real quick
Oven pan HVAC delete
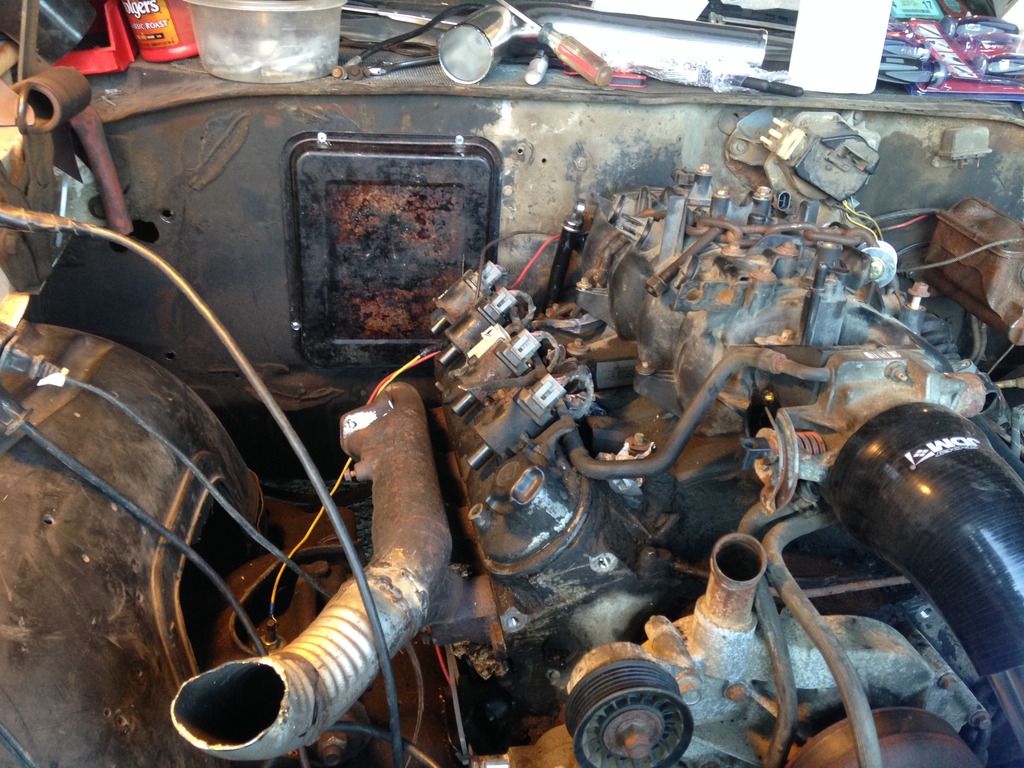
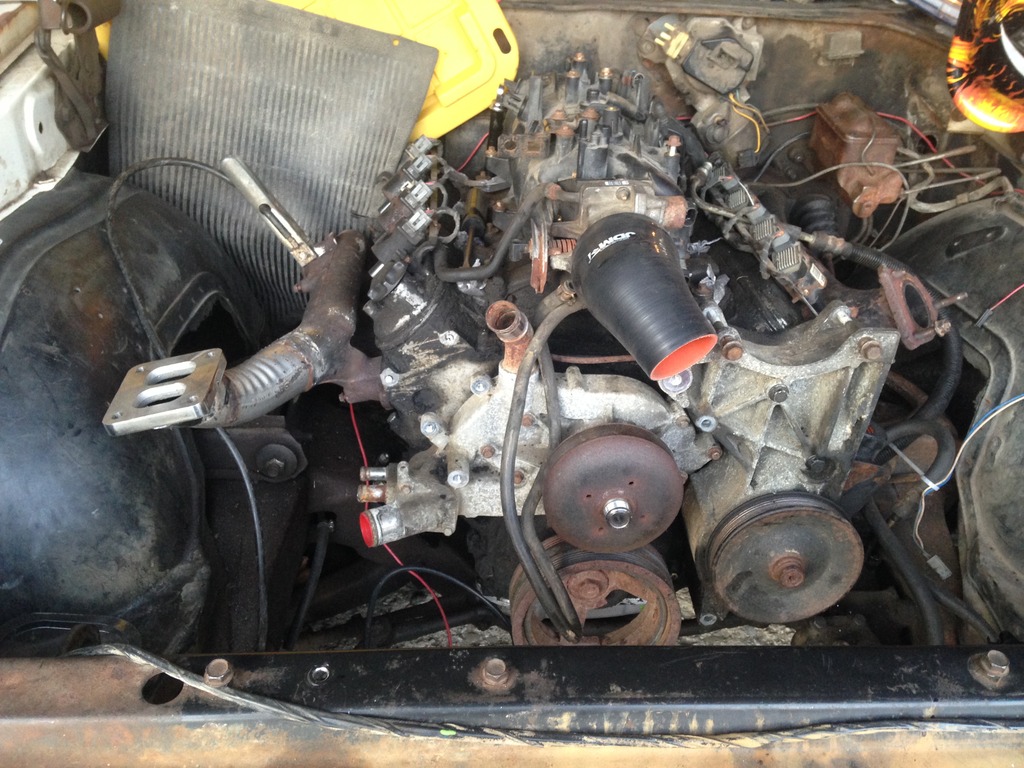
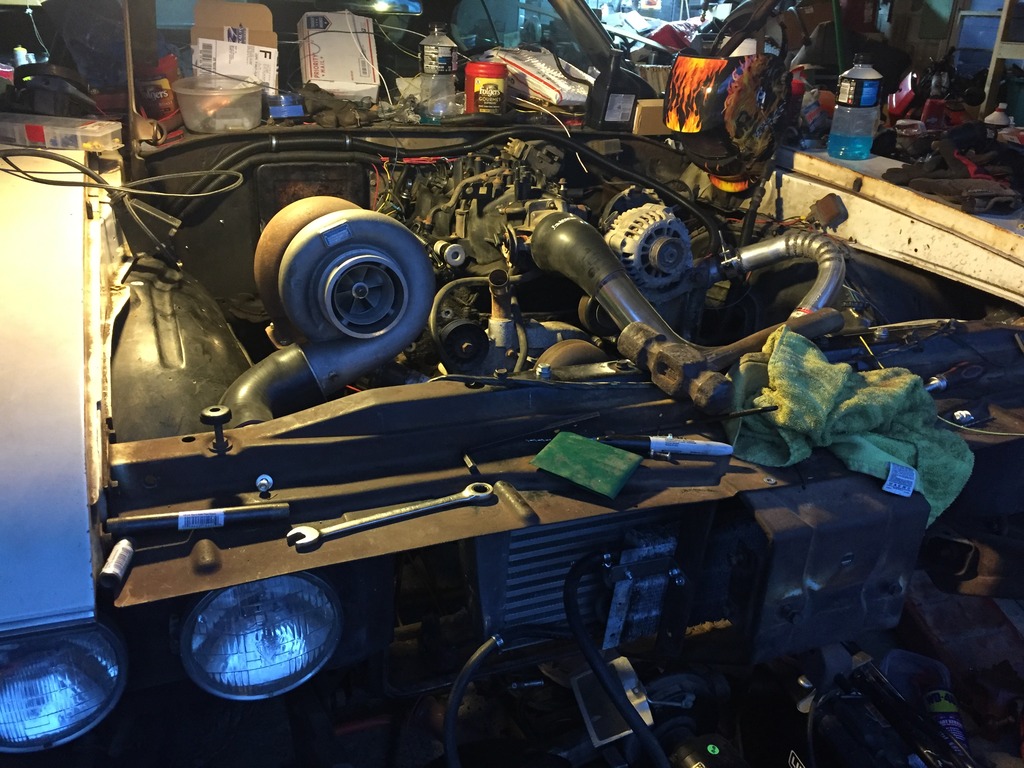
Pan clearance, engine mounted
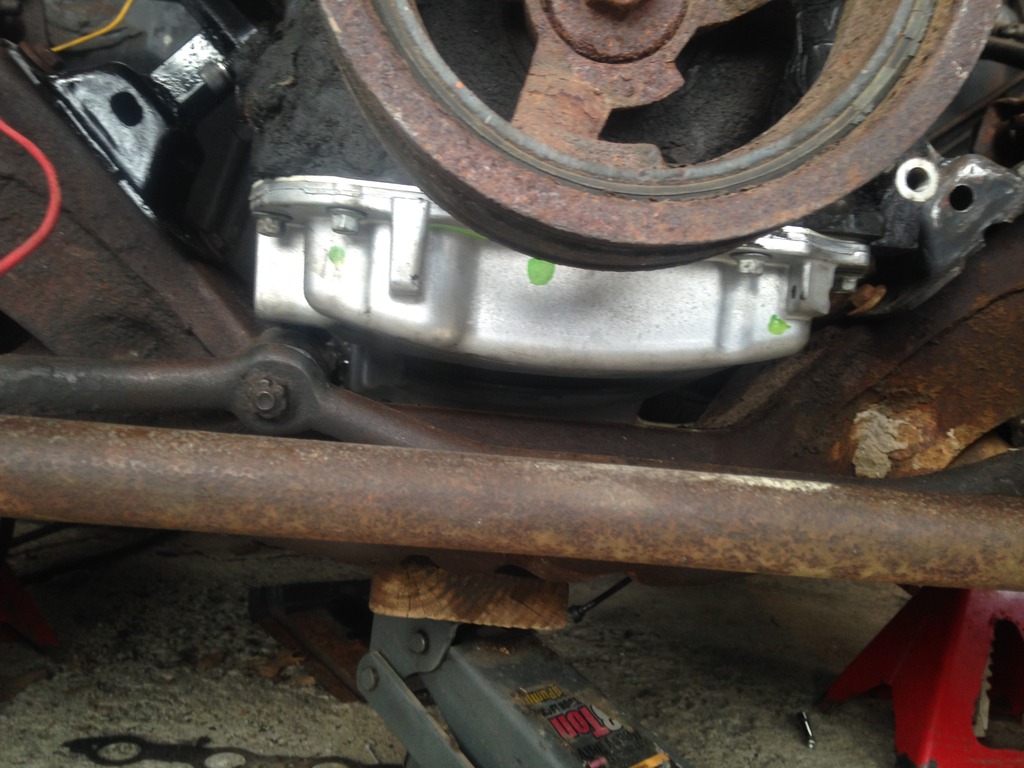
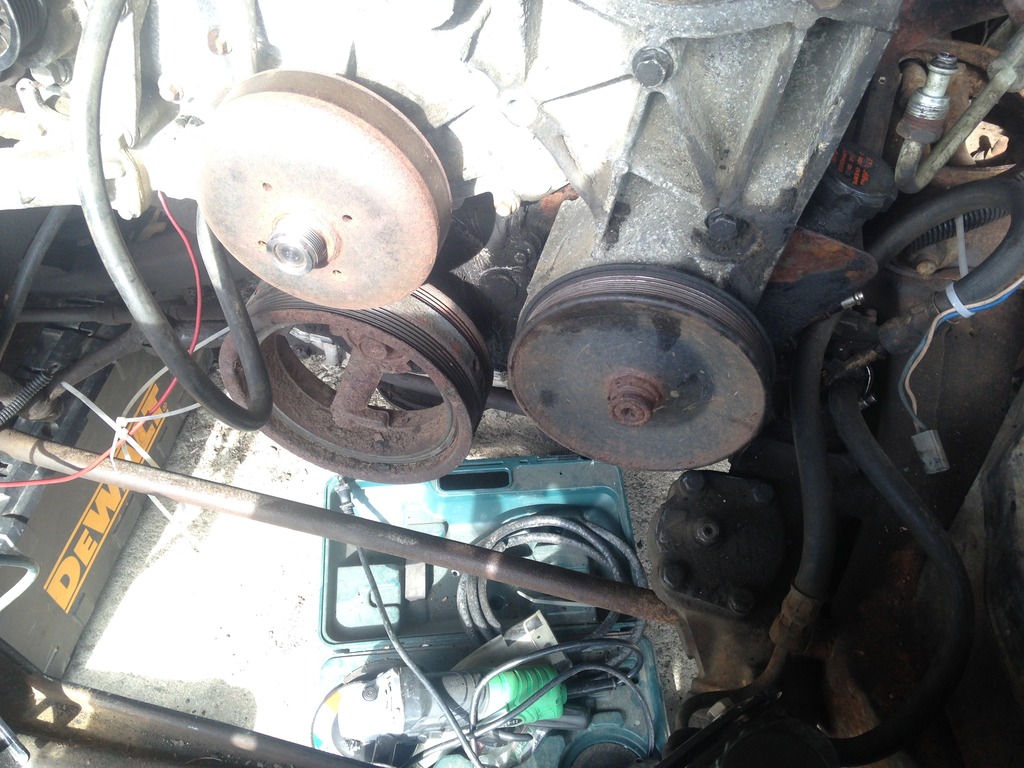
Stock truck accessories clear including PS pump pulley!
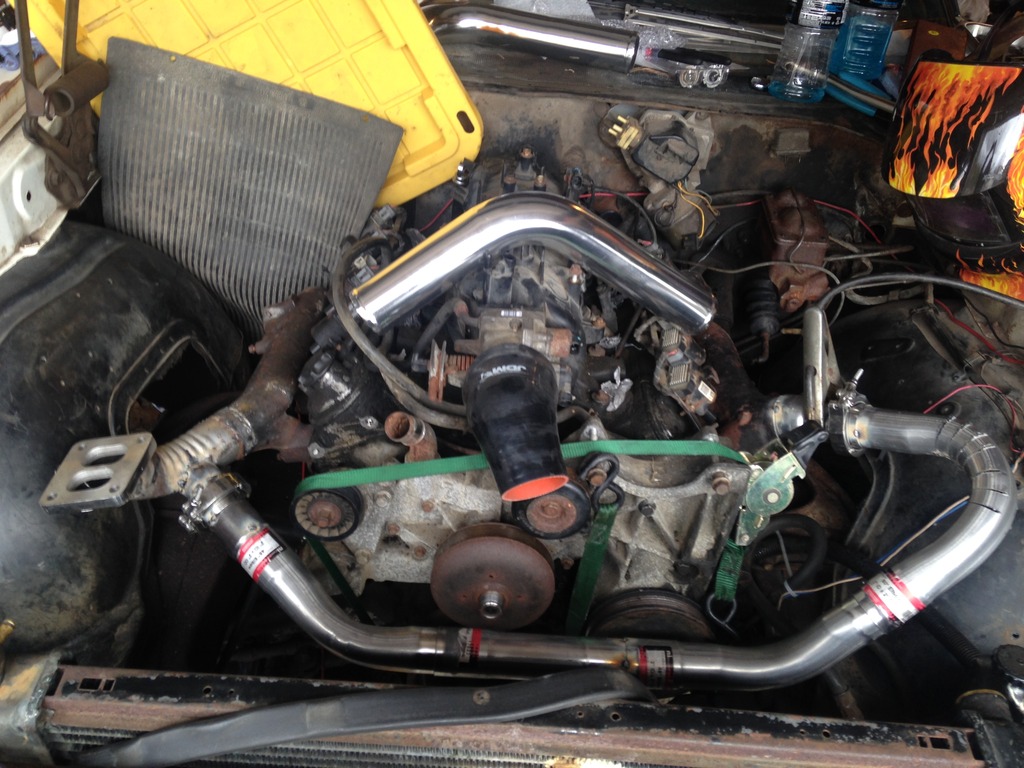
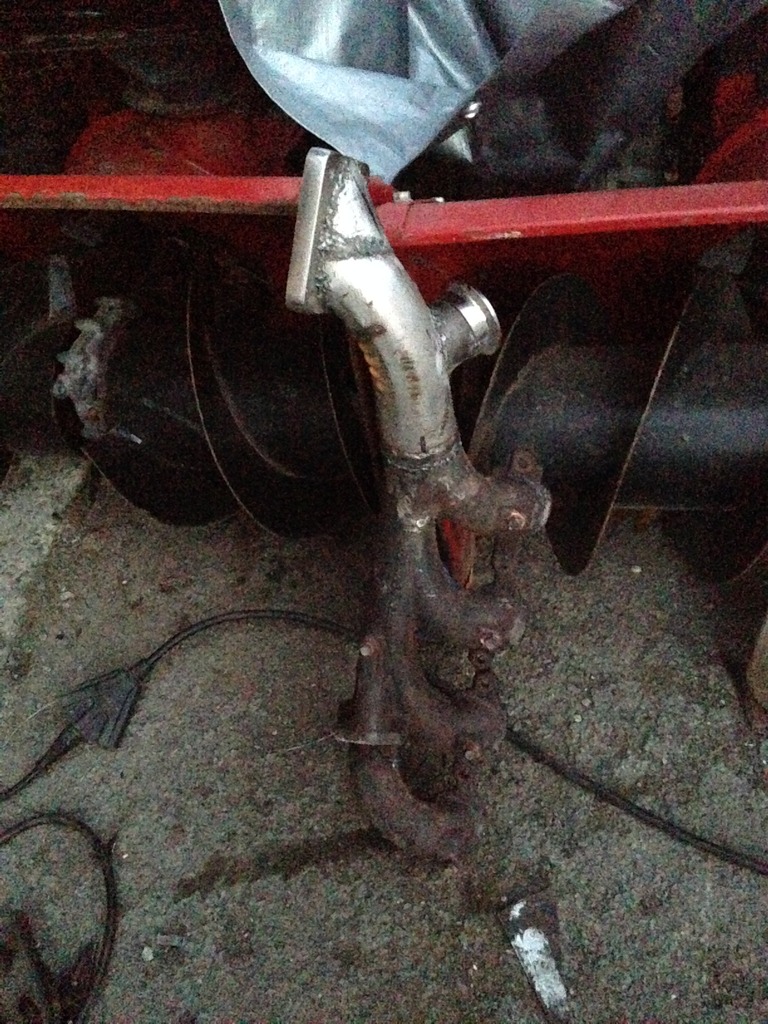
Now the part I had no previous experience in, hotside fab.
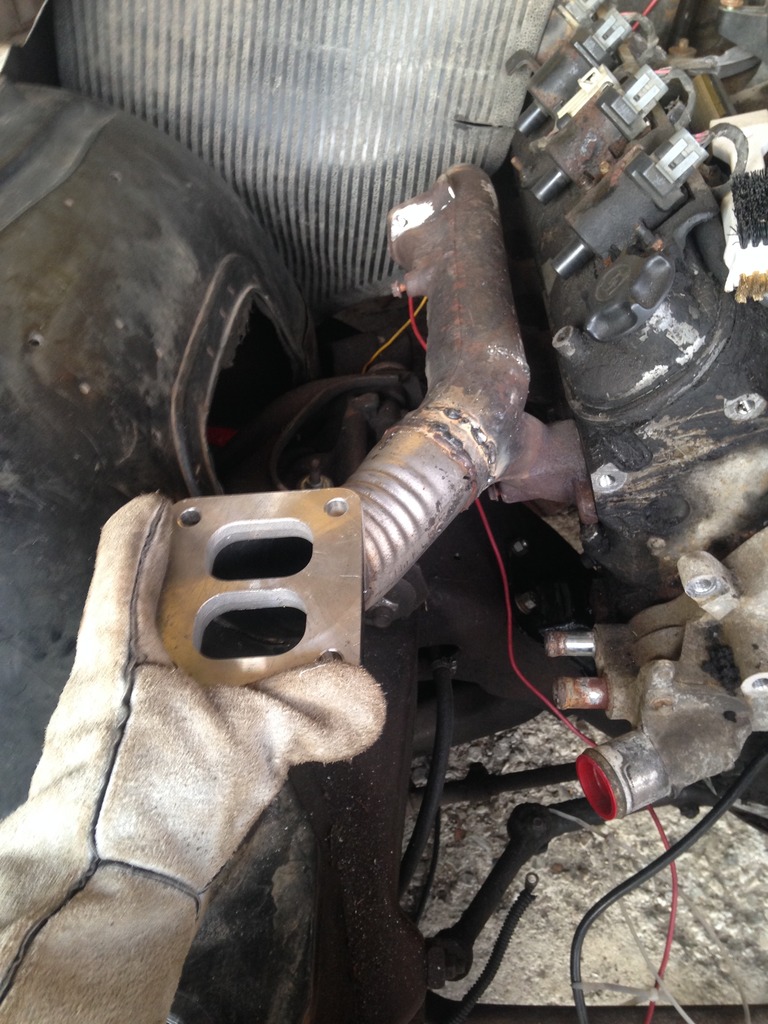
mocking up the crossover and first V band
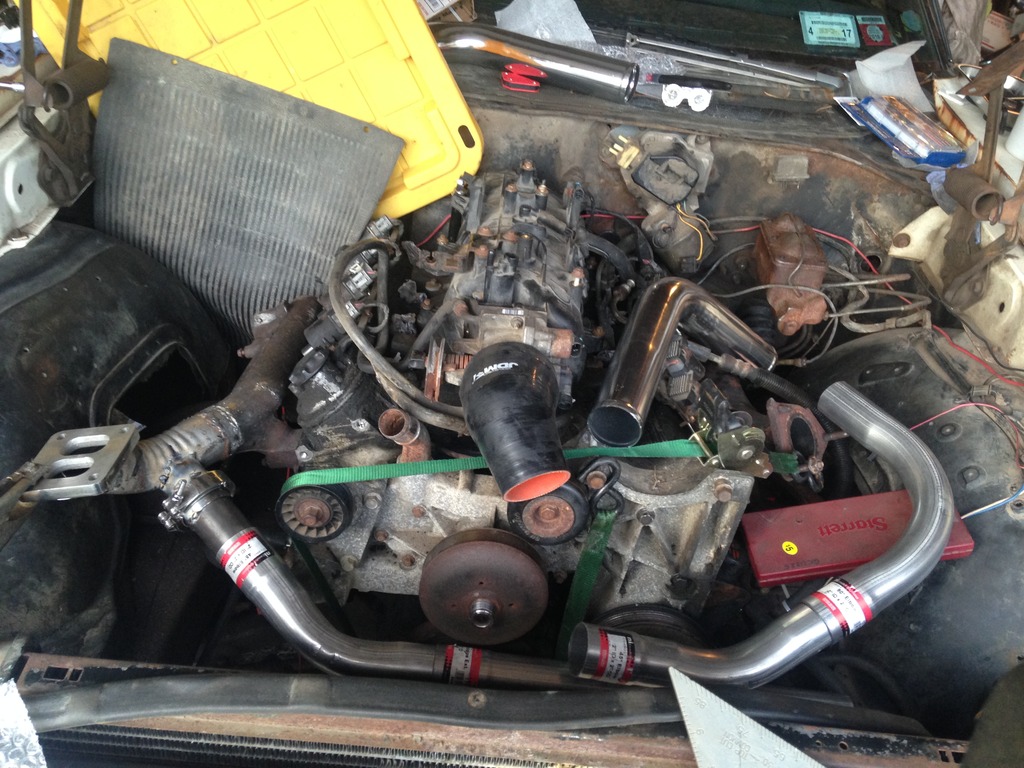
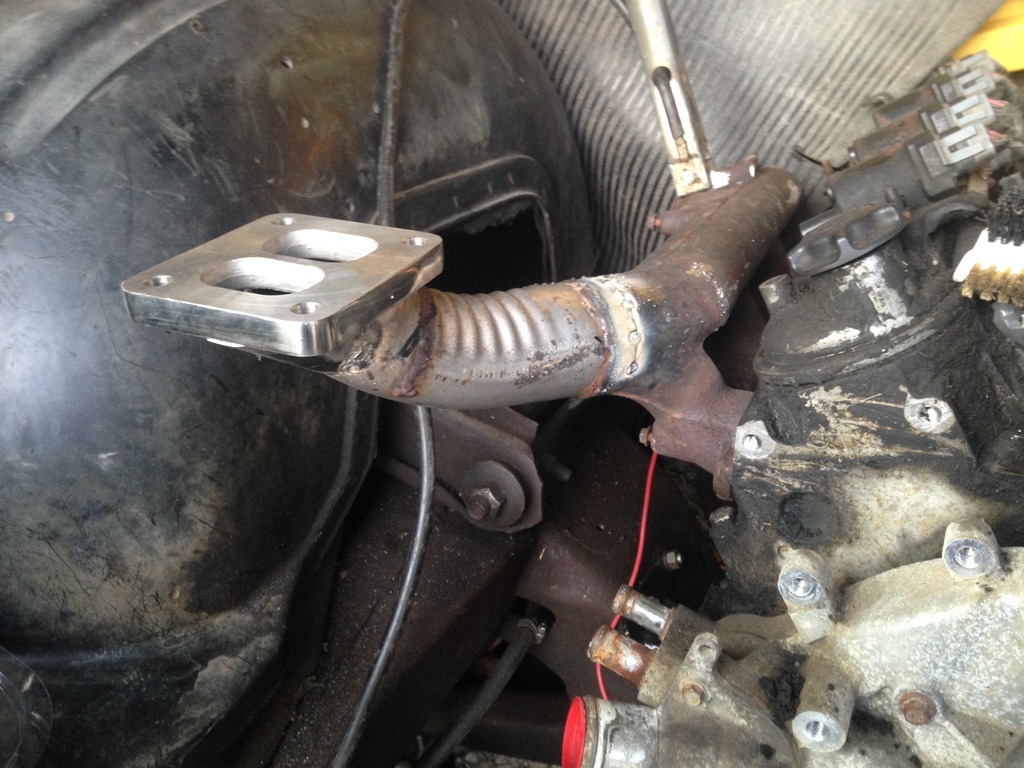
Crossover pipe and all the V bands and everything mocked up and tacked
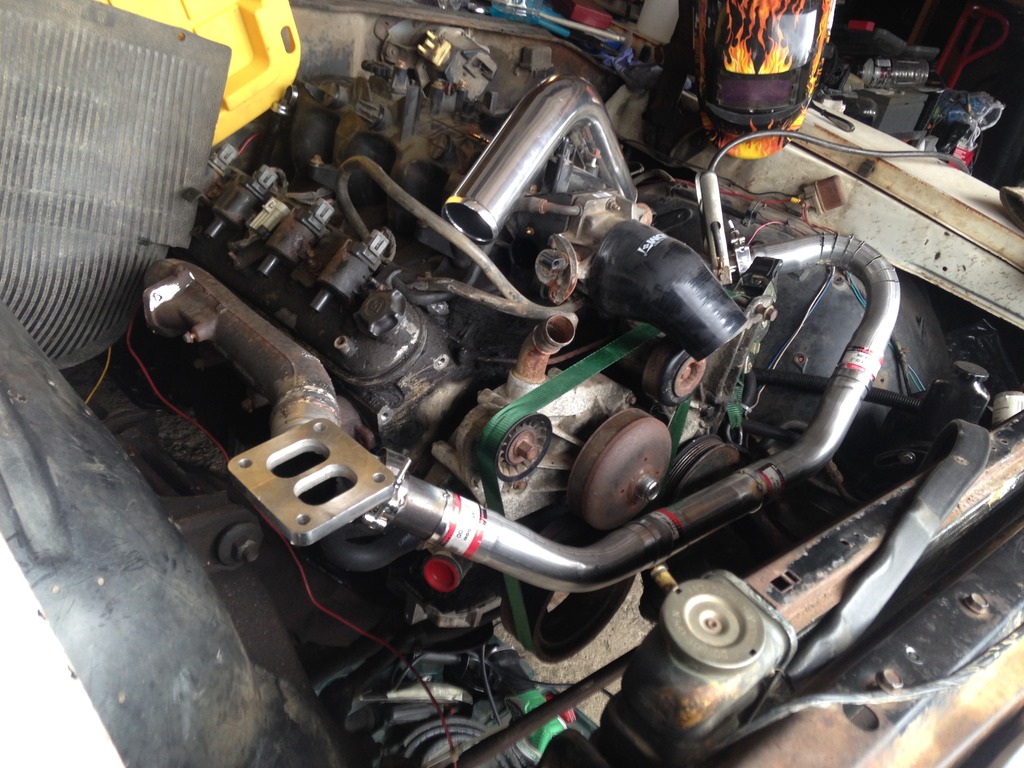
Finish welded part of it tonight before dinner, still need to mock up where I want the wastegate and add that in
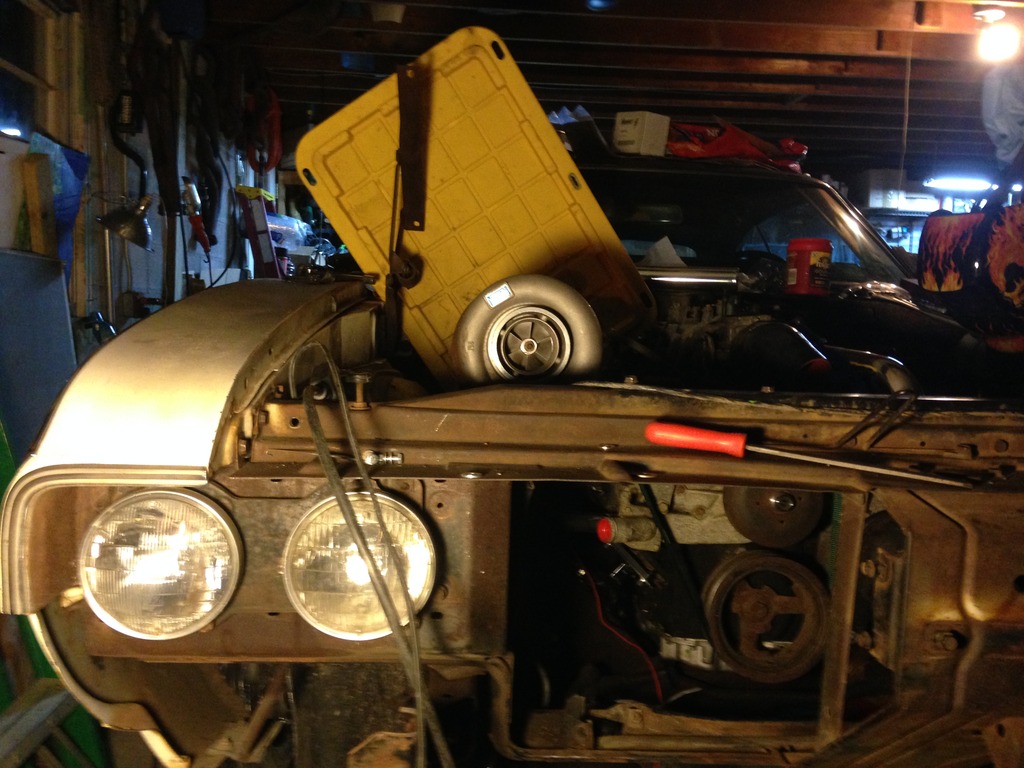
Had to slam this guy on and enjoy it

So, now you're all about caught up. it'll be pretty warm tomorrow so the weatherman says, I'm gonna try and get the hotside finish welded. I'll update with pics of the progress, of course.
This hurt a little. 50 years his trunk pan made it without some idiot blowing a hole in it. yet here we are

Clearance, Clarence.

It slides up there once you trim the bottom inside lower edge of the frame rail where it juts out for no good reason

Home Depot drilled flat stock. Same thickness as the stock tank straps but wider so I figure its solid.


Other one went together real quick

Oven pan HVAC delete

Pan clearance, engine mounted

Stock truck accessories clear including PS pump pulley!


Now the part I had no previous experience in, hotside fab.


mocking up the crossover and first V band

Crossover pipe and all the V bands and everything mocked up and tacked


Finish welded part of it tonight before dinner, still need to mock up where I want the wastegate and add that in

Had to slam this guy on and enjoy it


So, now you're all about caught up. it'll be pretty warm tomorrow so the weatherman says, I'm gonna try and get the hotside finish welded. I'll update with pics of the progress, of course.
02-26-2017, 08:50 PM
#28
Teching In
Thread Starter
Join Date: Dec 2013
Posts: 39
Likes: 0
Received 0 Likes
on
0 Posts
I sure hope so 
Still need to place another order for parts. I invested in a flip car in the meantime, hopefully will have that thing sold tomorrow for a decent profit. Then I can go nuts and order the $800 or so of things that I can think of that I need to finish the car (microsquirt, wideband, sensors, relays, fuse box, hoses and lines, bits and bobs, doodads, ect).
Still need to place another order for parts. I invested in a flip car in the meantime, hopefully will have that thing sold tomorrow for a decent profit. Then I can go nuts and order the $800 or so of things that I can think of that I need to finish the car (microsquirt, wideband, sensors, relays, fuse box, hoses and lines, bits and bobs, doodads, ect).
02-28-2017, 10:18 PM
#29
Teching In
Thread Starter
Join Date: Dec 2013
Posts: 39
Likes: 0
Received 0 Likes
on
0 Posts
Another late night update. Had some distractions the last couple days, but I got the hotside all welded up except the wastegate flange. I also drove all the way down to Connecticut (I'm in NY) to grab this Z32 300ZX 5 speed along with the starter, shifter, and an aftermarket 1 piece driveshaft for a great deal. These are good for far more power than a T5, and an adapter kit (plate, flywheel, bolts, bushings, ect) to put it behind the LS motor is around $600. Then its around $550 for a clutch rated to 715 ft lbs. I can have the driveshaft cut down to fit my car and I'll probably run an F body master cyl. But this is for later in the year, I don't have the time or funds to make this happen in time for dyno day.
Anyway, pics!
Anyway, pics!

 03-03-2017, 08:42 PM
#31
Teching In
Thread Starter
Join Date: Dec 2013
Posts: 39
Likes: 0
Received 0 Likes
on
0 Posts
 03-04-2017, 12:41 AM
#32
Registered User
Join Date: Mar 2017
Posts: 4
Likes: 0
Received 0 Likes
on
0 Posts
Aw man you're gonna cover up that beast? btw did you have any clearance issues with the exhaust manifolds turned backwards or did you just flip them up just cuz? I've got a 72 Chevelle I'm just curious if **** got in the way for you
03-04-2017, 01:04 AM
#33
Teching In
Thread Starter
Join Date: Dec 2013
Posts: 39
Likes: 0
Received 0 Likes
on
0 Posts
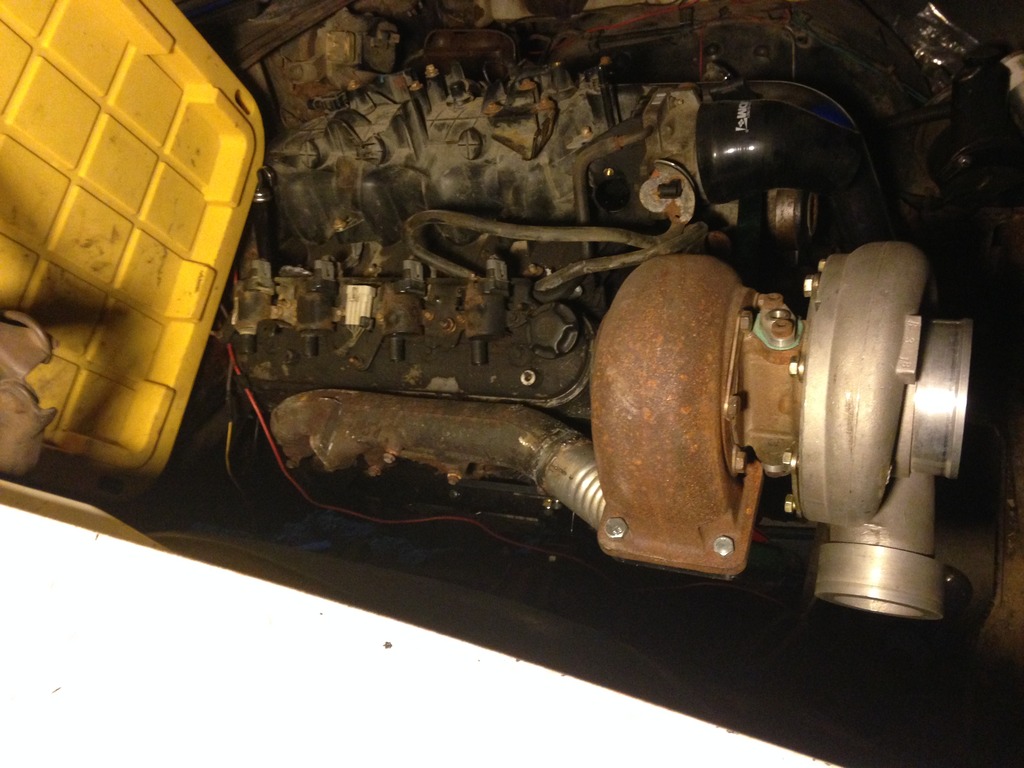
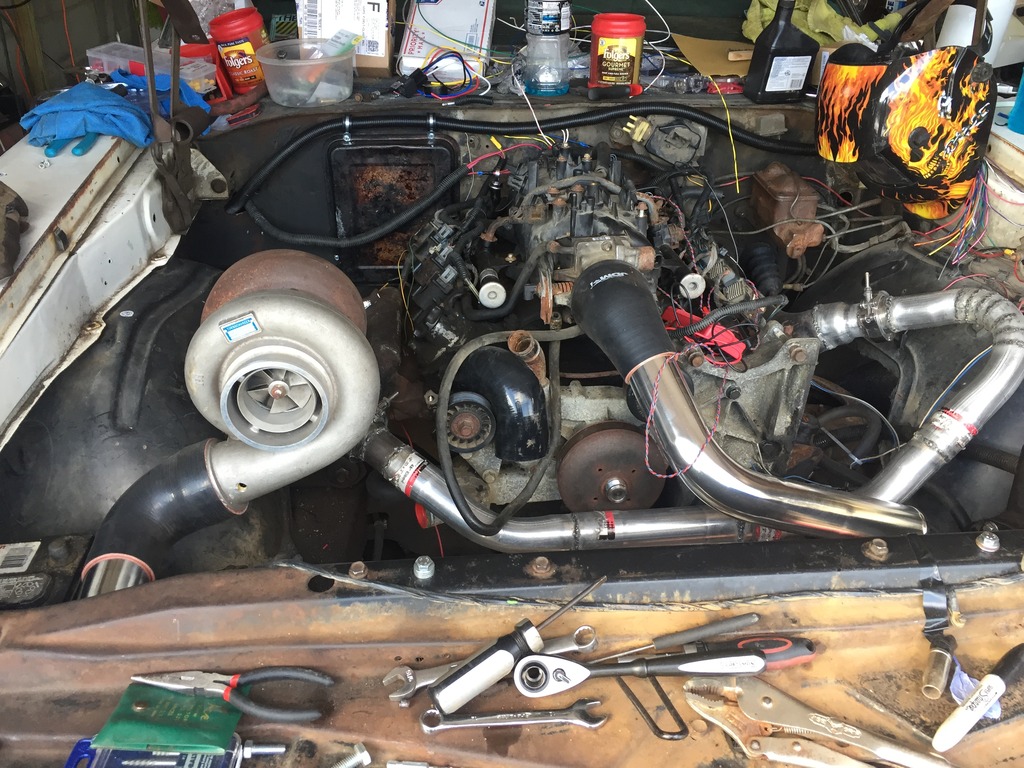
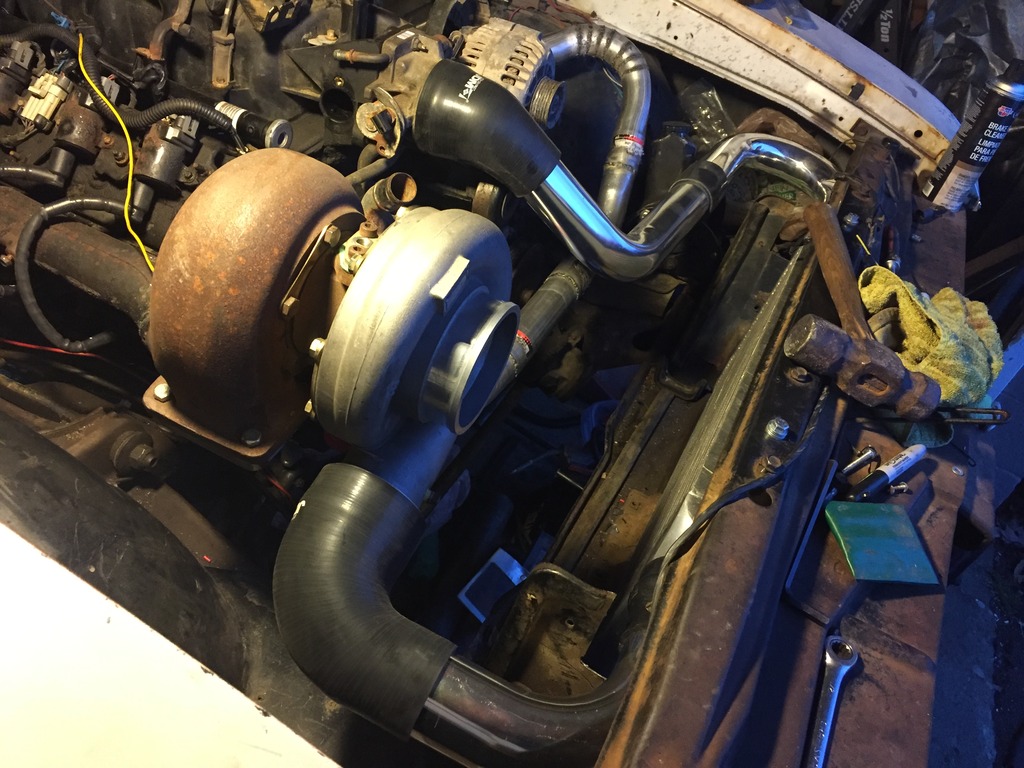
Yeah I really wanna try and keep under hood temps down as much as possible. Kinda pointless I guess since I won't be running a hood, atleast not for a while. Forward and up was the only way the manifolds would actually fit in the car for me with the flanges still on them, IE if you're gonna run naturally aspirated and keep the manifolds on stock orientation like they came on the motor out of the truck, the flanges will not clear the frame. Forward and down the flanges also hit. I believe if you cut the flanges off and just welded some pipe on or a V band you should clear pretty much any way you want it though. I put mine forward and up because I wanted to keep the stock truck power steering pump in stock location, and forward and down would not have cleared the PS pump. My motor is bolted to a TH350 which is in the stock location on the stock crossmember, and the engine is centered within 1/2 inch in the engine bay for reference.
03-04-2017, 02:18 AM
#34
Registered User
Join Date: Mar 2017
Posts: 4
Likes: 0
Received 0 Likes
on
0 Posts
Yeah I really wanna try and keep under hood temps down as much as possible. Kinda pointless I guess since I won't be running a hood, atleast not for a while. Forward and up was the only way the manifolds would actually fit in the car for me with the flanges still on them, IE if you're gonna run naturally aspirated and keep the manifolds on stock orientation like they came on the motor out of the truck, the flanges will not clear the frame. Forward and down the flanges also hit. I believe if you cut the flanges off and just welded some pipe on or a V band you should clear pretty much any way you want it though. I put mine forward and up because I wanted to keep the stock truck power steering pump in stock location, and forward and down would not have cleared the PS pump. My motor is bolted to a TH350 which is in the stock location on the stock crossmember, and the engine is centered within 1/2 inch in the engine bay for reference.
Good luck with your build my dude, hope you make it to dyno day!
03-04-2017, 02:26 AM
#35
Teching In
Thread Starter
Join Date: Dec 2013
Posts: 39
Likes: 0
Received 0 Likes
on
0 Posts
Btw thanks man! So far I'm on schedule for DD. I've got 3 other friends busting *** to get their cars ready for it too.
03-04-2017, 02:48 AM
#36
Registered User
Join Date: Mar 2017
Posts: 4
Likes: 0
Received 0 Likes
on
0 Posts
If you go manual steering you can do that, and I considered it, but I've driven this pig with out the pump being turned (no belt) when it had the SBC and I didn't really wanna give it up for this build
Btw thanks man! So far I'm on schedule for DD. I've got 3 other friends busting *** to get their cars ready for it too.
Btw thanks man! So far I'm on schedule for DD. I've got 3 other friends busting *** to get their cars ready for it too.
03-27-2017, 07:29 PM
#37
Teching In
Thread Starter
Join Date: Dec 2013
Posts: 39
Likes: 0
Received 0 Likes
on
0 Posts
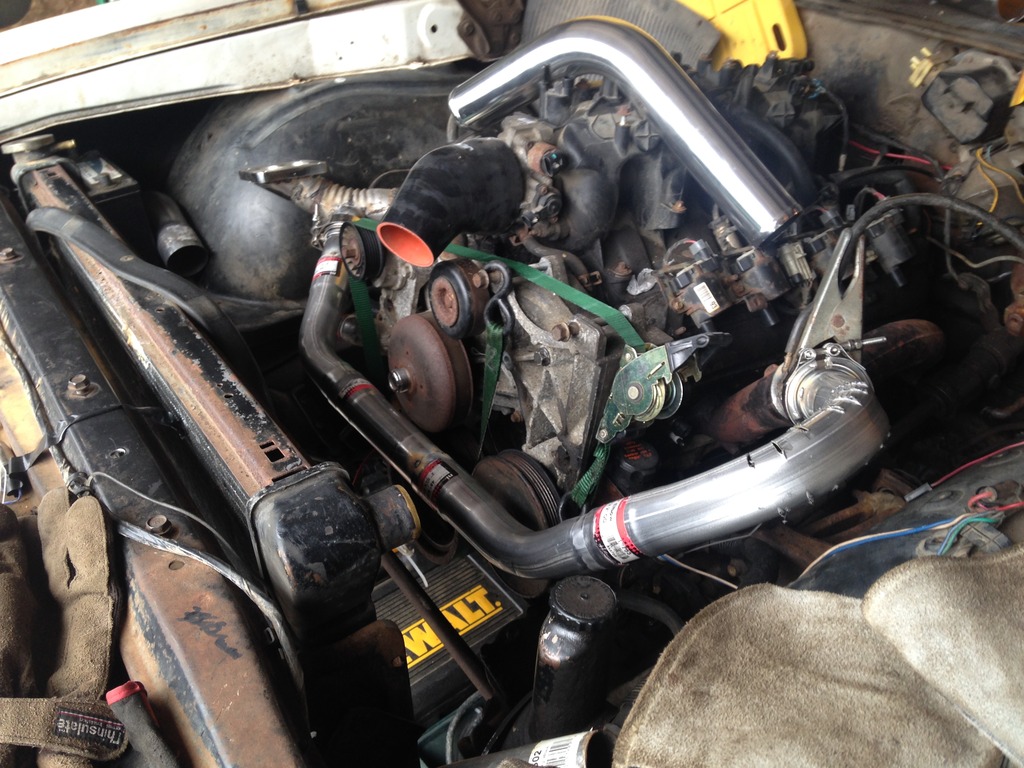
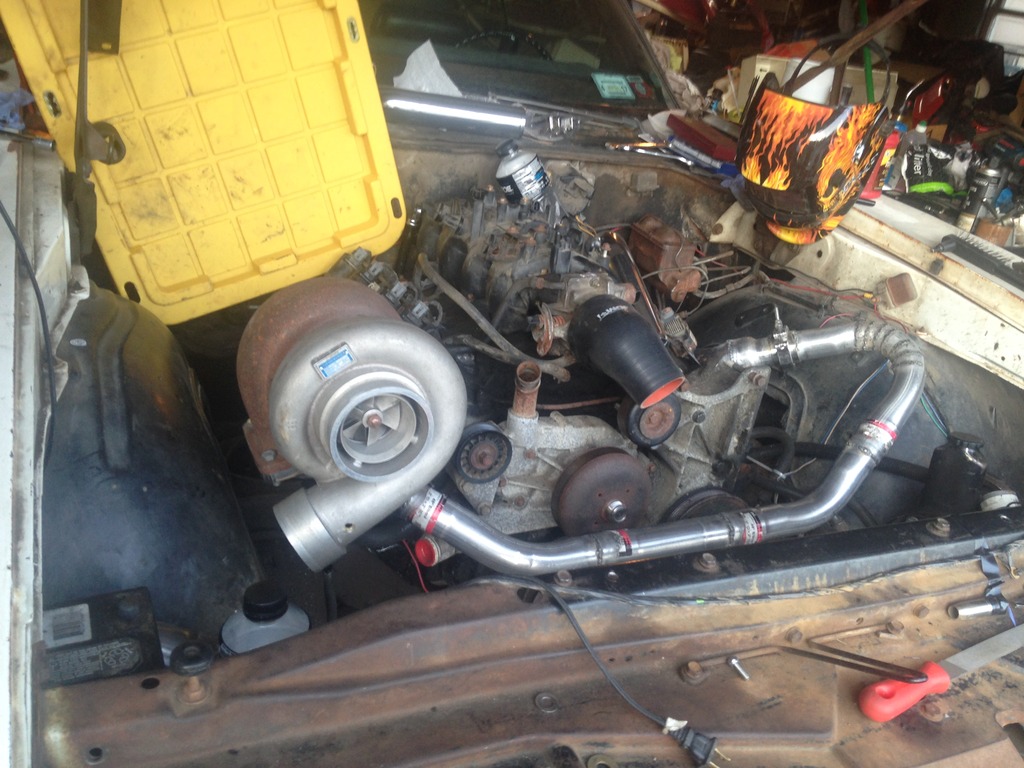
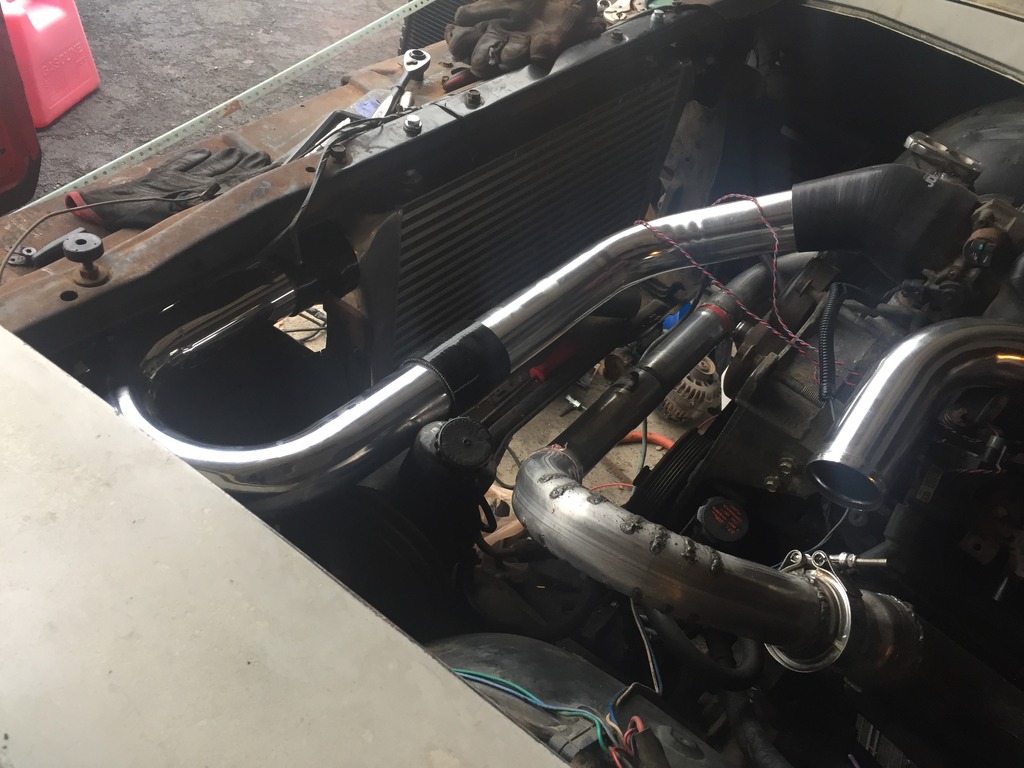
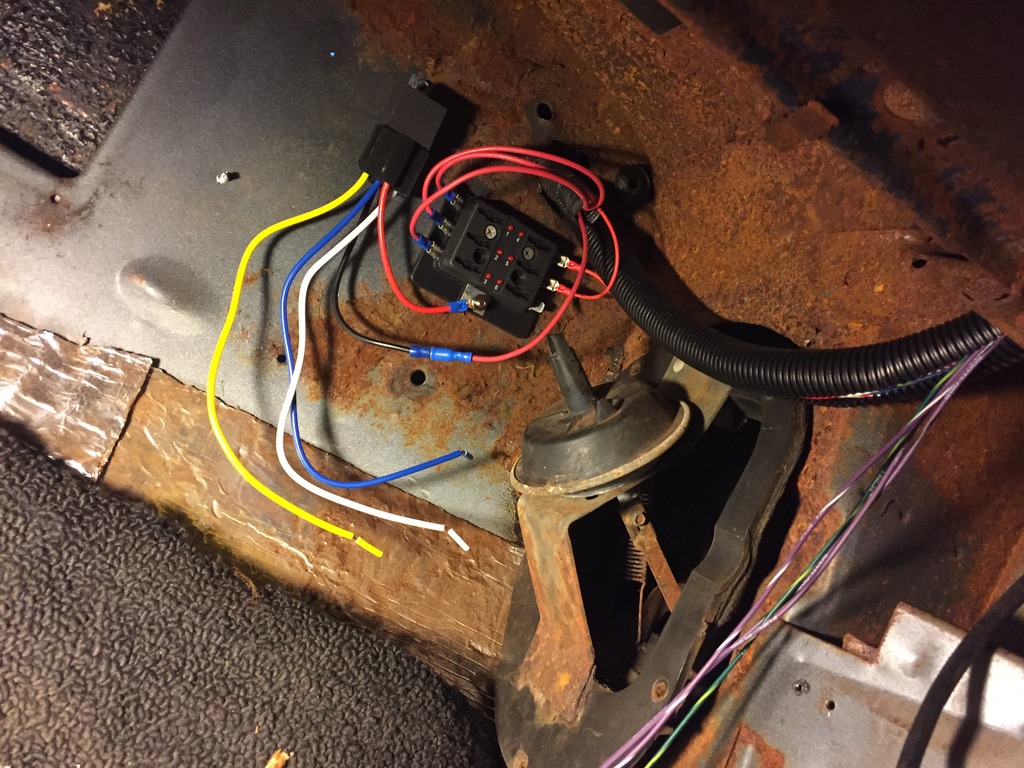
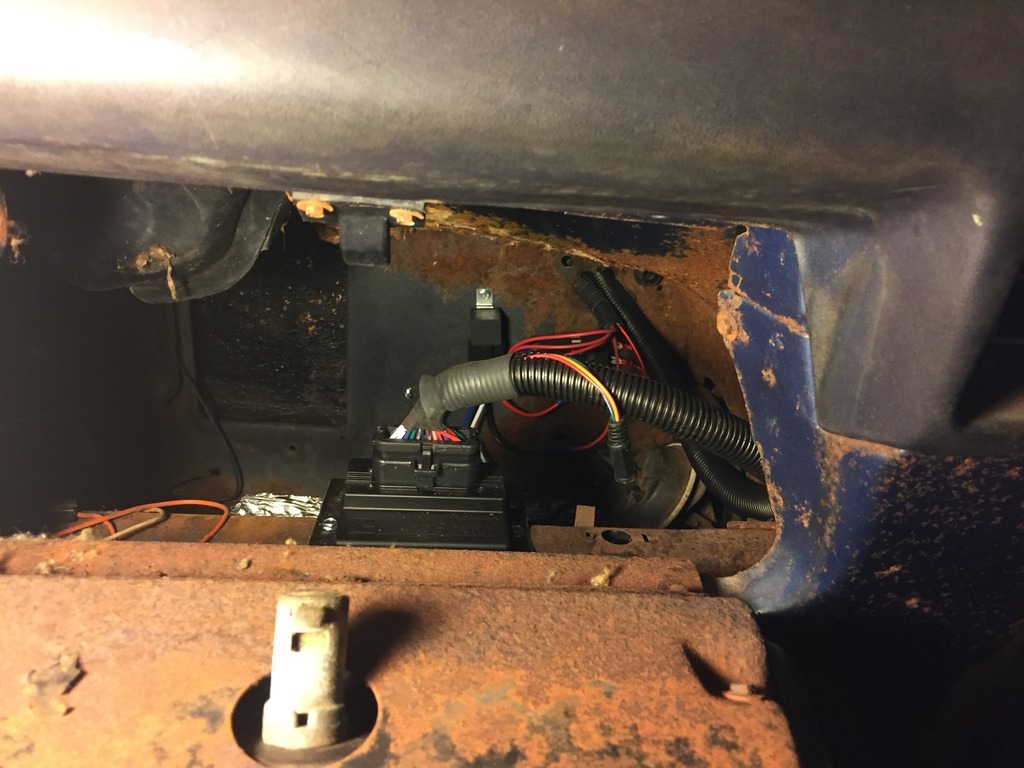
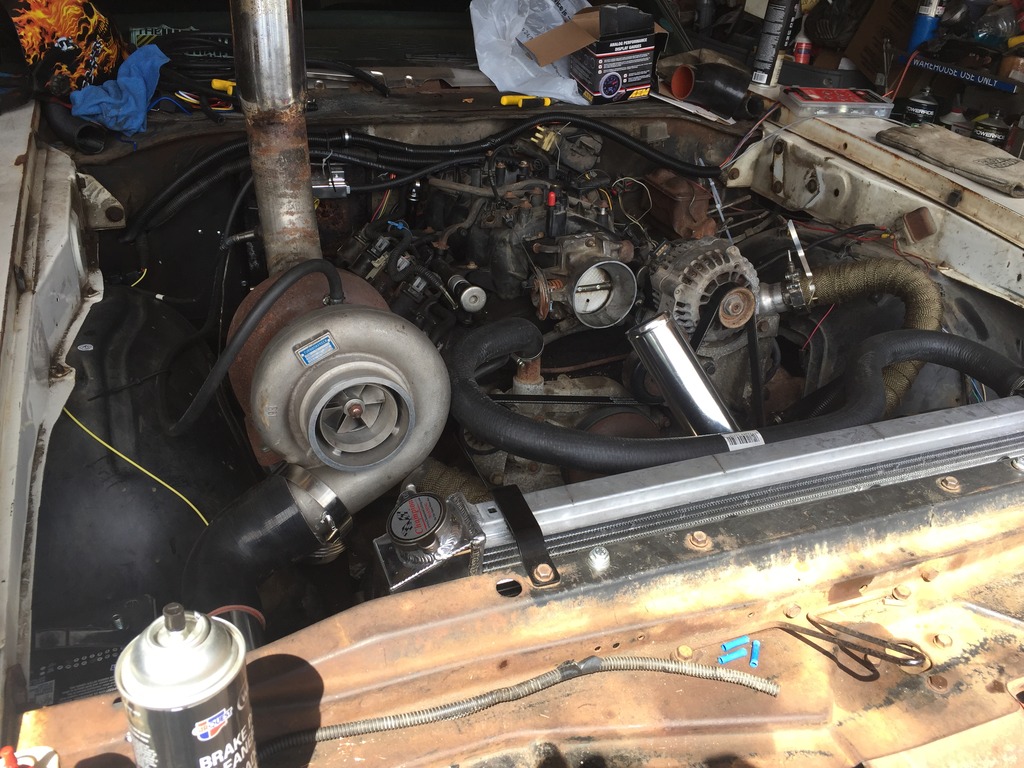
Alright! another update. Lots more done since the last one. I mounted the intercooler, trans cooler, ran trans cooler lines, finished the cold side piping, bought, received, and mostly wired the microsquirt, still need to run all the wires thru the corrugated harness stuff so excuse the mess. And I need to hook up things like switched positive to the relay for the main fuse block, and the tach and 2 step wires on the micro. I also bought some Nascar blue streak spark plug wires to clear the flipped manifolds as per the sloppy wiki. $39 shipped one race on em, can't complain! Picked up a starter and alternator, threw those on, basically I'm fluids, driveshaft install, and some misc wiring away from firing the car. But I still need a radiator and wideband and a few other bits and bobs (downpipe, ect) and I need to go ahead and throw a wastegate flange on my hotside and mount the wastegate.
The nascar plug wires
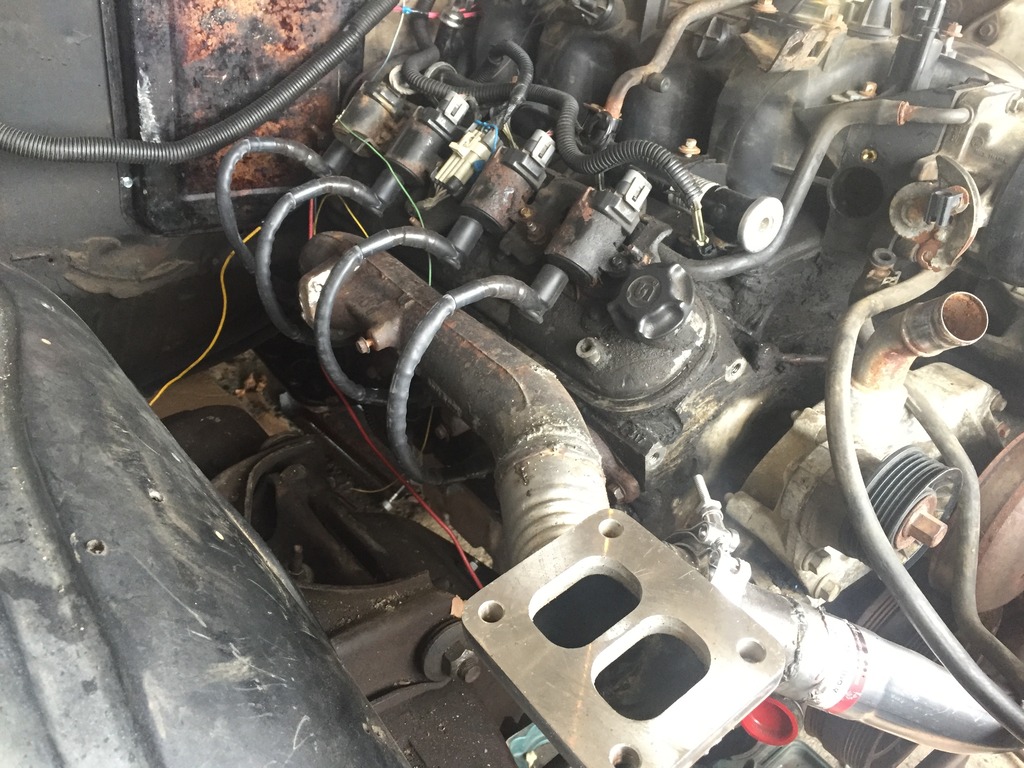
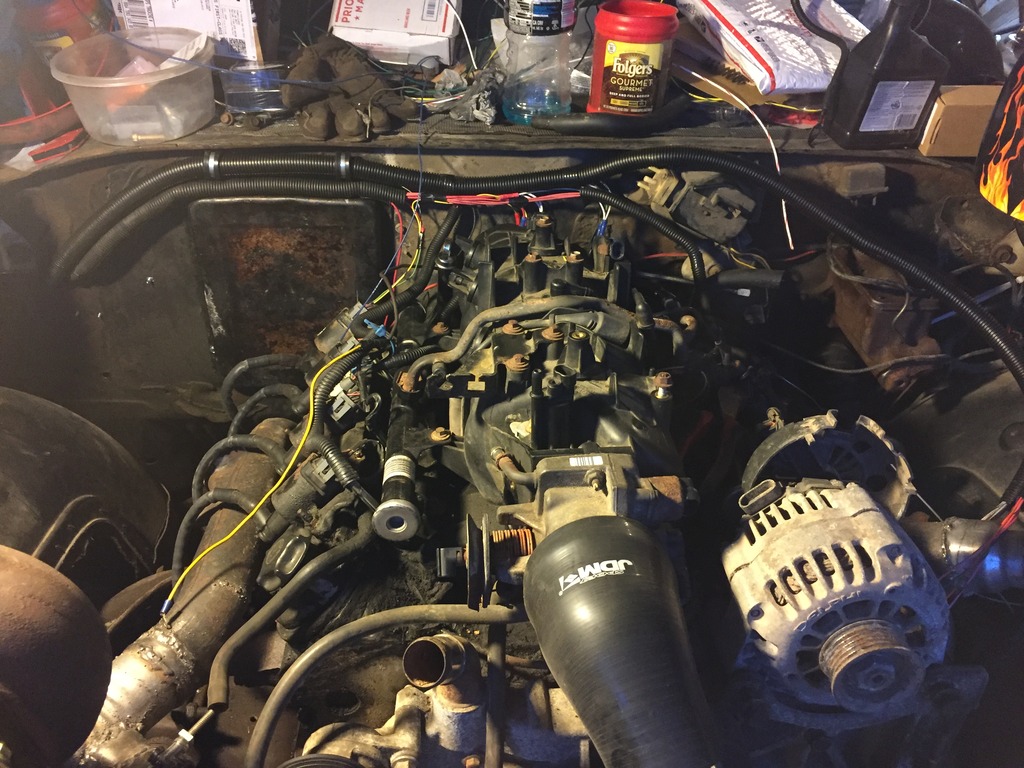


The nascar plug wires


 03-27-2017, 10:48 PM
#39
Teching In
Thread Starter
Join Date: Dec 2013
Posts: 39
Likes: 0
Received 0 Likes
on
0 Posts
 04-18-2017, 09:13 PM
#40
Teching In
Thread Starter
Join Date: Dec 2013
Posts: 39
Likes: 0
Received 0 Likes
on
0 Posts
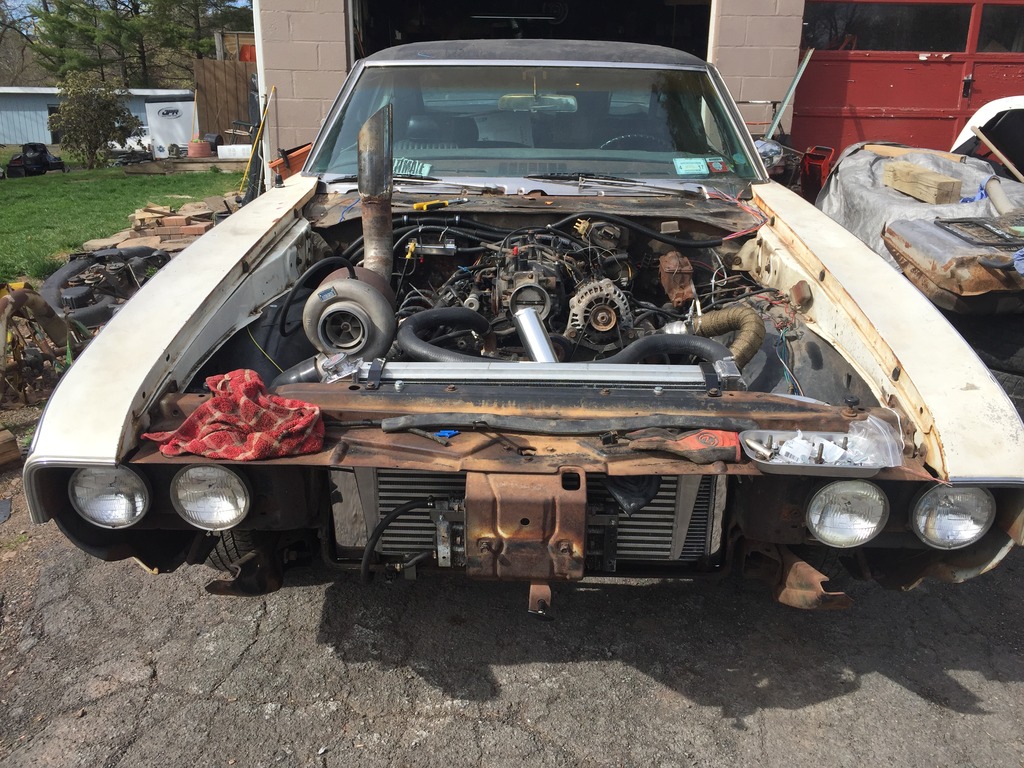
SO! Big update. I've been really behind on updating this thread now working full time and trying to get this car ready ASAP. It runs, it moves. Its mostly done. Lots of tuning left to do it runs like *** but atleast it doesn't knock lol.
EGR block off
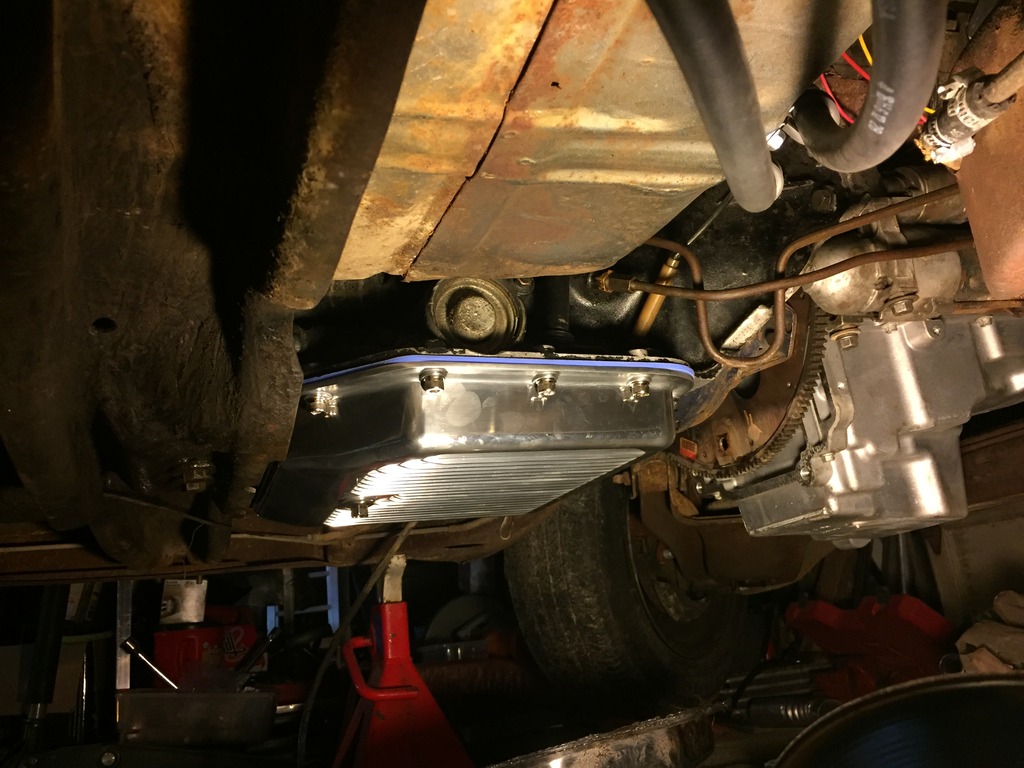
New trans pan and the fancy blue moroso gasket everyone rants and raves about, I've had fluid in it for a few days with no leaks, so far I'm happy, it somehow leaked without any fluid in it with the last pan and gasket lol.
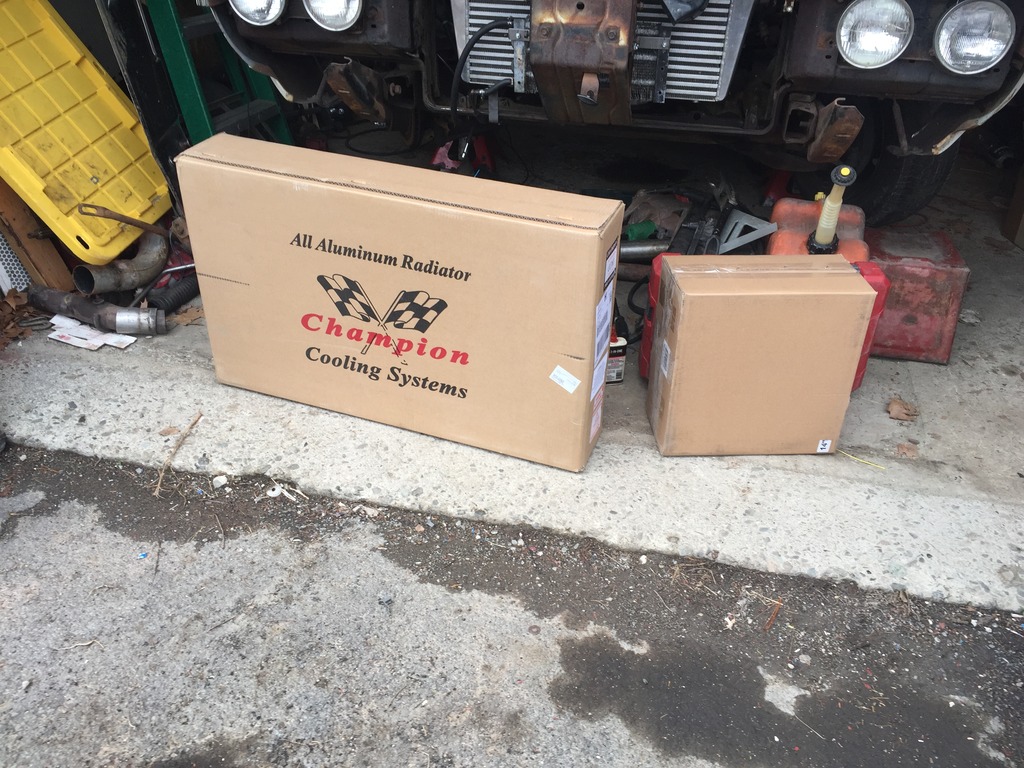
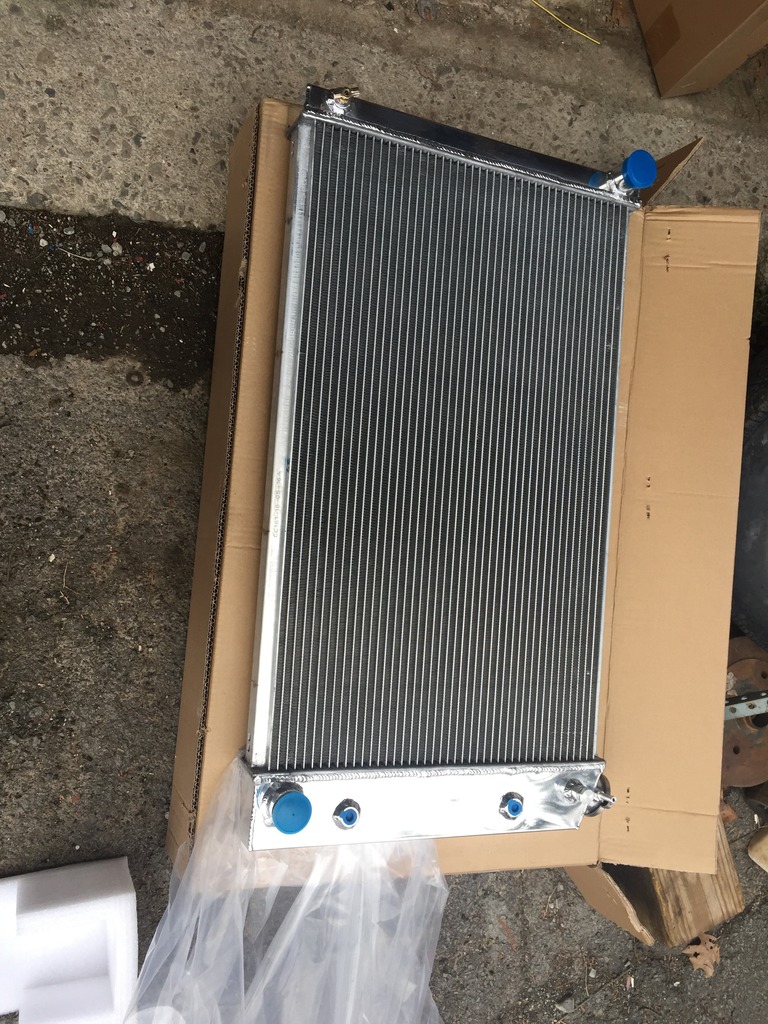
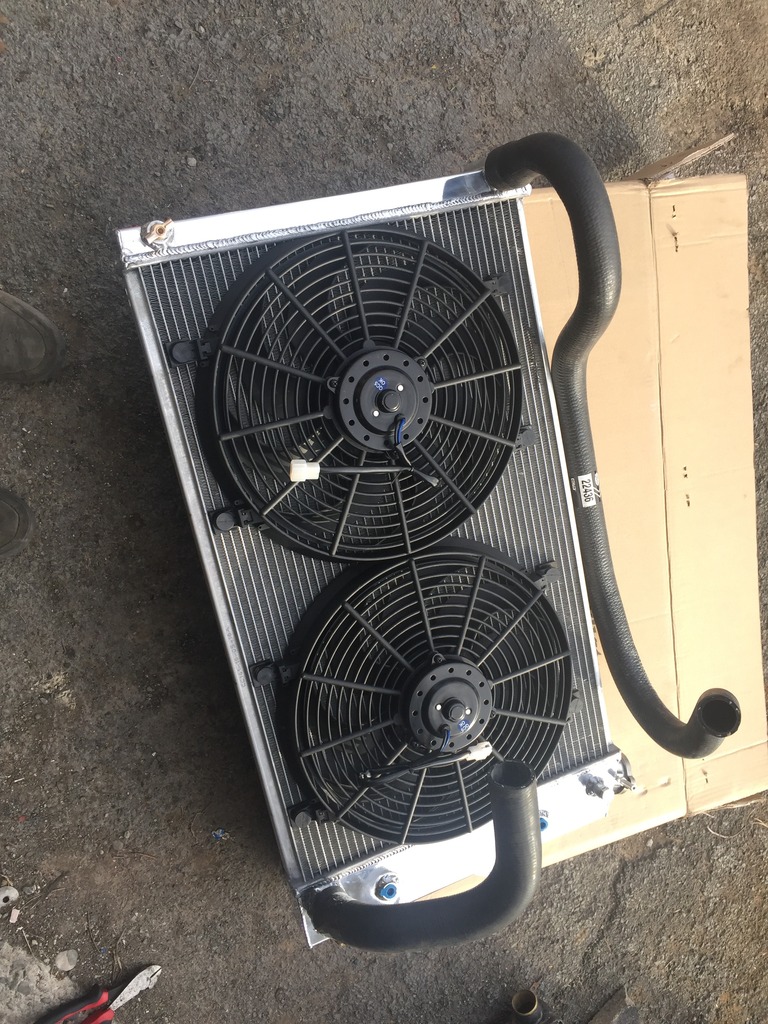
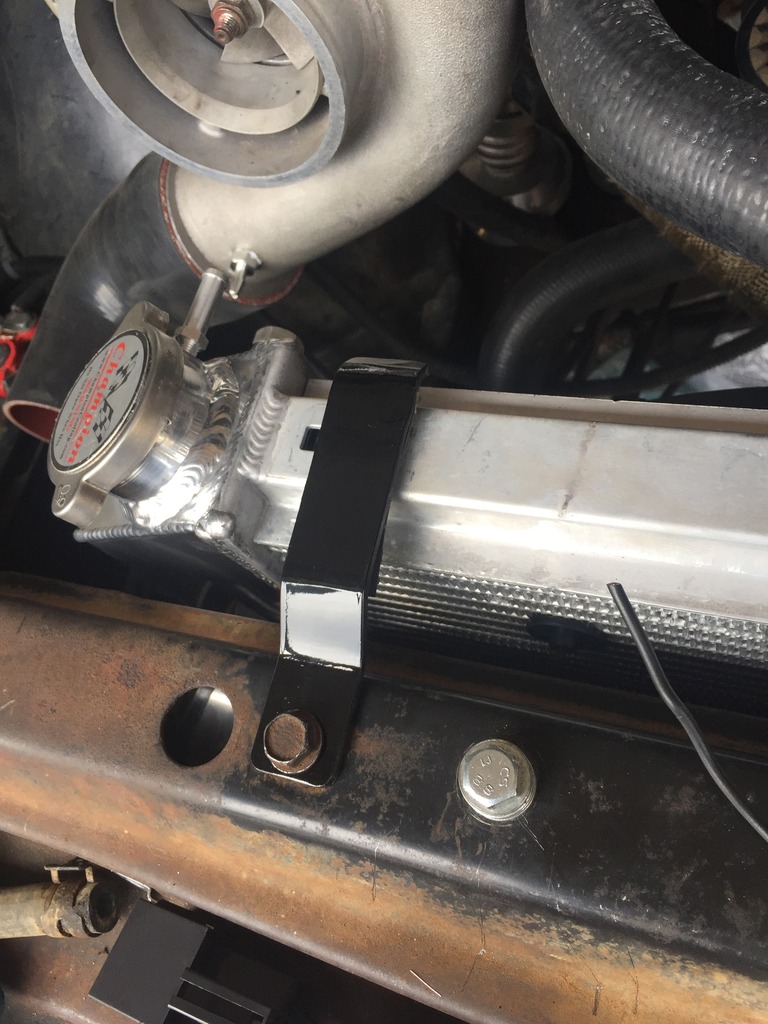
Theres 2 systems on this car I spent decent money on. The cooling system and the fuel system. Champion 3 row aluminum rad and dual 14 inch fans
shinyyyyyyyyy
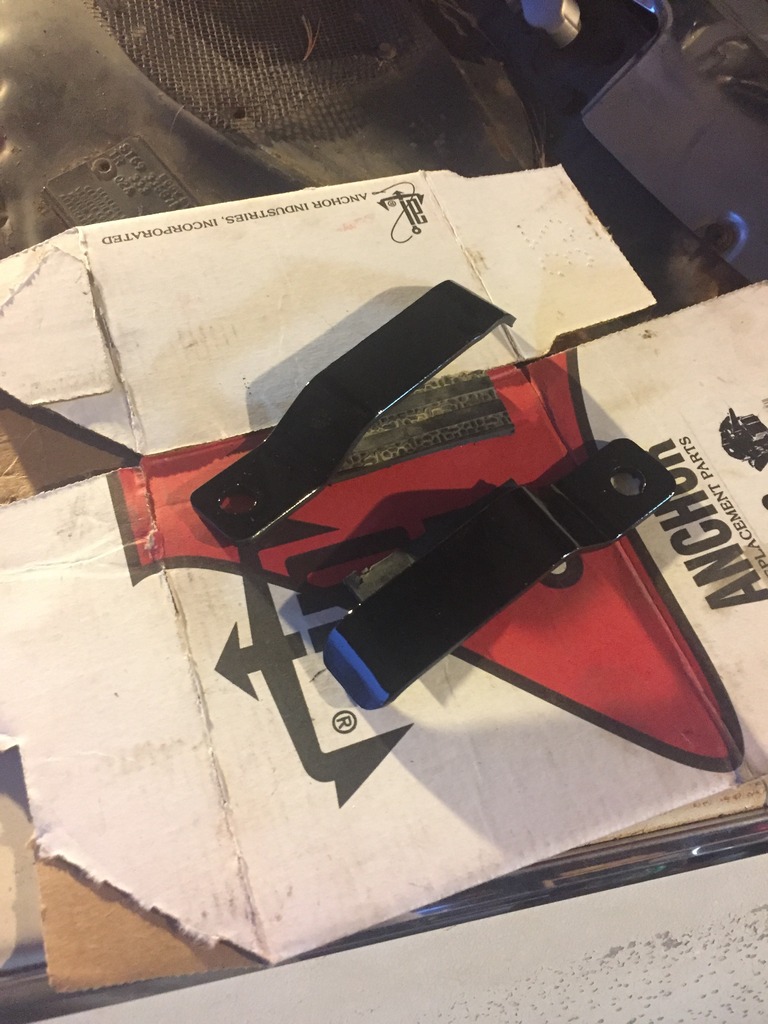
Whipped these up in a few minutes with just a drill, hammer, and unmounted vice eyeballing it. so not too dissapointed with the finished product
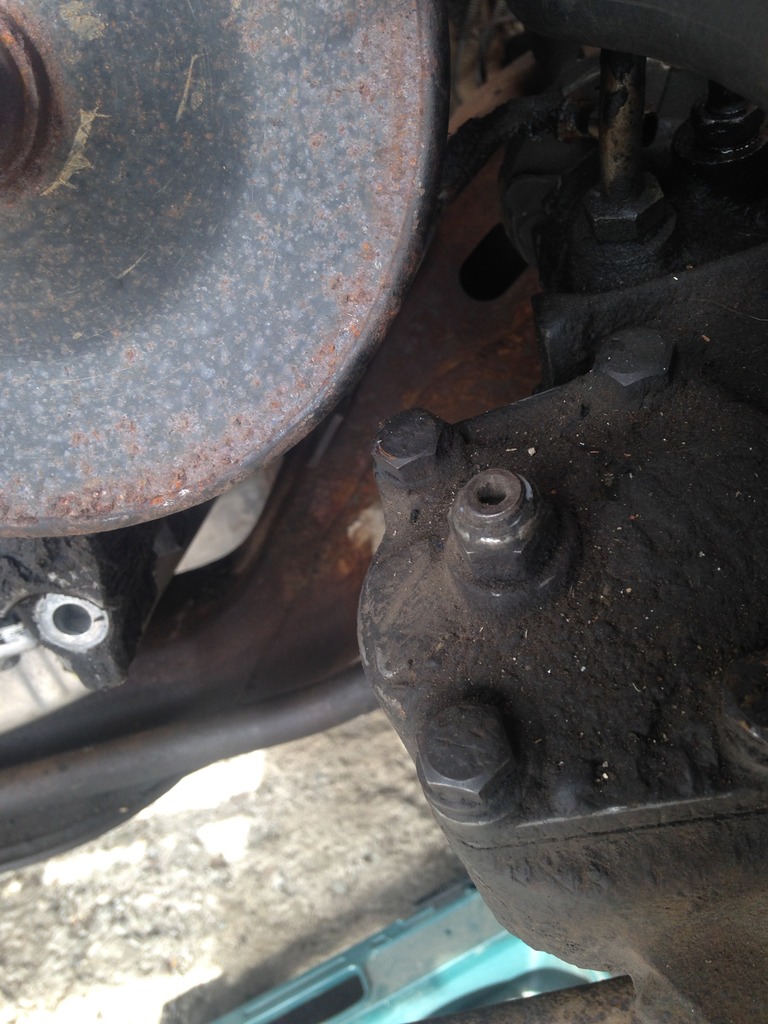
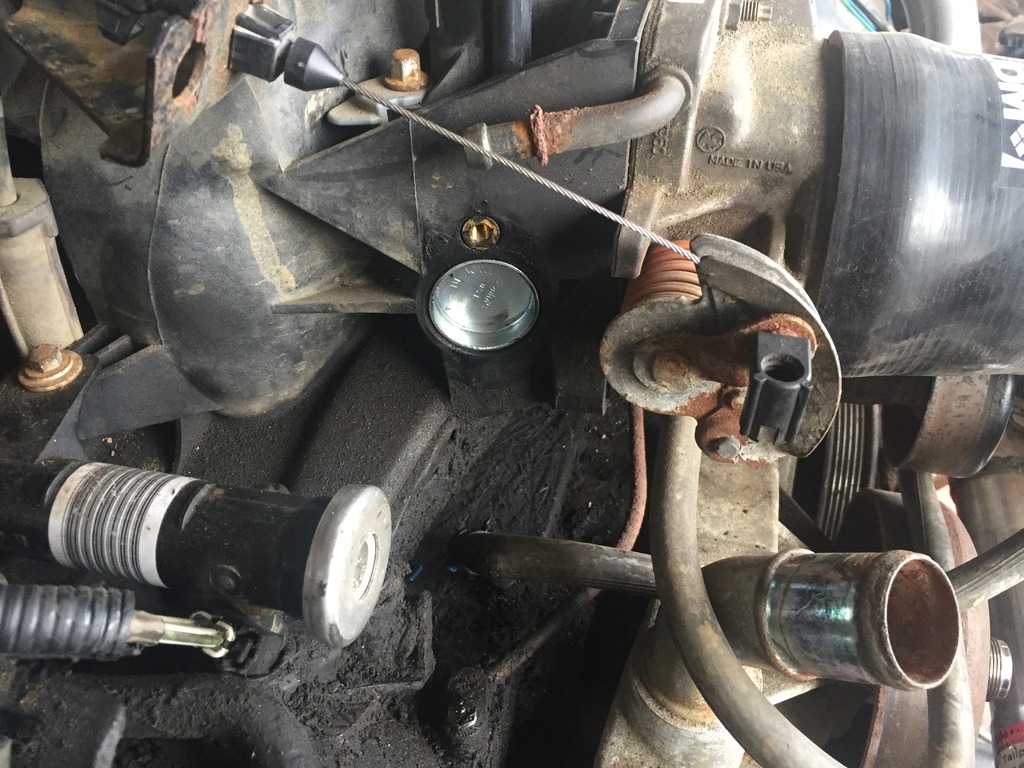
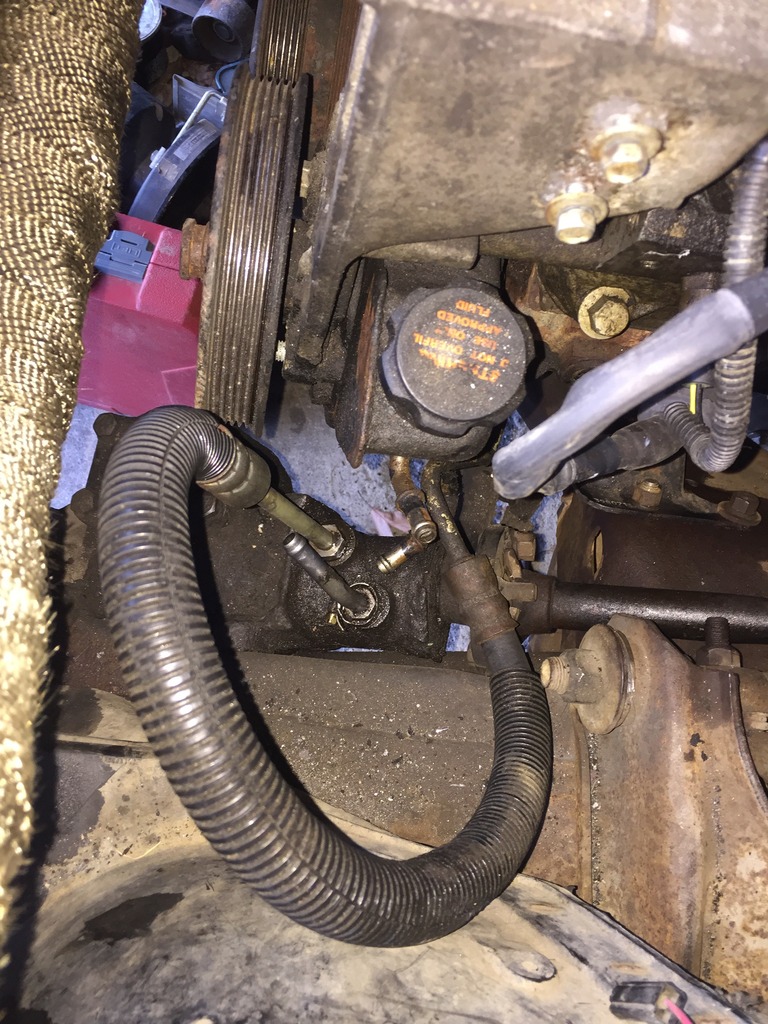
I cut the O ring steering box end of the stock silverado hose off, and then slipped a flare nut over the line and flared the line. Slammed it in the box, rock and roll $0 spend
Rad in, hoses hooked up, fans done, oil feed and return for the turbo done, downpipe welded up ect
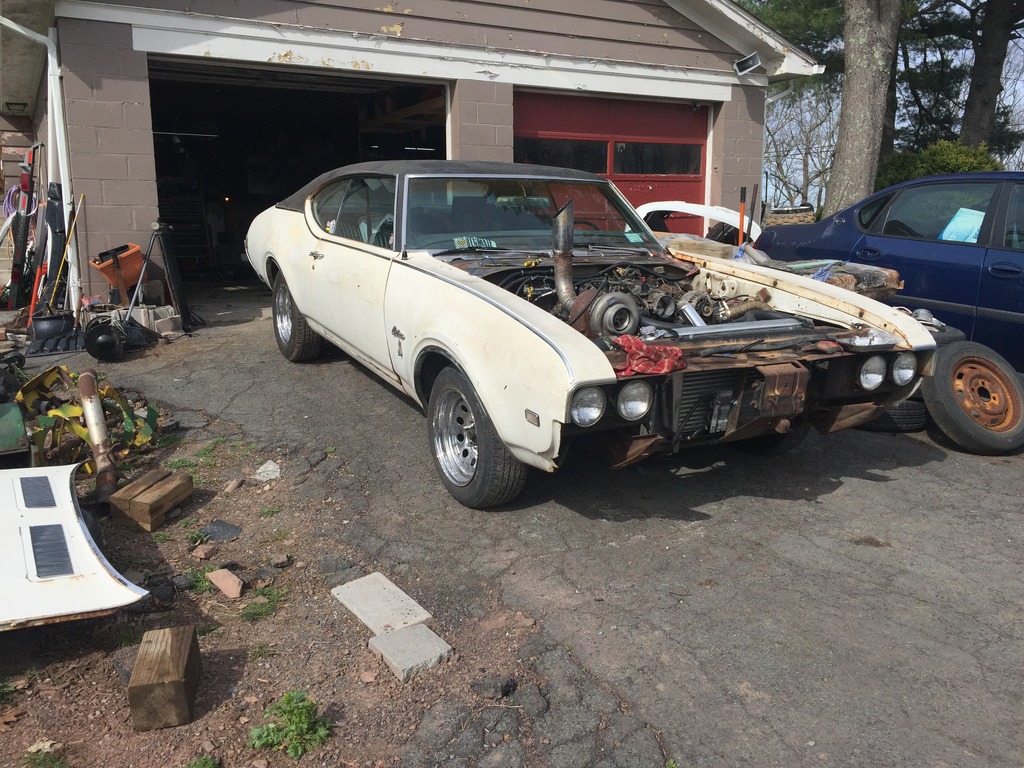
Rolled it out for some pics!
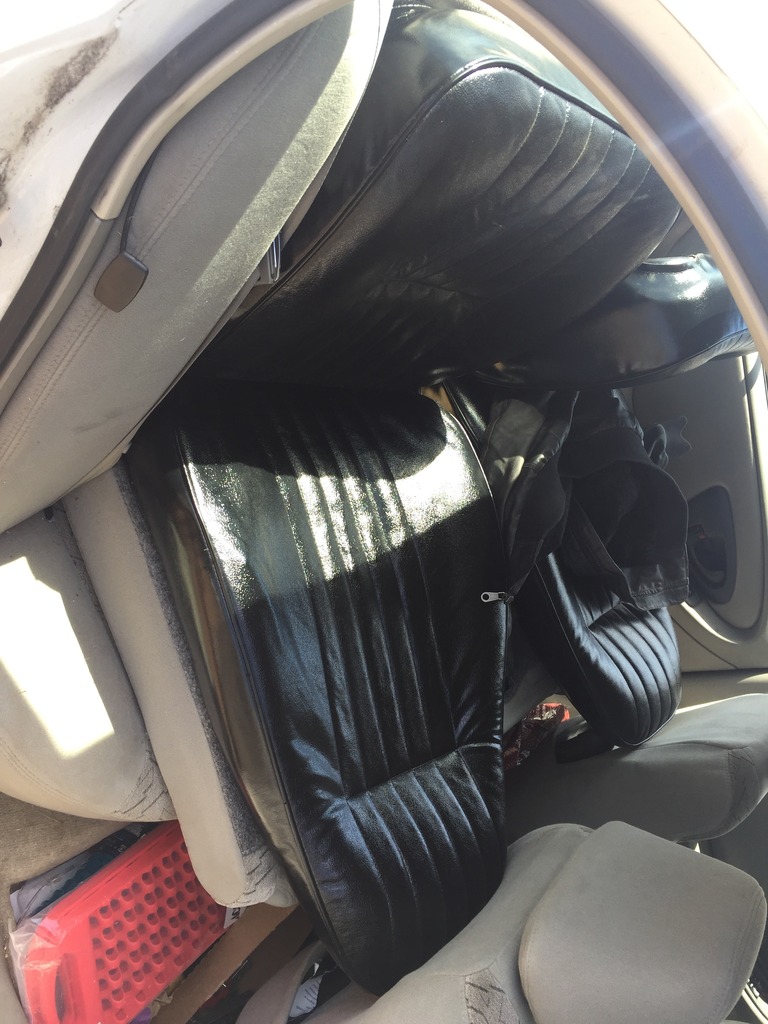
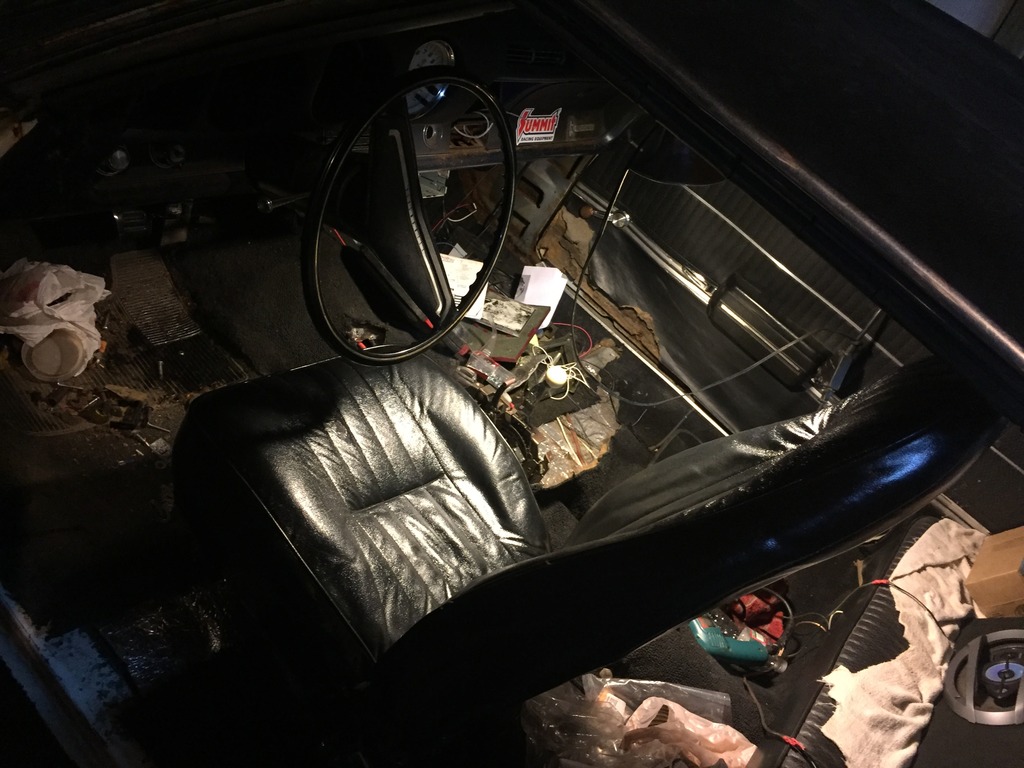
Picked up these seats at a swap meet for $30. no idea wtf they're out of but I like em and the price was right
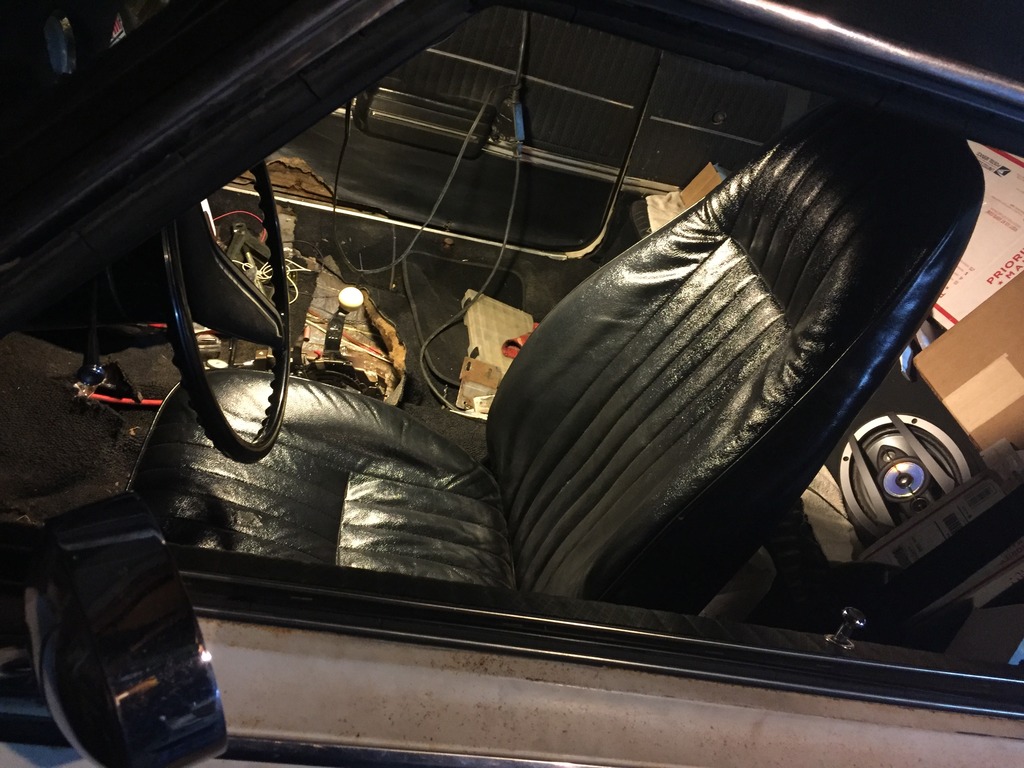
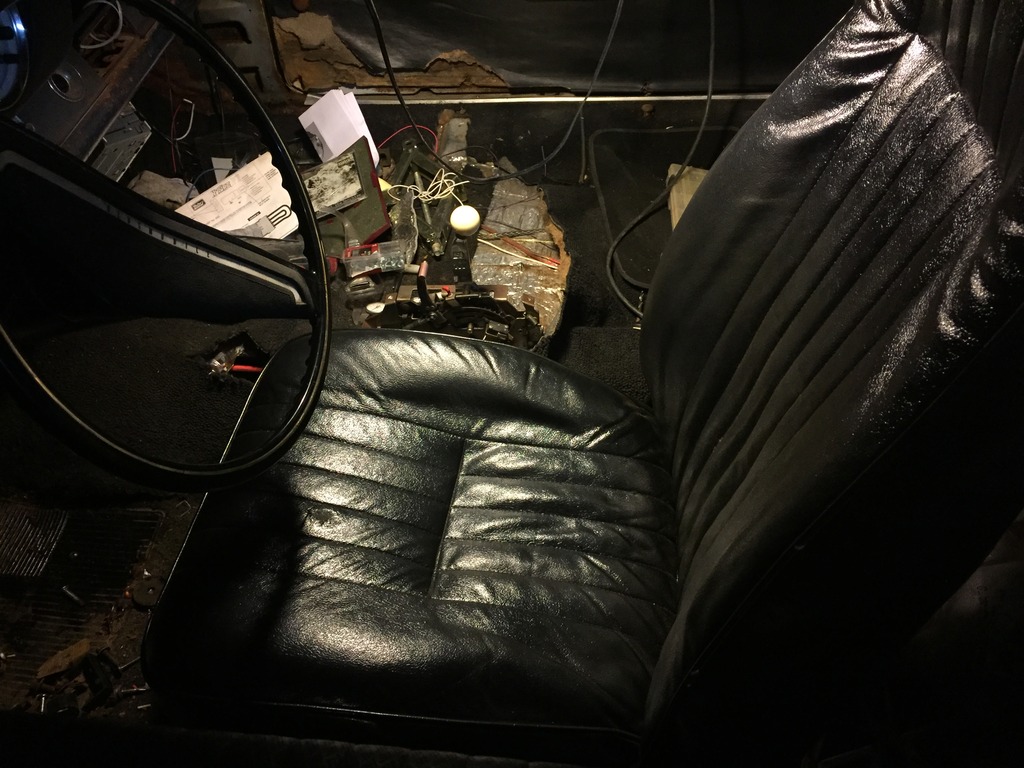
One of em, and the ratchet shifter, installed in the car

I'll upload and post the vid of it running tomorrow, its late and I've got work in the early AM.
EGR block off

New trans pan and the fancy blue moroso gasket everyone rants and raves about, I've had fluid in it for a few days with no leaks, so far I'm happy, it somehow leaked without any fluid in it with the last pan and gasket lol.

Theres 2 systems on this car I spent decent money on. The cooling system and the fuel system. Champion 3 row aluminum rad and dual 14 inch fans

shinyyyyyyyyy


Whipped these up in a few minutes with just a drill, hammer, and unmounted vice eyeballing it. so not too dissapointed with the finished product


I cut the O ring steering box end of the stock silverado hose off, and then slipped a flare nut over the line and flared the line. Slammed it in the box, rock and roll $0 spend

Rad in, hoses hooked up, fans done, oil feed and return for the turbo done, downpipe welded up ect

Rolled it out for some pics!


Picked up these seats at a swap meet for $30. no idea wtf they're out of but I like em and the price was right

One of em, and the ratchet shifter, installed in the car


I'll upload and post the vid of it running tomorrow, its late and I've got work in the early AM.