
Another build thread
 09-18-2011, 09:31 PM
#1
9 Second Club
Thread Starter
iTrader: (46)
Join Date: May 2006
Location: Fredericksburg, VA
Posts: 1,037
Likes: 0
Received 0 Likes
on
0 Posts

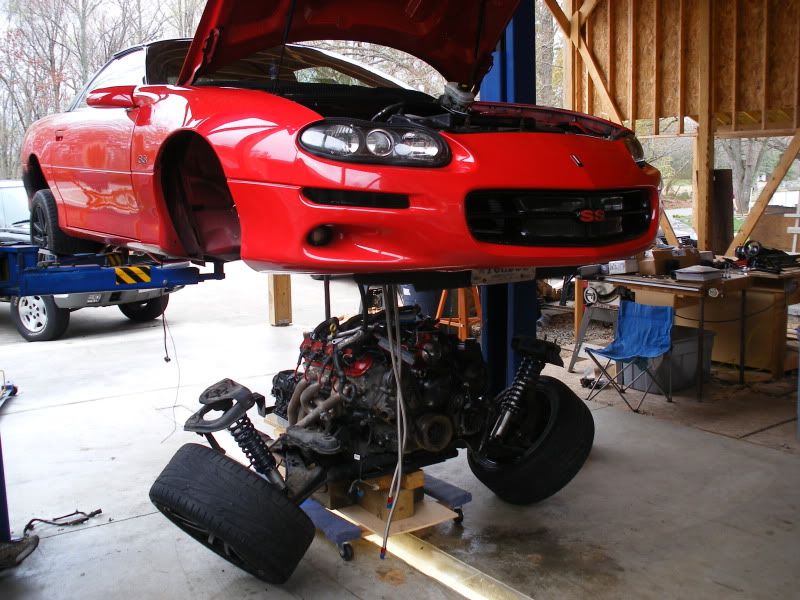
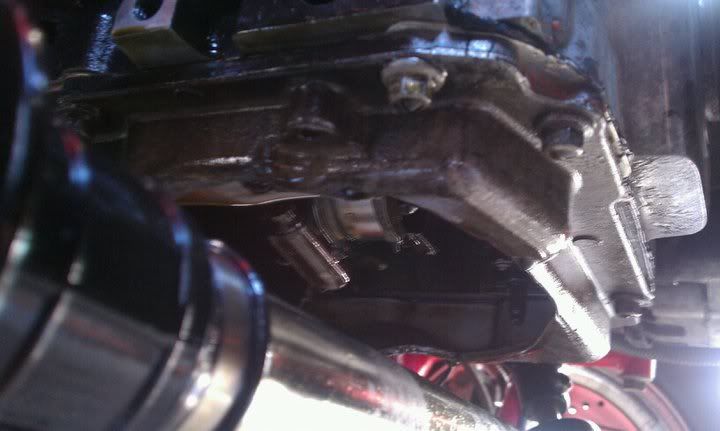
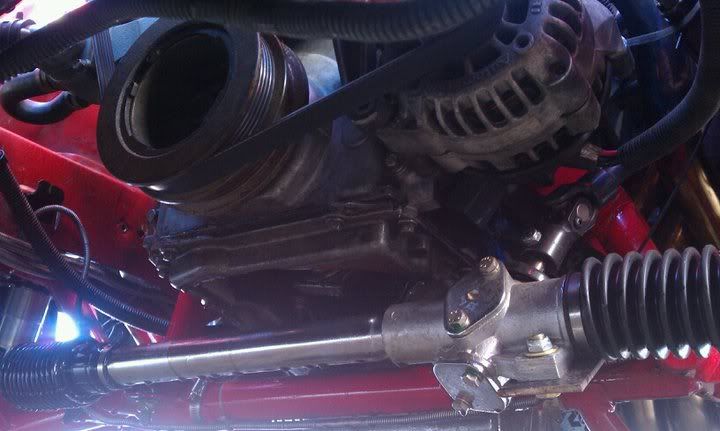
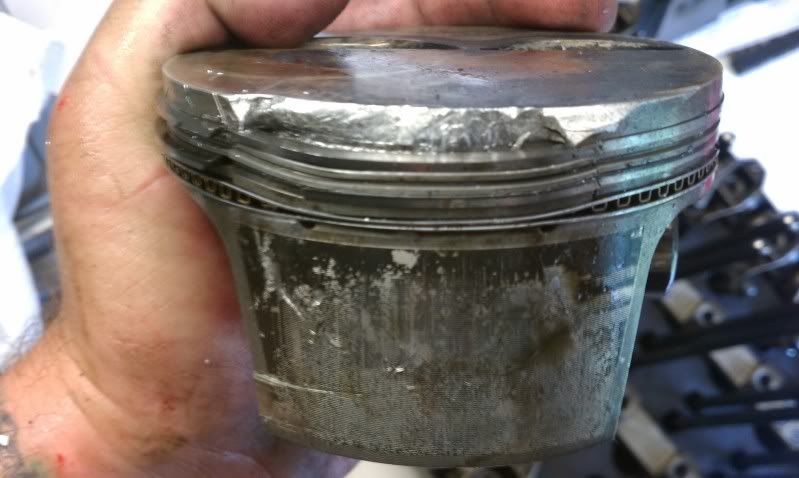
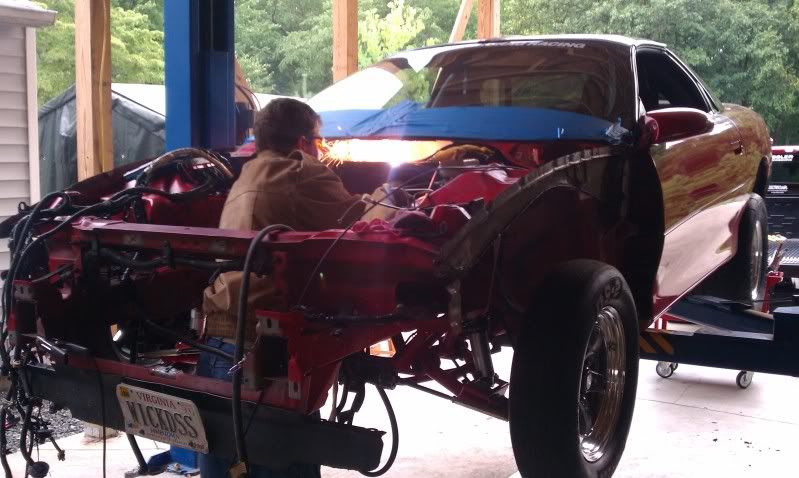
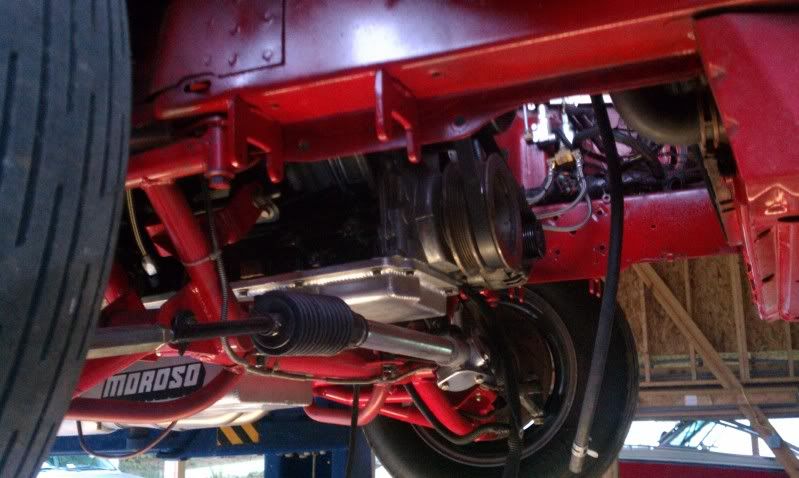
well im not sure where to even start this off at but i guess i will give a little history. i have ran this car for 3 years now with the stock motor, bolt ons, pat g 233/239 cam, patriot stg 2 ls6's and a hsw wet nozzle kit jetted to 100. it ran a best of 10.29@132 with a 1.34-60' @ 3660 rw. i then switched over to a sbe 347 with a eps cam that was spec'd at 244/252 and the same patriot stg2 ls6 heads. i also bought a bmr k member, lower a arms and a madman manual rack which i installed at the same time as the 347. this is where i will start the pics from.
i made a total of 6 test passes with this motor without the n2o hooked up with intentions of running it n/a for the nmca race at mir. so i get the car loaded up, tech'd in and ready to run. go out and make 2 test passes and on the second one all hell let loose around the 1/8th mile mark. this was the results:
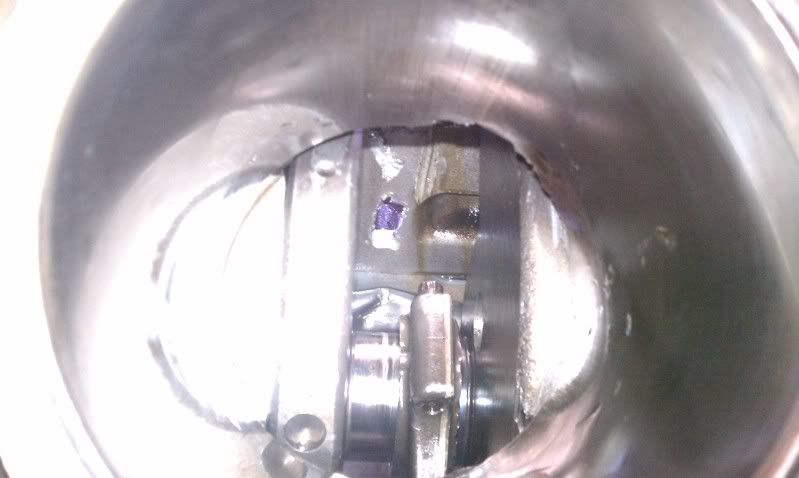
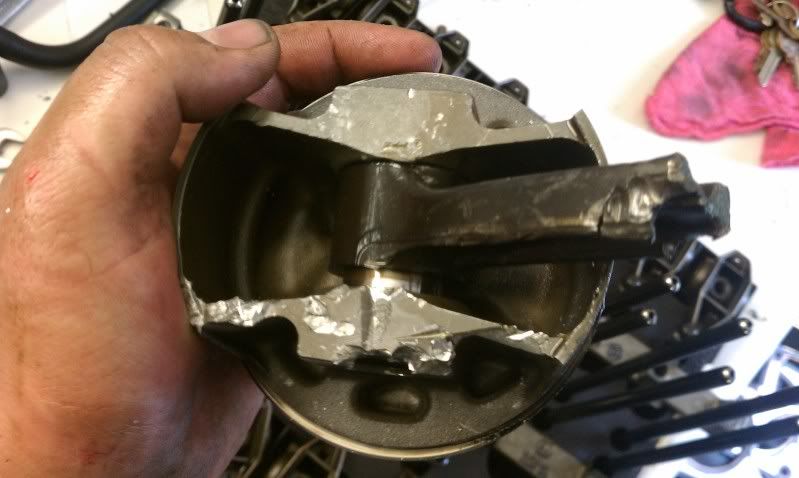
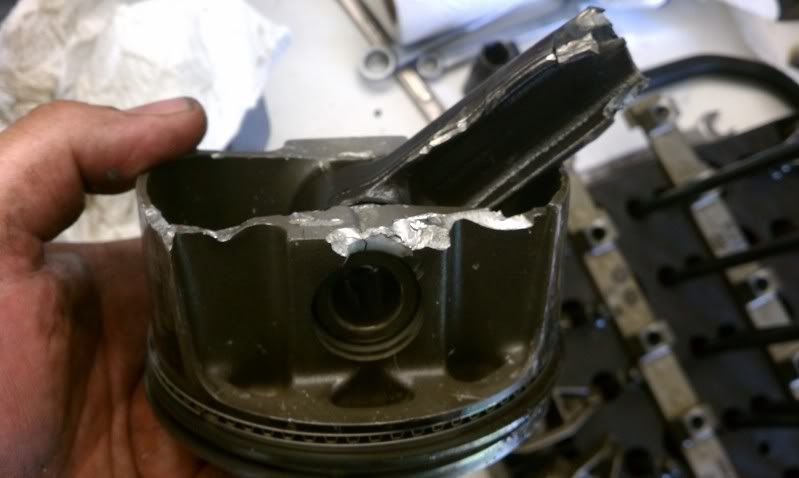

i made a total of 6 test passes with this motor without the n2o hooked up with intentions of running it n/a for the nmca race at mir. so i get the car loaded up, tech'd in and ready to run. go out and make 2 test passes and on the second one all hell let loose around the 1/8th mile mark. this was the results:

 09-18-2011, 09:58 PM
#3
9 Second Club
Thread Starter
iTrader: (46)
Join Date: May 2006
Location: Fredericksburg, VA
Posts: 1,037
Likes: 0
Received 0 Likes
on
0 Posts
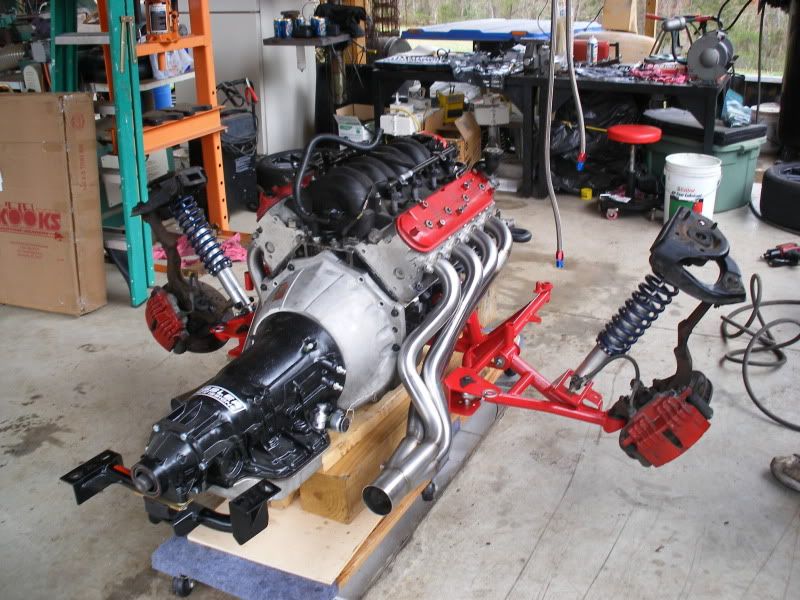
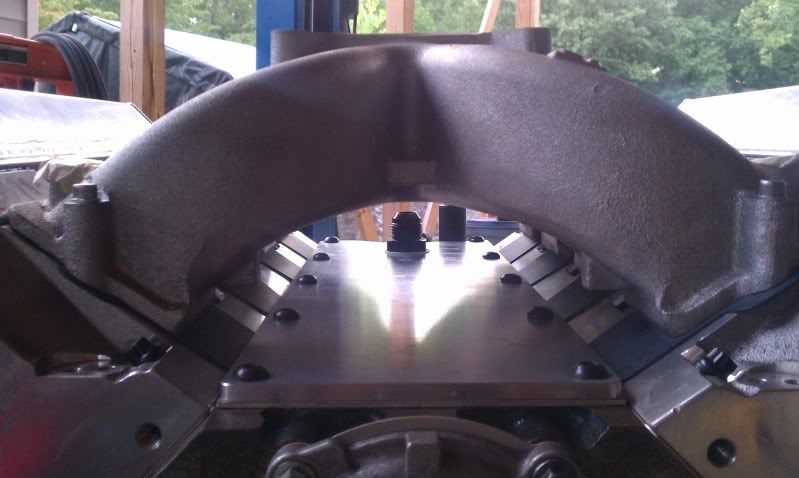
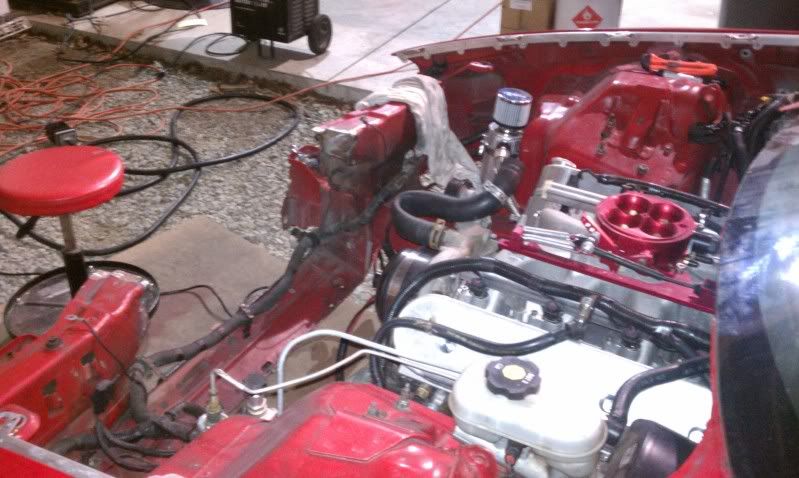
anyway, after a few months of being bummed and hoarding money i started talking the JL about the solid roller 408 he had for sale and ended up making a trip to pick it up from him about a month ago. i since have been working on some miscellaneous things and am trying to get this thing going to make some test passes and basically get it dialed in for next year, the run down of the motor is:
Iron 6 litre truck block
Lunati crank and rods
Wiseco pistons, 14.5 to 1 compression
ET ls7 4 inch bore heads
PAC solid roller valve springs
Custom crower 1.8 ratio rockers
crower solid roller lifters
cam motion 261/267 740 lift camshaft
double roller adjustable timing chain
katech ported oil pump
cometic head gaskets
ARP 2000 studs thru the entire motor
fast 4150tb
kooks 1 7/8"
so i started tearing the car down again ( which im getting pretty good at, at this point )
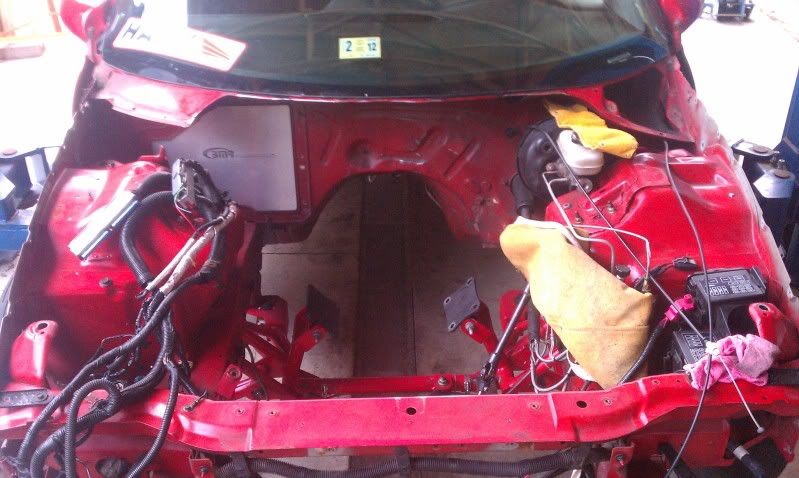
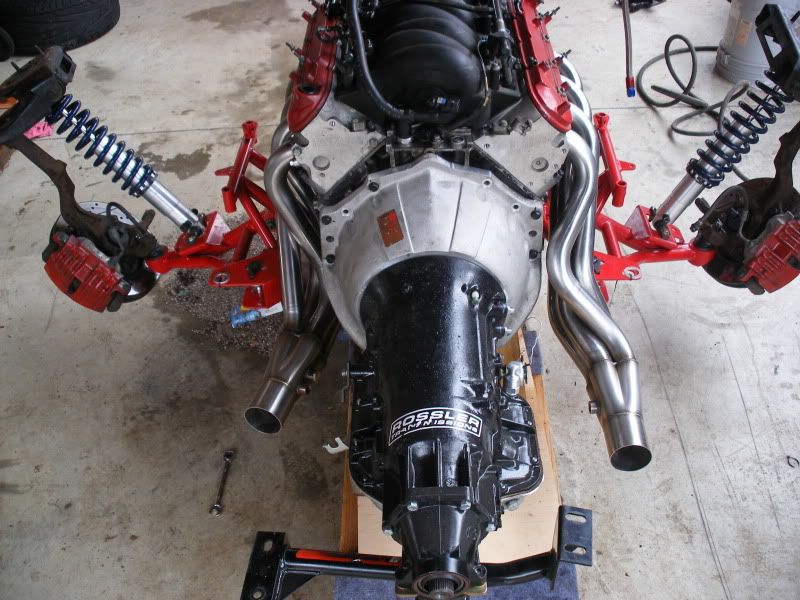
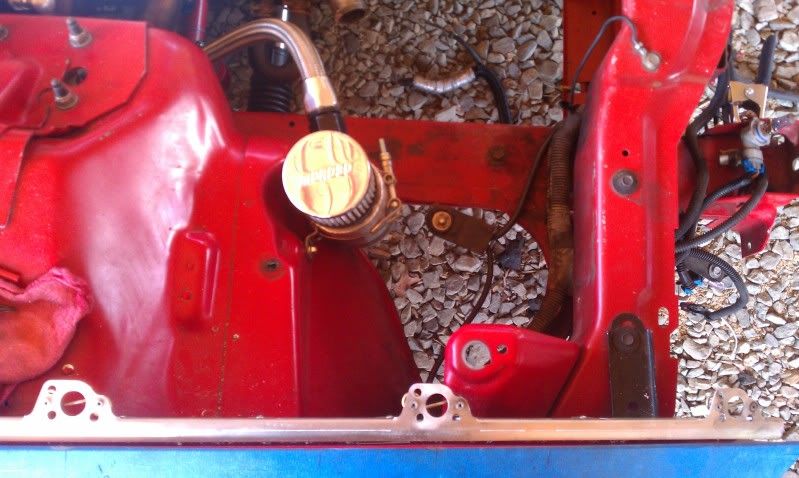
drilled out the new flat valley cover and installed a -12an bulkhead fittng to vent the crankcase to a puke can until this winter when i get a vacuum pump:

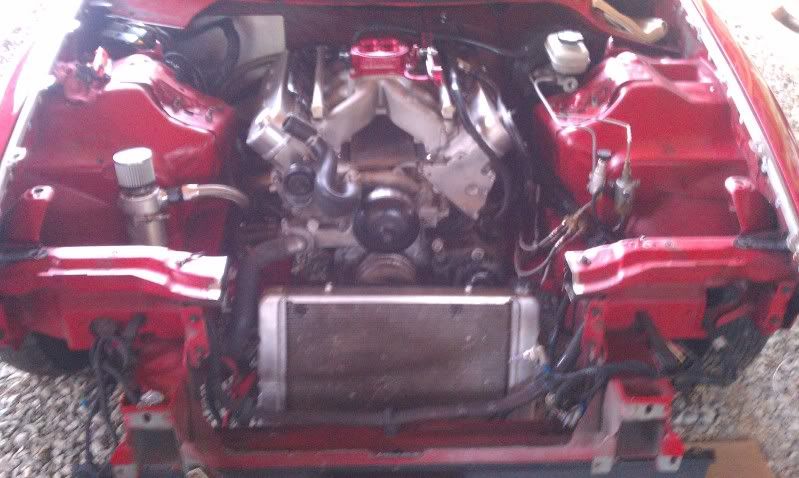
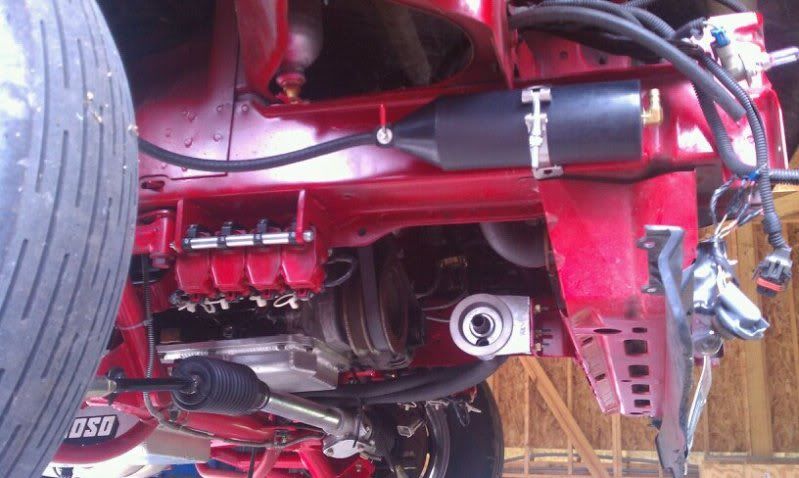
then it was time to get the motor in its new home:
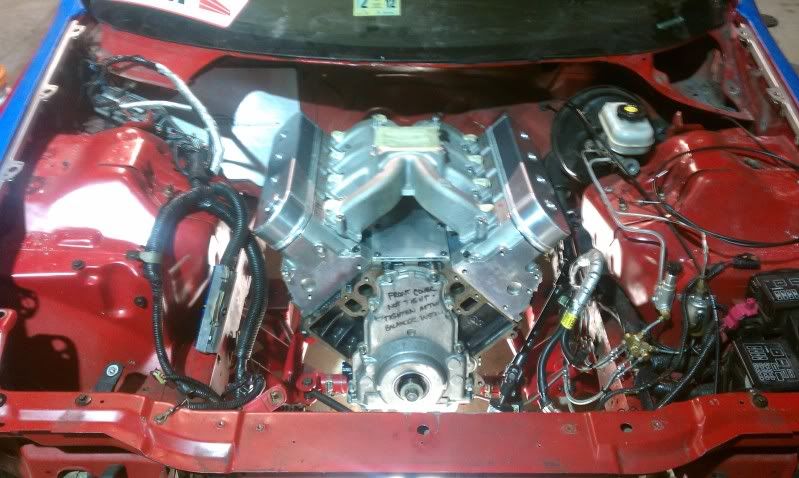
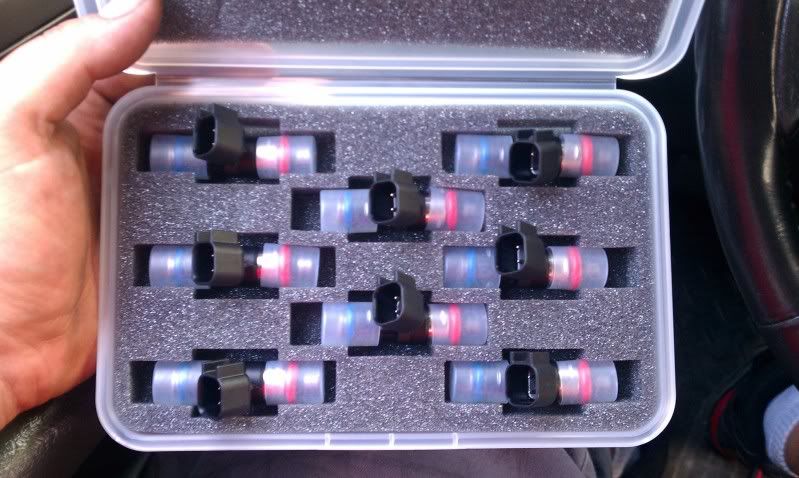
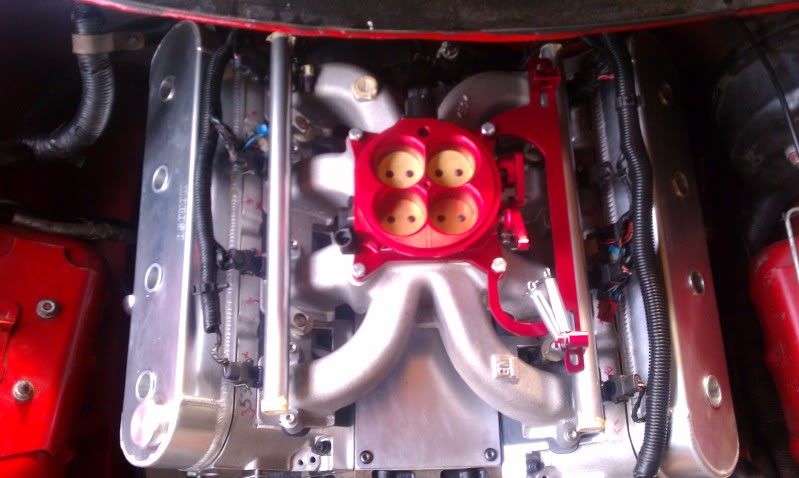
next i installed the tb and the nasty ls7 rails along with a set of ls9 60# injectors from fic
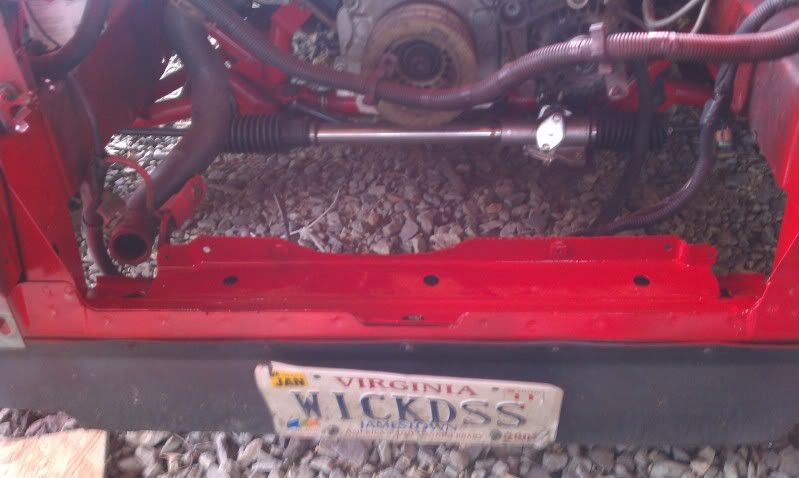
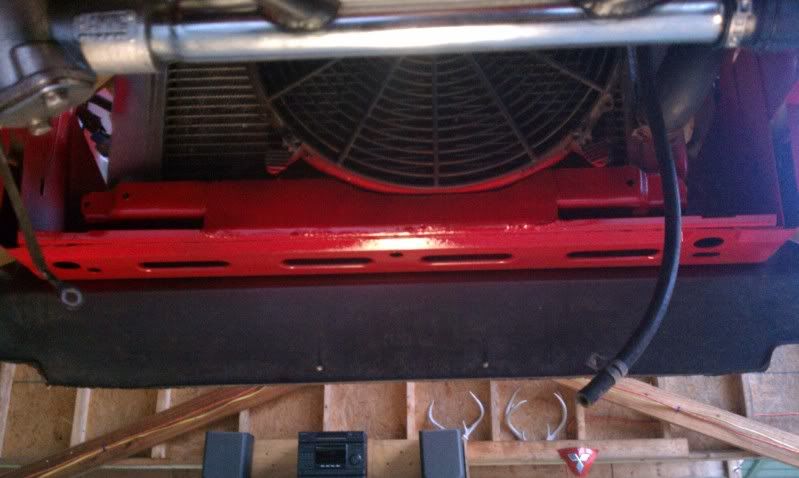
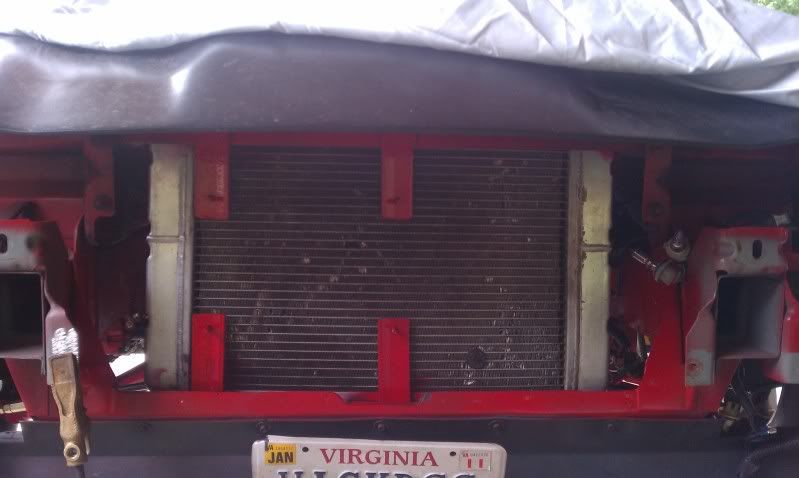
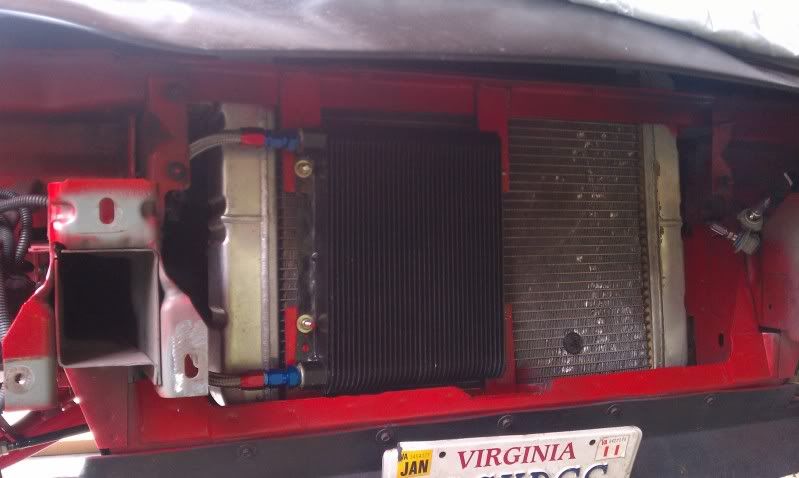
after discussing with a buddy of mine and wanting to mae everything easy to get to which includes being able to turn this over by hand to do valve adjustments i decided to do a verticle radiator set up:

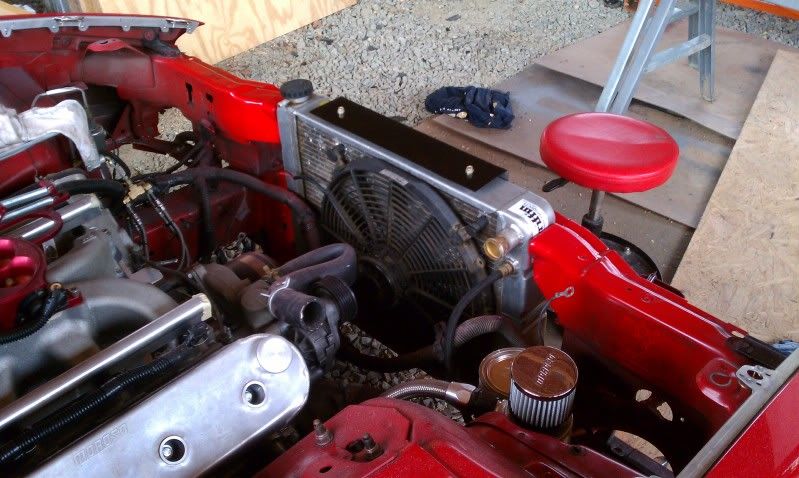
i am wanting to wire the single spal fan into the stock wiring but am unsure how to merge both connections or if i need to just use one of them. so speak up if you have done this.
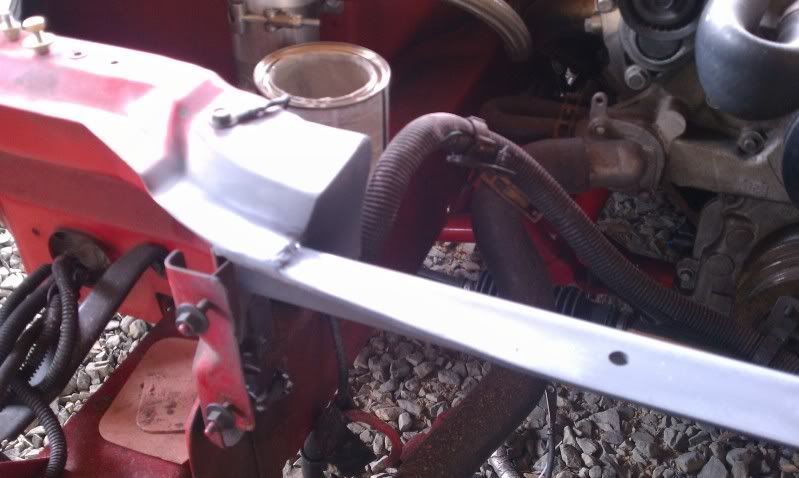
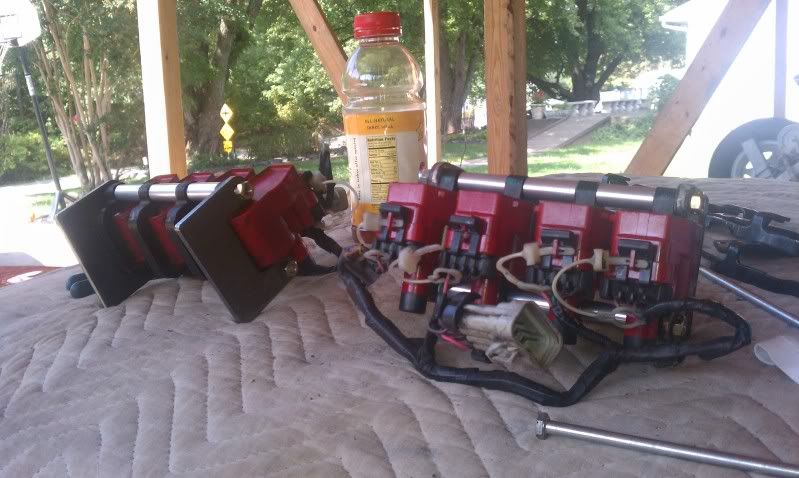
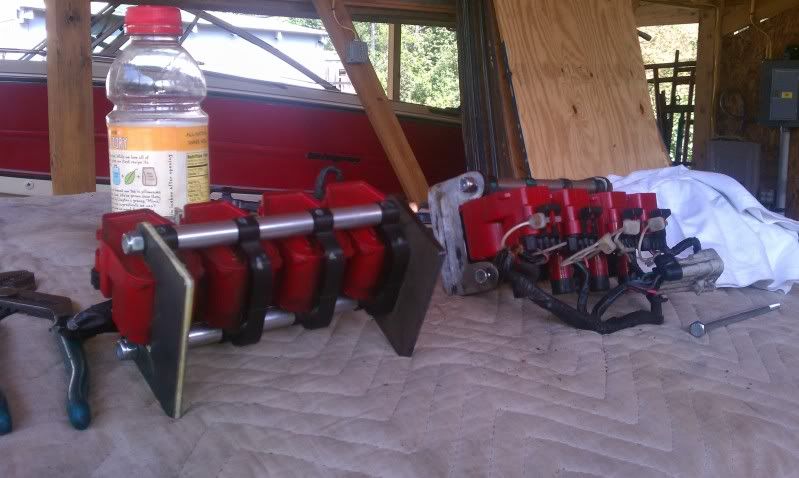
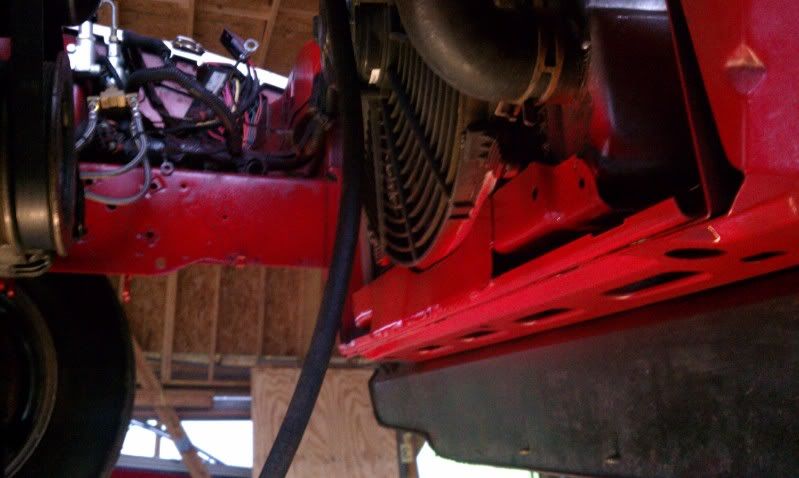
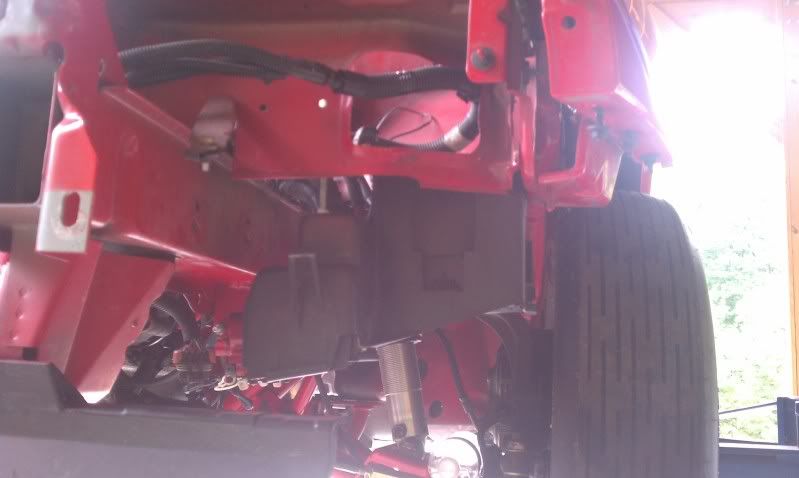
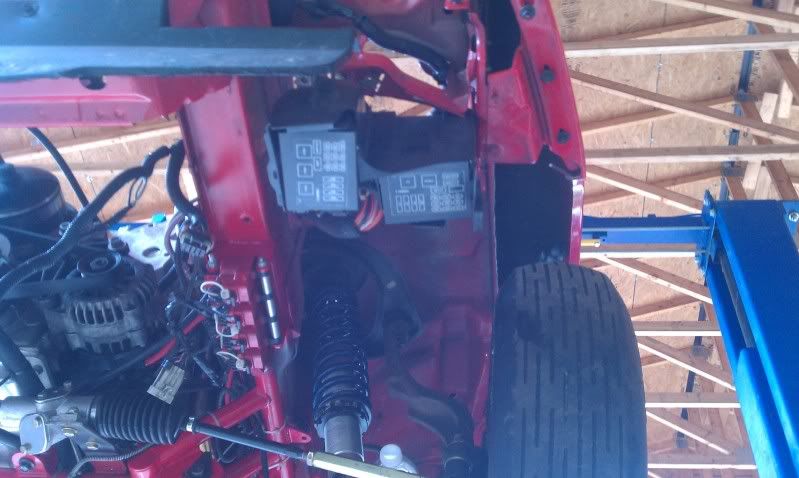
after the radiator was done it was time to move onto the coil relocation since i will be needing to get under the valve covers frequently to adjust valve lash and i sure dont wanna cover up those sexy valve covers. i decided on putting them under the frame and just making my own wires since the cowl is chopped. i started by making some brackets and then welding them into place:
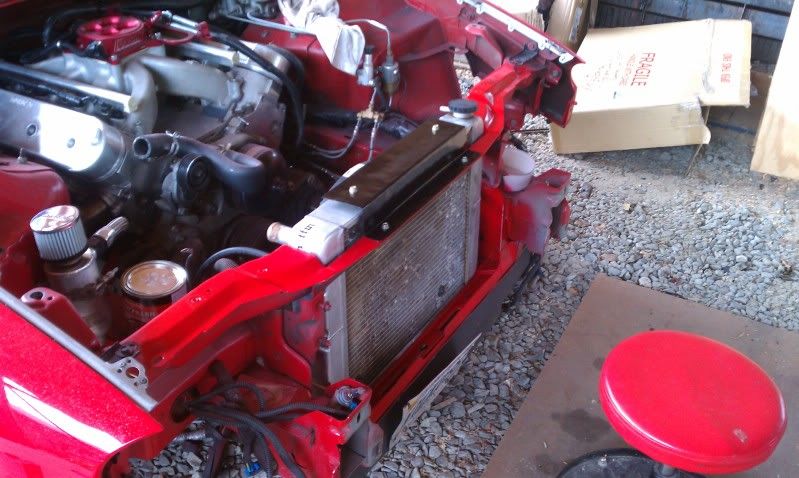
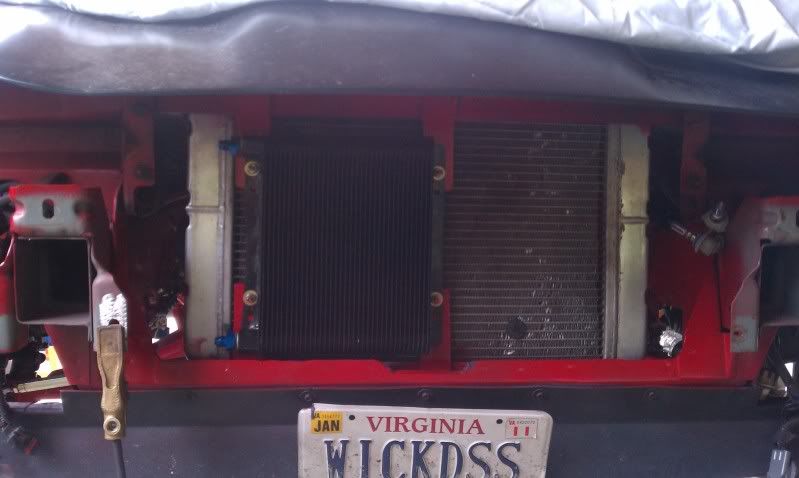
dont mind my great painting skills on the fan here but this is what i fabbed up to support the bottom of the radiator. i completely recycled the metal i cut out of the top and made the bottom out of that material.
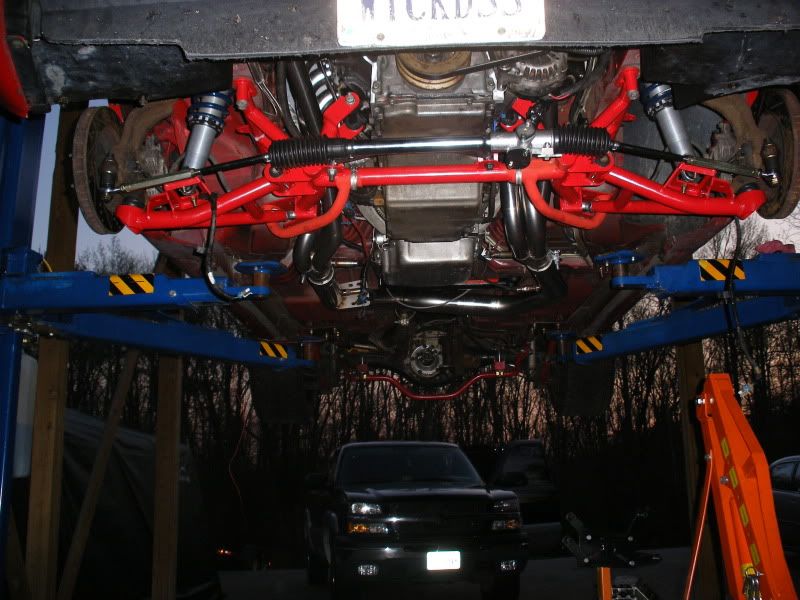
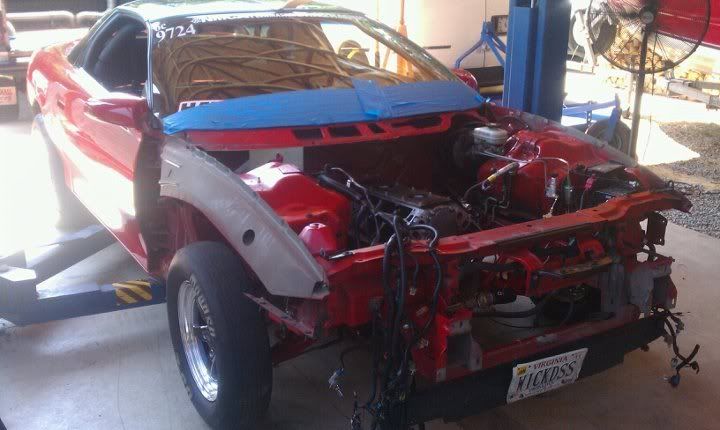
here is how the car is sitting as of now but hopefully within the next few weeks it will be completed for the good fall air at mir.
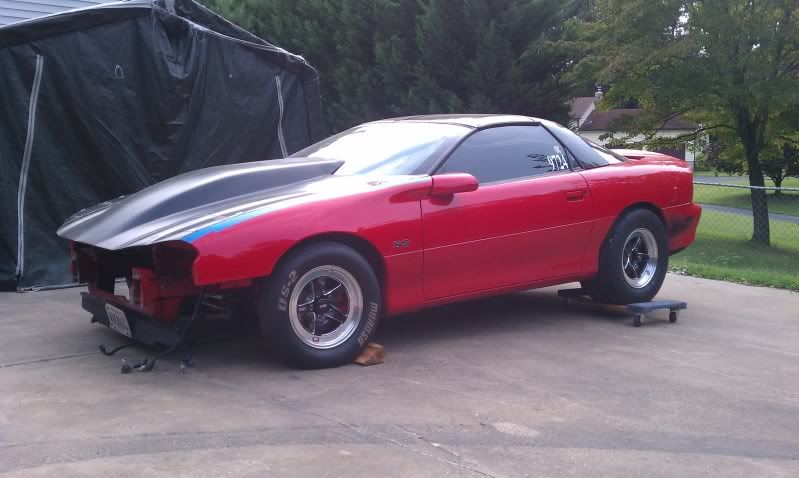
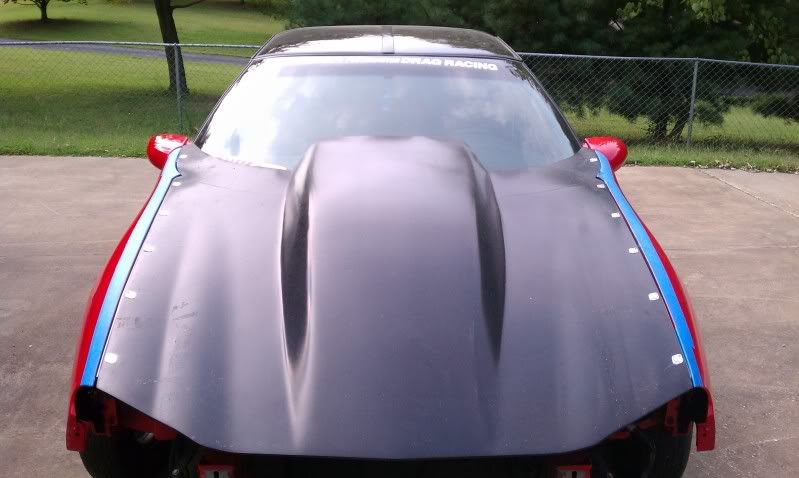
hopefully get some work done this week but its gonna be a little tough as i have to start working midnights but i will update with pics as the progress continues, enjoy.
Iron 6 litre truck block
Lunati crank and rods
Wiseco pistons, 14.5 to 1 compression
ET ls7 4 inch bore heads
PAC solid roller valve springs
Custom crower 1.8 ratio rockers
crower solid roller lifters
cam motion 261/267 740 lift camshaft
double roller adjustable timing chain
katech ported oil pump
cometic head gaskets
ARP 2000 studs thru the entire motor
fast 4150tb
kooks 1 7/8"
so i started tearing the car down again ( which im getting pretty good at, at this point )
drilled out the new flat valley cover and installed a -12an bulkhead fittng to vent the crankcase to a puke can until this winter when i get a vacuum pump:
then it was time to get the motor in its new home:
next i installed the tb and the nasty ls7 rails along with a set of ls9 60# injectors from fic
after discussing with a buddy of mine and wanting to mae everything easy to get to which includes being able to turn this over by hand to do valve adjustments i decided to do a verticle radiator set up:
i am wanting to wire the single spal fan into the stock wiring but am unsure how to merge both connections or if i need to just use one of them. so speak up if you have done this.
after the radiator was done it was time to move onto the coil relocation since i will be needing to get under the valve covers frequently to adjust valve lash and i sure dont wanna cover up those sexy valve covers. i decided on putting them under the frame and just making my own wires since the cowl is chopped. i started by making some brackets and then welding them into place:
dont mind my great painting skills on the fan here but this is what i fabbed up to support the bottom of the radiator. i completely recycled the metal i cut out of the top and made the bottom out of that material.
here is how the car is sitting as of now but hopefully within the next few weeks it will be completed for the good fall air at mir.
hopefully get some work done this week but its gonna be a little tough as i have to start working midnights but i will update with pics as the progress continues, enjoy.
09-22-2011, 10:40 AM
#5
9 Second Club
Thread Starter
iTrader: (46)
Join Date: May 2006
Location: Fredericksburg, VA
Posts: 1,037
Likes: 0
Received 0 Likes
on
0 Posts
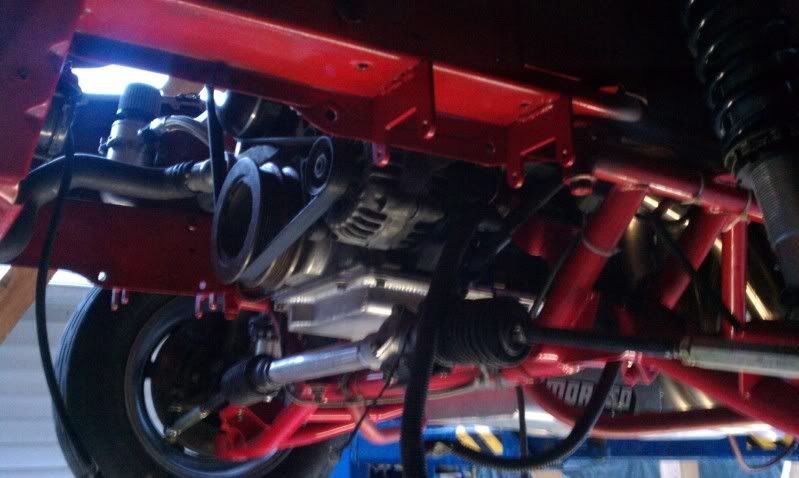
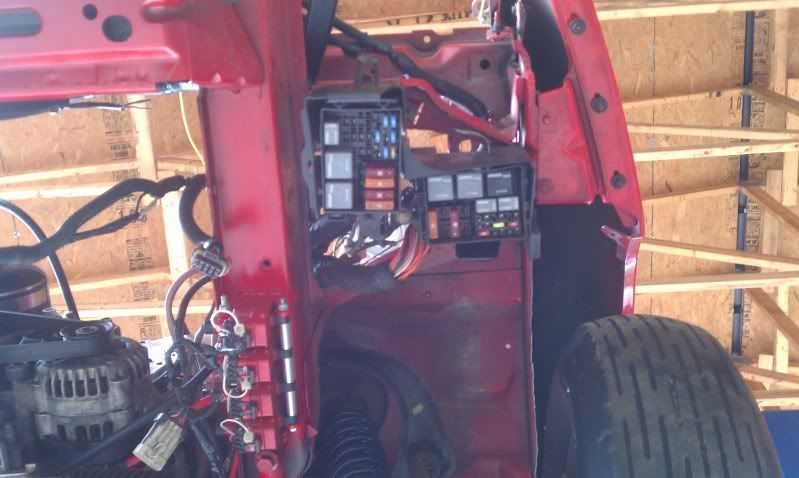
made a little more progress. managed to get the oil filter relocation finished, coils mounted, coil harness extended and radiator overflow finished up.
09-22-2011, 02:00 PM
#6

Looks good buddy. I would have mounted the oili filter so it was strait up and down, mainly so that you can fill the filter with oil when you change it.
Other then that everything looks great, I like what you did with the coil packs, nice and out of the way. Cowl cut looks good too, that should work out fine.
If you haven't put a set of travel limiters on the car yet.. I would.. the added nose weight may not be enough to keep it down, especially when you start spraying it
09-22-2011, 02:36 PM
#7
9 Second Club
Thread Starter
iTrader: (46)
Join Date: May 2006
Location: Fredericksburg, VA
Posts: 1,037
Likes: 0
Received 0 Likes
on
0 Posts
Made a call to madman yesterday for the travel limiters. As far as the oil filter I agree that being horizontal makes no sense but that's how they said it supposed to be mounted. The hoses came with two straight ends and two nineties. Not sure why its designed that way?
Trending Topics
09-23-2011, 01:00 PM
#11
I know, I was feeling it up before it left. JL crushed my foot removing stuff out of the car and I told him I needed some alone time with it before it left. If it's messy, my bad.

I was fingering the intake ports and I got almost all my fingers in there.


Just jokin, this was a cool bullet, wish I had the $$$, and it was local pick up for me.
I was fingering the intake ports and I got almost all my fingers in there.
Just jokin, this was a cool bullet, wish I had the $$$, and it was local pick up for me.
09-25-2011, 06:46 PM
#12
9 Second Club
Thread Starter
iTrader: (46)
Join Date: May 2006
Location: Fredericksburg, VA
Posts: 1,037
Likes: 0
Received 0 Likes
on
0 Posts
I know, I was feeling it up before it left. JL crushed my foot removing stuff out of the car and I told him I needed some alone time with it before it left. If it's messy, my bad.
I was fingering the intake ports and I got almost all my fingers in there.
Just jokin, this was a cool bullet, wish I had the $$$, and it was local pick up for me.
I was fingering the intake ports and I got almost all my fingers in there.
Just jokin, this was a cool bullet, wish I had the $$$, and it was local pick up for me.
 09-27-2011, 12:38 PM
#14
9 Second Club
Thread Starter
iTrader: (46)
Join Date: May 2006
Location: Fredericksburg, VA
Posts: 1,037
Likes: 0
Received 0 Likes
on
0 Posts
got the madman travel limiters in today.
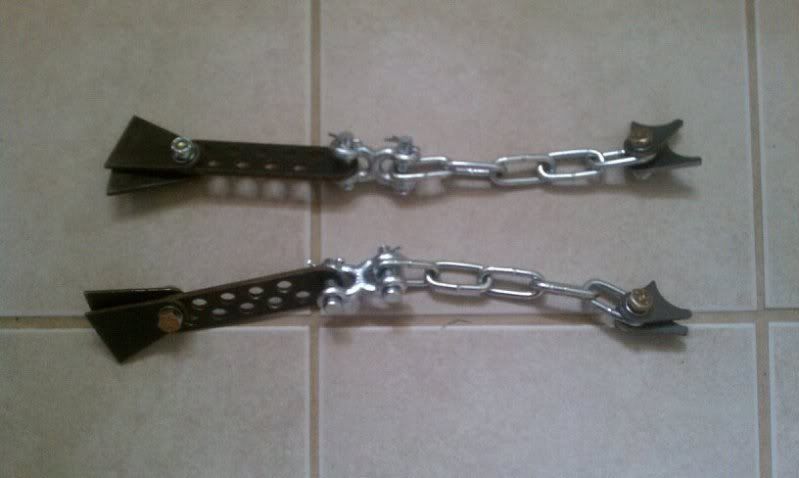
can someone gimme some pointers on where to start as far as settings on these? also still need some info on wiring a single fan into the factory harness.
can someone gimme some pointers on where to start as far as settings on these? also still need some info on wiring a single fan into the factory harness.
09-27-2011, 03:51 PM
#16
The limiters... are pretty easy.
Try to put the tabs on the a arm and on the body so they're in line with each other. The overall length of the chain will depend on how far out on the a arm you put the limiter. Farther out on the arm you go, the finer the adjustment will be.. that being said, I'd try to put them as far out as you can towards the wheel
As a starting point.. 2.5 to 3 inches of downtravel from your standard ride height would probably be a good starting point. The faster you go/more power you make you will tighten that up more.
To set them uo once you have everything welded.. measure the fender gap (to the ground) with the tires on... start jacking the car up.. keep measuring the fender gap until you get to the 2.5 to 3 inch mark, then just set the limiter into the hole it has to be in to get you there. If need be, add or remove a link of chain.
Run both sides the same for downtravel, if the car leaves and is blowing the tires off at the hit, try giving the car another "hole" on the tabs worth of increased travel... if that doesn't stop the issue you need to make a shock, spring, tire or weight bias adjustment.
This is how I was taught to deal with them. There's plenty of guys on here that have gone faster then I have so don't just take my method into account. It worked for me... chances are you're going to go faster with that motor then my sled went when it was together.
09-28-2011, 02:00 AM
#18
9 Second Club
Thread Starter
iTrader: (46)
Join Date: May 2006
Location: Fredericksburg, VA
Posts: 1,037
Likes: 0
Received 0 Likes
on
0 Posts
it will see very little street time if any. i dont think after this build i could afford the fuel to drive it around on the street let alone the pile of tickets i would be receiving.
