When you click on links to various merchants on this site and make a purchase, this can result in this site earning a commission. Affiliate programs and affiliations include, but are not limited to, the eBay Partner Network.
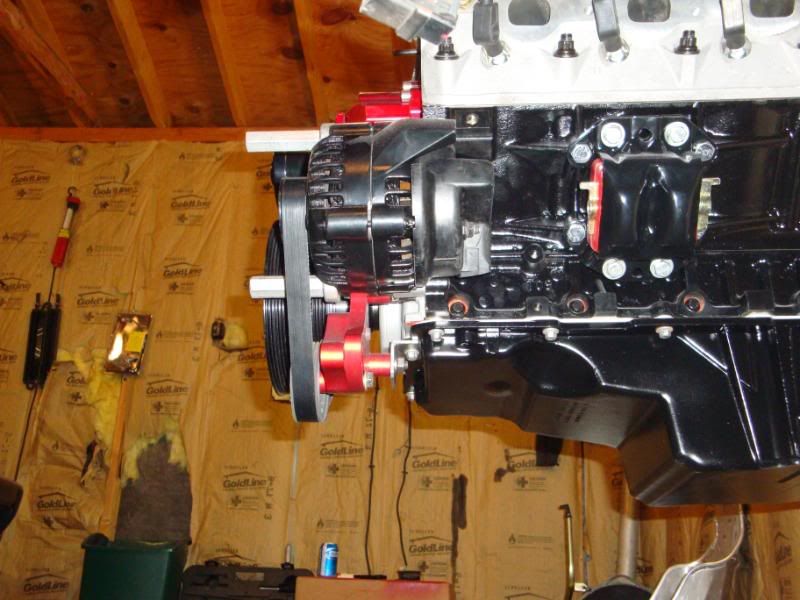
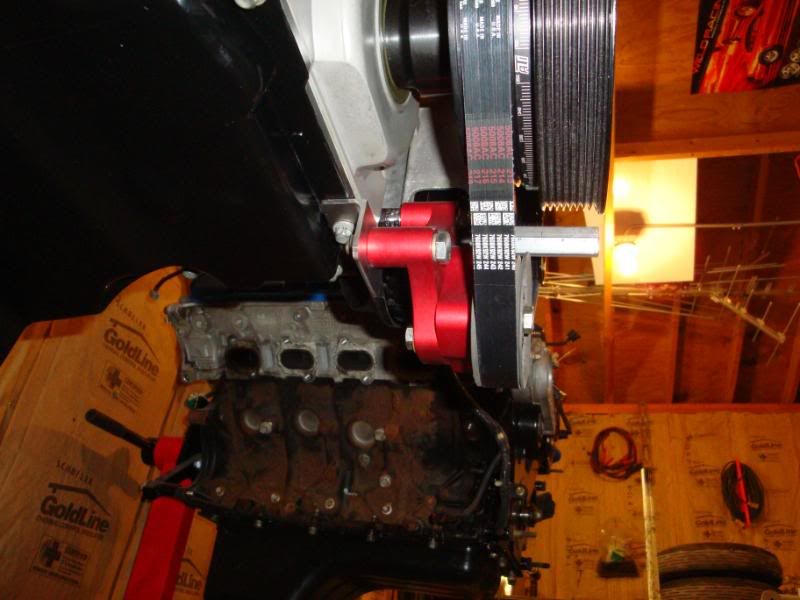
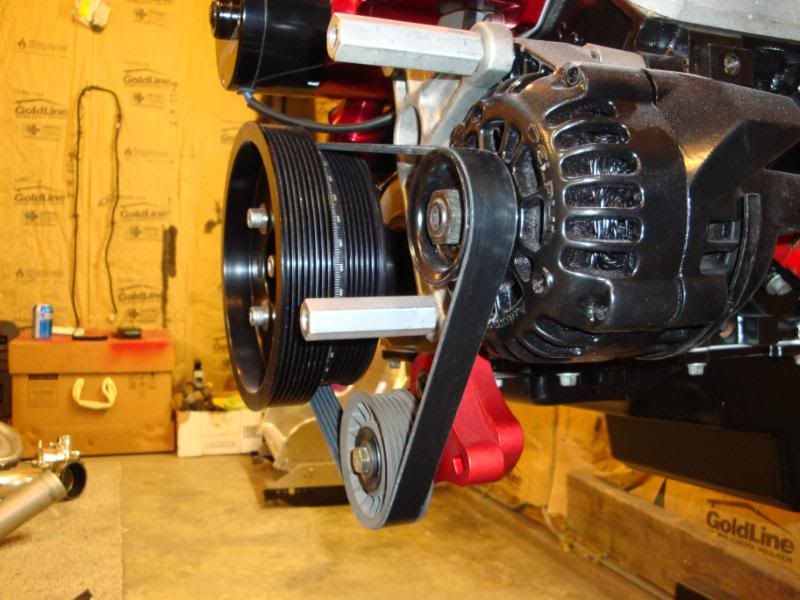
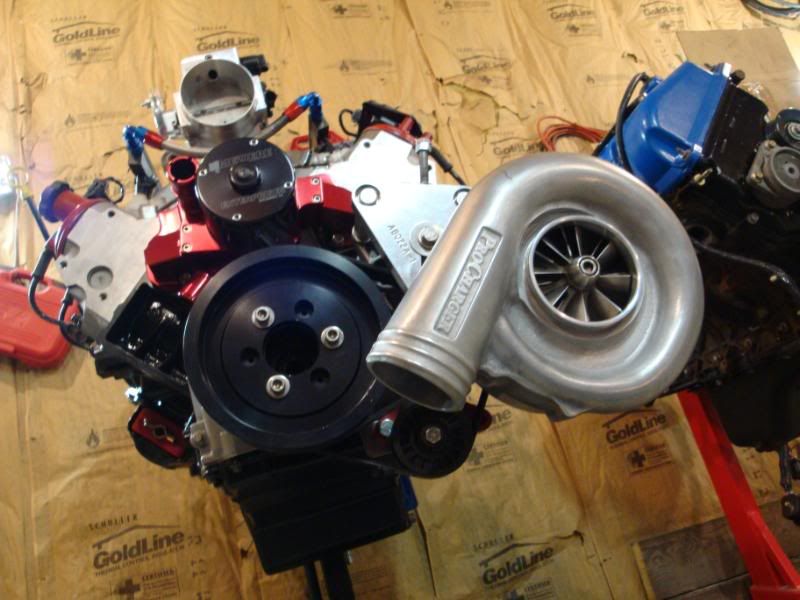
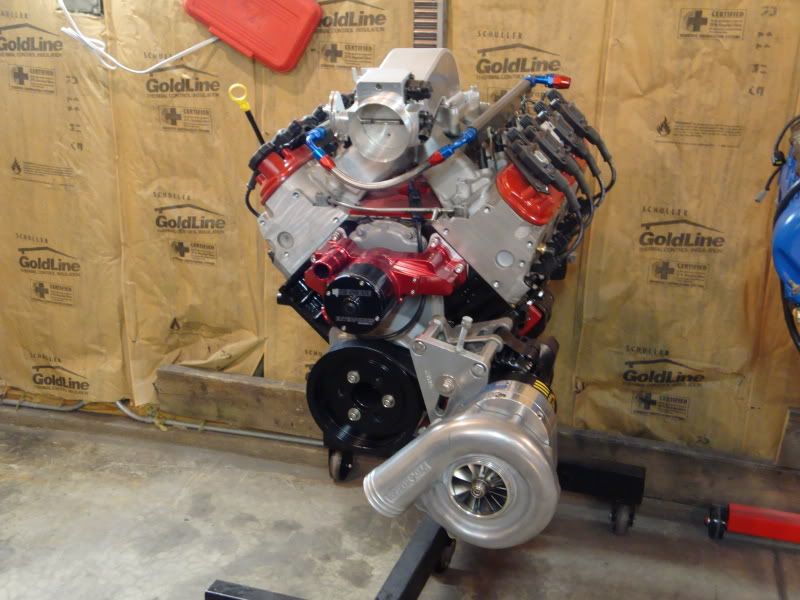
Well i finally figured out how to get this set up. I wanted to run the race EWP so since it doesnt have the pully on it, it made it somewhat aggervating. So thanks for Bob@EPP for posting up pics of how his was mounted... I got a FRE billet tensioner and flipped the pully bracket to the "back side" so the stand-offs were facing away from the pully (made it able to use a lot smaller spacer to space it away from the motor). The top bolt is the one cover bolt with a spacer. I mounted that up where it needed to be then got some angle iron and that piece mounts to one of the pan bolts then to the bottom of the tensioner. It is rock SOLID!! I also made the bottom bracket pretty wide so it disperses any type of flex on the pan itsself and not sooo much on the bolt. Bolted it up, got a 34 1/2 6-rib belt from O'Rielys and its perfect!! Total cost of $130 for the tensioner, steel and belt.
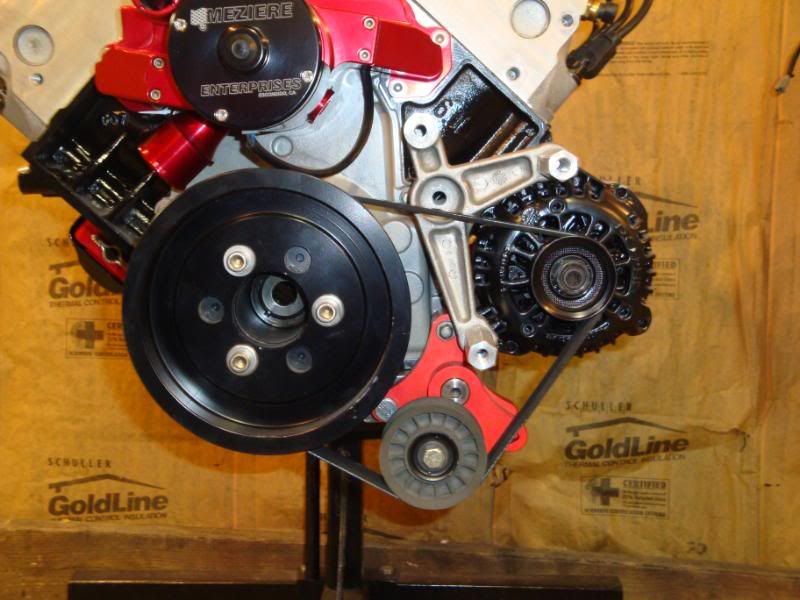
Then afterwards i did a little custom mod to the procharger mounting spacers etc. Well now since you do not need to use the idler pully on the alt. bracket, that spacer is now too short to make up the difference. Even if you put another 3/4in spacer in there its not very pretty looking since youll have the low spot where that shoulder is, looks like you ghetto'ed something there. So i took off the alt. braclet and cut off the shoulder the brearing sits on, i used the other spacer that i didnt use from my kit, ground it down so it fit in there then drilled out the threads so the bolt slides through. It looks like nothing was ever there and looks REAL clean! You can make it out in the last pics...
Last edited by Taubr Unit; 10-25-2009 at 11:31 AM.
Going to bump this for the new crowd and update it with some feedback.
Since doing this iv got a few thousand street miles, long highway trips and 15+ trips down the track with 0 issues at all. Never threw a belt or slipped once and been 150 mph in the quarter so i say its a very proven way to run minimal accessories if need-be.
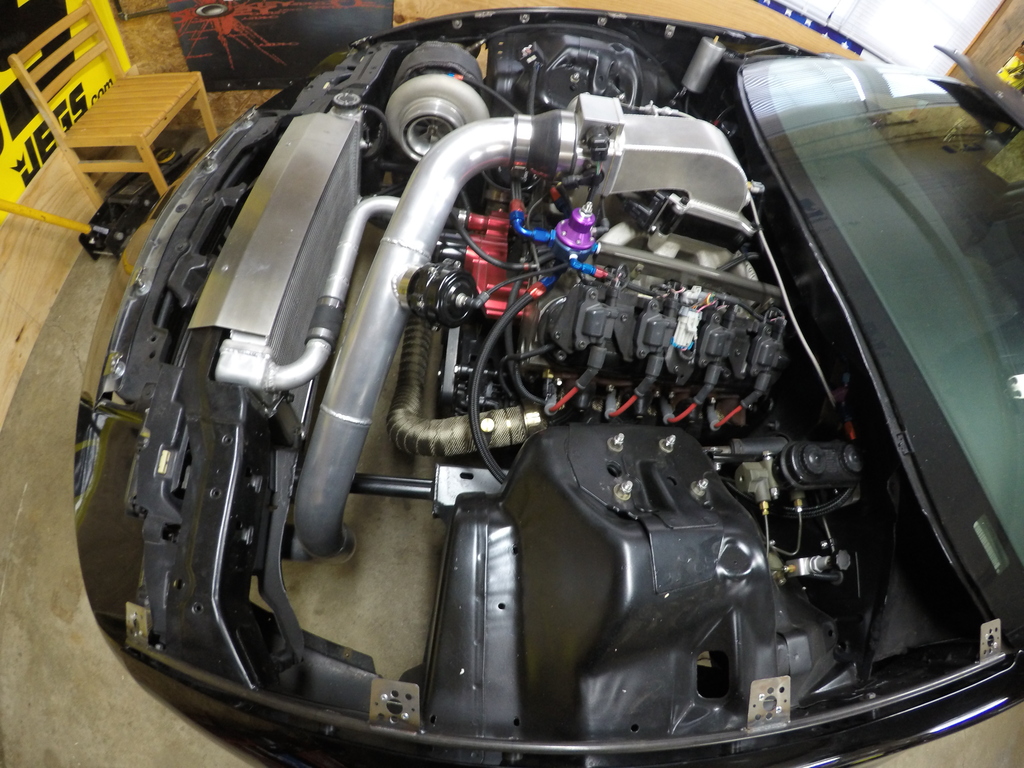
I plan on using this setup when I get mine back together here. I have a vacuum pump which runs off the tensioner pulley so I'll need to figure out how to still attach that but shouldn't be a problem. You can see the vacuum pump hooked up to the tensioner in the picture below. I may have to move the pump but we'll see.
 10-25-2009, 11:24 AM