some pics of my progress. D1SC, Big Red, FMIC...ect.**More pics/vids Added!!**
 09-28-2011, 07:29 PM
#1
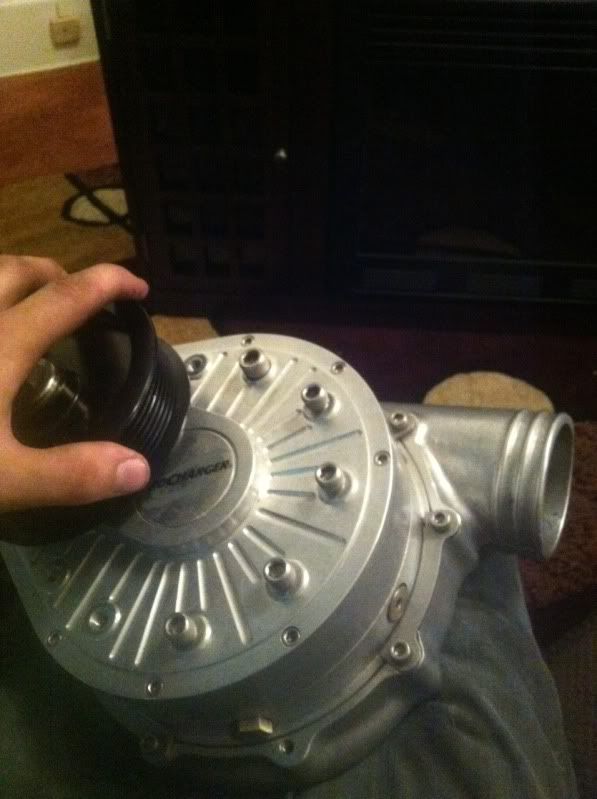
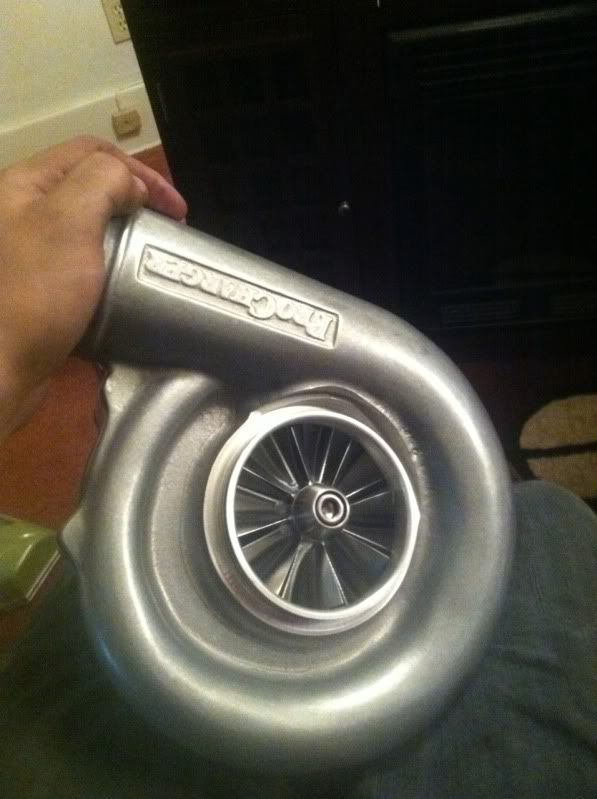
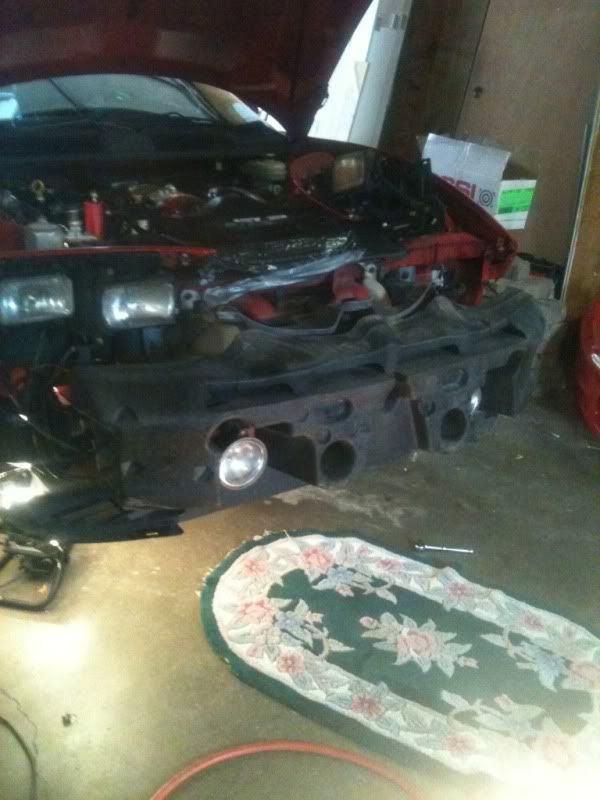
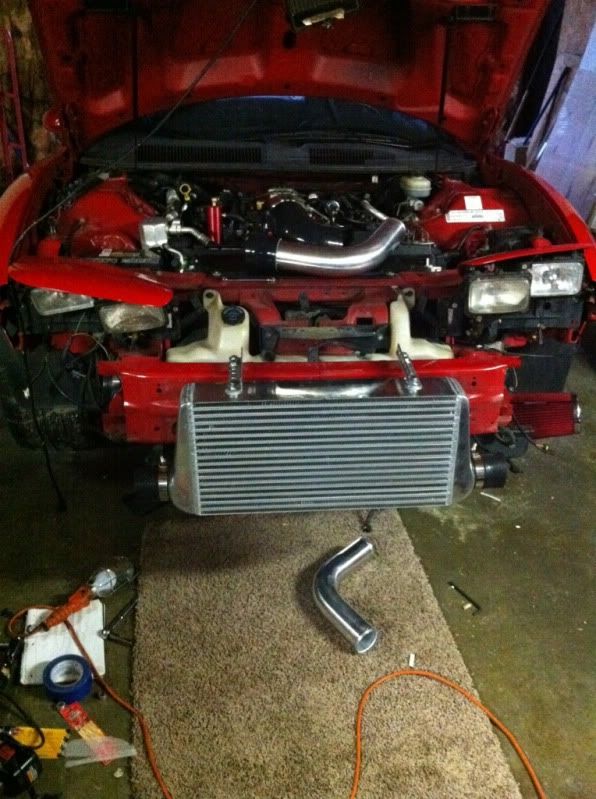
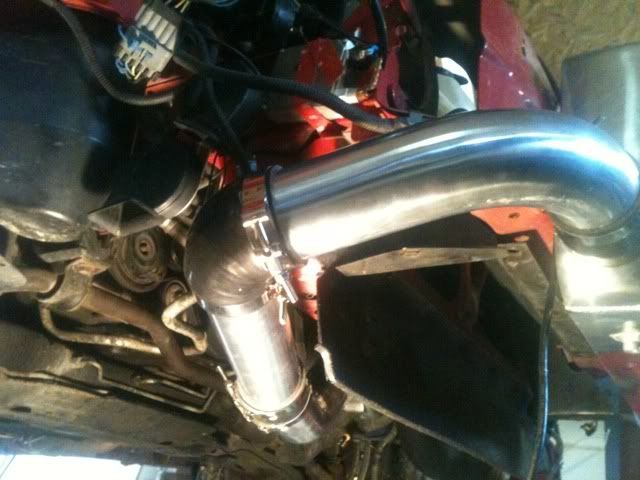
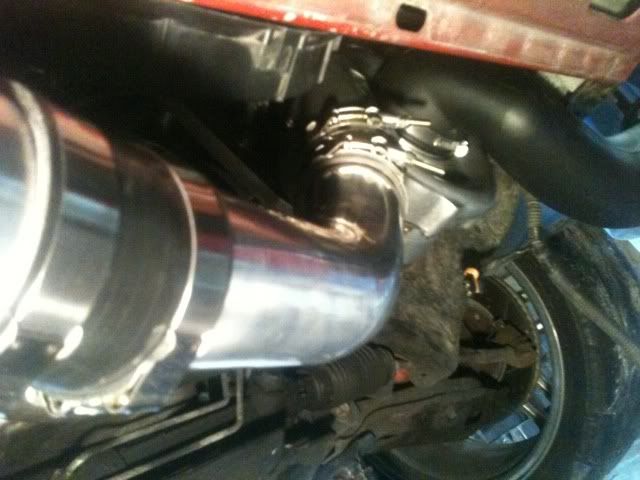
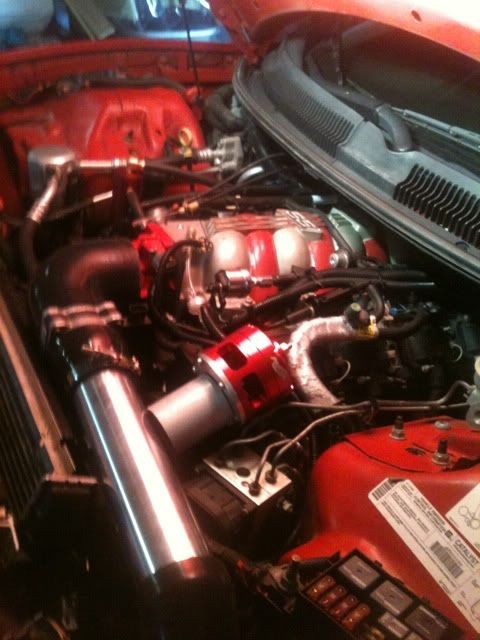
so ive been cracking down hard on this car the past couple of weeks. got my clutch in 2 weeks ago. (Diamond Stage 2, Thanks jason @ TDP) and started my install of my procharger this past weekend on saturday and this is where im at.
enjoy? lol


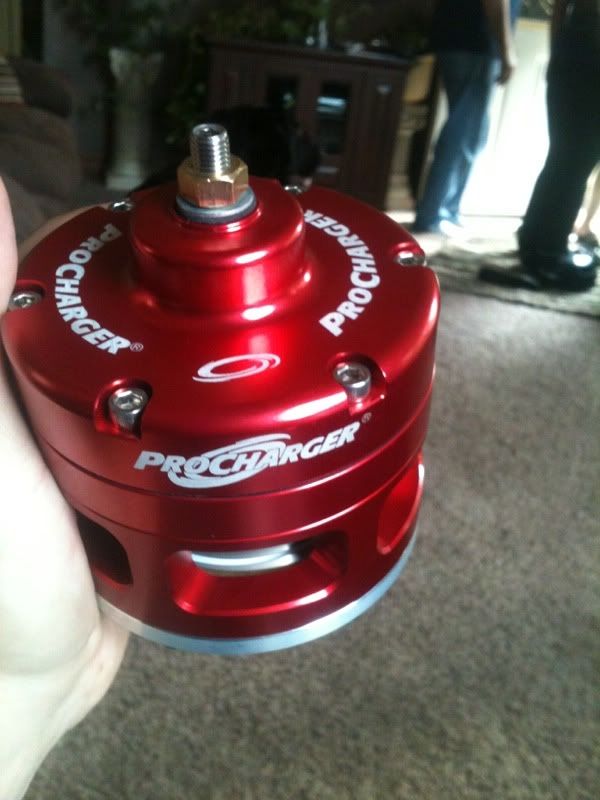
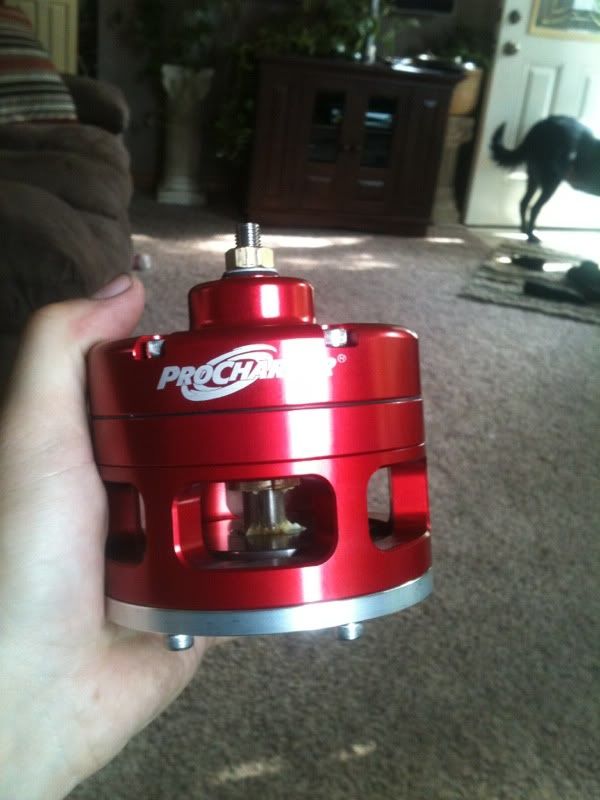
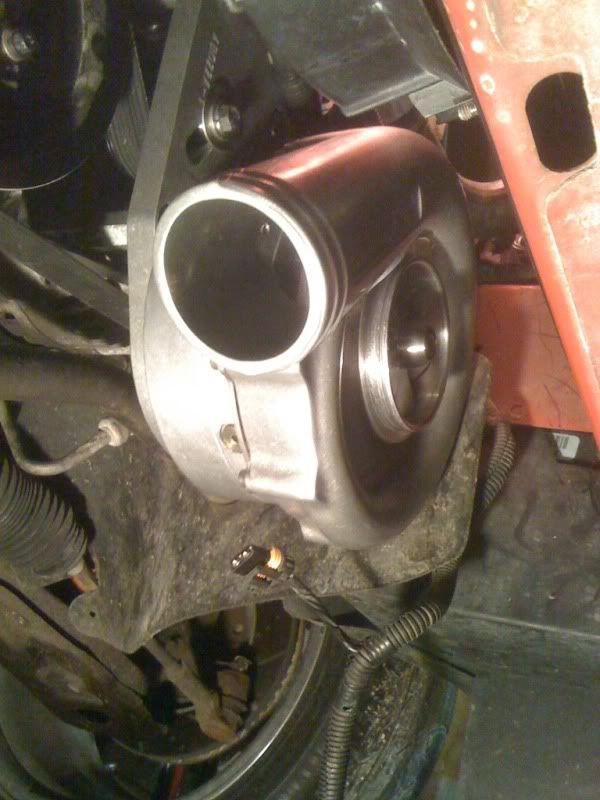
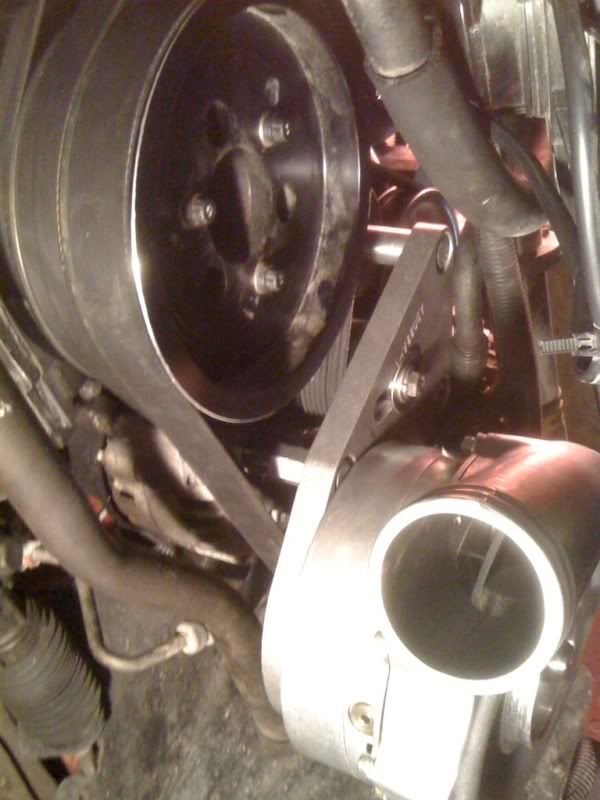
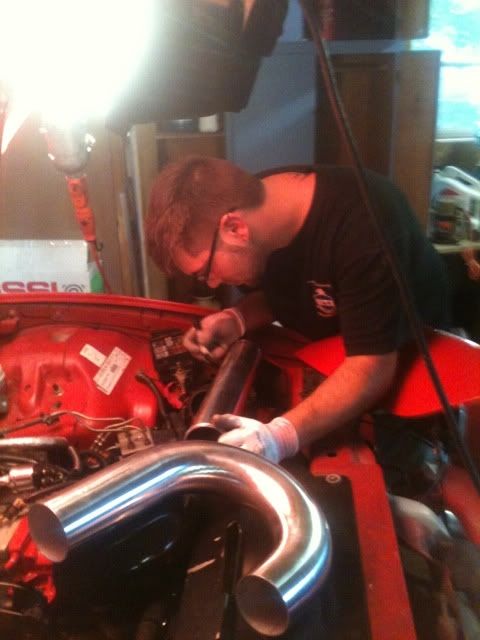
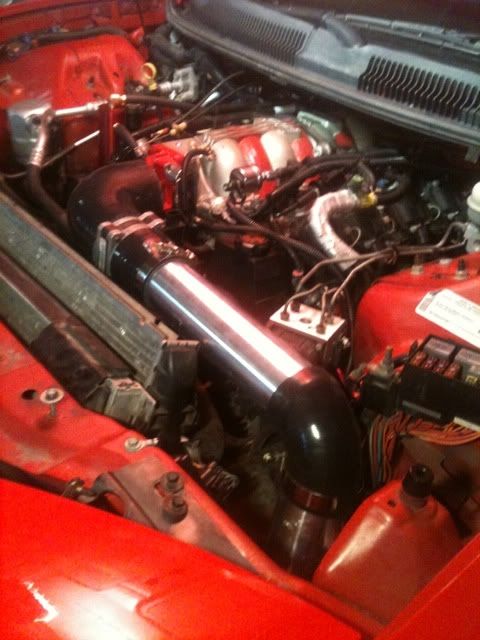
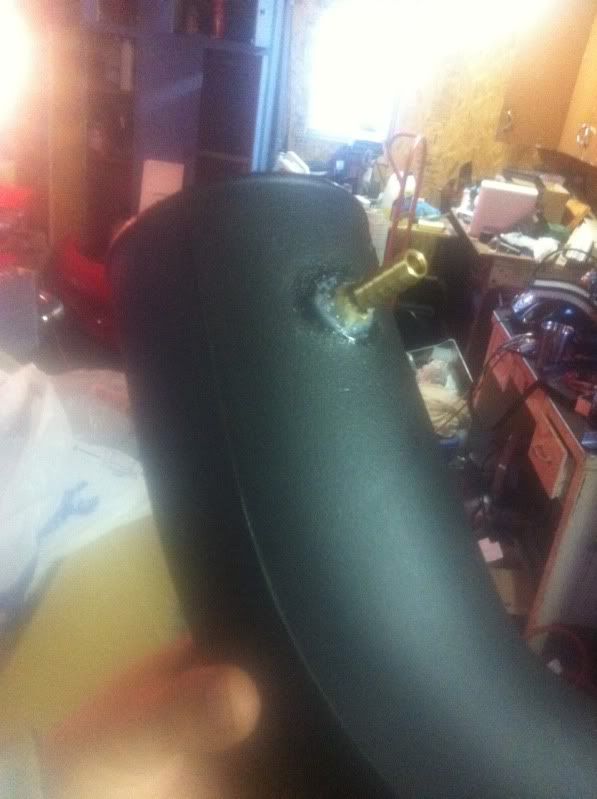
Mock up for BOV...
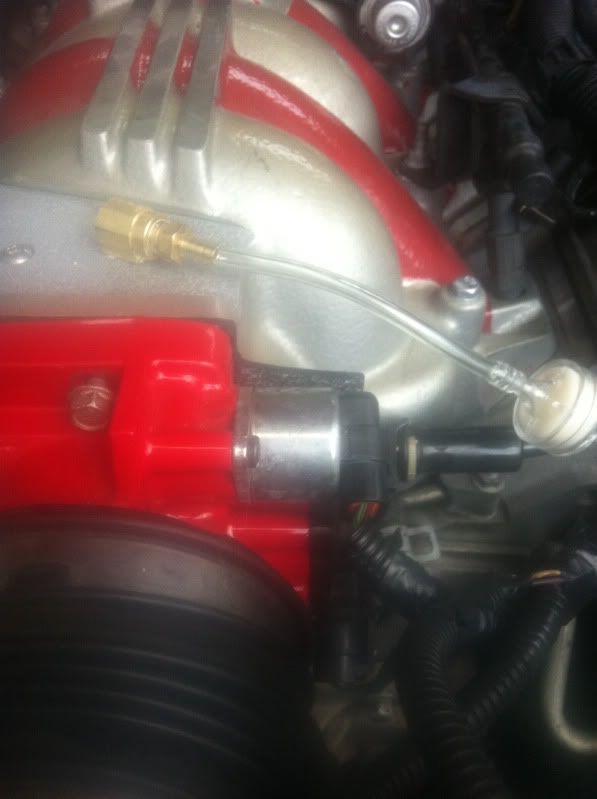
Vacuum for catch can.
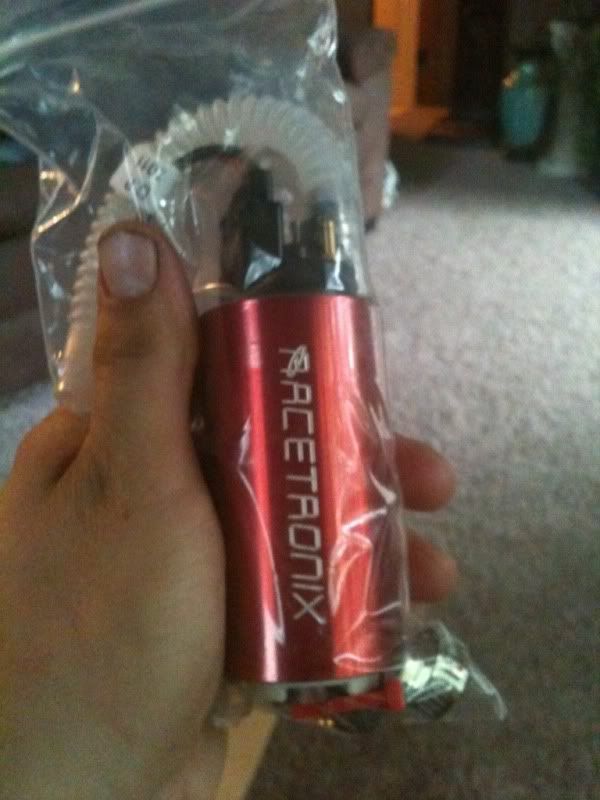
New fuel pump waiting to go in...
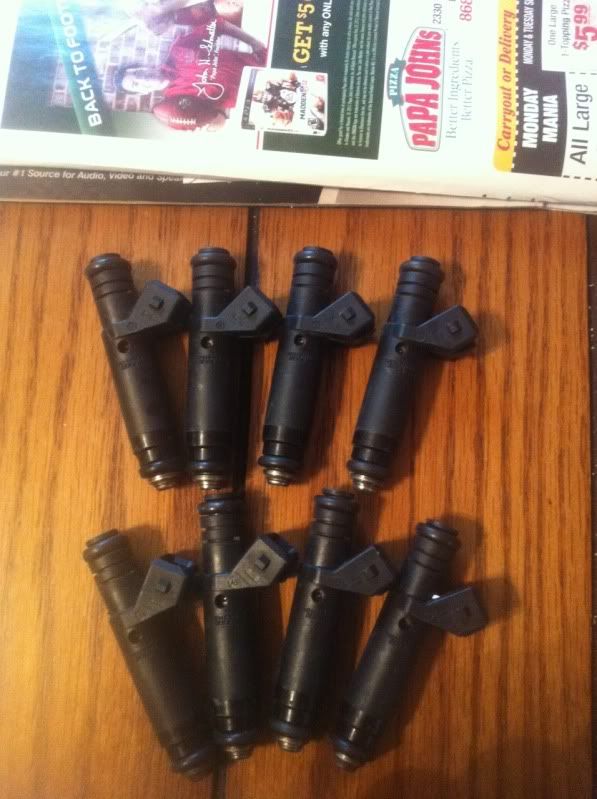
mototron 60#'ers
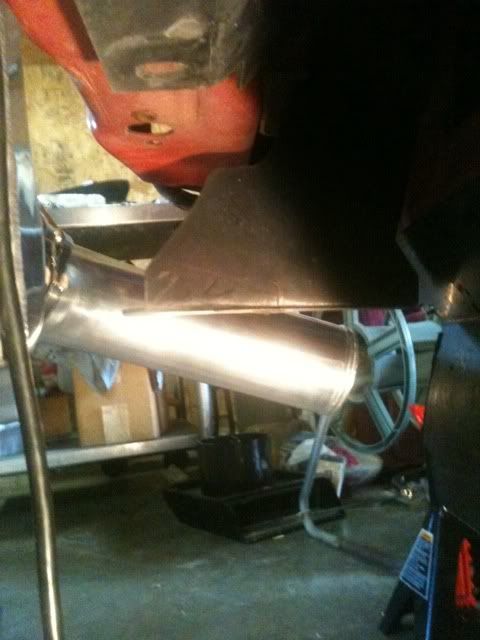
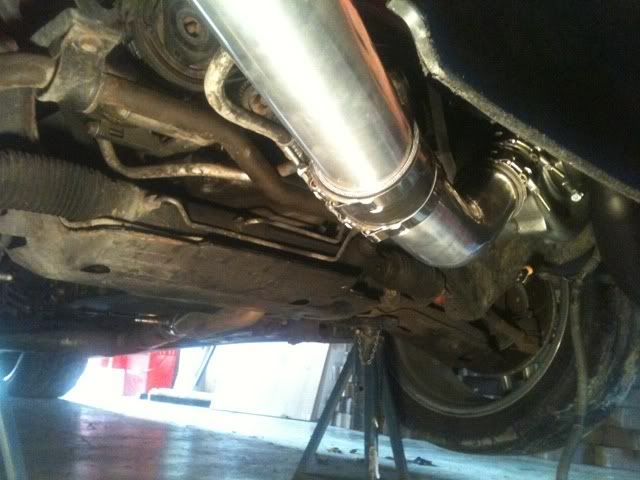
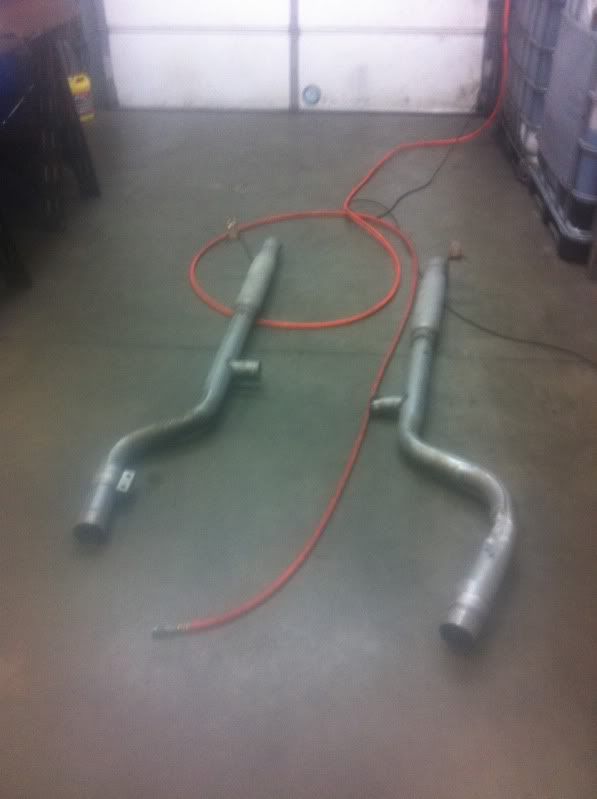
exhaust removed for clutch install...
my button and led for my wideband..

innovate LC1
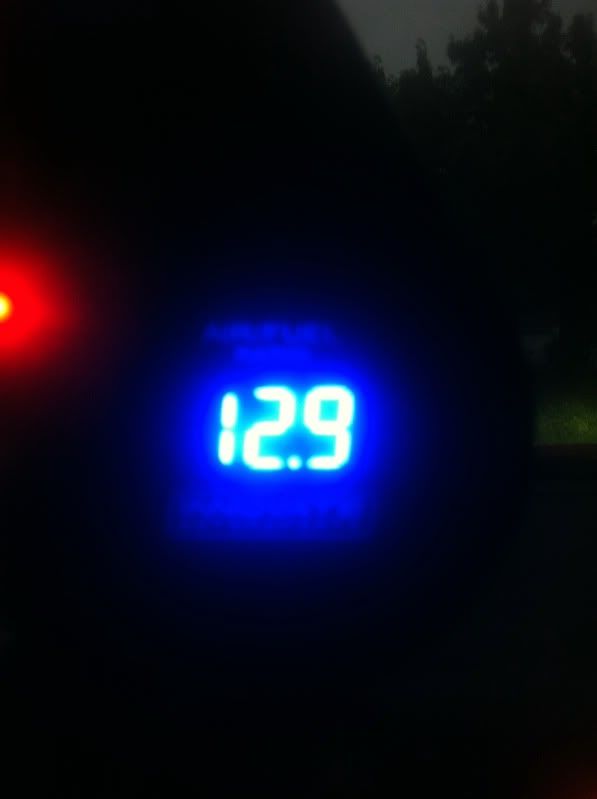
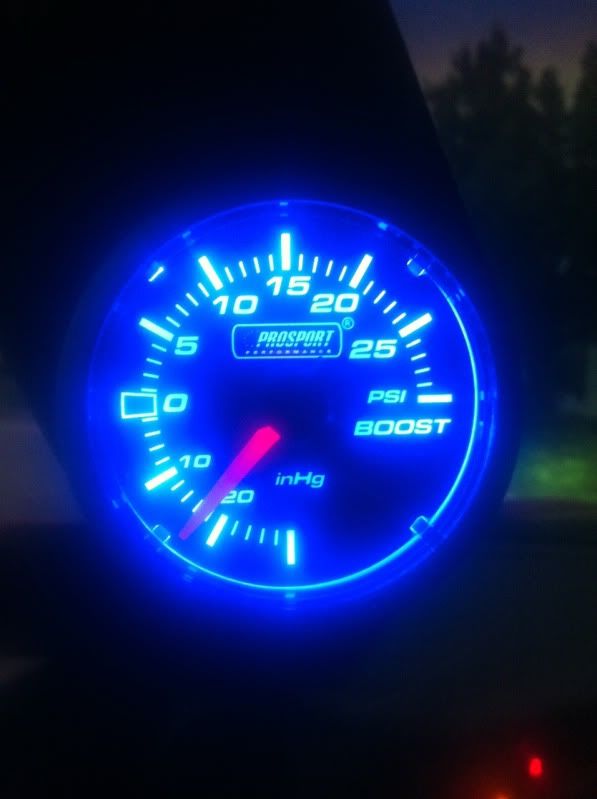
prosport boost/vacuum gauge
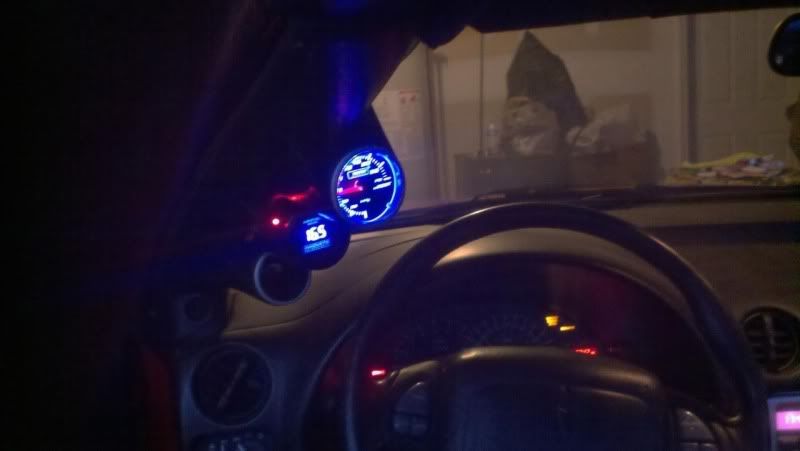
boost/wideband/fuelpressure
was waiting on a part for the fuel pressure to work in this pic.
still have some work to do. i still ahve to wire my radiator fan, install the fuel pump, run a vacuum line for the BOV... i have the pipe and flange being welded right now. Gotta purchase a new MAF since mine is ****. and still gotta pick up a 2-bar map sensor and some oil. but its coming together. im hoping to get it tuned next weekend...
thanks for looking.
enjoy? lol
Mock up for BOV...
Vacuum for catch can.
New fuel pump waiting to go in...
mototron 60#'ers
exhaust removed for clutch install...
my button and led for my wideband..
innovate LC1
prosport boost/vacuum gauge
boost/wideband/fuelpressure
was waiting on a part for the fuel pressure to work in this pic.
still have some work to do. i still ahve to wire my radiator fan, install the fuel pump, run a vacuum line for the BOV... i have the pipe and flange being welded right now. Gotta purchase a new MAF since mine is ****. and still gotta pick up a 2-bar map sensor and some oil. but its coming together. im hoping to get it tuned next weekend...
thanks for looking.
Last edited by allout06; 10-04-2011 at 07:21 PM.

 09-29-2011, 08:05 AM
#7
TECH Addict
iTrader: (11)
Join Date: Jan 2003
Location: Minnesota Corn Fields
Posts: 2,451
Likes: 0
Received 9 Likes
on
8 Posts

I would look at placing the BOV between the blower and the intercooler. Placing it down below will clean up the engine bay (if you care about that) and there is no sense in cooling the air if all you are going to do is then vent it to atmosphere.
Trending Topics
09-29-2011, 08:49 AM
#8

Thanks for the pics. I will be building a kit like this soon so this really helps me out. I have a few questions i hope you don't mind answering.
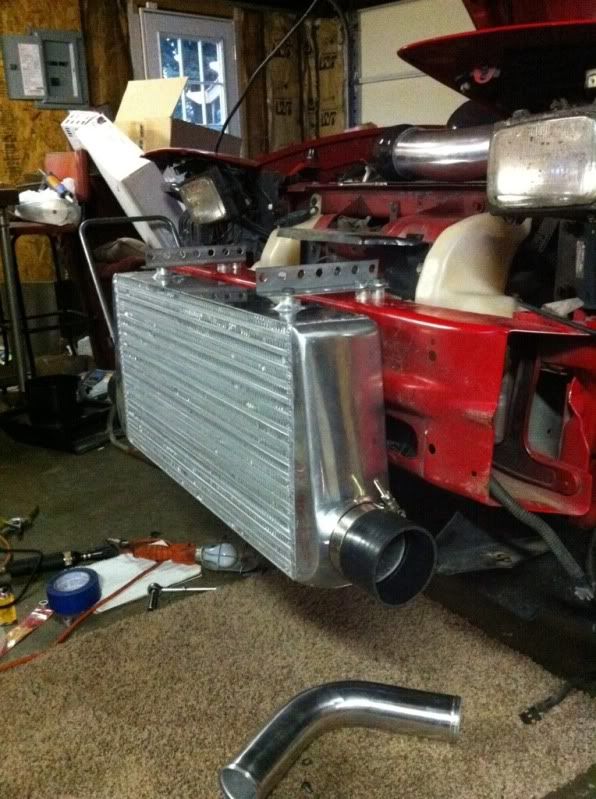
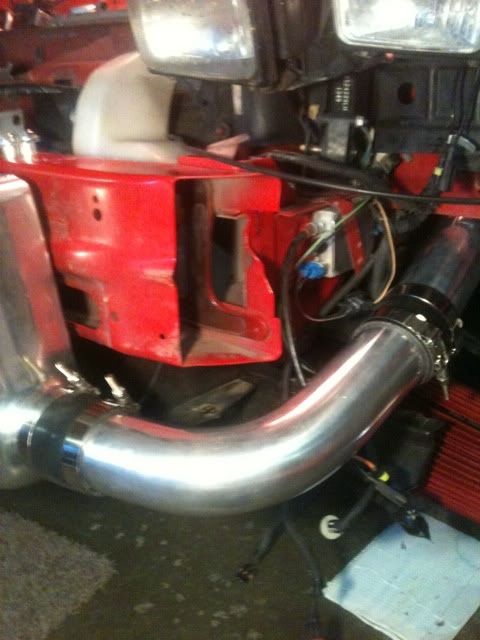
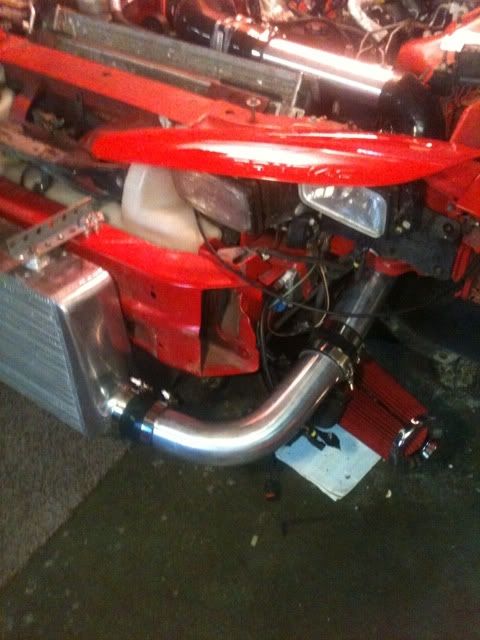
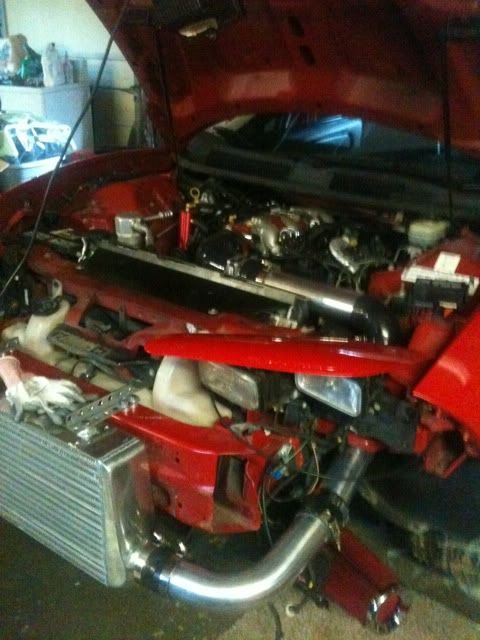
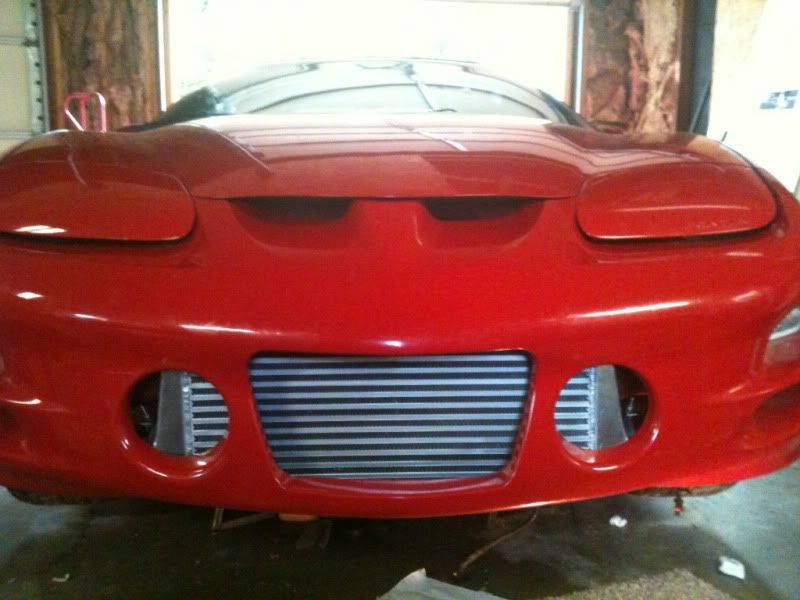
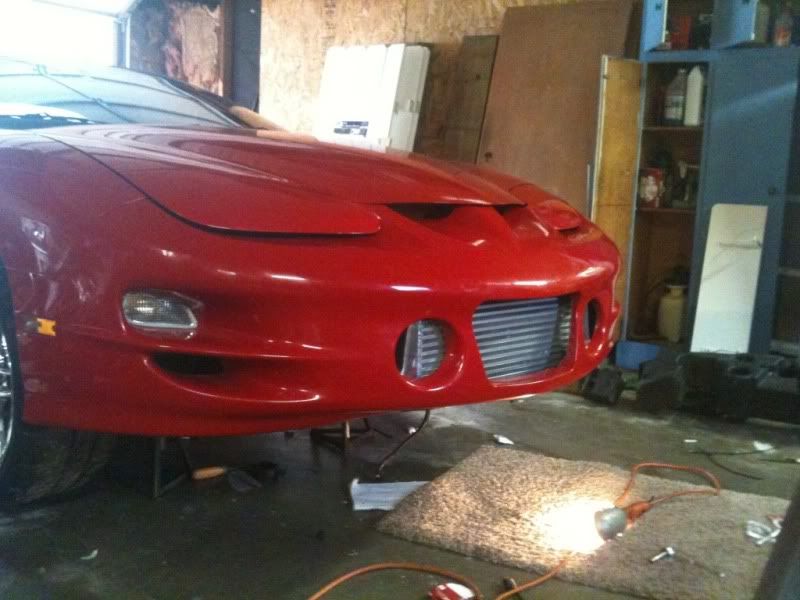
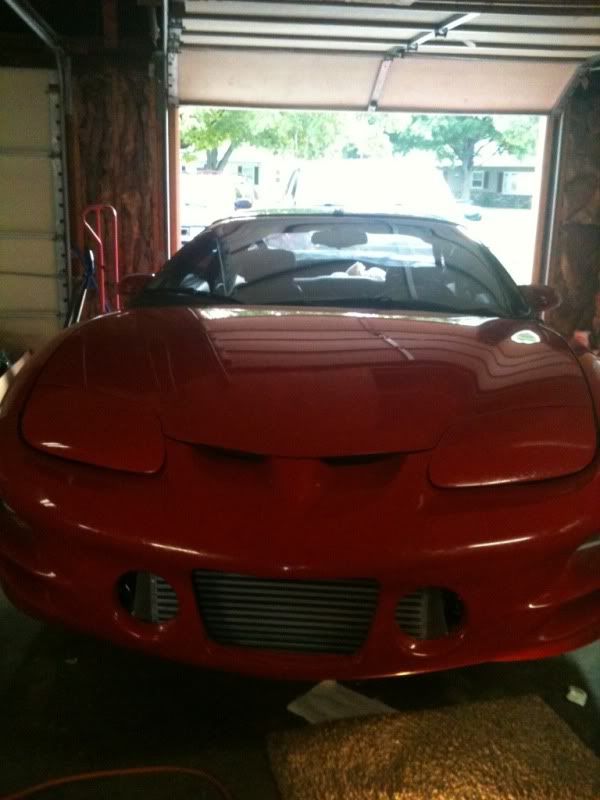
Is that the cxracing 31x12x4 intercooler with 3"in/outlets? (curious cause that is what i'll be using) Is that the pipe kit that comes with the intercooler?
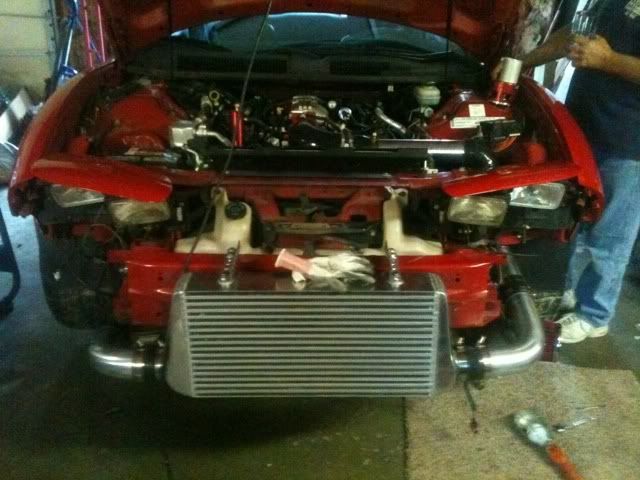
I know i have seen others with fmic only use the top two bolts to hold the intercooler, is that all you really need? just doesn't seem like much holding it in place. I guess the pipes will keep it from moving as well. It seems like some of the fmic builds i have seen they are actually cutting out that center piece where your intercooler supports are bolted to, does anyone know why they do this? Is it to increase air flow?
Since you have built this yourself, do you think you could use a longer intercooler? I was wondering if i could fit a longer intercooler in there as i have a camaro, and was hoping the core part of the intercooler would be long enough to spread edge to edge on the bumper opening. This way i wouldn't have to cut out the center section of my bumper.
Is that the cxracing 31x12x4 intercooler with 3"in/outlets? (curious cause that is what i'll be using) Is that the pipe kit that comes with the intercooler?
I know i have seen others with fmic only use the top two bolts to hold the intercooler, is that all you really need? just doesn't seem like much holding it in place. I guess the pipes will keep it from moving as well. It seems like some of the fmic builds i have seen they are actually cutting out that center piece where your intercooler supports are bolted to, does anyone know why they do this? Is it to increase air flow?
Since you have built this yourself, do you think you could use a longer intercooler? I was wondering if i could fit a longer intercooler in there as i have a camaro, and was hoping the core part of the intercooler would be long enough to spread edge to edge on the bumper opening. This way i wouldn't have to cut out the center section of my bumper.
Last edited by gpr; 09-29-2011 at 09:16 AM.
09-29-2011, 12:05 PM
#9
Thanks for the pics. I will be building a kit like this soon so this really helps me out. I have a few questions i hope you don't mind answering.
Is that the cxracing 31x12x4 intercooler with 3"in/outlets? (curious cause that is what i'll be using) Is that the pipe kit that comes with the intercooler?
I know i have seen others with fmic only use the top two bolts to hold the intercooler, is that all you really need? just doesn't seem like much holding it in place. I guess the pipes will keep it from moving as well. It seems like some of the fmic builds i have seen they are actually cutting out that center piece where your intercooler supports are bolted to, does anyone know why they do this? Is it to increase air flow?
Since you have built this yourself, do you think you could use a longer intercooler? I was wondering if i could fit a longer intercooler in there as i have a camaro, and was hoping the core part of the intercooler would be long enough to spread edge to edge on the bumper opening. This way i wouldn't have to cut out the center section of my bumper.
09-29-2011, 12:54 PM
#10
09-29-2011, 03:13 PM
#11
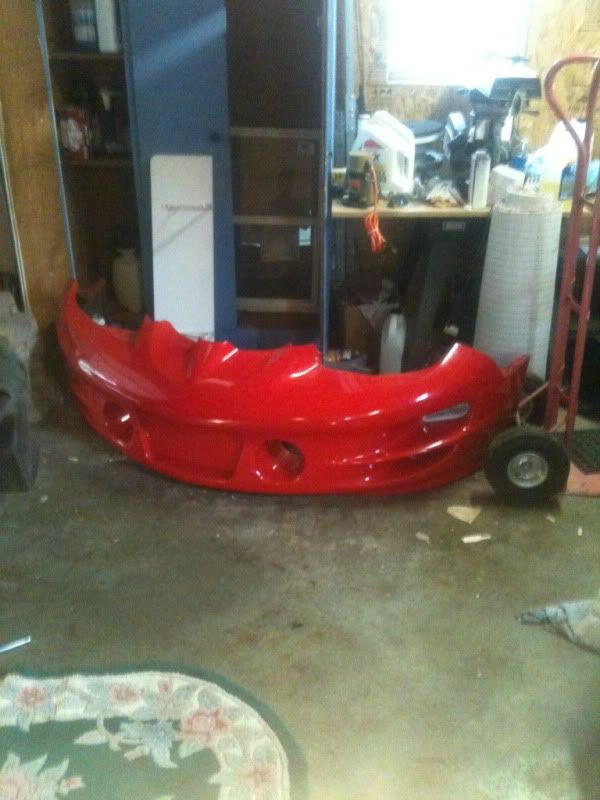
On my TA I had to trim the foglight buckets alot. And I had to curbing the license plate area obviously. I had to trim a little on the under side to the right so my bumper wouldn't hit the charge pipe. I'm not sure what the back side of the camaros bumper looks like but you'll have to cut an opening so air can get to the IC.
 09-30-2011, 07:17 AM
#20
Nice looking combination, you did a good job with it! Bob
__________________
ATI ProCharger and Moser Sales 260 672-2076
PM's disabled, please e-mail me
E-mail: brutespeed@gmail.comob@brutespeed.com
https://brutespeed.com/ Link to website

ATI ProCharger and Moser Sales 260 672-2076
PM's disabled, please e-mail me
E-mail: brutespeed@gmail.comob@brutespeed.com
https://brutespeed.com/ Link to website