LQ4 Magnum T72 IROC build. New Track Times & Video Added!
 12-09-2011, 12:08 AM
#21
9 Second Club
Thread Starter
iTrader: (10)
Join Date: Oct 2008
Location: orion, IL
Posts: 173
Likes: 0
Received 0 Likes
on
0 Posts
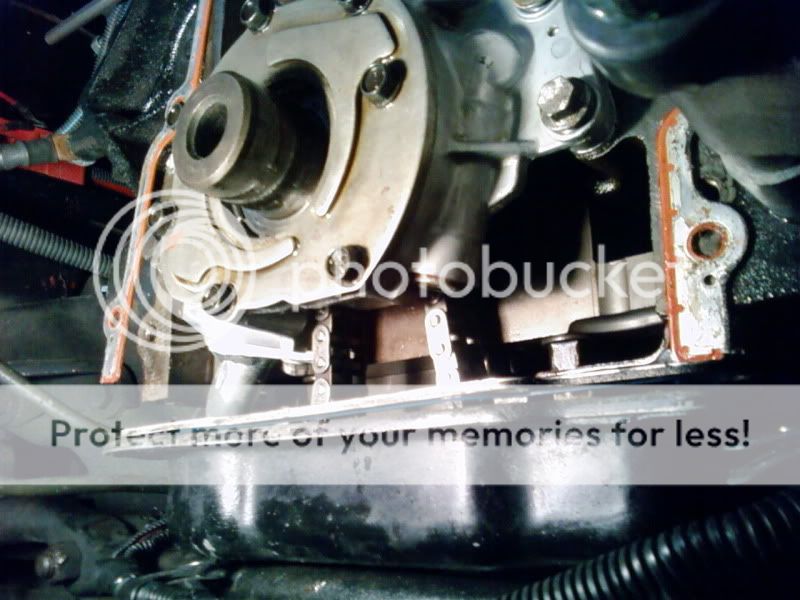
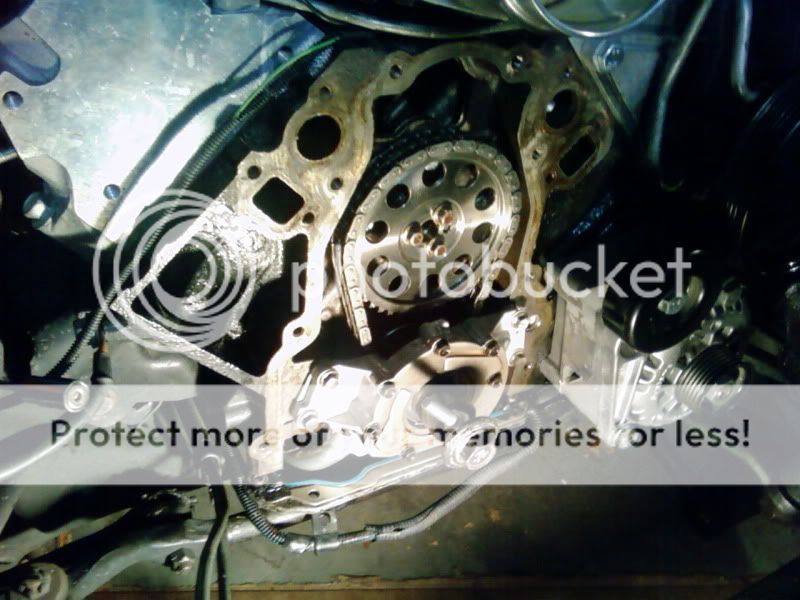
Got the LS6 cam in on monday so i went ahead and threw it in today. Originally i was going to leave the oil pump on because i would have to drop the oil pan to get enough clearance to get the oil pump pick-up tube bolt out. But i realized that my last cam was advanced 2 degrees and to put it back to zero the crank gear had to be on a different keyway. So i had to drop the oil pan anyways but it gave me a good excuse to port the oil pump while it was out.
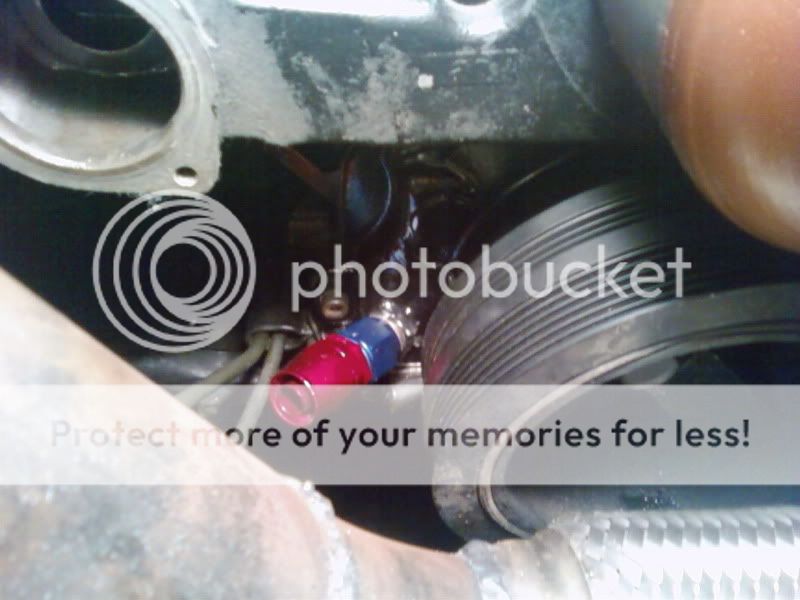
This is all the farther the oil pan will drop while in the car. I guess it would be no fun if it was easy.
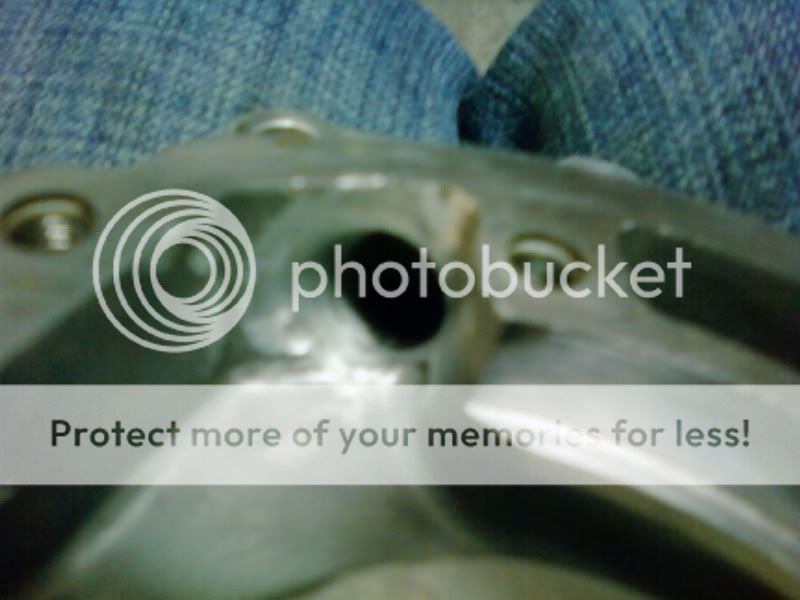
my phone camera sucks a close-ups, but here is my so called port job.
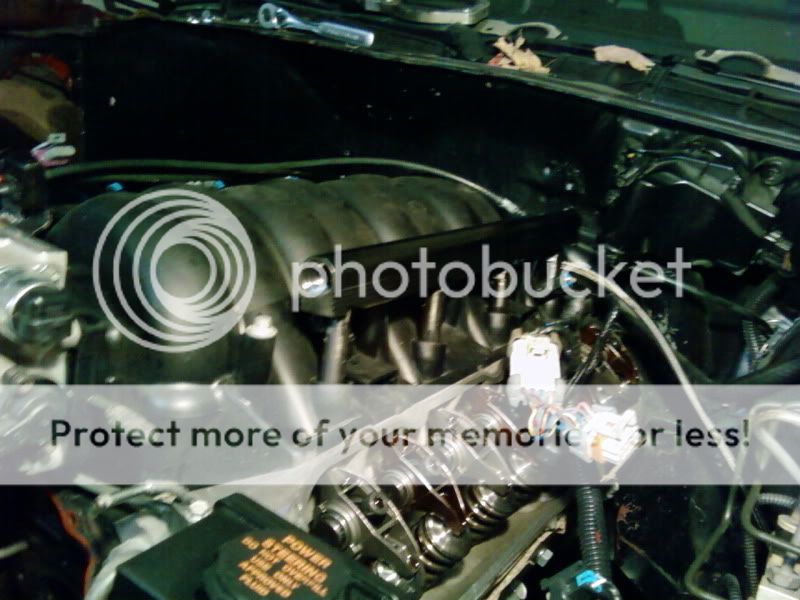
Everything back together
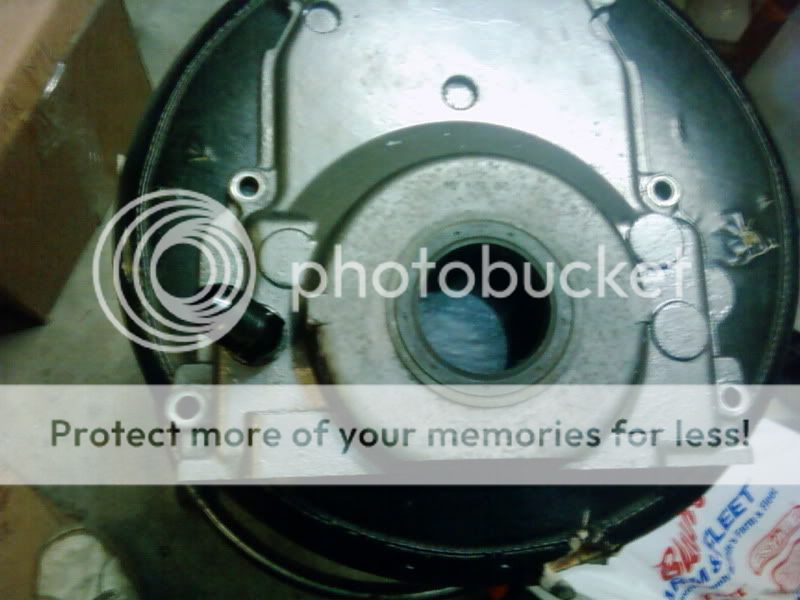
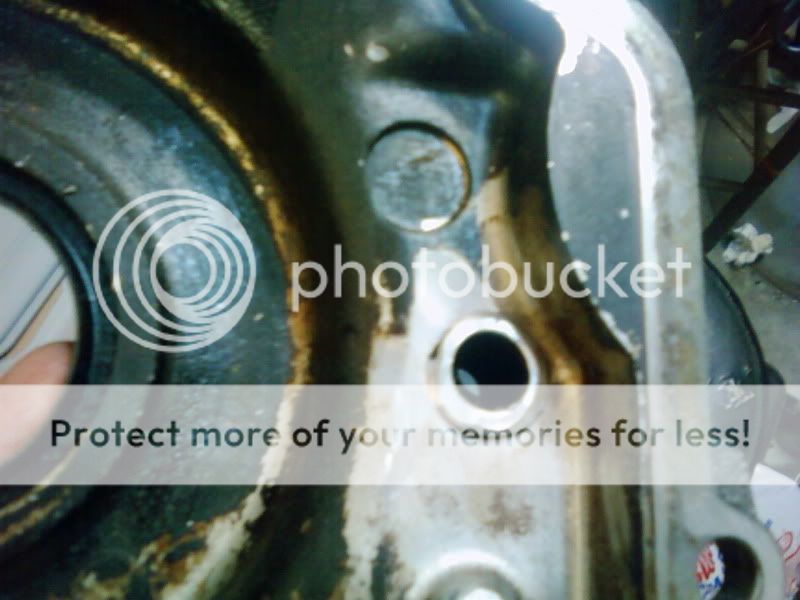
I got this front cover that was tapped for an oil drain but i realized that the location it is tapped is on a boss that was meant to give clearance for the oil pump bolts. The oil would be trying to drain from the turbo directly into the head of a bolt. It would probably still work but i dont really want to chance having to pull the front cover later so ill just tap my original cover in a better location
Also i just got in my 60lb injectors and my $92 ebay fuel rails!!
This is all the farther the oil pan will drop while in the car. I guess it would be no fun if it was easy.
my phone camera sucks a close-ups, but here is my so called port job.
Everything back together
I got this front cover that was tapped for an oil drain but i realized that the location it is tapped is on a boss that was meant to give clearance for the oil pump bolts. The oil would be trying to drain from the turbo directly into the head of a bolt. It would probably still work but i dont really want to chance having to pull the front cover later so ill just tap my original cover in a better location
Also i just got in my 60lb injectors and my $92 ebay fuel rails!!
 12-28-2011, 02:04 AM
#24
9 Second Club
Thread Starter
iTrader: (10)
Join Date: Oct 2008
Location: orion, IL
Posts: 173
Likes: 0
Received 0 Likes
on
0 Posts
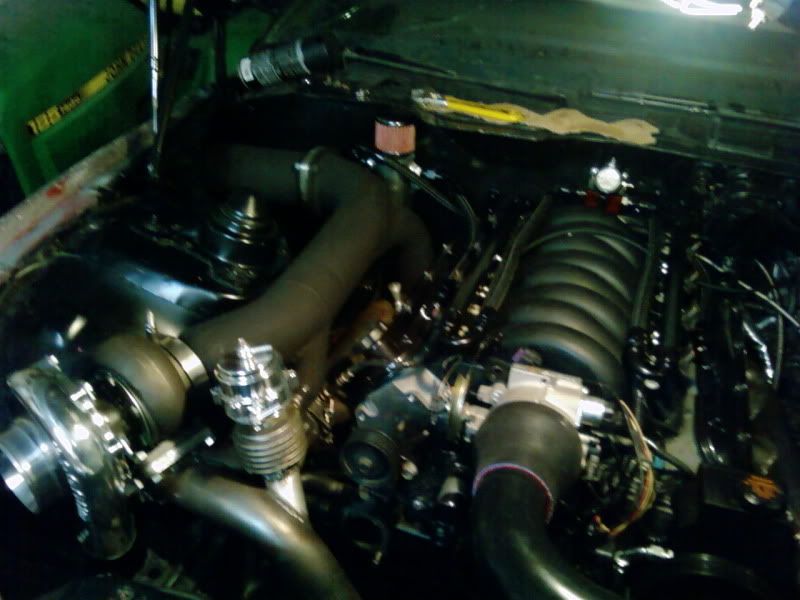
Been pretty busy lately but i have made some progress.
I welded up the drain fitting in my front cover. No close-up pics because it was my first time welding aluminum .
.
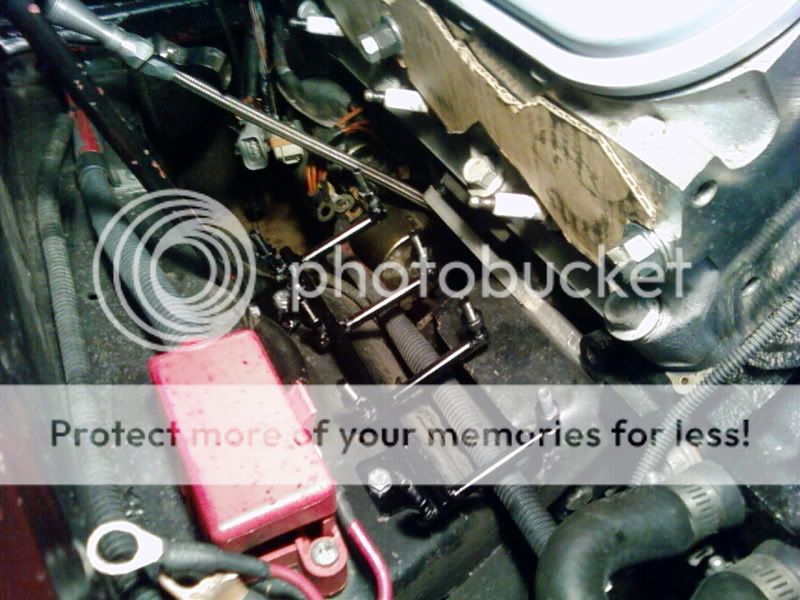
Got started on some of the fuel lines

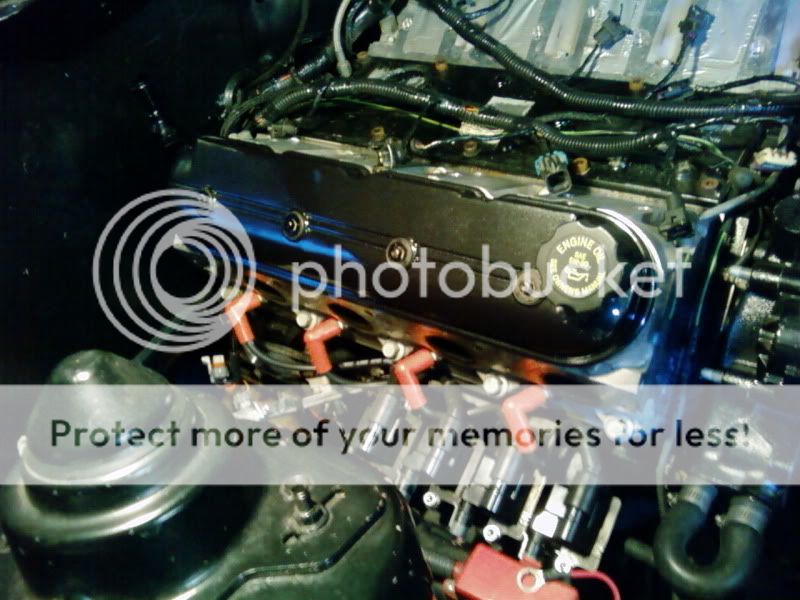
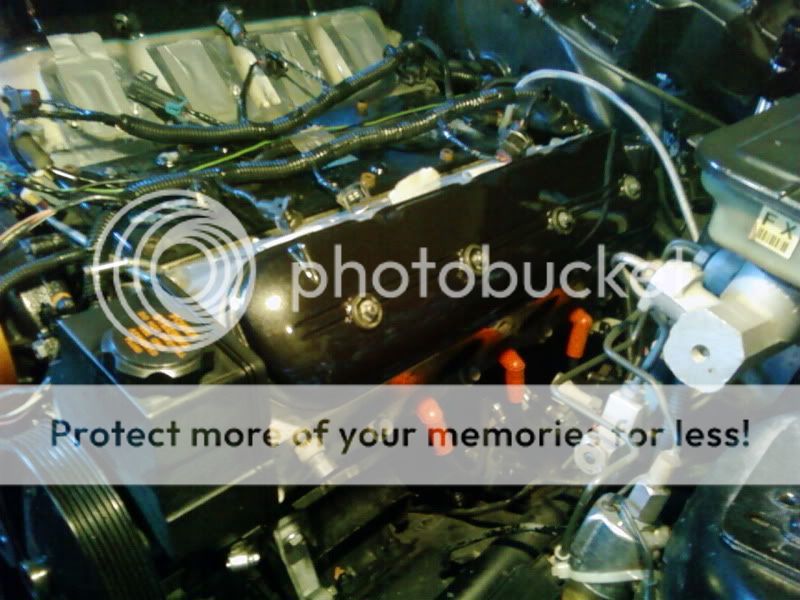
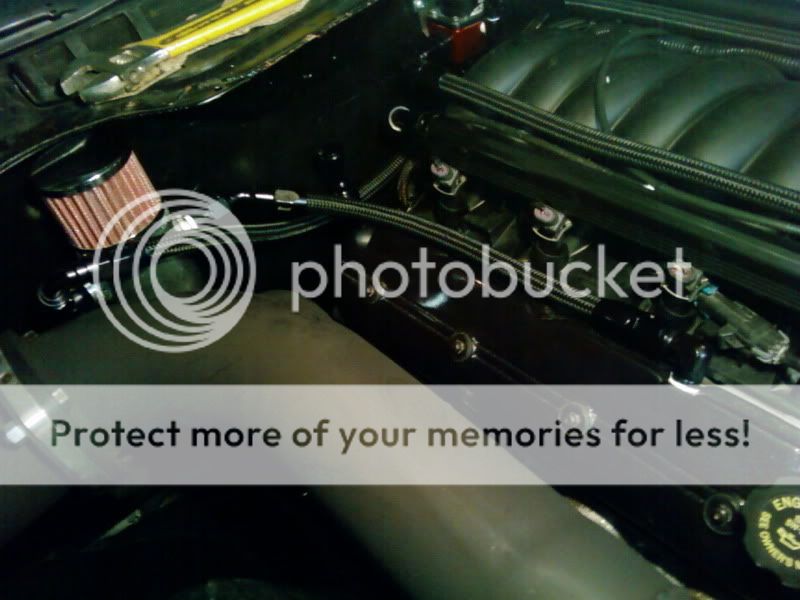
Iv finished up the coil relocations, got the valve covers tapped for catch can line and painted. Also got the injector plugs soldered on and the rest of the wiring straightened out and reloomed. Ended up going with a very dark charcoal on the valve covers.
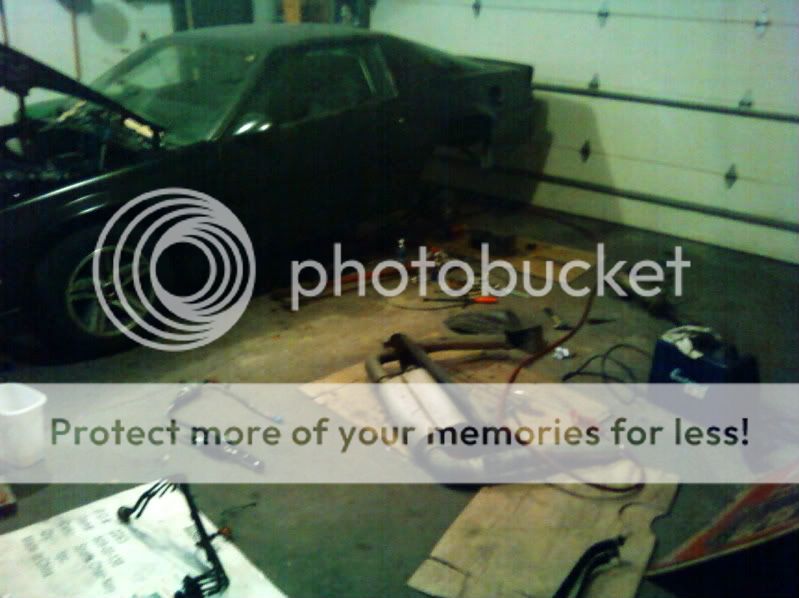
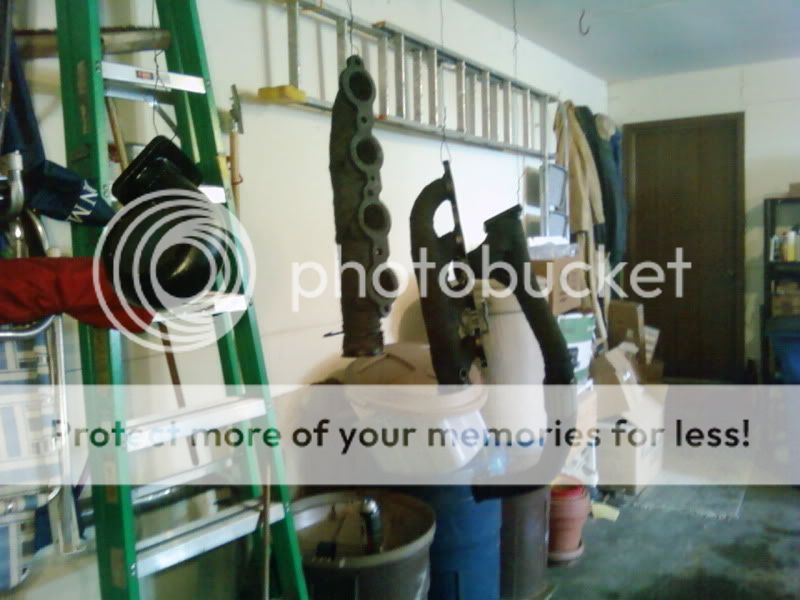
Here is a pic of the mayhem of rear suspension, exhaust and fuel parts strewn across my garage right now, all for the damn fuel tank lol. I pulled the fuel tank in order to swap in a sumped tank. There will be more to come as the fuel system starts to come together.
Thanks for looking
I welded up the drain fitting in my front cover. No close-up pics because it was my first time welding aluminum
.Got started on some of the fuel lines
Iv finished up the coil relocations, got the valve covers tapped for catch can line and painted. Also got the injector plugs soldered on and the rest of the wiring straightened out and reloomed. Ended up going with a very dark charcoal on the valve covers.
Here is a pic of the mayhem of rear suspension, exhaust and fuel parts strewn across my garage right now, all for the damn fuel tank lol. I pulled the fuel tank in order to swap in a sumped tank. There will be more to come as the fuel system starts to come together.
Thanks for looking
01-02-2012, 09:29 PM
#26
TECH Regular
iTrader: (2)

Join Date: Nov 2007
Location: OK,Elk City
Posts: 434
Likes: 0
Received 0 Likes
on
0 Posts
Glad to see your build going together so well. Wish I could do my coil pack mounts like that but my down pipe does through there on the passenger side. You'll be pretty happy at 500HP. Enough to get you in trouble but still streetable.
01-05-2012, 12:22 AM
#28
9 Second Club
Thread Starter
iTrader: (10)
Join Date: Oct 2008
Location: orion, IL
Posts: 173
Likes: 0
Received 0 Likes
on
0 Posts
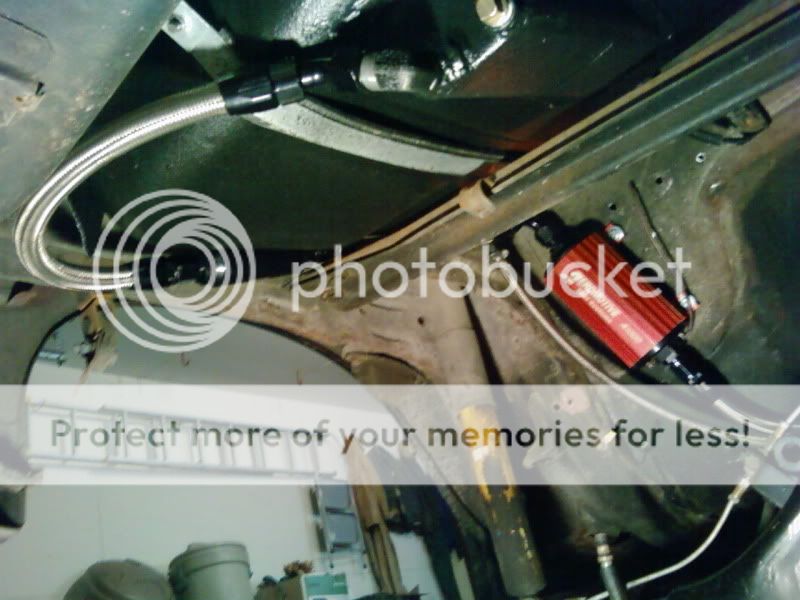
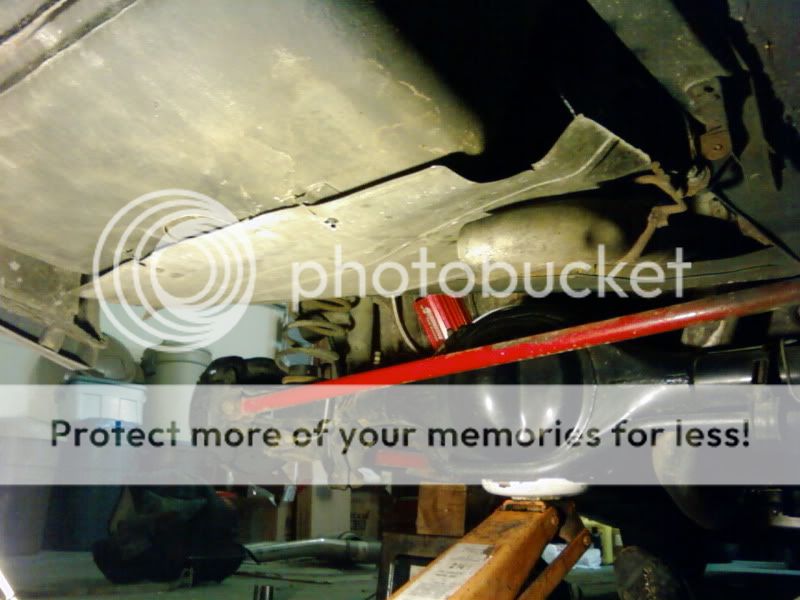
Iv got the fuel system finished up after what seems like forever!! I pressure tested it with no leaks and luckily the tank fitting i welded in didnt leak because I probably would have just taken a match to it rather than pull the tank back out lol. Most of these pics aren't the best because its under the car but here they are.
The sumped factory tank installed after i welded on a -10 outlet on the sump and undercoated the tank.

Fuel pump, filters, and lines.

I had to do some beating on the exhaust heat shield to clear the sump. Ill also have to lower the muffler from its original location to clear the sump but that will be done later.
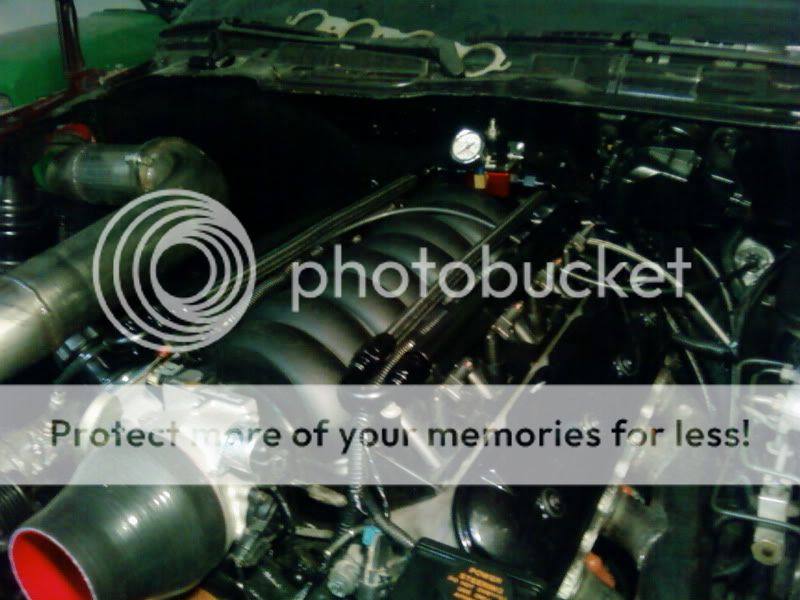
All the lines up top finished up.
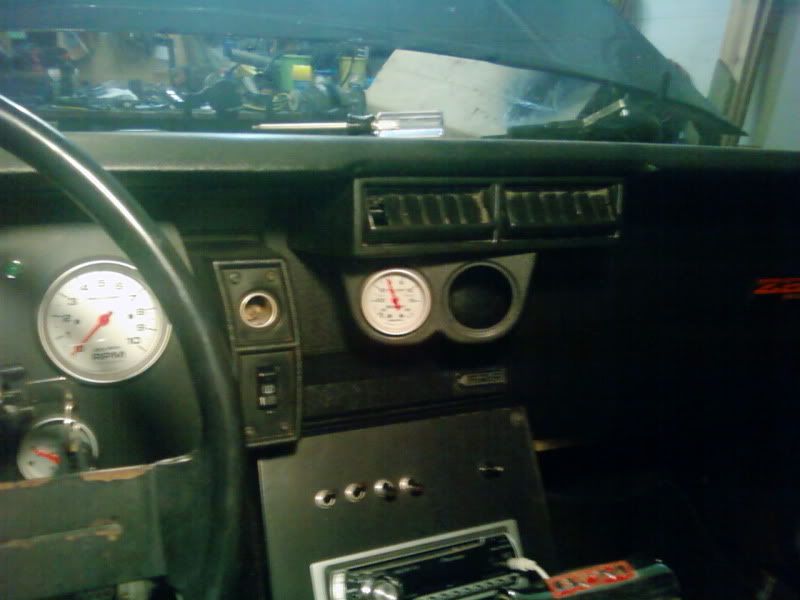
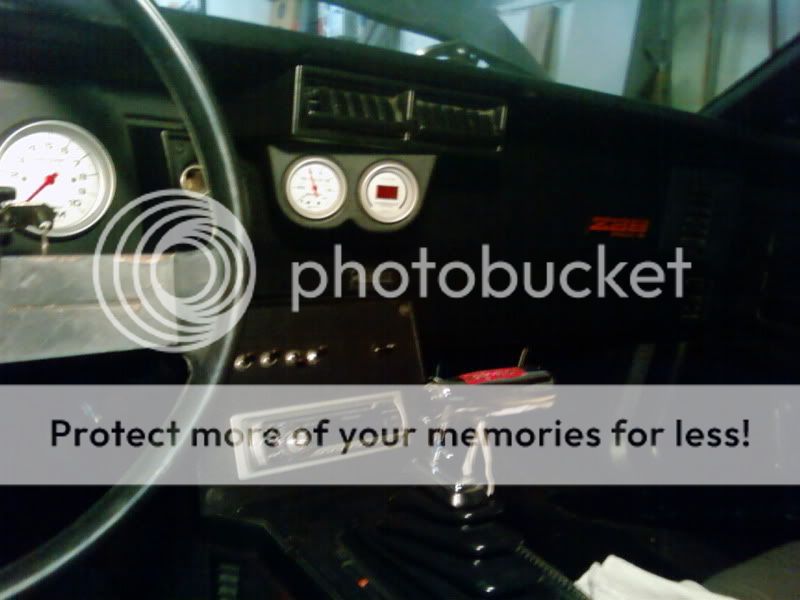
I also picked up a 2 gauge dash pod meant for the top of a dash and mounted on the under side of the center vents. The boost gauge is in it now and i'm waiting on the a/f gauge. I went this route because im not a big fan of the pillar mounts, everyone in the world doesnt need to see what my a/f is ;D.
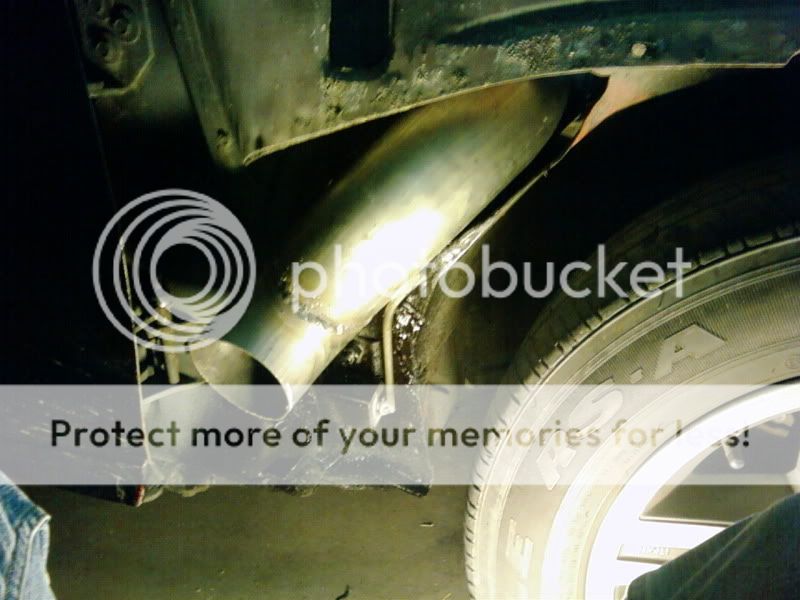
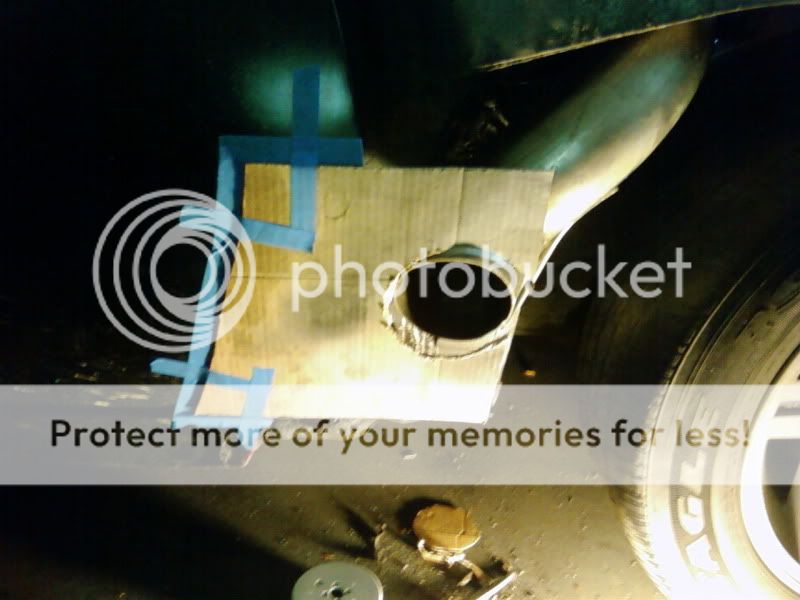
I added a bracket to the downpipe behind the fender and got the fender hole cut with the help of a cardboard cutout. No second chances on that one.
The sumped factory tank installed after i welded on a -10 outlet on the sump and undercoated the tank.
Fuel pump, filters, and lines.
I had to do some beating on the exhaust heat shield to clear the sump. Ill also have to lower the muffler from its original location to clear the sump but that will be done later.
All the lines up top finished up.
I also picked up a 2 gauge dash pod meant for the top of a dash and mounted on the under side of the center vents. The boost gauge is in it now and i'm waiting on the a/f gauge. I went this route because im not a big fan of the pillar mounts, everyone in the world doesnt need to see what my a/f is ;D.
I added a bracket to the downpipe behind the fender and got the fender hole cut with the help of a cardboard cutout. No second chances on that one.
 01-08-2012, 03:32 PM
#30
9 Second Club
Thread Starter
iTrader: (10)
Join Date: Oct 2008
Location: orion, IL
Posts: 173
Likes: 0
Received 0 Likes
on
0 Posts
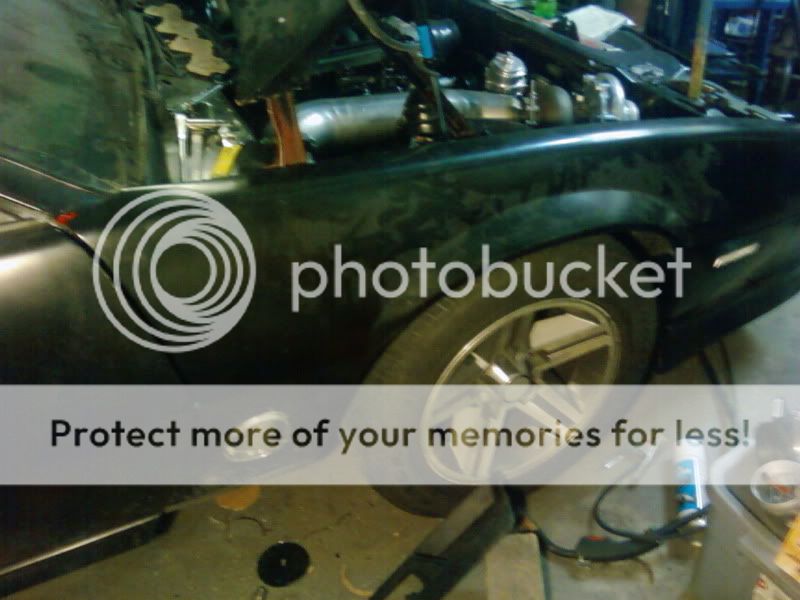
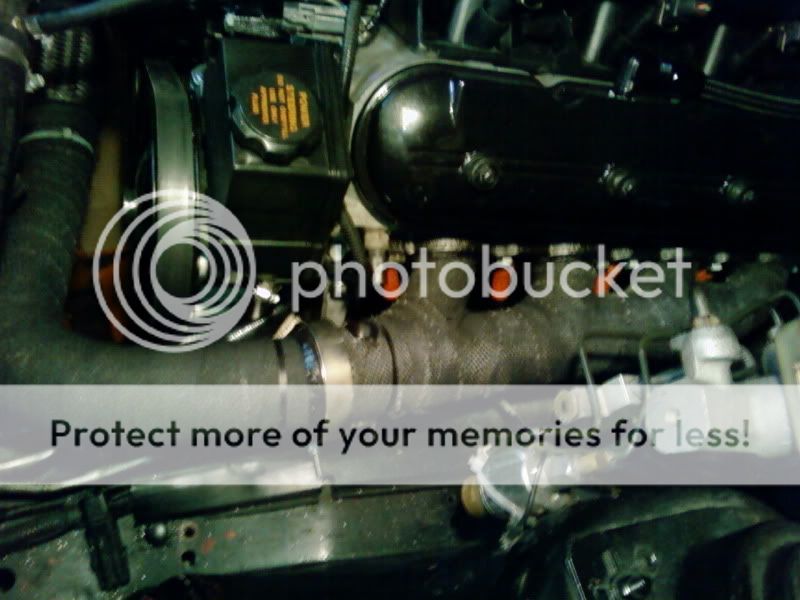
A little more progress. Iv got the wastegate outlet and the 3" to go out the back of the car tied into the downpipe. Busted out the duct tape again since the 3" portion was a bit tricky .
.
Also got the catch can mounted, the breather lines run to the valve covers, and a coat of 2000 degree black sprayed on for now.
Thanks for looking
. Also got the catch can mounted, the breather lines run to the valve covers, and a coat of 2000 degree black sprayed on for now.
Thanks for looking
 01-23-2012, 12:24 PM
#32
9 Second Club
Thread Starter
iTrader: (10)
Join Date: Oct 2008
Location: orion, IL
Posts: 173
Likes: 0
Received 0 Likes
on
0 Posts
Finally had a chance to get some work done on the car this weekend. I finished up the install on the boost and a/f gauges.
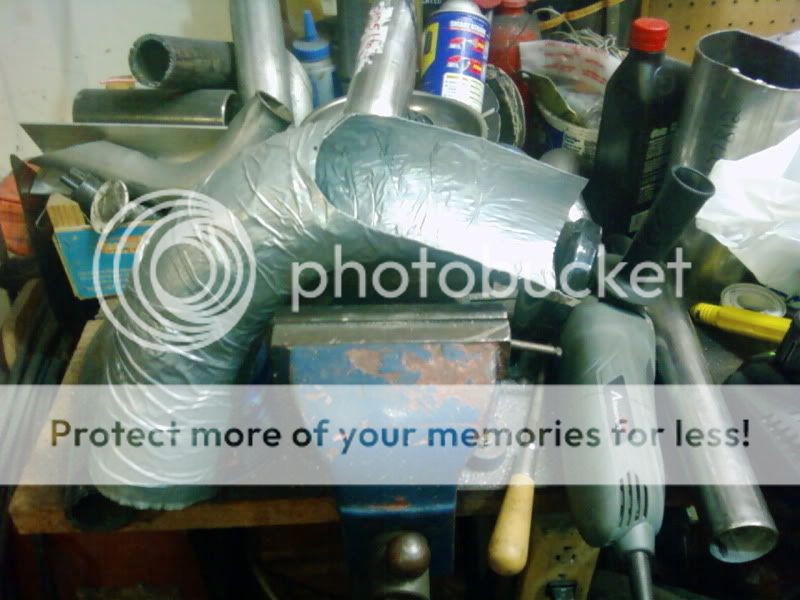
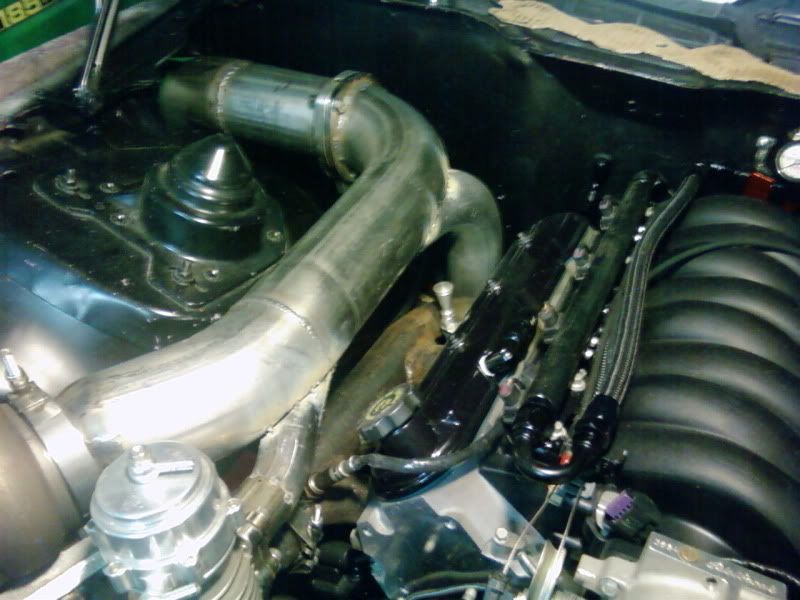
My original plan was to have the exhaust ceramic coated but after thinking about it, i decided to wait on that in case of any cracks or changes i feel like making, since the whole setup will more than likely be pulled back out next winter anyways. So i spent some time wrapping all the exhaust parts. I first sprayed all the exhaust with 2000 degree paint to hopefully stop them from rusting under the wrap. Also once wrapped, i sprayed them with some black silicone spray that came in the wrap kit, it is supposed to help seal the wrap and keep it looking nice.
Everything freshly wrapped
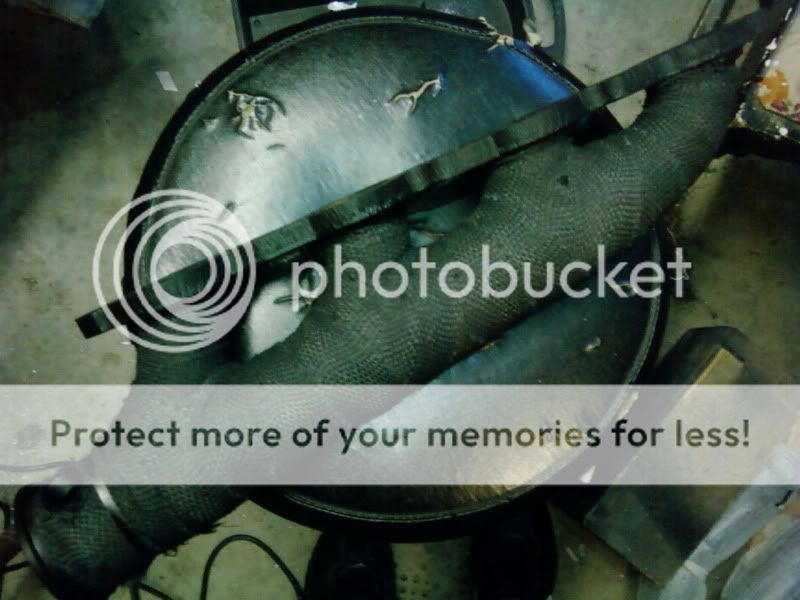
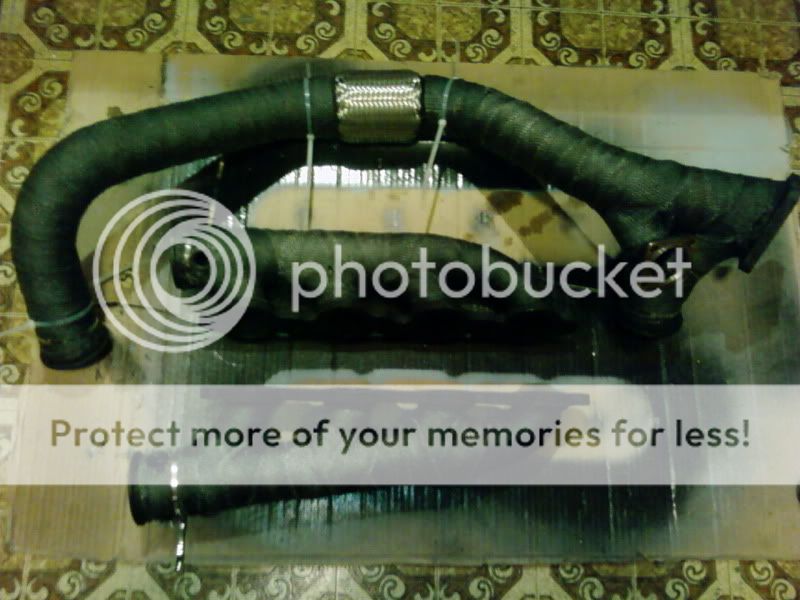
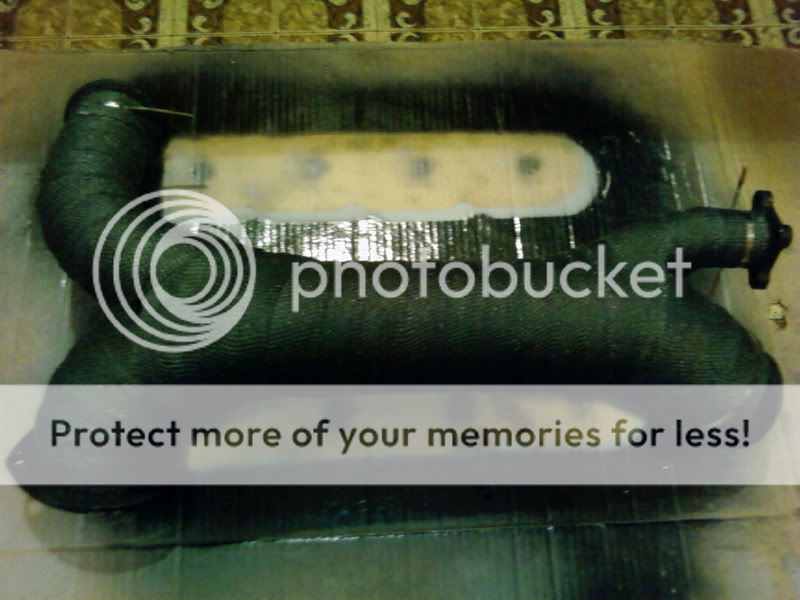
Sprayed with the silicone spray.
And back on the car

Normally i'm not a huge fan of the way exhaust wrap looks so i was a bit skeptical of using it. But i think this turned out pretty good and i would definitely recommend using that silicone spray if you guys wrap anything of your own, it definitely evened up the color and just gave everything a better look, assuming it holds up well.
I also got a few odds and ends done like swapping out pushrods for some stock lengths, running wiring for the e-cutout, threw in a set of TR6 plugs, etc. I should also be getting my ecu back this week, since speed inc forgot to ship it back to me all last week until i emailed them about it....DOH! So with some luck i might be able to get this thing fired up soon.
Thanks for looking,
Tyler
My original plan was to have the exhaust ceramic coated but after thinking about it, i decided to wait on that in case of any cracks or changes i feel like making, since the whole setup will more than likely be pulled back out next winter anyways. So i spent some time wrapping all the exhaust parts. I first sprayed all the exhaust with 2000 degree paint to hopefully stop them from rusting under the wrap. Also once wrapped, i sprayed them with some black silicone spray that came in the wrap kit, it is supposed to help seal the wrap and keep it looking nice.
Everything freshly wrapped
Sprayed with the silicone spray.
And back on the car
Normally i'm not a huge fan of the way exhaust wrap looks so i was a bit skeptical of using it. But i think this turned out pretty good and i would definitely recommend using that silicone spray if you guys wrap anything of your own, it definitely evened up the color and just gave everything a better look, assuming it holds up well.
I also got a few odds and ends done like swapping out pushrods for some stock lengths, running wiring for the e-cutout, threw in a set of TR6 plugs, etc. I should also be getting my ecu back this week, since speed inc forgot to ship it back to me all last week until i emailed them about it....DOH! So with some luck i might be able to get this thing fired up soon.
Thanks for looking,
Tyler
01-23-2012, 03:02 PM
#33
TECH Apprentice
iTrader: (20)
Join Date: Jul 2009
Location: Liberal land
Posts: 390
Likes: 0
Received 0 Likes
on
0 Posts

Looking sweet man! Love that downpipe out the fender...real slick. If I wasn't such a chicken, I'd run my downpipe similiar to that as well, but I could never chop up my fender, especially not now with fresh paint lol. Can't wait to see what it puts down for power.
01-24-2012, 10:03 PM
#36
9 Second Club
Thread Starter
iTrader: (10)
Join Date: Oct 2008
Location: orion, IL
Posts: 173
Likes: 0
Received 0 Likes
on
0 Posts
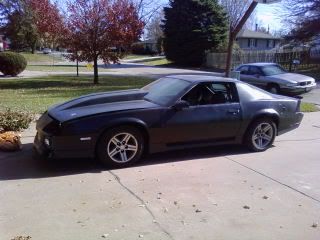
I really dont have any great pics of it and its nothing to look at on the outside. Just rattle-canned
Dont have the cowl hood anymore.
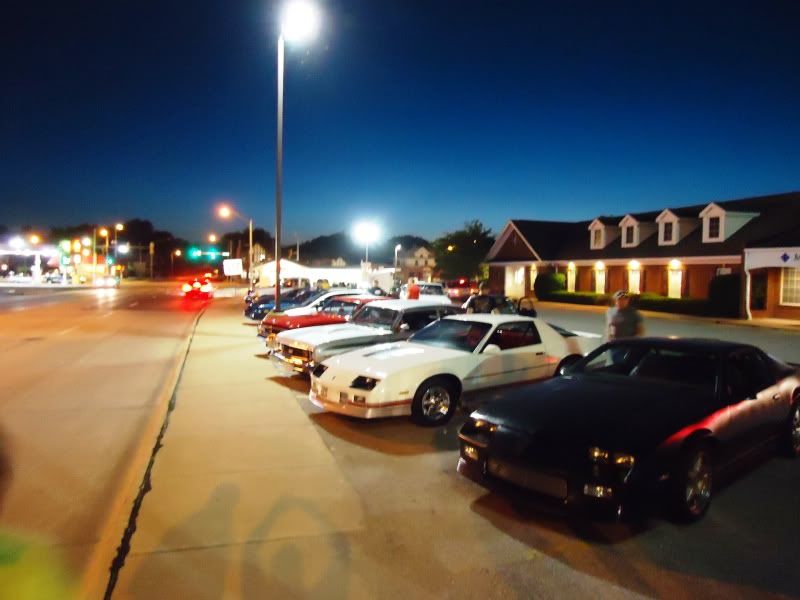
Out with the locals for a cruise
Dont have the cowl hood anymore.
Out with the locals for a cruise
02-13-2012, 04:43 PM
#39
9 Second Club
Thread Starter
iTrader: (10)
Join Date: Oct 2008
Location: orion, IL
Posts: 173
Likes: 0
Received 0 Likes
on
0 Posts
I finally got everything in place good enough to run the car. Doing so always reveals a few minor problems, with the worst being a small oil leak, exhaust rattle, and some minor trimming needed on the fan shroud for the IAT snesor. I got the car out for a few hours the other day so i busted out the camera mount and got some video. Enjoy!
http://www.youtube.com/watch?v=Miiwo...QEYW3h5RraX4_E
http://www.youtube.com/watch?v=Miiwo...QEYW3h5RraX4_E