'83 Monte Twin Turbo LQ4 Build
 08-18-2012, 10:13 PM
#1
Staging Lane
Thread Starter
Join Date: Nov 2007
Location: Connecticut
Posts: 86
Likes: 0
Received 0 Likes
on
0 Posts

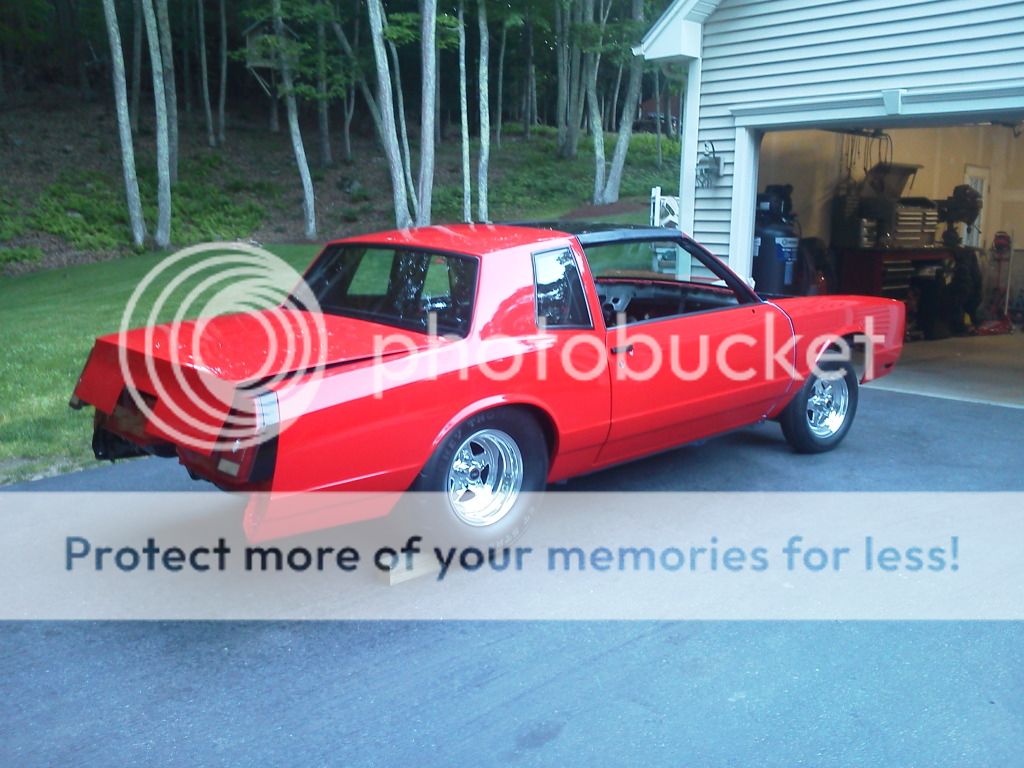
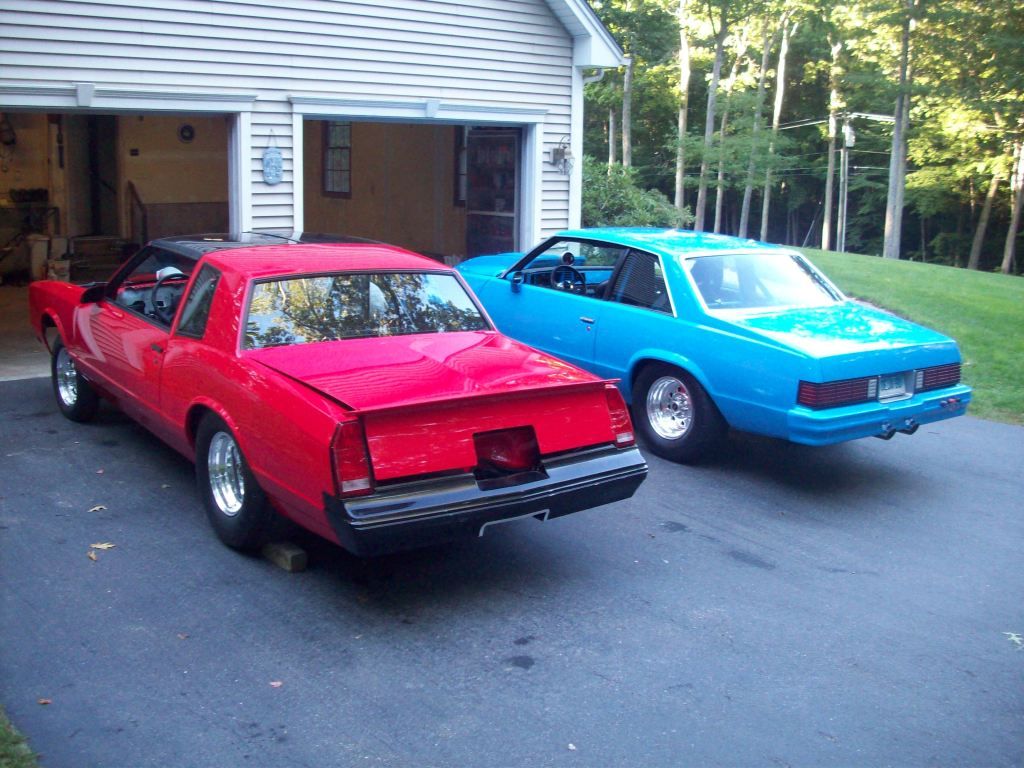
For the past 6 or so years, I've been building an 83 Monte with my dad as a Father-Son project car while in school (though I'm finished school now).
I've made a few progress threads on the forum, but I havent kept them updated. Ill post a link to another forum if you'd like to check out the many pages of this project (HIGHLY recommended!!). But for now, I'll start off this progress thread where the turbo build starts coming into play.
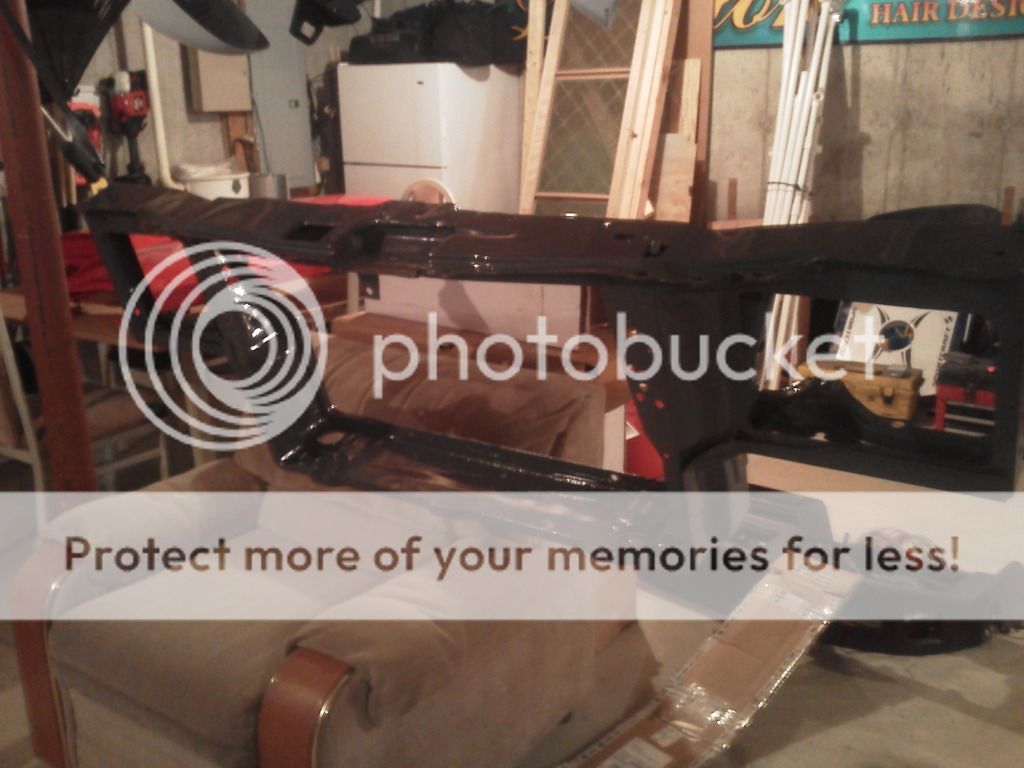
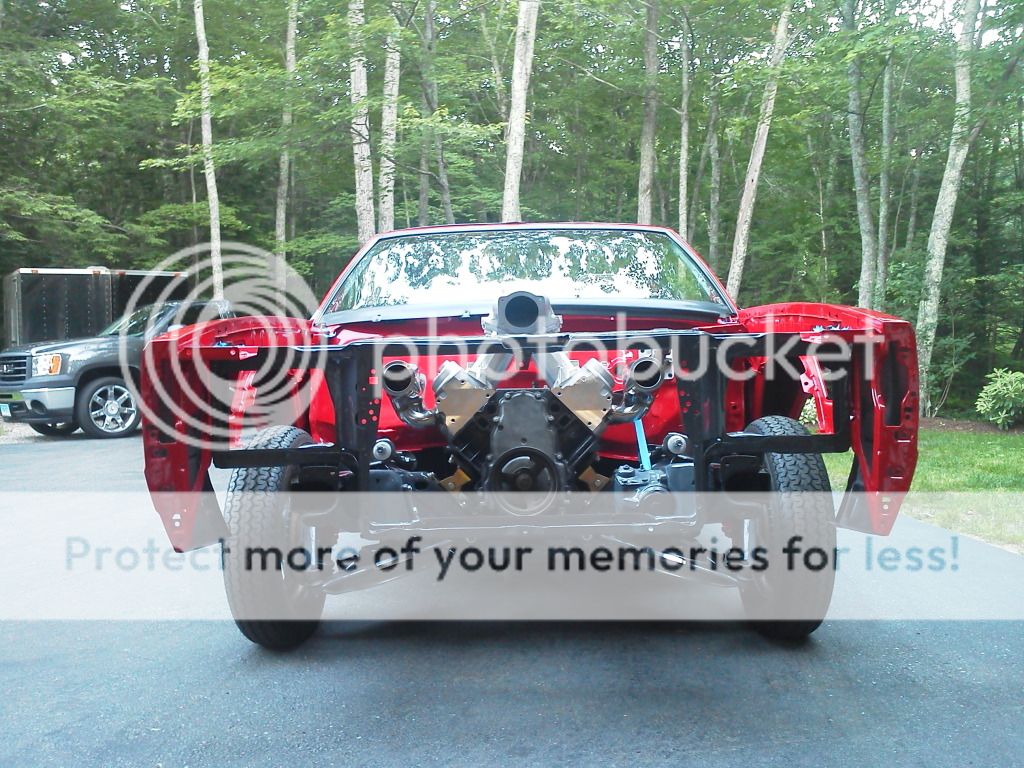
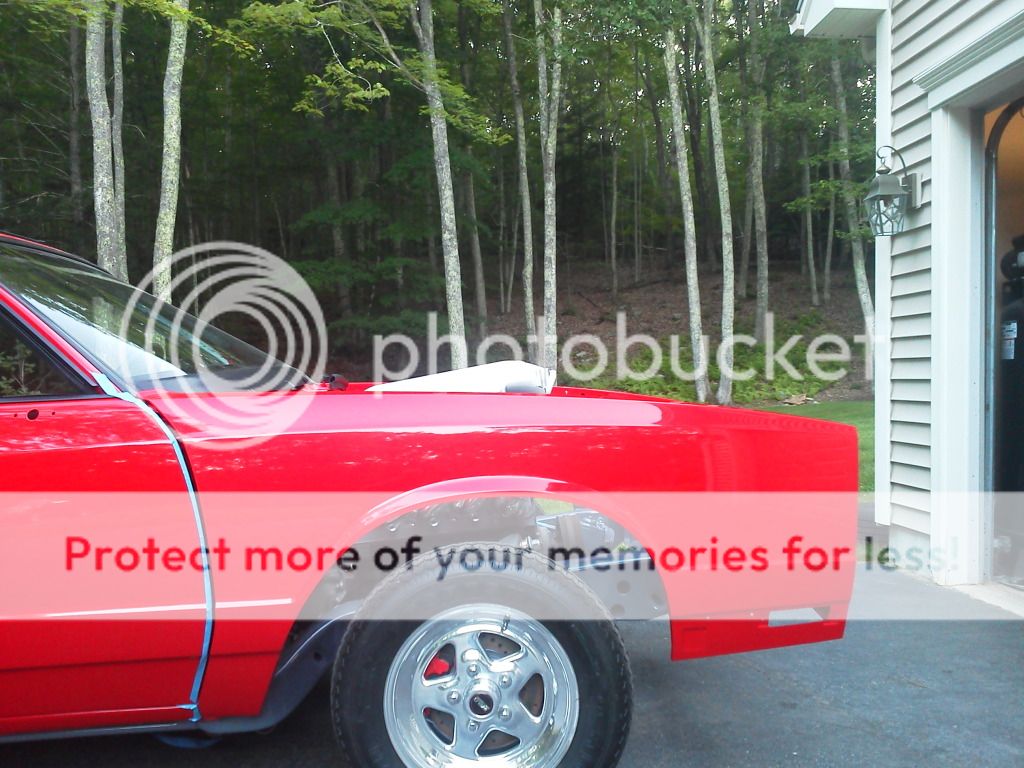
Radiator support is all painted, Very happy with how it came out, just as smooth and straight as the body. Also plenty of room in the "headlight" pockets now for turbo piping.
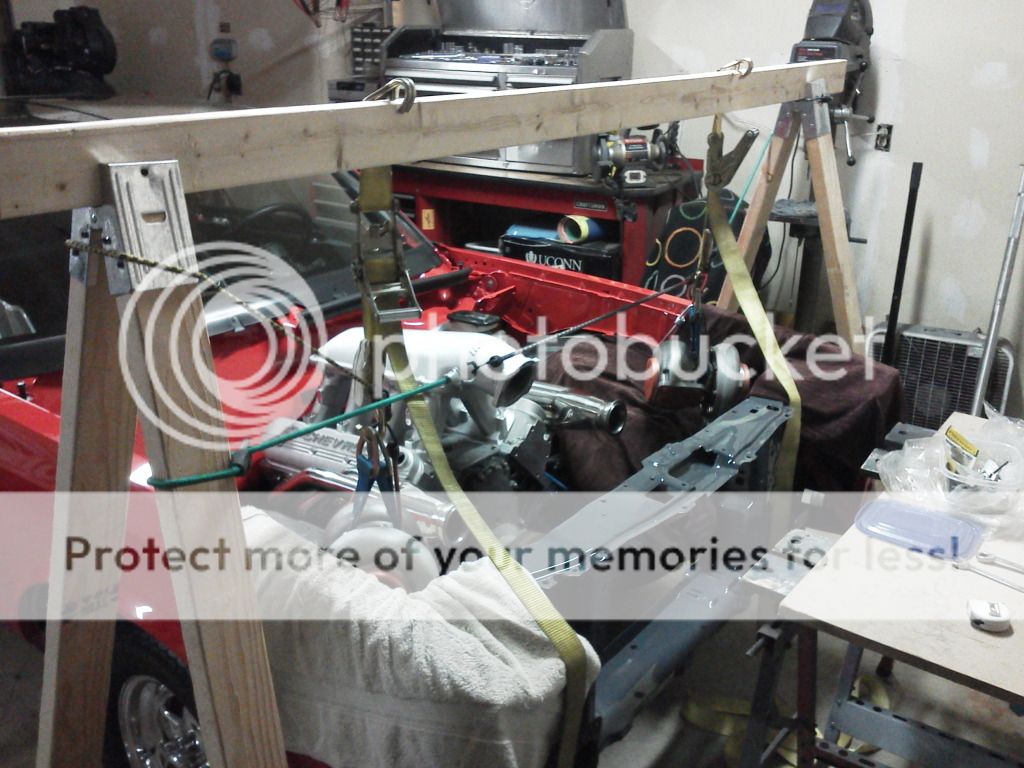
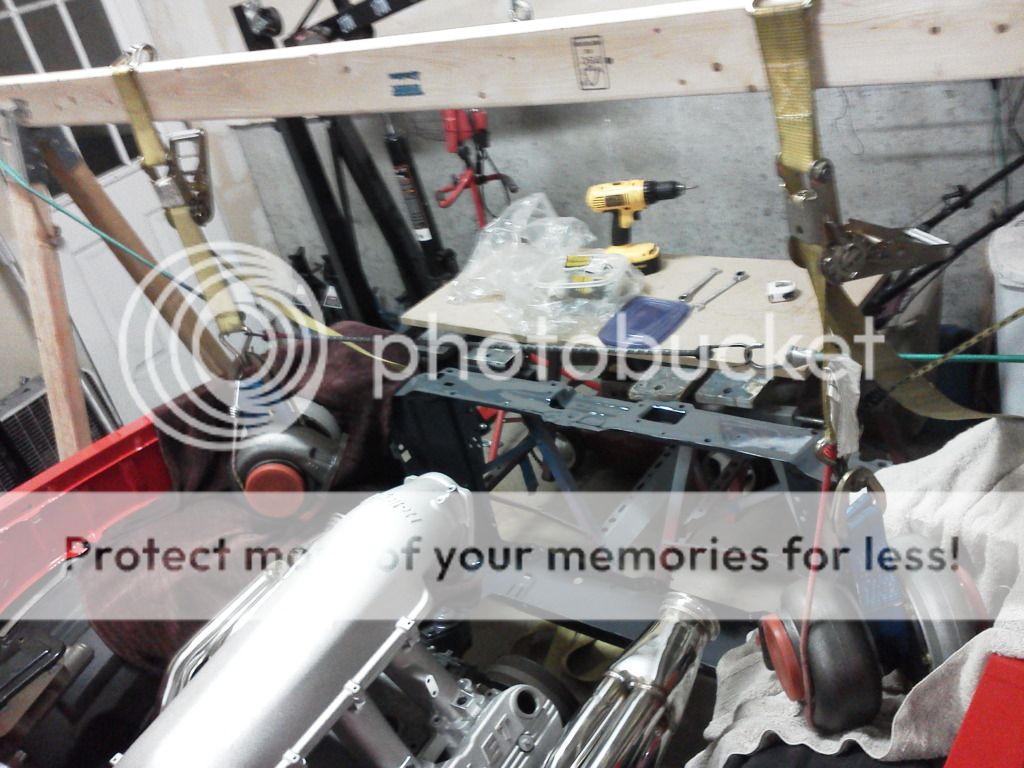
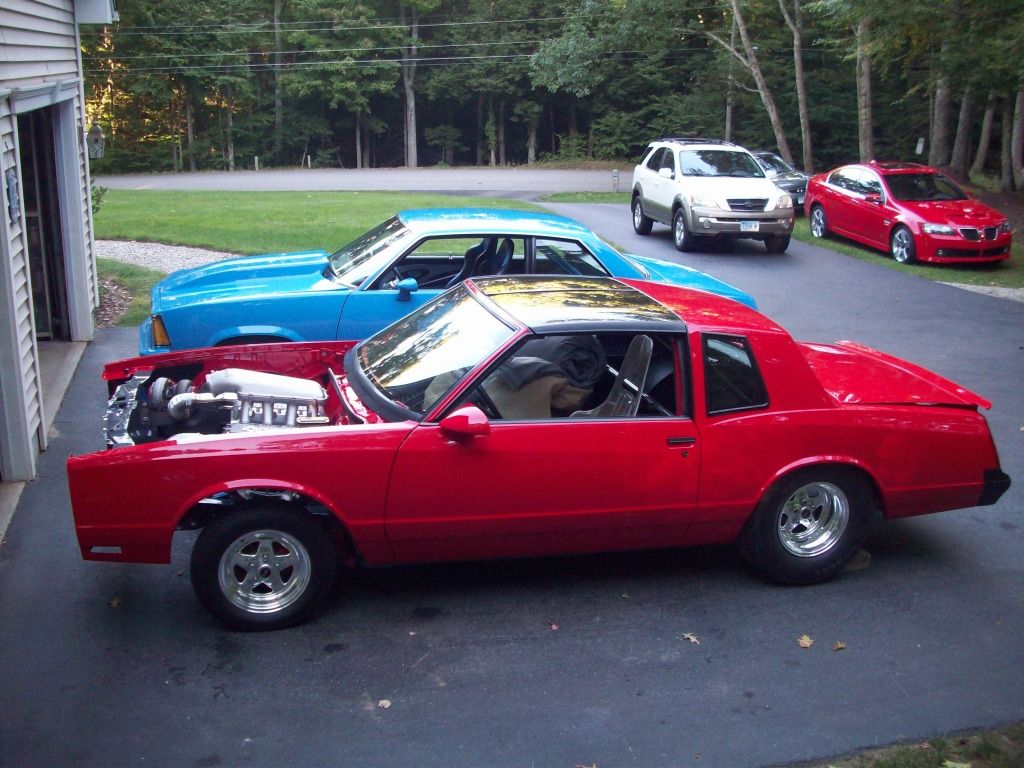
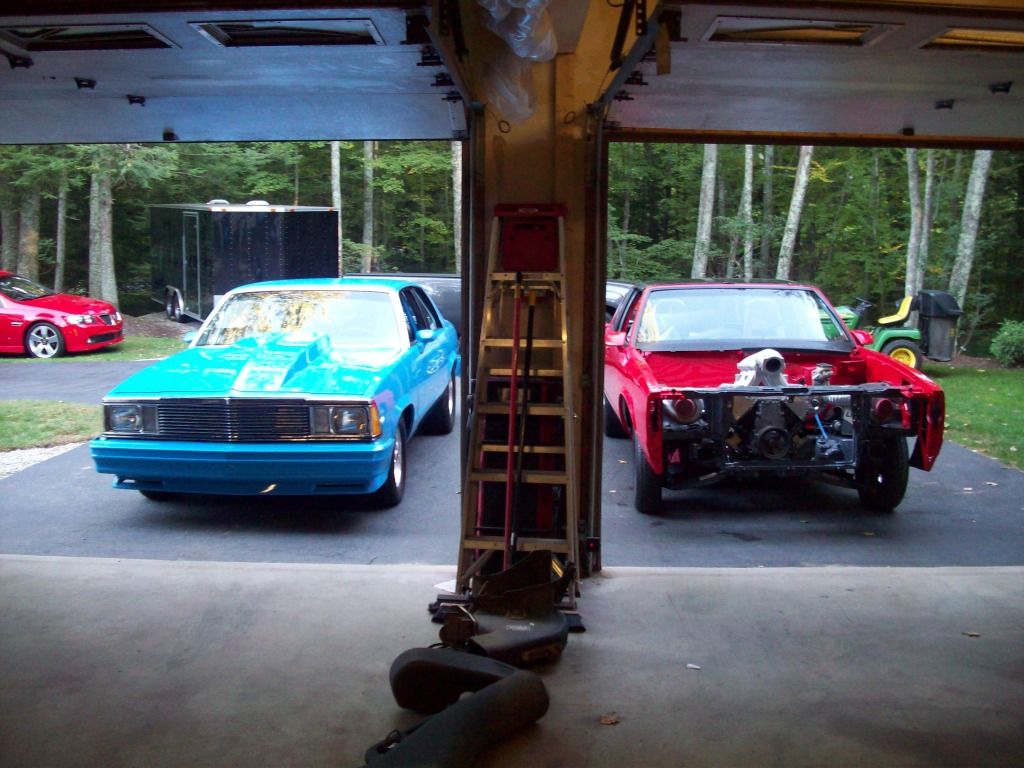
Then we got right to putting the engine and transmission in to begin the turbo mock-up. In some of the pictures you'll notice my awesome trans "crossmember," consisting of a snowmobile dolly and some 4x4's tie strapped to the transmission. That was just temporary while we waited for my Iceman tubular crossmember to come in. Which right now, that is installed, but we had to make a custom bracket to mount it, as his bracket wouldn't work with my frame being boxed. Pictures of that to come soon..
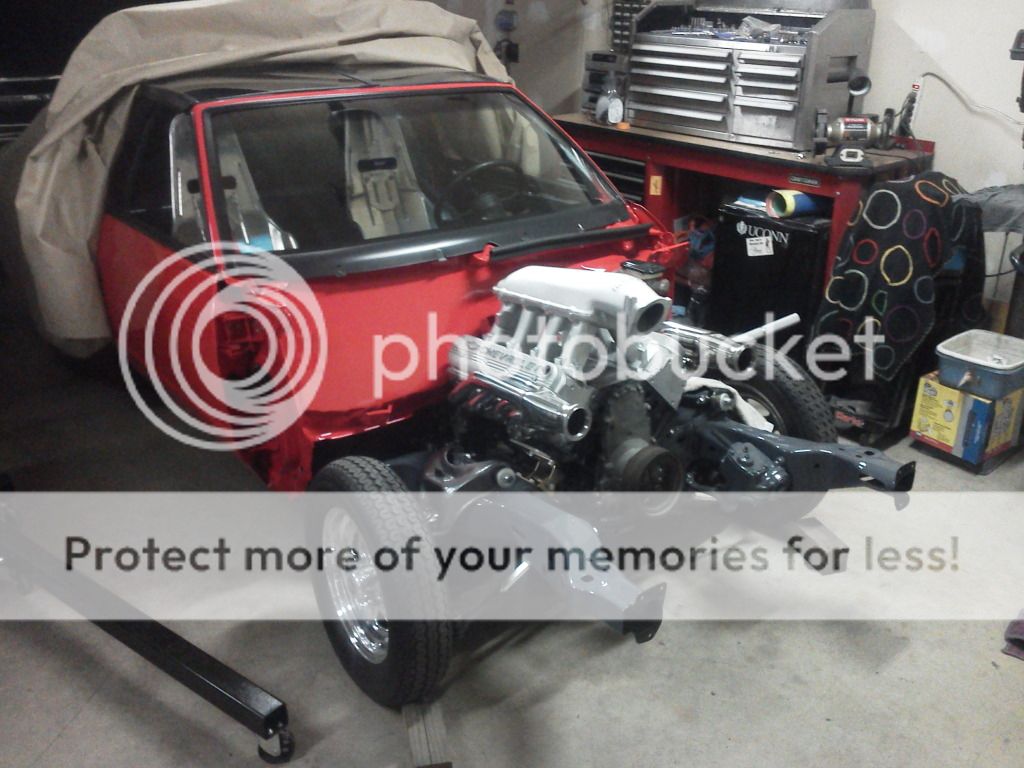
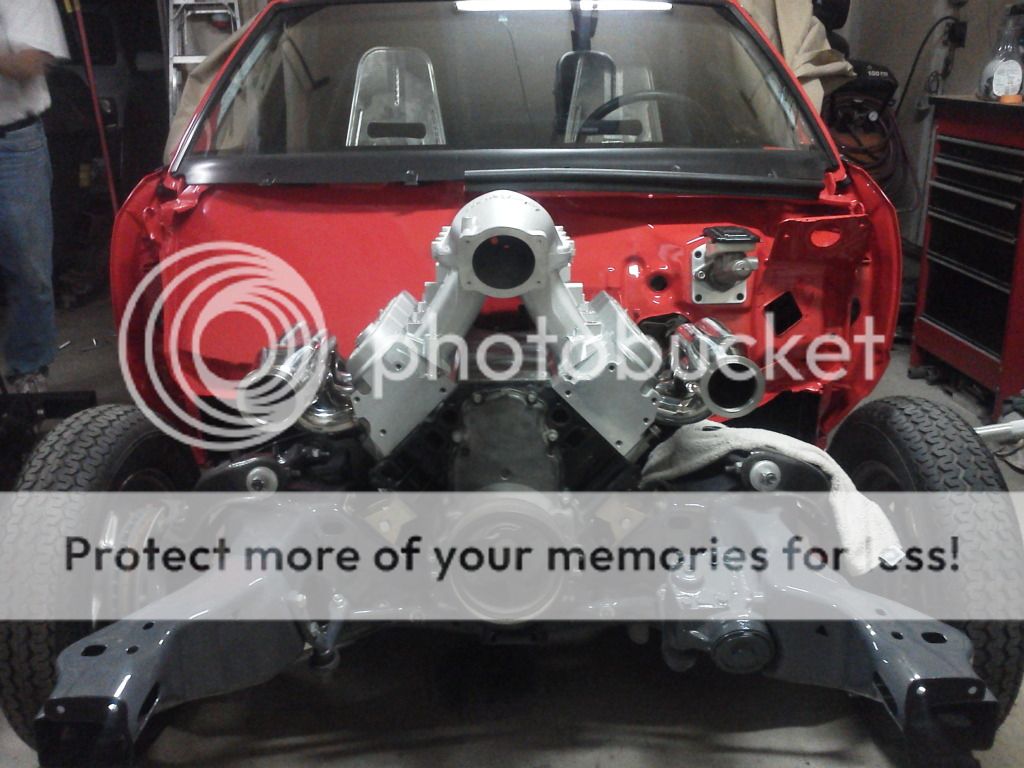
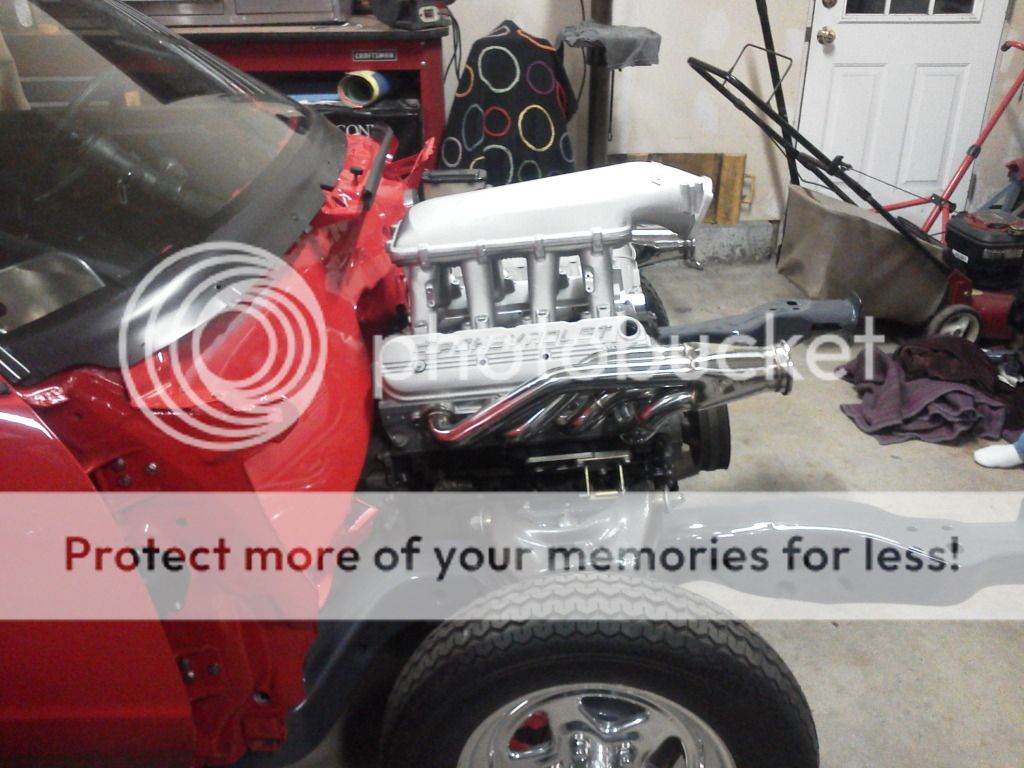
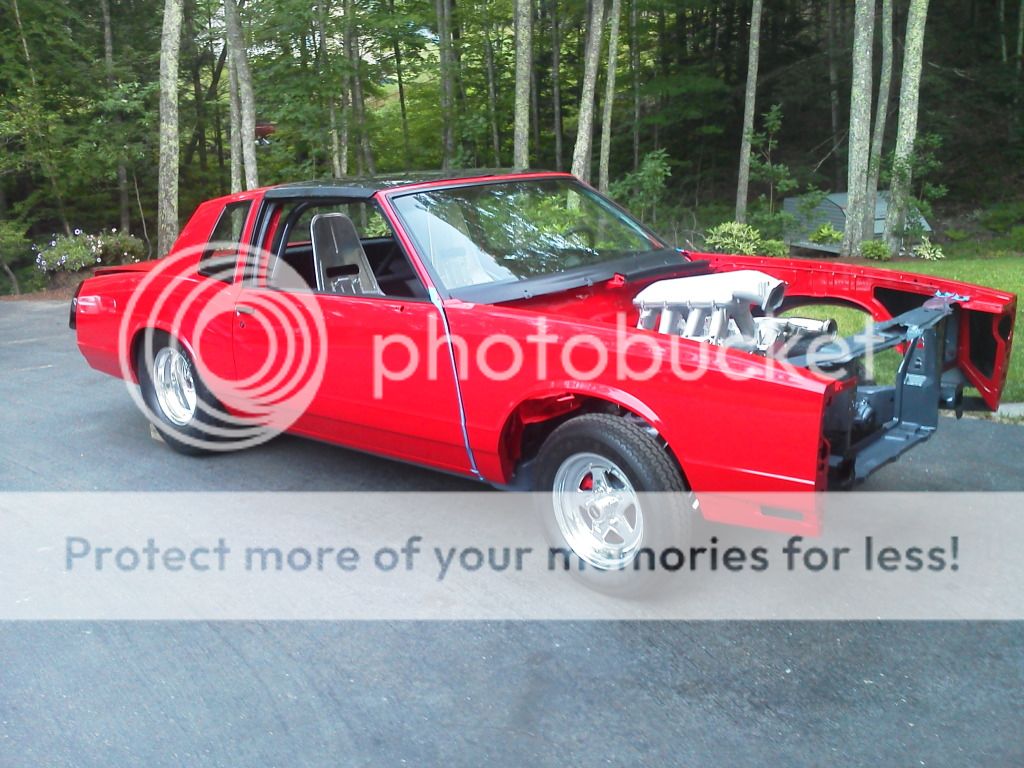
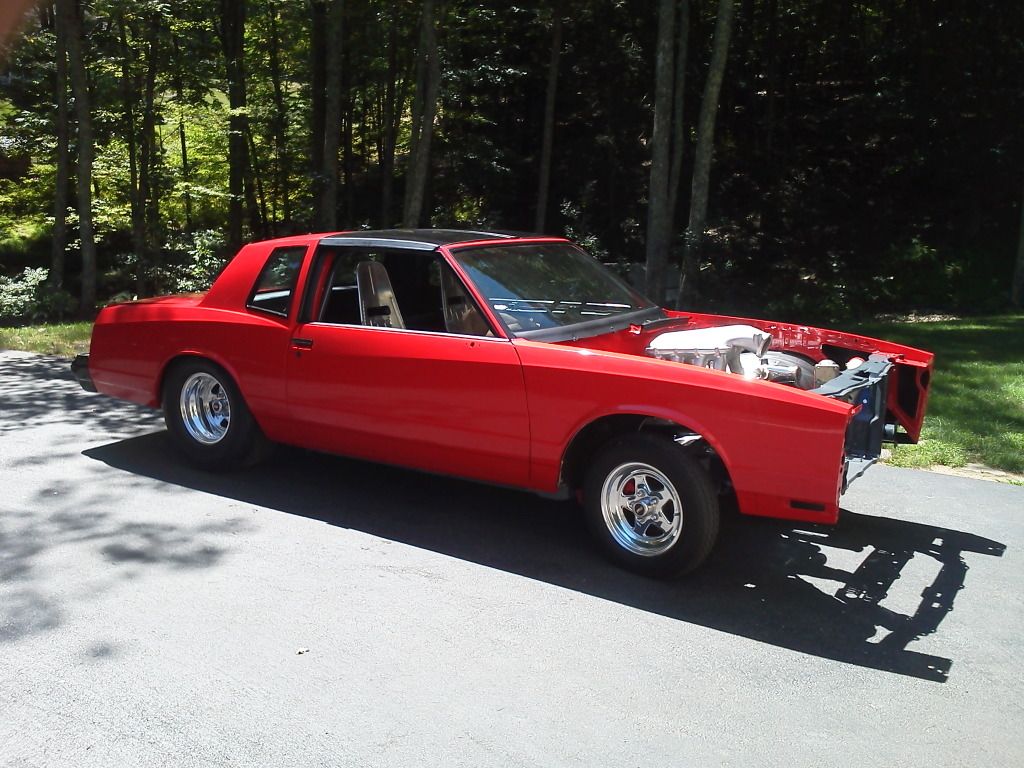
Pretty easy to see what the next step of progress is. Put the radiator support and front fenders on, and lined up all the door/fender gaps. We were thinking mayyybe we could fit the motor under a stock hood, "sleeper" like, but looking straight across the fenders...NO WAY! I'll need something that ramps up quick at the beginning.

I've made a few progress threads on the forum, but I havent kept them updated. Ill post a link to another forum if you'd like to check out the many pages of this project (HIGHLY recommended!!). But for now, I'll start off this progress thread where the turbo build starts coming into play.
Radiator support is all painted, Very happy with how it came out, just as smooth and straight as the body. Also plenty of room in the "headlight" pockets now for turbo piping.
Then we got right to putting the engine and transmission in to begin the turbo mock-up. In some of the pictures you'll notice my awesome trans "crossmember," consisting of a snowmobile dolly and some 4x4's tie strapped to the transmission. That was just temporary while we waited for my Iceman tubular crossmember to come in. Which right now, that is installed, but we had to make a custom bracket to mount it, as his bracket wouldn't work with my frame being boxed. Pictures of that to come soon..
Pretty easy to see what the next step of progress is. Put the radiator support and front fenders on, and lined up all the door/fender gaps. We were thinking mayyybe we could fit the motor under a stock hood, "sleeper" like, but looking straight across the fenders...NO WAY! I'll need something that ramps up quick at the beginning.
 08-18-2012, 10:13 PM
#2
Staging Lane
Thread Starter
Join Date: Nov 2007
Location: Connecticut
Posts: 86
Likes: 0
Received 0 Likes
on
0 Posts
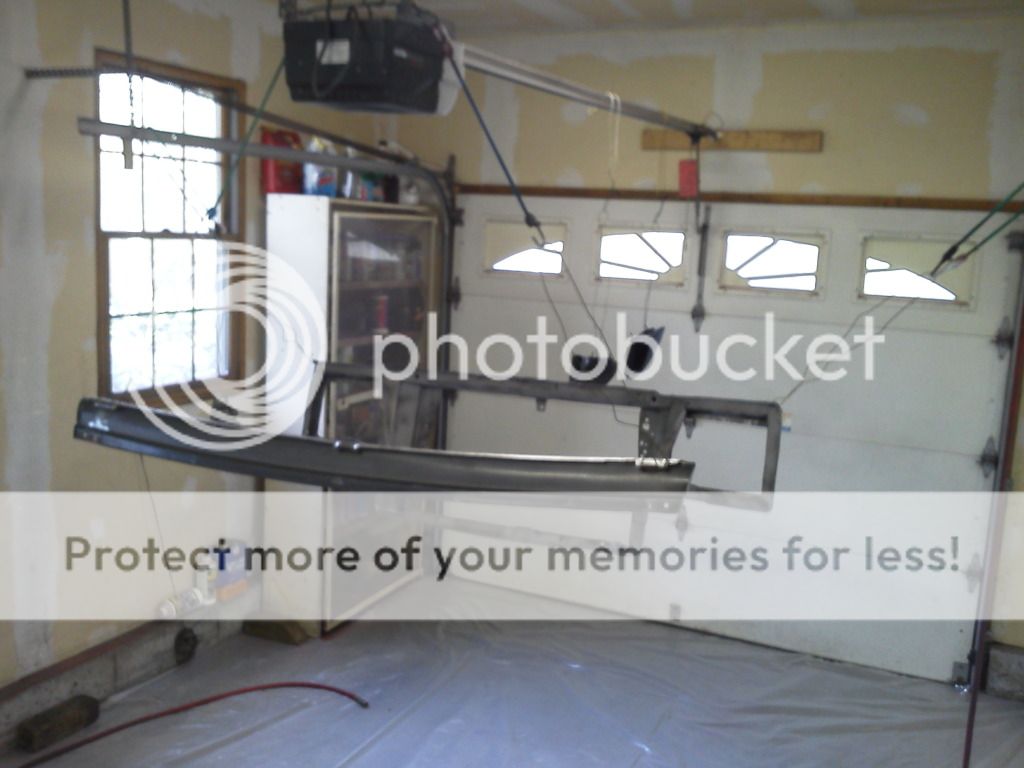
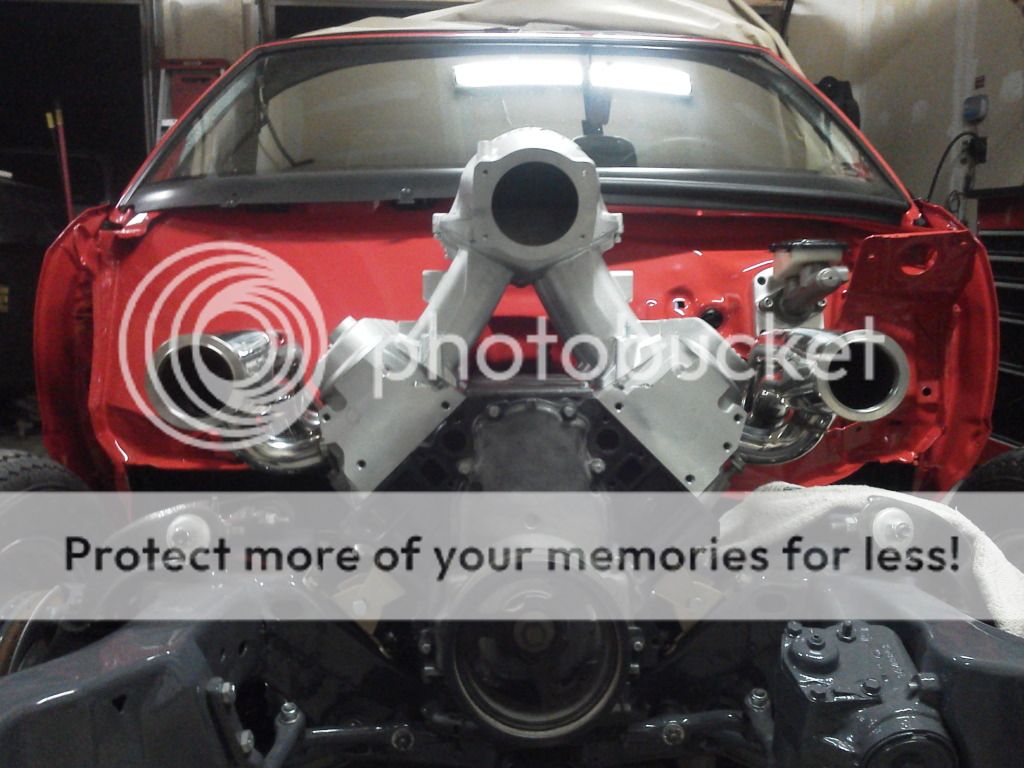
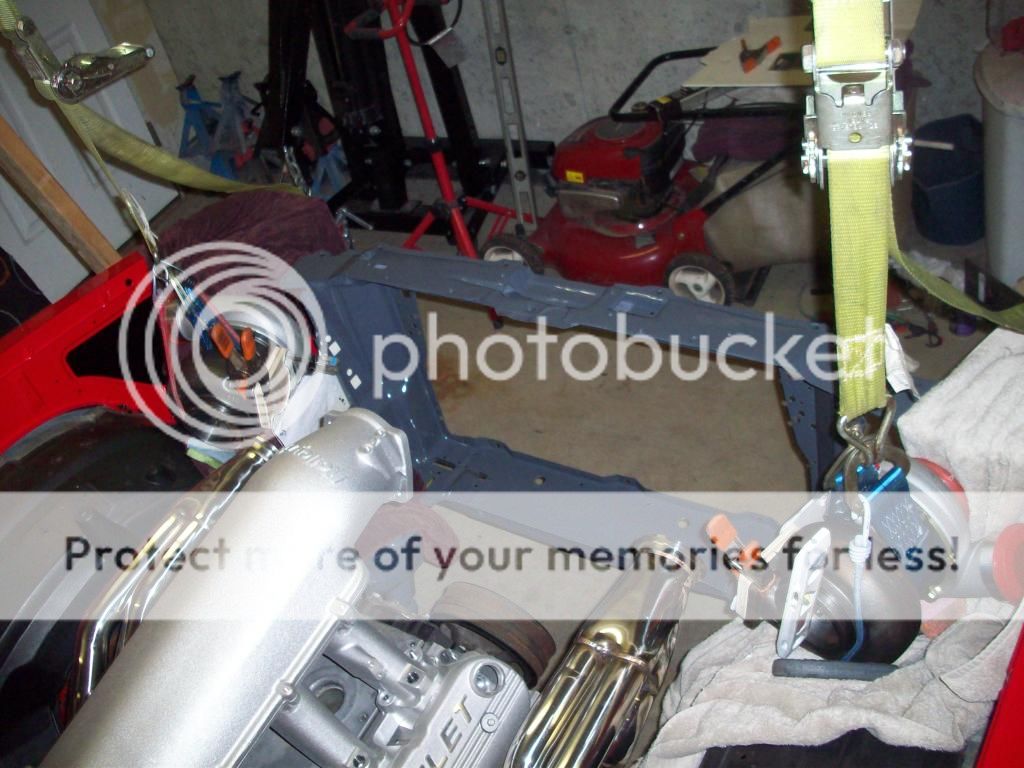
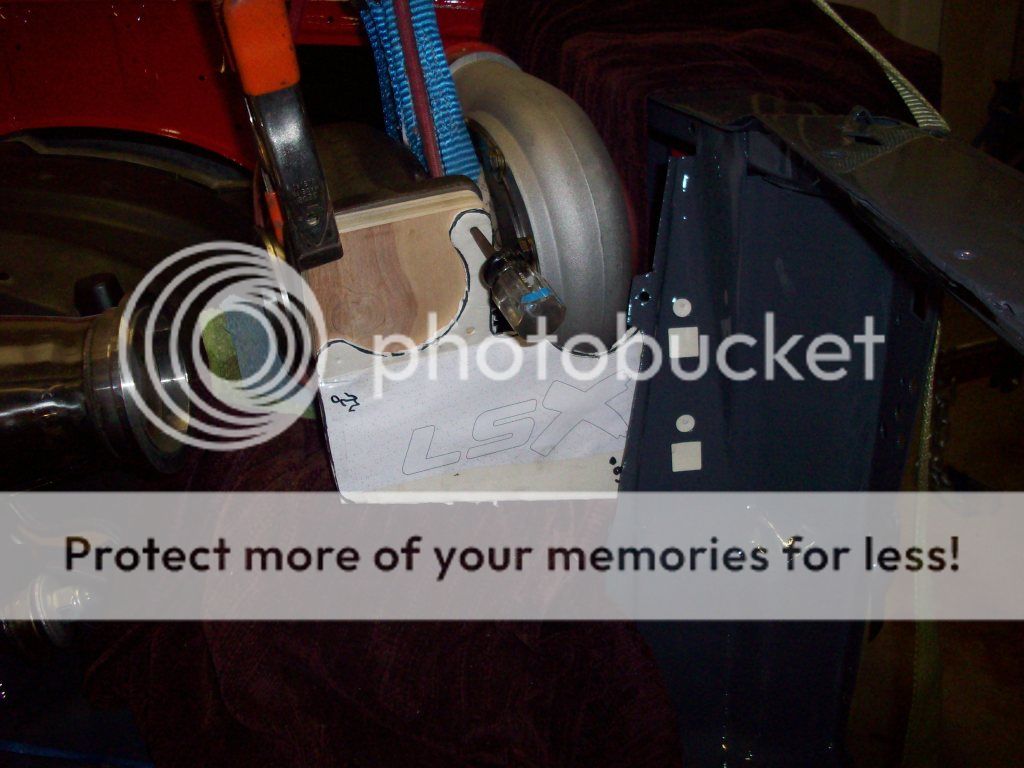
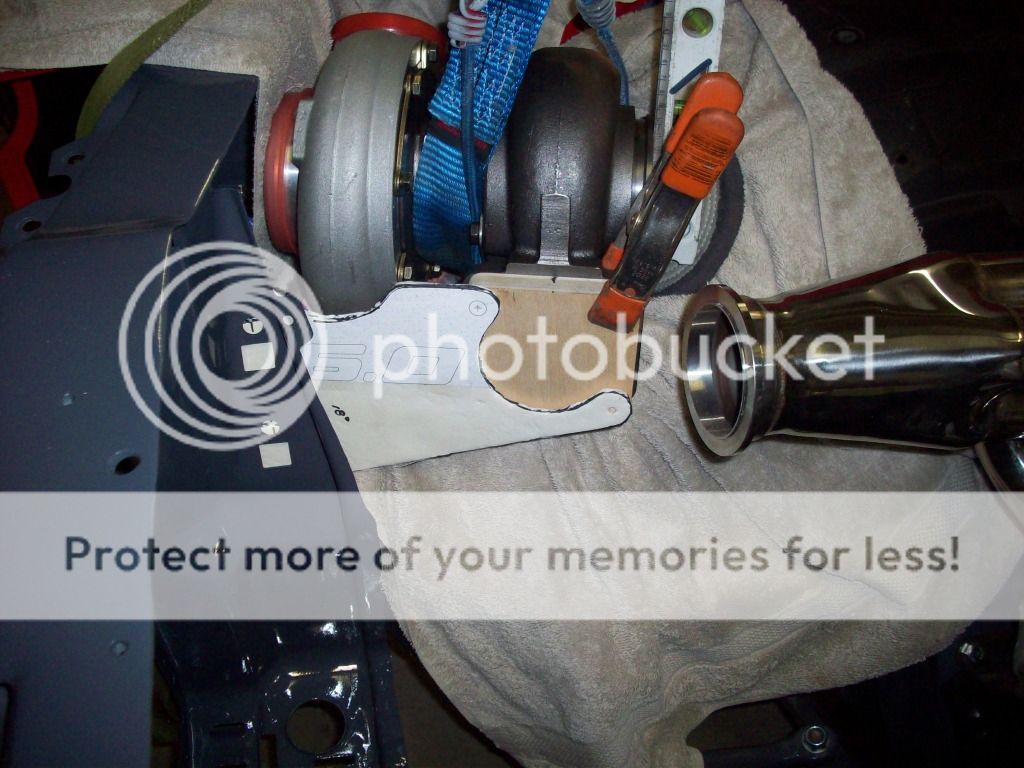
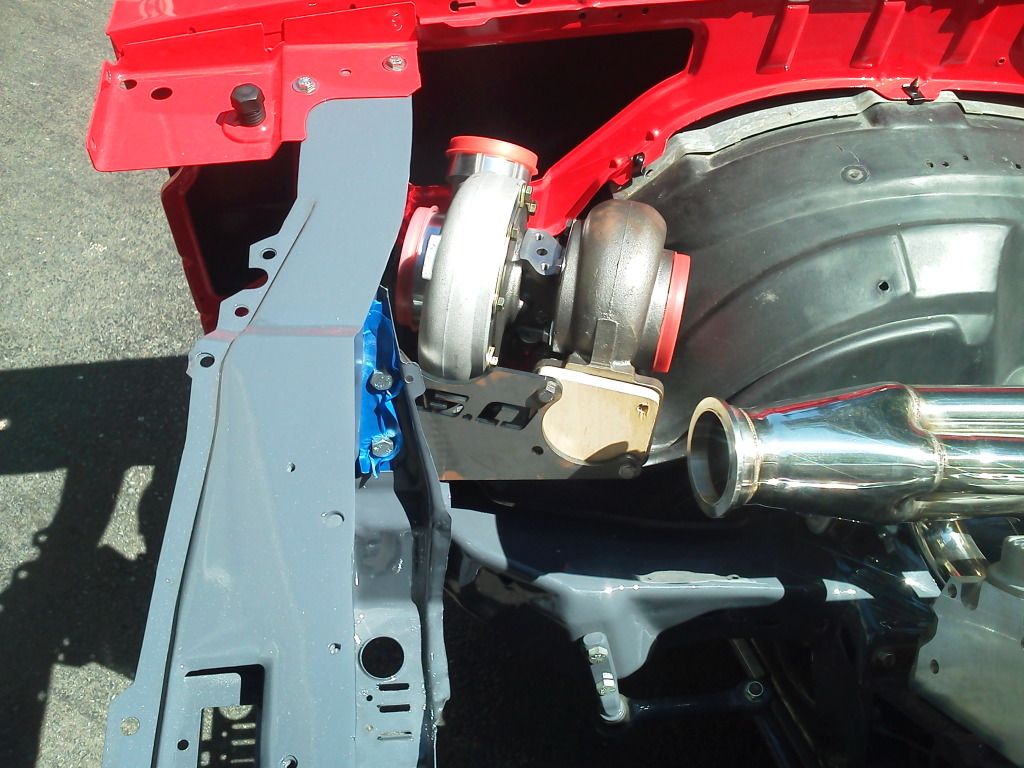
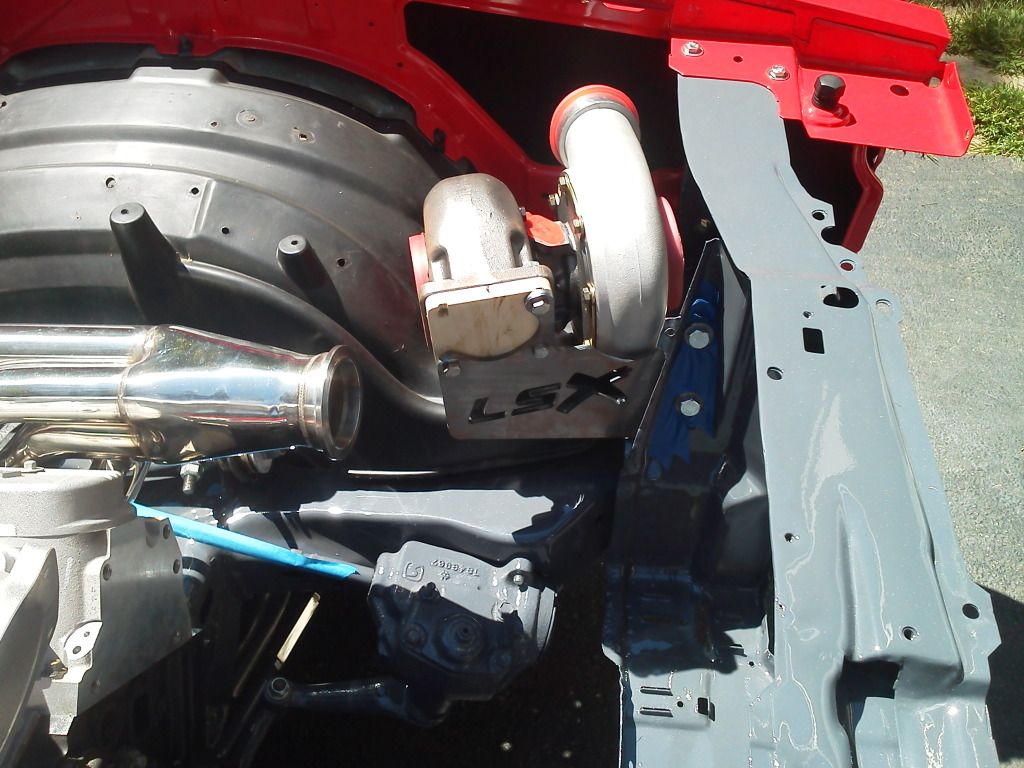
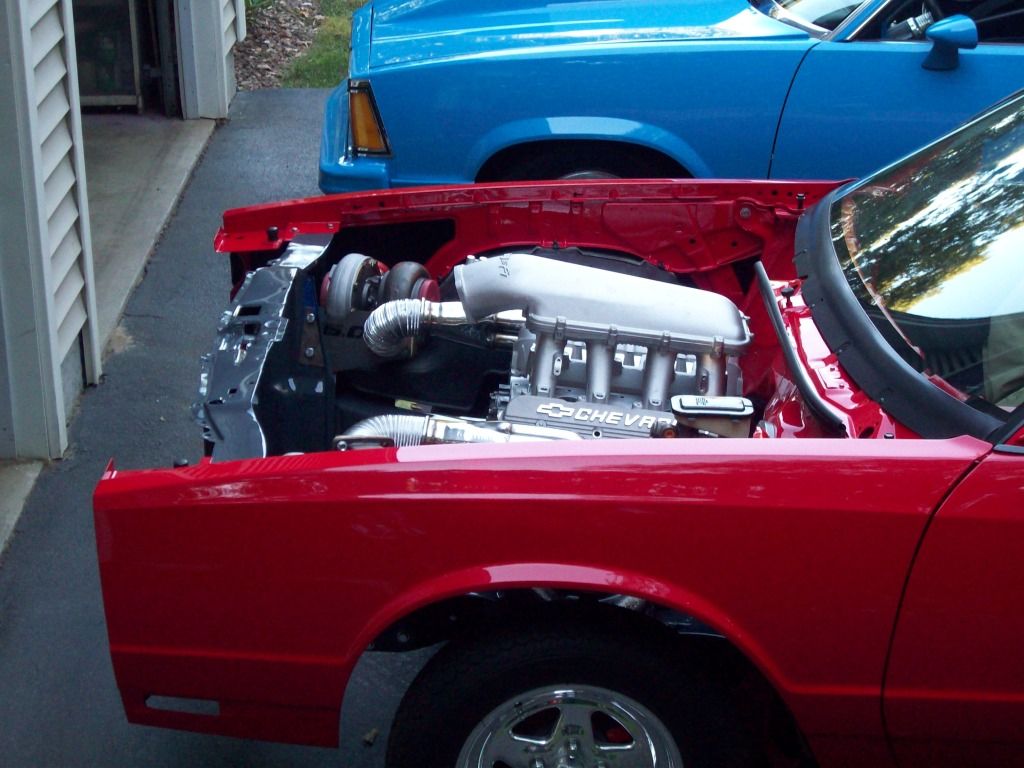
And now the fun part, playing with the turbos and trying to figure out how and where to mount them at what angle where... To aid in this part, we built a mini swing set and hung the turbos off of them, positionint them with bungee cords. Once we finally decided on the mounting position, we designed a bracket to mount the turbos. These things are a little to heavy for the headers to support alone. A lot of guys mount their turbo brackets to the frame or engine. But the frame is perfect with nice paint, not touching that, and the turbos are too far away from the engine, so it would need a huuge ugly bracket. The bracket we designed is coming off of the radiator support, using a few holes already in it. This should be enough to take some of the weight off the headers. We'll have a 90* or so bend going from the header to the turbo, the "downpipe" will go kind of over the wheel well (which we'll be somewhat modifying by filling all the holes and ugly lines). Air intake will be going through the headlight bucket holes in the radiator support. and the comp. outlet will point down, going into a 2-to-1 intercooler, and to the engine. That probably made no sense at all, but there will be pictures explaining it. But anyway, the brackets are currently being laser CNC'd for us.
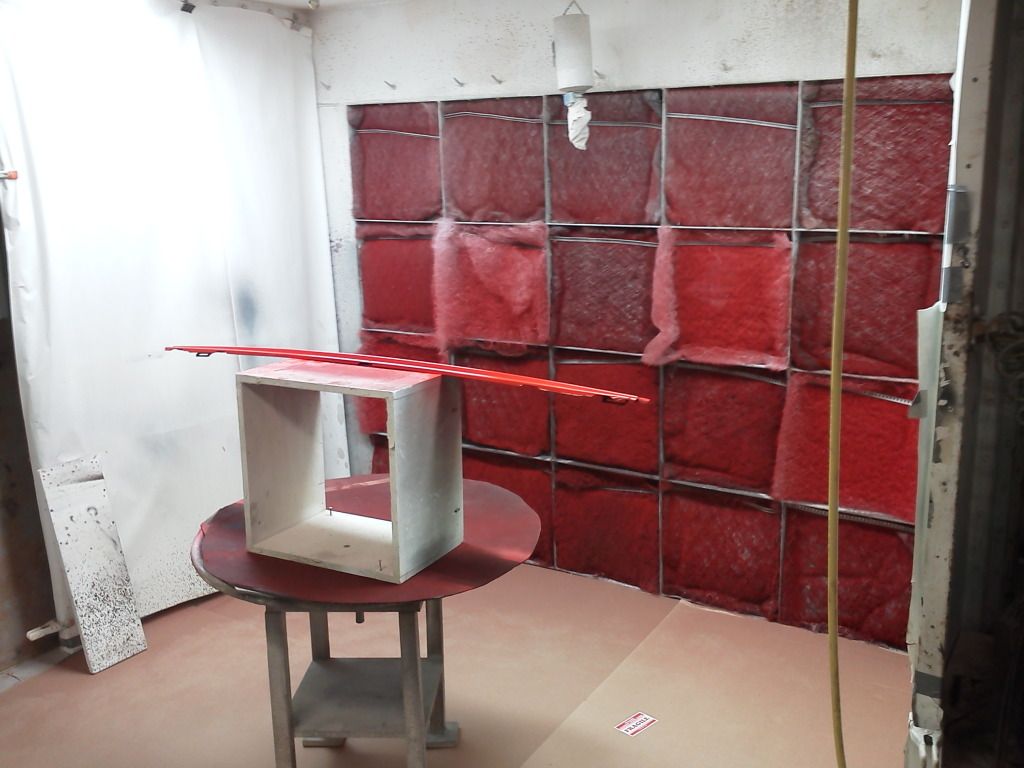
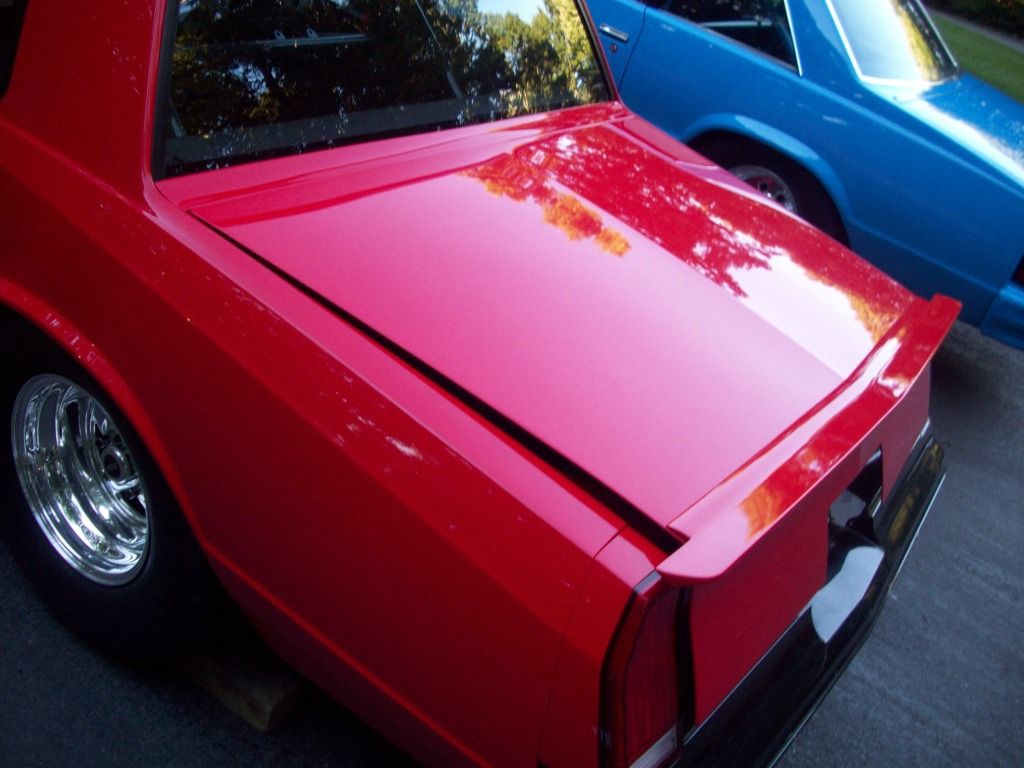
And while we're waiting for those brackets, we've been focusing on getting the taillight housings and spoiler into primer. Those are all primed, blocked, and ready for paint now.
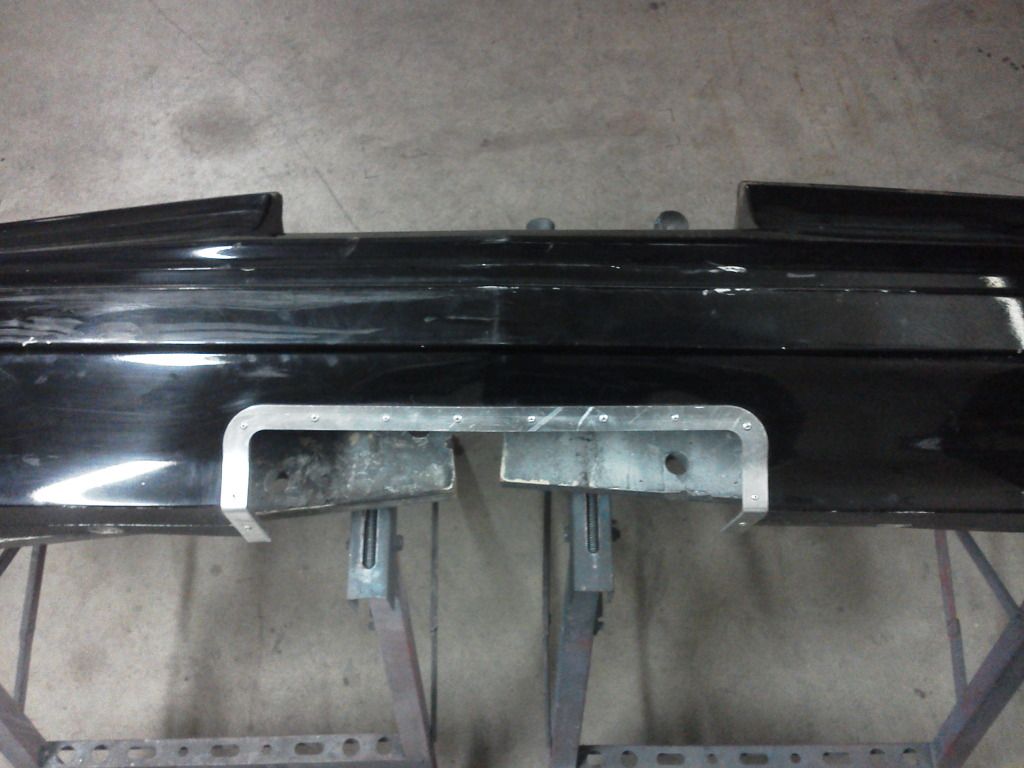
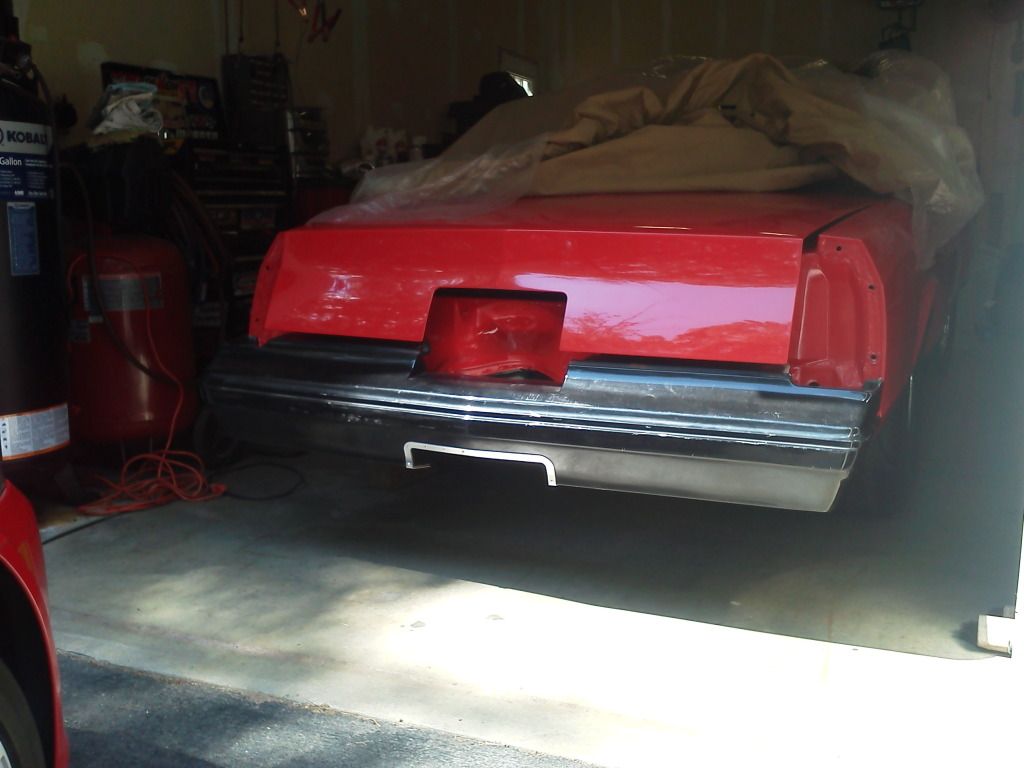
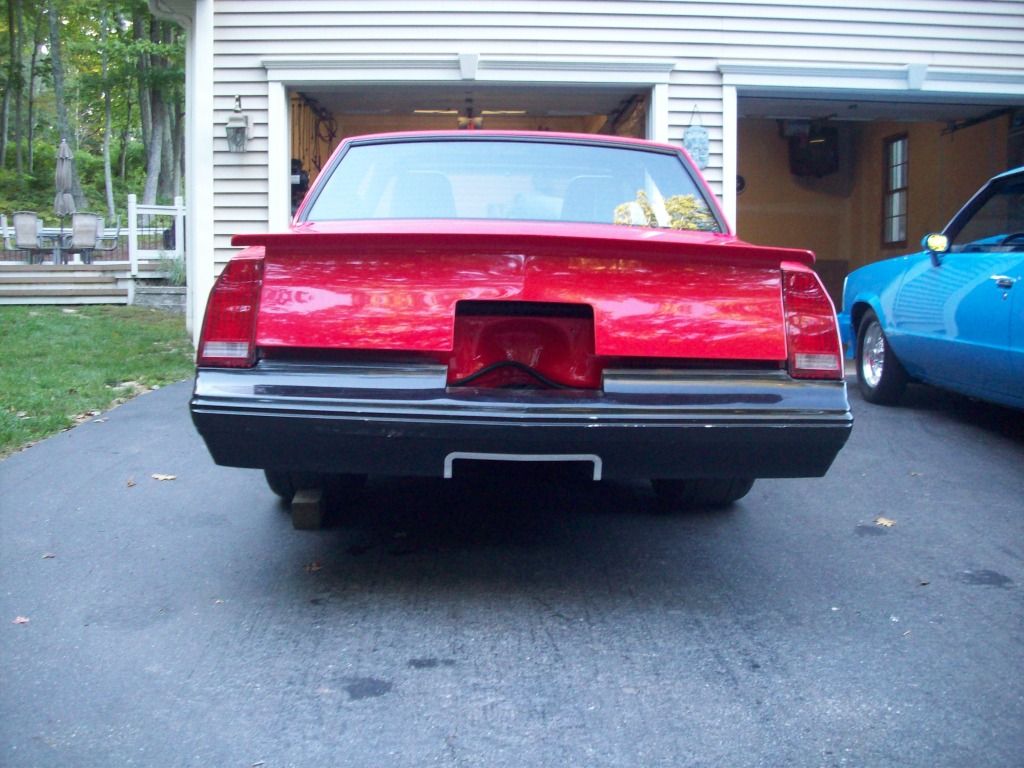
We're also working on a center exit exhaust which is cut into the bumper. Pictures coming.
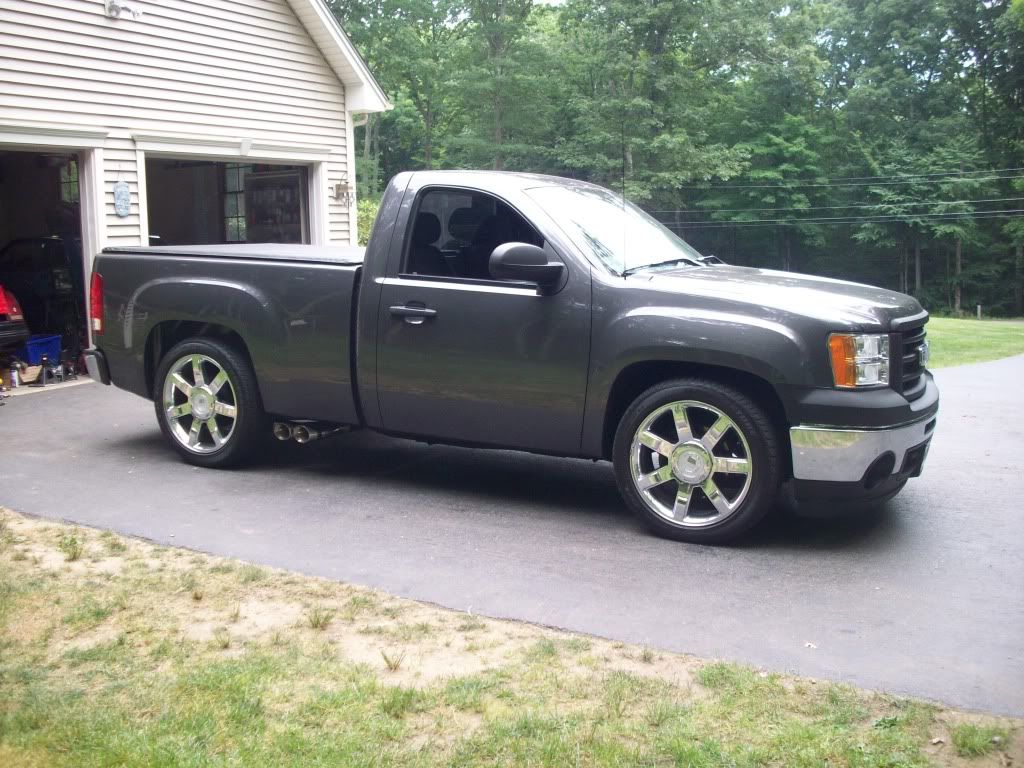
In between working on the Monte, I've been working on my new daily, 2010 Sierra. So far, for now, I put an aeroturbine muffler on (never heard of it until browsing youtube, but it sounds amazing) with a Corsa tip, And a McGaughy's 3/5 lowering kit. It's a plain work truck model, came with the 17" steel wheels, but the dealer also had these 22" Escalade wheels that i got for a very great price. Previous owner debadged and tinted the windows. But I'm trying not to spend tooo much money here...Monte needs more!
And while we're waiting for those brackets, we've been focusing on getting the taillight housings and spoiler into primer. Those are all primed, blocked, and ready for paint now.
We're also working on a center exit exhaust which is cut into the bumper. Pictures coming.
In between working on the Monte, I've been working on my new daily, 2010 Sierra. So far, for now, I put an aeroturbine muffler on (never heard of it until browsing youtube, but it sounds amazing) with a Corsa tip, And a McGaughy's 3/5 lowering kit. It's a plain work truck model, came with the 17" steel wheels, but the dealer also had these 22" Escalade wheels that i got for a very great price. Previous owner debadged and tinted the windows. But I'm trying not to spend tooo much money here...Monte needs more!
08-18-2012, 10:16 PM
#3
Staging Lane
Thread Starter
Join Date: Nov 2007
Location: Connecticut
Posts: 86
Likes: 0
Received 0 Likes
on
0 Posts
Full Build Progress Thread:
http://www.maliburacing.com/forum/vi...p?f=14&t=70008
I have also been posting pictures onto a Facebook page I made, click, like, and share!!
http://www.facebook.com/83montebuildprogress
http://www.maliburacing.com/forum/vi...p?f=14&t=70008
I have also been posting pictures onto a Facebook page I made, click, like, and share!!
http://www.facebook.com/83montebuildprogress
08-18-2012, 10:47 PM
#4
Staging Lane
Thread Starter
Join Date: Nov 2007
Location: Connecticut
Posts: 86
Likes: 0
Received 0 Likes
on
0 Posts
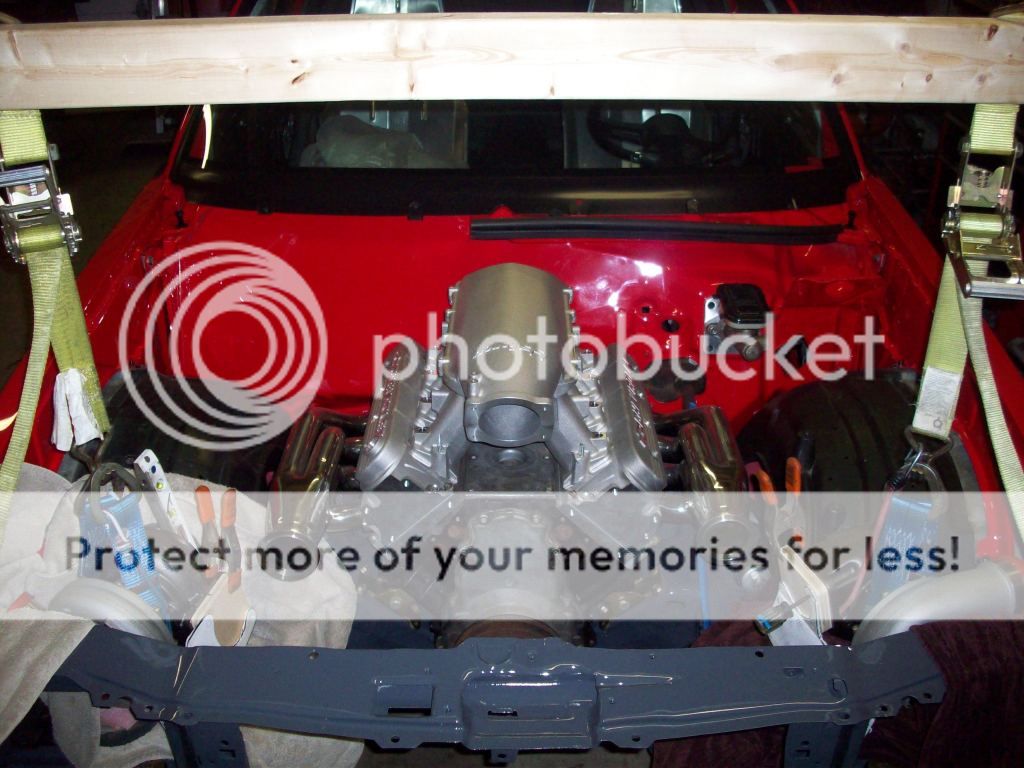
Forgot to mention the engine/tubro part haha
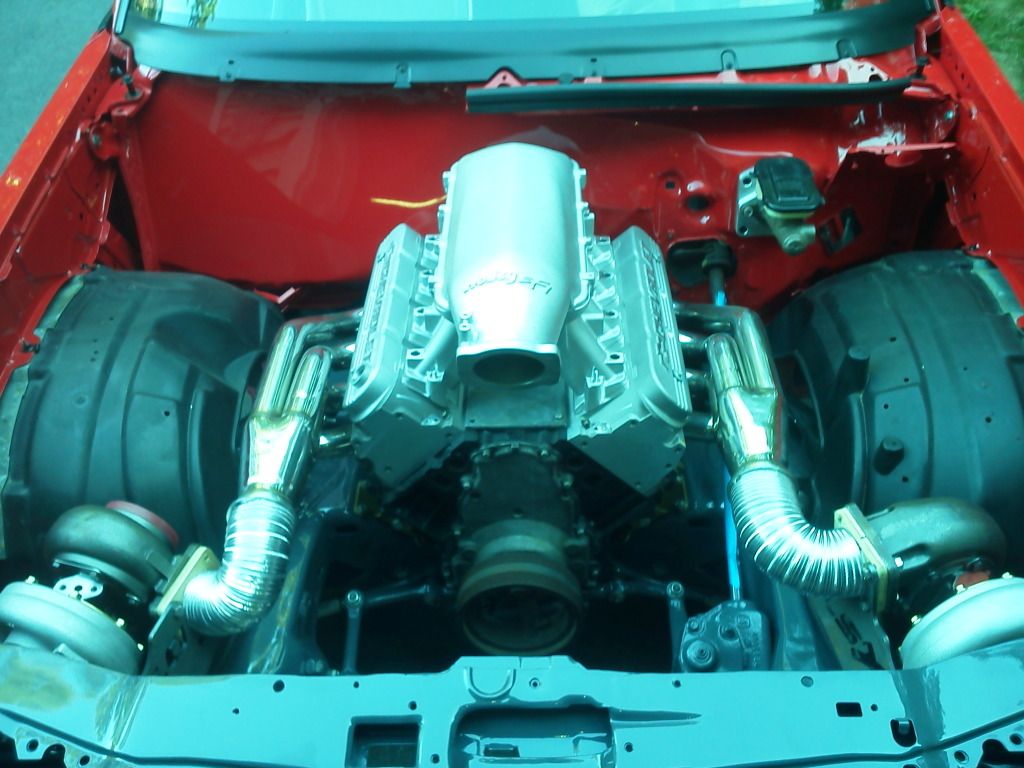
LQ4 from a 99 Silverado, L92 heads, Stock crank, H-beam rods/forged pistons. LS9 cam. Holley Hi-Ram intake, Twin GT45 ebay turbos...ive heard a lot of good about these.
LQ4 from a 99 Silverado, L92 heads, Stock crank, H-beam rods/forged pistons. LS9 cam. Holley Hi-Ram intake, Twin GT45 ebay turbos...ive heard a lot of good about these.


Trending Topics
08-22-2012, 11:29 AM
#11
Staging Lane
Thread Starter
Join Date: Nov 2007
Location: Connecticut
Posts: 86
Likes: 0
Received 0 Likes
on
0 Posts
Thanks for the compliment guys. Hope to have some more painting done this weekend on some misc body pieces. THEN I hope to start installing and plumbing the turbos...the fun stuff!
08-29-2012, 08:24 PM
#14
Staging Lane
Thread Starter
Join Date: Nov 2007
Location: Connecticut
Posts: 86
Likes: 0
Received 0 Likes
on
0 Posts
Well we're totally new to turbos, we always built big blocks if we wanted power lol, but the ad says a gt45 is good for a 3.0L and i have a 6.0, so times 2! hahah. but really, i guess its a game of trial and error, figured they were 265 a piece, we'll give them a shot and see how it goes
09-02-2012, 09:10 PM
#16
Staging Lane
Thread Starter
Join Date: Nov 2007
Location: Connecticut
Posts: 86
Likes: 0
Received 0 Likes
on
0 Posts
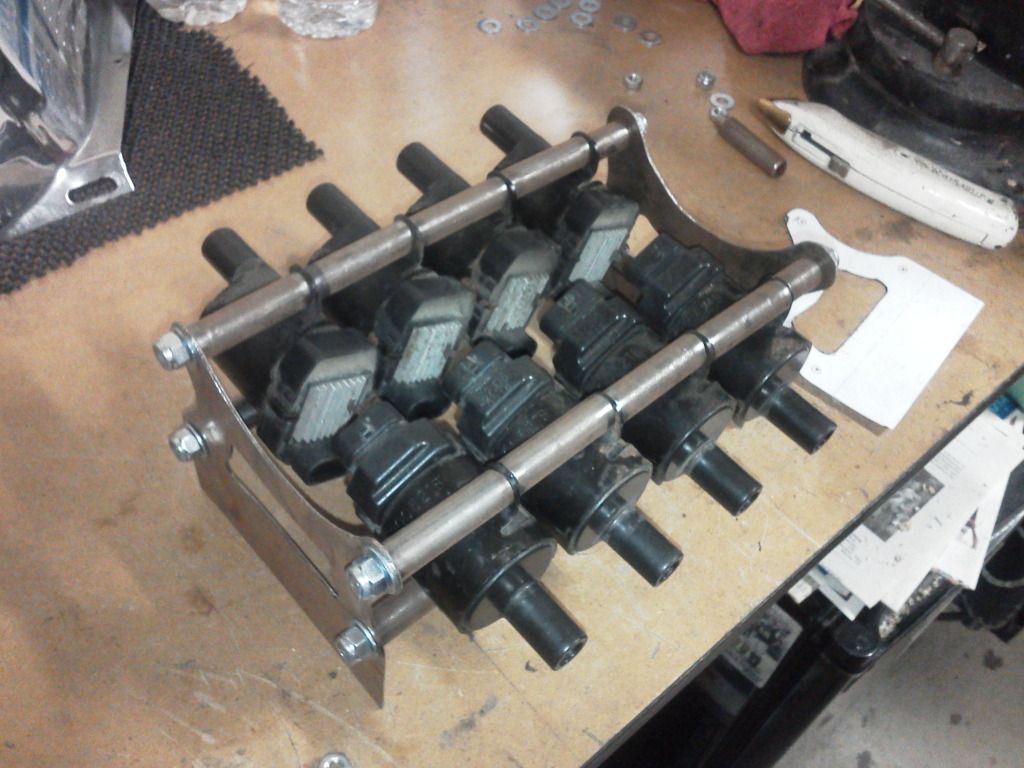
We aren't mounting the coils on the valve cover, so we want to mount them behind the firewall. Designed and made up a relocation bracket for them, which will be mounted onto a tubular bracket that we are working on now, behind the dash.
Also doing our signature touch at the back of the car, center exit exhaust. Almost like my brothers Malibu, but basing it on the CTS-V exhaust.
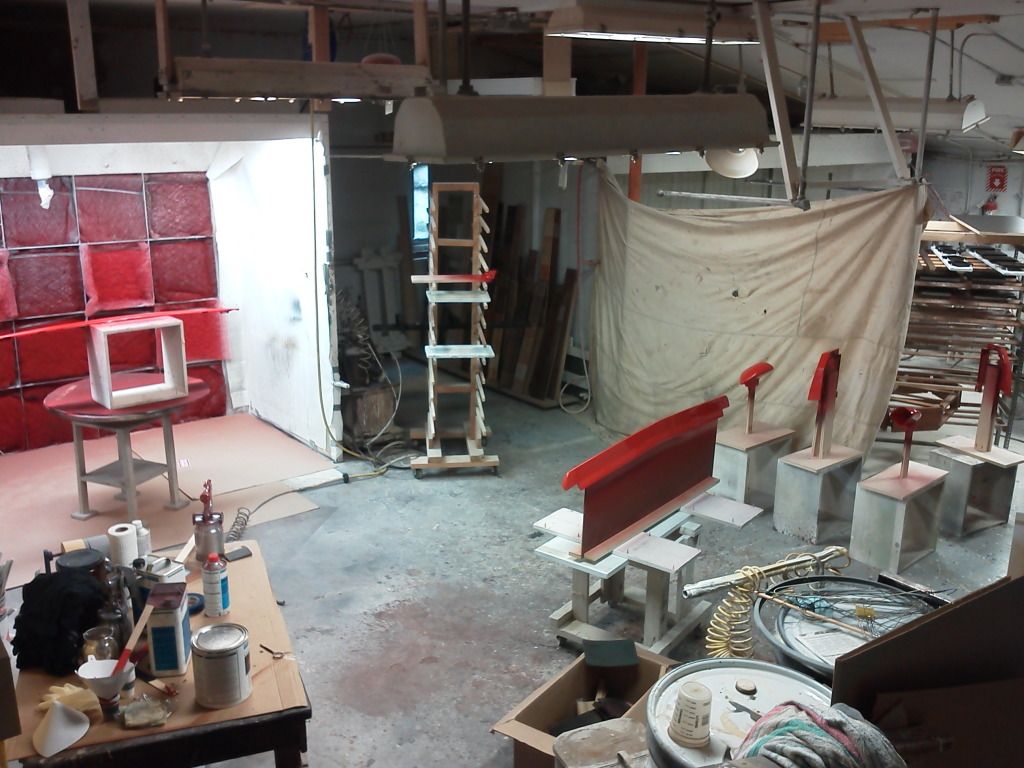
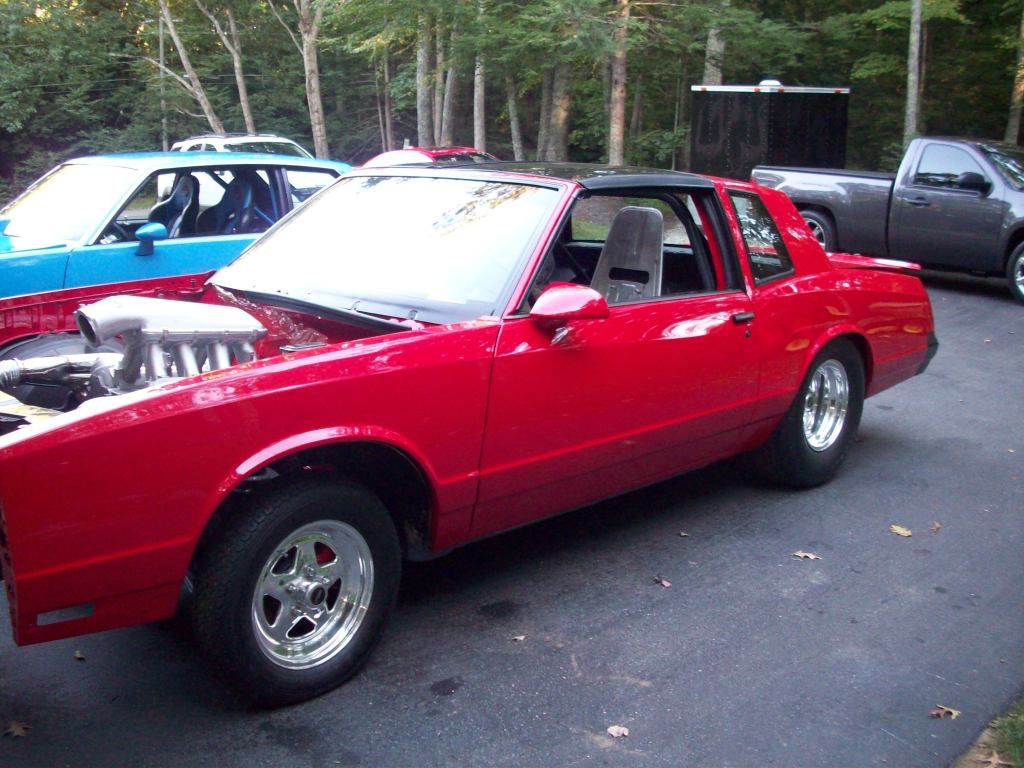
Past few weeks of work finally paid off today, we spent a lot of time getting the spoiler, trunk filler panel, taillight housings, trunk latch, and mirrors ready for paint. We don't really feel like wet-sanding these little parts, so my dad got the OK from his boss to use the company's spray booth. He works at a custom kitchen company which has a couple spray booths for their kitchens. First time I ever used a real booth, and I'm spoiled now. No dust on the floor, no dust specs in the paint, bright lights.

Turbo brackets came in!! They look so good. It's going to be fun to route the piping though. We bought some dryer vent hose at Lowe's just to play around with for now.

Also doing our signature touch at the back of the car, center exit exhaust. Almost like my brothers Malibu, but basing it on the CTS-V exhaust.
Past few weeks of work finally paid off today, we spent a lot of time getting the spoiler, trunk filler panel, taillight housings, trunk latch, and mirrors ready for paint. We don't really feel like wet-sanding these little parts, so my dad got the OK from his boss to use the company's spray booth. He works at a custom kitchen company which has a couple spray booths for their kitchens. First time I ever used a real booth, and I'm spoiled now. No dust on the floor, no dust specs in the paint, bright lights.
Turbo brackets came in!! They look so good. It's going to be fun to route the piping though. We bought some dryer vent hose at Lowe's just to play around with for now.
09-16-2012, 07:28 PM
#18
Staging Lane
Thread Starter
Join Date: Nov 2007
Location: Connecticut
Posts: 86
Likes: 0
Received 0 Likes
on
0 Posts
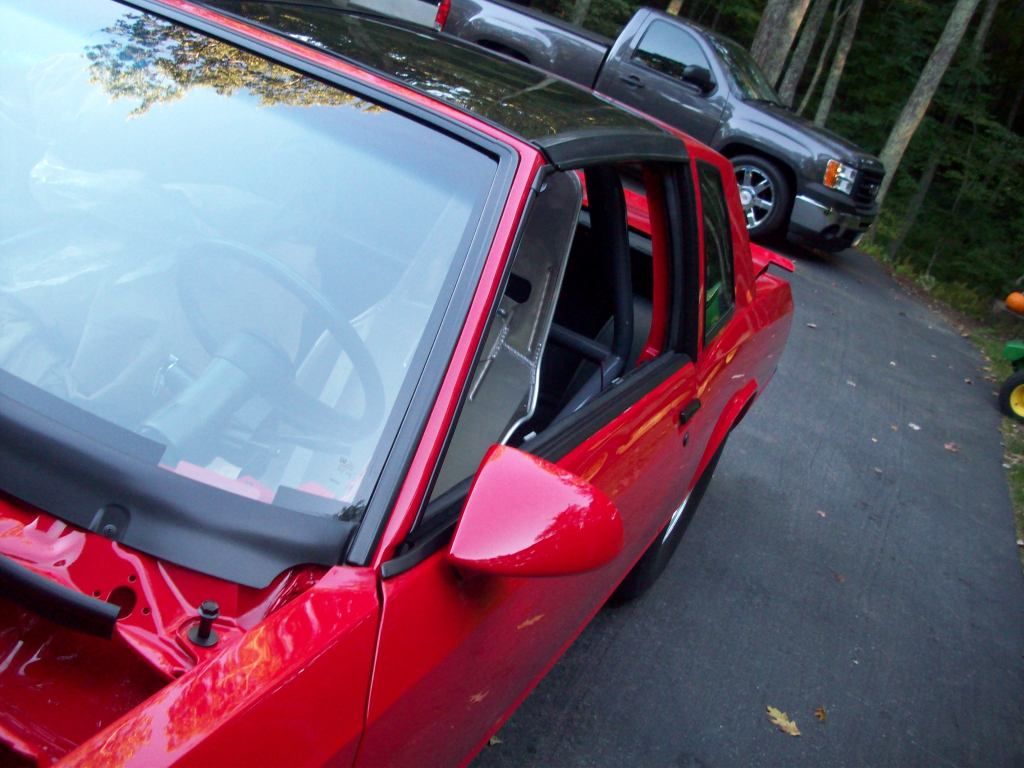
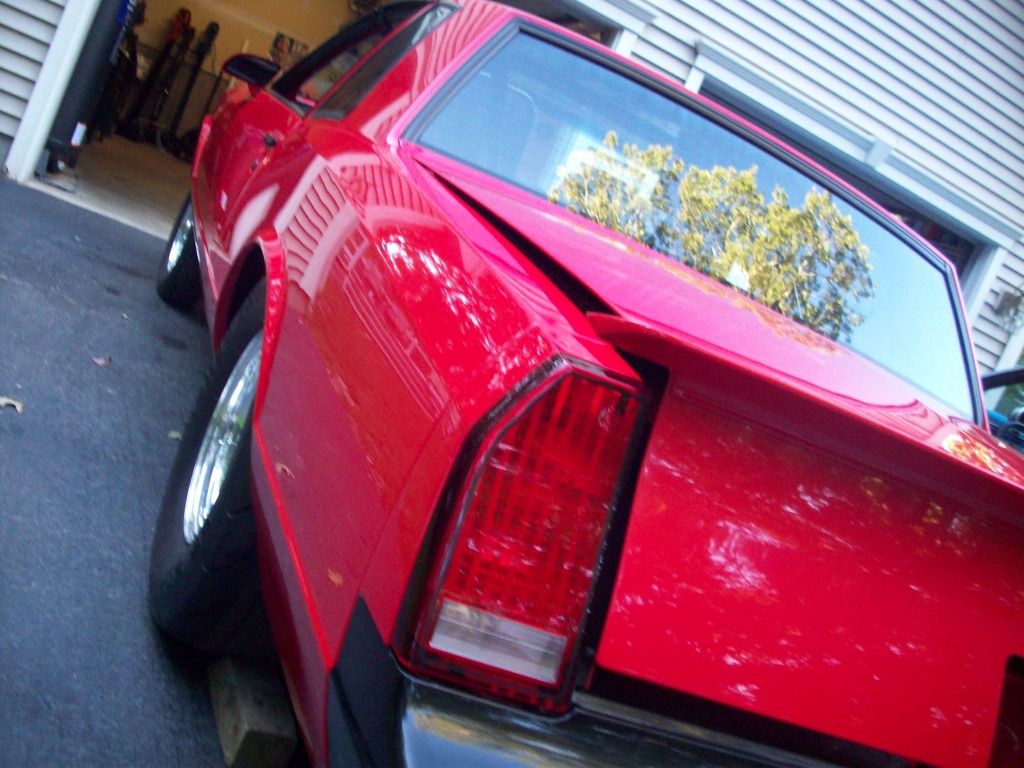
All the parts we painted a couple weekends back are all on now. Adding the spoiler to the trunk gave it just enough weight that the struts we had on our hinges were too weak, so we replaced those with better ones, doesn't open the trunk, but they hold it. Bought new taillight lenses without the emblem from Dixie Monte Carlo and assembled those. Assembled my mirrors (but the part that the mirror lense sticks to seems too loose, they'll move every time you hit a bump.....or the gas...) need to figure something out there. Filler panel in front of the trunk is on. The trunk latch is all thats left.
In between putting that stuff on, we've been cleaning the windshield wiper motor and linkages (not that those will be used)
Also cleaning up some wirring harnesses.
In between putting that stuff on, we've been cleaning the windshield wiper motor and linkages (not that those will be used)
Also cleaning up some wirring harnesses.