1995 Mustang GTS, 5.3, TH400, S475 build. Bye bye SBF, hello LS
#1
Teching In
Thread Starter
iTrader: (2)
Join Date: Apr 2006
Location: Meridian, MS
Posts: 17
Likes: 0
Received 0 Likes
on
0 Posts

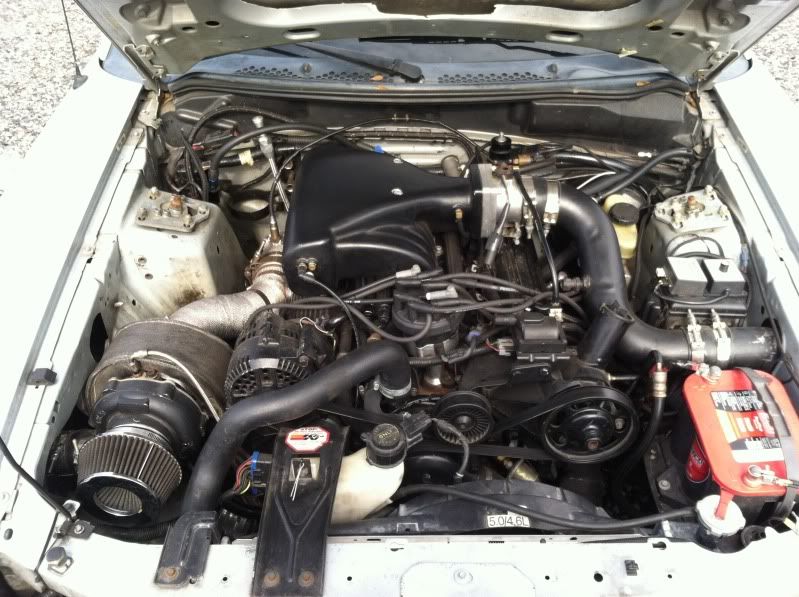
Well after WAY more abuse than I thought a stock bottom end 302 would take, the motor in my car finally gave up the ghost. But she ran mid 10's @ 129 mph on 17" drag radials for almost a year and a help before I got stupid and upped the boost and maxed the fuel system out.
So it's time to step my game up a little, while still being a cheap ***. That means it's LS time baby.
The game plan is a take a junkyard dog 5.3, throw a cam in it, new rings and bearings, some e-bay head studs, LS9 head gaskets, fuel and spark it with MicroSquirt and hang a Borg-Warner S475 off the nose of it. On 20 lbs I think I will be well into the 9's
I've been doing a build thread on my local board for a few weeks now, but I think I would post it up over here too. This should get you guys up to date.
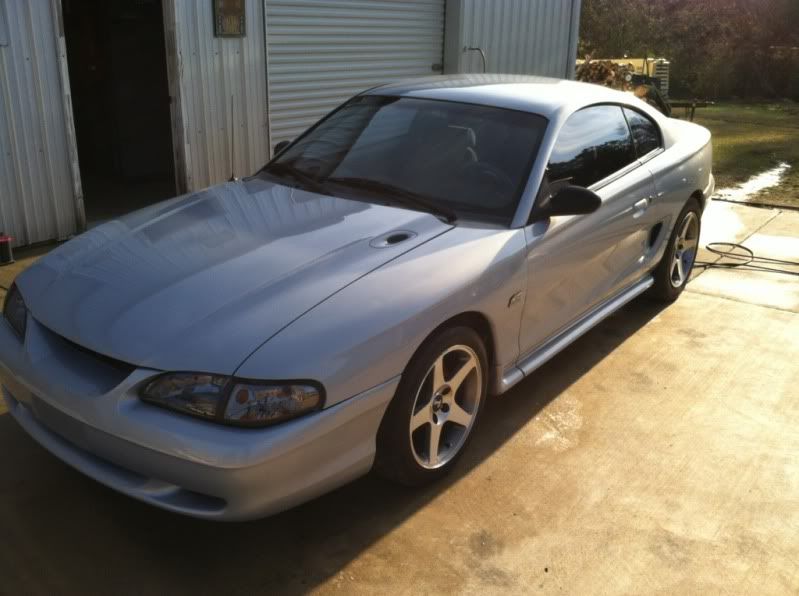
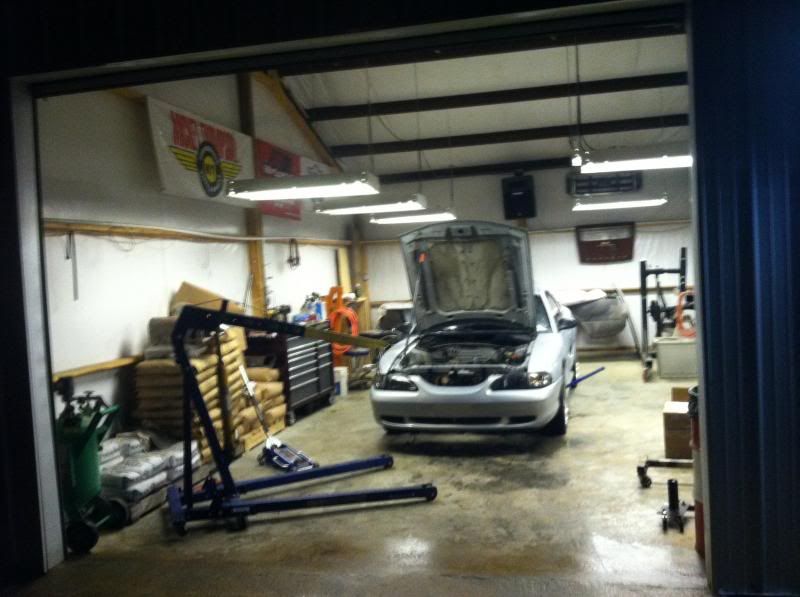
But here's what I'm starting with.
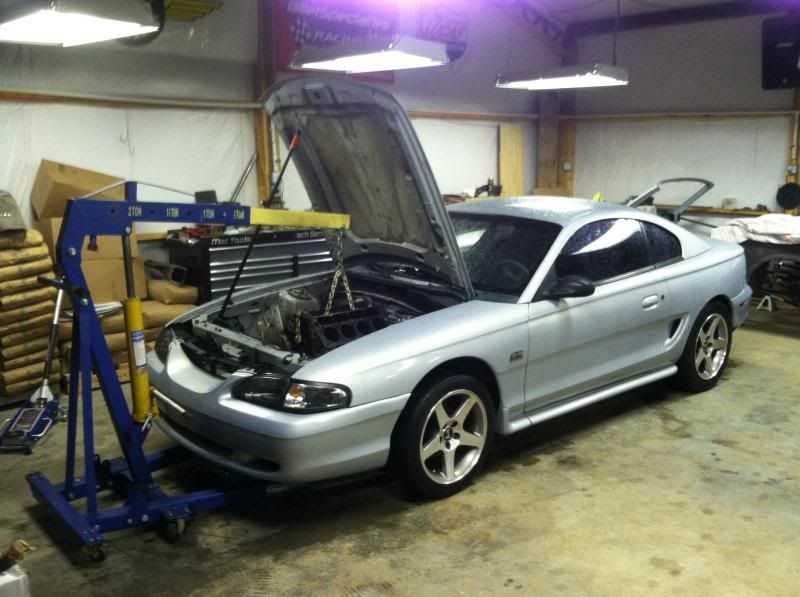
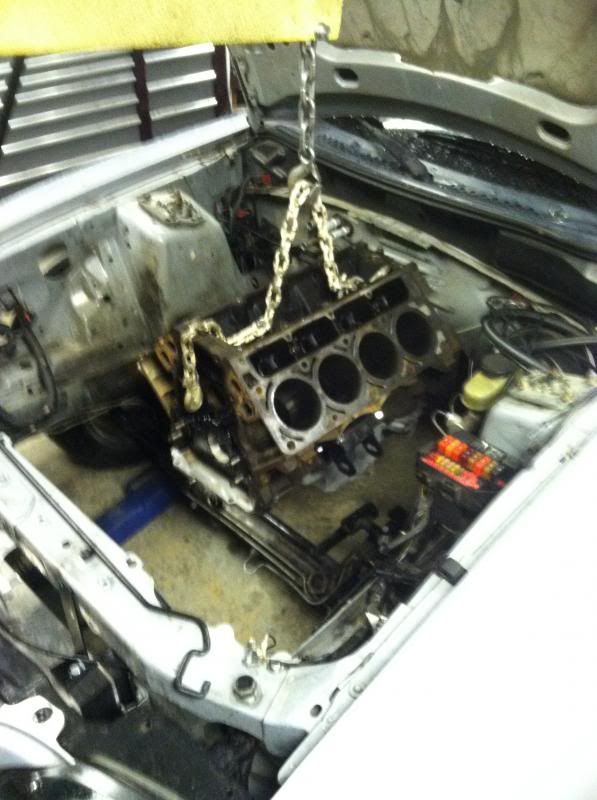
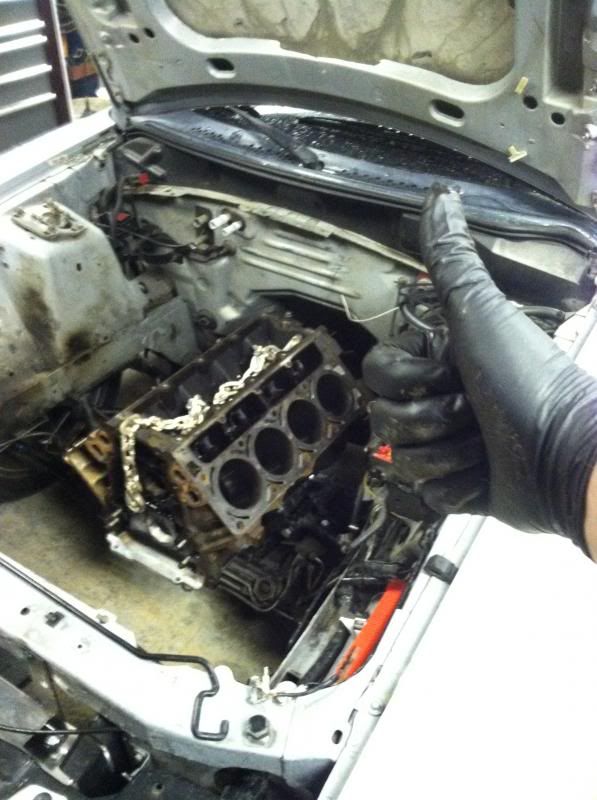
And here she is after I yanked the motor and trans. Lots of work to do in here. Once mock up is done I'm going to pressure wash, clean and paint it in here.
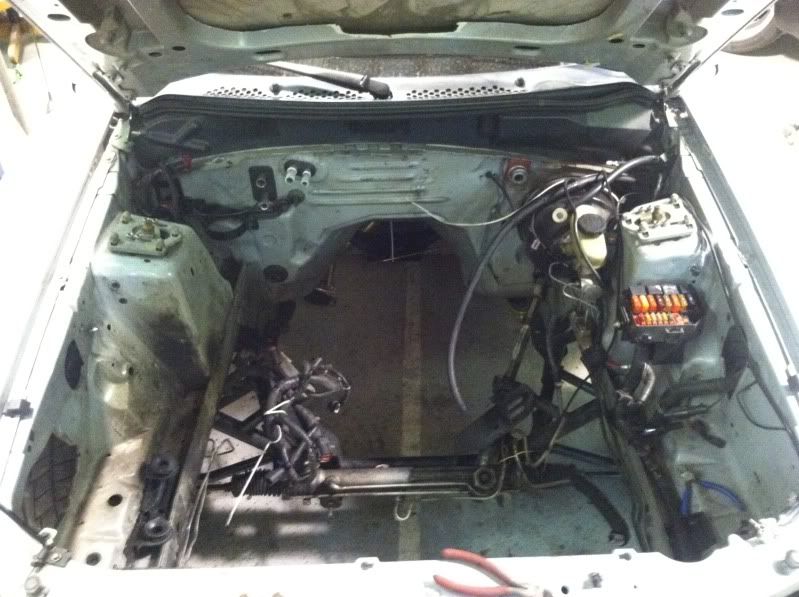
Out with the old....
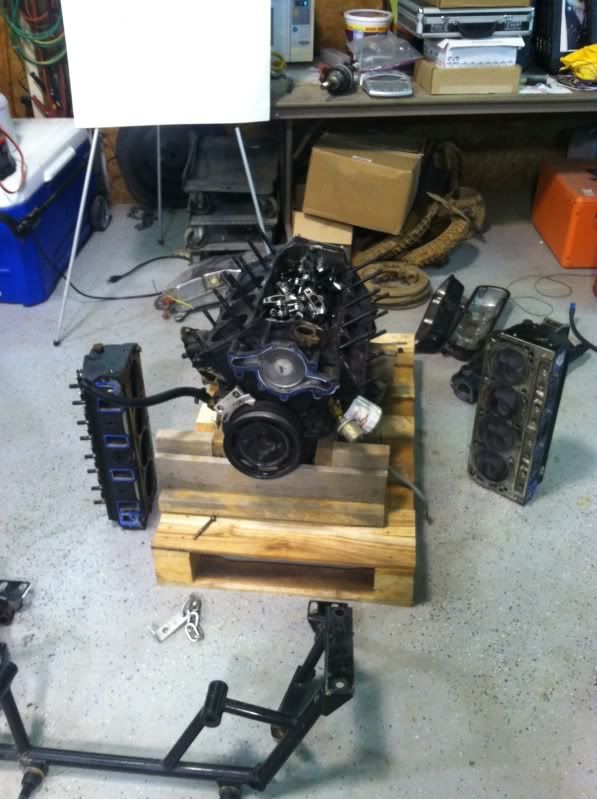
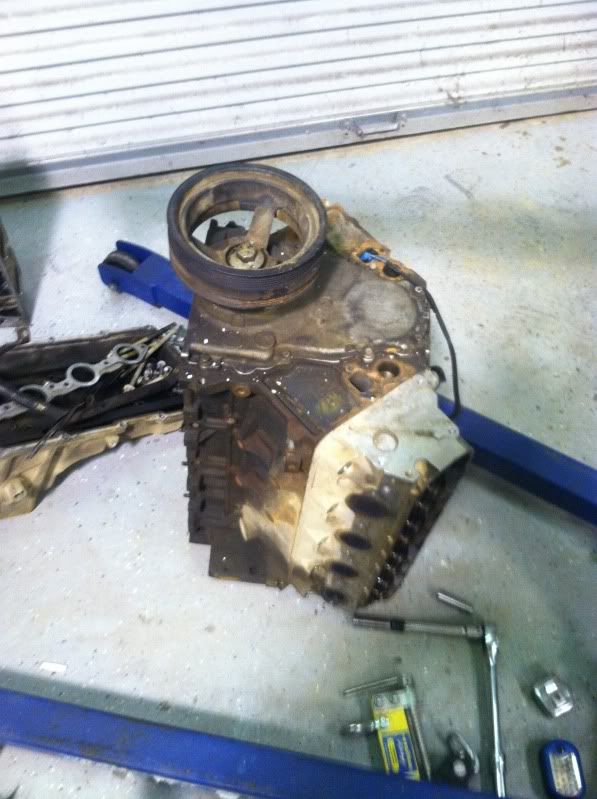
.....and in with the new Junkyard dog 5.3 I paid $350 delivered for.
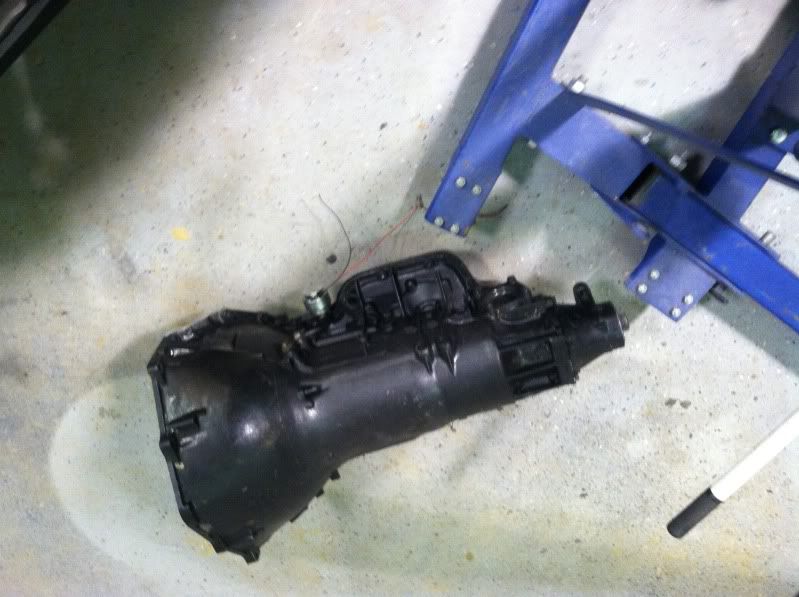
PTC TH400 w/ trans brake.
So it's time to step my game up a little, while still being a cheap ***. That means it's LS time baby.
The game plan is a take a junkyard dog 5.3, throw a cam in it, new rings and bearings, some e-bay head studs, LS9 head gaskets, fuel and spark it with MicroSquirt and hang a Borg-Warner S475 off the nose of it. On 20 lbs I think I will be well into the 9's
I've been doing a build thread on my local board for a few weeks now, but I think I would post it up over here too. This should get you guys up to date.
But here's what I'm starting with.


And here she is after I yanked the motor and trans. Lots of work to do in here. Once mock up is done I'm going to pressure wash, clean and paint it in here.

Out with the old....

.....and in with the new Junkyard dog 5.3 I paid $350 delivered for.

PTC TH400 w/ trans brake.

#2
Teching In
Thread Starter
iTrader: (2)
Join Date: Apr 2006
Location: Meridian, MS
Posts: 17
Likes: 0
Received 0 Likes
on
0 Posts

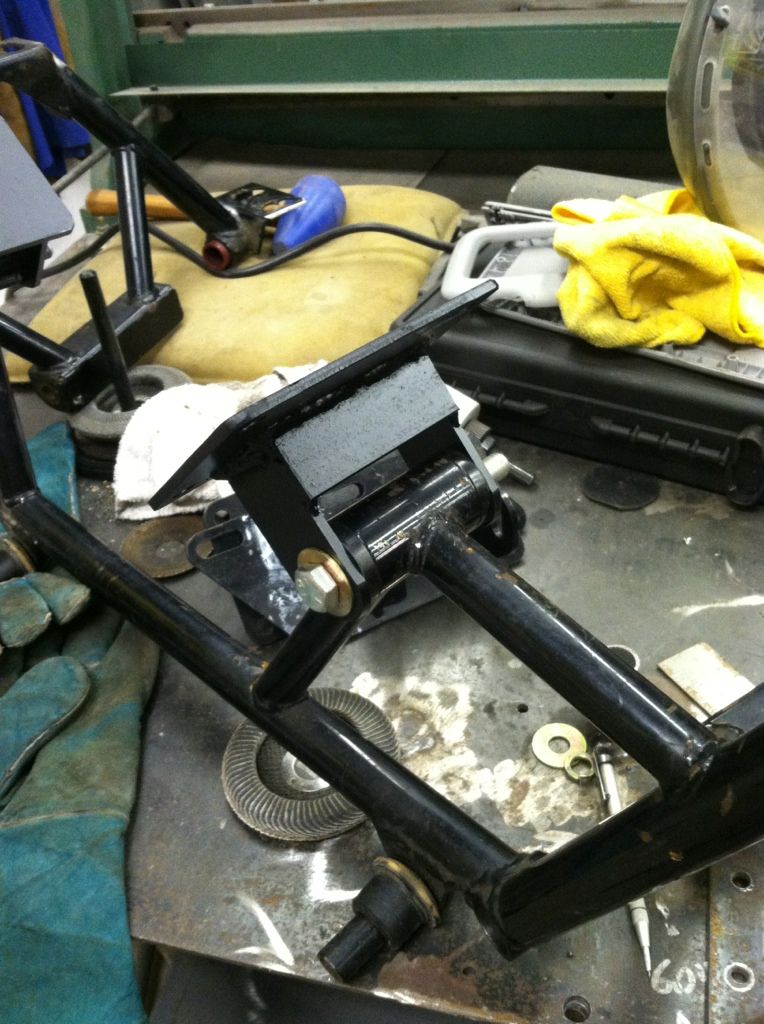
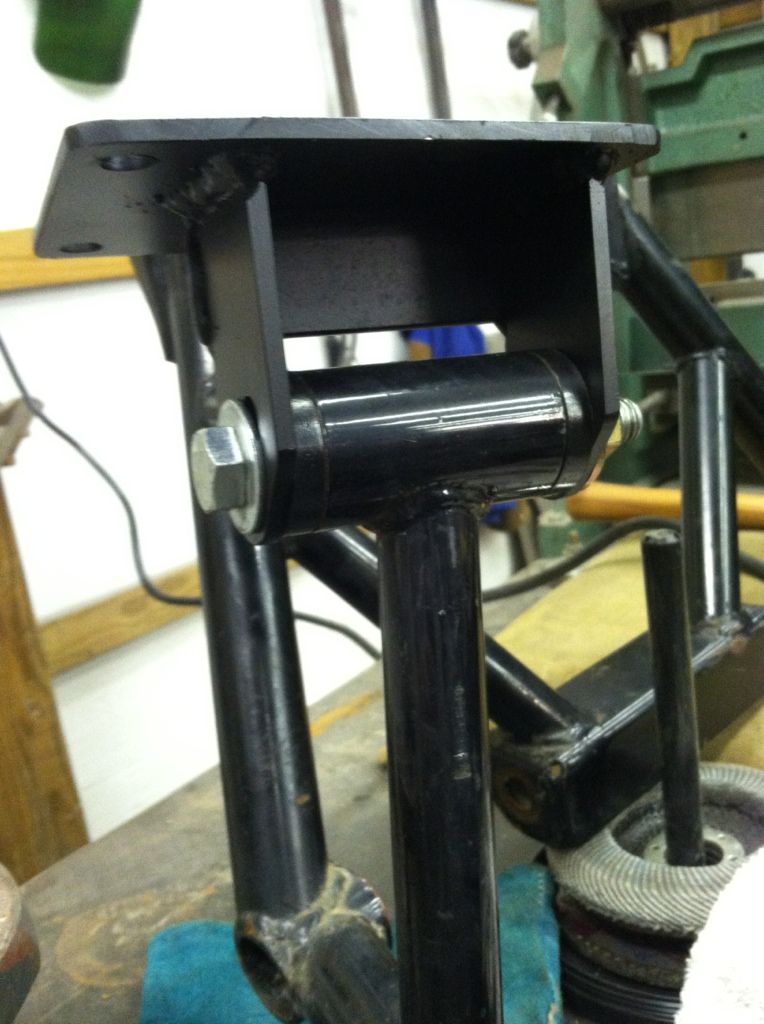
Since I'm a cheap ***, I was too cheap to buy the $80 AJE mounts to go with my use AJE k-member I picked up.
So I made my own.
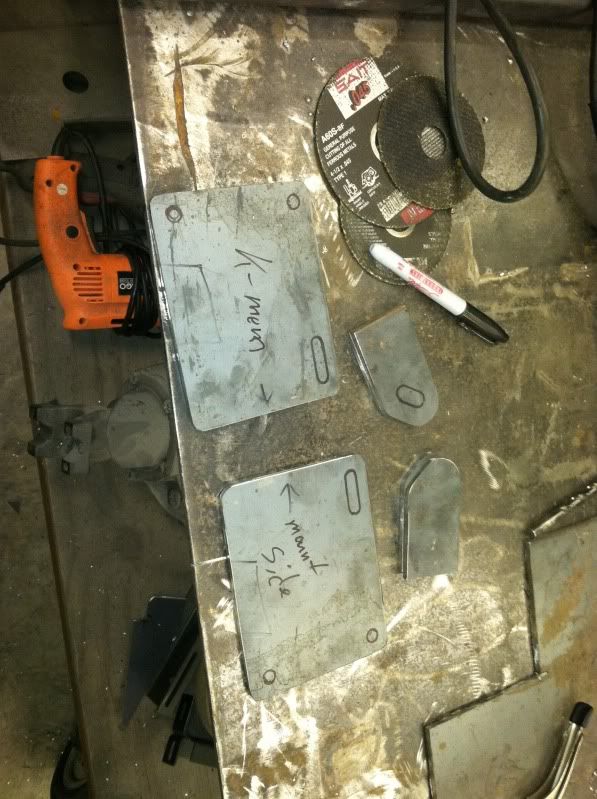
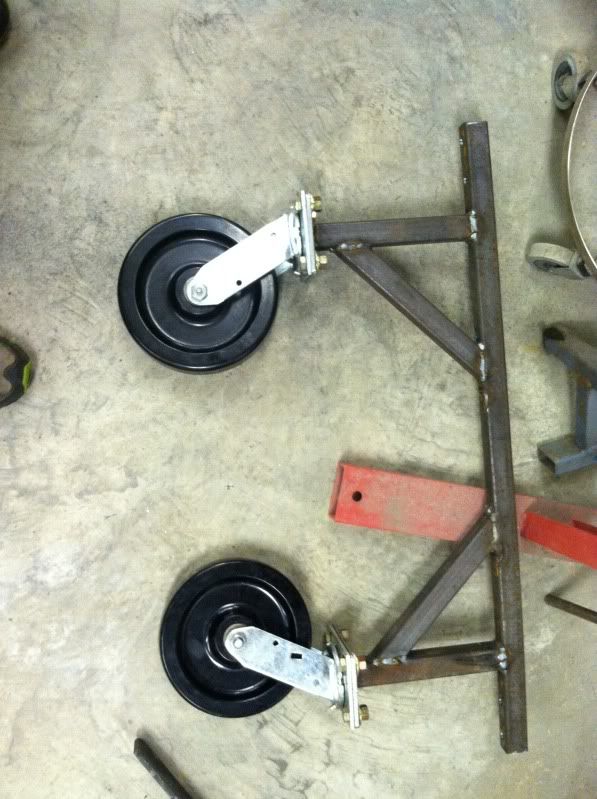
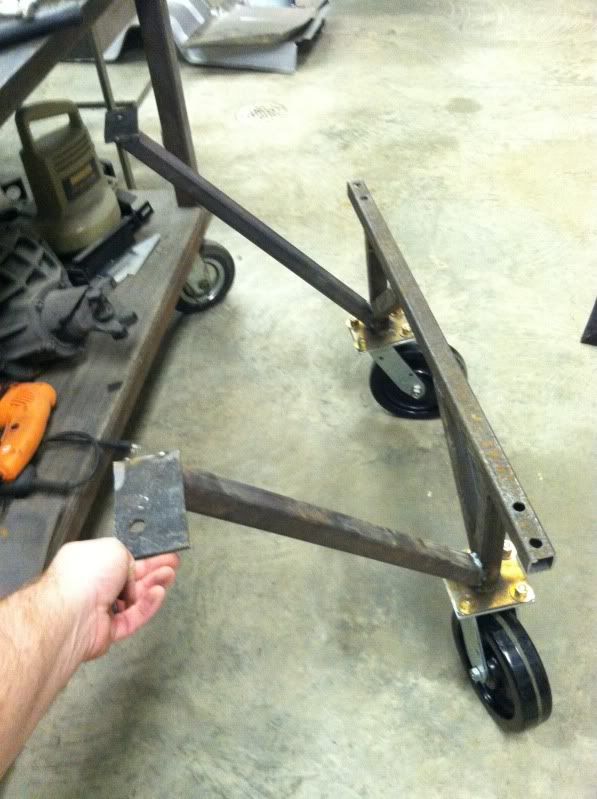
I also made a dolly that bolts to the frame rails so that I can roll the car around and while I have the front suspension out from under it. I just have to add another brace to keep it from moving front to back, but I'll have to wait till it's on the car to do that.
So I made my own.

I also made a dolly that bolts to the frame rails so that I can roll the car around and while I have the front suspension out from under it. I just have to add another brace to keep it from moving front to back, but I'll have to wait till it's on the car to do that.

#3
Teching In
Thread Starter
iTrader: (2)
Join Date: Apr 2006
Location: Meridian, MS
Posts: 17
Likes: 0
Received 0 Likes
on
0 Posts

I finished the dolly. I just used the k-member as a jig, since it was raining and the car was outside on the trailer.
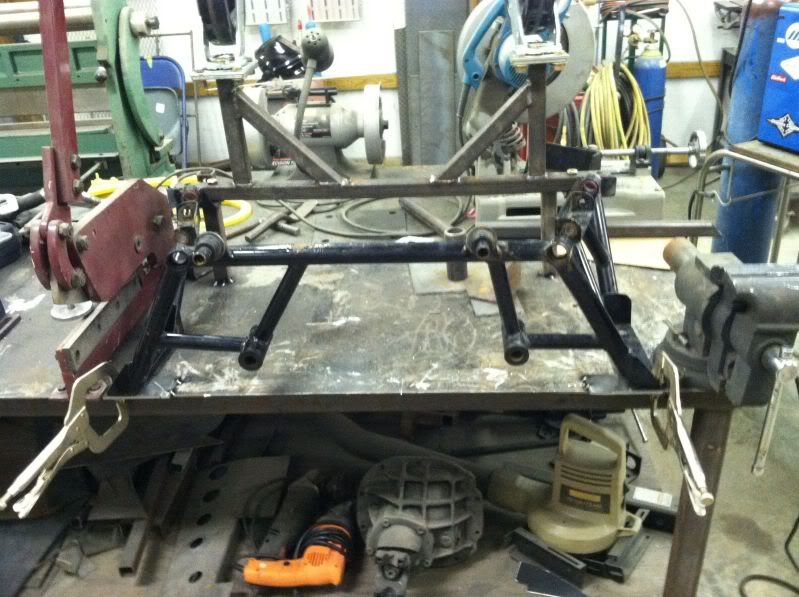
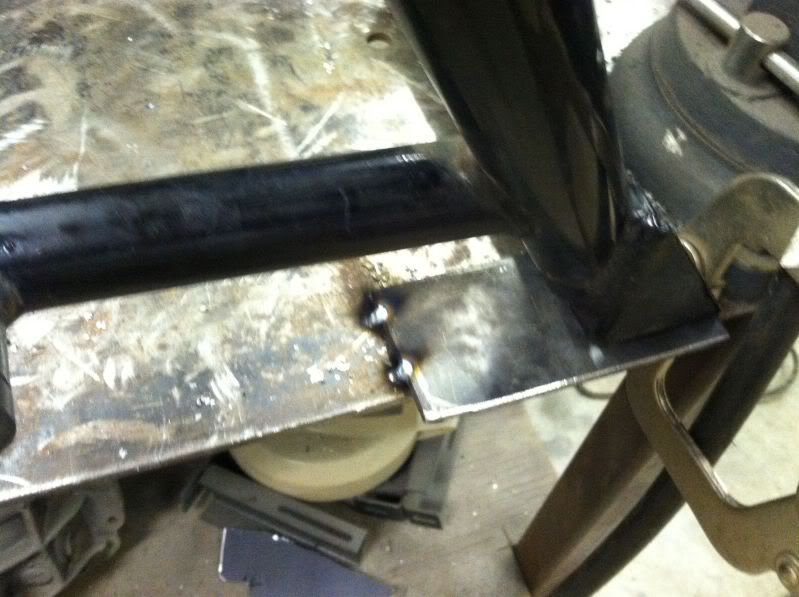
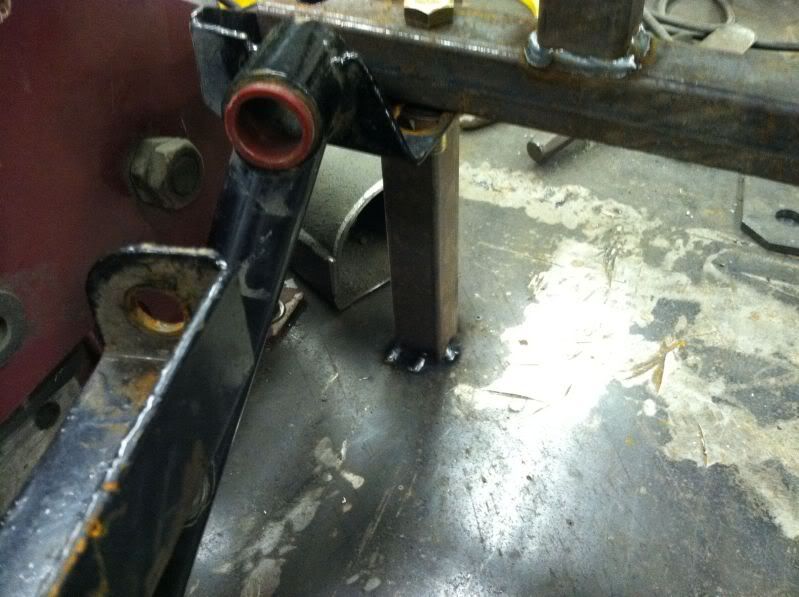
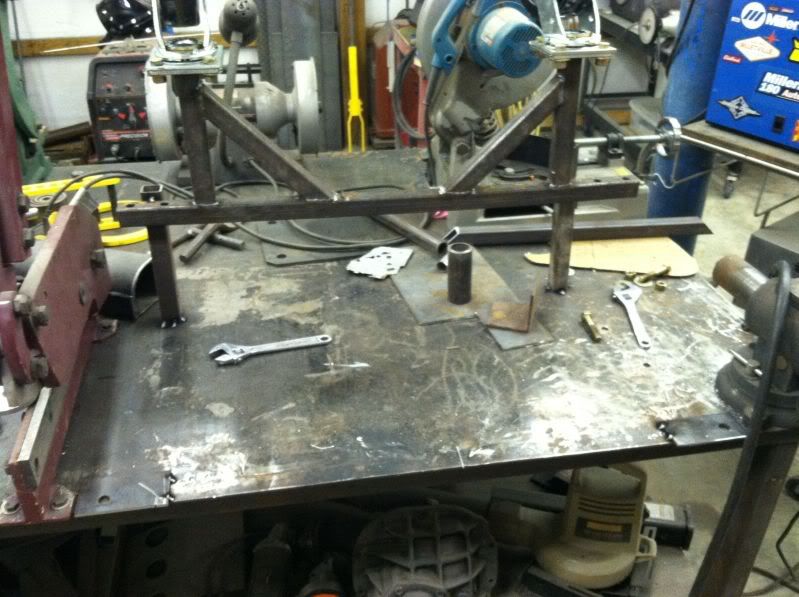
All done.
- - - Updated - - -
Finished the motor mounts. I didn't get many pictures because my phone was almost dead
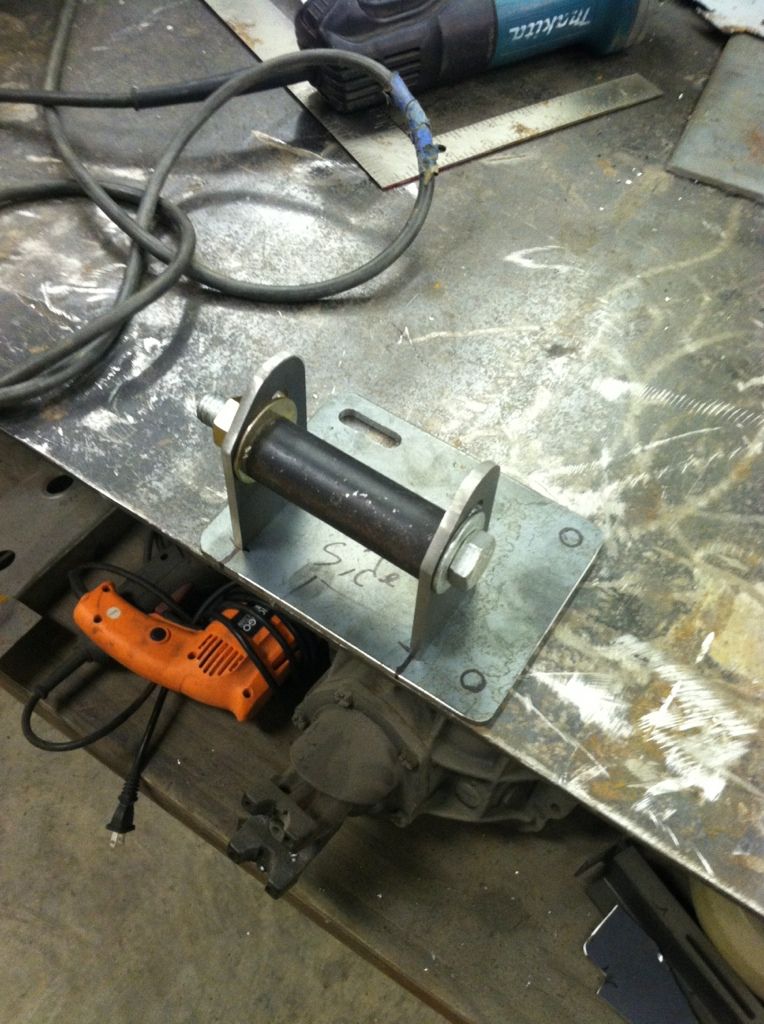
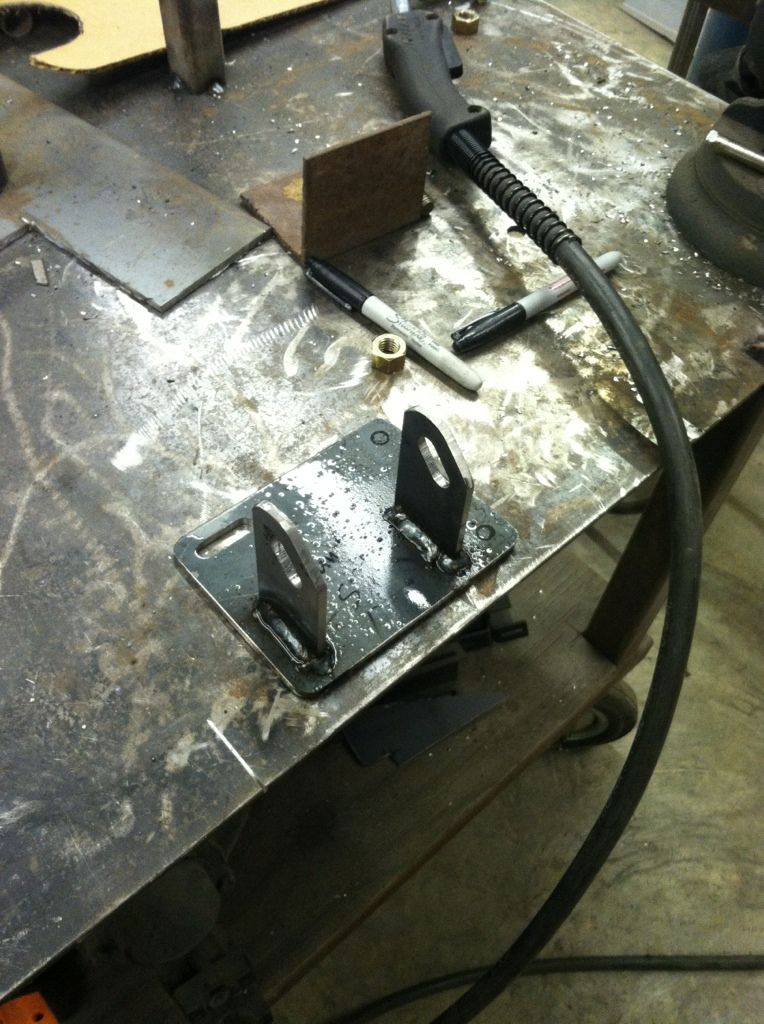
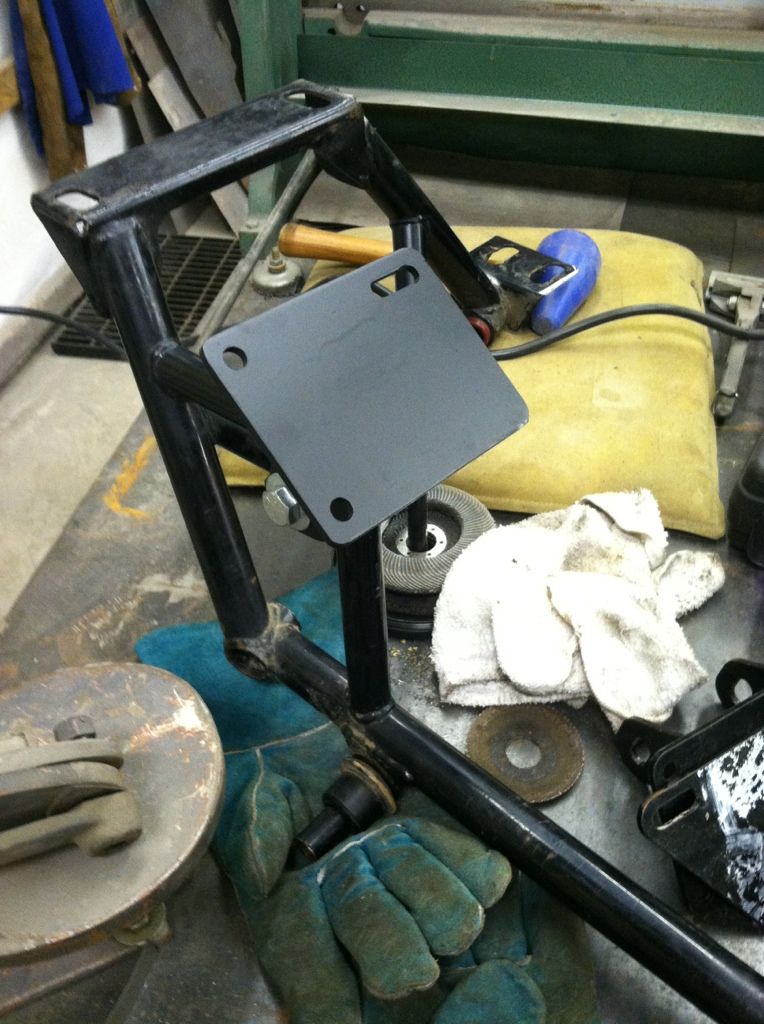


All done.

- - - Updated - - -
Finished the motor mounts. I didn't get many pictures because my phone was almost dead


#4
Teching In
Thread Starter
iTrader: (2)
Join Date: Apr 2006
Location: Meridian, MS
Posts: 17
Likes: 0
Received 0 Likes
on
0 Posts

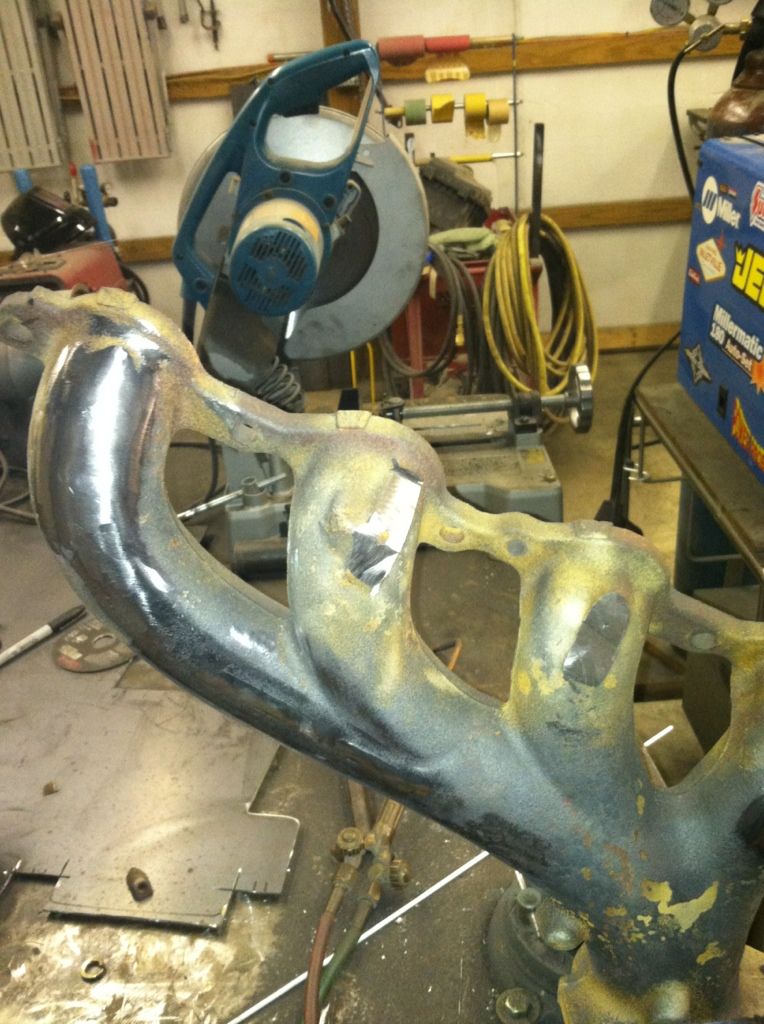
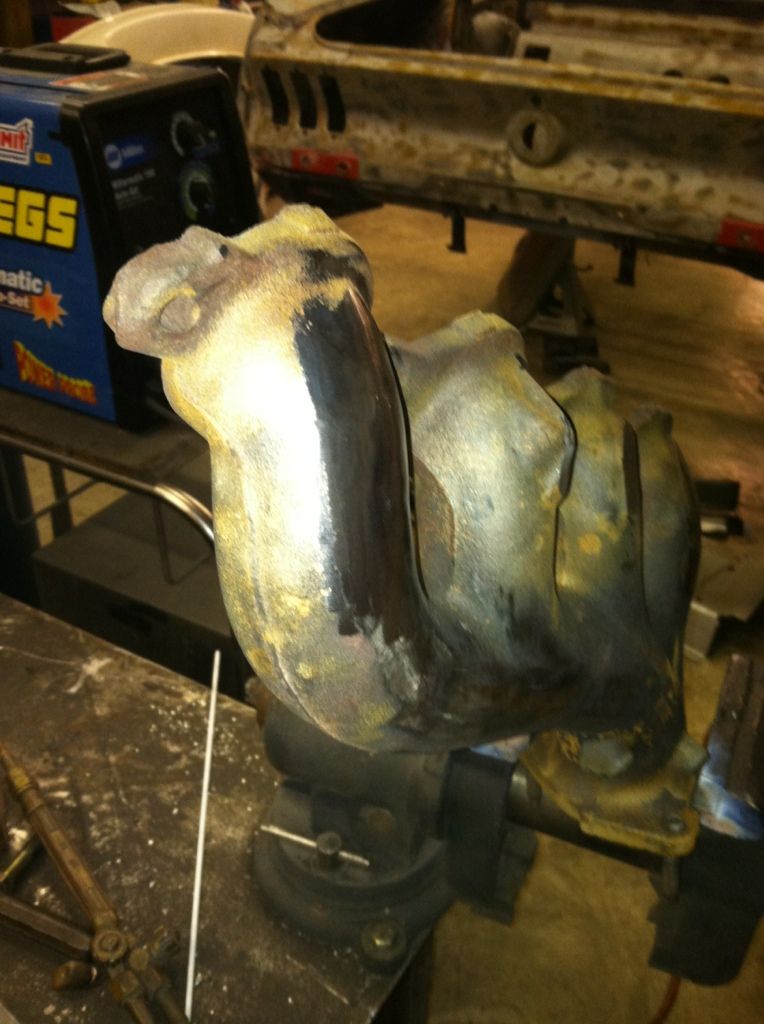
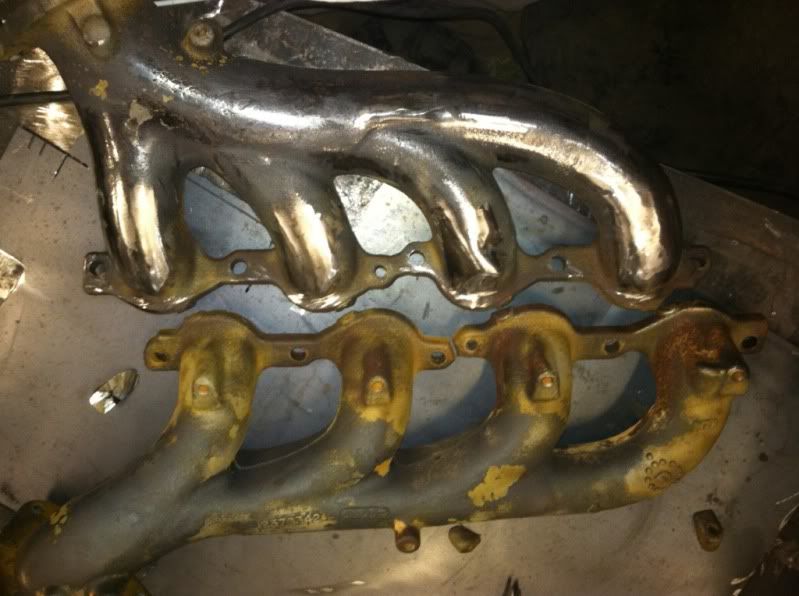
I was bored, soso I decided to cut the heat shield bosses off the manifolds and smooth off the casting numbers before I send them off to be ceramic coated. I finished most of one before called it a night


#5
Teching In
Thread Starter
iTrader: (2)
Join Date: Apr 2006
Location: Meridian, MS
Posts: 17
Likes: 0
Received 0 Likes
on
0 Posts

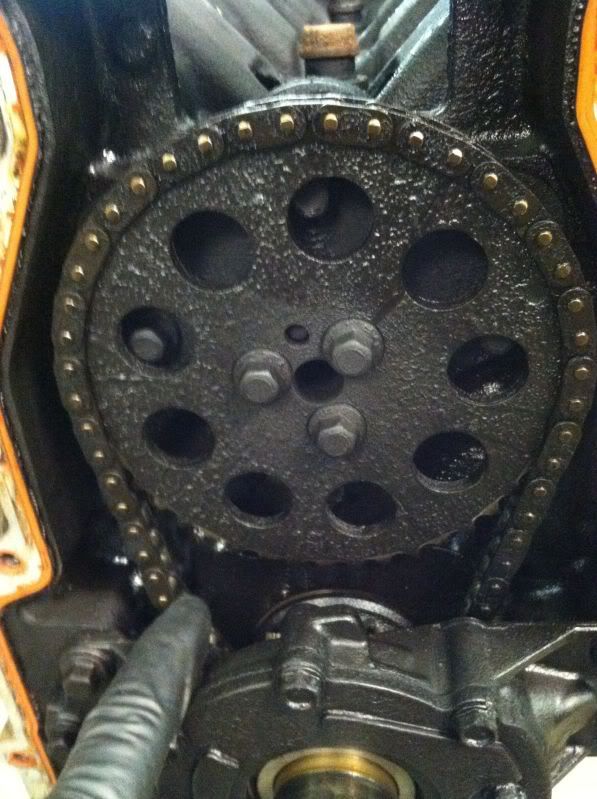
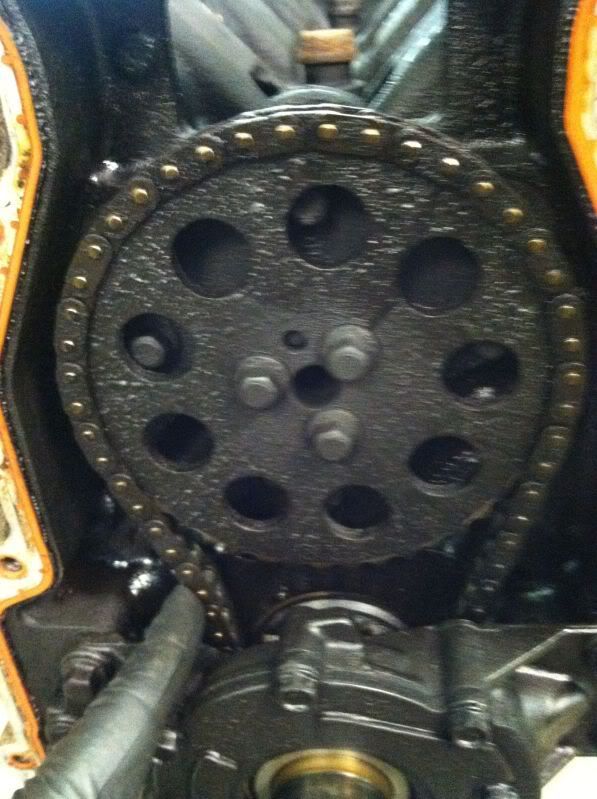
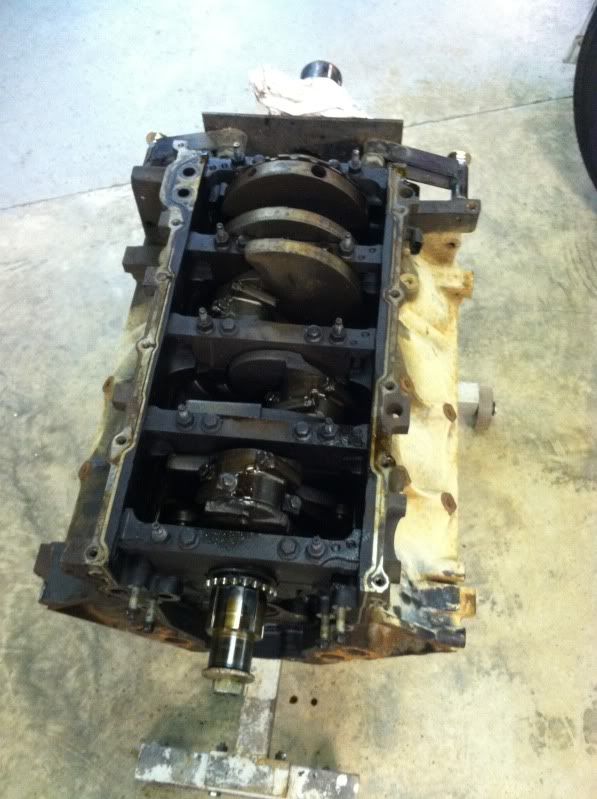
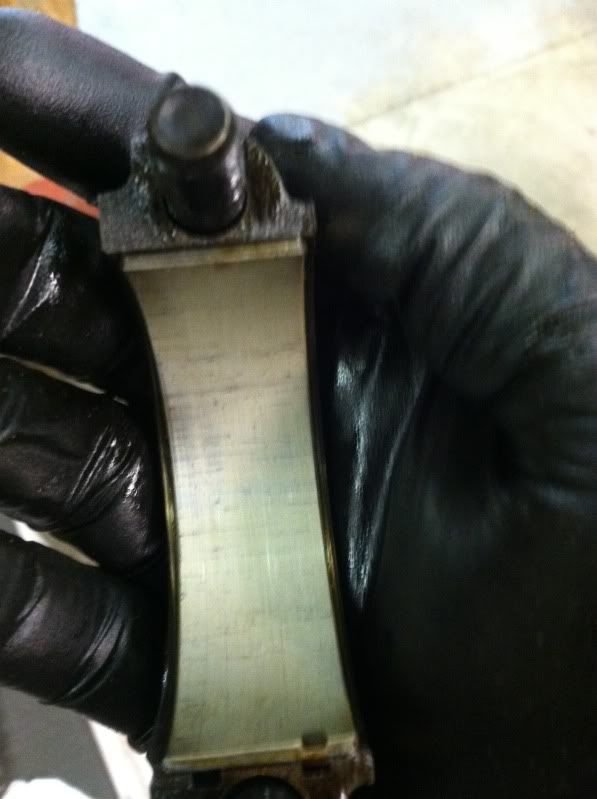
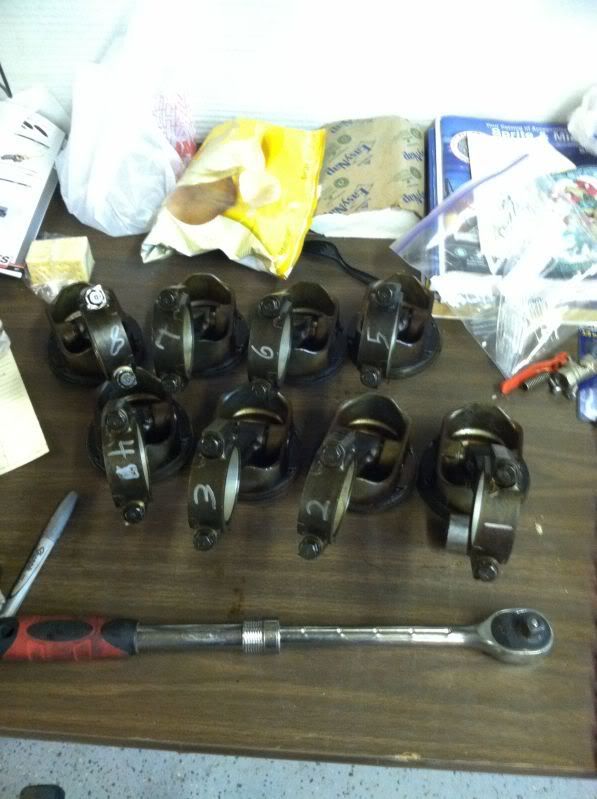
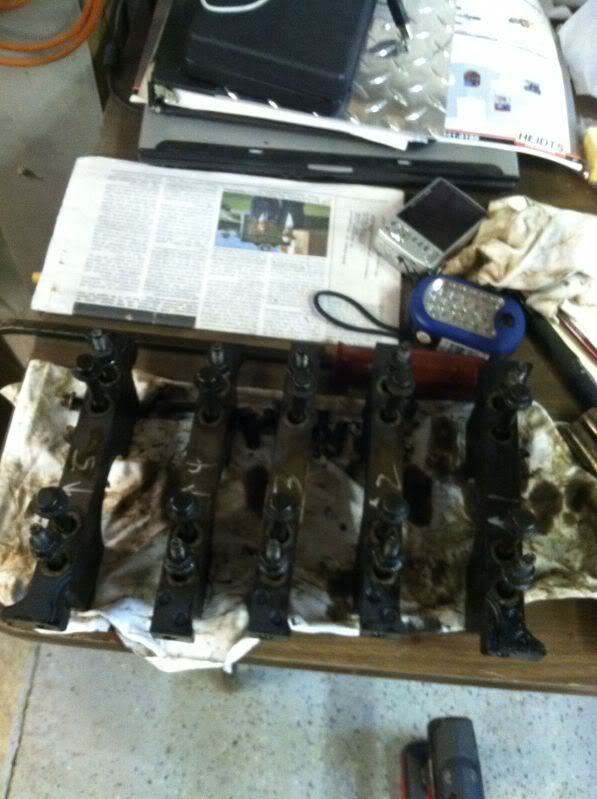
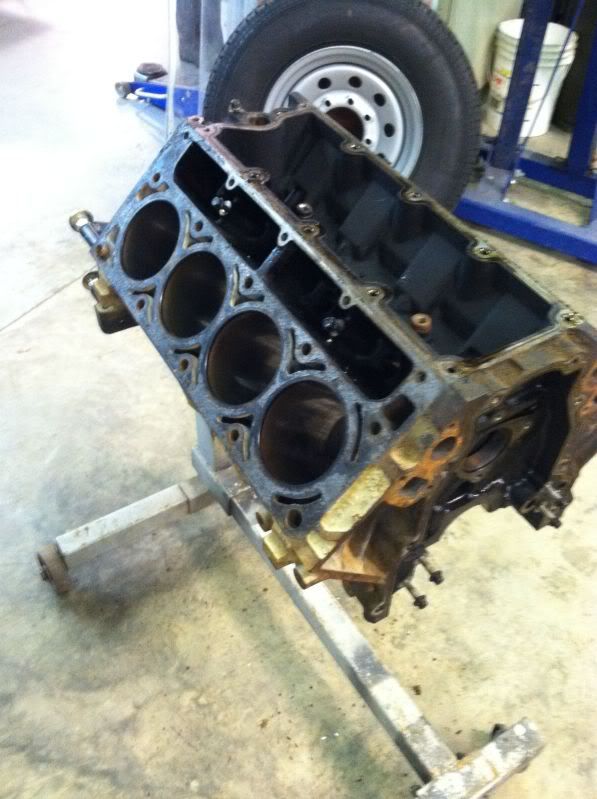
Tore the 5.3 down tonight. The rod bearings look surprisingly good. The main bearings show a little scoring from where there the engine was run with dirty oil though, so I'll probably go ahead and replace them. Whoever owned this engine in it's first life, wasn't about regular oil changes I don't think, haha.
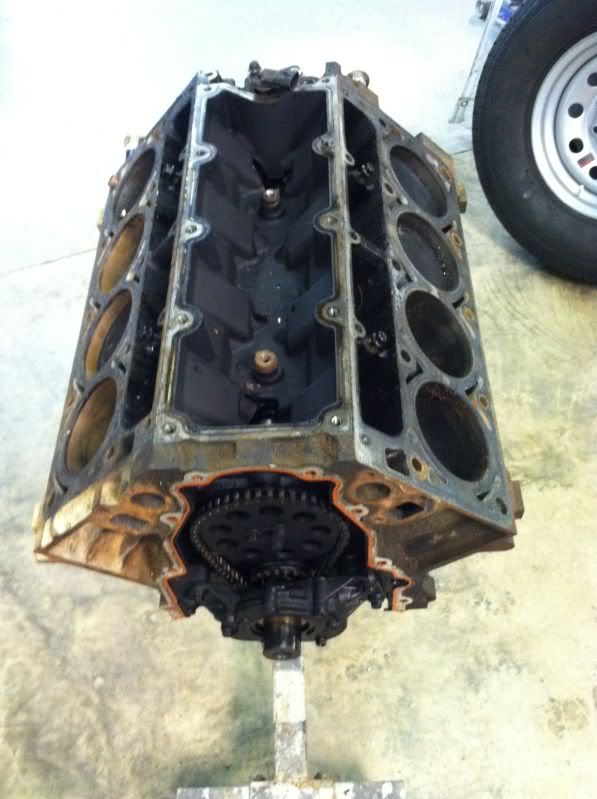
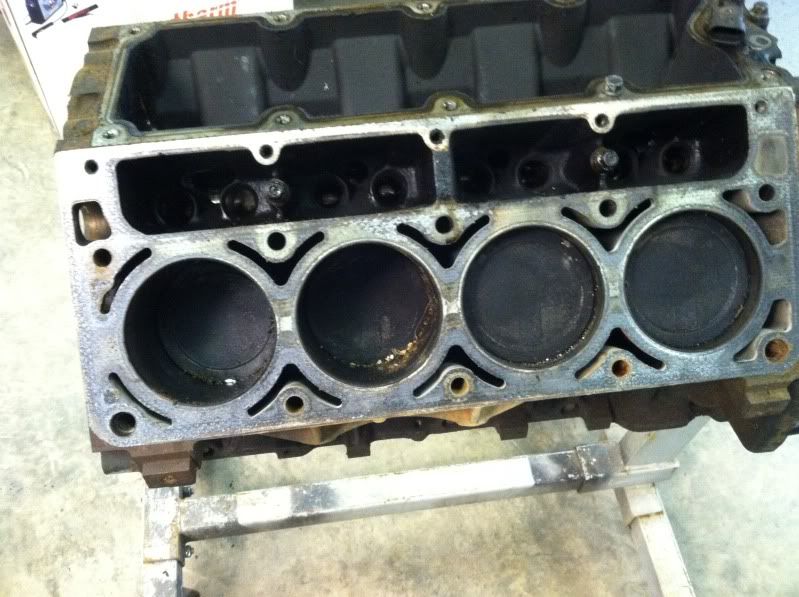
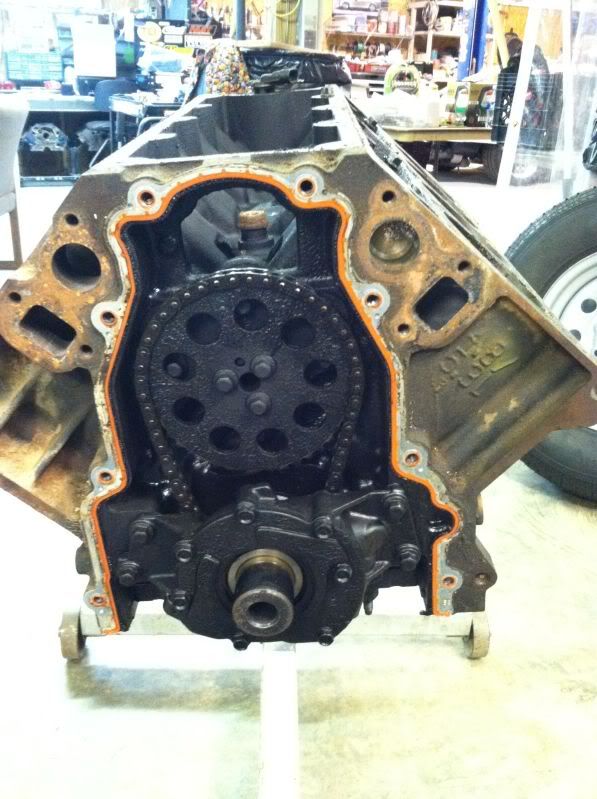
Just a little slack.
Like I said....the rod bearings look pretty good.
- - - Updated - - -
The turbo showed up.
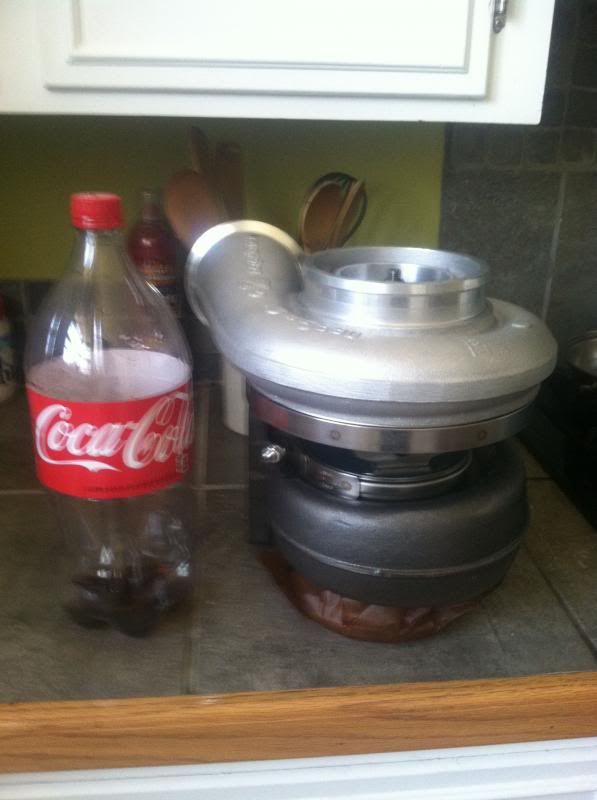


Just a little slack.


Like I said....the rod bearings look pretty good.


- - - Updated - - -
The turbo showed up.

#6
Teching In
Thread Starter
iTrader: (2)
Join Date: Apr 2006
Location: Meridian, MS
Posts: 17
Likes: 0
Received 0 Likes
on
0 Posts

After fighting with this stupid AJE k-member in the rain. I got the k-member, a-arms and coil-overs throw back under the car. Sorry no pictures of that.
Not a fan of the AJE k-member, it fits like crap. Not nearly as nice as the Team Z Motorsports and UPR k-members I have used in the past.
It also uses a silly single shear bolt system to hold the a-arms on. The head of the bolt rides on a floating bushings inside of a tube. Which wouldn't be a big deal except the Team Z Motorsports a-arms I already have use 5/8" bolts and the AJE K-member uses 9/16" bolts. So I had make me some new bushings.
Once all that was done, we rolled the car off of the trailer, out of the rain, and into the shop
Now to drop this bad boy in.
Easy now
Like a glove. Fell right onto the mounts. Almost one of those, "this was TOO easy, what's wrong" kinda deals.

Ready to mock up the hot side.
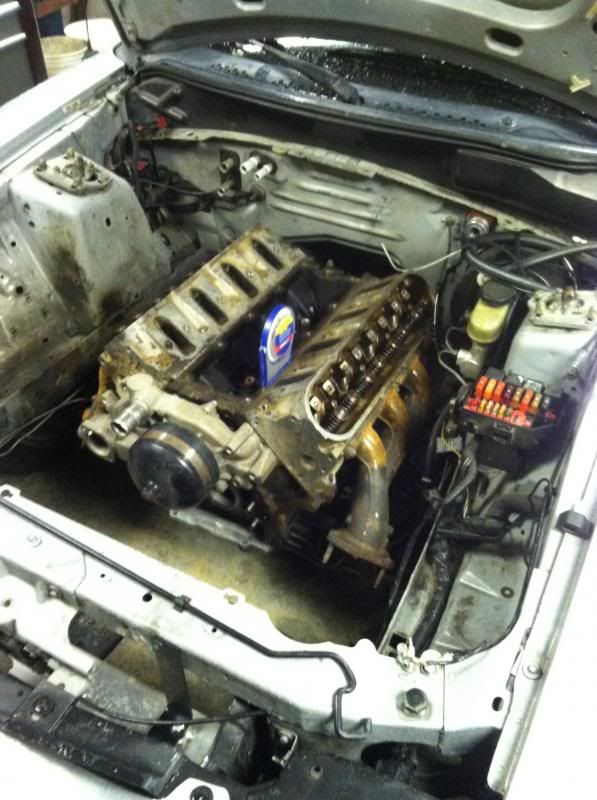
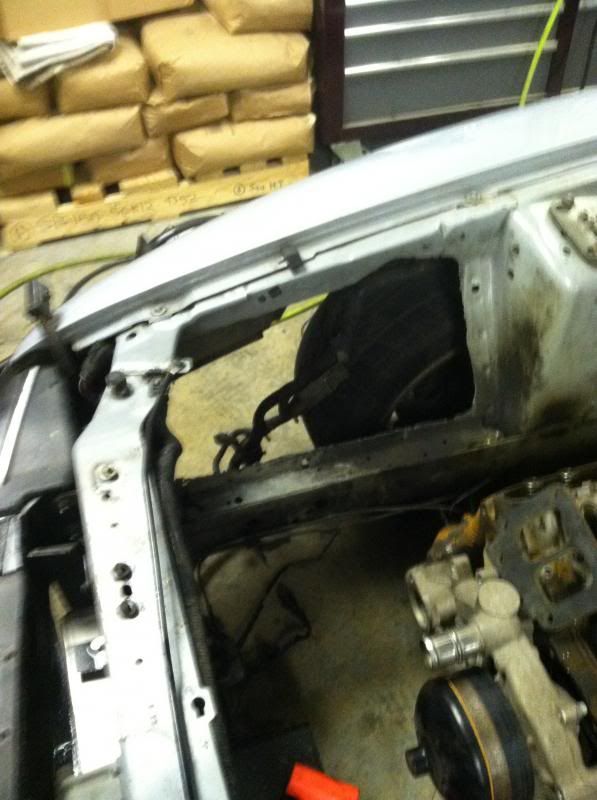
The turbo is going on the passengers side, so we need to make a little room.
Hypertherm 30 plasma cutter > cut-off wheel.
Not a fan of the AJE k-member, it fits like crap. Not nearly as nice as the Team Z Motorsports and UPR k-members I have used in the past.
It also uses a silly single shear bolt system to hold the a-arms on. The head of the bolt rides on a floating bushings inside of a tube. Which wouldn't be a big deal except the Team Z Motorsports a-arms I already have use 5/8" bolts and the AJE K-member uses 9/16" bolts. So I had make me some new bushings.
Once all that was done, we rolled the car off of the trailer, out of the rain, and into the shop

Now to drop this bad boy in.

Easy now

Like a glove. Fell right onto the mounts. Almost one of those, "this was TOO easy, what's wrong" kinda deals.


Ready to mock up the hot side.

The turbo is going on the passengers side, so we need to make a little room.
Hypertherm 30 plasma cutter > cut-off wheel.

#7
Teching In
Thread Starter
iTrader: (2)
Join Date: Apr 2006
Location: Meridian, MS
Posts: 17
Likes: 0
Received 0 Likes
on
0 Posts

My phone died so I didn't get many pictures. I worked all night on mounting the turbo, only to decide that I didn't like it and changed directions.
I was going to run the turbo inlet facing the engine bay with the exhaust out the inner fender, which I really liked, but there was just no good way to run the cold side doing it like that.
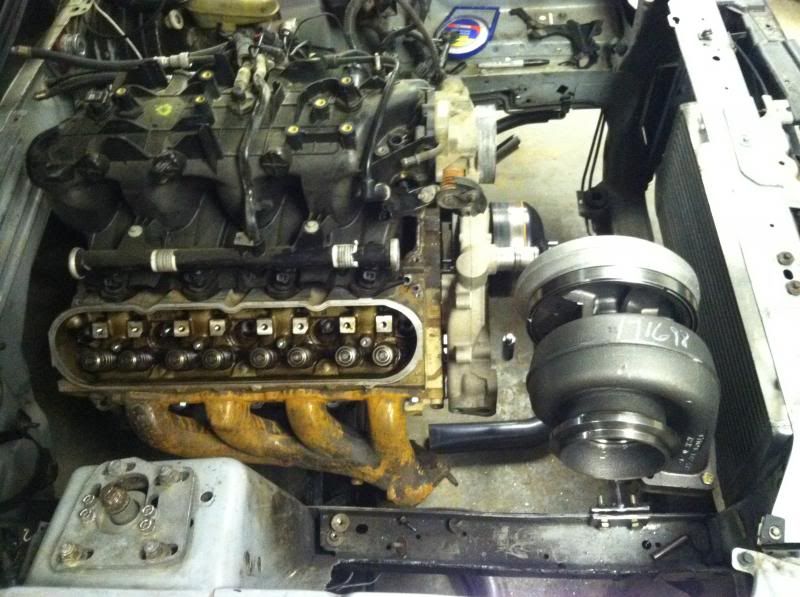
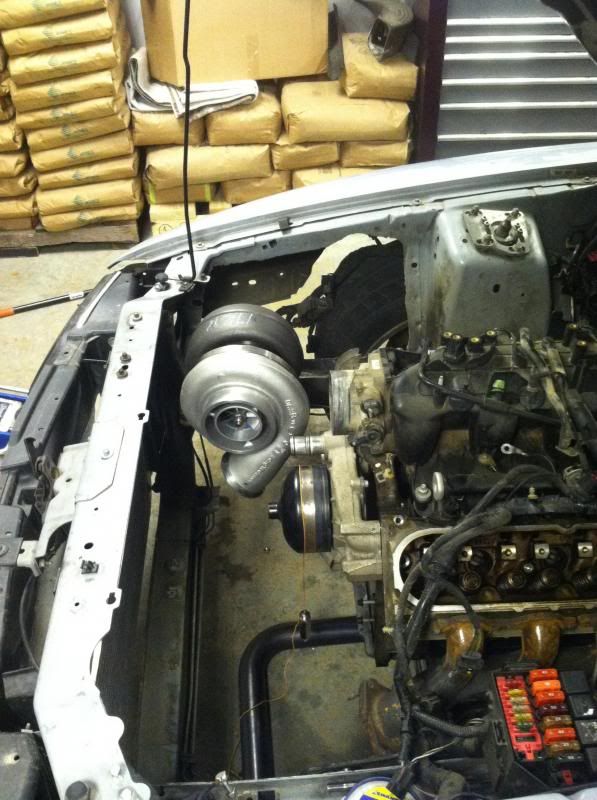
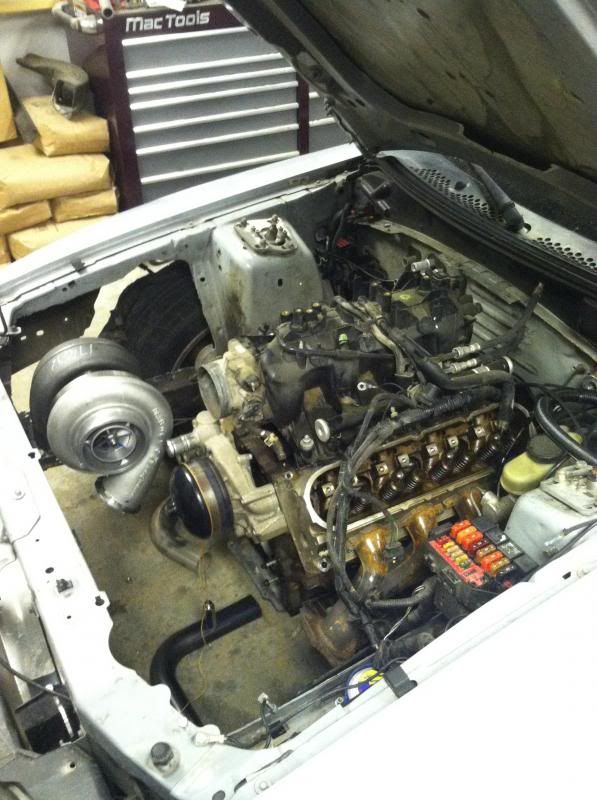
So I decided to flip the turbo around and run the exhaust into the engine bay. The only problem is that I could not position the turbo correctly to clear the heater fittings and water outlets without getting all up in the frame rail, so........
FIRE !!!!
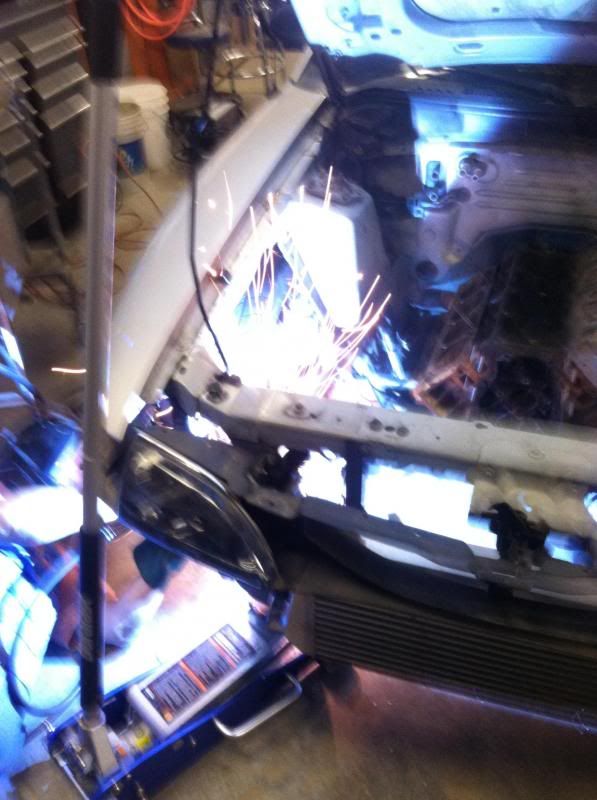
Problem solved.
- - - Updated - - -
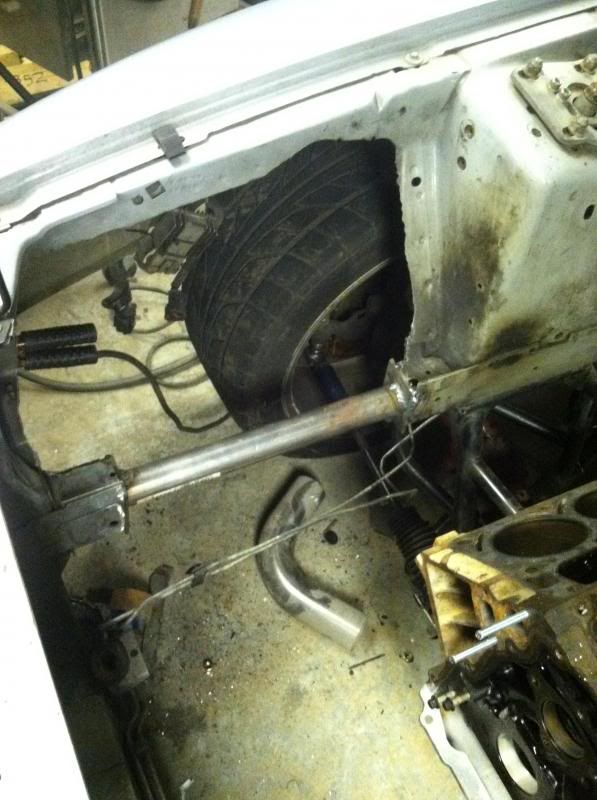
More progress. I got the turbo where I wanted it.
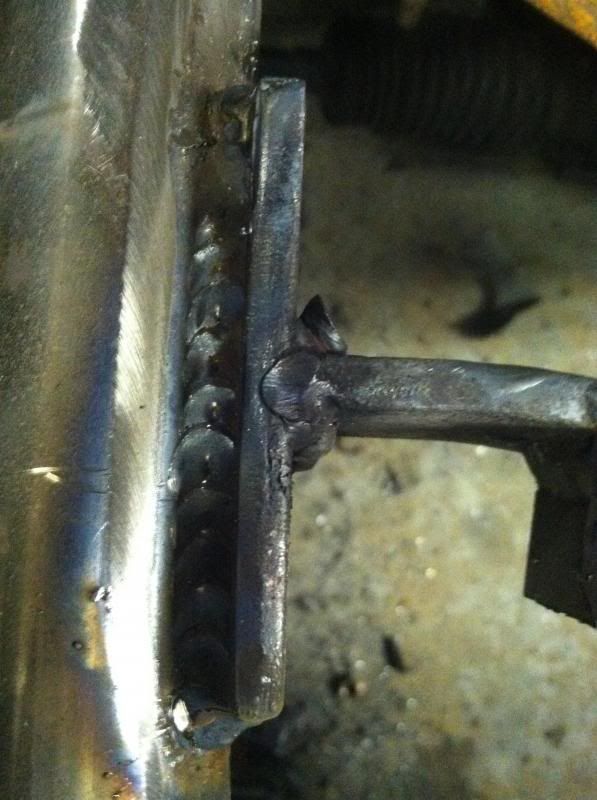
Mount
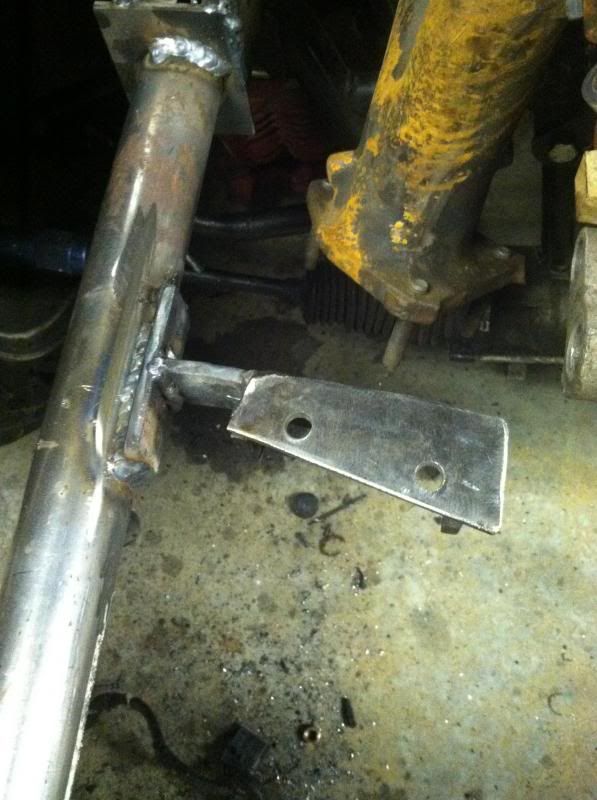
A close up of just how crappy I can weld.
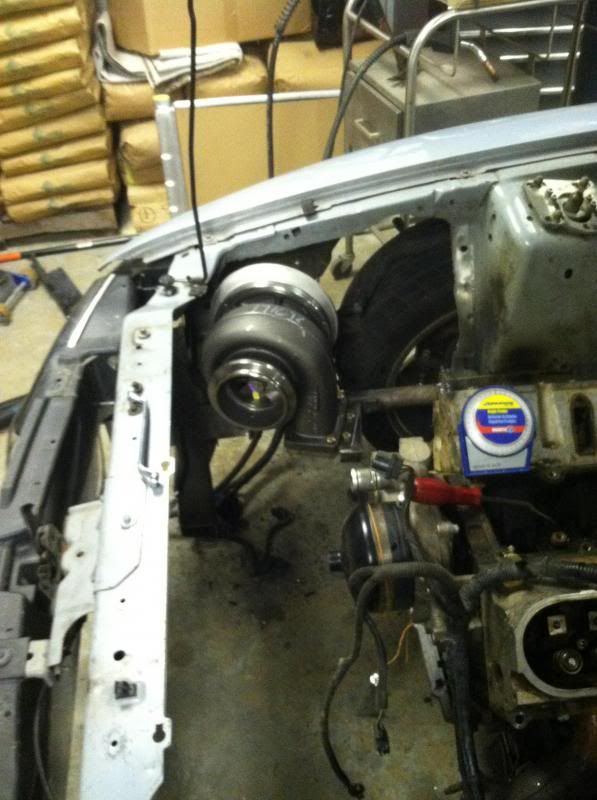
Turbo mounted in it's final position.
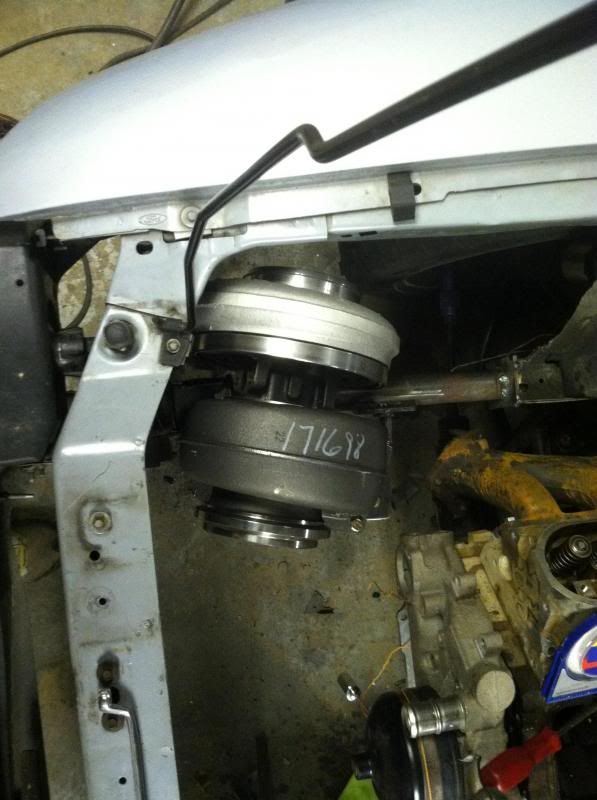
Hacked off the lower radiator support so that I can drop the radiator down and install it under the core support. I haven't decided exactly how I'm going to brace it up yet. Either with a piece of 3/4" square tubing and some sheet metal or some 1x2" tubing, or maybe make a tubular one to replace the whole thing.
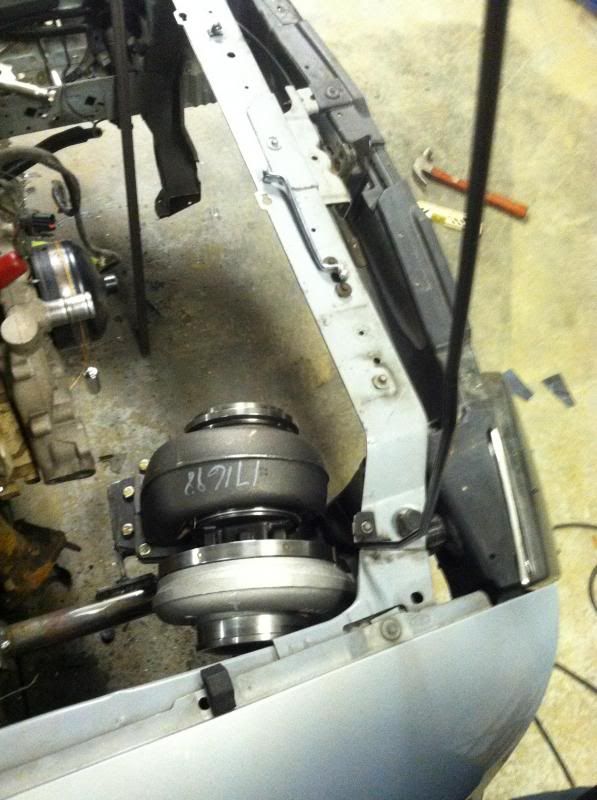
I was going to run the turbo inlet facing the engine bay with the exhaust out the inner fender, which I really liked, but there was just no good way to run the cold side doing it like that.


So I decided to flip the turbo around and run the exhaust into the engine bay. The only problem is that I could not position the turbo correctly to clear the heater fittings and water outlets without getting all up in the frame rail, so........
FIRE !!!!

Problem solved.

- - - Updated - - -
More progress. I got the turbo where I wanted it.
Mount

A close up of just how crappy I can weld.

Turbo mounted in it's final position.


Hacked off the lower radiator support so that I can drop the radiator down and install it under the core support. I haven't decided exactly how I'm going to brace it up yet. Either with a piece of 3/4" square tubing and some sheet metal or some 1x2" tubing, or maybe make a tubular one to replace the whole thing.

Trending Topics
#9
That's exactly the same thing I just did with my fox body on diff I did mine on the drivers side. Makes it so much easier to fit all the stuff. I didn't want to put the turbo on the pass side cuz the water outlets.
#10
Teching In
Thread Starter
iTrader: (2)
Join Date: Apr 2006
Location: Meridian, MS
Posts: 17
Likes: 0
Received 0 Likes
on
0 Posts

I agree it is much easier to mount it on the drivers side, but I didn't want the weight of the turbo on that side and it was going to make it hard to fun a filter on the turbo because the inlet ducting was going to have to cross right in front of the turbo.
#12
Teching In
Thread Starter
iTrader: (2)
Join Date: Apr 2006
Location: Meridian, MS
Posts: 17
Likes: 0
Received 0 Likes
on
0 Posts

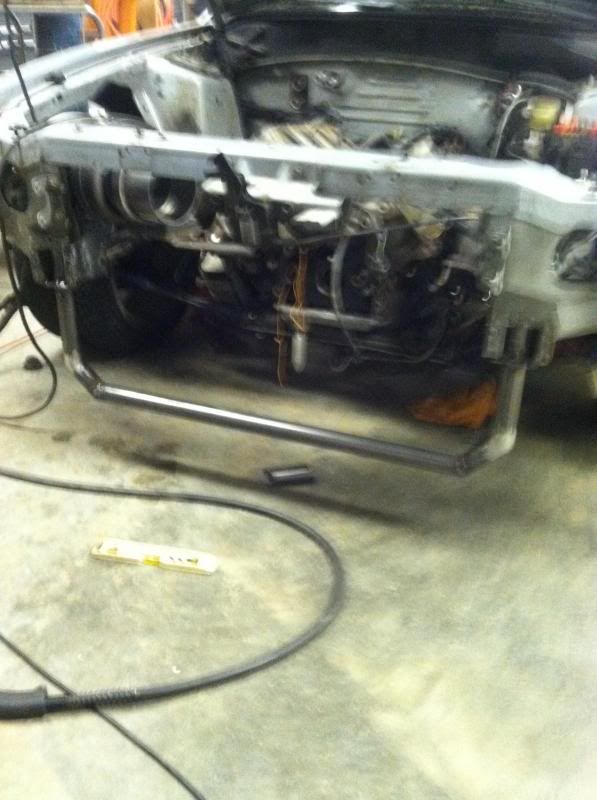
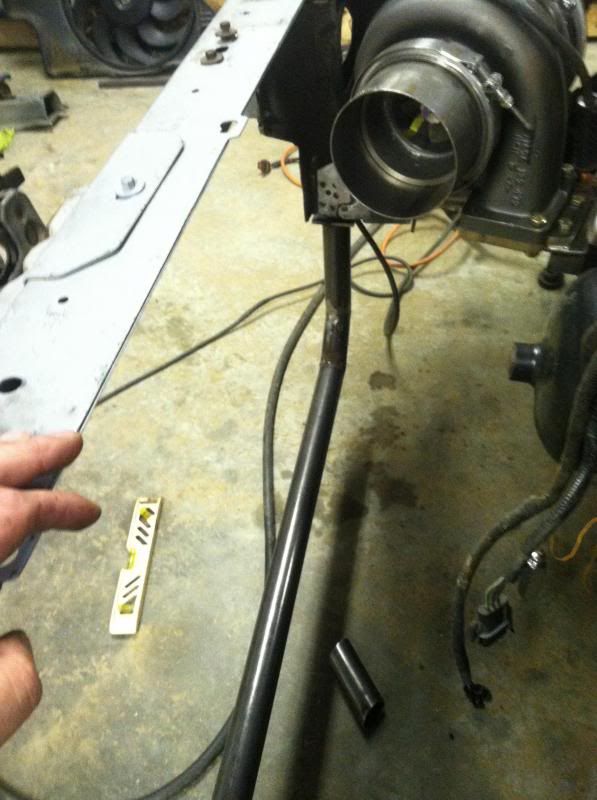
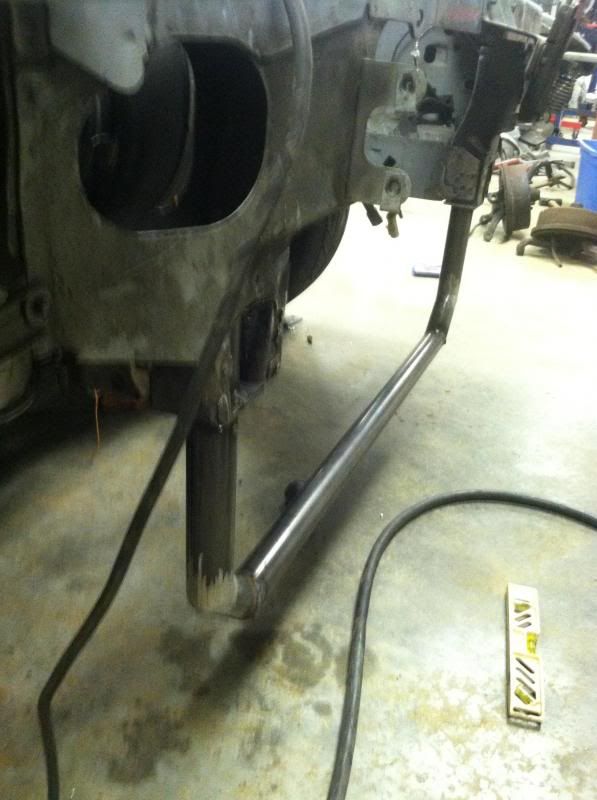
Got the tubular core support made. Couldn't use the tubing bender I wanted to use, so I did it this way.
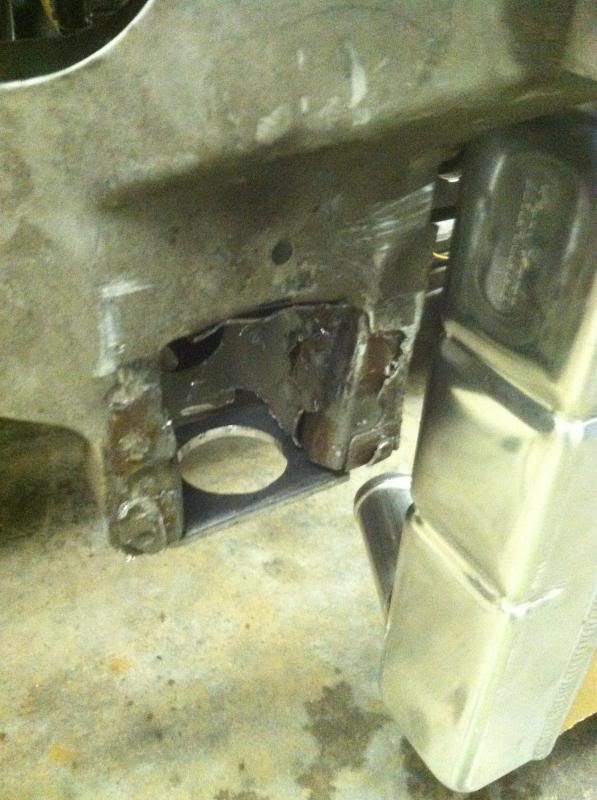
On a SN95 you have to cut out the bumper mounts to be able to cut the core support off flush so I hacked them off. The bumper support was already gone anyway. I'm going to make some plates to box in the front though.
These are the mounts the tubing will mount to. Too lazy or not smart enough to make two pieces tubing the same length? Just drill a hole in the plate the same size as the tubing and you can slide it up and down to get it at the right height.
Sorry, I don't really have any in between pictures. I didn't feel like taking 43 pictures of me cutting the pipe at the wrong angle or length.
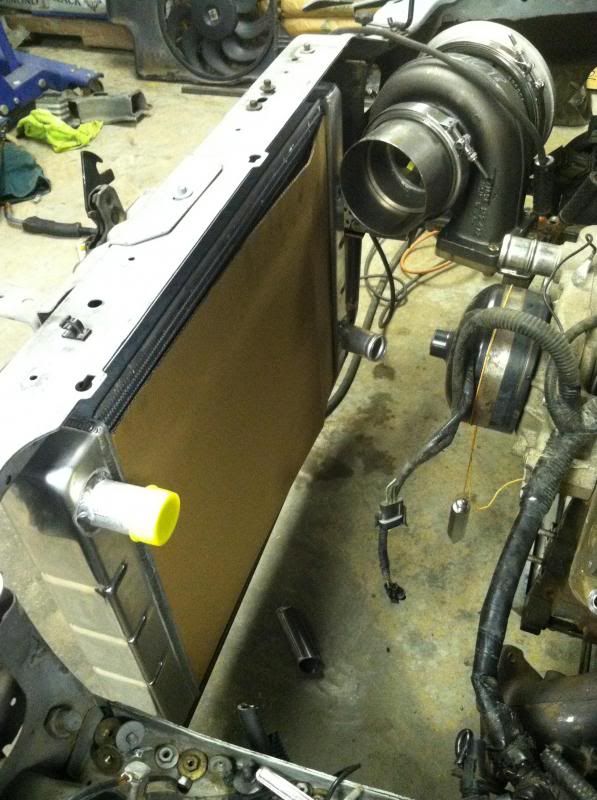
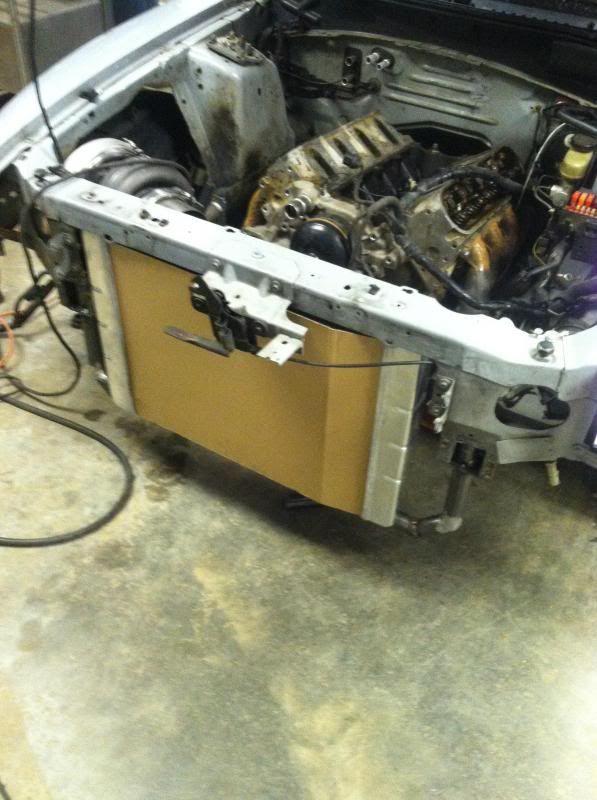
Radiator mocked up. I really should have ordered a dual pass radiator with the inlet and outlet on the drivers side, but I already cut the filler neck off this one and welded it closed. So I'm going to have to cut the outlet off and install a 90* bend to get it away from the crossover pipes.
Nice and tight........thats what she said....
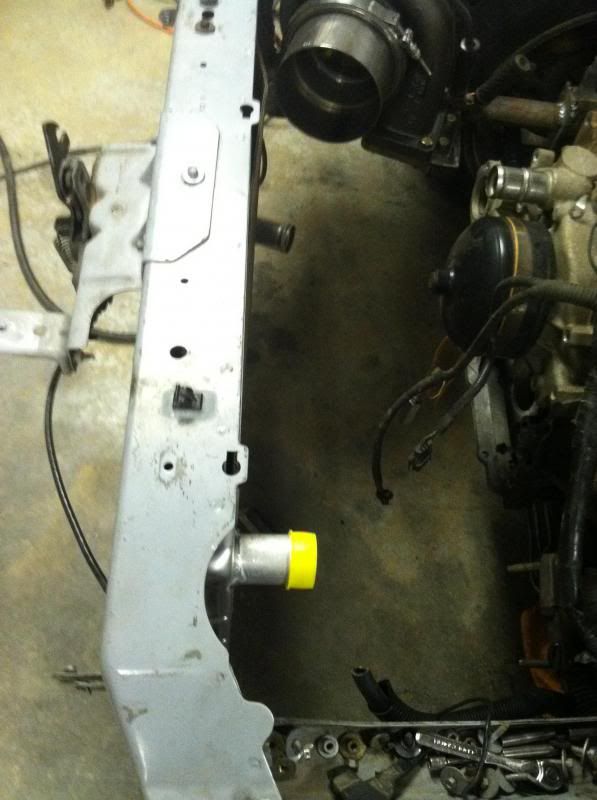
On a SN95 you have to cut out the bumper mounts to be able to cut the core support off flush so I hacked them off. The bumper support was already gone anyway. I'm going to make some plates to box in the front though.
These are the mounts the tubing will mount to. Too lazy or not smart enough to make two pieces tubing the same length? Just drill a hole in the plate the same size as the tubing and you can slide it up and down to get it at the right height.

Sorry, I don't really have any in between pictures. I didn't feel like taking 43 pictures of me cutting the pipe at the wrong angle or length.


Radiator mocked up. I really should have ordered a dual pass radiator with the inlet and outlet on the drivers side, but I already cut the filler neck off this one and welded it closed. So I'm going to have to cut the outlet off and install a 90* bend to get it away from the crossover pipes.


Nice and tight........thats what she said....


