Another On3 non a/c 76mm build
 12-03-2013, 02:51 PM
#1
TECH Regular
Thread Starter
iTrader: (4)

Join Date: Jul 2005
Posts: 437
Likes: 0
Received 0 Likes
on
0 Posts

I am taking my sweet *** time doing this build so please bare with me. This my first time taking a car apart and doing a install of this caliber. The kit looks really nice. But the lack of instructions really sucks. The waste-gate and blow-off valve come in pieces and there are no instructions for those either. The welds are good, but look a little small. We will see how they hold up. I am however impressed with what I got for the money.
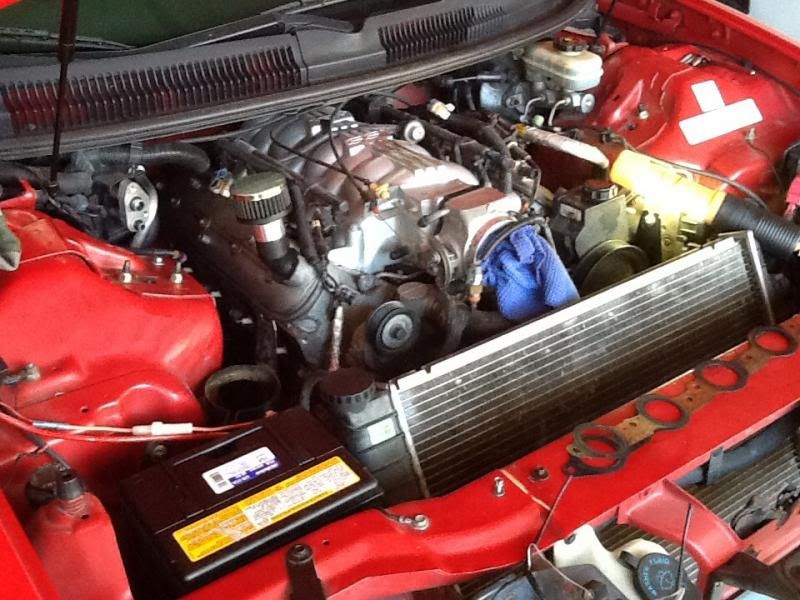
I have pretty much removed everything that I needed to to install the kit. The instructions that come with the kit, is very vague and dont tell you everything. (ie how to relocate the wires for the alternator.) I am in the USAF and travel a lot so I hope to have the kit done in two weeks. Just gonna take it slow and steady! If you have any suggestions, please let me know!
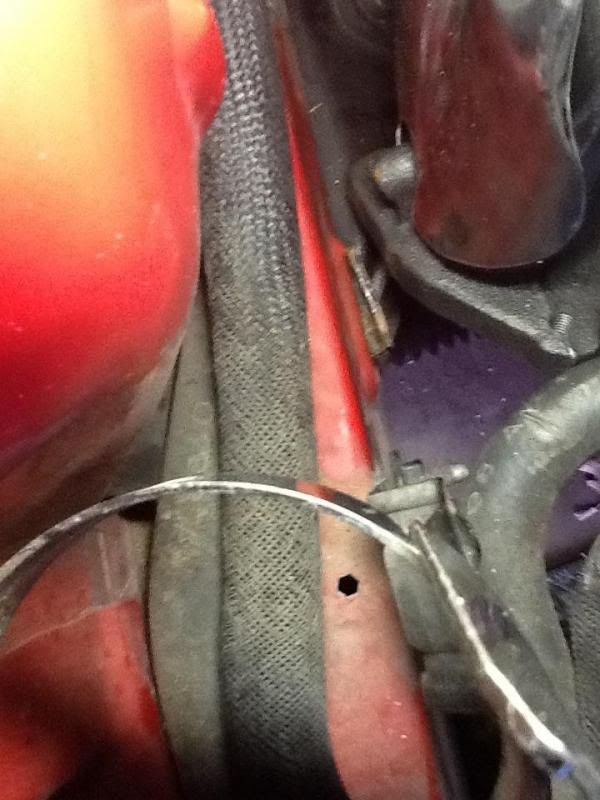
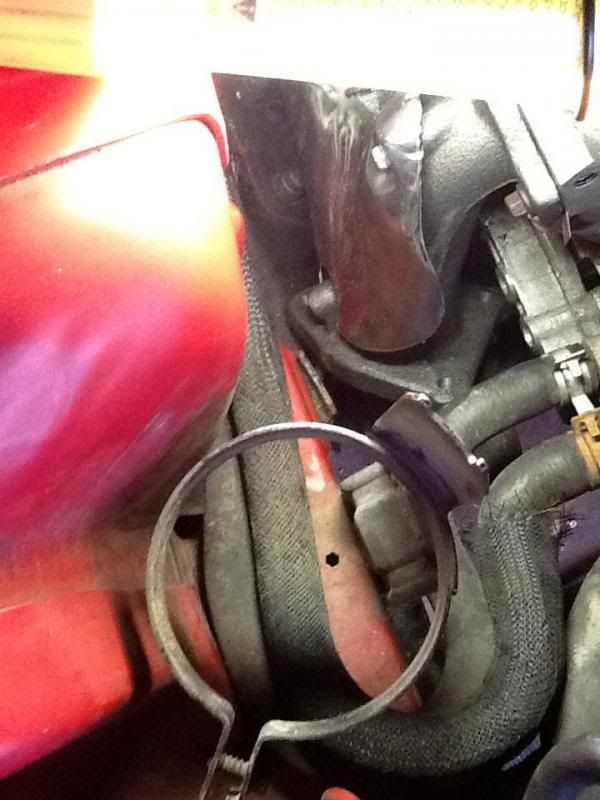
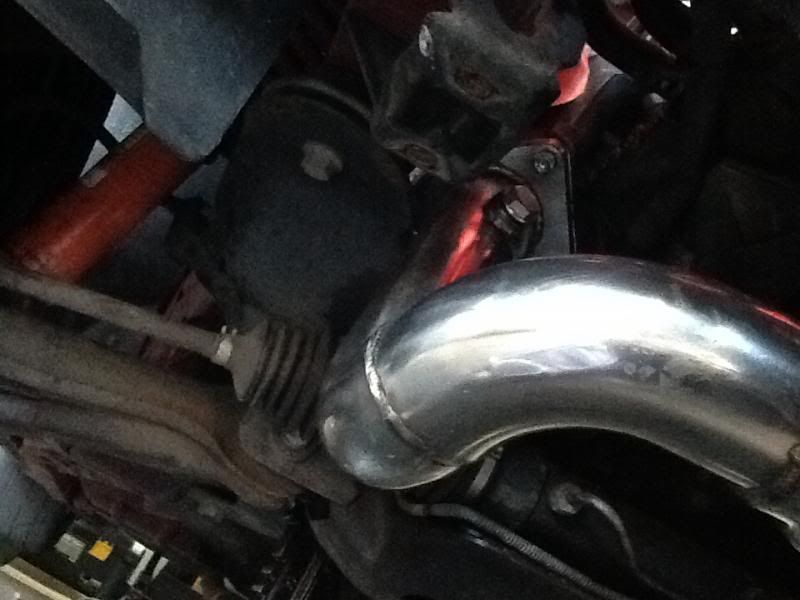
This shows the driver side manifold. It really sucks to do it by yourself!
If you would like any other pics, just ask
I have pretty much removed everything that I needed to to install the kit. The instructions that come with the kit, is very vague and dont tell you everything. (ie how to relocate the wires for the alternator.) I am in the USAF and travel a lot so I hope to have the kit done in two weeks. Just gonna take it slow and steady! If you have any suggestions, please let me know!

This shows the driver side manifold. It really sucks to do it by yourself!


If you would like any other pics, just ask
 12-03-2013, 03:49 PM
#2
11 Second Club
iTrader: (4)
Join Date: Apr 2011
Location: Wisconsin
Posts: 365
Likes: 0
Received 0 Likes
on
0 Posts
I'm gonna be doing the same build soon, this is probably the best reference on here for this kit
https://ls1tech.com/forums/forced-in...great-kit.html
Good luck and be sure to post lots of pics and ask any questions you may have, it helps everyone.
https://ls1tech.com/forums/forced-in...great-kit.html
Good luck and be sure to post lots of pics and ask any questions you may have, it helps everyone.
12-03-2013, 05:12 PM
#4
11 Second Club
iTrader: (4)
Join Date: Apr 2011
Location: Wisconsin
Posts: 365
Likes: 0
Received 0 Likes
on
0 Posts
The guy I got my kit from mentioned about people having questions for the BOV and wastegate On3 sells, I'm gonna make a video showing how they go together once he gives me the lowdown on it. There seems to be some confusion with the fire ring sealing or something?
Care to list the parts you're gonna use in your build? Anything you upgraded in the kit or extras you added?
Care to list the parts you're gonna use in your build? Anything you upgraded in the kit or extras you added?
12-03-2013, 06:09 PM
#5

GLad you finally started a thread. Did you get the message about taping the stock oil fitting for the supply? For the battery cables unhook the power cable from the alternator and fuse box and the ground from the passenger side strut tower and you can move them out of the way. If you take the conduit off the power wire for the fuse box and alt you can separate them and you wont have to modify them at all and they will still fit.
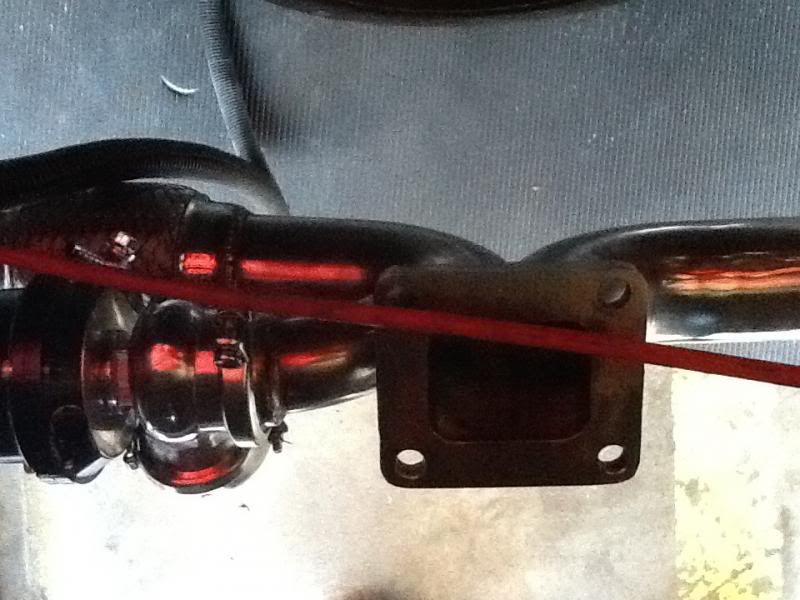
Wastegate and BOV come with flanges in their boxes. The flanges for the merge and the pipe going to the TB are already welded on so the ones in the boxes are extra. All you need to do is install the fire ring in the bottom of the wastegate and use the clamp to attach it. For BOV you just need to clamp on. The instructions are pretty vague but they do have the part about the fire ring.
Wastegate and BOV come with flanges in their boxes. The flanges for the merge and the pipe going to the TB are already welded on so the ones in the boxes are extra. All you need to do is install the fire ring in the bottom of the wastegate and use the clamp to attach it. For BOV you just need to clamp on. The instructions are pretty vague but they do have the part about the fire ring.
Last edited by sbcgenII; 12-03-2013 at 06:17 PM.
12-03-2013, 08:32 PM
#6
TECH Regular
Thread Starter
iTrader: (4)
Join Date: Jul 2005
Posts: 437
Likes: 0
Received 0 Likes
on
0 Posts
Yea, finally made a thread. They do have the fire ring instructions, that was easy! It's just all the fittings that come with them both. Fly boy, that vid would be great.
12-04-2013, 06:42 PM
#7
TECH Regular
Thread Starter
iTrader: (4)
Join Date: Jul 2005
Posts: 437
Likes: 0
Received 0 Likes
on
0 Posts
Got the passenger side manifold on, but I have a feeling its gonna be close...
It is supposed to get really cold here in Texas tomorrow, so I probably wont be doing much tomorrow


It is supposed to get really cold here in Texas tomorrow, so I probably wont be doing much tomorrow
Trending Topics
12-04-2013, 08:49 PM
#8
Don't tighten all the bolts down on that manifold yet. When you go to install the crossover the flange might hit the k member and you will have to do some grinding and it is much easier with the manifold removed. You should try and install the crossover and find out if or where it hits. I also used a shorter bolt on the rear hole. The longer bolts would bottom out on the k member before i could get them tight. It is a PITA. DID you tighten down the air/egr fittings on the manifolds? I had that manifold all the way on with gaskets, anti seize on all those bolts and had them torqued when i found out i had to take it back off. I also had my radiator out and worked on the crossover from the bottom. With the radiator out it gives you extra room that makes it much nicer to work on under there.
12-08-2013, 11:04 AM
#9
TECH Regular
Thread Starter
iTrader: (4)
Join Date: Jul 2005
Posts: 437
Likes: 0
Received 0 Likes
on
0 Posts
I have the radiator still in  . But I am going to head out to the garage and try to tackle some of it in this bitter cold weather we are having. I already tightened that passenger side manifold, but looks like I might have to loosen it back up LOL. My goal was to get the cross over done, and get the alt mounted today, but if I have to grind, that will just be a dream!
. But I am going to head out to the garage and try to tackle some of it in this bitter cold weather we are having. I already tightened that passenger side manifold, but looks like I might have to loosen it back up LOL. My goal was to get the cross over done, and get the alt mounted today, but if I have to grind, that will just be a dream!
12-08-2013, 11:55 AM
#10
TECH Regular
Thread Starter
iTrader: (4)
Join Date: Jul 2005
Posts: 437
Likes: 0
Received 0 Likes
on
0 Posts


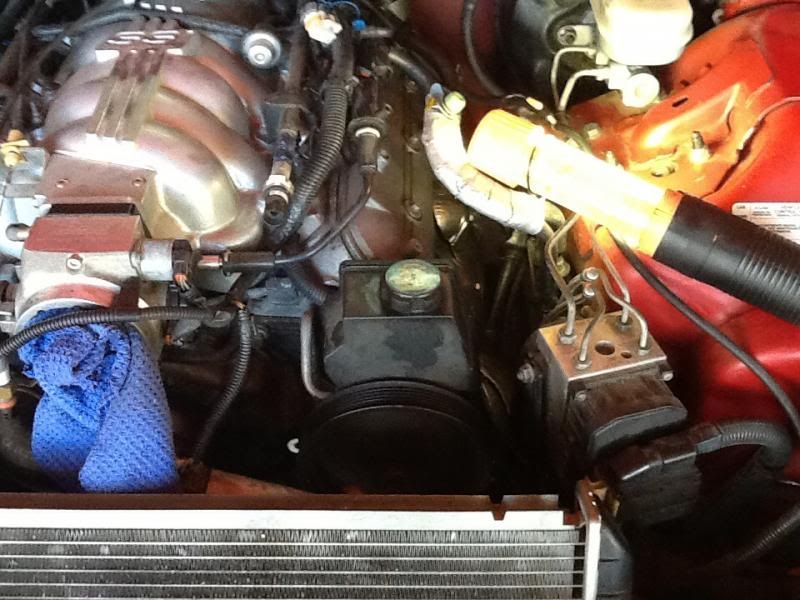
Test fit a bolt in the rear passenger side manifold. It fit with out any problems. So I am going to try and to fit the cross over. Got the alt black cable over to the passenger side as well. But how do I get the alt plug that goes in to the back of the alt moved over to the passenger side? Also, help me assemble this waste-gate!
12-08-2013, 02:14 PM
#11
When you mount the alternator you will need to remove or modify the black plastic cover on the rear of it. I wanted to leave the cover on it so it took a couple tries to get it right. How many wires are in that alt plug? I just had one and I just extended my wire so the plug would reach.
Wastegate. washers 1 barb and 1 bolt to the side of the wastegate and the others to the top. The top will be vented to the atmosphere. The side needs to have a vaccum line run to it that will see boost.
Wastegate. washers 1 barb and 1 bolt to the side of the wastegate and the others to the top. The top will be vented to the atmosphere. The side needs to have a vaccum line run to it that will see boost.
12-13-2013, 02:42 PM
#14
TECH Regular
Thread Starter
iTrader: (4)
Join Date: Jul 2005
Posts: 437
Likes: 0
Received 0 Likes
on
0 Posts
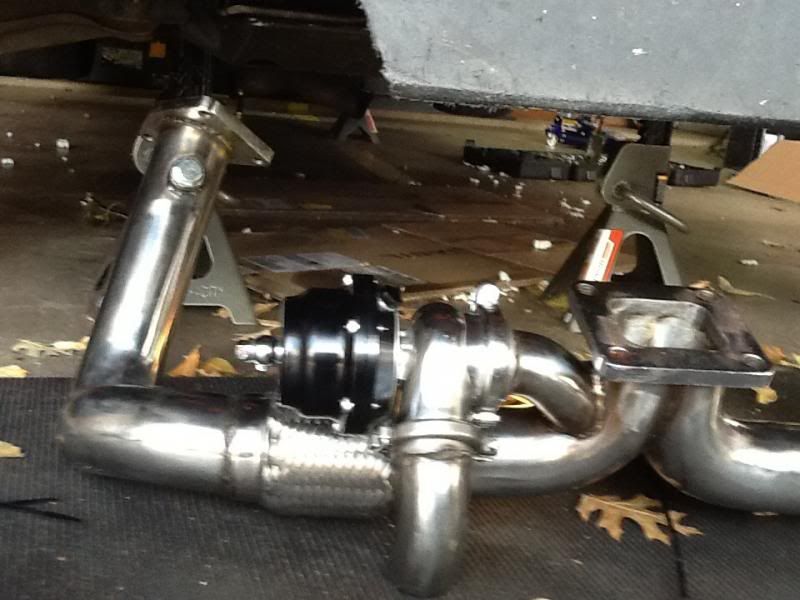
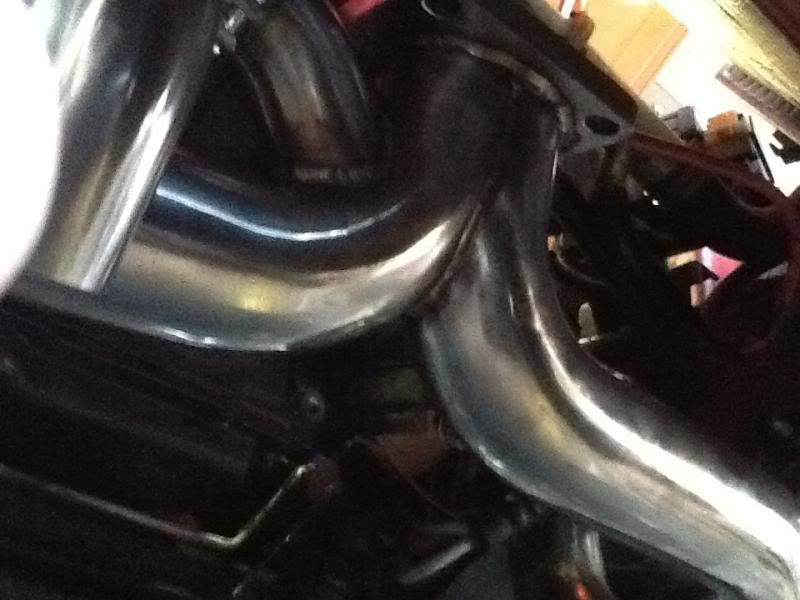
Well, I just got back from a 3 day trip and started working on the car. Received my LT1 radiator support and wideband. Does anyone have any tips or trips to put on the cross over? Here is what I am working with.
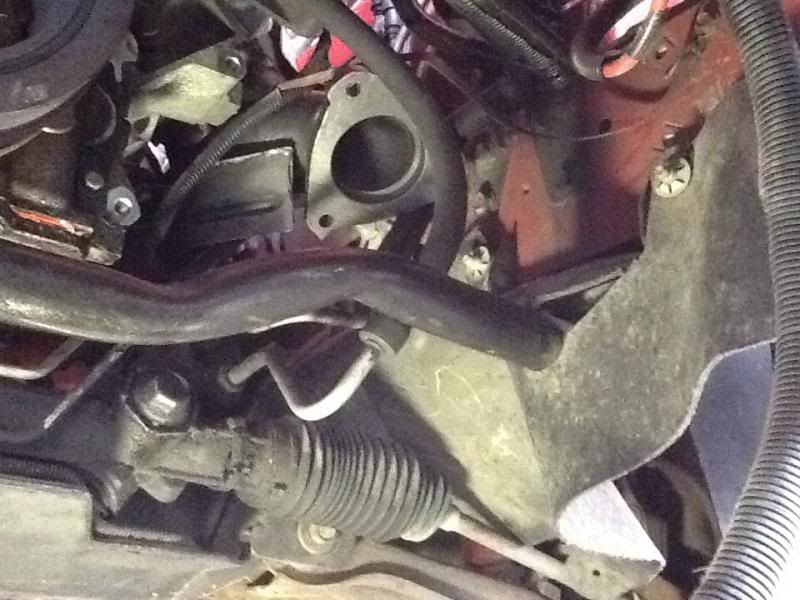
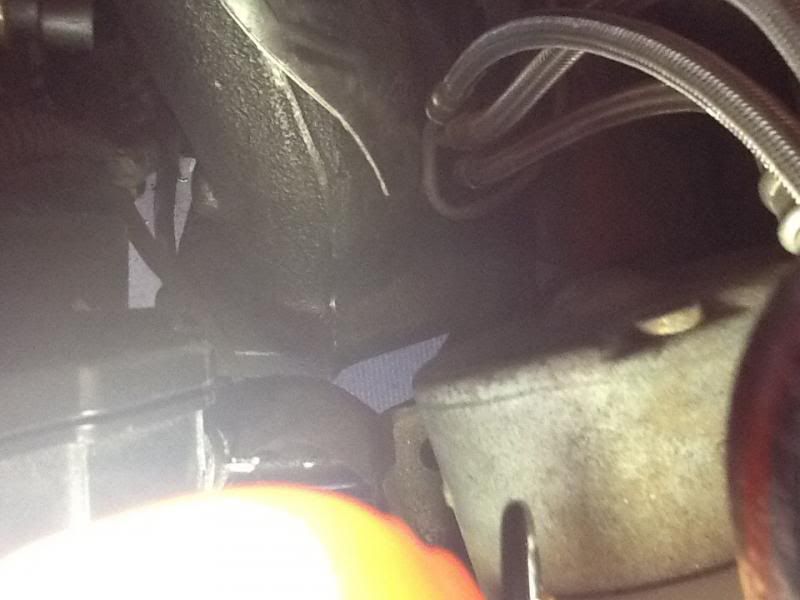
This is the power stering hose, how do I move it with out braking it. thanks for the help guys


This is the power stering hose, how do I move it with out braking it. thanks for the help guys
12-13-2013, 03:00 PM
#15
I took my sway bar off it made it easier to work on. You always run the risk of the bolts breaking though so you might have to by new bolts if you go that route. I just bent the power steering line out of the way with my hand. For installing the crossover i hooked up 1 bolt and nut loose on the drivers side then lifted up the passenger side and did the same. Then if everything fits bolt the rest down.
12-14-2013, 07:23 PM
#19
TECH Regular
Thread Starter
iTrader: (4)
Join Date: Jul 2005
Posts: 437
Likes: 0
Received 0 Likes
on
0 Posts
Got the sway bar off, holy **** was that a BITCH!!!!! My arms got a work out! Also got the cross over loosely bolted up. That was also a PITA!!! But got it done
Where did you mount and what did tap into to wire the scavenge pump? I think I am going to tackle tapping the oil pan for the return and buy on3's feed block


Where did you mount and what did tap into to wire the scavenge pump? I think I am going to tackle tapping the oil pan for the return and buy on3's feed block
12-14-2013, 07:38 PM
#20
LOL at the arm workout. I wasnt going to put my sway bar back on so i planned on cutting the long bolts off. My reciprocating saw blade was to dull though. So i had to do it the hard way. You can tap the stock block. If you are using the scavenge pump you could return the oil to the oil cap and that would be easier. For the scavenge pump you are going to need wire up a relay and use the signal for the fuel pump to turn it on.