When you click on links to various merchants on this site and make a purchase, this can result in this site earning a commission. Affiliate programs and affiliations include, but are not limited to, the eBay Partner Network.
ordered my turbo kit yesterday. i had a $250 gift card i got from work that i forgot about so that helped offset the cost a little. i should receive everything in about a week or two.
i ended up getting this kit: http://www.vsracing.net/catalog/prod...03008384cbc014
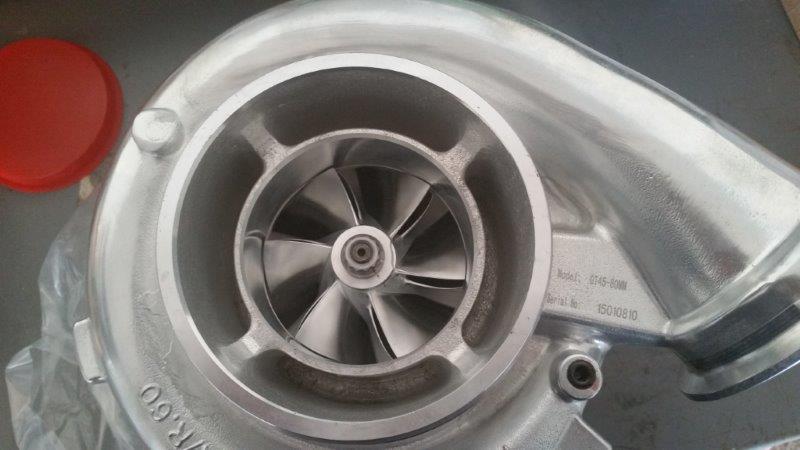
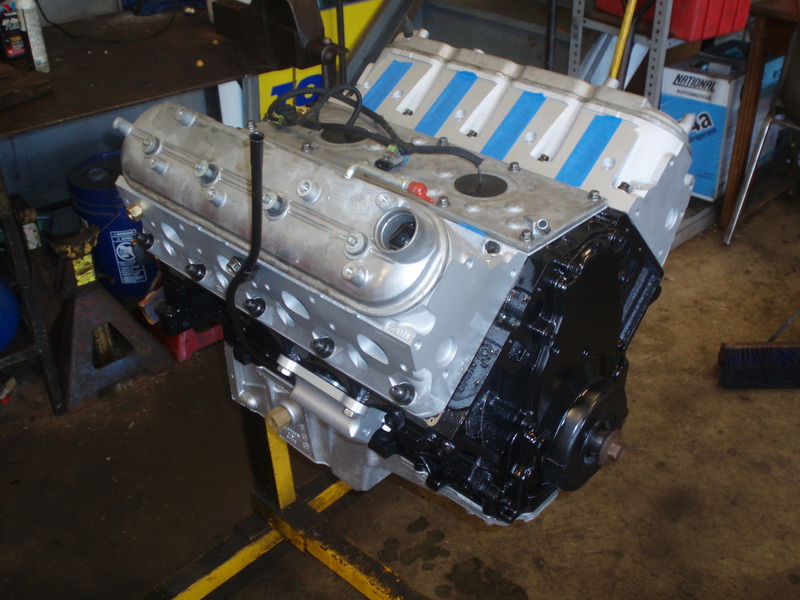
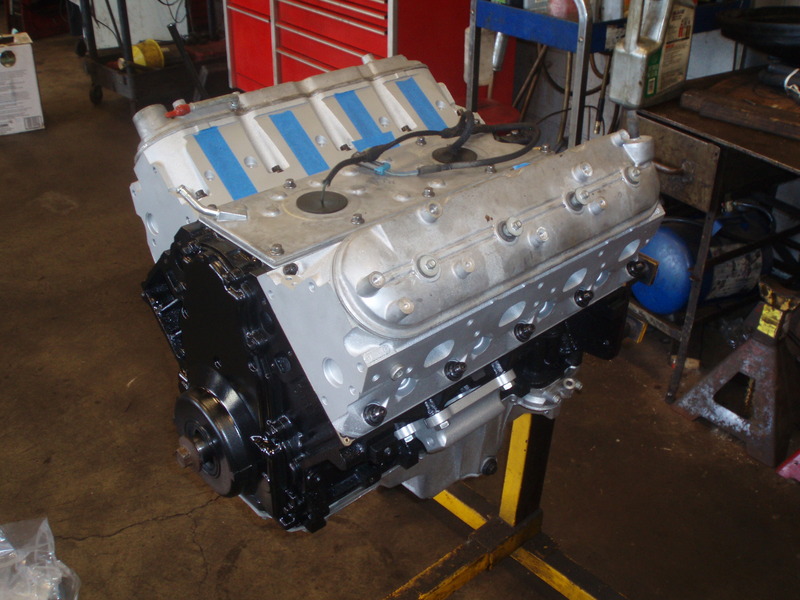
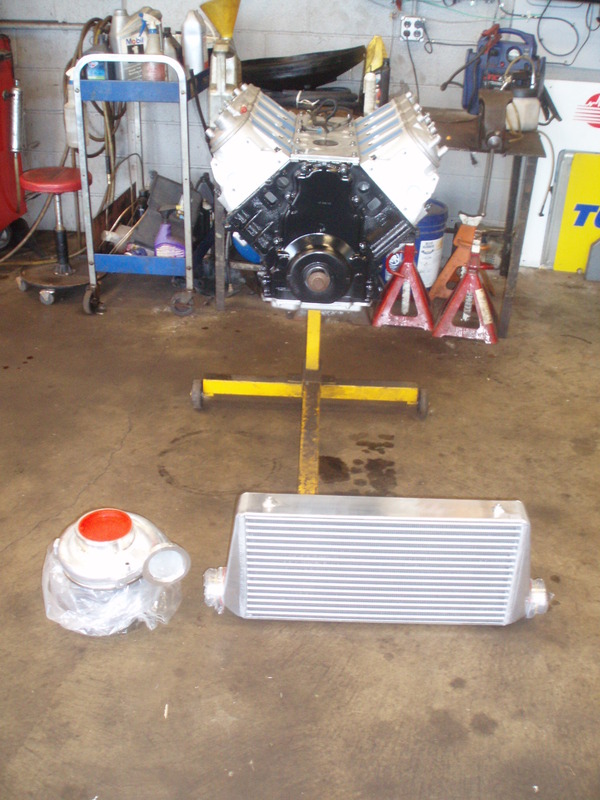
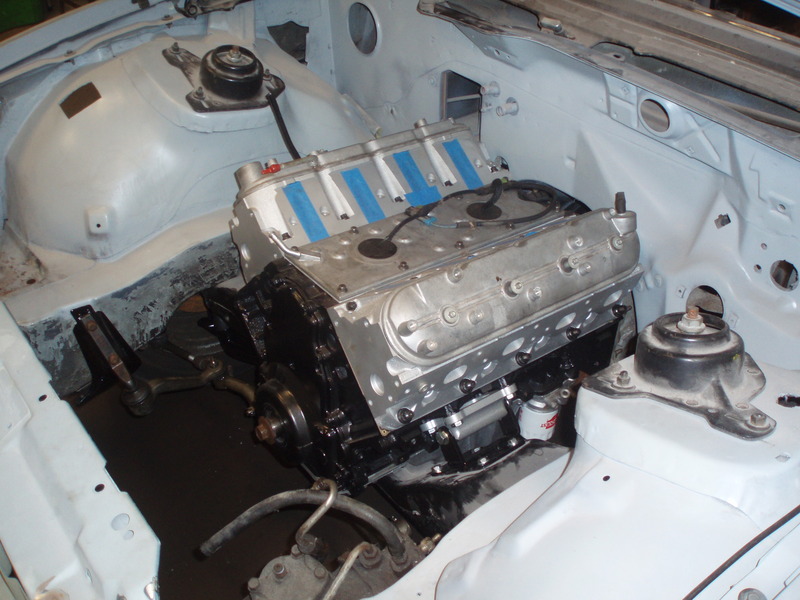
been awhile since i posted progress pics. got the engine finally buttoned up last month. also received the VS racing GT45 80mm billet turbo kit.
also won an ebay auction for a 48"x30" Pontiac arrow dealership sign recently. was $250 with shipping. the guts of the sign was missing, but i bought two $30 LED undercounter lights from Home Depot and got it working. looks awesome!
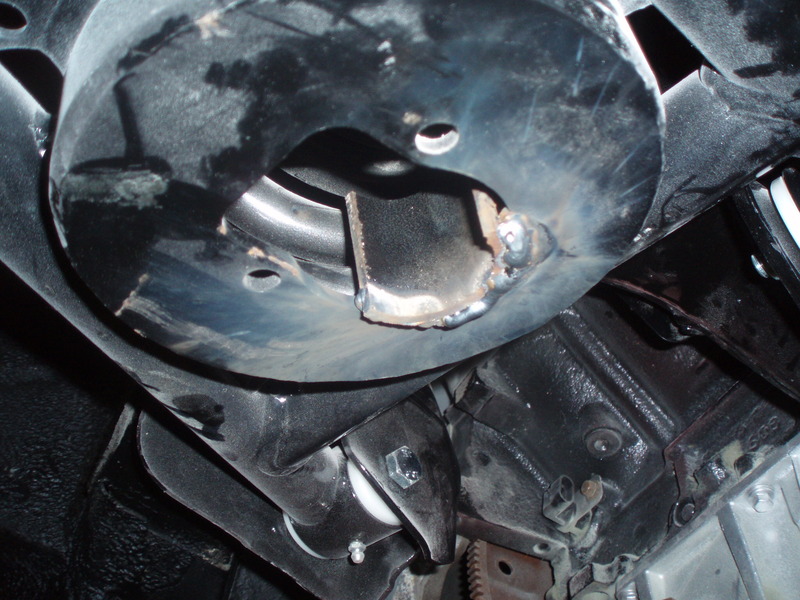
got a lot done this past weekend. engine and tranny went in. i used Spohn's LSX swap mounts and the engine sits about 1/4" low on the passenger side. i'll probably put shims between the engine mounts and block. 4L80E tranny fits good though. i had to cut an ear off of the driver side bell housing for it to fit. tranny only slightly hits the tunnel on the passenger side. i'll need to massage the tunnel slightly and it will be good. we the started to fabricate the 4L80E crossmember. seems like what we came up with will work. need to finish welding it and then paint it. i wanted to make sure the member allowed clearance to take the pan off for tranny servicing. installed some of the steering so it's easier to move the car around. also installed the subframe connectors, suspension and Ford 9" rear. i have koni yellows but don't want to put them in until after paint. still need to weld in the BMR trak pack torque arm. springs are Eibach pros. car sits high, but it's also pretty much gutted. hopefully it'll settle down once the car is back together (which is going to be awhile).
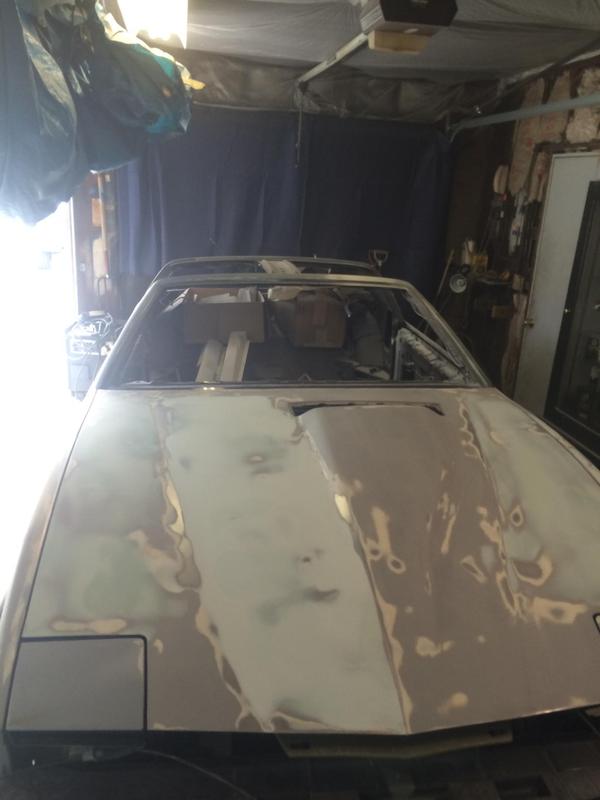
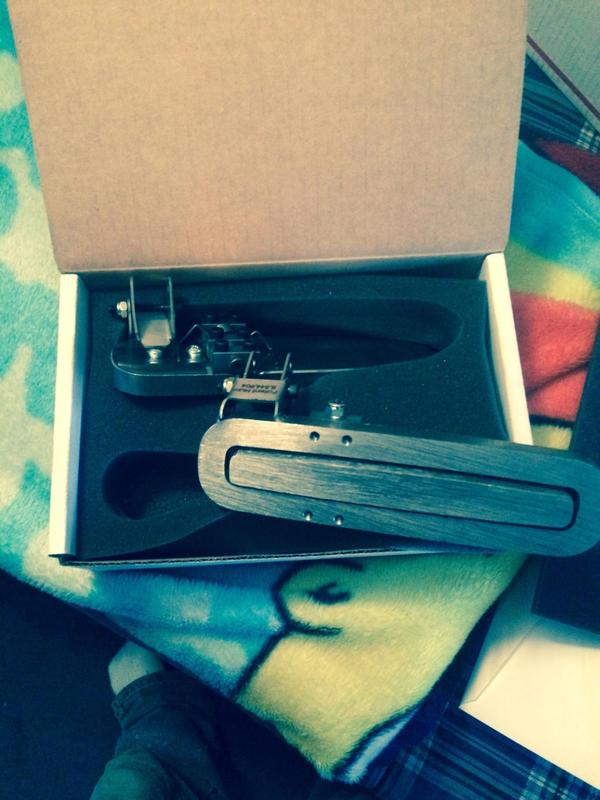
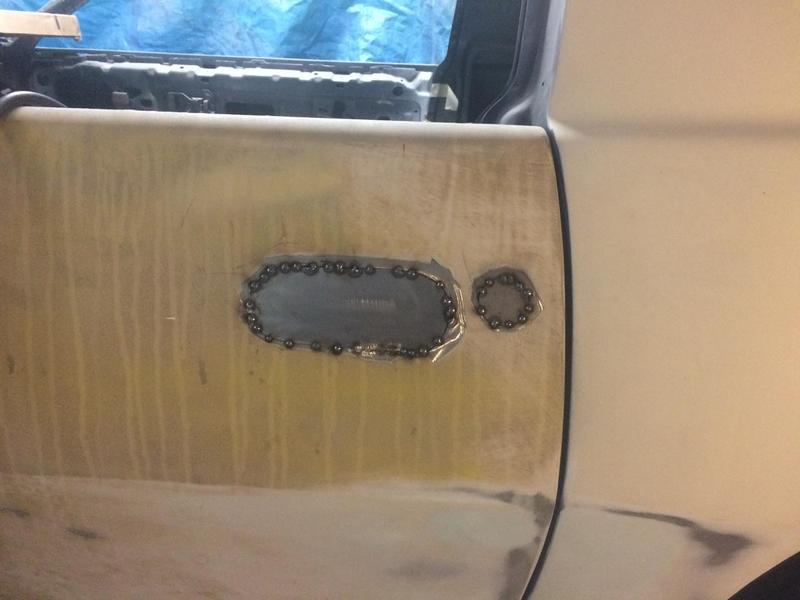
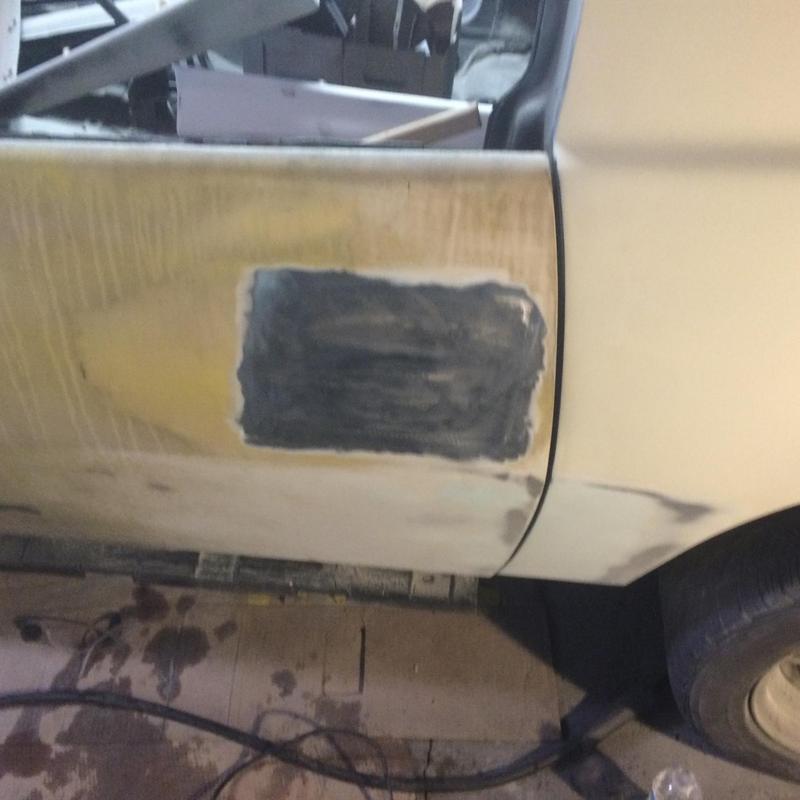
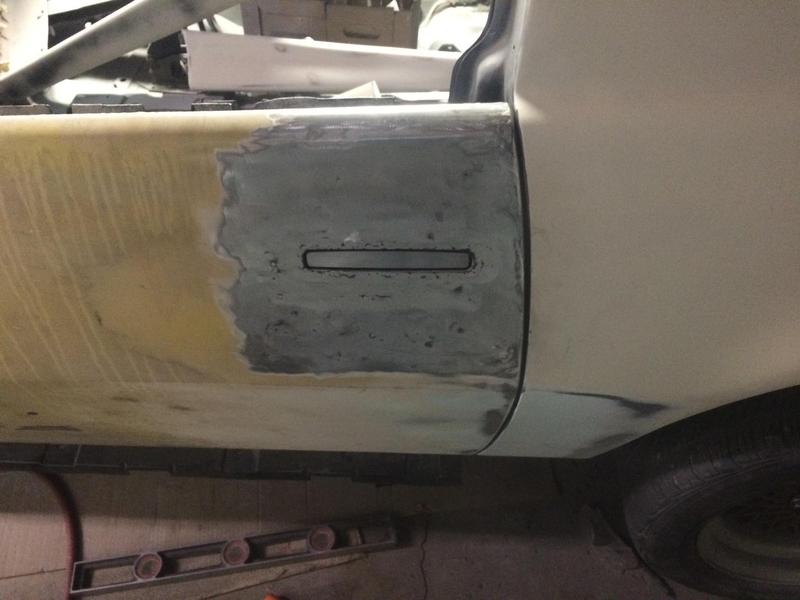
didn't get to do much on the car this past winter, but we've made a little more progress lately. we've been working on the engine bay and getting the hood straighter. also installed some door handles I bought from Kindig-it Design. they look awesome! i was originally going to try and install handles from a 2011-2013 dodge charger, but the part inside the door is pretty bulky and they just didn't fit.
haven't updated this thread in a long time, but i have some major news!
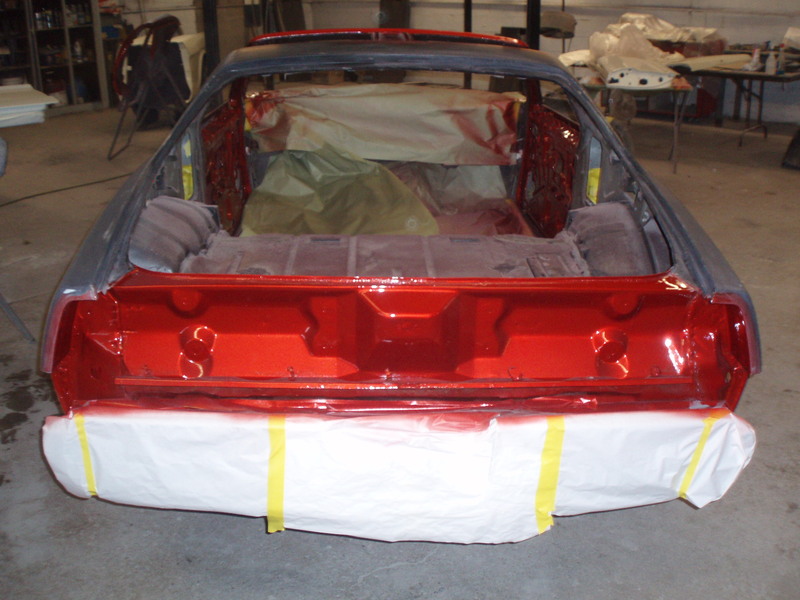
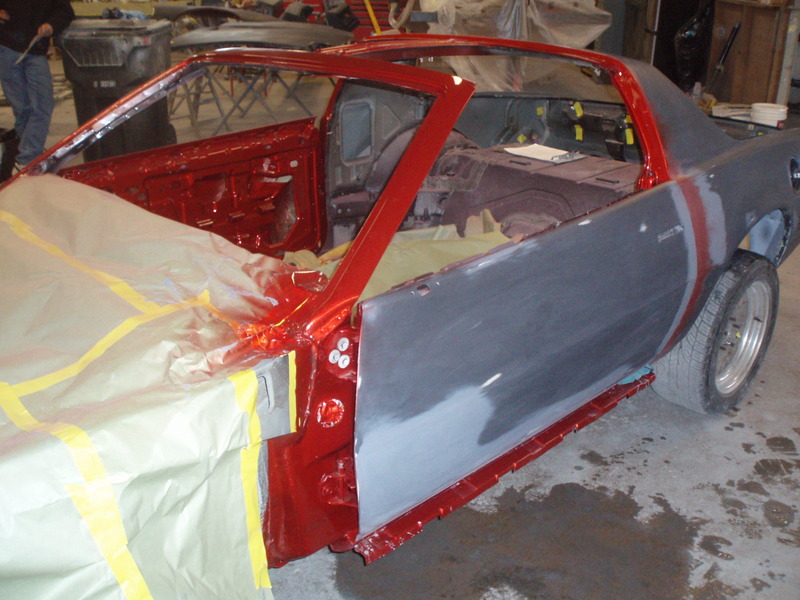
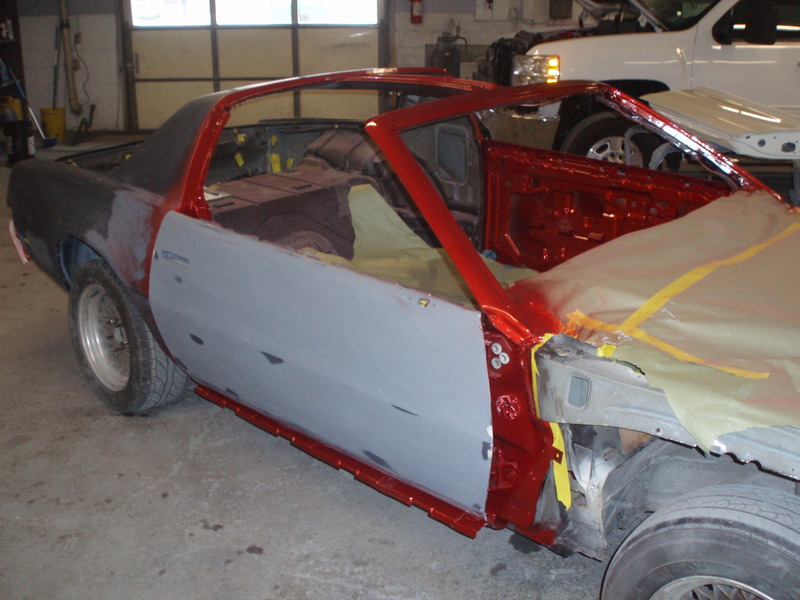
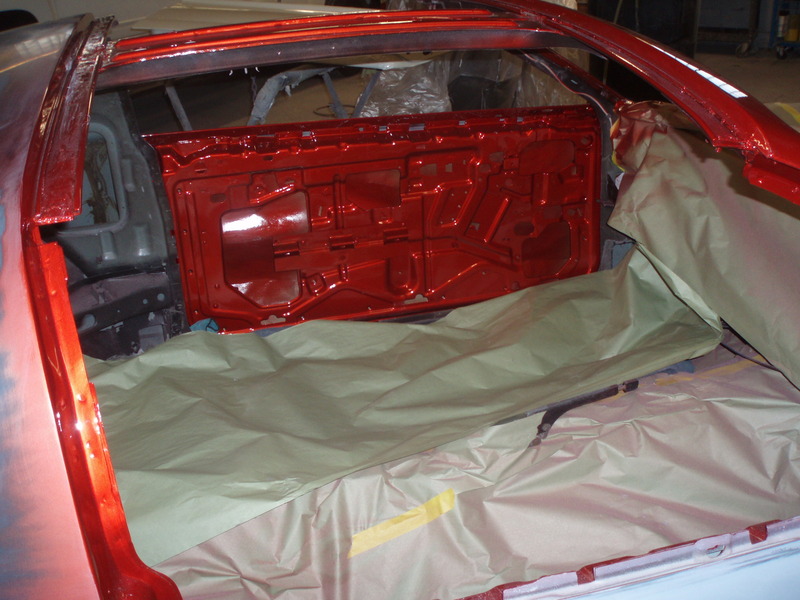
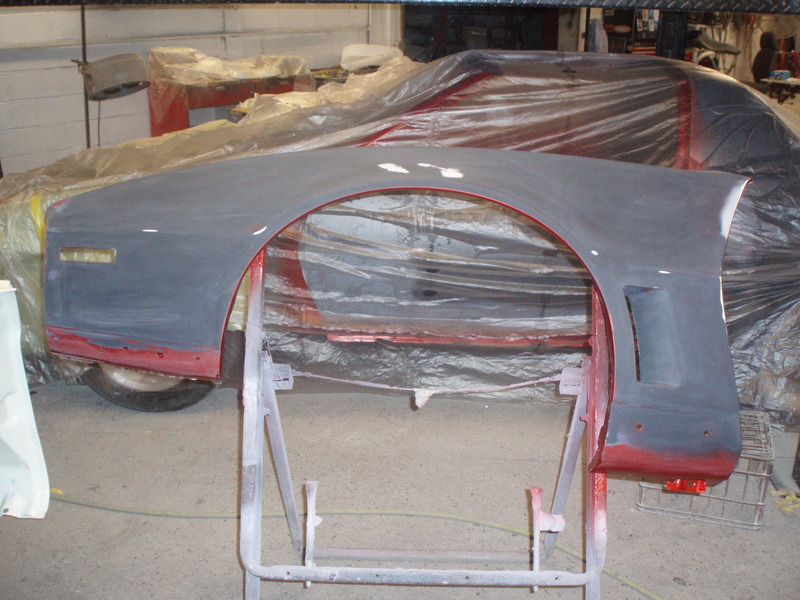
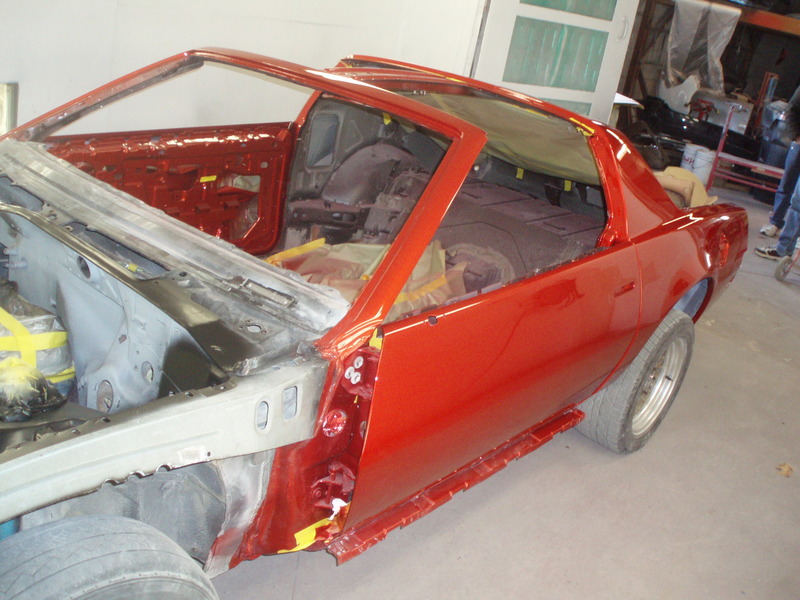
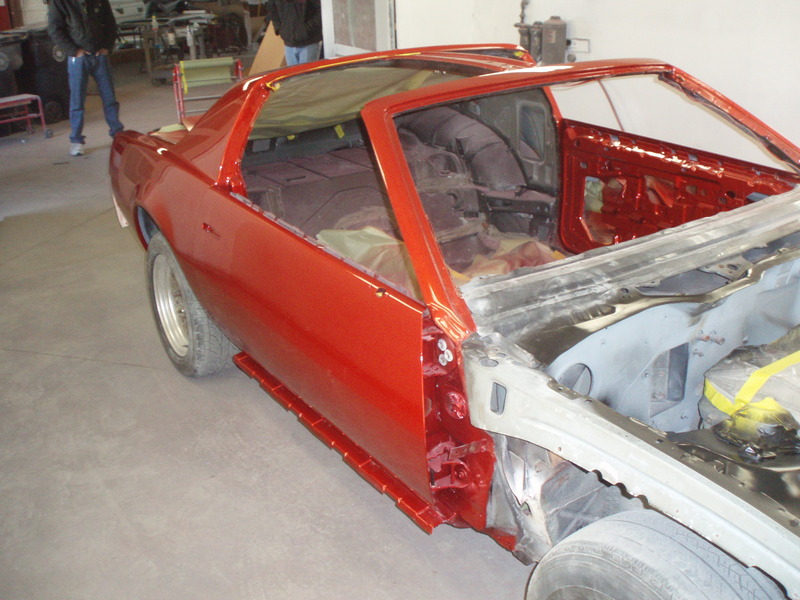
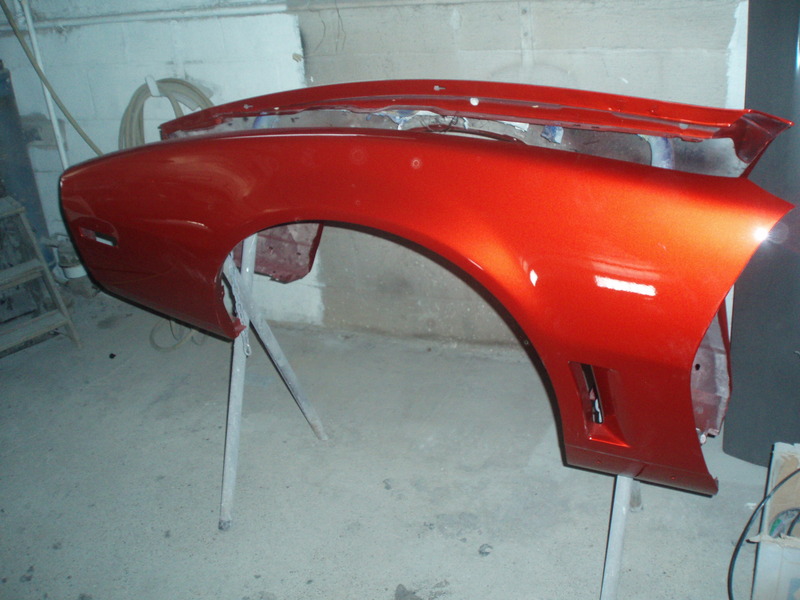
the car finally has some paint on it. my friend is finishing the bodywork and painting the car at his work: Mill-Stream Collision in Tonawanda, NY. they're doing an AMAZING job!
we're trying to go for a Foose inspired build. there's a lot of subtle modifications being done to the car. stuff most people wouldn't realize unless they are familiar with the third-gens:
Kindig-It handles
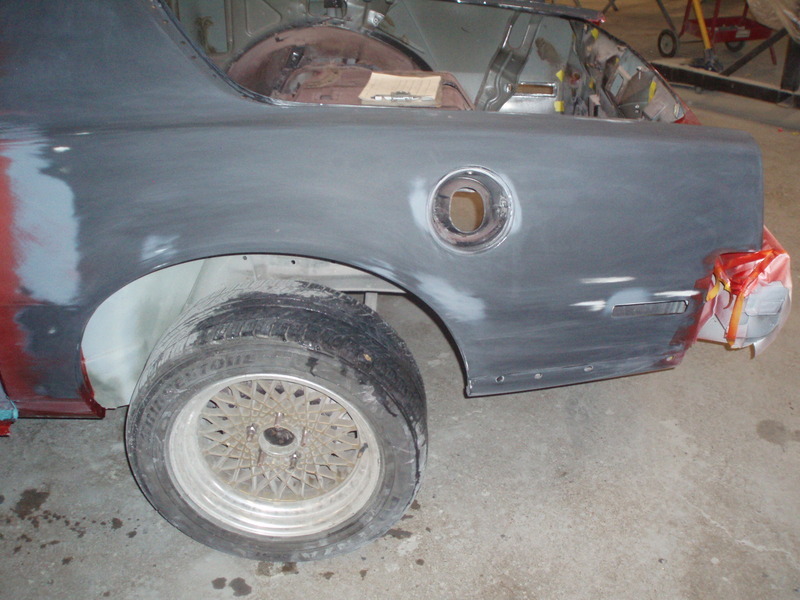
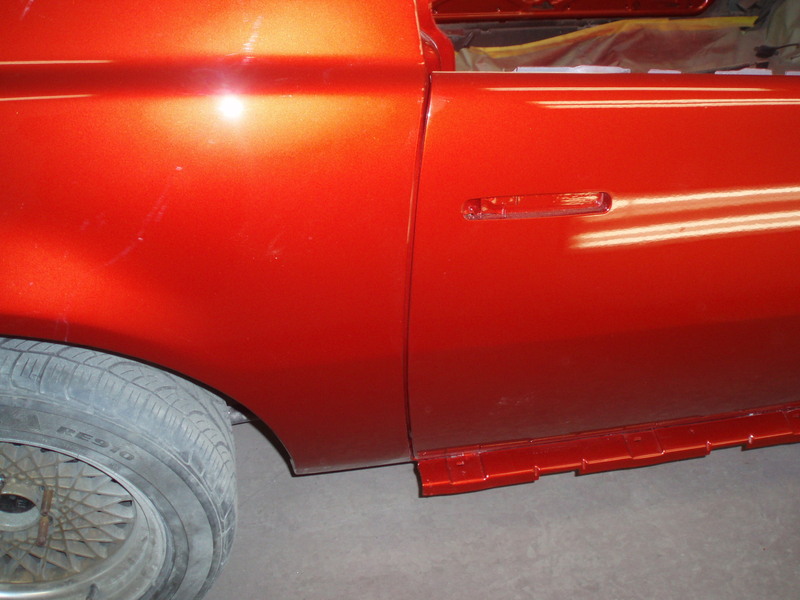
smoothed fender vents
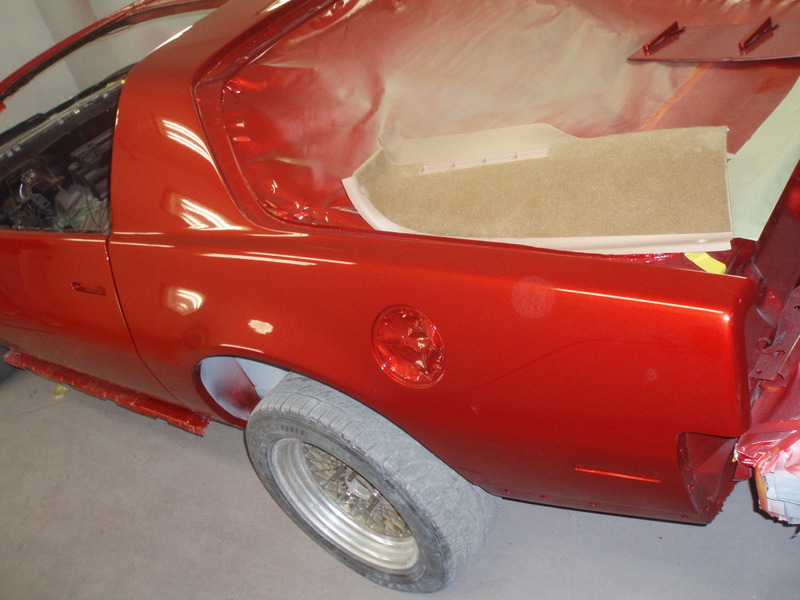
smoothed rear side marker lights
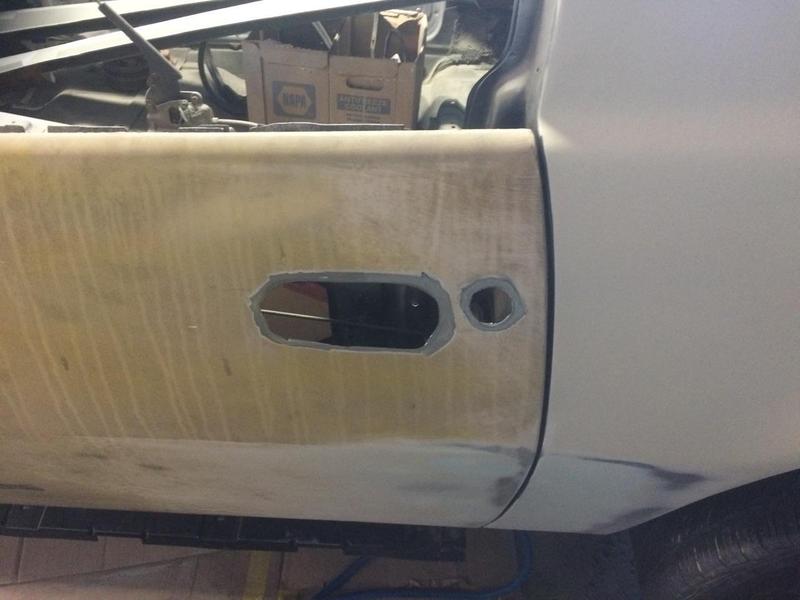
flush fuel door with popper
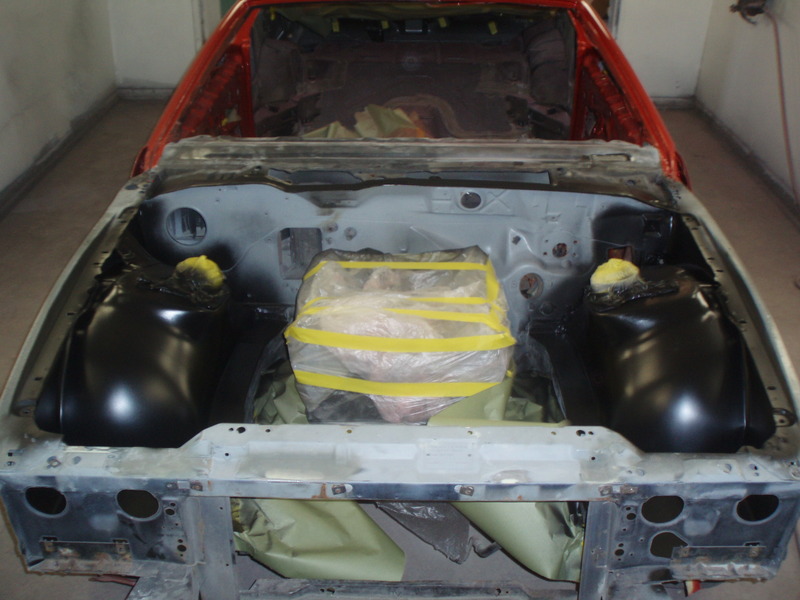
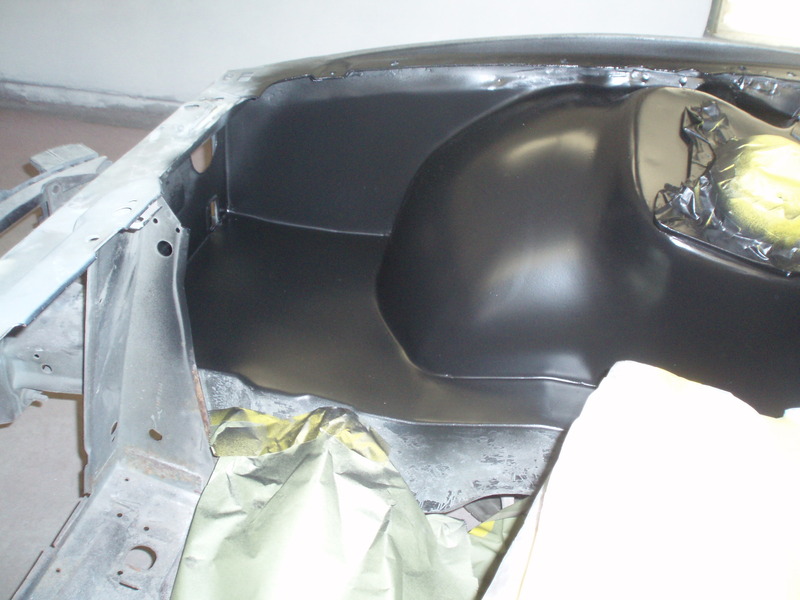
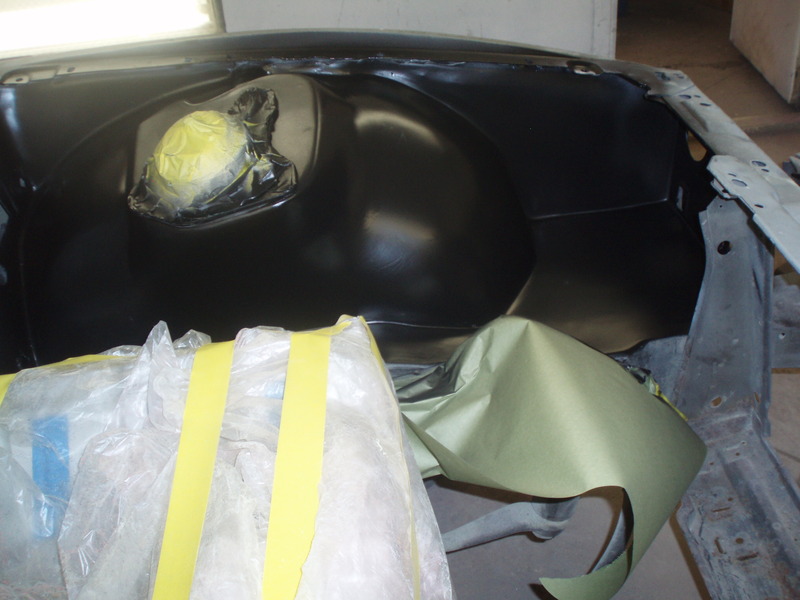
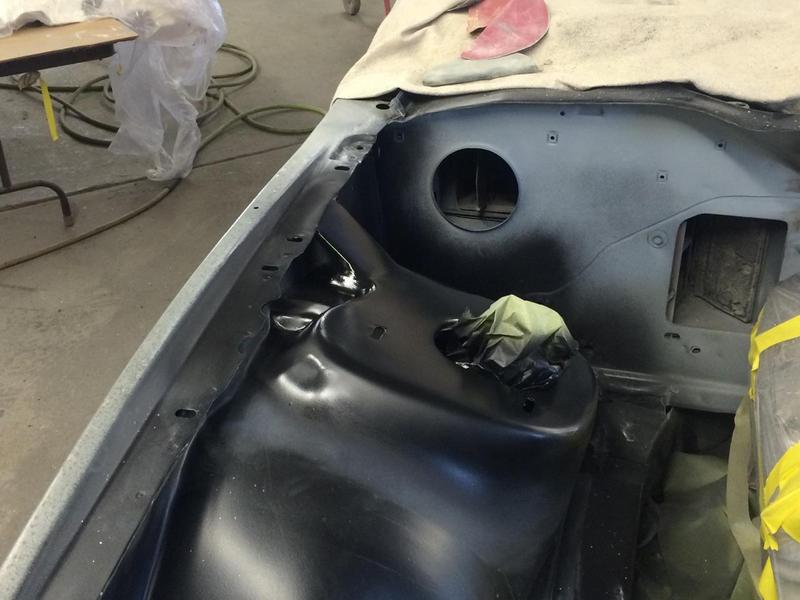
closed in the battery tray area with panels - same for the driver side
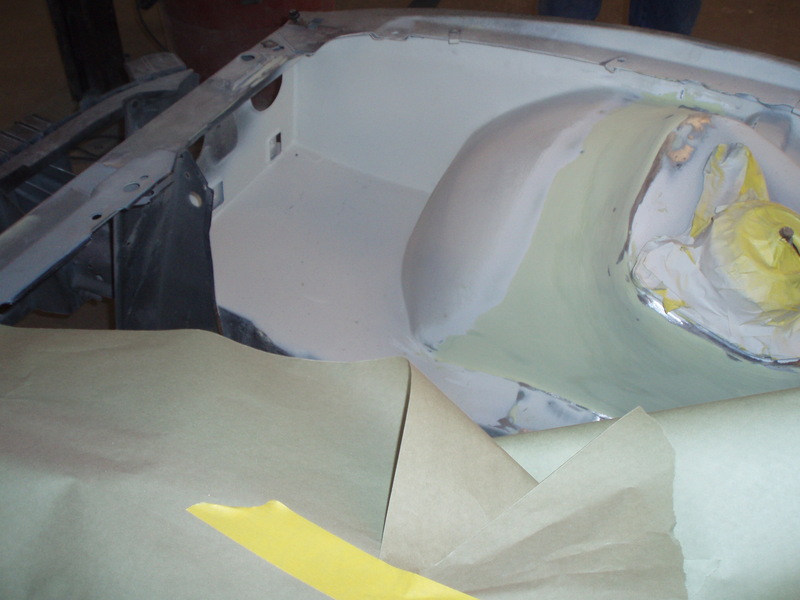
removed the washer and radiator bottle mounts from the fender wells
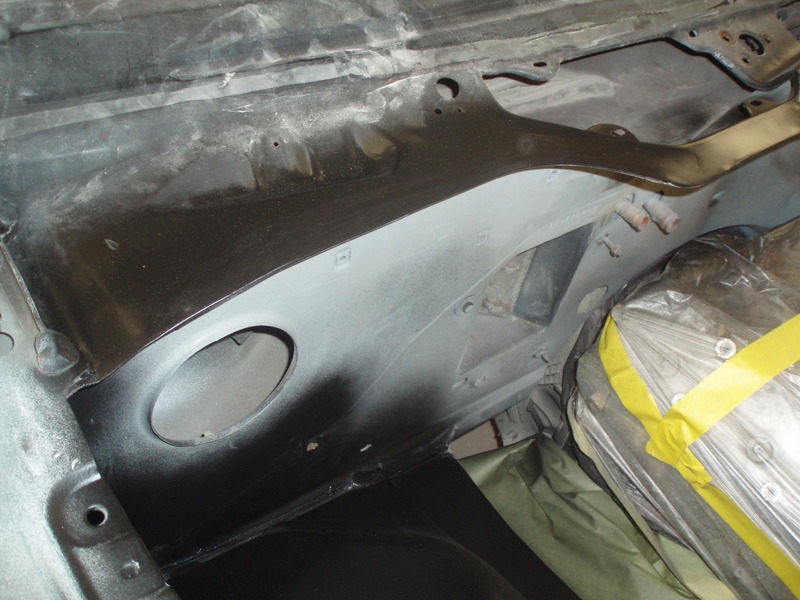
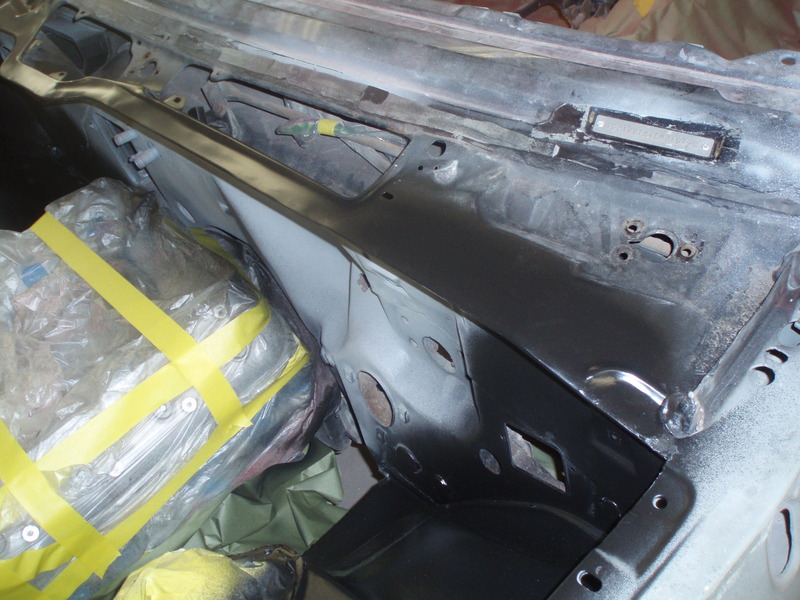
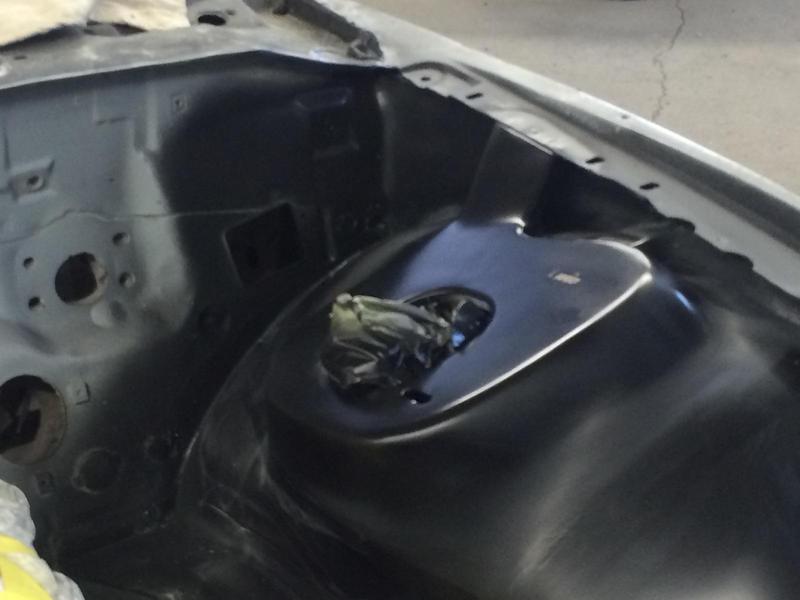
removed the wire loom hole from the back of the PS strut tower
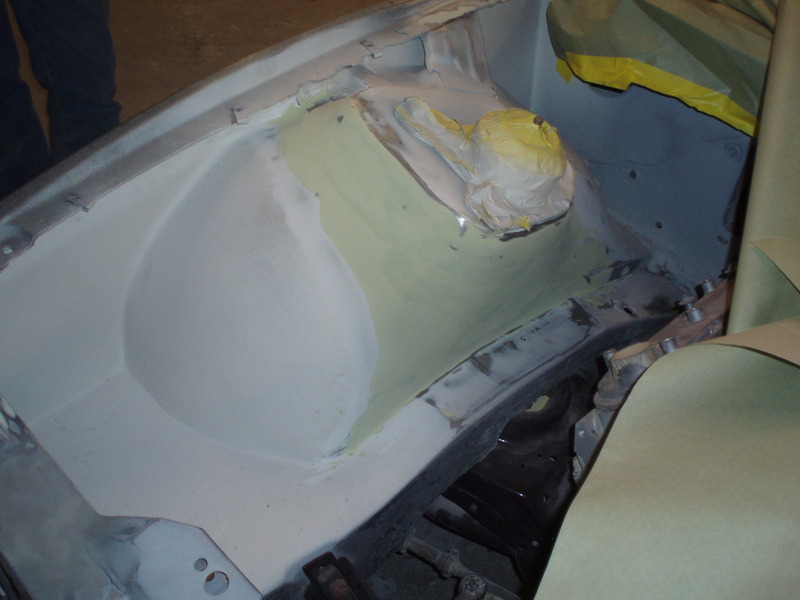
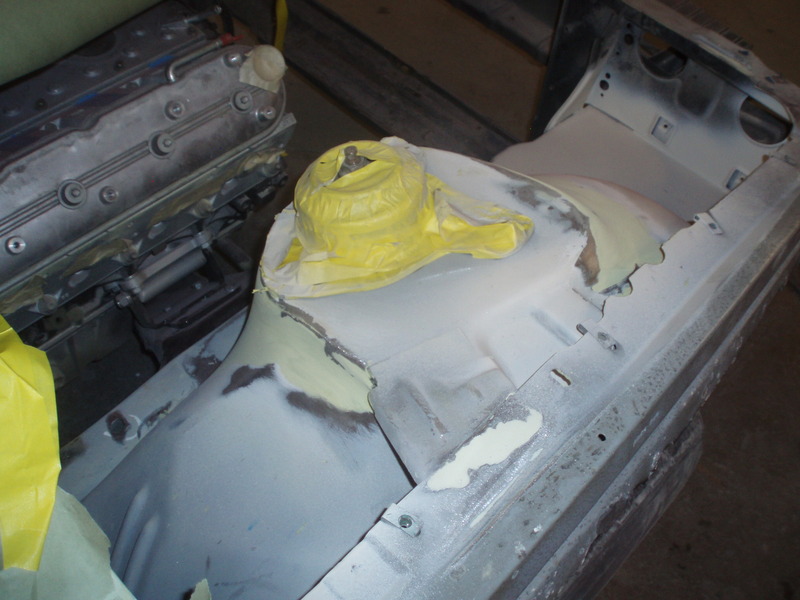
smoothing out the cowl area
smoothed fender wells
filled unused holes in the engine bay
fixed all panel gaps and urethane bumper fitment
that's all the exterior stuff for now. i should get the car back in 4-6 weeks and then i can start doing more on the engine.
hey before you paint , i have a mecham spoiler for sale from an 82 . Your in ny and im un amsterdam ny . I had one on my 85 and it looked sick . Lets make a deal .
I'm hoping to get aftermarket wheels. The crosslace ones are just to move it around. I was thinking Fiske, Forgeline, etc... Not sure what color yet. Looking at gold, gunmetal or black. Gotta save up. Wheels are EXPENSIVE!
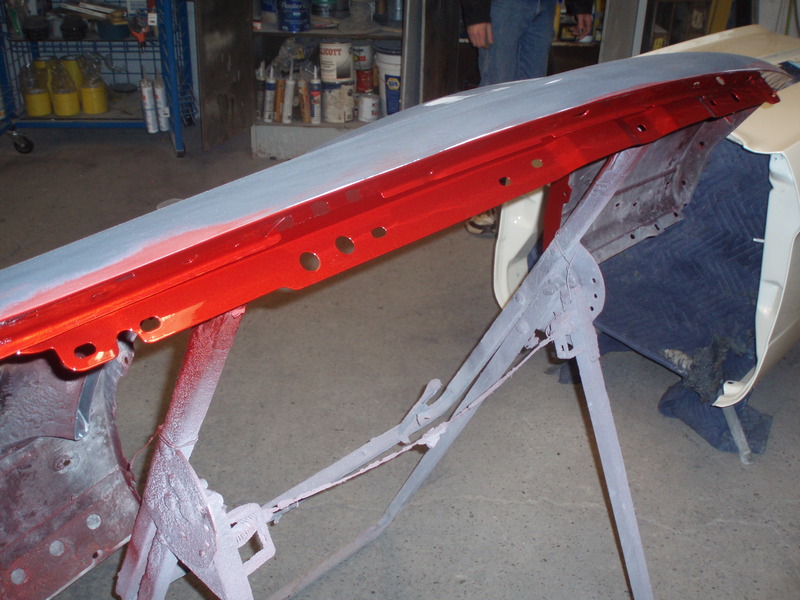
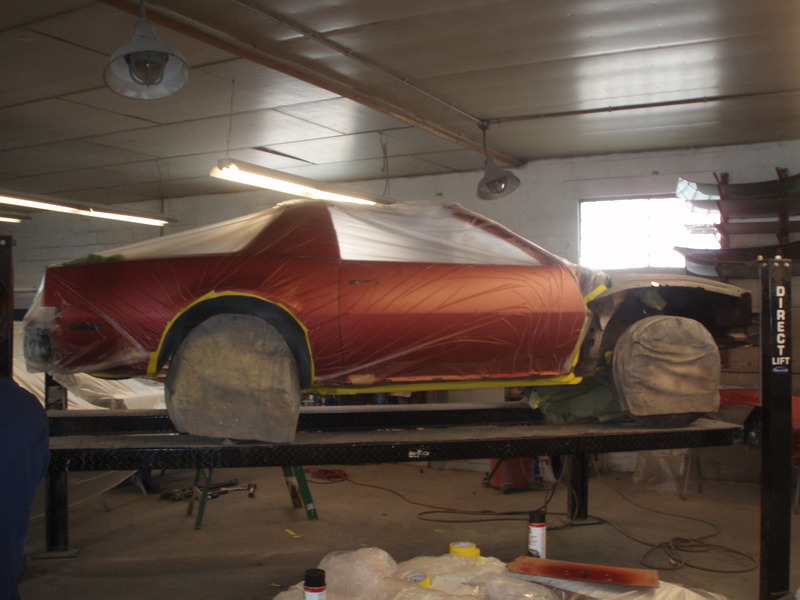
went to check on the car yesterday and the body now has paint on it. bumpers and ground effects are next. the pictures don't do it justice. it looks awesome. we're going to hold off on the engine bay for now. we need to figure out where all the holes need to be for the wiring and turbo piping. after that we can pull the motor to paint the engine bay.
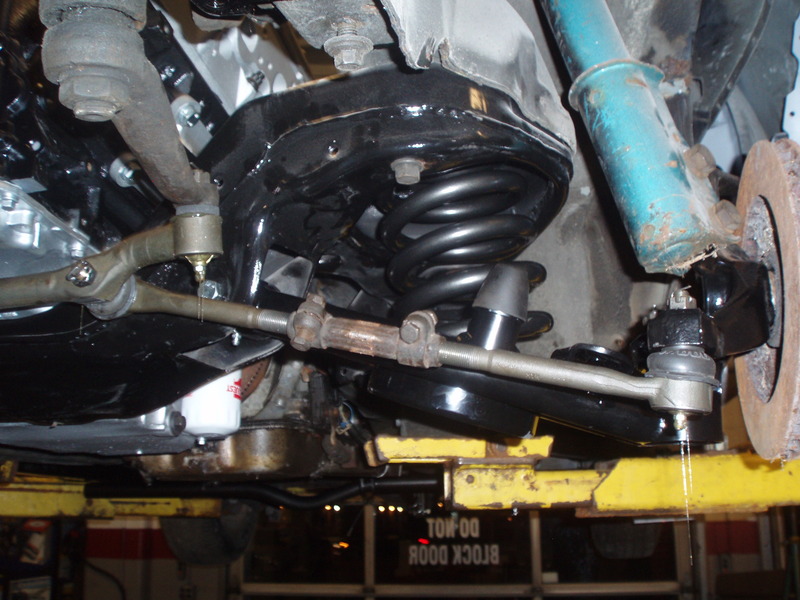
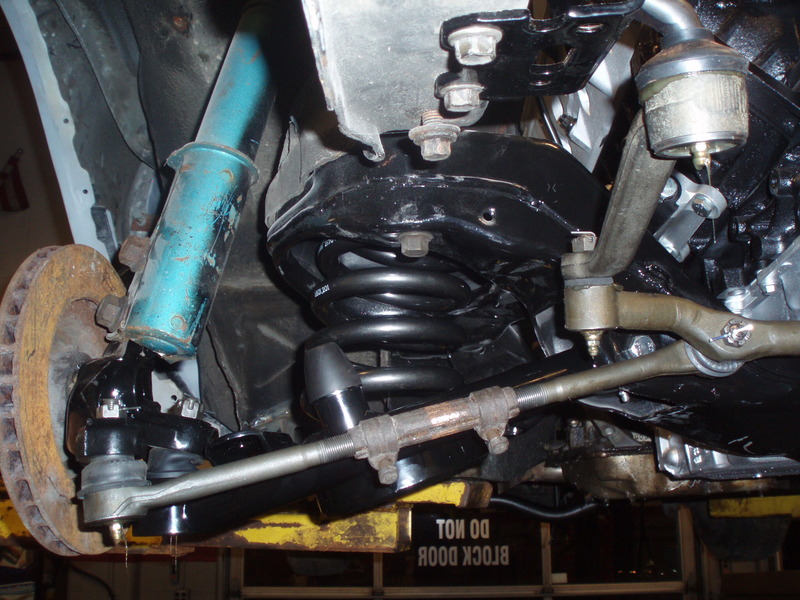
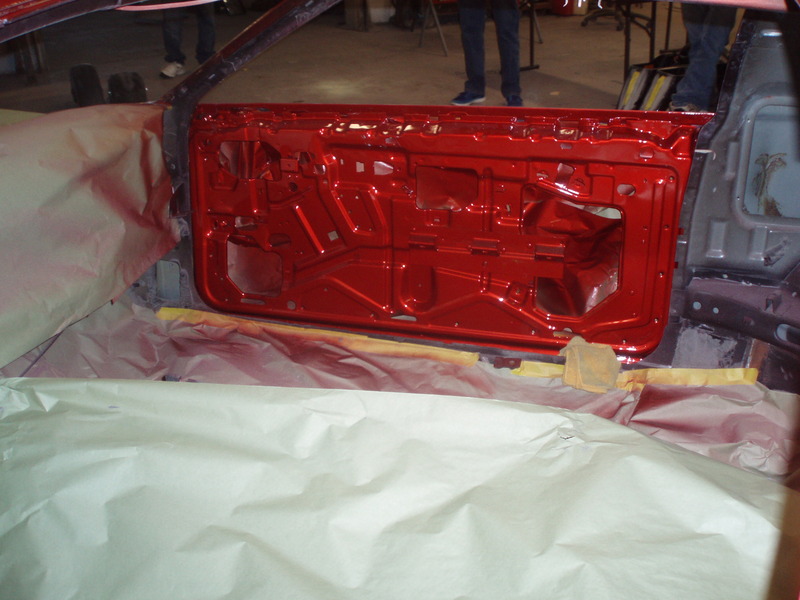
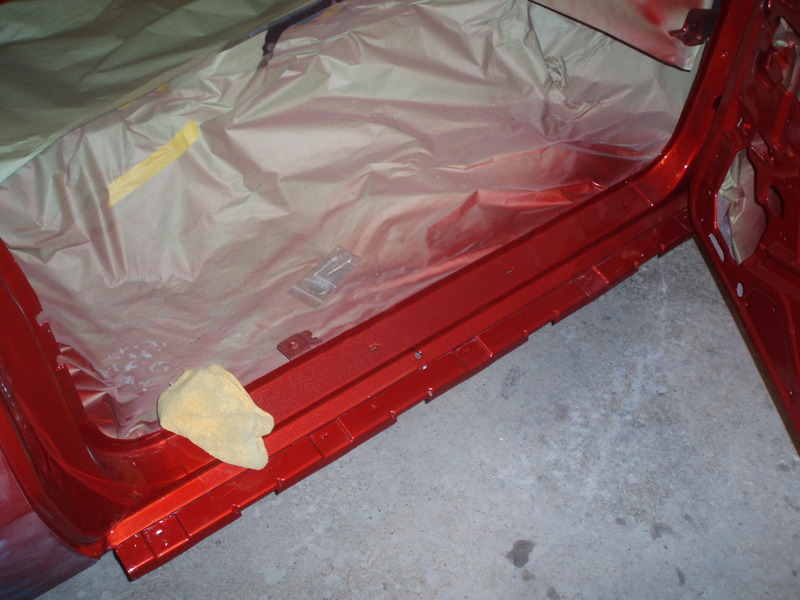
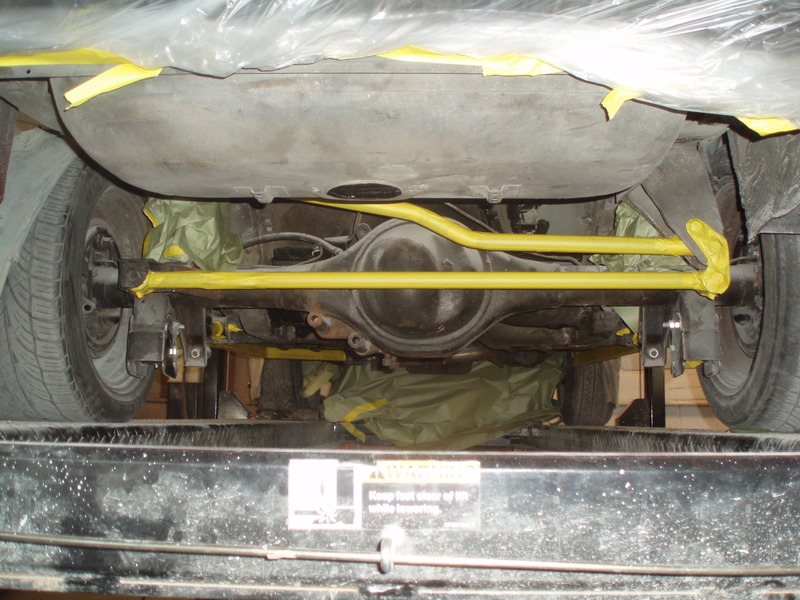
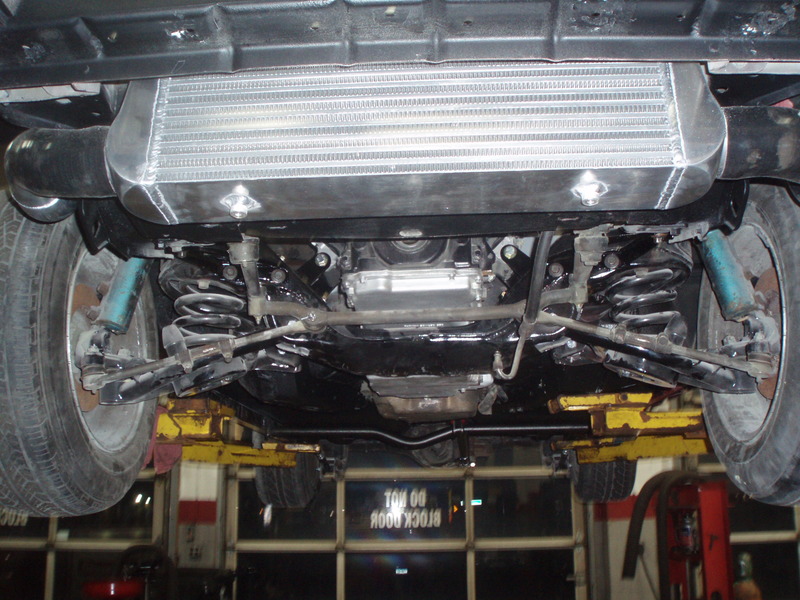
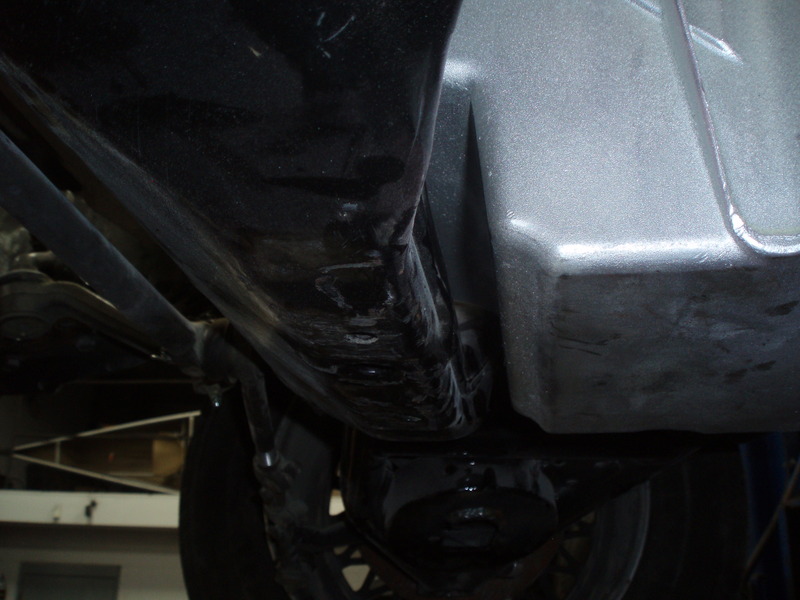
Two weekends ago we masked off the suspension and painted the undercarriage. I'll have to remove all the suspension later and paint some areas, but at least most of the underside has coverage now.
i also had my friend add a fender well support on the driver side to match the passenger side one. i got the idea from a DSE build thread on thirdgen.org
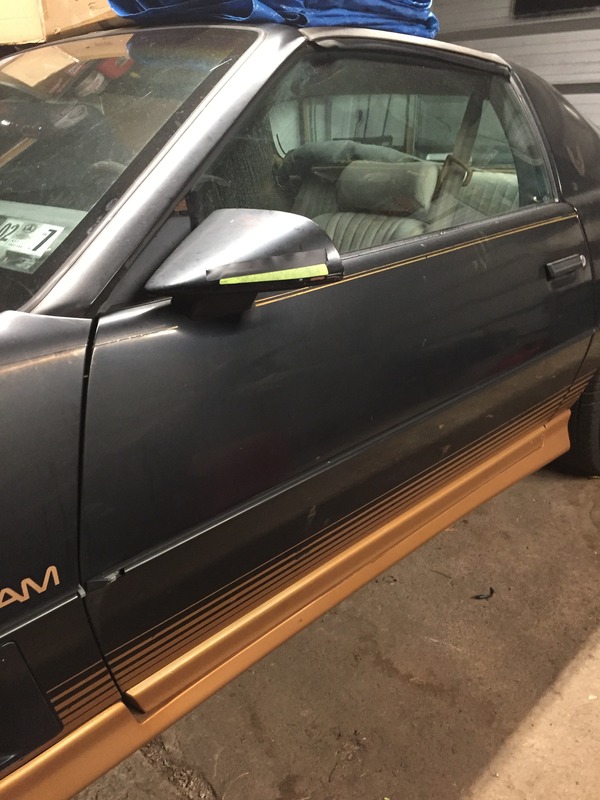
lastly was i saw aniother thread on thirdgen.org where a guy installed blinkers in his side mirrors. i thought it looked pretty cool so i started mocking up doing something similar on my mirrors. here's the shape i came up with.
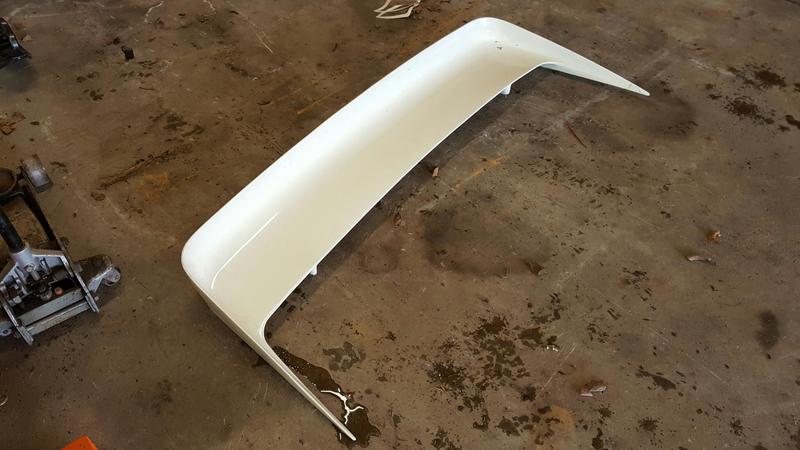
biggest score was i picked up an original Mecham rear spoiler from ramairetransam.
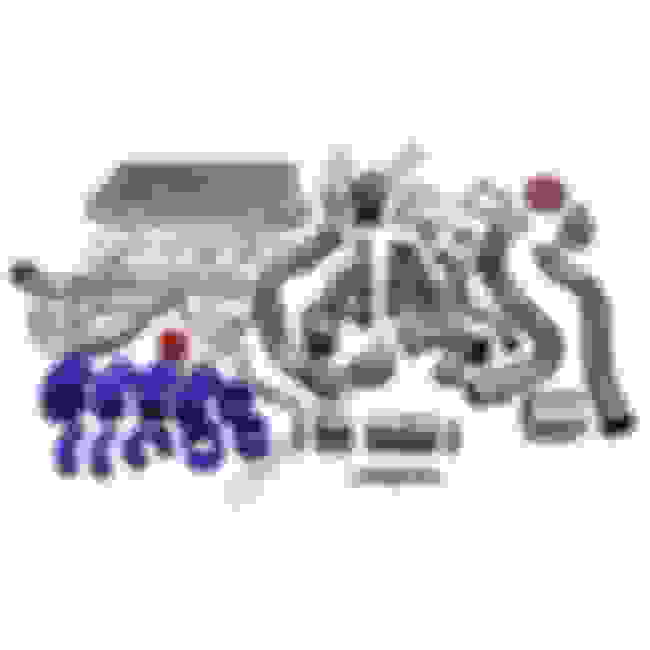
also ordered the CXRacing LS1 turbo kit. all the pipes are pre-made which will save me a lot of time. so now i'll be selling my denmah kit.
next weekend i'm hoping to mock up the engine bay stuff and then pull the drivetrain to have the bay painted. it will be the same color as the body, but more eggshell sheen.
this past weekend i mocked-up the CXRacing LS turbo kit for third-gens that i bought. i needed to make all the holes in the engine bay before having the shop finish painting the car. the kit is very nice and fit well. i believe worth it was well worth the cost. i created a thread on thirdgen.org for the install to show how we did things. the kit is designed for a thirdgen camaro so a couple things needed to get modified during the install. here's a link to that thread: https://www.thirdgen.org/forums/powe...ml#post6124863
we also completed a few other things:
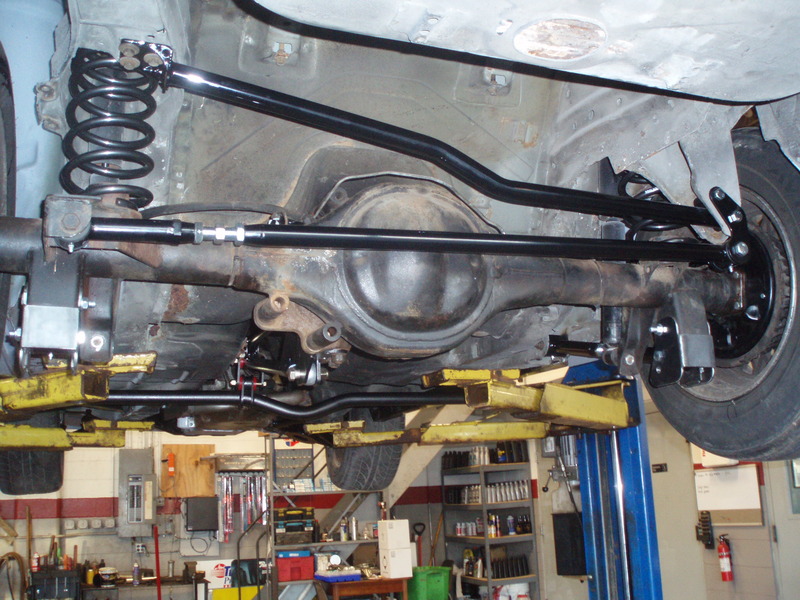
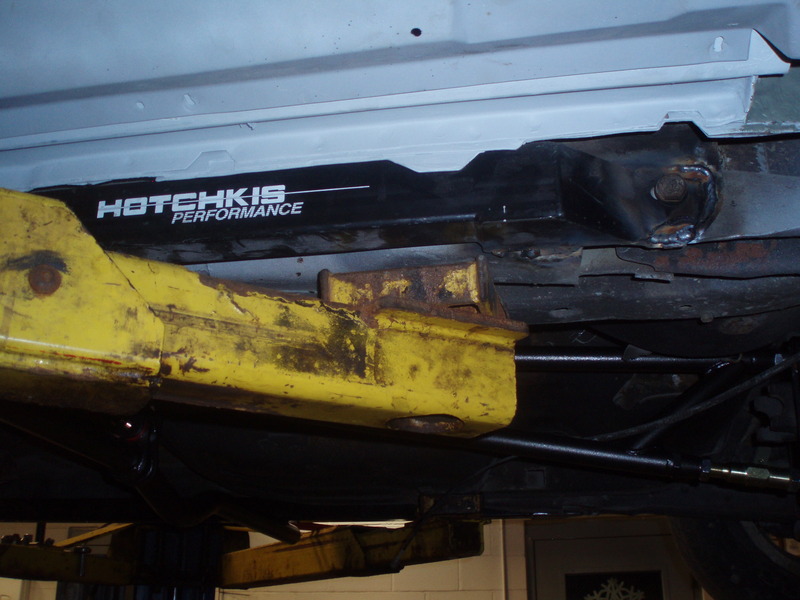
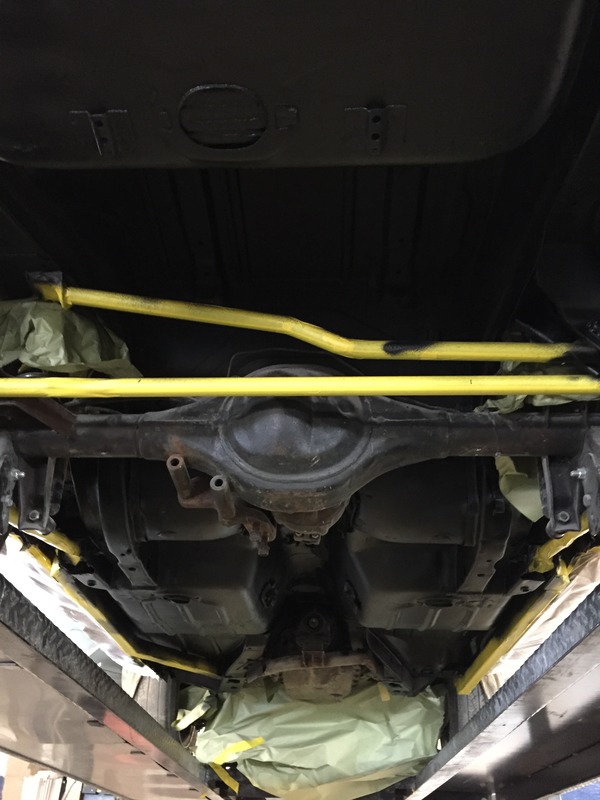
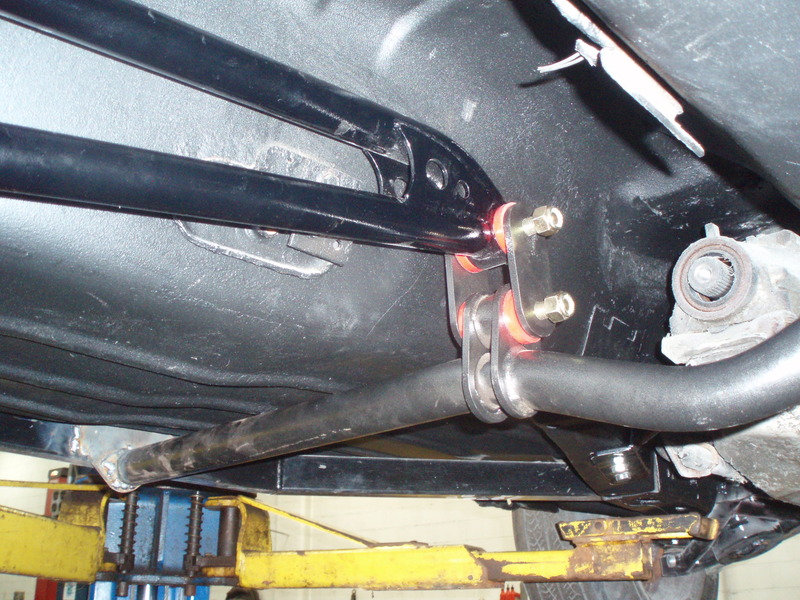
finished installing the BMR trak pak torque arm relocation kit. the front of the torque arm mounts to a bar that we welded to the subframe connectors. between the subframe connectors and this i think we really stiffened up the car a lot.
i got UMI tubular a-arms cheap off another member on TGO and installed Eibach lowering springs, but the springs kept coming out of the a-arm because there's no bottom pocket for them to sit in. to fix the issue, we welded in a small piece of tube to act as a retainer so this won't happen anymore. i'm not sure if the ones i got where some kind old design or something. they should be good now (i hope). maybe it was happening because there's really no weight in the car???
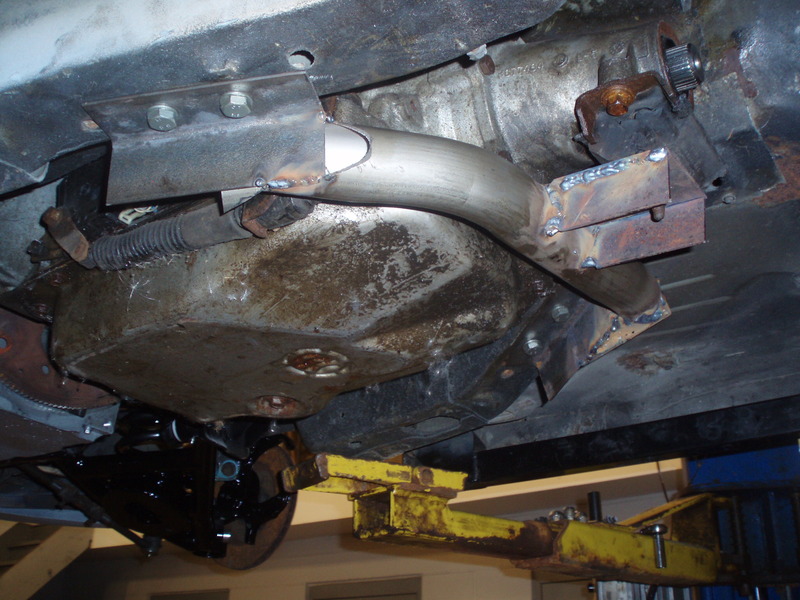
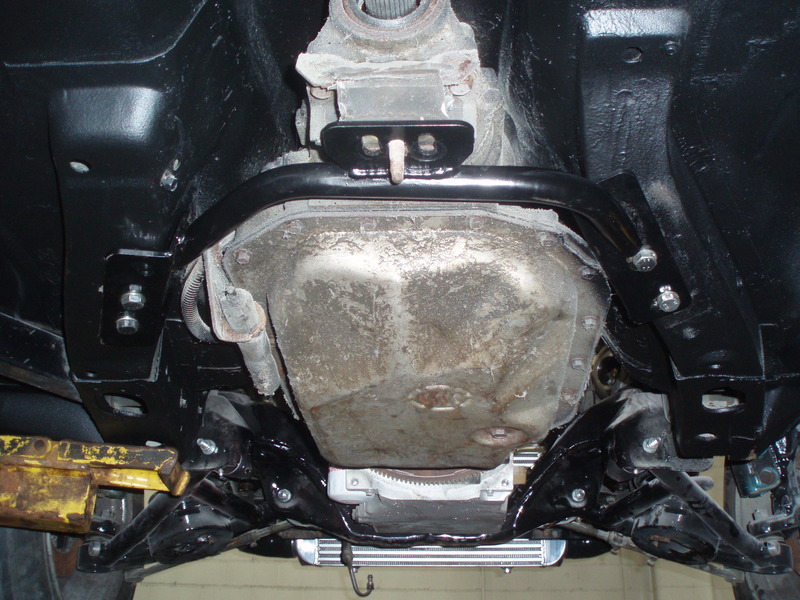
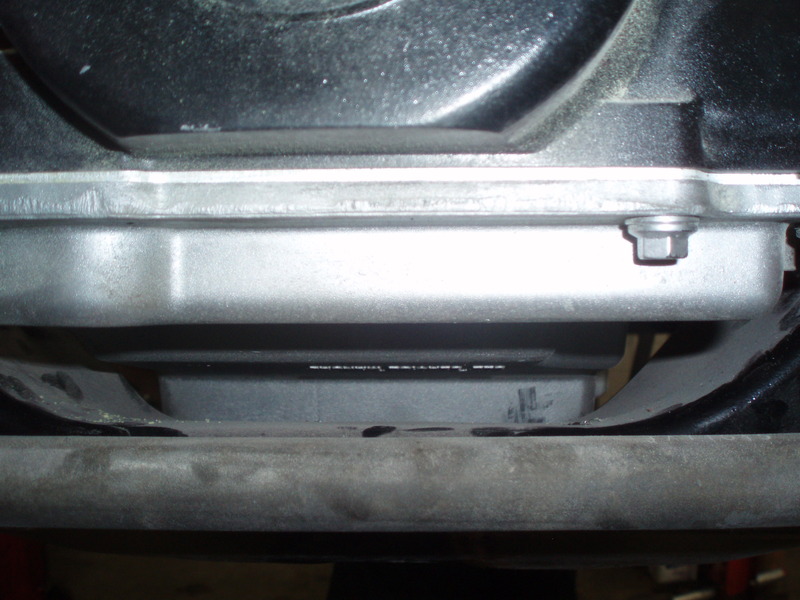
we fabricated our own 4L80E crossmember awhile ago, but it was kind of bulky. i ended up getting a used PA Racing 4L80E crossmember off TGO. i wasn't sure if it would fit since PA's website says the crossmember is for 85-92 thirdgens, but it fit fine.
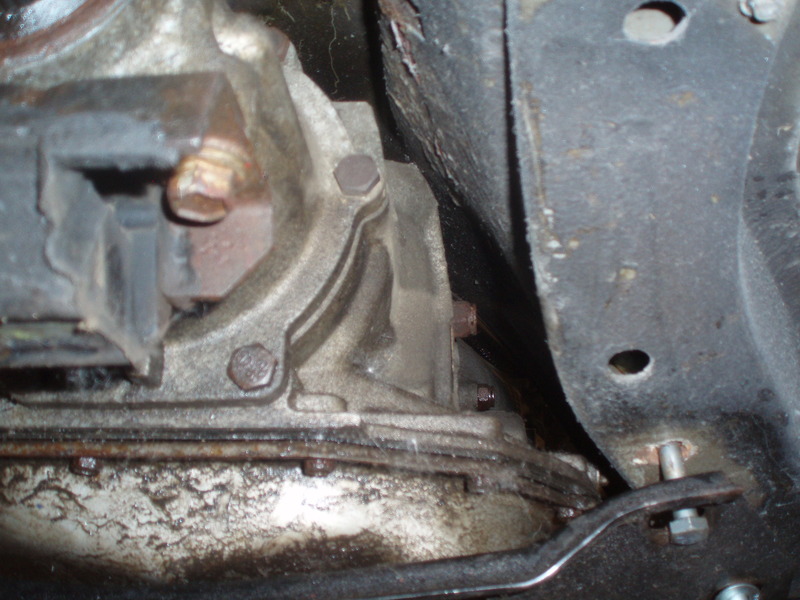
i also swapped out my Spohn LS motor mounts with UMI mounts. the Spohn mounts don't work for our cars. there was hardly any room between the f-body oil pan and crossmember. also the engine sat 3/8" or more low on the passenger side. when i called to complain, they tried to tell me it was because i used UMI's solid motor side mounts (which wouldn't make a difference). they wouldn't do anything for me. there's threads on TGO with others who have had the same issue - should've done more research i guess. some people got the engine to sit level, but it just wasn't working for me. oh well. with the UMI mounts in here, there's a finger's worth of room between the oil pan and k-member everywhere.
after doing all this we pulled the drivetrain and are sending the car back to the paint shop. they need to paint the engine bay and i should have the car back in 2-3 weeks.
wow that fits great. I had the Spohn ones as well. Complete garbage. Motor didnt sit right, had to notch the k-member and it took large pry bars to get them in!
way overdue for updates. most of the car was in paint May 2017. only a few parts weren't done: fenders, hood, front and rear spoilers. the engine bay is painted the same color as the car, but in an eggshell sheen.
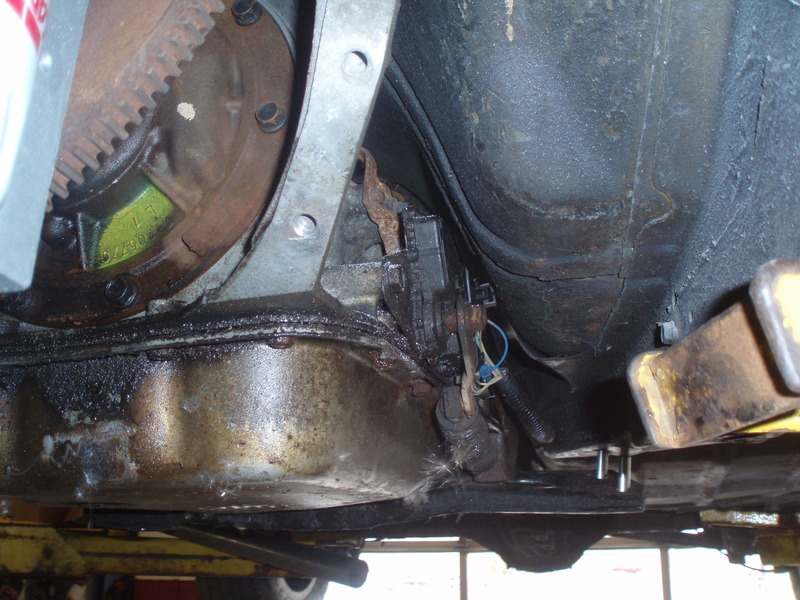
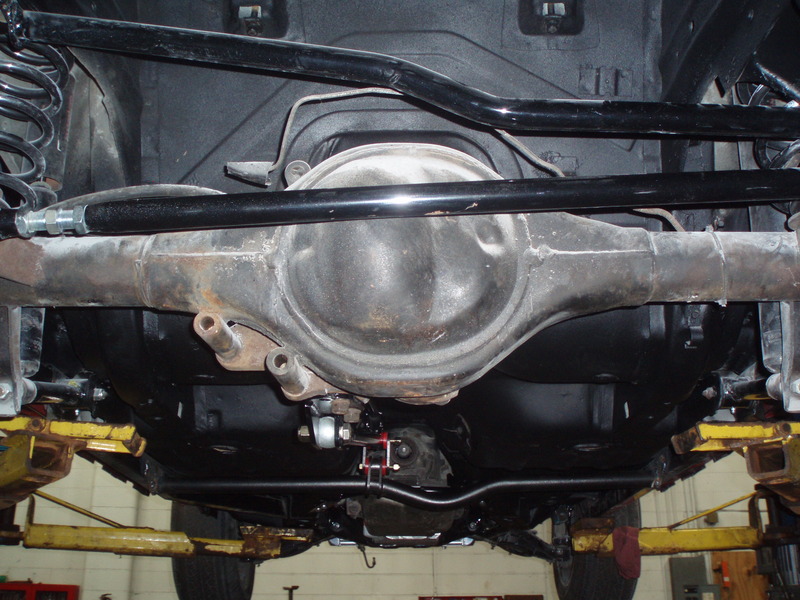
June or July we got the car back to my friend's shop so we could install the engine, transmission, fuel tank and run some brake lines. i went with a dual pump Squash Performance unit for the tank. it's a nice (but expensive) piece. the brake lines were a stainless steel kit from Inline Tube. it's a little tricky to work out the bends in the front to back line, but everything fits great. i had the body shop paint the Moser rear end. he took the liberty to paint the third member in silver which i thought looked pretty cool.
we wanted to install the exhaust too, but ran into an issue. i went with the Magnaflow 16829 kit. when mocking up the piping, it looked like the BMR trak pak front torque mount may interfere with the driveshaft location. unfortunately i need to order a custom driveshaft so we couldn't check this. we decided that i should get the driveshaft first because if the trak pak needs to get moved, that could affect the exhaust routing.
at the end of August 2017 we finally brought the car back to my house. i thought i'd get a lot of work done with the car being in my garage, but i didn't had a ton of extra time. plus when i have had time to do things, i couldn't seem to get much done because i either need a part or have to do something first before i can actually do what i had planned.
for example: i wanted to send out the headers and turbo piping to get ceramic coated, but i happened to learn from a reply in my engine build thread on thirdgen.org that the crossover pipe in this kit was too close to the water pump tensioner. i mocked up the front accessories to check and sure enough, there was only maybe 1/4" of clearance between the belt and crossover pipe. i called CXRacing and turns out their earlier design had this issue, but said in their newer design this is fixed. i sent my headers and cross over pipe back to them two times and none of the parts they provided fit right. i ended up cutting the crossover and making it fit better. only problem with that is then the upper radiator hard pipe needed to be modified. the top radiator hard pipe in the CX kit has a hump in it. I cut that off and welded a straight piece to the 90 in front of the water pump. now it fits good. i still want to get all the hot side parts ceramic coated, but now need to figure out where i want the O2 sensors before getting that done. been reading conflicting information on here about whether to put the sensors before or after the turbo.
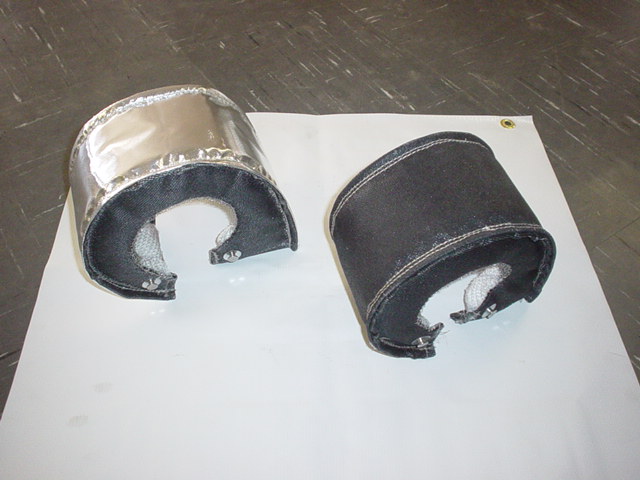
next issue is i really want to keep heat in my car - mainly for the window defroster. the nipples on the water pump are right next to the downpipe. i'm going to try and pull the nipples, pipe thread the holes and use 90 degree adapters. might not work, but what do i have to lose.


 07-09-2015, 06:39 AM