When you click on links to various merchants on this site and make a purchase, this can result in this site earning a commission. Affiliate programs and affiliations include, but are not limited to, the eBay Partner Network.
Looking good. I would try to reposition the turbo a tad so the oil doesnt have to go UP any. I would assume that port on the turbo is 1/8 NPT or 1/4NPT Either way a pretty cheap plug to buy.
Jay
Yea, Unfortunately I can't turn the turbo forward anymore due to the shortness of the oil drain. If i changed the 90 degree out with a 45 degree, I think it will work.
IF anyone can shed some light on this. I need to know what size either a vacuum thread or plug would be to fit this. Wondering what people with a turbonetics use.
The hole on the "cold side" housing is a 1/8" NPT fitting.
Odd that you mentioned having to trim your oil drain. I tapped the exact same spot on my oil pan, and it doesn't quite reach without having it hump a tiny bit over one of the hot pipes. Not exactly ideal, so I went and found a 5' piece of -10AN to remake the whole run...
You're definitely going to want to wrap your lines, and anything which comes even remotely near the housing or exhaust system. Seriously. My alternator line arced to the point where the battery I'd had in there pooped out its positive connector in a pretty dramatic fashion, and I also had the power steering line issue which murdered my alternator and made my heat wrap stink for a couple of weeks.
I used Brian Tooley .660 springs. You may want to opt for the titanium retainers, but the steelies work just fine for what you seem to be intending. There are tons of threads debating whether to go with single/beehive or double springs... I personally would rather have an added margin of error in case of the SHTF.
For vacuum routing, I used a Vibrant vacuum block, and about 20 feet of 3/16" ID silicone. Just figured that it would look like a cleaner installation to use a block than to have tee fittings zigzagging all over the engine bay.
Reference your BOV *after* the throttle body. If you're not willing to tap into the pipe, you can just reference off of that hole on your compressor housing. Reference the WG to the intake manifold- along with any gauges or boost controllers you're planning on running (or Hobbs switches).
In case you were wondering, part number 25036751 seems to be a popular one for IAT. The harness plugs right in, and you just have to weld in a bung. Easy stuff.
Let me know if you have any other questions. Cheers!
Last edited by JackrabbitSlim; 08-03-2015 at 10:44 AM.
Reason: coffee hadn't kicked in..
The hole on the "cold side" housing is a 1/8" NPT fitting.
Odd that you mentioned having to trim your oil drain. I tapped the exact same spot on my oil pan, and it doesn't quite reach without having it hump a tiny bit over one of the hot pipes. Not exactly ideal, so I went and found a 5' piece of -10AN to remake the whole run...
You're definitely going to want to wrap your lines, and anything which comes even remotely near the housing or exhaust system. Seriously. My alternator line arced to the point where the battery I'd had in there pooped out its positive connector in a pretty dramatic fashion, and I also had the power steering line issue which murdered my alternator and made my heat wrap stink for a couple of weeks.
I used Brian Tooley .660 springs. You may want to opt for the titanium retainers, but the steelies work just fine for what you seem to be intending. There are tons of threads debating whether to go with single/beehive or double springs... I personally would rather have an added margin of error in case of the SHTF.
For vacuum routing, I used a Vibrant vacuum block, and about 20 feet of 3/16" ID silicone. Just figured that it would look like a cleaner installation to use a block than to have tee fittings zigzagging all over the engine bay.
Reference your BOV before the throttle body. If you're not willing to tap into the pipe, you can just reference off of that hole on your compressor housing. Reference the WG to the intake manifold- along with any gauges or boost controllers you're planning on running (or Hobbs switches).
In case you were wondering, part number 25036751 seems to be a popular one for IAT. The harness plugs right in, and you just have to weld in a bung. Easy stuff.
Let me know if you have any other questions. Cheers!
I used 1/4" vacuum line. How come you want to reference the BOV before the TB? I have mine referenced after the TB and teed into the WG line and both seem to operate normally. Thanks!
I used 1/4" vacuum line. How come you want to reference the BOV before the TB? I have mine referenced after the TB and teed into the WG line and both seem to operate normally. Thanks!
So did you end up plugging the vacuum port in the conpressor housing?
Well, I went ahead and purchased a racetronix 255 hotwire kit. I feel this pump will meet my goals for now and allows me to get the car going sooner. Until I build the car up more, I don't feel that I will be turning the boost up, as tempting as it may be. I plan to run 80# injectors with the 255, which should be able to safely handle ~550 hp.
I had the panel cut, and pump installed in about 2 hours. I started to cut the panel with tin snips after I drilled some holes, but eventually gave in and fired up the compressor with a wiz wheel. Worked fine, still need to build a new panel to cover and seal it all up. Maybe tomorrow I will run the hotwire kit up to the alternator and finish it all up. Overall I impressed with the kit and instructions, just wish the wire kit came with its own instructions. Only thing I got was for the fuel pump install.
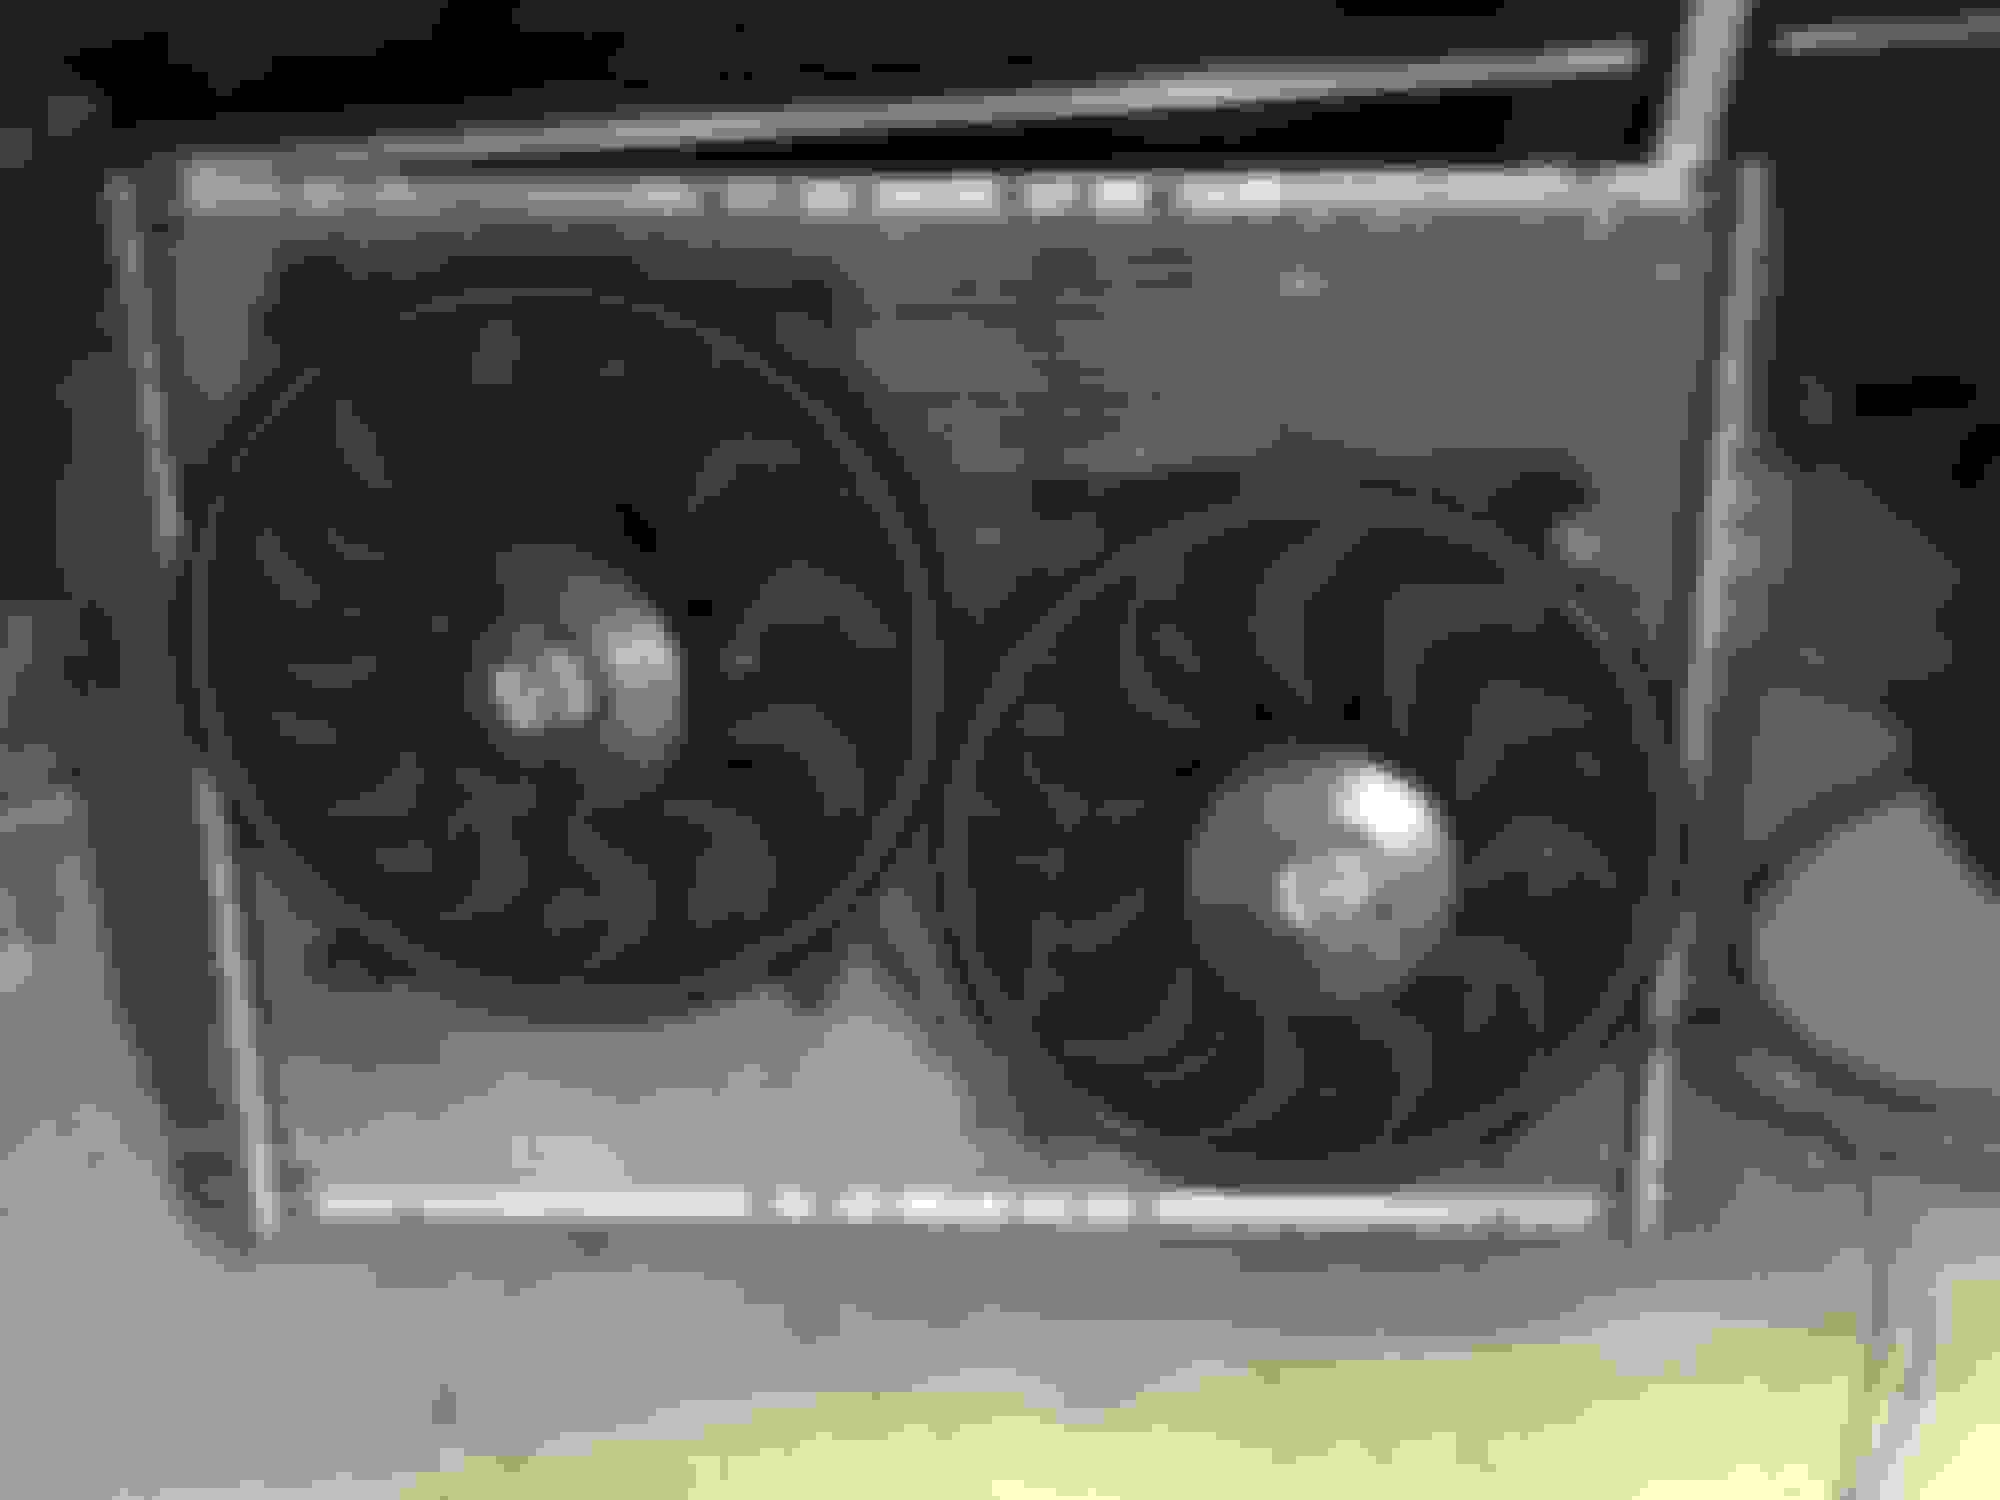
Here are some pictures. Ordered my Derale 16925 fans from JEGS, should be here for the weekened. After they are installed I will wrap up the cold side. Then its just injectors, vacuum routing, catch can, and tune. getting there!
Sorry it has been a few weeks, been busy with work. Got a decent amount of stuff done. Can't believe its almost September and I haven't started the car up yet. New parts installed are the derale fans, Mighty Mouse catch can, front clip cut/mocked up, boost/AFR gauge and pillar installed, as well as coolant and plugs, wires back in.
I cut my front clip a bit. Left the mounting holes for the potential to put a billet style grille in. Figured a black one with an emblem will help it look finished and make the intercooler low profile. Still need to dremel it to clean it up and touch up paint the white areas.
Fans fit ok, had to stagger them. Although they didn't come with any mounting hardware so I had to spend an extra $20 at the auto parts store on two Hayden ones. Stupid.
Got the Mighty Mouse can mounted and semi-hooked up. Still need to run a vacuum line from the turbo inlet to one of the valve cover ports. I was told by my tuner to not do that, as it would put oil into the turbo system. On his Porcharged settup, he has the throttle vent plugged and all other ports routed to his catch can, which has a vent on top. We'll see what I end up with. Still need a radiator bracket, thinking about the procharger one as its only ~$50 compared to $120 for the BMR one.
AEM wideband and Autometer Boost guages with an Autometer dual pod filter. JEGS price matched the AEM guauge for $157.00 on ebay
Just waiting on my 3 bar map sensor, Aeromotive boost reference fuel pressure regulator. I plan to use the Evap line for a true return and block of the T on the back of the car where the return line currently is. This will raise fuel pressure 1:1 with boost pressure to ensure I don't go lean. I will post pictures when I get the parts. Base tune is done on the ECU so whenever those parts get here and I get around to putting in the #80 injectors, should be able to fire it up!!
Good looking car. I had the exact same problem with my huron speed kit. Oil drain line was way to long and I had a lot of trouble getting my drain to actually go down to the pan. And I tapped mine even lower than what yours is. Really my only complaint with the kit...
Oil drain lines are all made with removable ends. If the line needs to be trimmed a little you can simply pop one end off, trim, re-install and you are good to go. It is impossible to get the lines 100% as it is all dependent upon where you tap the pan, how you have the turbo clocked, through which gap you run the drain line, what fitting you use off the turbo, and also turbos have different center sections which some sit lower than others. All in all we get it very close and would rather have it a touch long so you can trim rather than too short and be a useless piece to you
Also sweet99ss you had the older v1 kit which used a different routing for the oil lines and location of the turbo. Wanted to make note so no one gets confused thinking the comment portrays to the V2 stuff.
This was indeed my own fault. The drain line came with plenty of length, I was trying to get it perfect to help with the slope of the drain and made it like 1/2" too short I may purchase another 10AN braided line and remake, but I bought a 45 degree swivel fitting that slopes more than the 90 degree on it right now. If it fits, It may do the trick. I should have trimmed the line in shorter increments. Just rushed it a bit. Again, not Huron's fault at all.
Good looking car. I had the exact same problem with my huron speed kit. Oil drain line was way to long and I had a lot of trouble getting my drain to actually go down to the pan. And I tapped mine even lower than what yours is. Really my only complaint with the kit...
Thanks man, just swapped out the wheels from chrome z06's. BMR springs should be installed soon, it sits a little high. Going to take some nice pictures when it is all done.
Watch how low you go, boss- the wastegate elbow running back into the exhaust sits pretty low (lower than the plastic airdam rides by about 1/4"). I've got about a fist's worth of ground clearance between mine and the concrete.
Build is almost finished, just waiting to have it tuned and then dyno'd. Buttoned up the fuel system and couple other troubleshooting issues that came up.
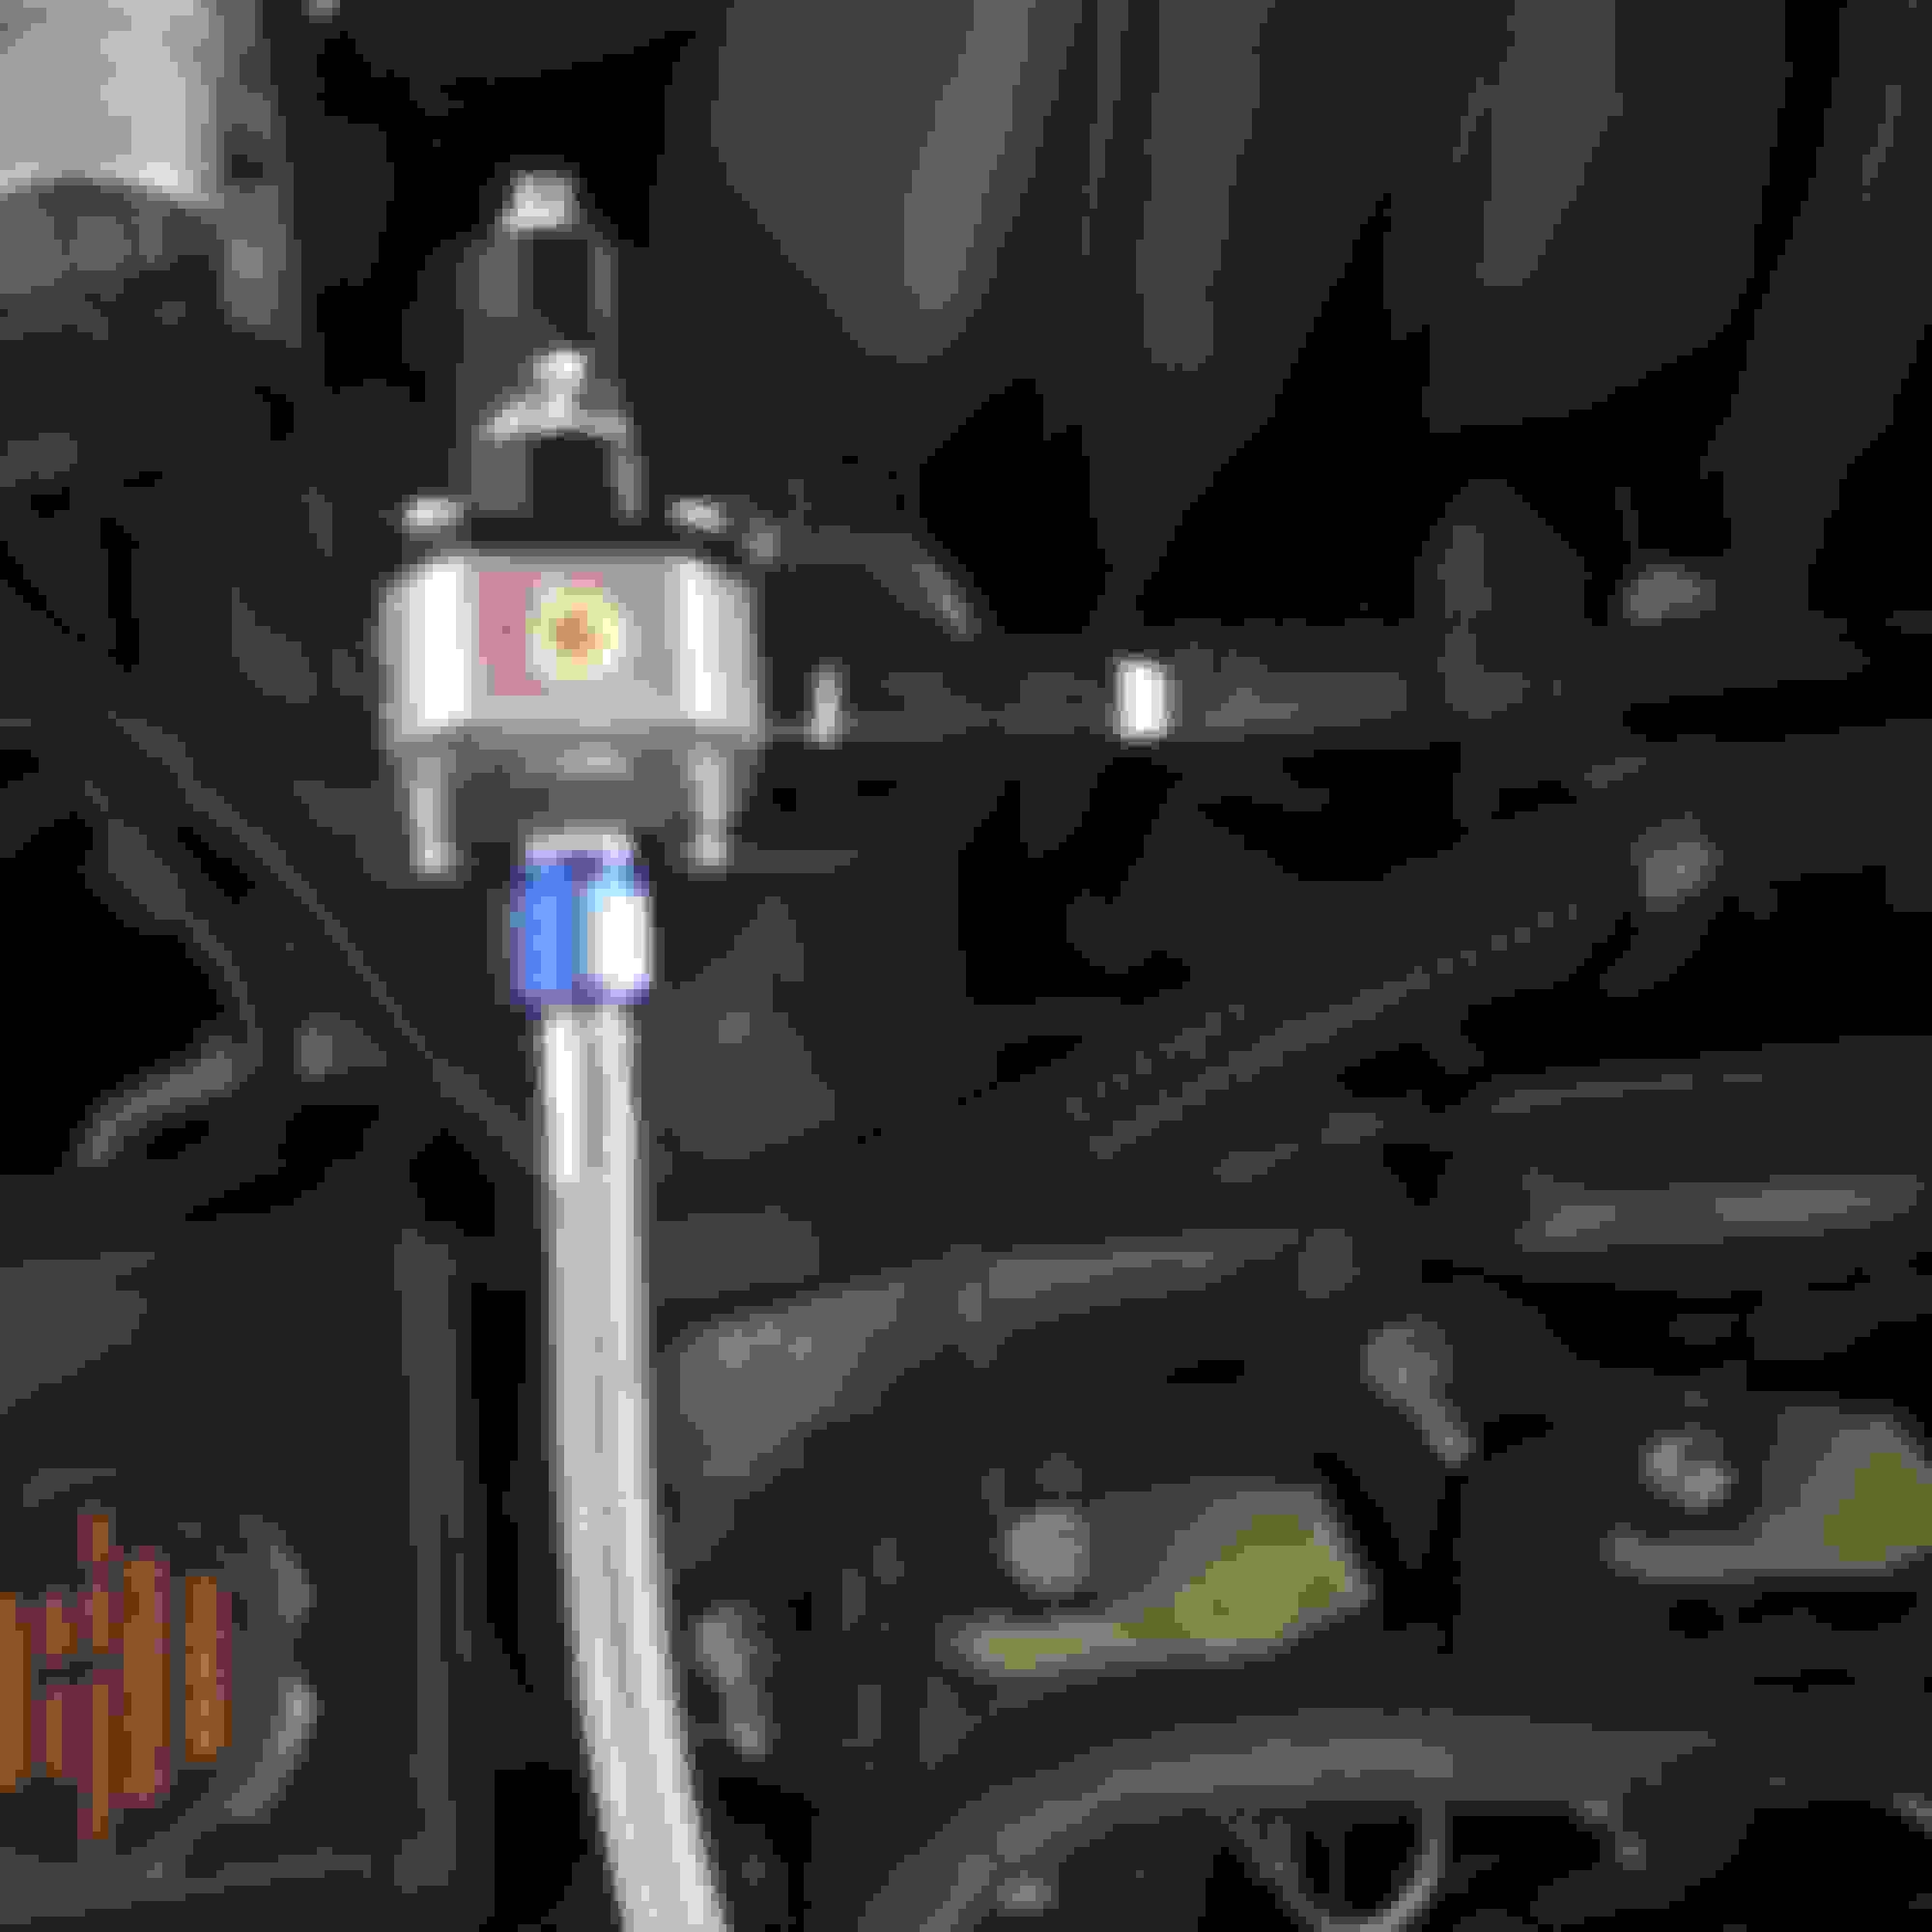
Fuel system: Aeromotive boost reference regulator using Evap as a dedicated return line. This is actually a very easy mod and should allow for more consistent fuel pressure and power potential down the road. The aeromotive peice connected to the factory fuel rail with a 4An double female swivel and a 6An to 4An reducer that fits into the regulator. Then I connected a 6An line with a 5/16 Russel push lock fitting to the evap line after I disconnected the factory emissions crap. After this is done up front, on the drivers side there is a T-fitting where the factory return line is that runs back to the pump. You have to disconnect the T and plug it, then unclip the return push lock from the tank and clip it to the Evap line. Then remove the factory fuel regulator in the pump housing. If you need any part numbers or info on this PM me, I ordered everything from JEGS.
Connected to Evap line from Aeromotive regulator
3 Bar MSD map sensor with harness adapter
Short video of the car, Can't get into boost yet but love the way the turbo spool sounds. Hopefully it will be good to go soon. It doesn't idle right now so its a pain to drive and A/F goes to 10 under any load. Not supposed to go into any boost until more tuning so I'm just gonna leave it in the garage for now.
On 8lbs of boost, granny shifting and only taking the RPM's to about 4500. Trying not to beat on it, still only the street tune. Supposed to dyno it this Saturday!
 08-01-2015, 09:57 AM


 I may purchase another 10AN braided line and remake, but I bought a 45 degree swivel fitting that slopes more than the 90 degree on it right now. If it fits, It may do the trick. I should have trimmed the line in shorter increments. Just rushed it a bit. Again, not Huron's fault at all.