1980 Fairmont Wagon Build


 01-14-2016, 11:14 AM
#22
Teching In
Thread Starter
Join Date: Oct 2013
Posts: 40
Likes: 0
Received 0 Likes
on
0 Posts
Oddly enough, he questioned why I removed the bench seat. "It's not a Mustang, Dad. Why put Mustang seats in it?" Gotta love 7 (now 8) year old logic. That's what made me question it at all.

 02-01-2016, 05:50 PM
#27
Teching In

Join Date: May 2010
Posts: 2
Likes: 0
Received 0 Likes
on
0 Posts
 02-02-2016, 08:18 AM
#29
Teching In
Thread Starter
Join Date: Oct 2013
Posts: 40
Likes: 0
Received 0 Likes
on
0 Posts
I'd really like to keep the column shifter operational. I think I'll have to do something about the detents in the column in order for the th400 to shift properly. I know there's a guy on here that's done it to a really fast box top. Think they're outta CAN. I'll have to look and see if his build thread shows how he pulled it off.
02-05-2016, 10:12 AM
#30
Teching In
Thread Starter
Join Date: Oct 2013
Posts: 40
Likes: 0
Received 0 Likes
on
0 Posts
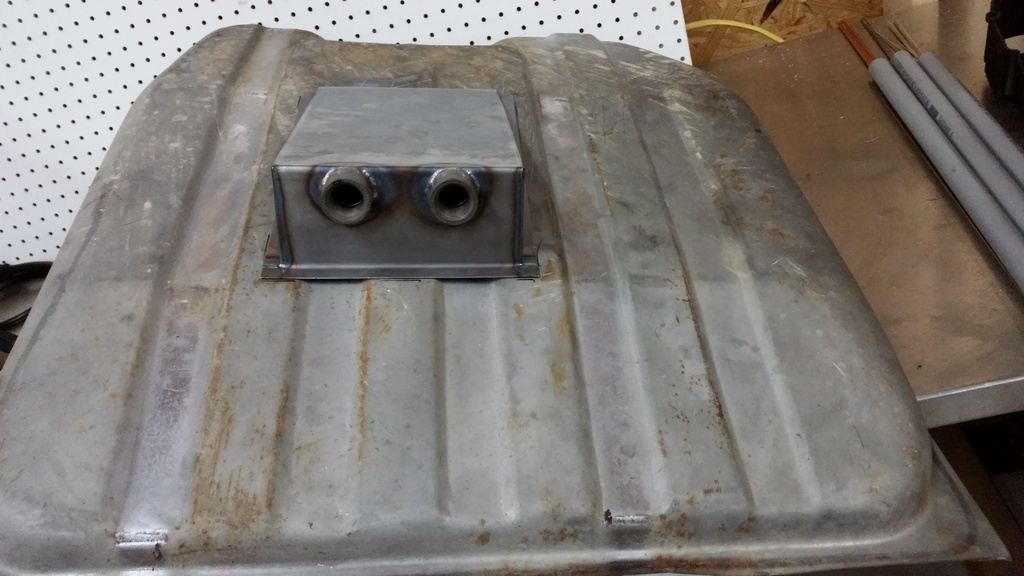
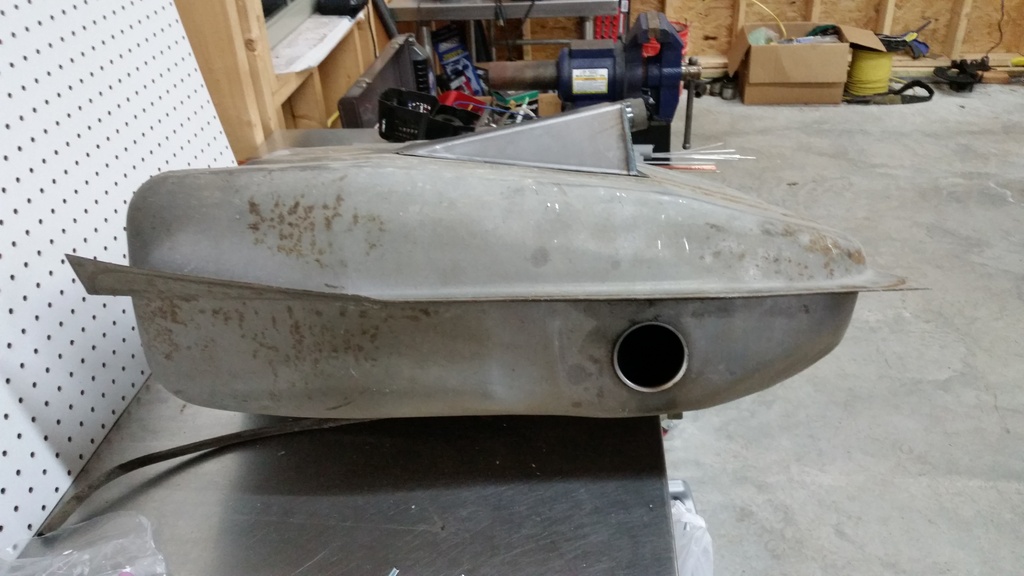
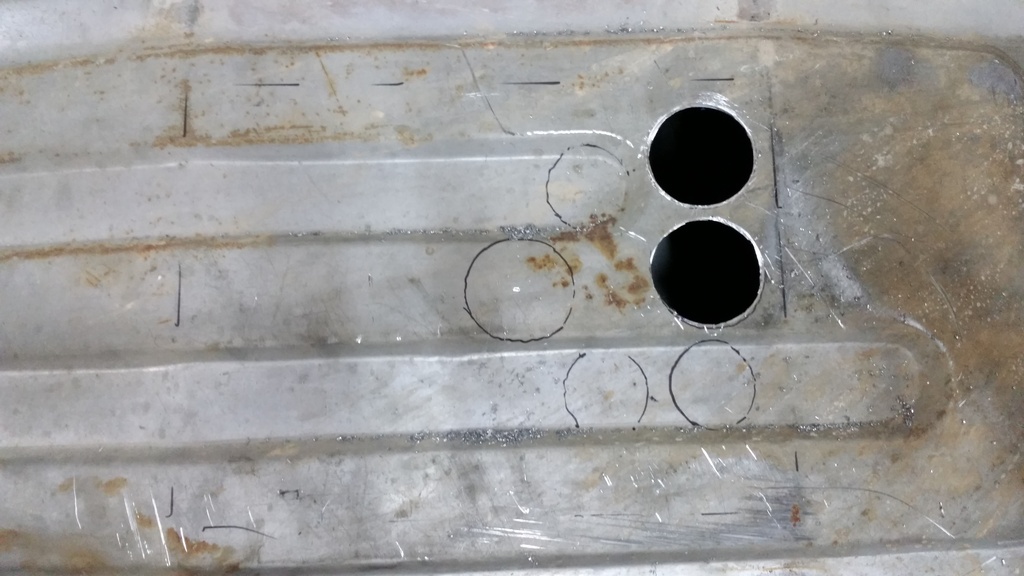
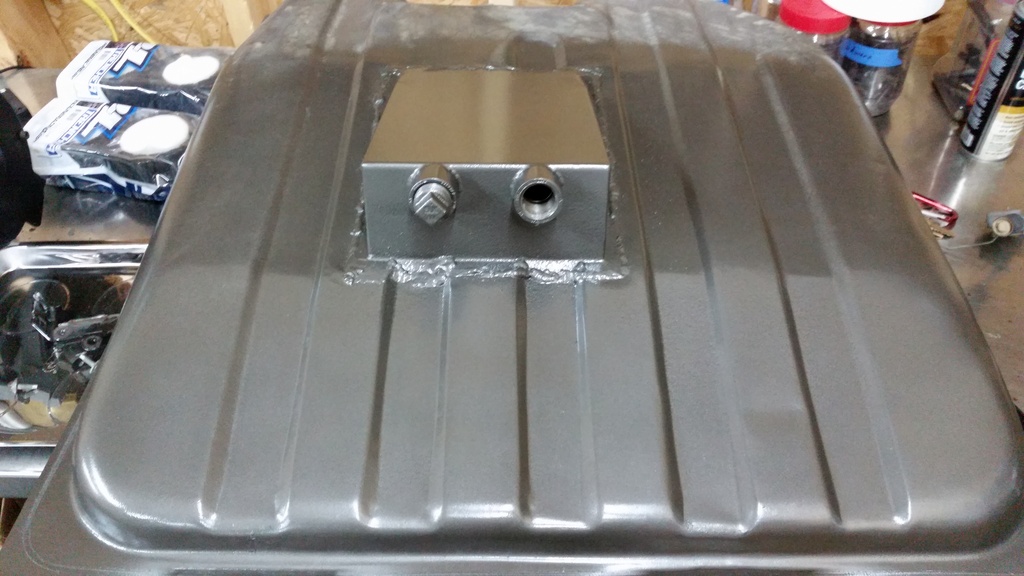
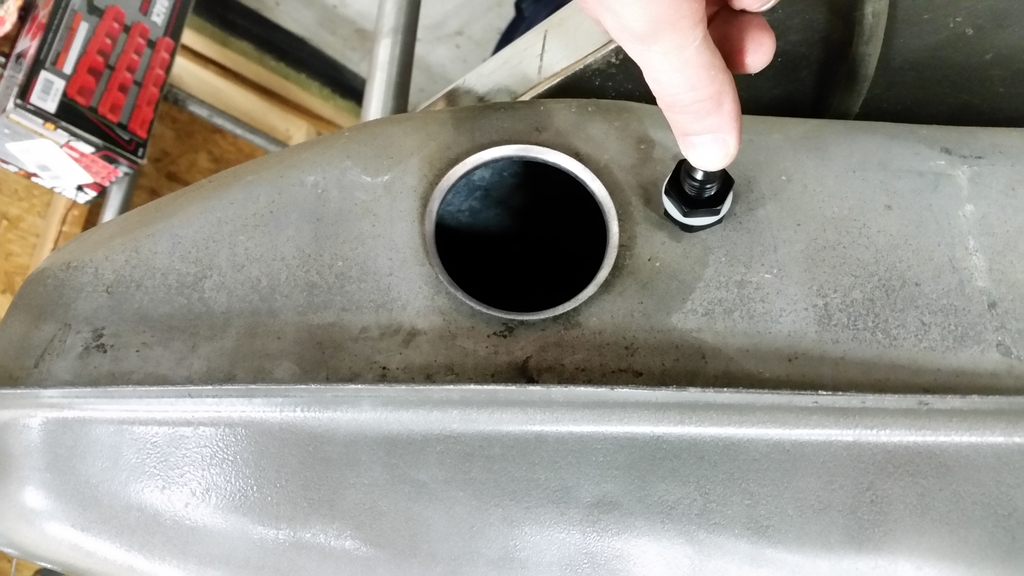
Starter to sump the tank. Bought an SMR sump on eBay. Has 3/4" NPT fittings in it. I'll have the fuel system in this weekend.
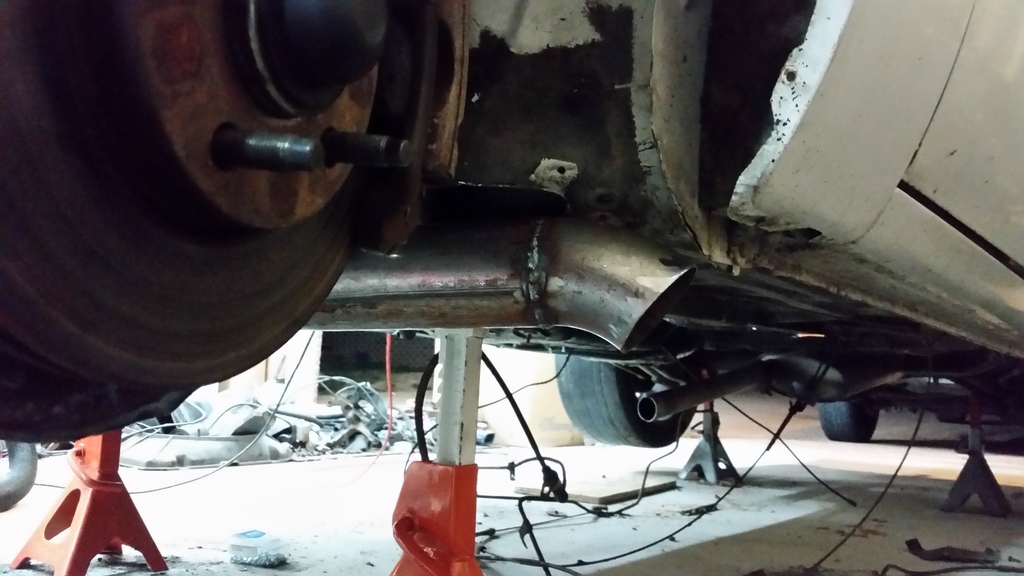
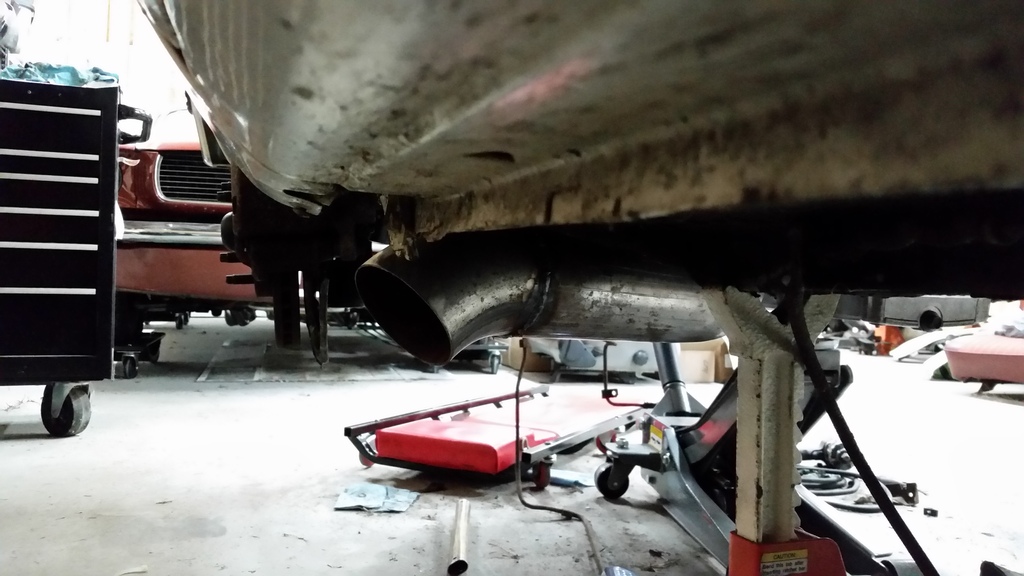
I need to move the turbo flange inward. On my coupe, I had to cut the frame rail and I don't want to do that with the wagon. Crabbed more material from Columbia River. I may redo most of the hotside regardless.

I need to move the turbo flange inward. On my coupe, I had to cut the frame rail and I don't want to do that with the wagon. Crabbed more material from Columbia River. I may redo most of the hotside regardless.
 02-15-2016, 10:19 AM
#32
Teching In
Thread Starter
Join Date: Oct 2013
Posts: 40
Likes: 0
Received 0 Likes
on
0 Posts
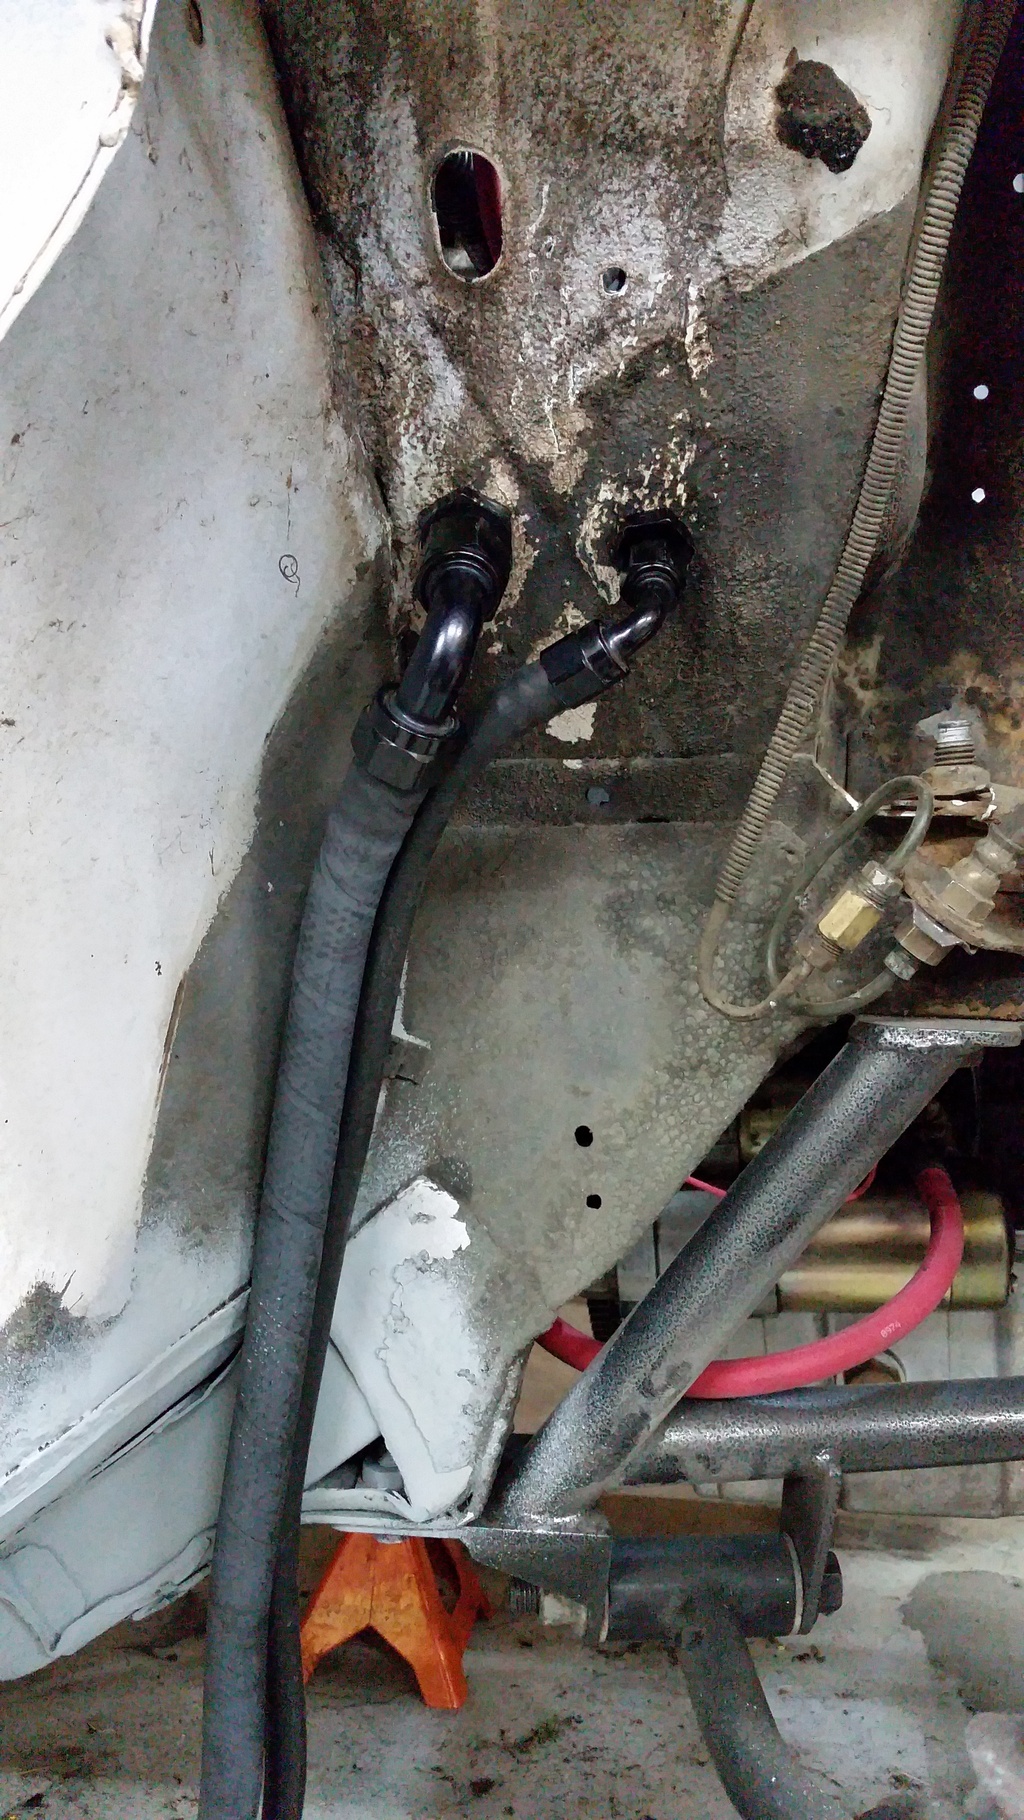
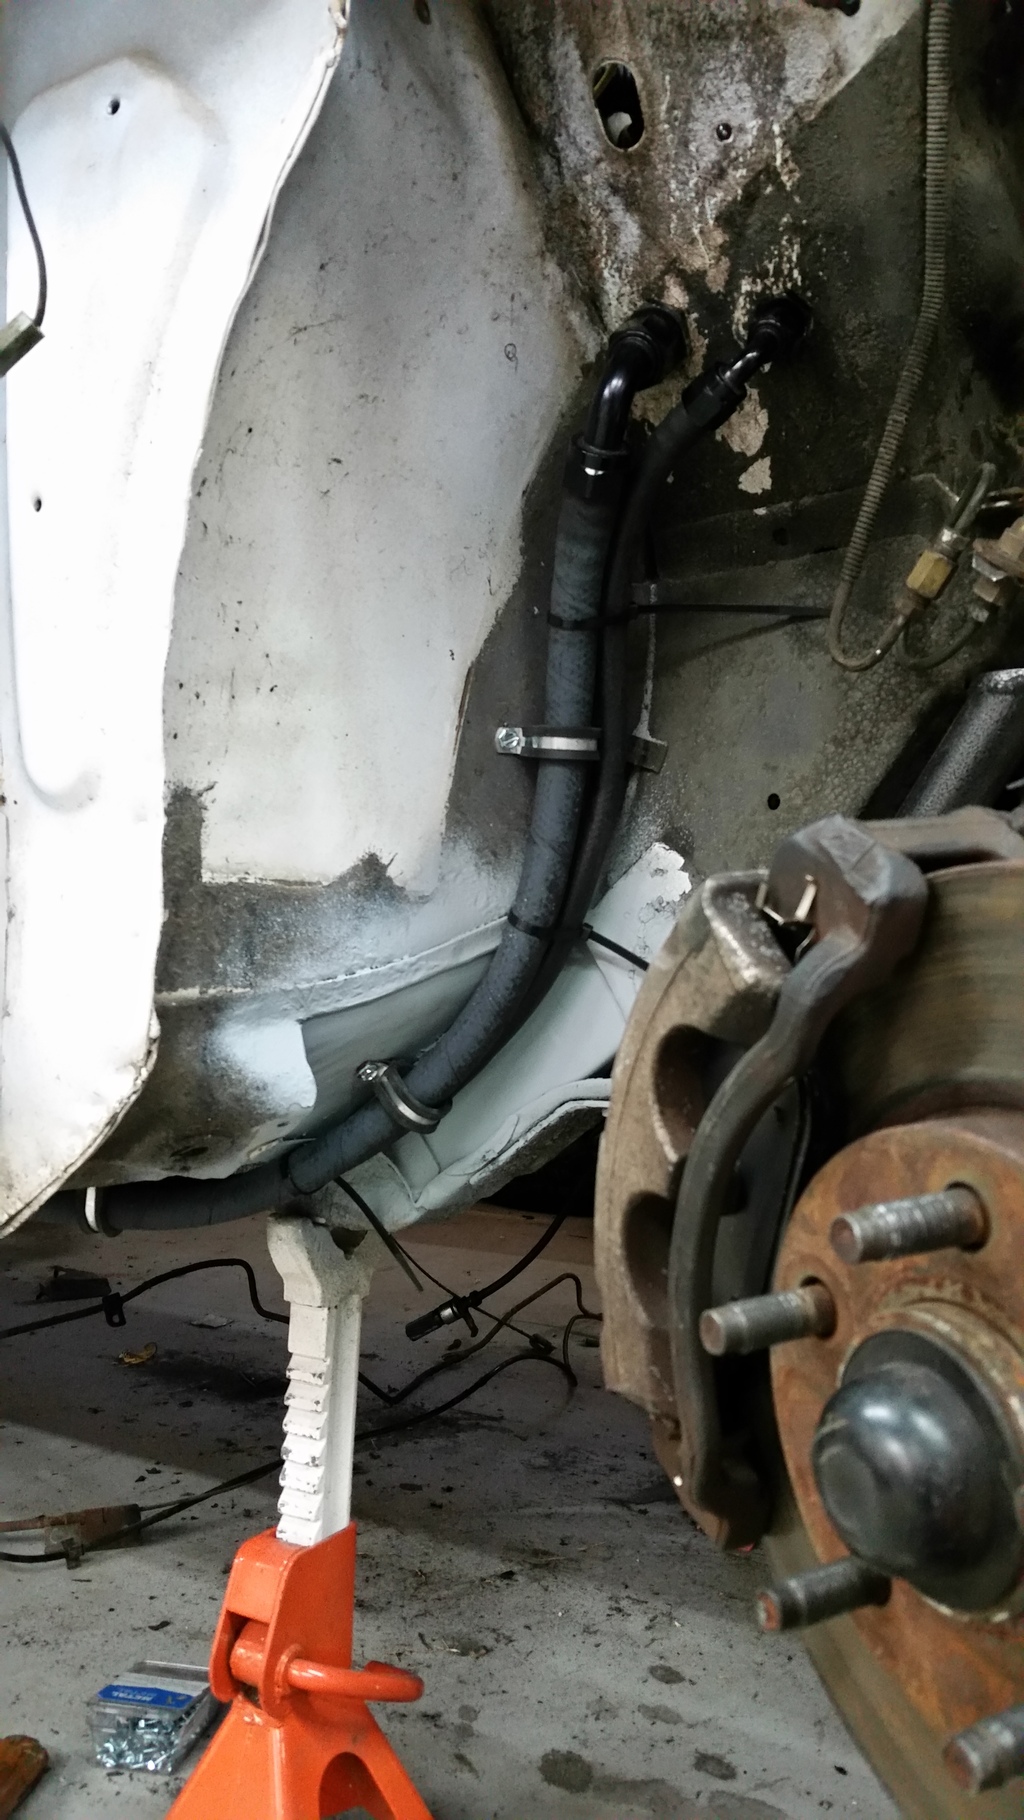
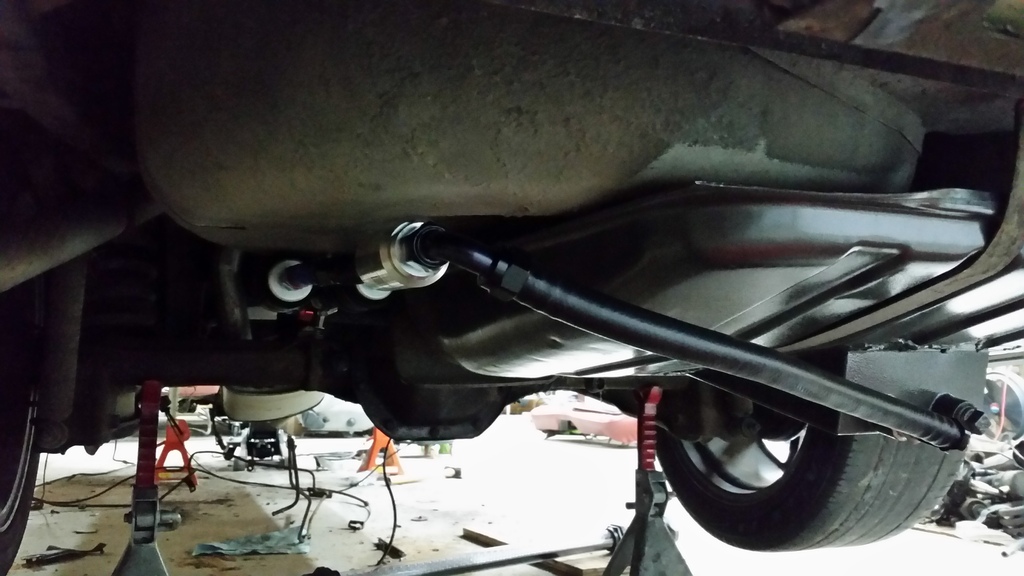
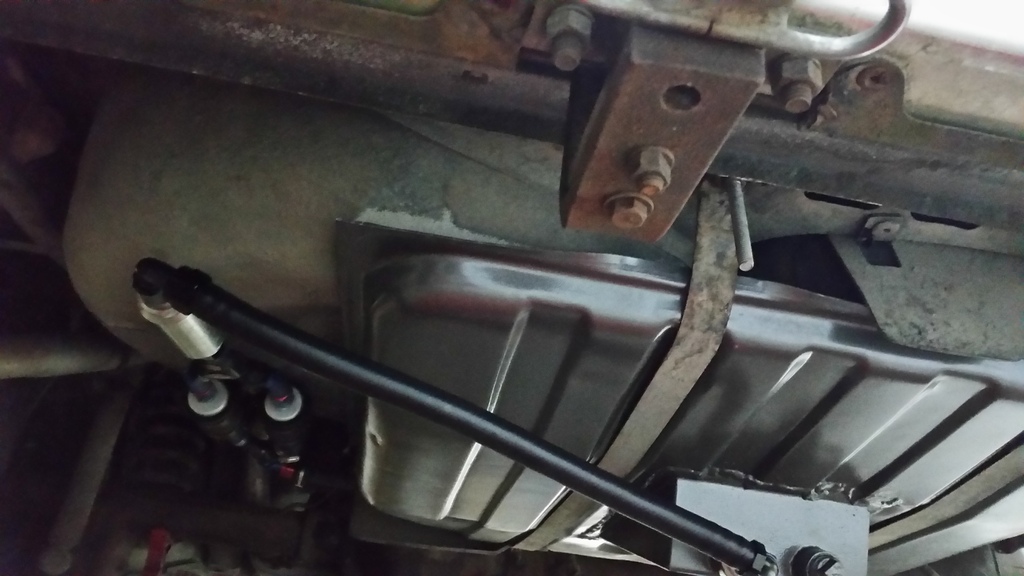
We got the fuel system done. Probably the worst welding I've ever done, but hey, it doesn't leak. -10 feed to twin walbro 255s then -10 to the front. Splits at the rails to -8s. Return is -6.
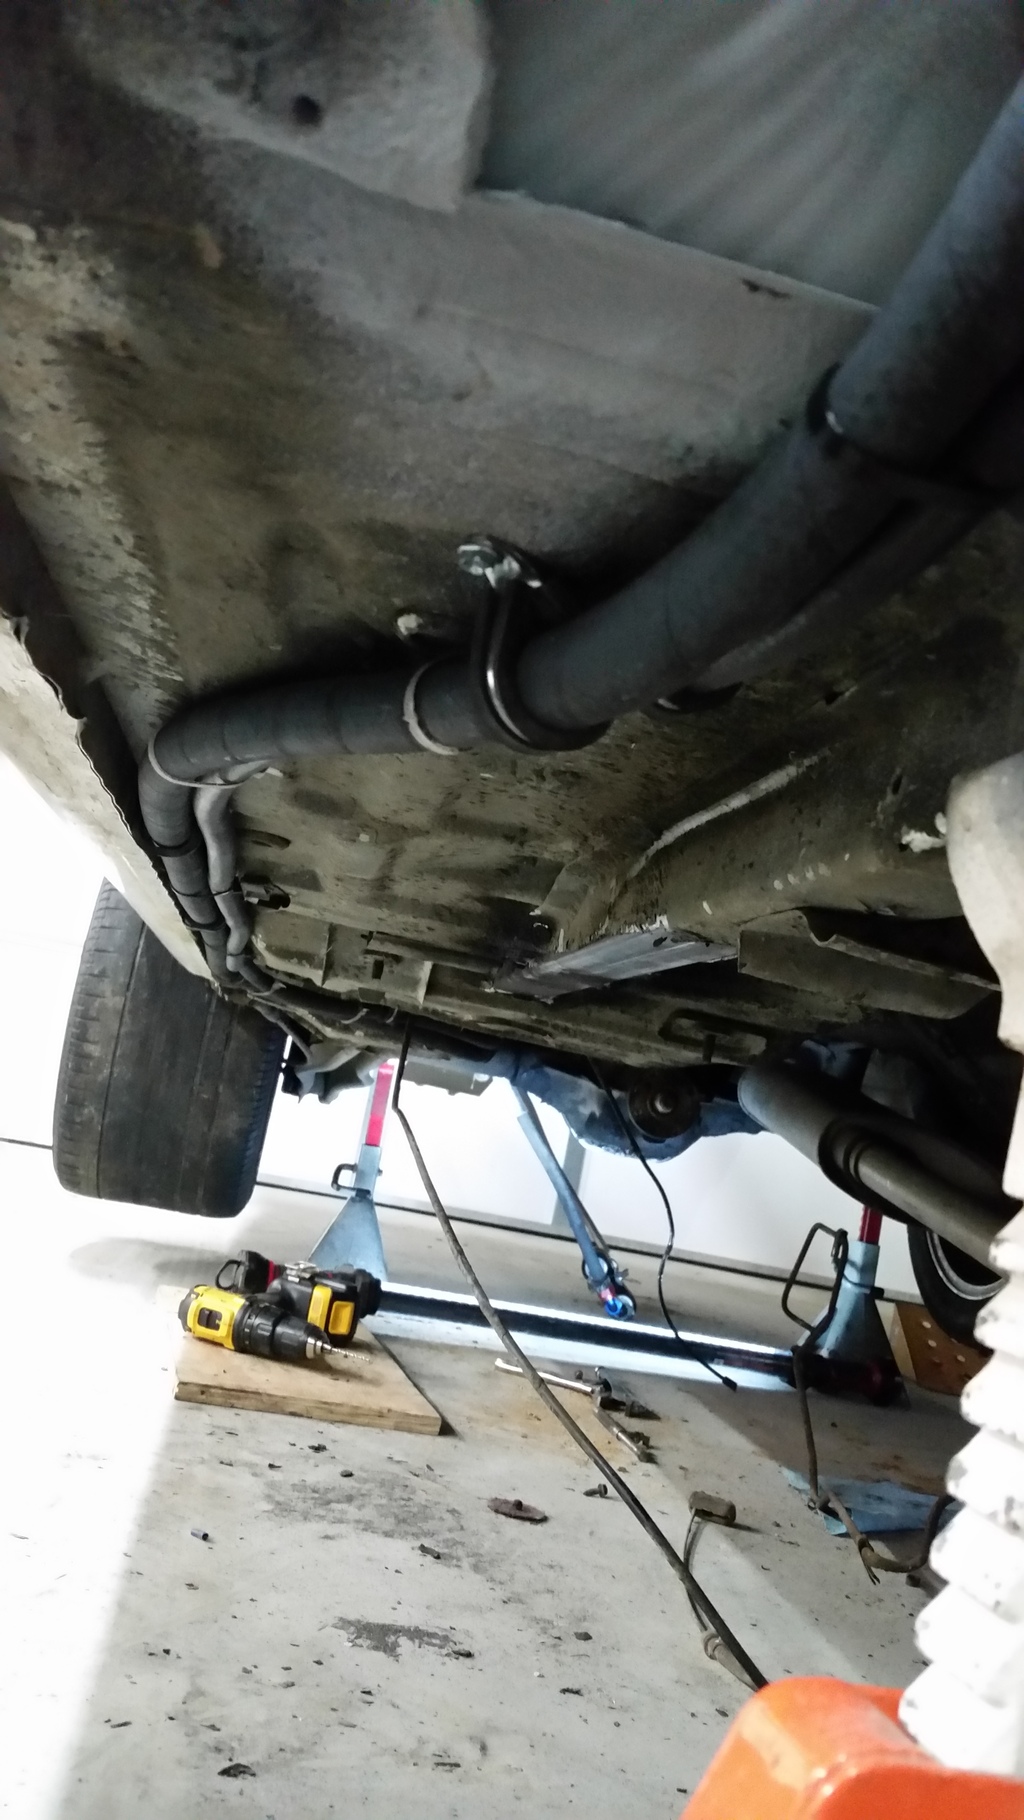
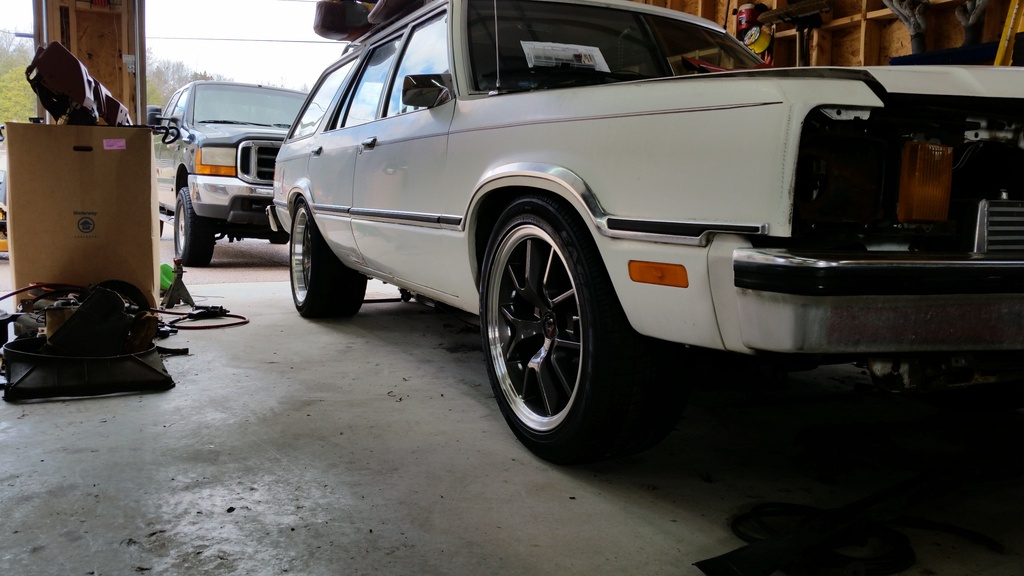
While wiring up the pumps we discovered the untouched spare, jack and tools. The spare still has the molding seams.
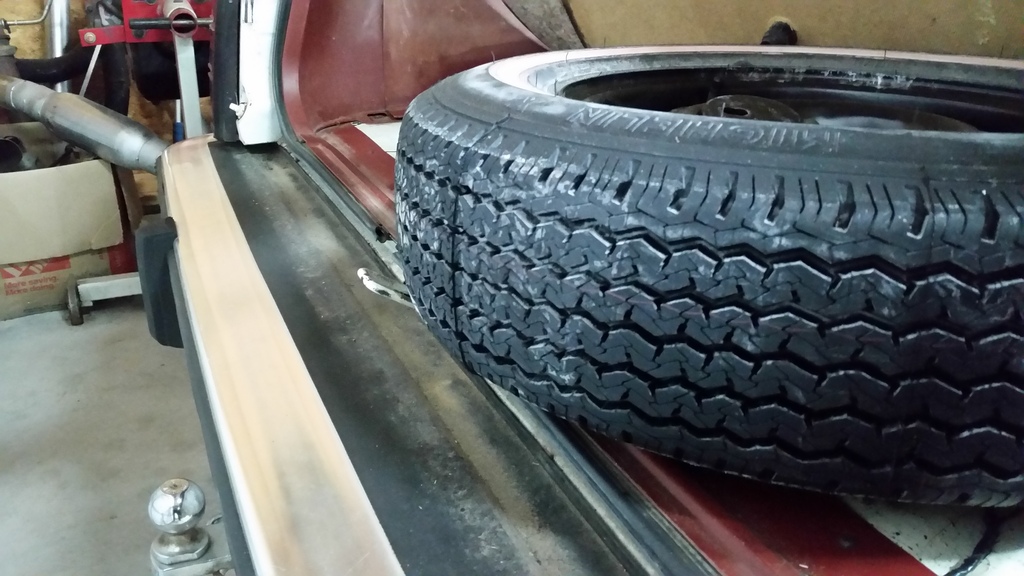
While wiring up the pumps we discovered the untouched spare, jack and tools. The spare still has the molding seams.
02-24-2016, 08:38 AM
#34
Teching In
Thread Starter
Join Date: Oct 2013
Posts: 40
Likes: 0
Received 0 Likes
on
0 Posts
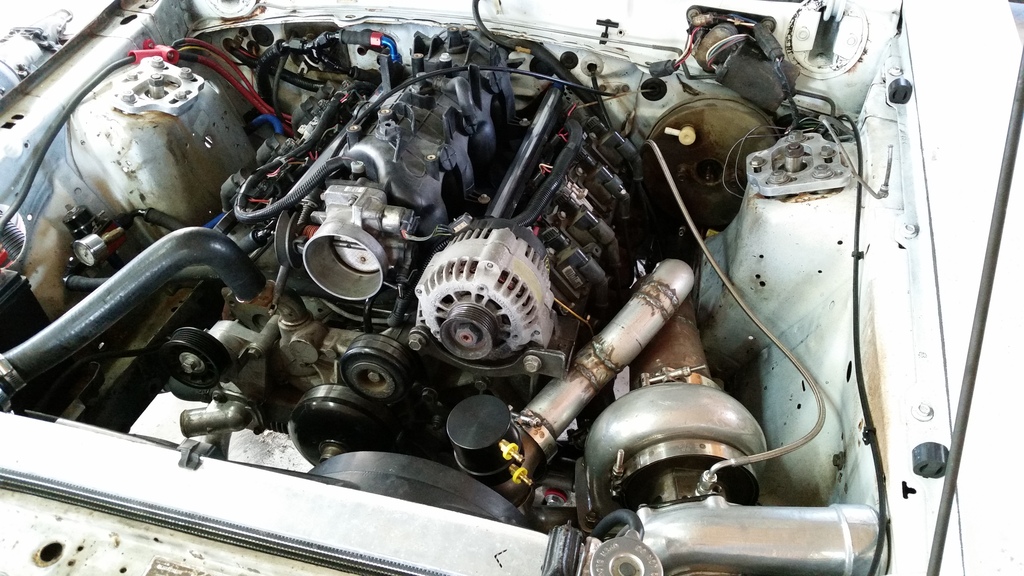
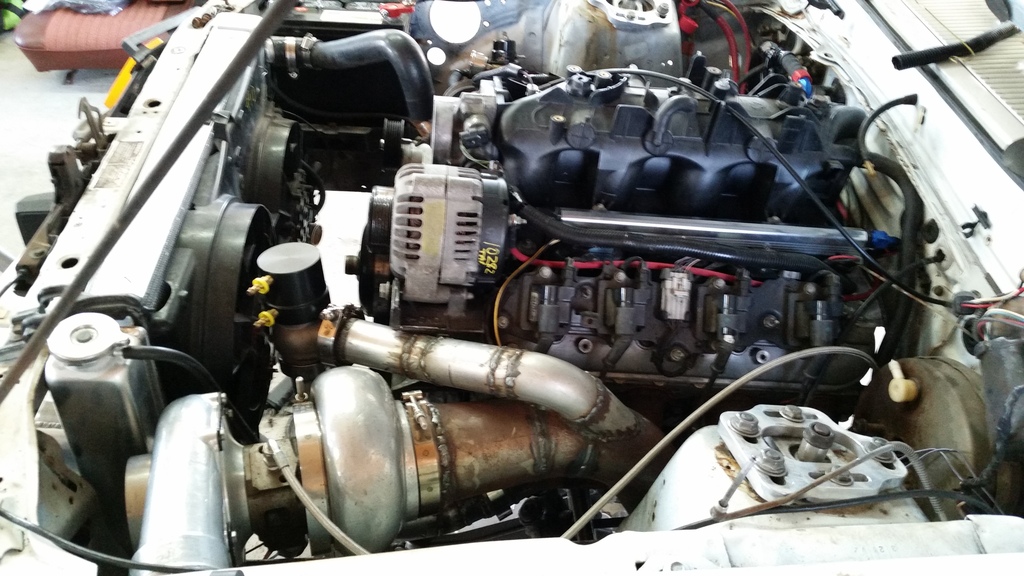
I bought an LS1 intake. The truck intake clears with the Team Z k-member, but the intake had to be trimmed and the TB is barely gong to clear. I've seen where guys have used this idler pulley to reconfigured the belt routing. http://www.ebay.com/itm/221618832980?_trksid=p2060353.m1438.l2649&ssPageName=STRK%3AMEBIDX%3AIT I can't find anyone that has used this setup without power steering. Has anyone used this configuration?
03-07-2016, 09:03 AM
#37
Teching In
Thread Starter
Join Date: Oct 2013
Posts: 40
Likes: 0
Received 0 Likes
on
0 Posts
Got a little work done this weekend. Essential wiring for the Megasquirt is complete; coils, injectors, sensors and fuel pumps. I need to finish cleaning up the wiring and install the dash.
I'm removing the power brake system to install the manual brakes I installed on the coupe. Doing this replaces all the original brake lines that desperately need it and opens up the space between to the driver's side manifold and shock tower for the downpipe.
Hopefully, between work and kids' practices this week, I can fab up a transmission crossmember and get the th400 installed. Then I can measure for a drive shaft.
I still need to find suitable replacement carpet. Apparently the Vaquero carpet has been discontinued. I've reached out to ACC and got a sample of what I thought would be close and others have suggested. Still not too sure that the colors I got are going to do the trick.

 03-14-2016, 11:51 AM
#39
Teching In
Thread Starter
Join Date: Oct 2013
Posts: 40
Likes: 0
Received 0 Likes
on
0 Posts
We got a few things done this weekend. Pulled the wagon's nasty master cylinder, booster and front brake lines. I converted the pedal from power to a manual pedal that just so happens to be from a Fairmont I picked up from a buddy a few years ago. I went with UPR's adapter plate and the master cylinder is a new unit for a 95 Dodge Caravan. I'm pulling all the lines I made for the coupe since they're new and mount them in the wagon. I need to mount the line lock and get it wired.
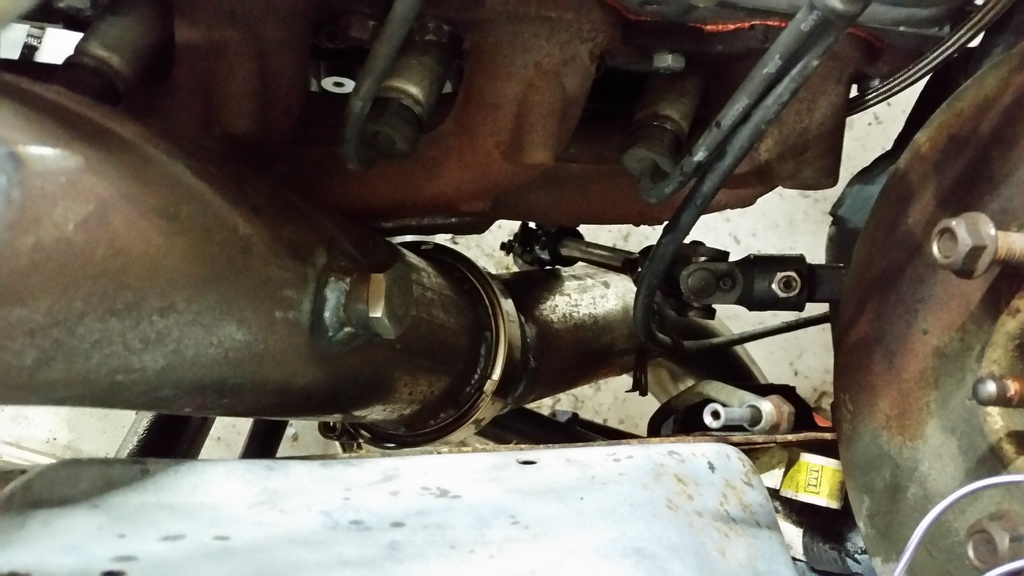
I pulled the turbo out so I could cut the inner fender for the cold side. I didn't want to maim the panel and tried to keep the hole discrete. The coupler has about .25" clearance all the way around.
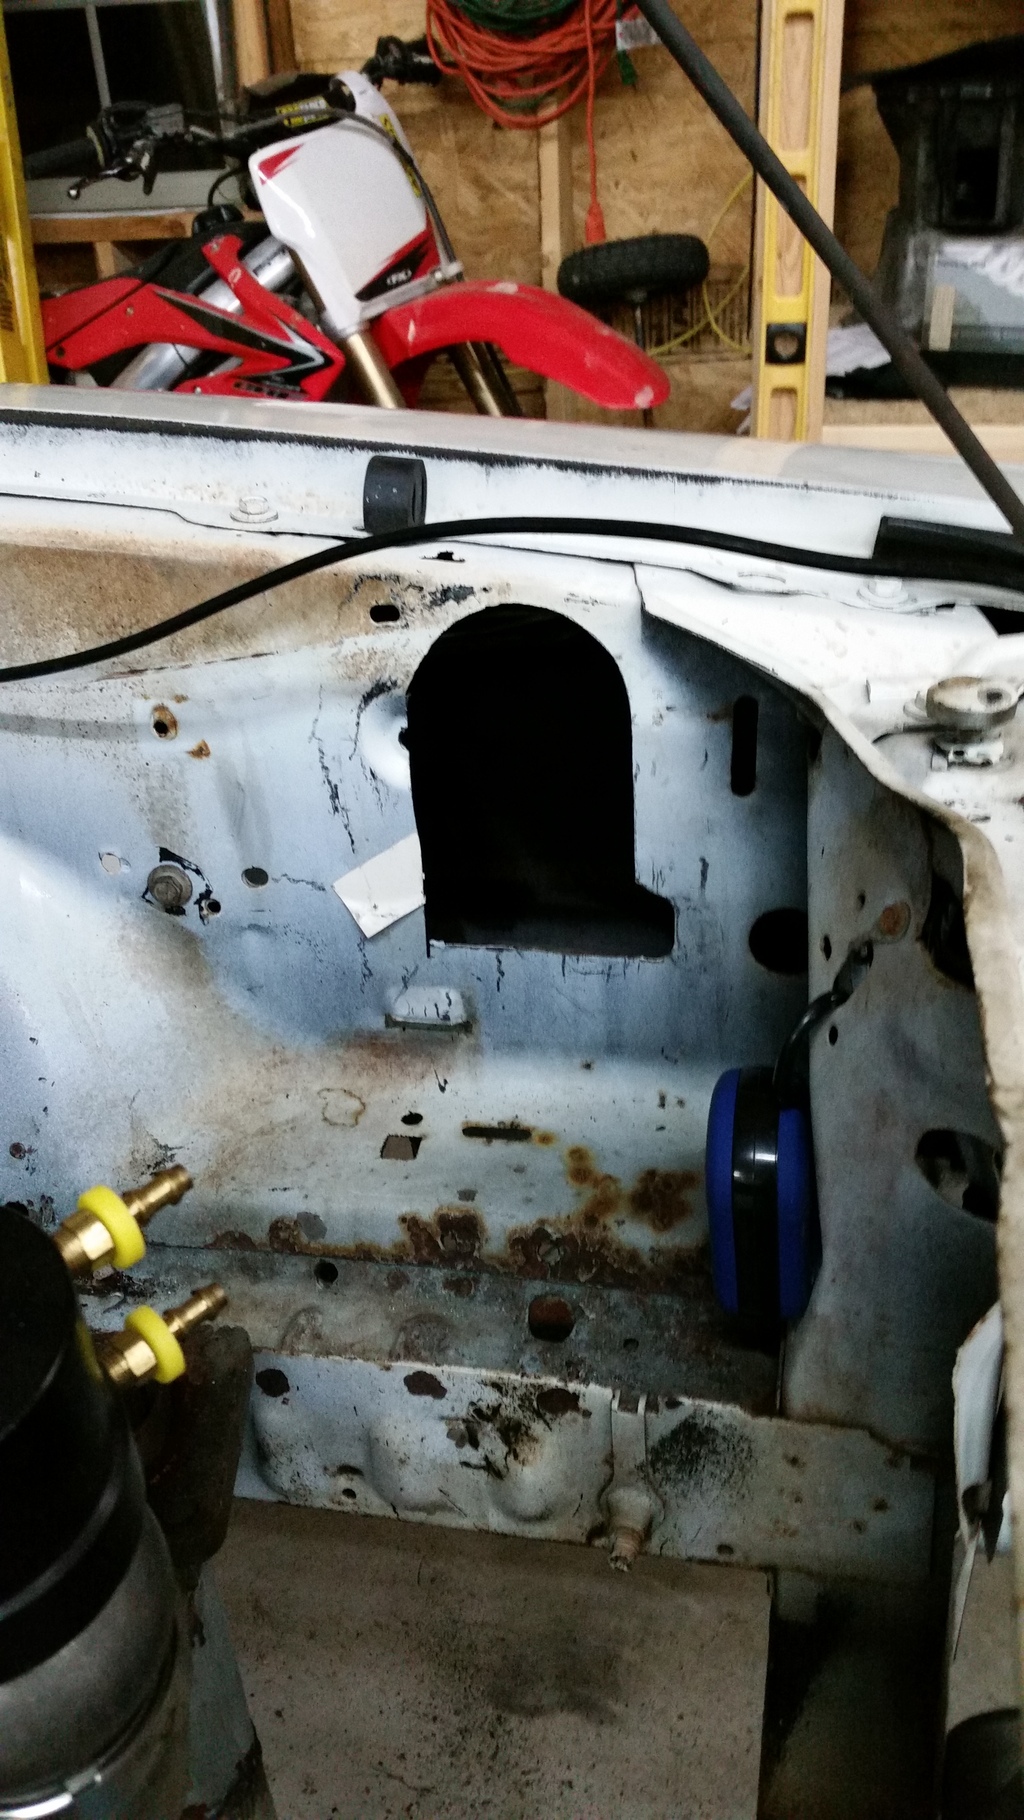
I've got a couple options in making the coldside, but would like some feedback. A while ago I was reading on TTF about tight turns causing inefficiencies in the coldside. Some about measured pressure loss between the compressor outlet and the intake. It's been some time ago, but now that these options have presented themselves I thought I'd ask if there is any truth to it or is that only at a certain boost level etc.
Thought/opinions?
I pulled the turbo out so I could cut the inner fender for the cold side. I didn't want to maim the panel and tried to keep the hole discrete. The coupler has about .25" clearance all the way around.
I've got a couple options in making the coldside, but would like some feedback. A while ago I was reading on TTF about tight turns causing inefficiencies in the coldside. Some about measured pressure loss between the compressor outlet and the intake. It's been some time ago, but now that these options have presented themselves I thought I'd ask if there is any truth to it or is that only at a certain boost level etc.
Thought/opinions?