When you click on links to various merchants on this site and make a purchase, this can result in this site earning a commission. Affiliate programs and affiliations include, but are not limited to, the eBay Partner Network.
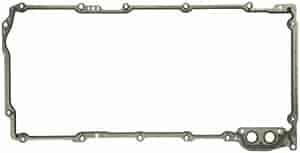
I believe it just had a flat surface above and these are pressed in. I'm afraid it will pop out or something if I don't get a little bead on it. It uses the OEM oil pan gaskets o-ring type seal.
Wish I had better pics you can see it alittle here. It's just flat on the other end.
When I mounted one of my turbos down there, I needed to remove the oil filter and go remote.
I have the Autokraft pan, which I guess is a little similar.
I ended up buying and modifying a Canton part to allow this. If you were to rip out both of those fittings, this could then bolt in its place and give you takeoffs.
I cant find any pics of the new part, some of the links suggest it has -12 fittings, but I cant remember what way it came. I had to modify it and I did weld on -12 fittings to suit what I needed, but you get the idea.
Thanks! I'll keep that in mind. Though I don't think I can "rip" these off and still have a decent surface that would seal on.
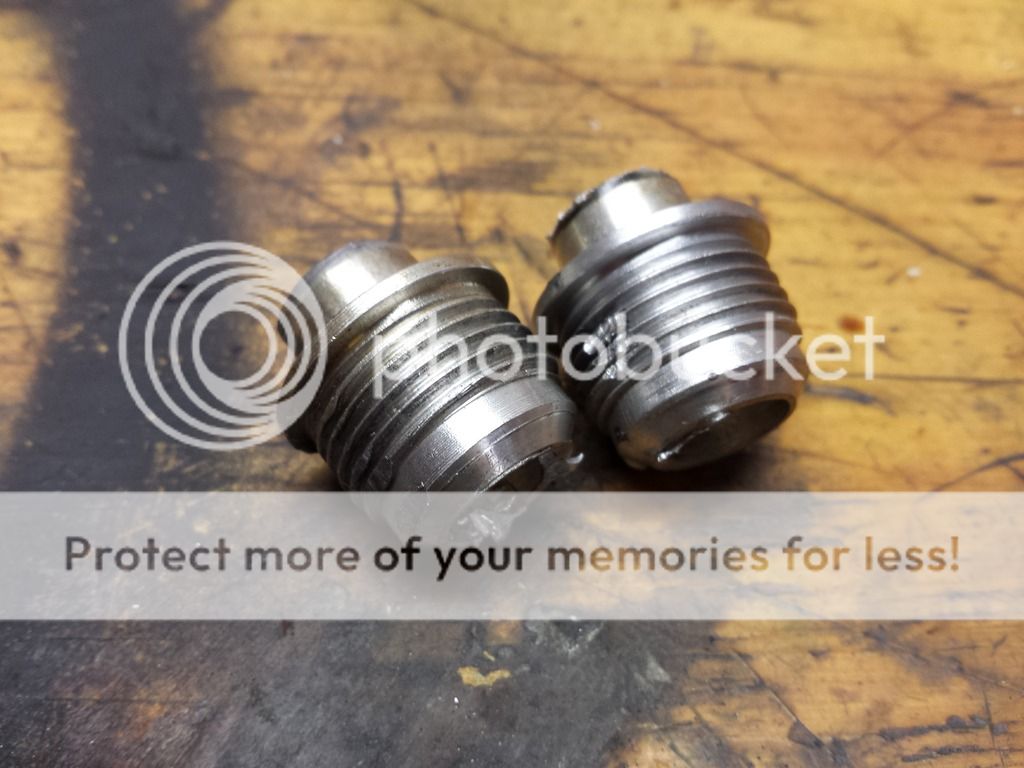
It looks like these fittings are pressed through the flange and tuliped/flared flat with the flange surface. If thats the case the fitting may not leak anyway, even though it's loose. Need to look into it a bit more but I may just roll with it and see what happens. If I tap into the oil galley and shoot a bunch of pressurized oil in, think I'd see any leaks?
Grabbed the oil pan fittings with some vise grips and gently worked them back and fourth until they popped out. Dropped the pan enough to clean up the metal debris and smooth both sides. Took Stevieturbo's suggestion and picked up this adapter that bolts on. Glad I don't have to fart around with pulling the motor again. With the summit discount the fitting was $85.
Grabbed the oil pan fittings with some vise grips and gently worked them back and fourth until they popped out. Dropped the pan enough to clean up the metal debris and smooth both sides. Took Stevieturbo's suggestion and picked up this adapter that bolts on. Glad I don't have to fart around with pulling the motor again. With the summit discount the fitting was $85.
$85 for a China fitting.. Ugh! Must come with some solid customer service.
That's a different fitting again. I'm near sure mine had holes straight through, although I had to weld onto mine anywya
But if it works it works.
Yea the one you linked to was $45 cheaper. My TIG is garbage and I didn�t want to mess with welding fittings on such a small tight area. After buying this one I noticed they have ones with a filter housing on them $160 or so. Wish I would have went that route.
Originally Posted by oscs
$85 for a China fitting.. Ugh! Must come with some solid customer service.
I Hear ya, looks like a $5 part to me. Supply and demand is a bastard!
I've an old one I took off my Autokraft with the filter section...although hardly worth buying/postage from here. It'd still be cheaper to buy in the US lol
I didnt have room for a filter as one of my turbos sits down there.
And not a hope in hell it's a $5 part. Maybe a bare block of aluminium might be $5, but still a lot of machining in there.
And a part available off the shelf that fixes the problem and removes the need to pull the engine out of the car etc...even $85 is a bargain.
I agree, the time/headache it saves me is well worth the cost. I'm spoiled with China's cheap machine work I guess, I just assume everything is sourced from there and costs peanuts these days.
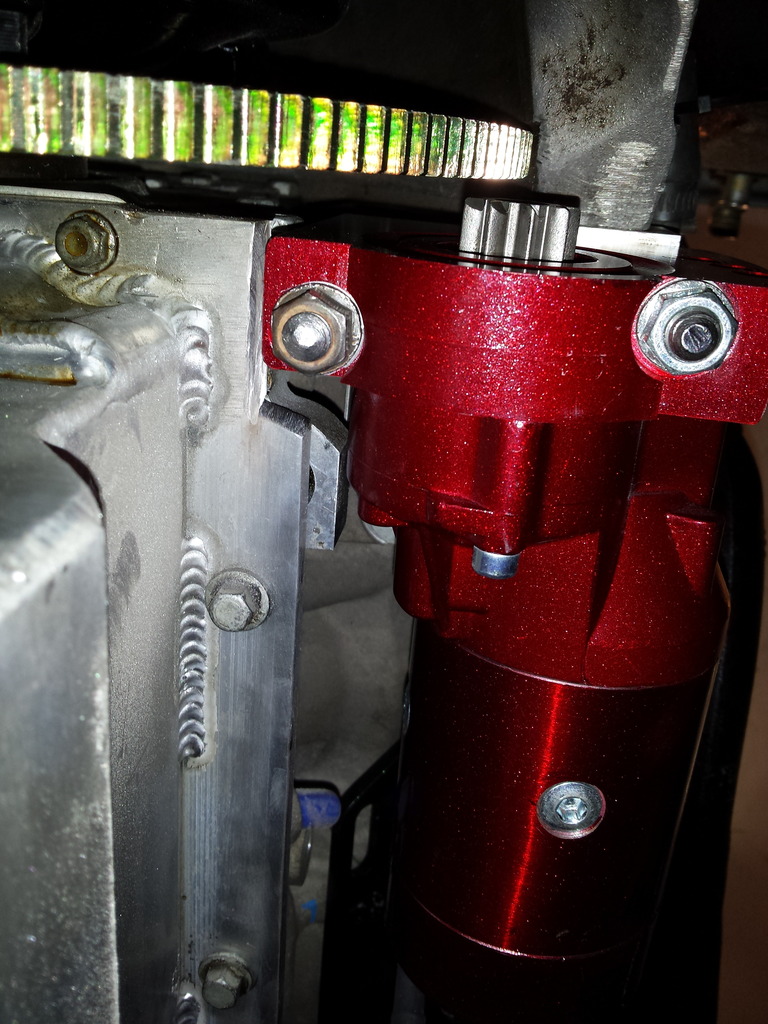
Canton fitting almost worked perfect. The welds on the back side of the pan flange didn't allow the fitting to sit flush. After a hour with a dremel, I think the oil fitting issue is solved. I didn't have to pull the motor/trans again, pretty stoked about that.
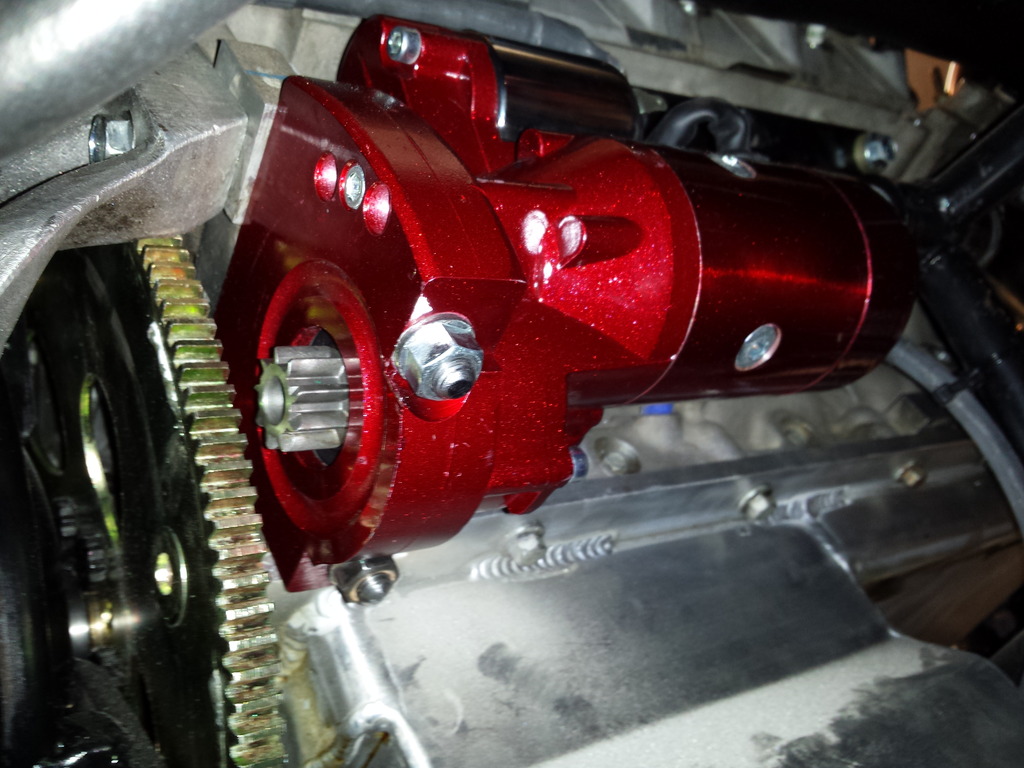
Ran into one more pan issue when I tried to install the starter. You need to notch a small section out so the starter clears. That�s the $99 high torque starter, listed at 4HP. I used M10 1.5 all thread and nuts instead of trying to find bolts.
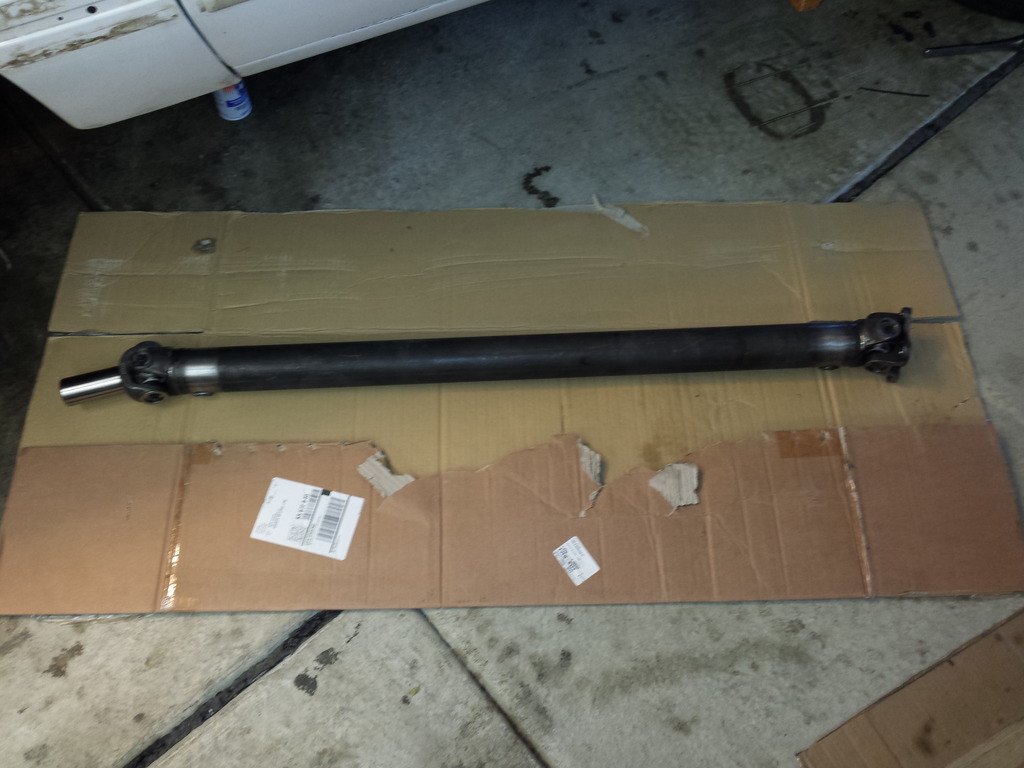
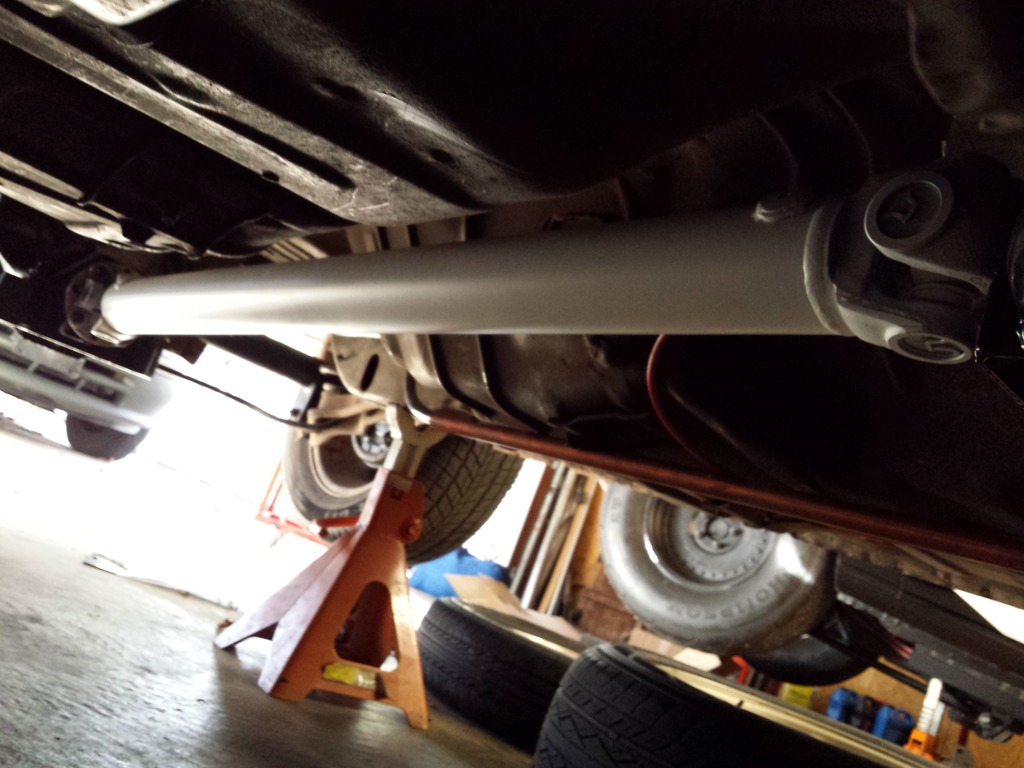
The strange chromoly 3" Drive shaft came in. These are only $250 shipped made to your custom length. Best deal I've seen and about half what a local driveshaft company wanted to charge me. I pressed the yokes and companion flange on, hit it with a little paint and installed it. Fits perfect.
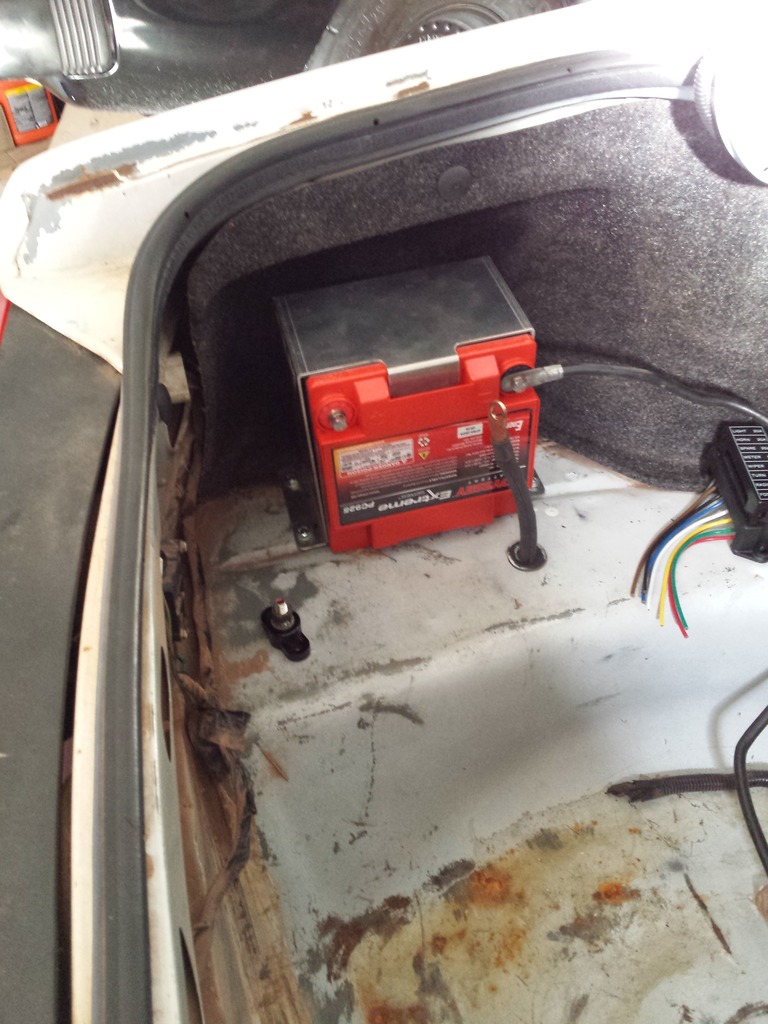
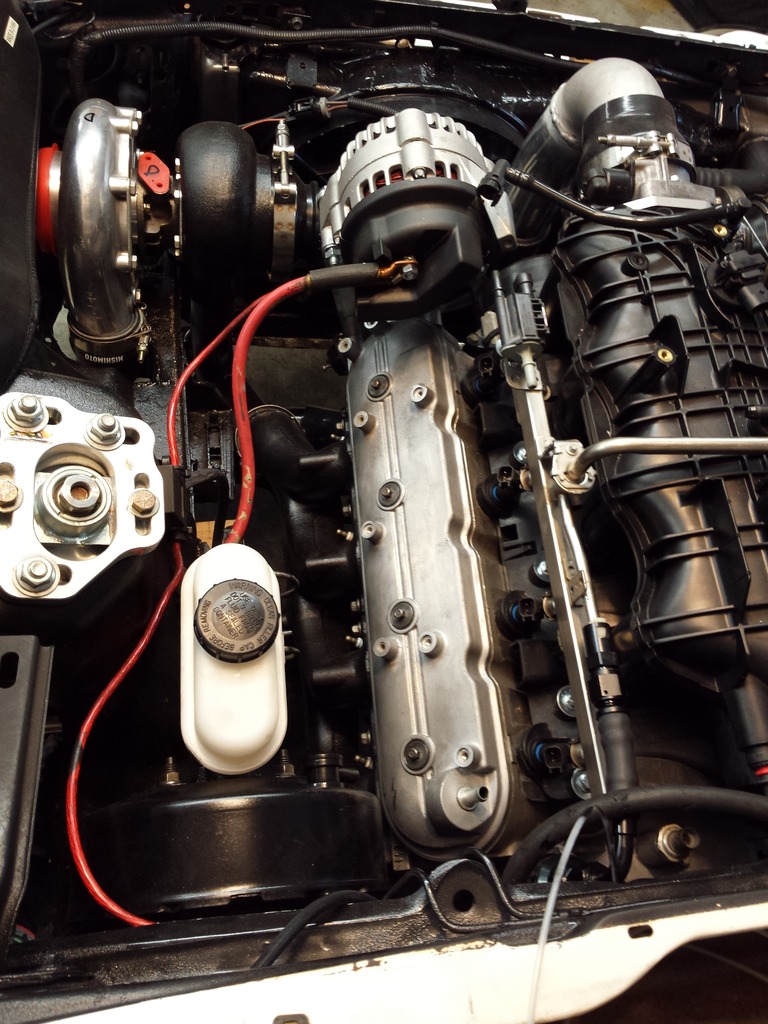
Battery and mount installed. Went with the same $140 shipped PC 925 I run on the RX7. It�s been a great battery. On my 6th year with in in the RX-7. Lighter than most standard batteries at about 25lbs too. Also had some lightweight aluminum 2g wire sitting around for years from old aircraft salvage. Recoated it all in heat shrink (also old aircraft salvage I have laying around) Ran lengths of it from the starter back to the battery and the starter to the alternator.
Some old 8g amp wire was left over on this chassis and already ran to the trunk, so might as well tie it in too for a little extra juice.
Also temporarily setup a throttle cable and bracket. Used the factory mustang throttle cable with $1.99 shipped universal bike cable kit. Bracket was made from an extra ford bracket from the universal B&M shifter I had laying around. Very functional, but pretty ugly. I�m thinking of using some sort of rod to replace the cable eventually.
How much power do the stock rails usually support on e85?
Not sure on the truck rails. I still run the dead headed OEM LS1 rails on my RX7 trapping 160@3100lbs... So quite a bit. More than enough to max out the 80lb injectors on this build I�d bet.
A word of caution about using the all thread to hold the starter. Pay close attention to the mesh of the pinion to the flywheel. You may find yourself with some weird engagement/starter noises if you don't. I fought that problem for awhile on mine. I didn't have the special shouldered bolts and used all thread as well. It gave me a lot of grief. Finally gave up messing with it and ordered the correct shouldered bolts. No more issues. The shoulder bolts accurately locates the starter for good engagement.
A word of caution about using the all thread to hold the starter. Pay close attention to the mesh of the pinion to the flywheel. You may find yourself with some weird engagement/starter noises if you don't. I fought that problem for awhile on mine. I didn't have the special shouldered bolts and used all thread as well. It gave me a lot of grief. Finally gave up messing with it and ordered the correct shouldered bolts. No more issues. The shoulder bolts accurately locates the starter for good engagement.
Thanks for that, I’ll watch it close. That’s a bummer. This starter does not have the same depth flange as the stock LS starter on either hole. So I can’t use OEM LS starter bolts. I’d have to measure the all thread and see if I could find shouldered bolts the correct length somewhere.
 09-30-2016, 03:08 PM