When you click on links to various merchants on this site and make a purchase, this can result in this site earning a commission. Affiliate programs and affiliations include, but are not limited to, the eBay Partner Network.
98 Trans Am 408CI Billet 88mm VSR T6 Turbo Build Thread
I'm Johnny, I've been into cars since youth thanks to my dad. I grew up spending a lot of time with him turning wrenches on Camaro's running BBC and SBC engines. I owned this car in 2006-2008 during high school.
You guys will get a kick out of this one, me shortly after purchasing the car back in high school. (Ha ha)
Afterwards my best friend (named Daniel) purchased the car and took it to Texas (He was stationed there in the Air Force). Since his ownership he upgraded the entire drive train and restored the interior (See below).
He has received orders to relocate to England about 9 months ago, and we discussed plans on what he was going to do with the Trans Am while he was away. He could either have sent it back home to Florida, where it would have sat taking up space, or send it to me in Ohio. We decided he would send the car to me, and in my spare time build the car the way we had planned.
Interior:
SixLiterEaterDesigns Seats
New Headliner
New Carpet
New Sunvisors
Current Mods:
Mosier 9" (WaveTrac 3.70 31-Spline)
BruteForce Aluminum Driveshaft
TR6060 (built by Texas Drivetrain Performance) with ZL1 gears
UMI Remote Mount Adjustable Torque Arm
Clutch McLeod RST Dual
QA1 Rear Single Adjustable Shocks
Strange Front Single Adjustable Coilovers with 300# spring.
On3Performance Truck Manifold Turbo Kit
Truck Alternator (140A)
Front Sway Bar delete
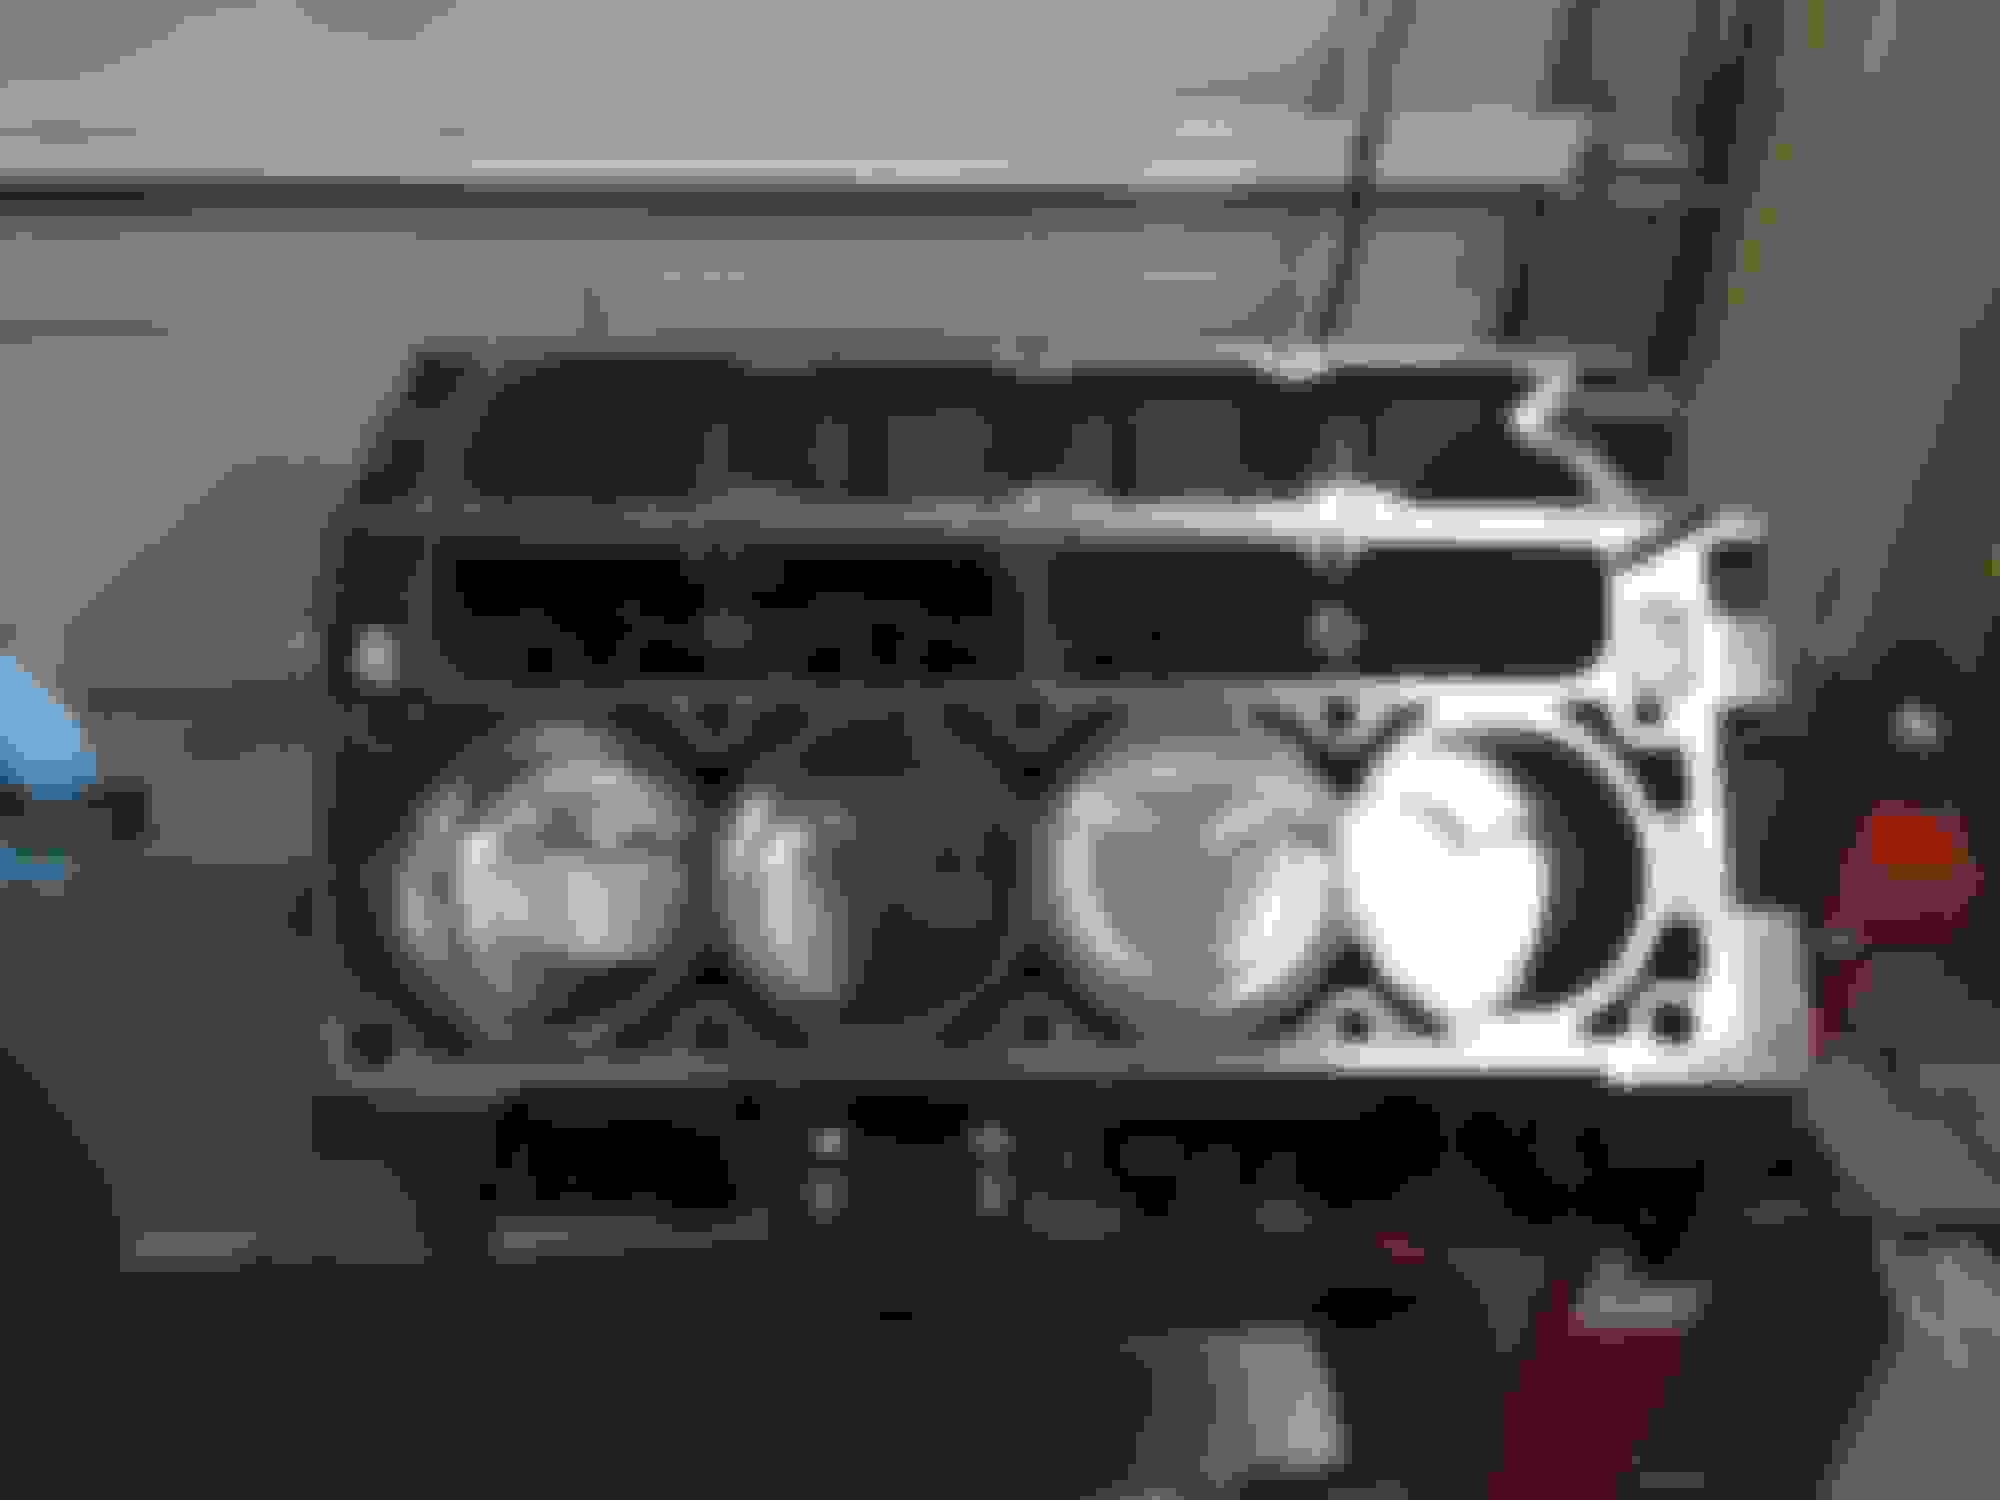
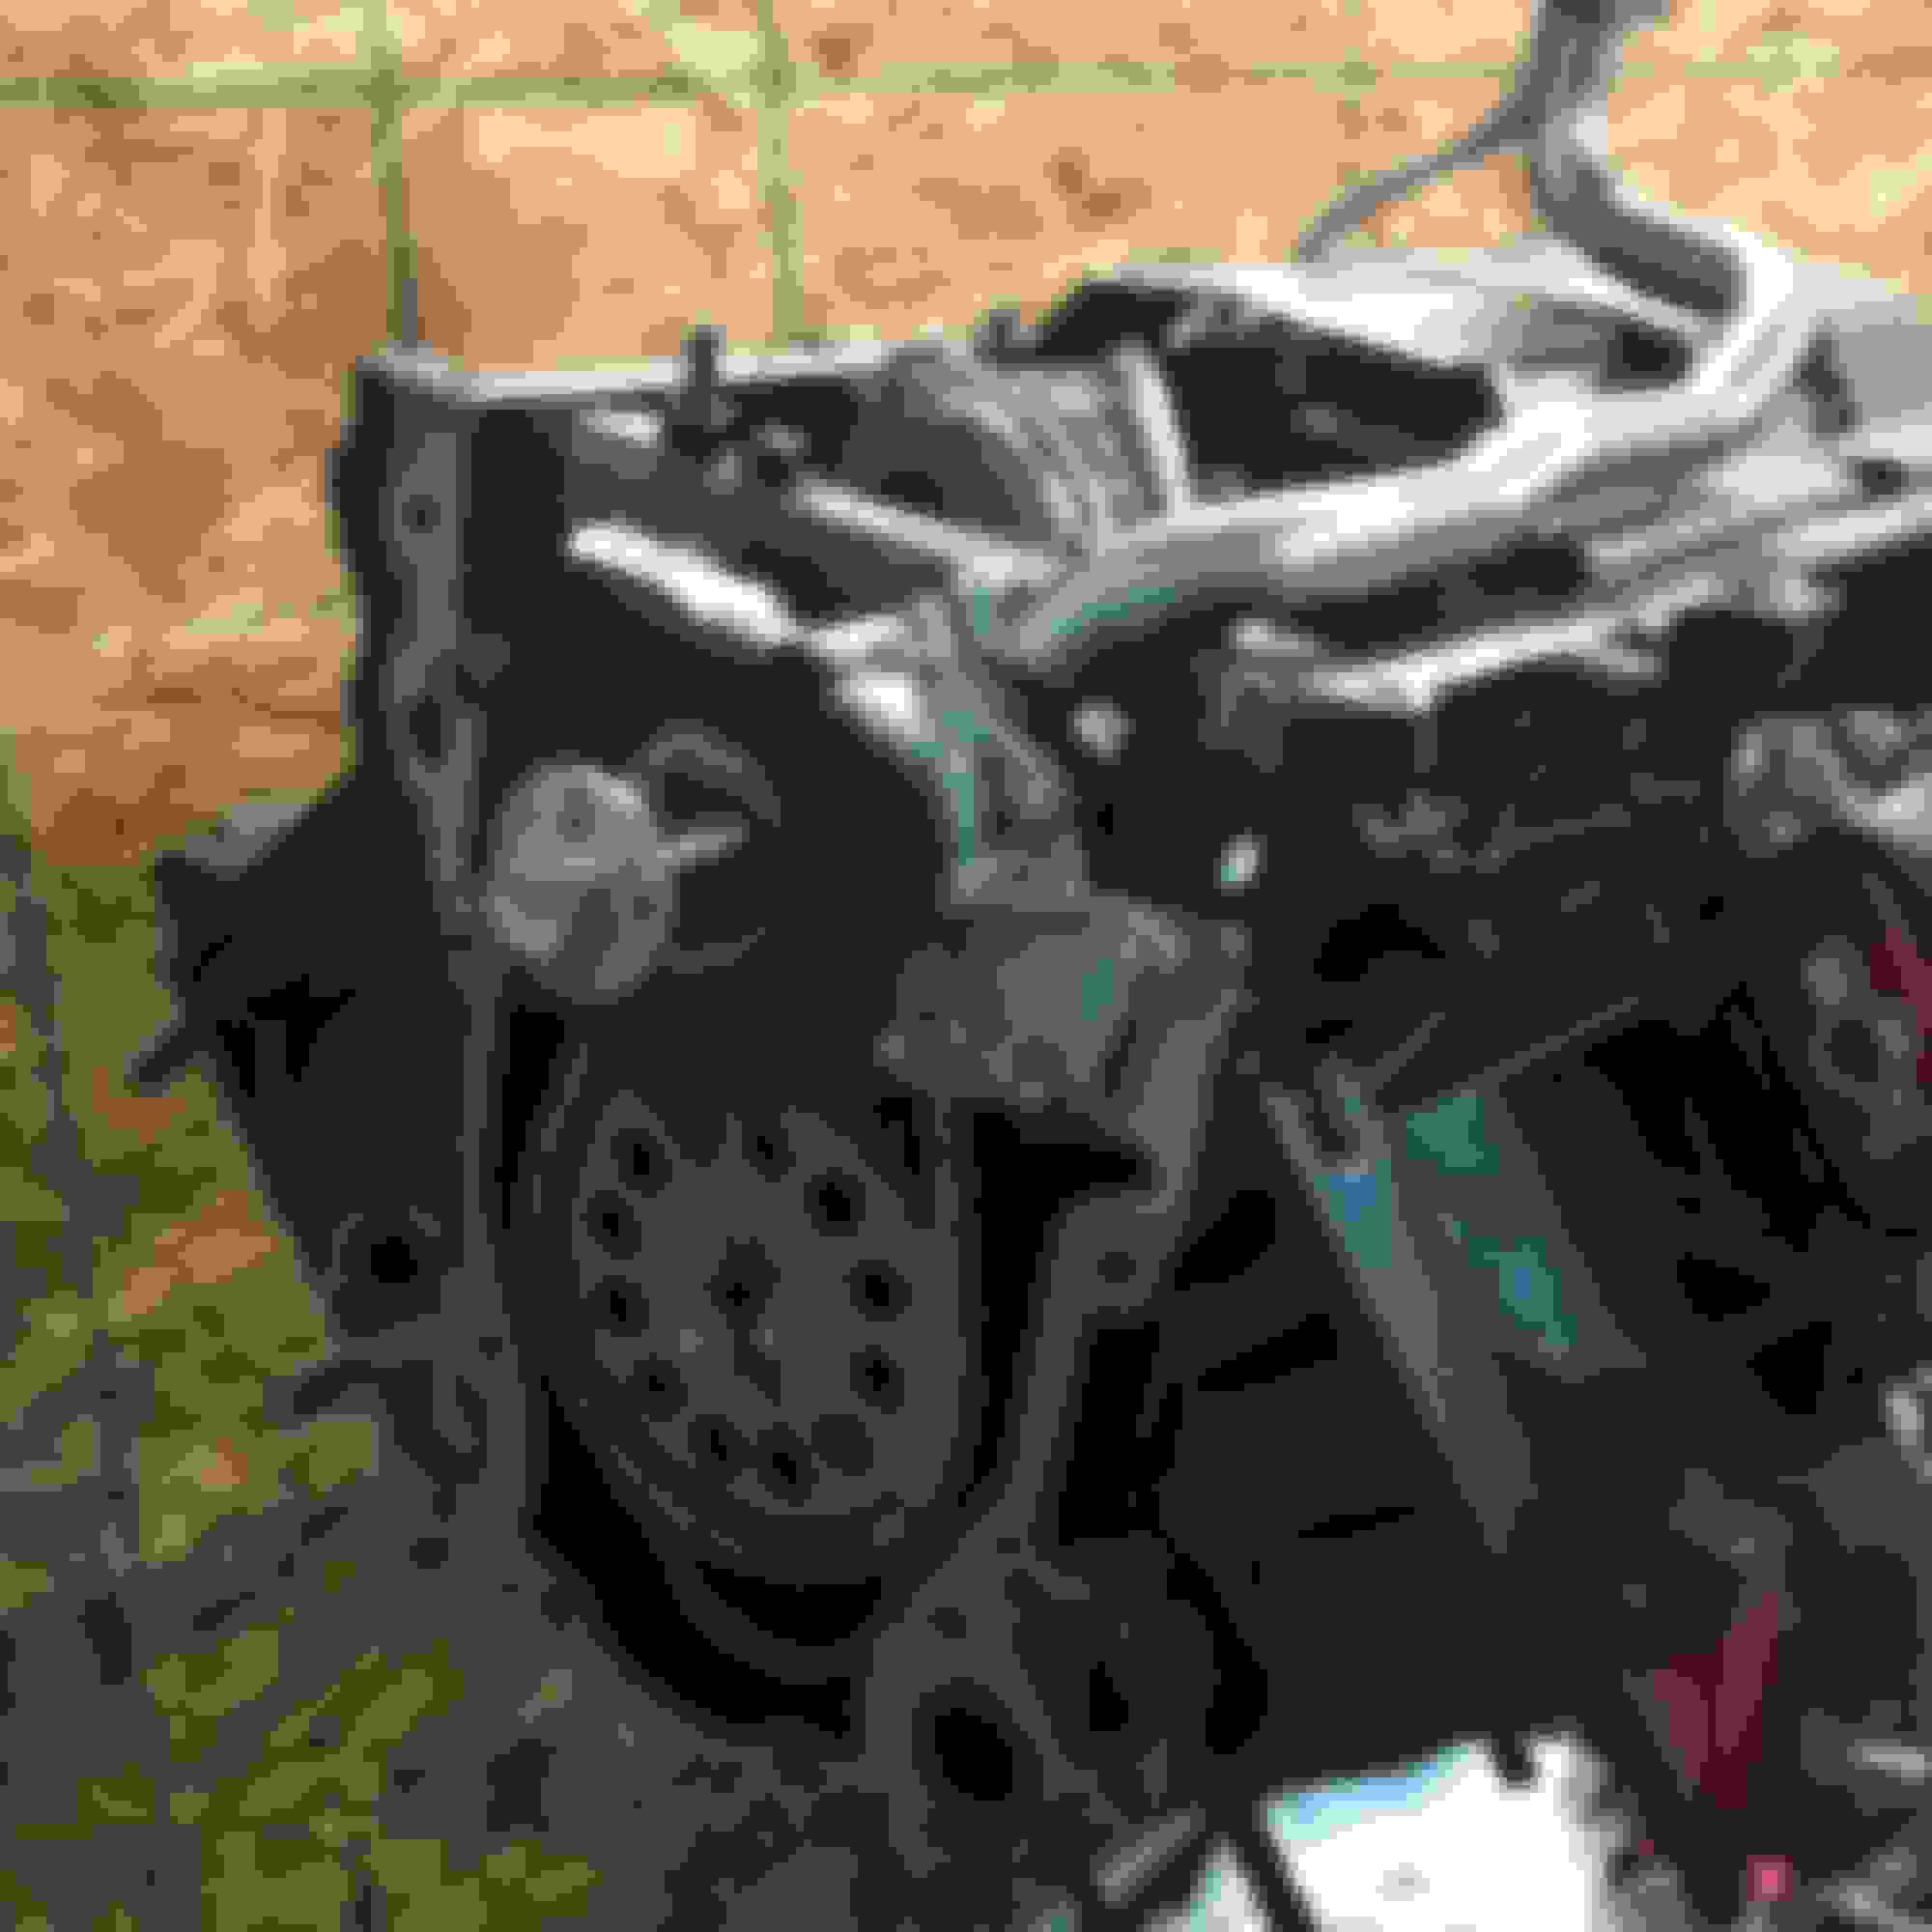
Back in March this year I visited him in Texas for a week, and helped him finish up the initial installation of an On3Performance 78/75 0.96AR T4 onto our factory, high mileage H/C/I LS1. We knew it was only a matter of time before the old 5.7 went, but we just wanted to get a feel for a turbo v8 car and enjoy it while building another engine. Unfortunately the rings butted, and popped the ringland on one of the pistons, which led to a cracked cylinder wall.
He swapped in a junkyard 5.3 with LS6 heads/upgraded springs. Unfortunately somehow debris was sucked into the system and made its way into the #7 cylinder. It put dents in both the piston and the face of the cylinder head. The datalogger registered it as knock, we initially thought we burned a piston for that reason.
Our current goals include:
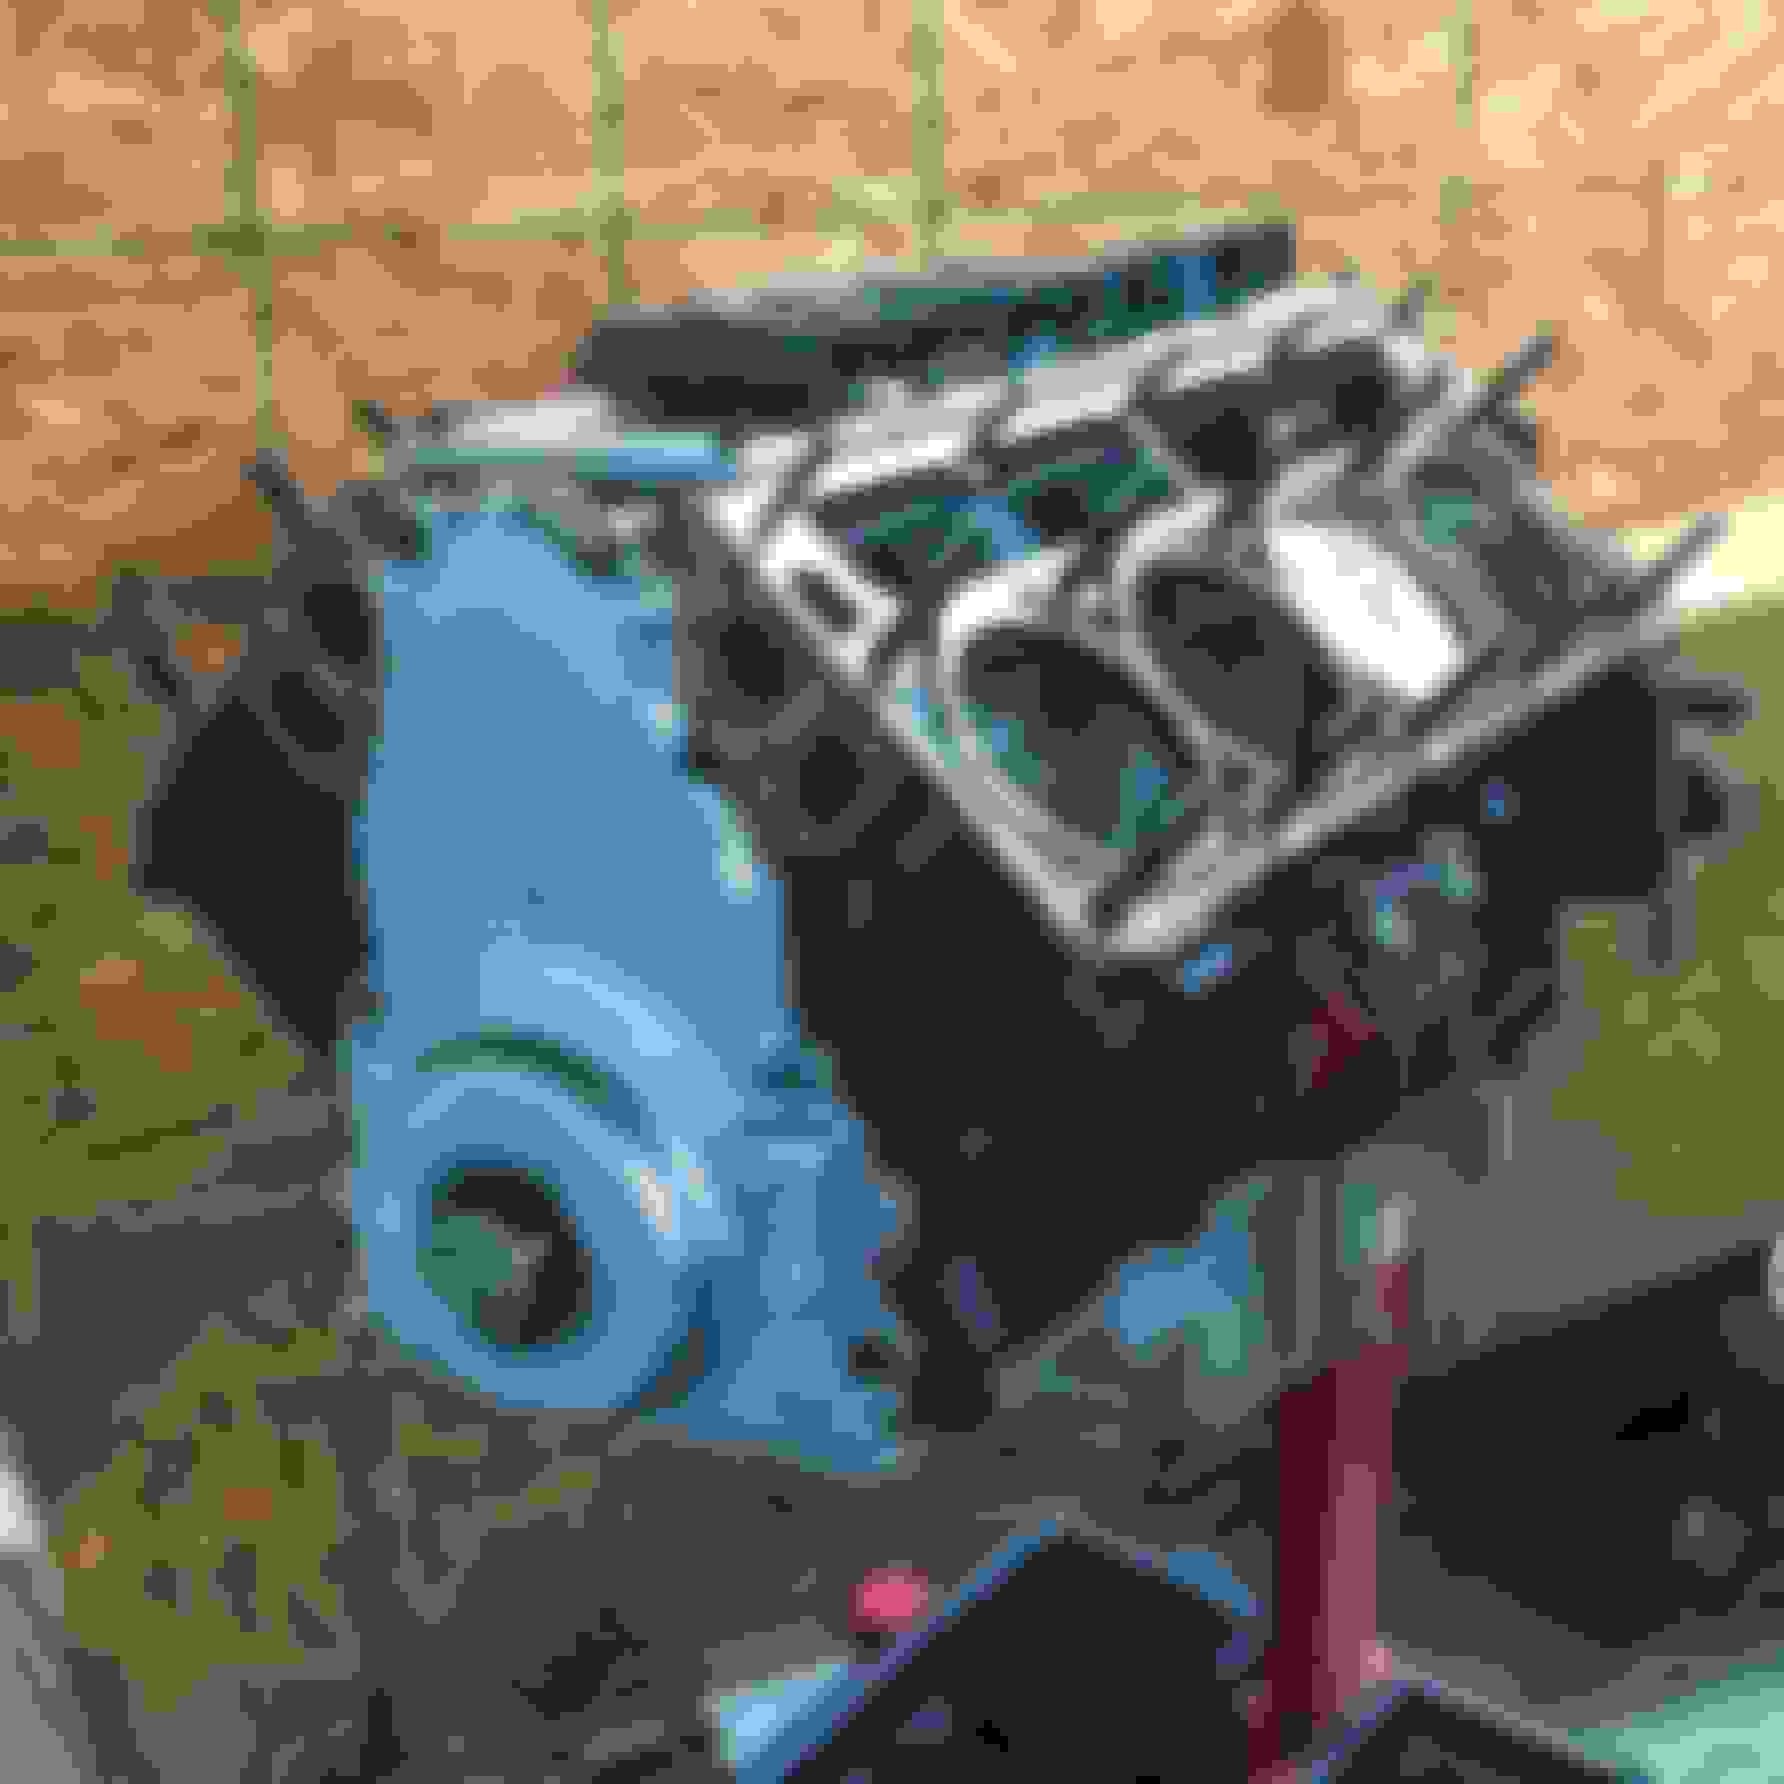
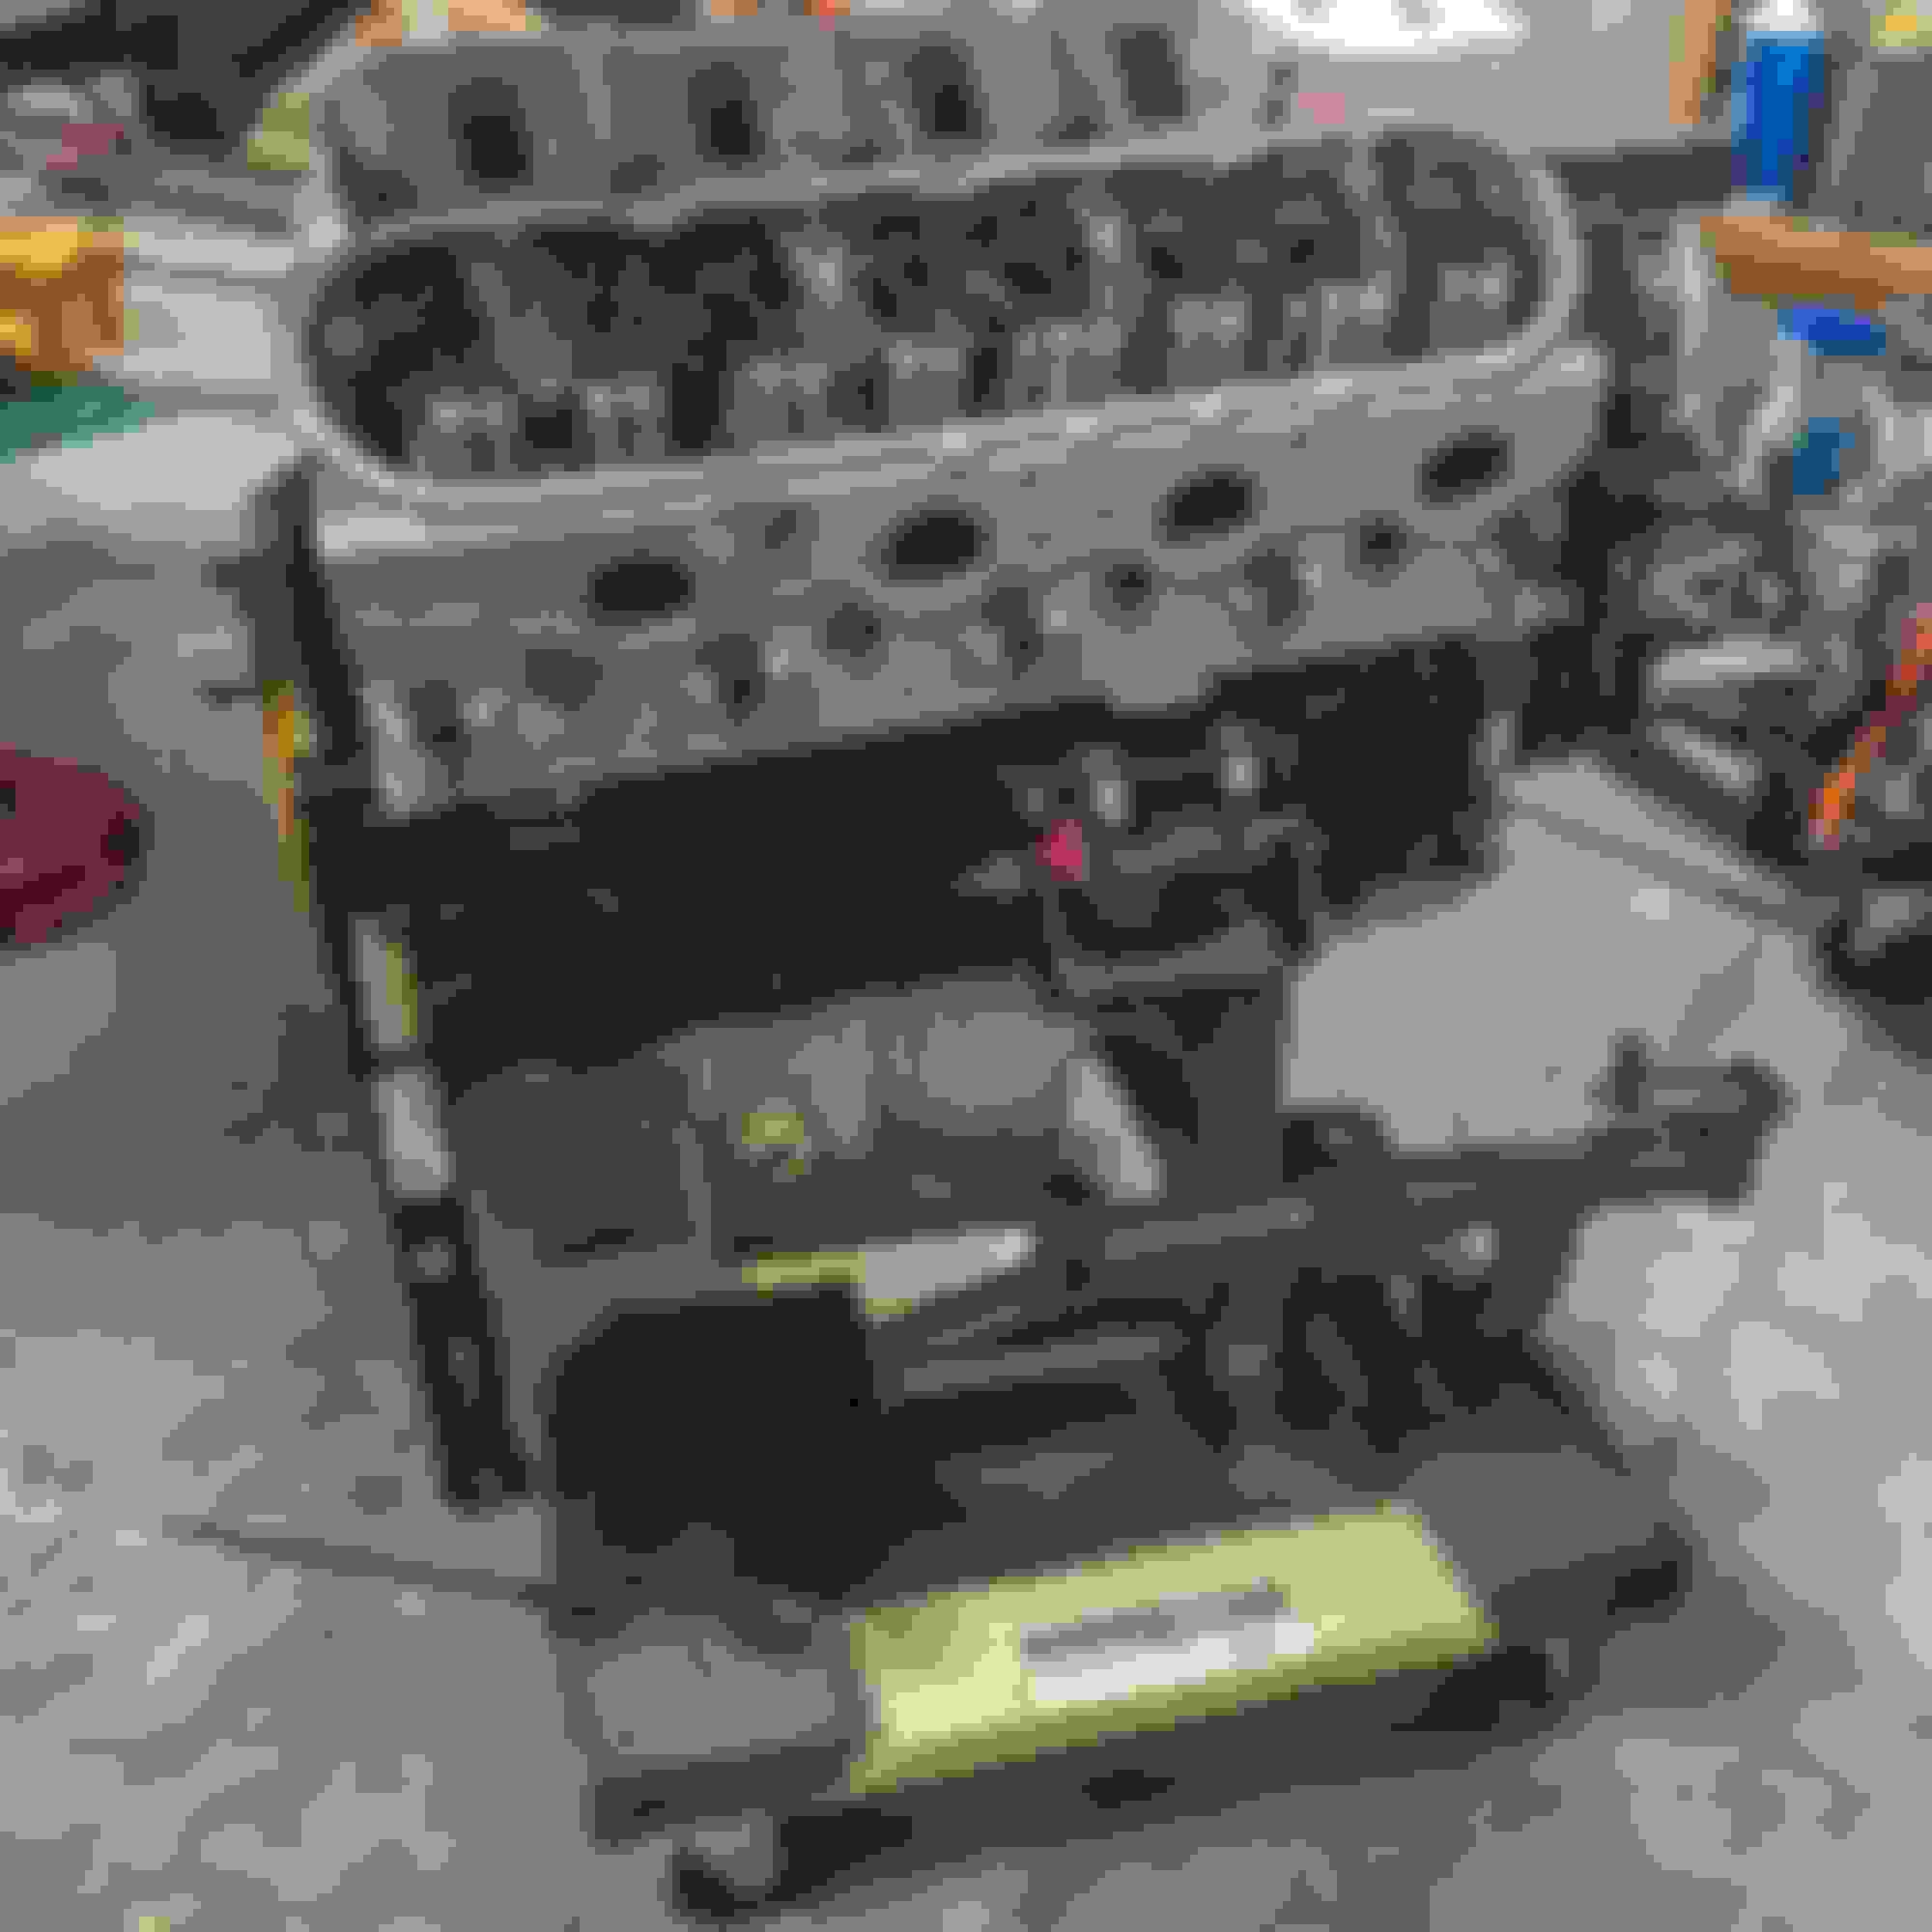
We were initially going to replace the 5.3L pistons to flat tops, and throw it back together with a PT88mm turbo. But we found a great deal on a 0.030 over 6.0 engine block fresh out of the machine shop. We are going to run it as a 370CI with LS3 Heads/Intake. We will go with a S484 Borg Warner Turbo. Currently our on3 kit has a T4 flange. We are currently working out if it is possible to replace the T4 merge/collector with a 2-1 2.5" T6 divided flange, and go with the T6 version of the same turbo.
We will replace the stock K-member with a turbo tubular K member. Cleaning, and repainting the engine bay. Even when I purchased the car in 2006 the Arctic White paint under the hood was worn down, faded, stained. It only got worse with time, and a blown engine.
Additionally we are deleting ABS module, performing a clean wire tuck. Remote mounting the coils. Removing all unneccessary wires from wiring harness/PCM. We will be running an MS3x Gold Box for engine management. We will delete the A/C box/evaporater, install a blockoff plate, but modify it to retain Heat/Defroster capability. While the dash is removed, we will install 2 5/8" Autometer Carbon Fiber Boost and Fuel Pressure gauges in the center vents. We have an AEM 2 1/8" WBO2 gauge, that will likely put in a single A-pillar pod.
For fuel delivery we will upgrade the feed and add a return line (PFTE) that is e85 compatible. Currently we are running a single Walbro 450lph pump with a hotwire kit. After we get the car up and running and start tuning/upping the boost, we will upgrade to a dual-pump setup with Hobb Switch.
As far as exterior, we are ditching the boring OEM hood, and installing a WS9 Hood. We'd like to get the exterior repainted also, but are looking to change to Speedway White instead of Arctic White. We will be running Dark Stars 15" with 28" tall tire in rear.
Here is what I started with:
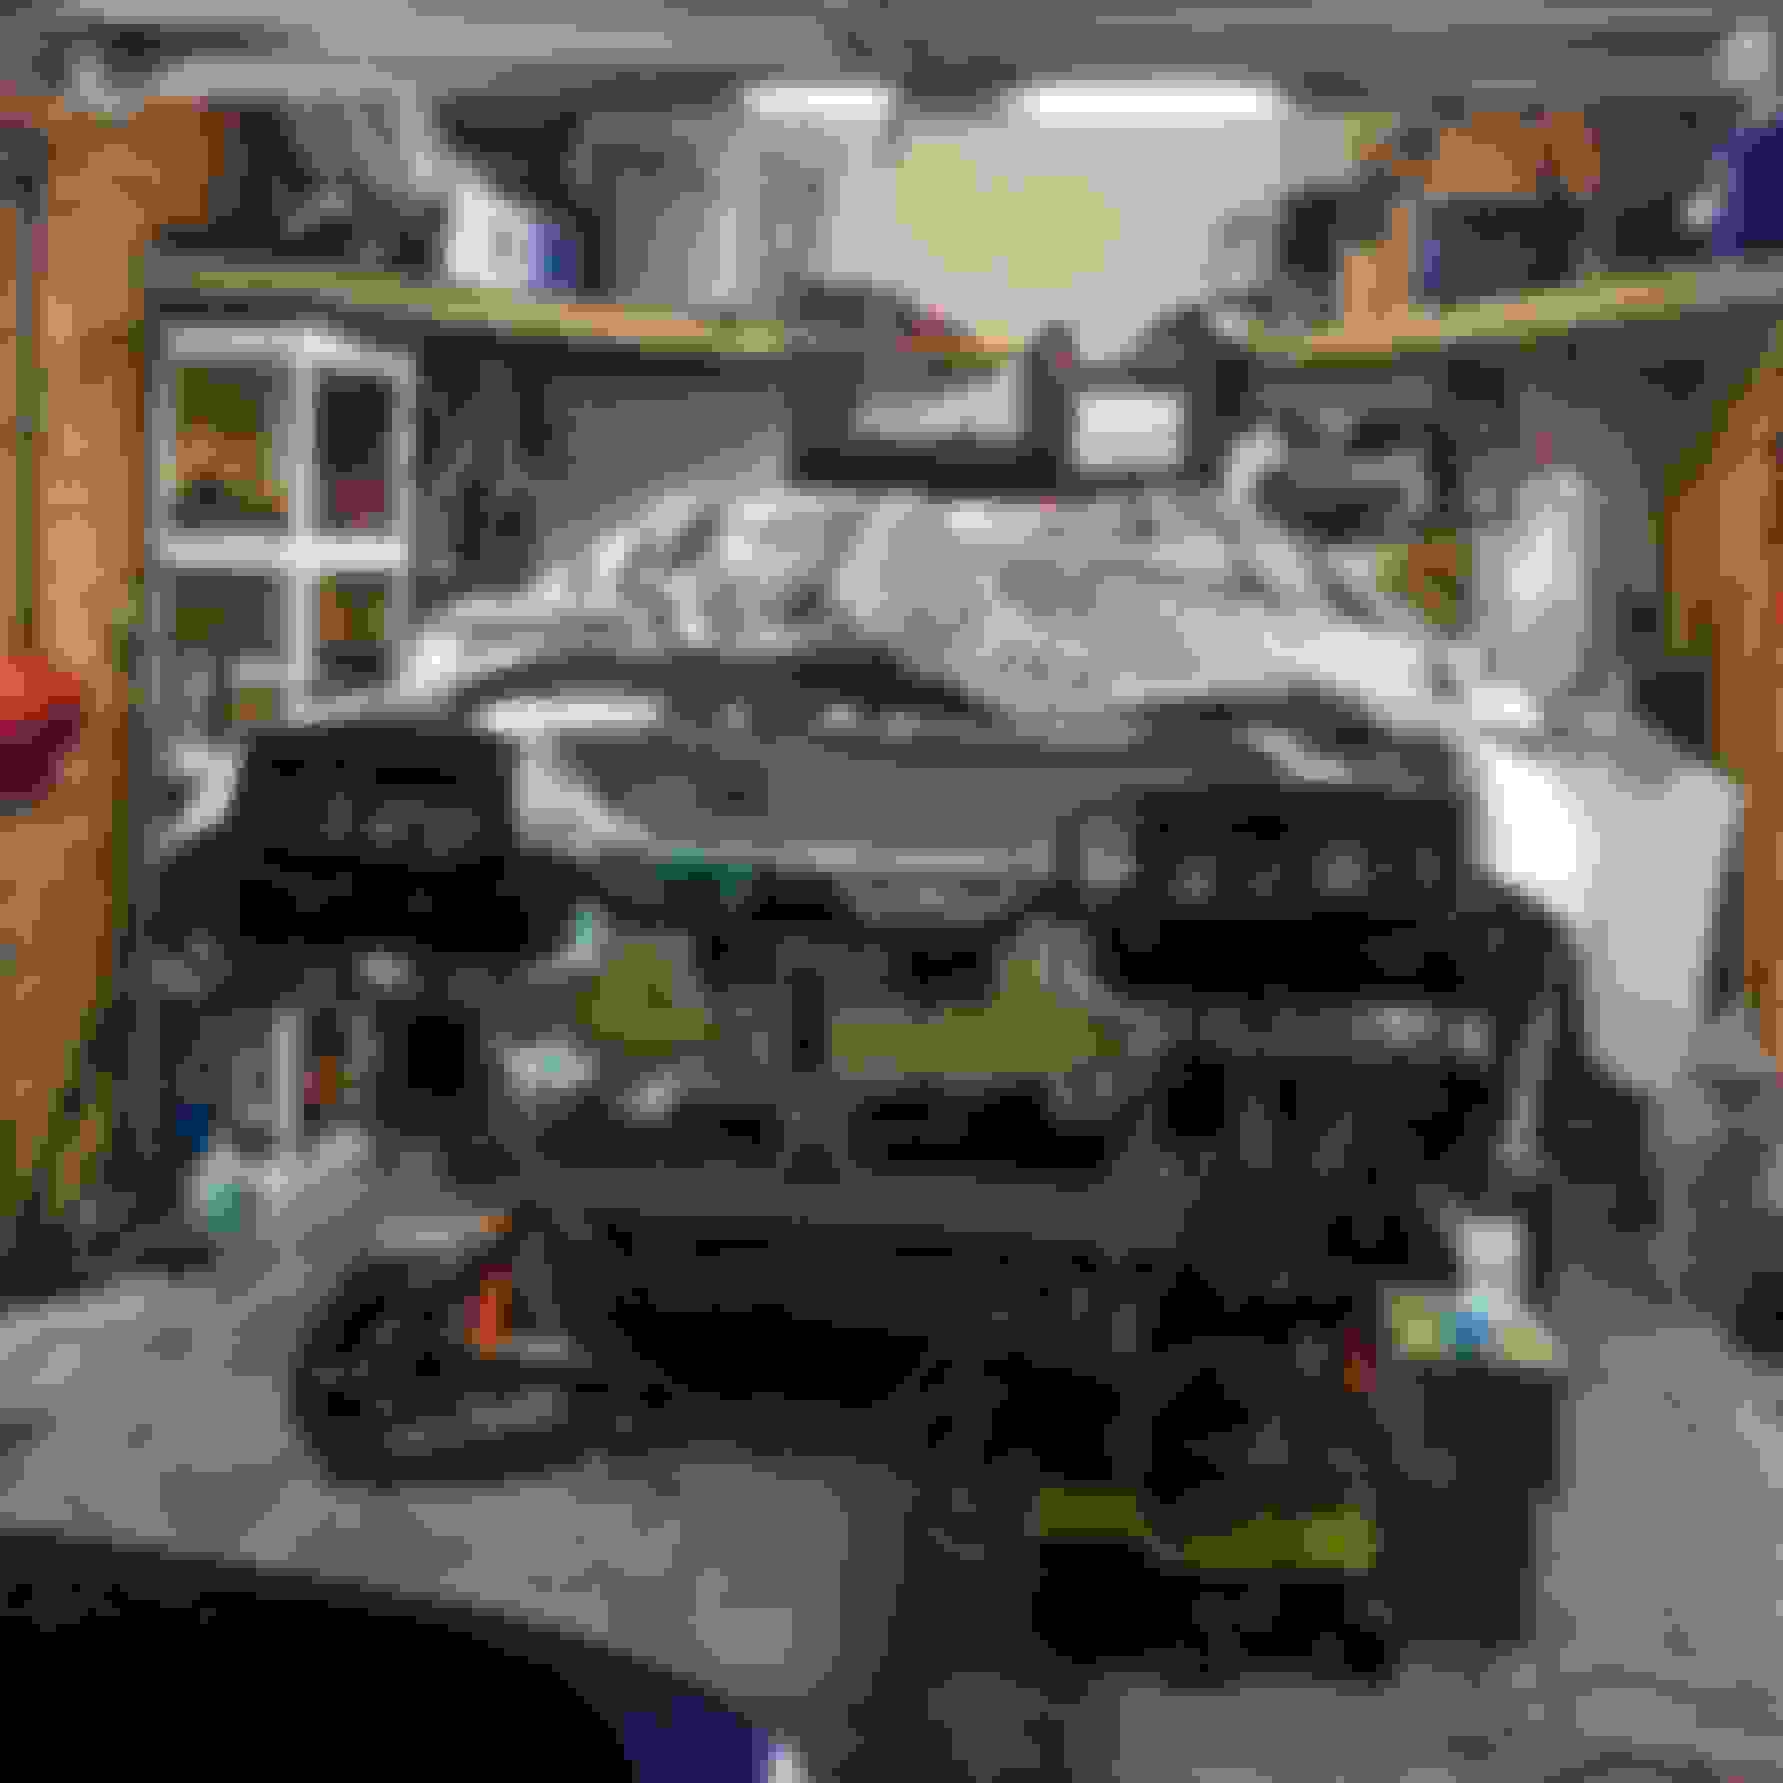
6-8 hours later:
The following day:
I've began to make some process on cleaning up the engine bay, deleting the AC (keeping the heat), and tearing down the engine (See next post).
Last edited by QuickdomesticRacer; 01-18-2018 at 07:46 AM.
In order to delete the AC, it was easier to remove the dash. We are installing gauges in the factory center AC vents, and it was also easier to remove the dash to get these gauges mounted properly.
I removed the Brake Booster, and Clutch Mastercylinder to get access to the firewall to remove flaking paint, and clean it up.
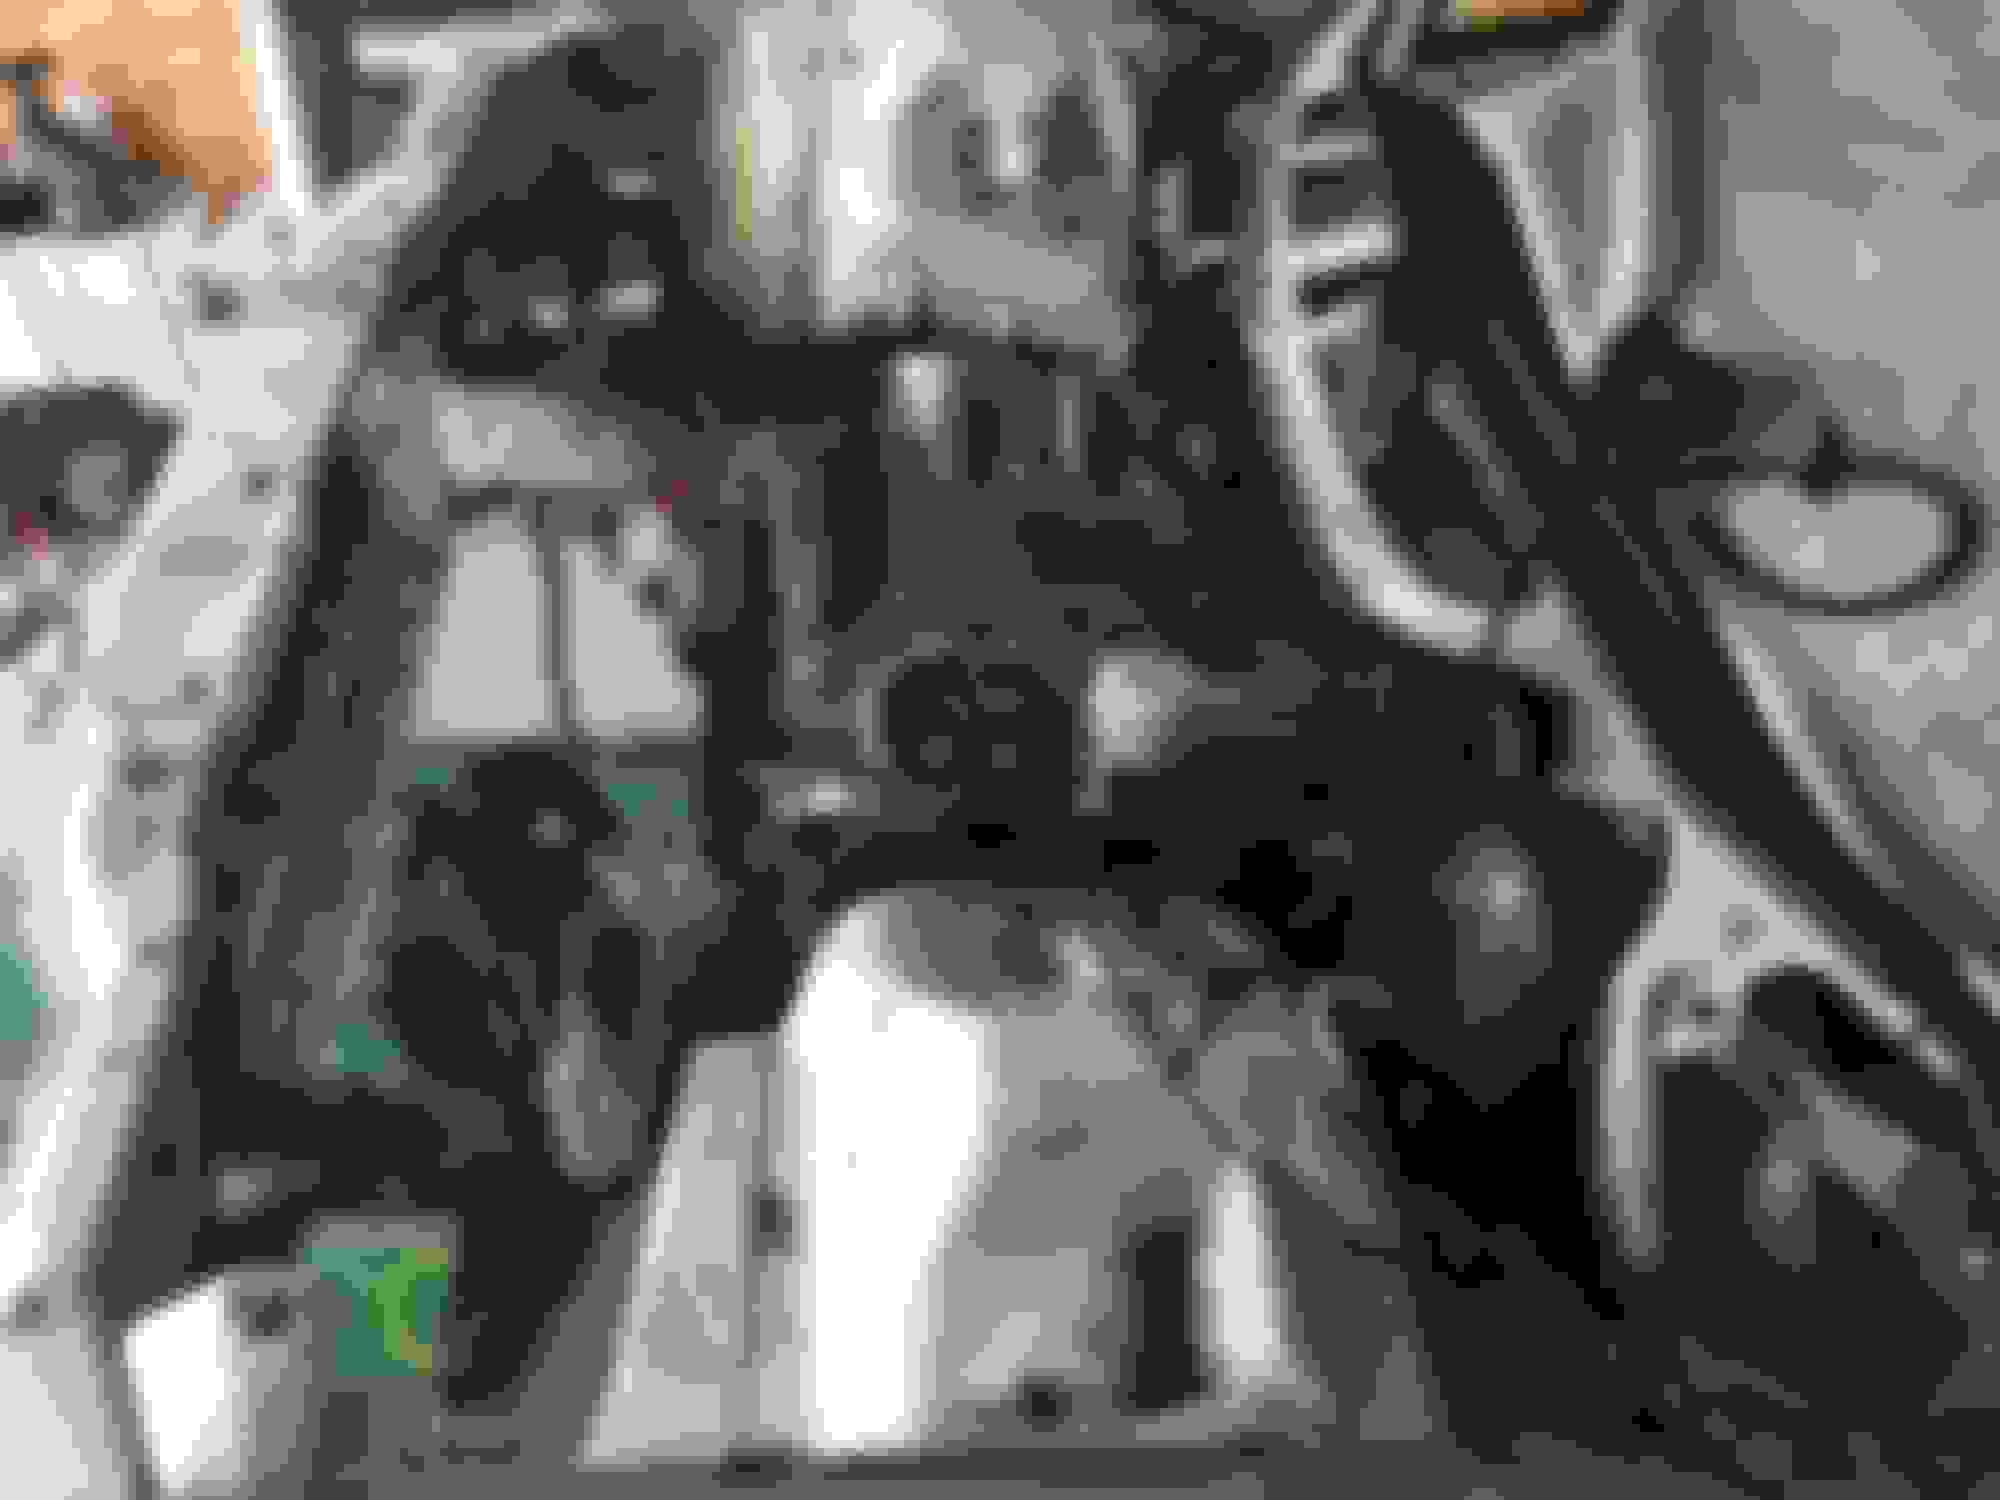
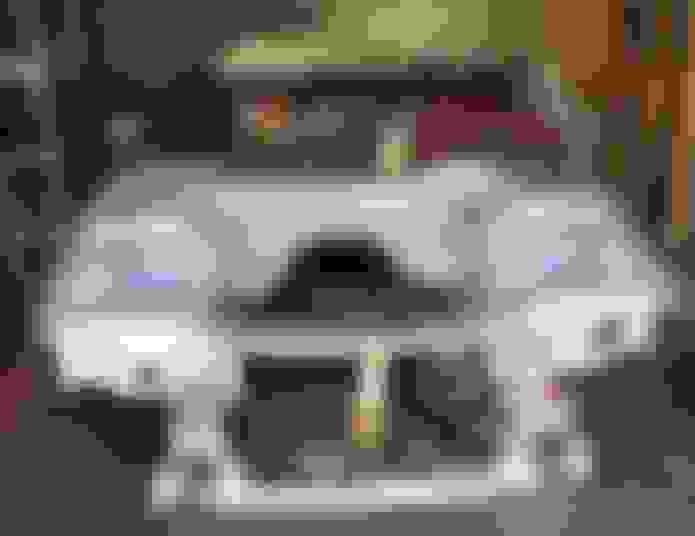
Here is some progress on the engine bay:
Last edited by QuickdomesticRacer; 10-23-2016 at 02:55 AM.
We will be purchasing a Turbo K-member to replace the stock one. We plan to run the downpipe out the passenger side bumper or fender. We will be deleting the ABS.
Here are some pics when he installed the suspension modifications mentioned in the first post:
Interior:
Old FMIC/Turbo:
He was having some charging issues, which was resolved by upgrading to the truck higher amperage alternator:
I will update this thread with progress pictures.
Last edited by QuickdomesticRacer; 10-23-2016 at 03:02 AM.
Here is some of the wire loom after sifting through old wires. Mainly the front lamp harness was separated so wires could be extended. The goal is to run all the wires and OEM fuse boxes inside the car, behind the dash board (along with the 99+ PCM).
Here is the modified A/C box, with the blockoff plate installed.
More painting and cleaning. The valve covers had old red anodized style paint (it never came out right), that was chipping, and stained with oil. We will go with metalcast finish, and gloss black on the bolts. Unfortunately the raw metal surface of the valve covers has an uneven surface, and without significant time invested in grinding it down, this is how it came out. With everything else looking great in the engine bay I don't think it will be as obvious. If it sticks out like a sore thumb, we will just buy some aftermarket pieces:
Just refinishing some of the headlight brackets and nose brackets to match the newly refinished engine bay:
We got a great deal for an LS3 Intake. It came with OEM 90mm DBW throttle body, but we won't be using it.
Before reinstalling the front end components I cut out the front support in preparation for the Griffin crossflow 27.5" aluminum radiator (1-58241-XS), in order to minimize flying metal from the quick-cut blade ruining the newly painted pieces.
I began reinstalling the front nose components. Its nice to see it looking like a "car" again. There is still some residual orange/gold Plastidip on some of these pieces, including overspray. I looked up online and Goo gone or bug/tar remover was recommended to clean it up. So I will be doing that next.
Last edited by QuickdomesticRacer; 10-24-2016 at 12:44 AM.
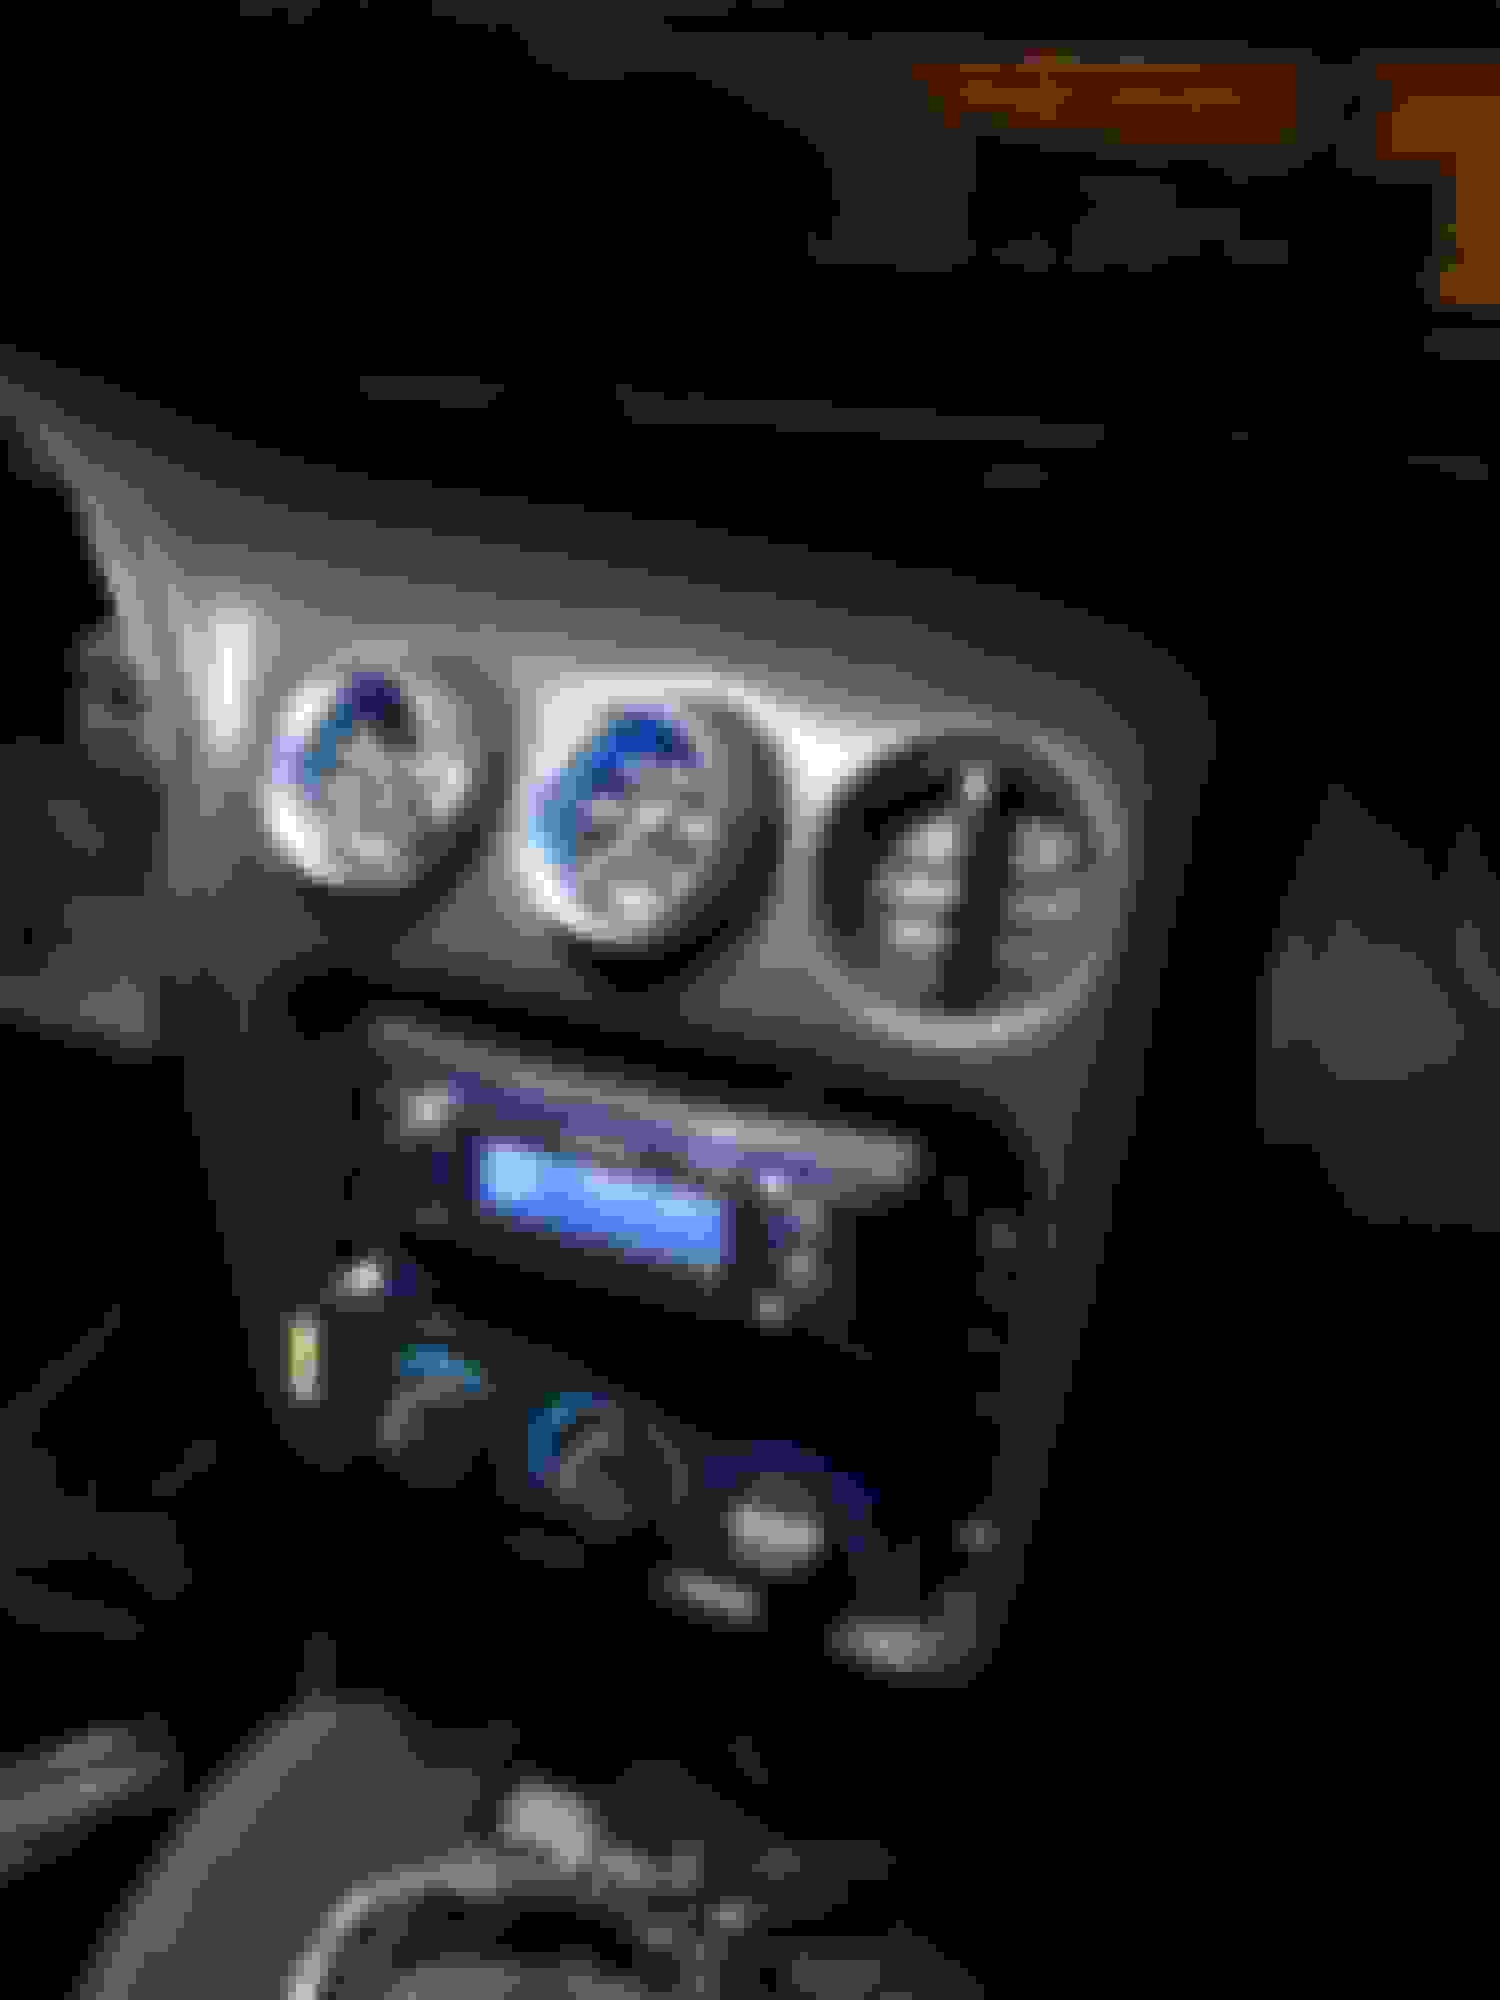
We got a lot of work done; but I don't have pictures of everything just yet. We reattached all wires we had to cut in order to tuck the engine harness inside the car. We also have the dash back in place. We got to install and test out our blue "super" LEDs that we got for the interior.
Cleaned up the rear-hatch area, and reinstalled the panels. All front lights working. Hid the underhood fuse panels in the passenger floor board, along the transmission tunnel behind the carpet. Slapped front bumper back on just for fun. Hooked up HP tuners successfully so thankfully all the PCM wiring is working appropriately.
Now awaiting balanced rotating assembly, so I can file fit rings and assemble the short block.
Been awhile since my last post. Received the Wiseco/K1 408CI rotating assembly. File fit the rings for boost.
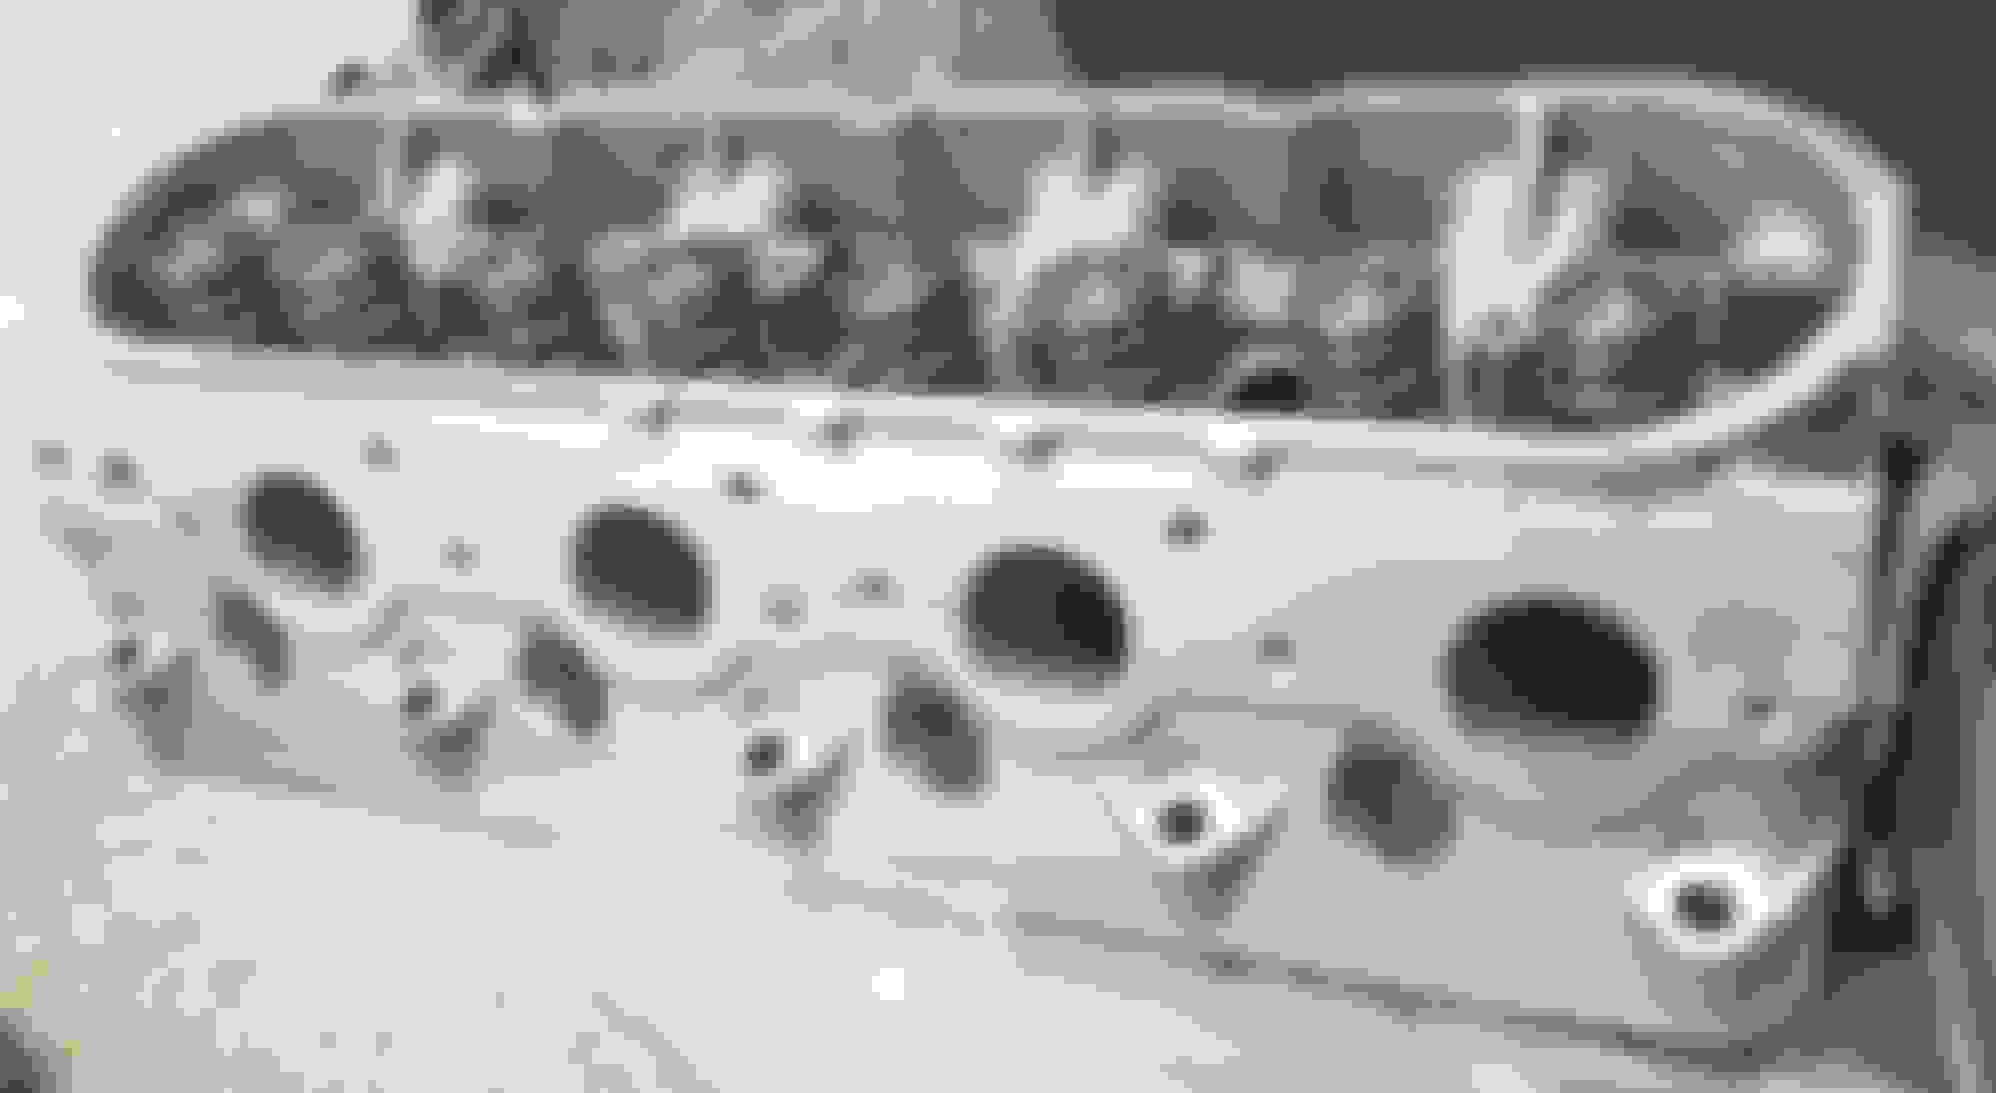
Purchased LS3 heads, installed the BTR titanium springs/retainers.
Got our custom comp cam designed by liljonmotorsports. Finished assembly of engine. Placed it on the new BMR Turbo K member, and married it to the chassis.
MS3 Goldbox also came in the mail: In the process of installing that now.
I used some degreaser to clean up the dirty red MSD plug wires, they look practically new!
I installed the LS3 intake, and aftermarket drive by cable TB.
I worked on running the new and old wiring harness and connecting the sensors.
Finally, I took off the alternator, and disassemble it, in order to pain it black to match the theme.
Not shown, I am working on routing the new fuel system. -10an supply; -8an return line. Pictures soon. We should have our Huron Speed V3 T6 Kit by next week, and I will install that and upload pics with my next update.
I kept the factory computer so that I could use the factory gauges in the dash. I also have the AEM WbO2, and Autometer Boost/Vac and fuel pressure gauges.
Been a little while since the last update. Good news, I received the HuronSpeed V3 T6 kit. I also received the VSR wastegates, BOVs, and 88mm turbo. All has been assembled and installed. Took it to its first car show yesterday! Still working through bugs, breaking it in, and allowing the MS3Pro to VEAL auto tune.
Next up is to bring it to a pro tuner and a dyno to put down some numbers!
Enjoy the pictures:
Intercooler and piping mounted/routed.
Billet wheel.
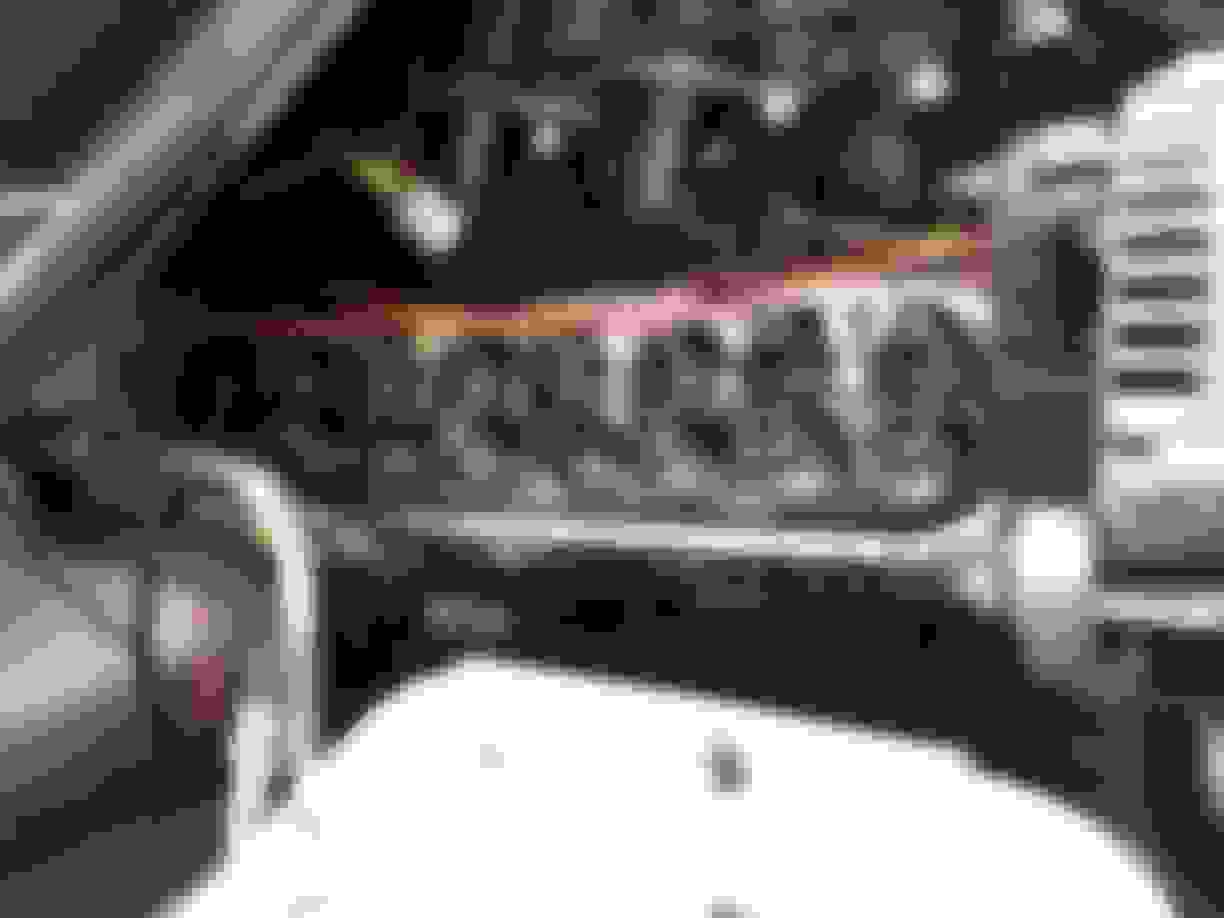
Painted and wrapped merge pipe; dual VSR 44mm wastegates shown.
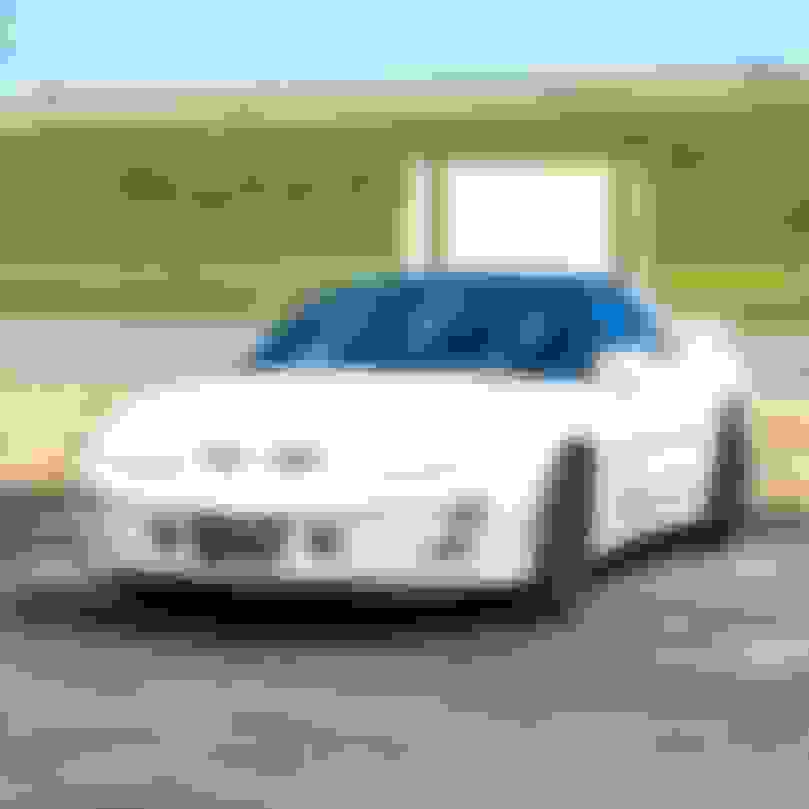
First drive down the street. Test fitting front bumper after exhaust cut out.
Custom box to fit the footwell dimensions and protect the PCM.
MS3GoldBox hidden behind the carpet - passenger side floor board.
Looped the seatbelts through the seat for a cleaner look.
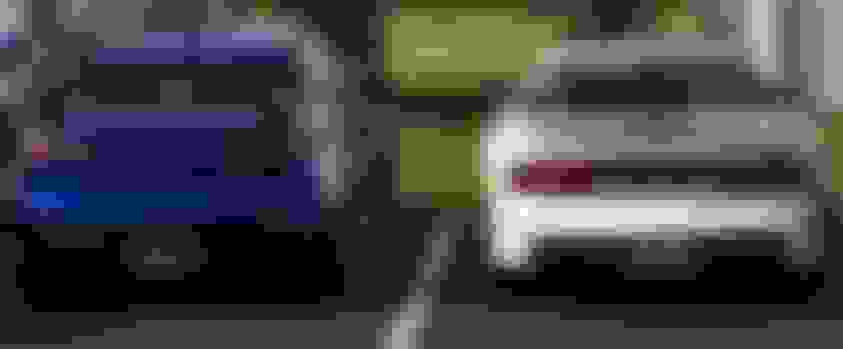
Got it running, and pulled it out, next to my Evo X.
 10-11-2016, 09:03 PM