When you click on links to various merchants on this site and make a purchase, this can result in this site earning a commission. Affiliate programs and affiliations include, but are not limited to, the eBay Partner Network.
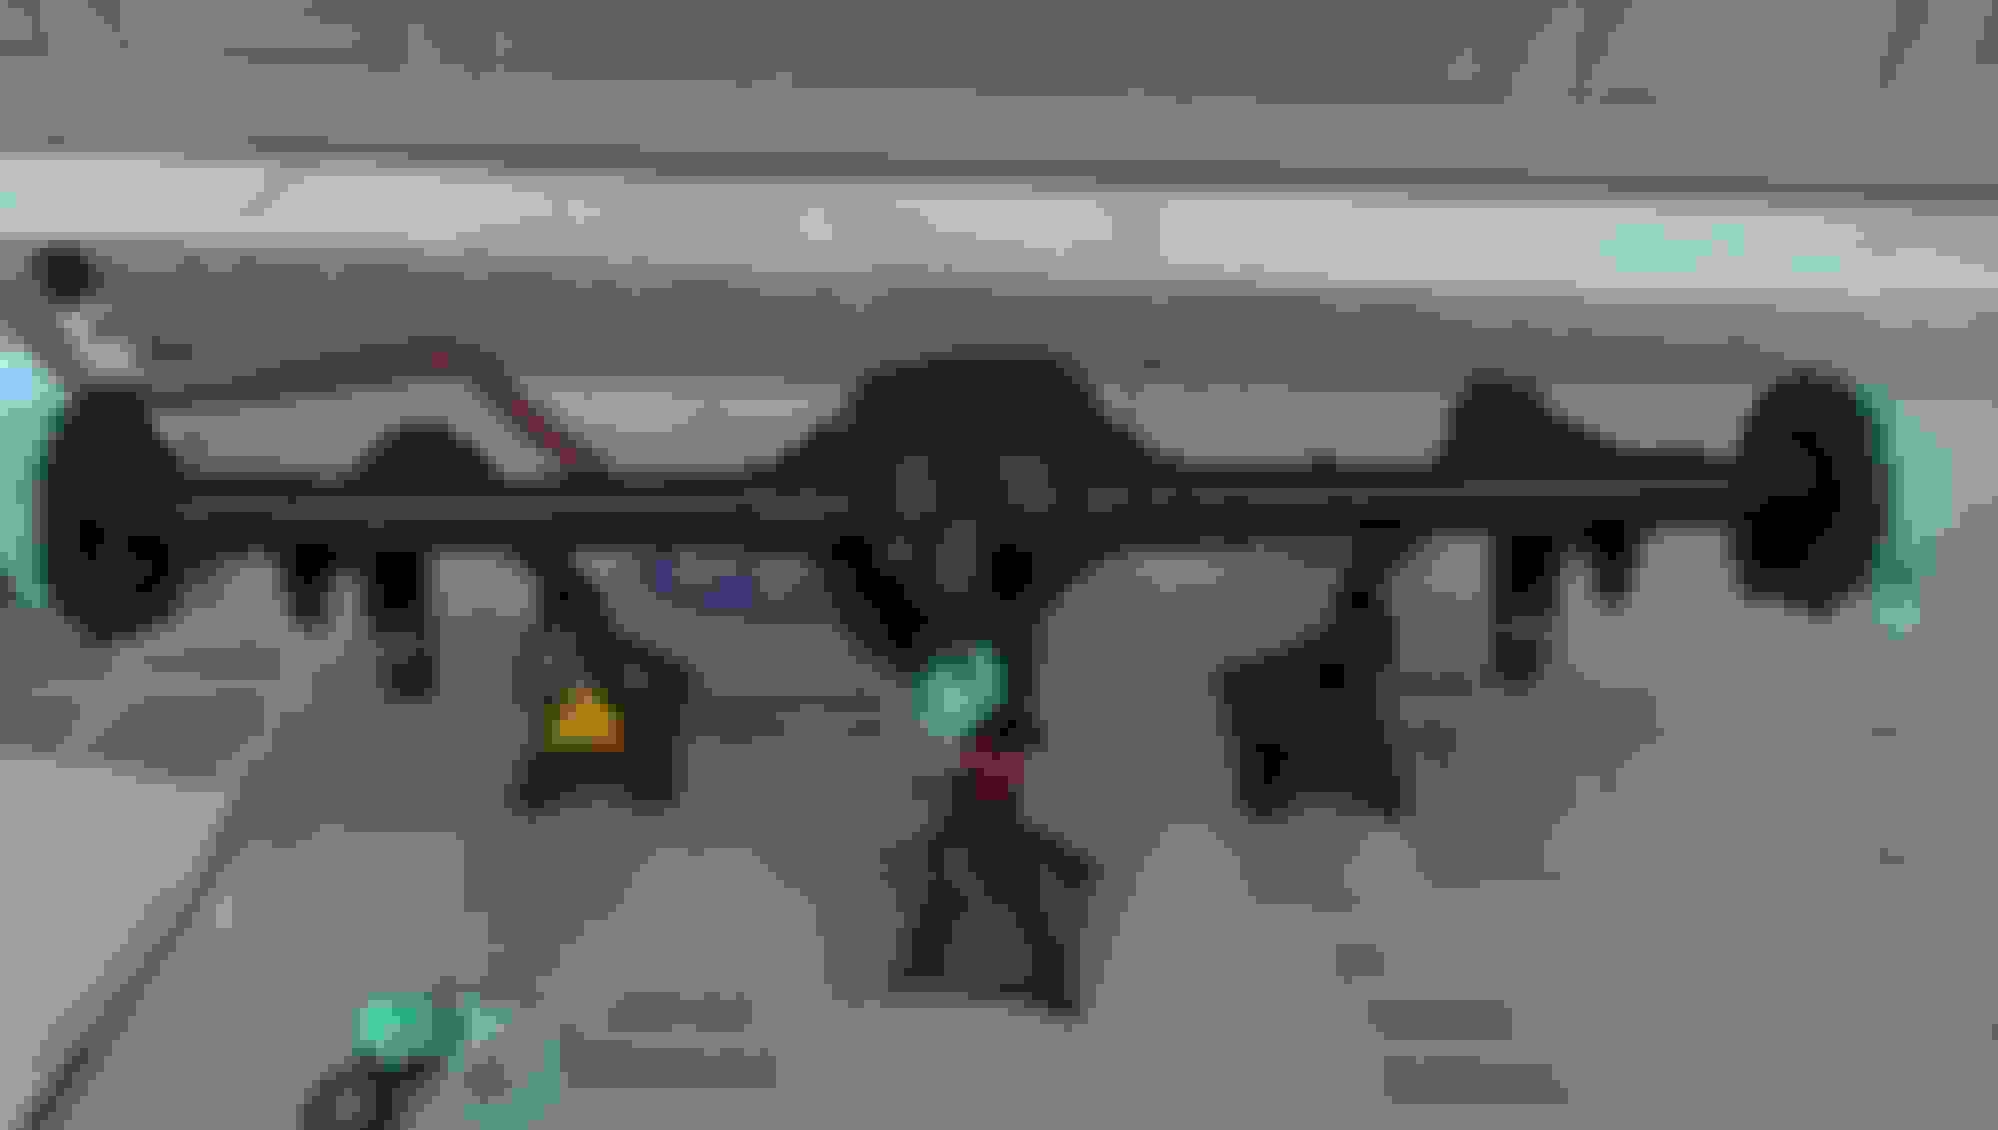
Hey guys, I thought I would make a thread and track my progress. I have my 3.42 10 bolt off the car and removed the carrier and pinion. I have a full rebuild kit and motive 3.73s awaiting install. All the bearings and gears looked good considering my backlash, and preload were Way off spec. Unless I was measuring wrong. The pinion nut was easy to unbolt with a regular half drive ratchet. I took a gear pattern, backlash and preload reading before taking it apart so I can see the difference after my work.
Preload with carrier was 5 inch pounds
Backlash was .055
Pattern was pretty centered but the drive side looks too deep to me.
Coast looks good to me.
My next steps are getting the carrier off and on plus getting the pinion bearing off by a drivetrain shop. Make my set up bearing. Make a replica of firstyr's case spreader. I'm also going to frame a little work bench in my utility room.
Last edited by WS6wanted; 09-17-2016 at 04:36 AM.
Reason: Updating rebuild status
I was working on the diff today getting the wheel bearings and seals off. I got my small pinion bearing race off, and then couldn't get that cocksucking large pinion bearing off for the life of me. I tried a large flat head with a hammer and then used a 2 jaw slide hammer puller. Was working on it for 30min and then as I was going to stop for a break, I notice a crack forming on the top of the pinion race.
I think I need a new housing, what do you guys think?
Ok so, I'm a dumbass. There wasn't a crack. I cleaned the inner housing with brake cleaner and there was no crack. It was just rough casting with diff fluid in it making it look like a crack.
I still can't get the large race out, any tricks to getting it out. Im thinking of buying a dremel and trying the cut slits in the race if all else fails.
Jesus ya dont need to cut the race. You push it out from the opposite side. Stick a small pipe or solid rod through the front hole and catch the lip of the race, there is a spot in the housing on each side to tap. You need a mini sledge, 3/4 pounds. A nailing hammer aint gonna get it here bud. Then whack the **** out of it back and forth from side to side till it starts pushing out.
You NEED a race installer to get the new one in, in my opinion cause it takes some force. I have one like this from harbor freight that works very well for the money.
I got it out earlier today. I used some gas pipe I had laying around and it came out just like you guys said. I used a wire brush drill bit and and brake clearer on the housing. I'm going to buy some paint and spray it on. I'm almost done cleaning the inside of the housing, excited to start putting this thing back together.
I'm ahead of you there SS, I bought a set from harbor freight
I was finally able to get back to working on my diff, it's been a long, long while. I thoroughly cleaned out the axle tubes and housing of all the small metal particles in there and painted the housing as well. I got a shop to press off and on my carrier bearings and retrieve my old pinion shim.
I was hammering on my new large pinion race with my driver set, but they were going in crooked. It was late so I didn't try much, woke up the wife, lol.
I did notice a small bevel on the inside edge of my race. It's very small, maybe 1/16-1/8". To be safe, can I buy a new race or are races and bearing machined as a set? I don't think it will effect anything but I like to play things safe.
Pinion races installed
Ring gear installed with old bolts to 45 ft lbs
I'm having trouble holding the ring gear while torquing the bolts.
You guys think it's safe to put a long 3/8" pipe through where the diff locking pin goes to help me tighten these bolts to spec?
I saw another method throwing a spare wheel /tire on the ground and installing an axle facing verticle and inserting the axle in the diff. I'm afraid of messing the posi or having a spider gear fall out.
You guys have a preferred tightening method? And a question on the solid spacer. Do you guys put the solid spacer shims and then the solid spacer. Or solid spacer first and then shims, if it even matters.
I'm at a crossroads with the rebuild and I don't know how to fix it.
Problem
I have .004 runout when measuring from the top of the ring gear. There is a .004 variance on my backlash, .006-.010. How can I start eliminating what is wrong from rite?
I don't know if it's the case, the ring gear not installed right or other.
Things I did during the install that may be a problem.
-I made my own spreader with angle iron and 1/2 rods. Tried it once. I got .002 case spread and then the angles started bending and not spreading anymore. When I loosened the nuts, the case didn't 'snap back' to 0, it took a min or 2 but eventually read 0 again. So that means the case should be fine right?
Is there a way I can check if the ring gear is bolted on flush without taking the ring gear off?
Is it fine to get a variance on pinion preload (3-4 inch lbs) with set up bearings from maybe not having a perfectly carved bearing? I run patterns with around 10 inch lbs of preload. My torque wrench doesn't read 10 the whole way around the pinion, it's a few inch lbs less on a small section.
I don't know what to do and summer is half way done and my car is still on stands. I'm considering getting another 10 bolt, measure run out before taking it apart and if it is true, installing my new parts in it.
Any suggestions on how to fix what I currently own?
 04-16-2016, 07:15 PM