ac compressor leaking
 06-29-2014, 08:16 AM
#1
Staging Lane
Thread Starter
iTrader: (5)

Join Date: Sep 2005
Posts: 72
Likes: 0
Received 0 Likes
on
0 Posts

I just installed AC in my swap car. Couldn't hold a vacuum in the system for more than 20 minutes so I put in dye and there was a leak at the bottom of the (used) compressor. There was a hissing sound and I could see bubbles forming on it. Is there a seal near the part of the case where it bolts to the bracket?
The AC compressor was running ok and generating pressure on the high side, but I wasn't able to add enough refrigerant for it to blow cold air. All the lines are new, condenser and drier are new, and I just flushed the evaporator. I'm hoping that running it for 30 minutes with that leak isn't going to be a big issue and I only need to buy a new compressor and drier. That sound right?
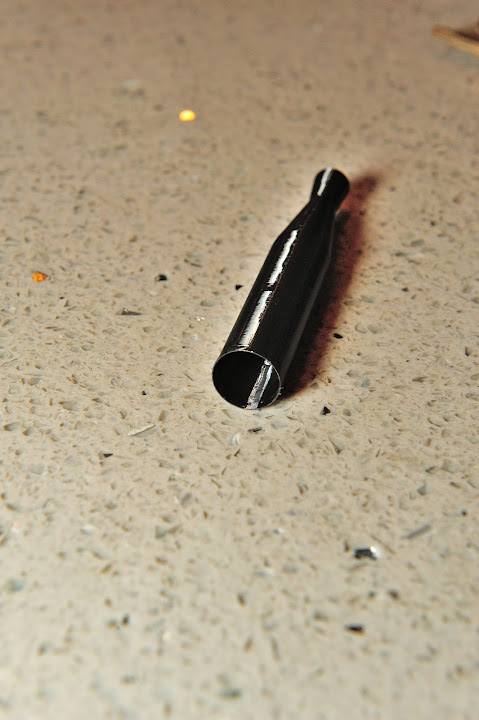
Here's a pic. You can see a bubble forming on the bottom so it's not from the lines.

The AC compressor was running ok and generating pressure on the high side, but I wasn't able to add enough refrigerant for it to blow cold air. All the lines are new, condenser and drier are new, and I just flushed the evaporator. I'm hoping that running it for 30 minutes with that leak isn't going to be a big issue and I only need to buy a new compressor and drier. That sound right?
Here's a pic. You can see a bubble forming on the bottom so it's not from the lines.


 06-29-2014, 07:50 PM
#5
Staging Lane
Thread Starter
iTrader: (5)
Join Date: Sep 2005
Posts: 72
Likes: 0
Received 0 Likes
on
0 Posts
I ordered a gasket and seal kit. What tool is needed to remove the clutch plate? I tried renting a few tools from autozone, but the threads on them are all too big. The tools were all m24 and my guess is the clutch plate is m22 or smaller.


Trending Topics
06-30-2014, 06:42 PM
#8
Staging Lane
Thread Starter
iTrader: (5)
Join Date: Sep 2005
Posts: 72
Likes: 0
Received 0 Likes
on
0 Posts
Definitely the AC compressor. My coolant isn't green since it's all distilled water and a bottle of water wetter. 
I'm still looking for a tool to pull off the clutch plate. Might try napa after work. I'm going to replace the o-rings, gaskets, shaft seal, and bearing since that's all straightforward once it's in pieces.
I'm still looking for a tool to pull off the clutch plate. Might try napa after work. I'm going to replace the o-rings, gaskets, shaft seal, and bearing since that's all straightforward once it's in pieces.

 07-01-2014, 11:19 AM
#12
Staging Lane
Thread Starter
iTrader: (5)
Join Date: Sep 2005
Posts: 72
Likes: 0
Received 0 Likes
on
0 Posts
The full ac service kit from oreilly or autozone might work, but I ended up getting part 78-3213 from NAPA which has the right thread diameter and pitch for removal and install of the clutch plate on my 99 fbody ac compressor. Now I just need to pry the coil off, unbolt it, and 3d print a shaft seal install tool so I can put it back together with the new parts.
07-02-2014, 01:45 AM
#13
Staging Lane
Thread Starter
iTrader: (5)
Join Date: Sep 2005
Posts: 72
Likes: 0
Received 0 Likes
on
0 Posts
Replaced all the seals and gaskets. Left the pulley bearing alone because it rolled fine. Printed a seal installer tool. It was thin and I made it a little too small so it self destructed when I pulled it off the shaft, but it worked perfect otherwise. The shaft seal went on nice and smooth without waiting a week for a $15+ tool. I'll bolt the compressor back up tomorrow and check if it holds a vacuum.

07-02-2014, 11:13 AM
#15
Staging Lane
Thread Starter
iTrader: (5)
Join Date: Sep 2005
Posts: 72
Likes: 0
Received 0 Likes
on
0 Posts
I put a vacuum on it this morning for 30 minutes before work and there is still a good amount of moisture coming out and the vacuum gauge drops even faster now. Not the change I wanted, but at least it's different. The vacuum pump is one of those cheap air compressor driven ones - should probably replace that with an electric one.
07-02-2014, 08:37 PM
#17
Staging Lane
Thread Starter
iTrader: (5)
Join Date: Sep 2005
Posts: 72
Likes: 0
Received 0 Likes
on
0 Posts
The manifold and all its connections look good. I vacuumed it down to 28 in-hg and, while under vacuum, unscrewed the schrader valve depressers and then closed off the ports on the manifold. The manifold gauges held 28 in-hg for 30 minutes with both the high and low side quick release connectors still on the lines until I pushed the schrader valves back in and it dropped to 0. Seems conclusive that the leak is in the AC system somewhere. I tried listening for something, but a small vacuum leak is hard to hear. Can think of a couple of things that could be wrong:
Compressor seals still messed up.
Evaporator has a lot of moisture from when I flushed it.
New expansion valve I installed doesn't have the right sized o-rings.
Random leak in the lines or condenser (new ebay unit).
Would be nice to pressure test the system with nitrogen or dry gas. Hearing a leak at 100 psi should be easy and less messy as adding back r134 and looking for the dye. I don't have the equipment to pressure test it, though.
I guess I could pull the evaporator and look for dye. I had dye and refrigerant in it when the compressor was still leaking so it should be covered in green if the leak is in there.
The evaporator is oem in my 93 rx7 so who knows if the core is still good.
07-03-2014, 10:53 PM
#18
Staging Lane
Thread Starter
iTrader: (5)
Join Date: Sep 2005
Posts: 72
Likes: 0
Received 0 Likes
on
0 Posts
Picked up a new AC compressor (+drier). Vacuumed it down and it held for 50 minutes. Installed the new drier, vacuumed, and charged the system. It works! AC is awesome. Not sure what went wrong on my compressor rebuild, but right now I don't care. I'll take a look at it some time after enjoying my new AC.
06-21-2015, 08:32 PM
#20
Staging Lane
Thread Starter
iTrader: (5)
Join Date: Sep 2005
Posts: 72
Likes: 0
Received 0 Likes
on
0 Posts
The stock camaro AC system might have an accumulator rather than a receiver/drier. Check out AC Delco part number: 15-10095
Any time you replace a component (line, compressor, etc) in the AC system and/or expose it to open air you should replace the drier. It will be sealed when you buy it so you want to install it last and vacuum down the system right away.
You could try rebuilding the compressor since it's just one giant o-ring that's failing if it's leaking at the same point as mine. That didn't work for me, though. You'll need some special tools to remove the pulley in order to unbolt the case.